Mesa Tactical has been upgrading police shotguns for many years. Their range of accessories fits many popular models, including the legendary Benelli M4. But do those same parts also fit on a Turkish clone like the Aksa S4? Let’s find out!
More Shotguns @ TFB:
Disclosures are essential in every review so that the audience is fully informed. Mesa Tactical provided these parts for this review. My relationship with them consists of checking in at SHOT Show to cover their new releases. This is my first review of their products. The Aksa S4 shotgun was previously provided by
Four Peaks Imports. I bought the ammunition used in the
initial review of that gun, and I have purchased a bunch more for testing out these upgrades.
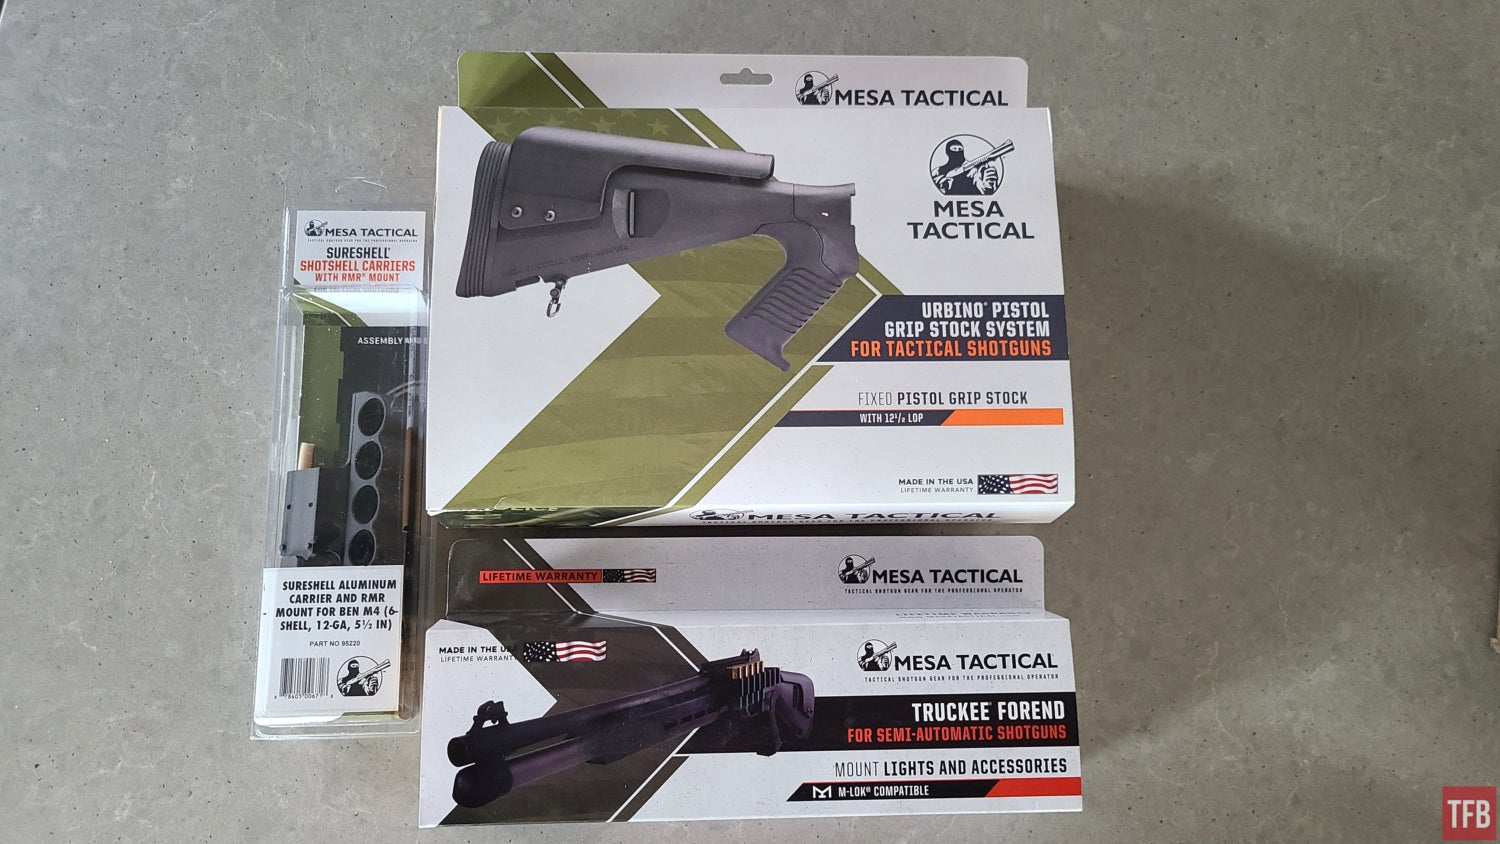
Mesa Tactical does not skimp on the packaging.
Aksa S4 Background
I
previously reviewed the S4 and came away very impressed. It cycles almost every ammo I can find and handles abuse well. Now, James Reeves has had some very different experiences with various Turkish shotguns, as you can see in his videos
here,
here, or
here. But my time with this particular gun has been nothing but fun.
In fact, it’s so much fun that I wanted to see how souped up it could be. Enter
Mesa Tactical. They have been one of the most visible suppliers of tactical shotgun parts in recent years. This year at SHOT Show, I asked about trying to soup up my Turkinelli with their Benelli M4 parts, and they graciously agreed. So let’s go through these parts and their installation quirks on the S4.
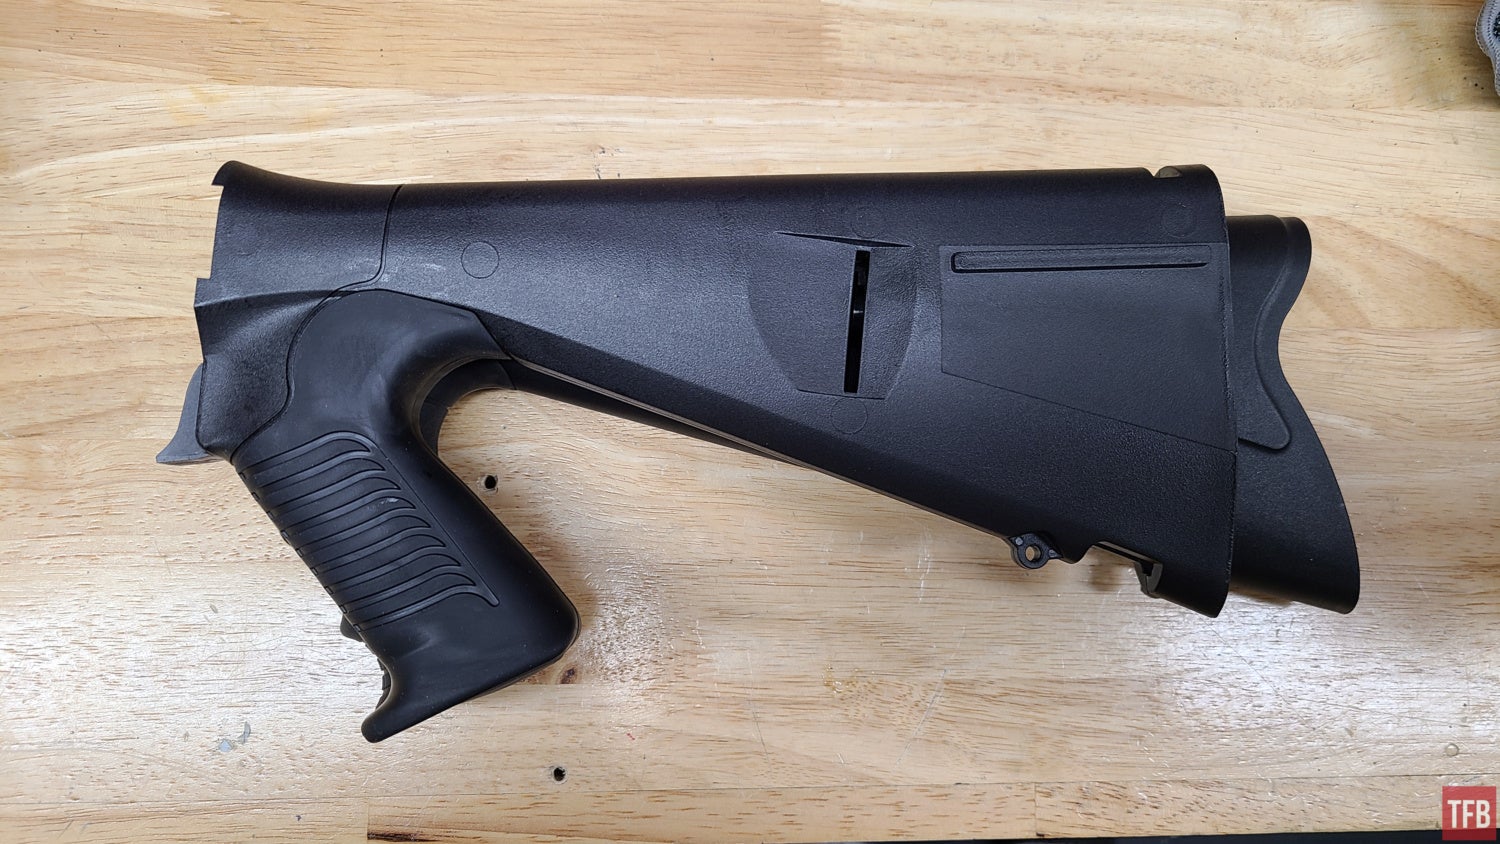
Urbino Tactical Stock with Cheek Riser
One of the biggest issues with the S4’s factory furniture is the length of pull. It’s very long. I’m 6′ 2″ with an orangutan-like build, and it’s still uncomfortably long for me.
Mesa Tactical’s Urbino stock reduces the length of pull to a much more realistic measurement. The Urbino also has an improved recoil pad and an optional cheek riser. I opted for the riser model because I intended to use a red dot sight.
There are two Phillips screws that hold the recoil pad on the stock. With the recoil pad removed, the 6mm hex head bolt that attaches the stock is accessible. This particular one is very oily.
Once the old stock is removed, the Urbino can go back on. Installation is very similar but there are a few notes. Make sure to use the spacer or sling loops between the stock and receiver, and be sure to add the rear sling loops if you want them.
One difference between the S4 and M4 is the length of the bolt that retains the stock. The Urbino includes a shortened screw but it is still too long for the S4. This was a simple fix though, as the factory thick washer can be substituted for the Mesa washer. Be sure to use the recoil plate under the washer!
Now it’s time to install the cheek rest. Attach the four screws to the nuts through the holes in the cheek rest. A 1/8″ Allen key is the appropriate size. Flex the wings of the cheek rest out and fit it over the slots in the stock. I tried several heights before settling on one. Once the cheek rest is in place, tighten the set screws then snap the recoil pad into place.
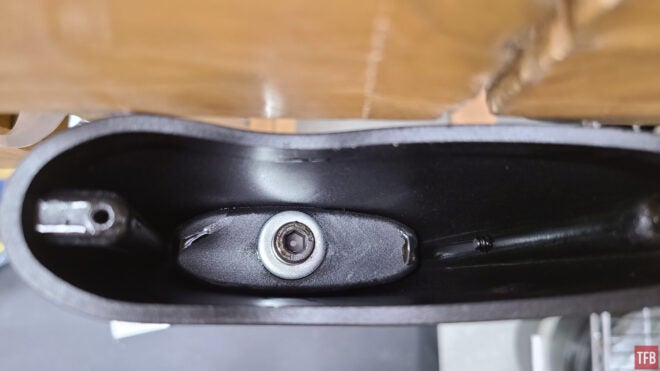
The factory S4 stock is fastened with a 6mm hex head screw.
The Urbino stock (top) has a better and shorter length of pull than the factory stock.
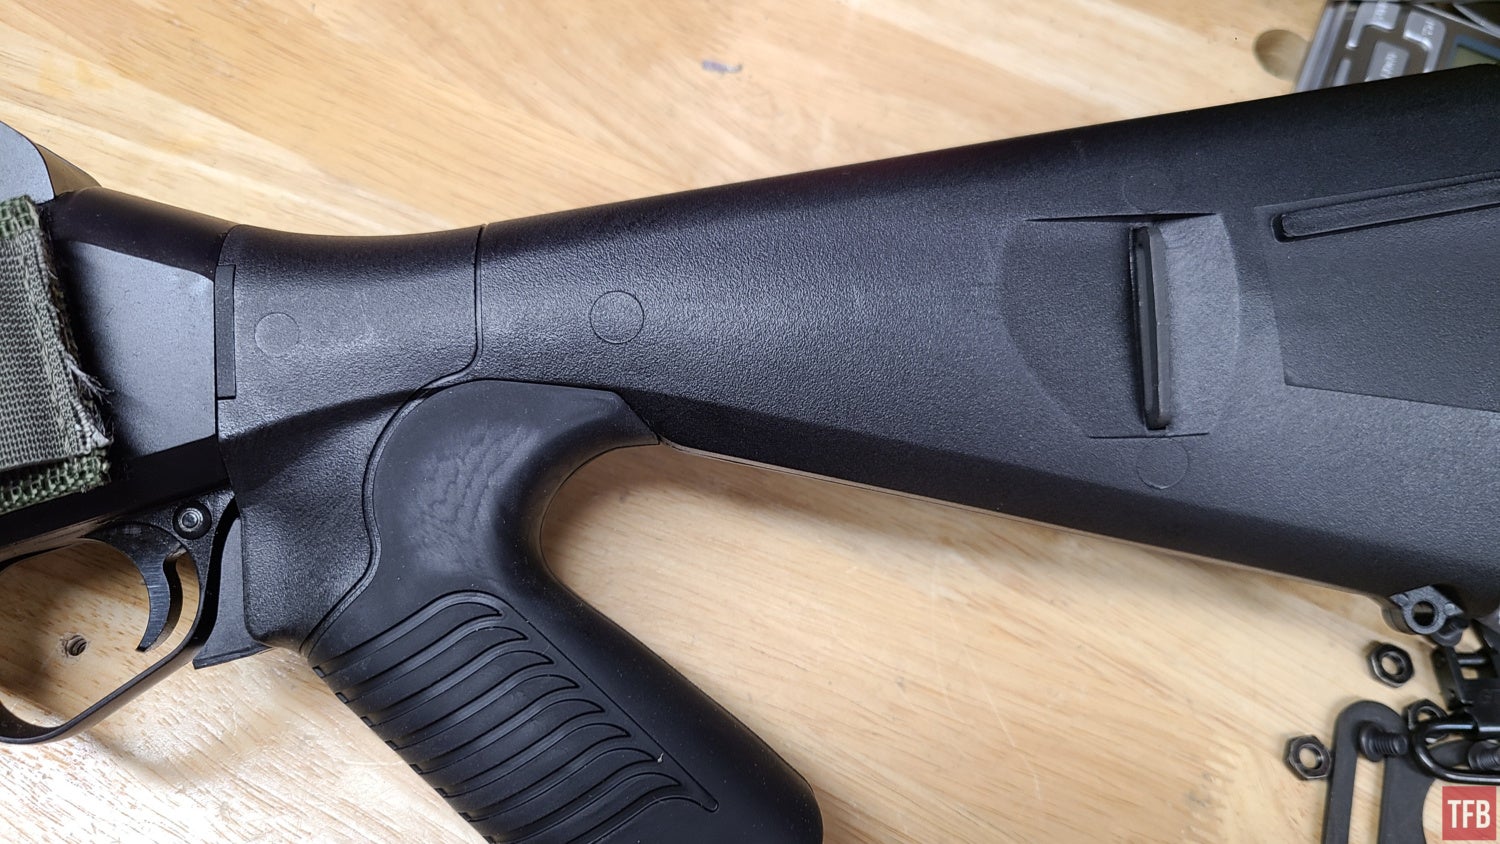
Be sure to install the spacer and sling loop(s) of your choice before tightening the stock screw.
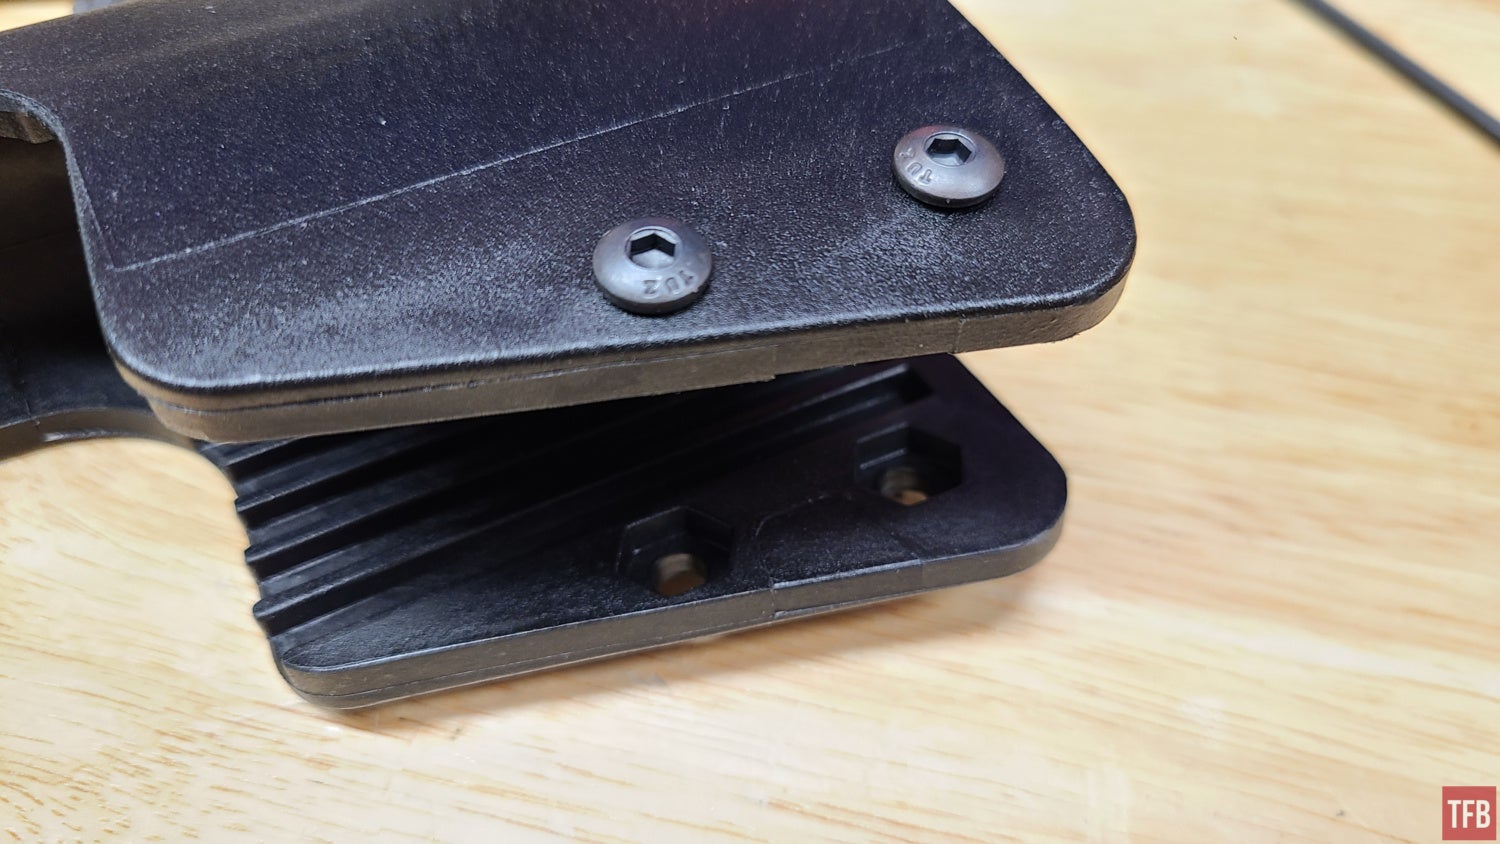
The cheek riser is secured with four screws.
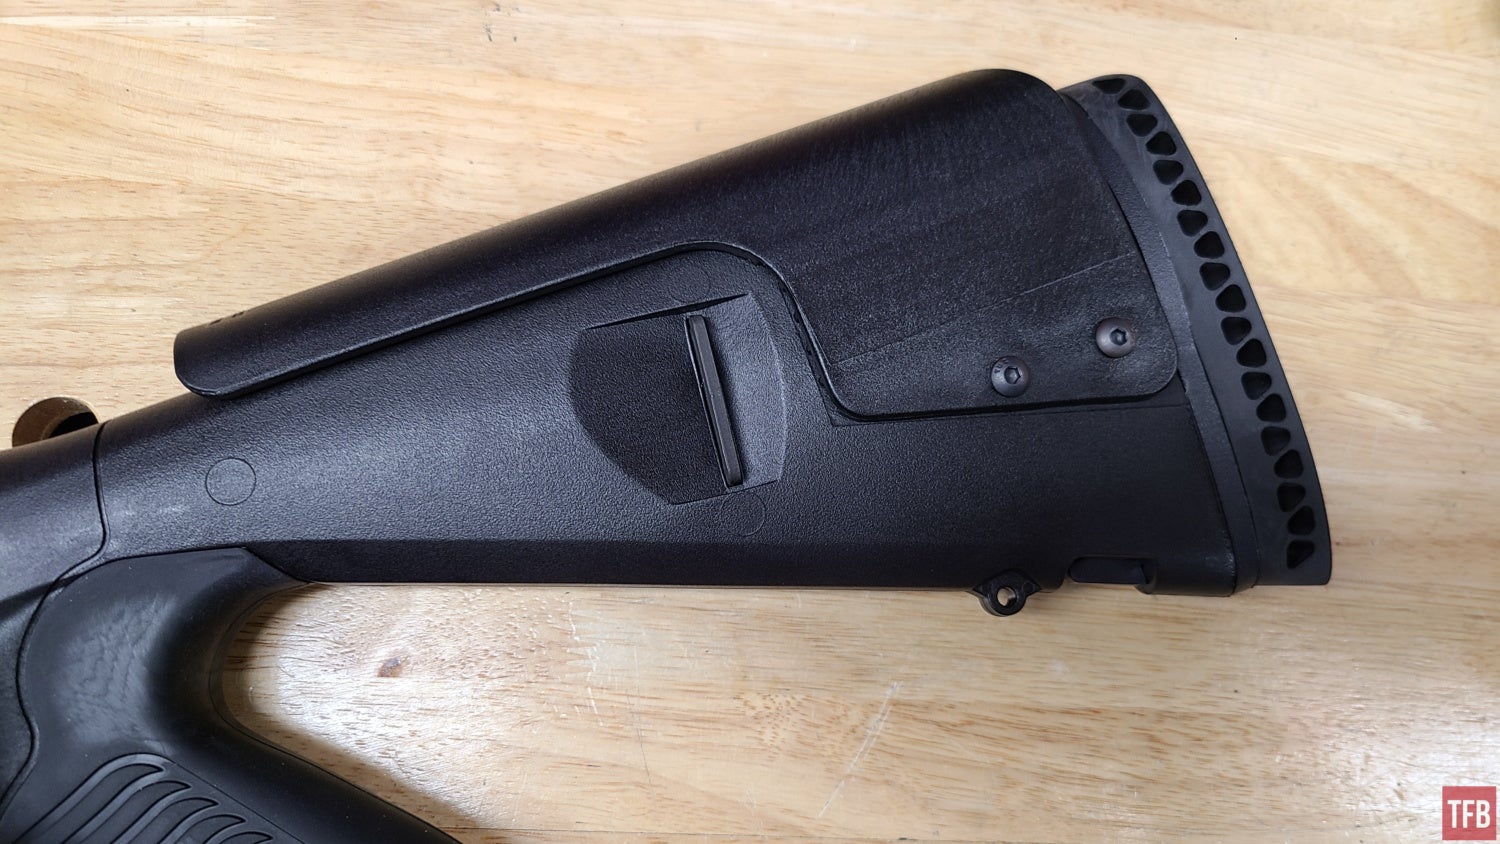
Urbino stock with the cheek riser installed.
SureShell Carrier with Reflex Dot Mount
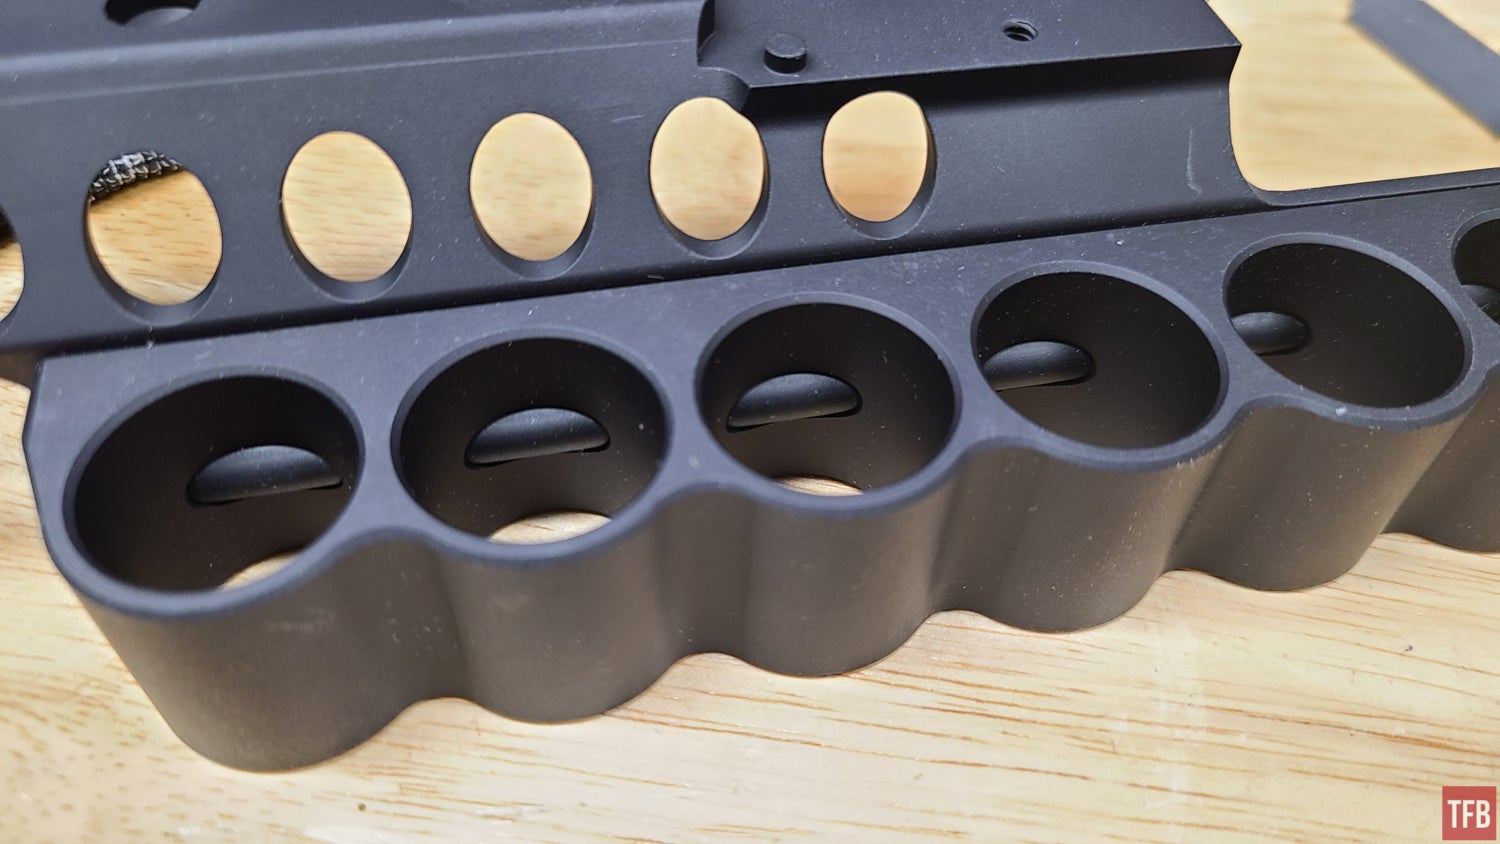
One of the biggest weaknesses of shotguns is magazine capacity. Ammunition management is a constant focus when using a shotgun. Putting extra shells on the left side of the receiver is one of the most popular ways to add quickly accessible ammo to a scattergun.
Mesa’s SureShell is one of the most popular high-end models. They offer both aluminum and polymer versions. Recently, Mesa added new models that accept an RMR-footprint optic at co-witness height. That is the version provided for this review.
Remove the Picatinny rail by loosening the flathead screws. The SureShell holder re-uses three of the factory screws because the thread pitch is different. Note that the rubber strip that protects the gun’s finish should be attached before the carrier is attached to the gun. The manual also recommends applying thread locking compound on these screws, which I did.
Screws are also included for mounting the red dot to the SureShell. This mount is RMR-footprint so there are a lot of available options.

These flathead screws retain the factory optic rail.
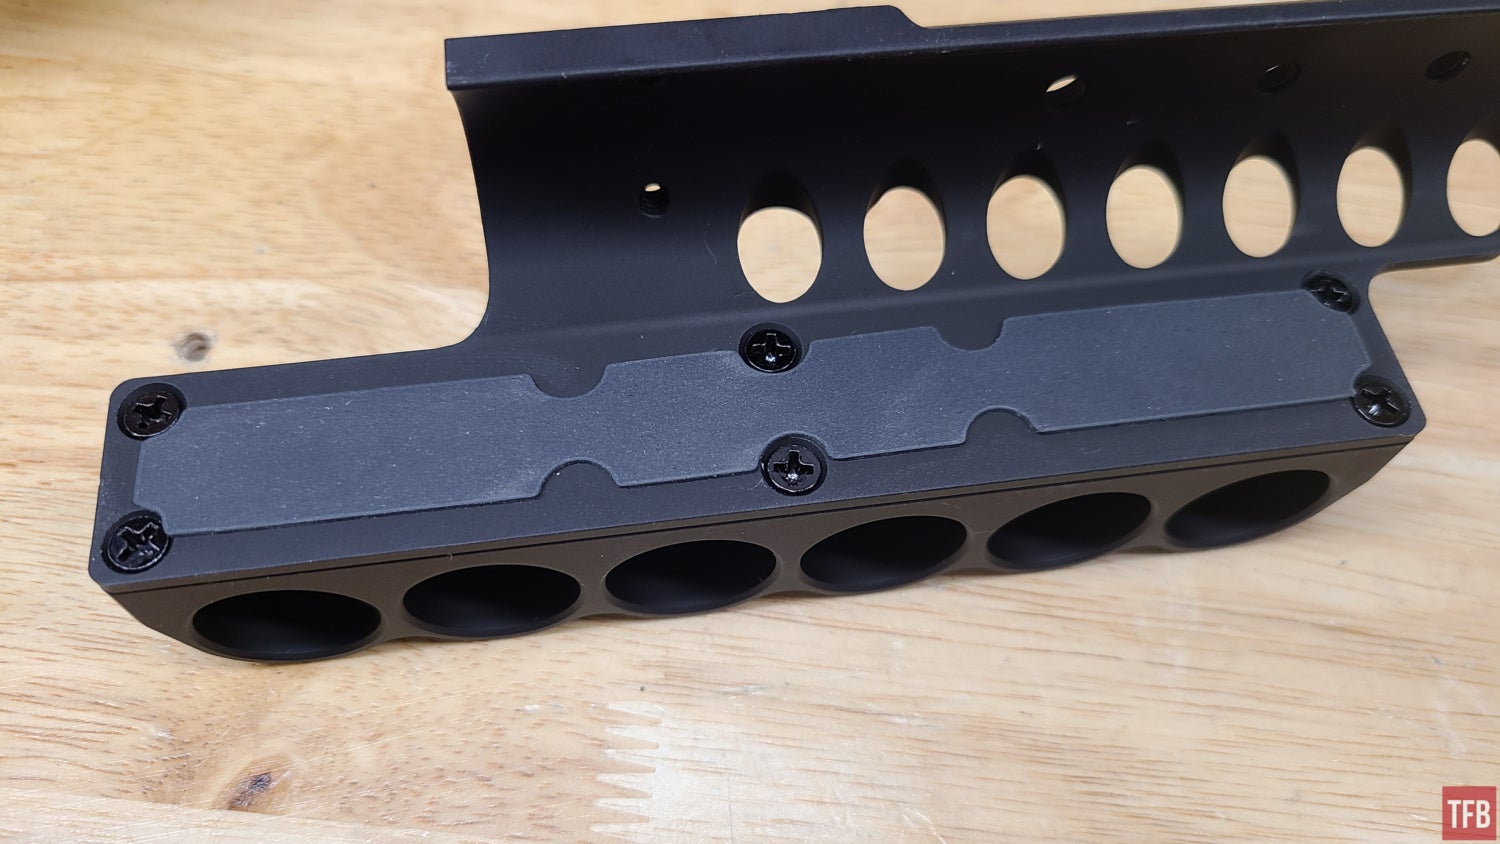
Mesa Tactical includes a rubberized backer to keep the SureShell carrier from scraping the receiver finish.
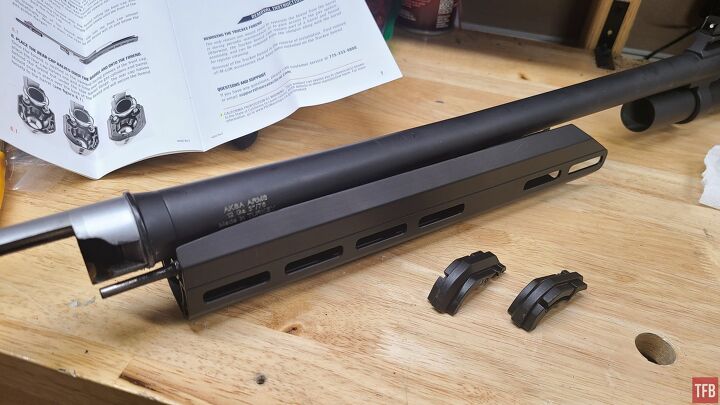
Truckee Handguard
Mesa Tactical’s Truckee forend is a drop-in aluminum unit with M-LOK slots. It is available in 8-inch, 11-inch, and 15-inch models. This is the 11-inch model, which necessitates the removal of the factory front sling loop. The 15-inch model also required the sling loop’s removal. Snap ring pliers are worth the money for this job. They made it very easy to remove the sling loop.
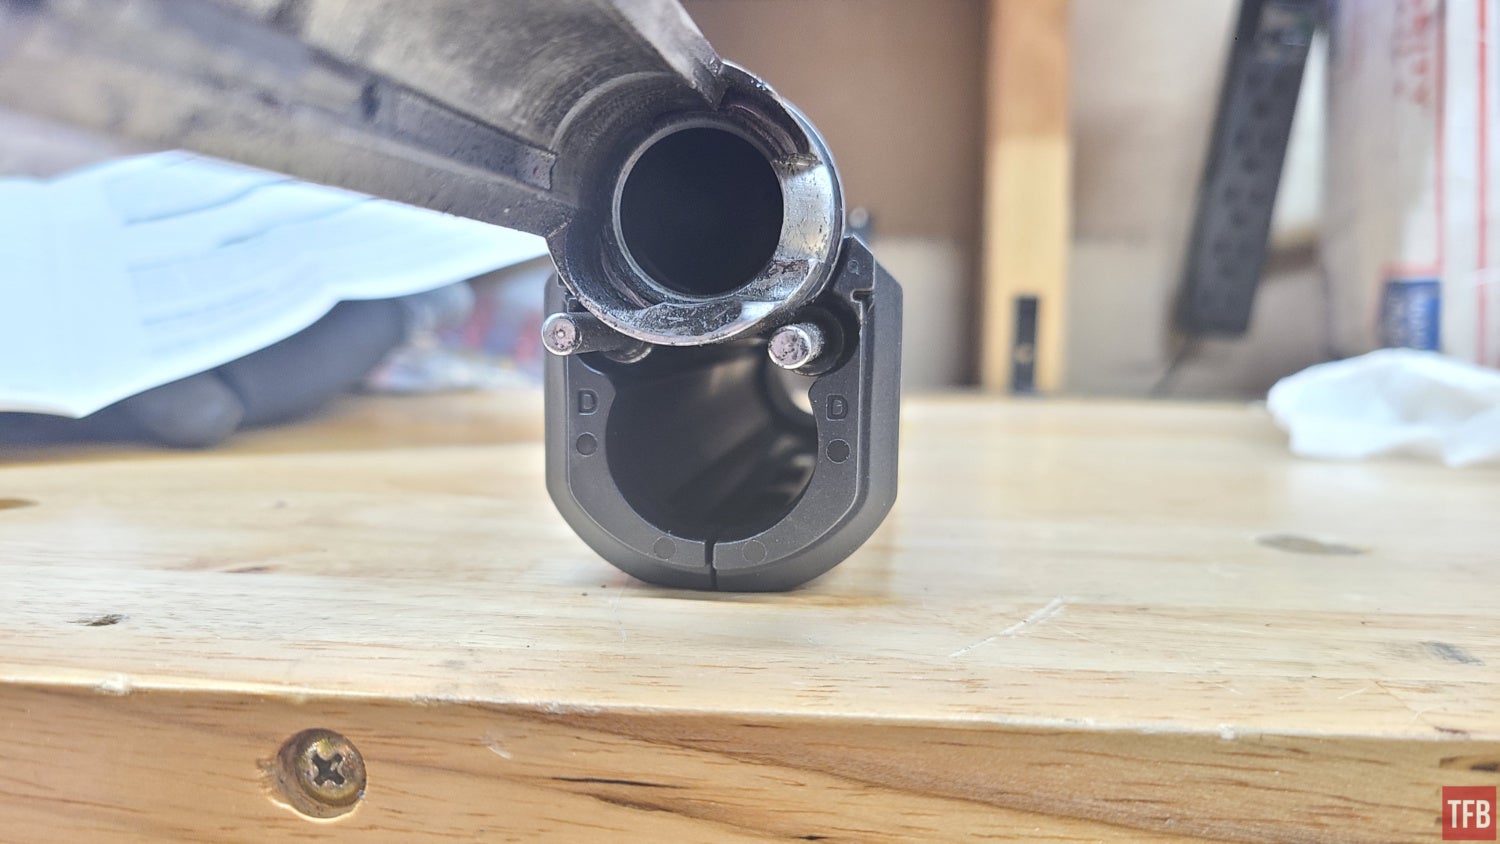
The Truckee sits in the front cap, which slips onto the barrel ring. Note that the small semi-circle cutout aligns with the bottom of the barrel. The handguard slides onto the barrel assembly and seats in the cap. Now the two small rear caps can fit into the rear of the handguard. Everything slides back onto the magazine tube and is locked into place with the magazine tube cap.
There was no real difference in installing the Truckee onto the S4 as opposed to the M4. It all slipped right together and tightened down nicely. One important note from the manual is that M-LOK accessories should not be installed until the handguard is mounted on the gun.
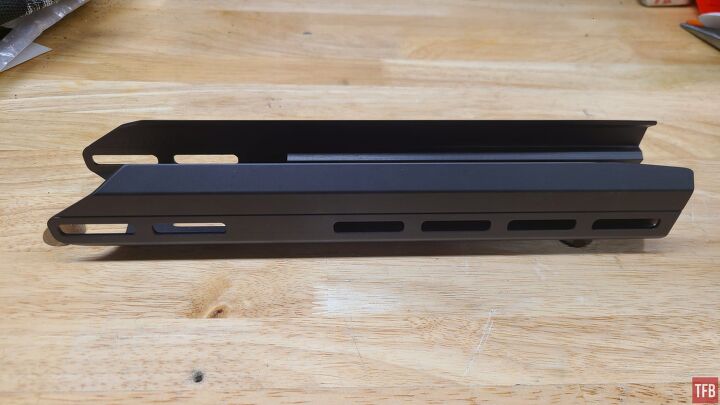
Truckee handguard prior to installation.
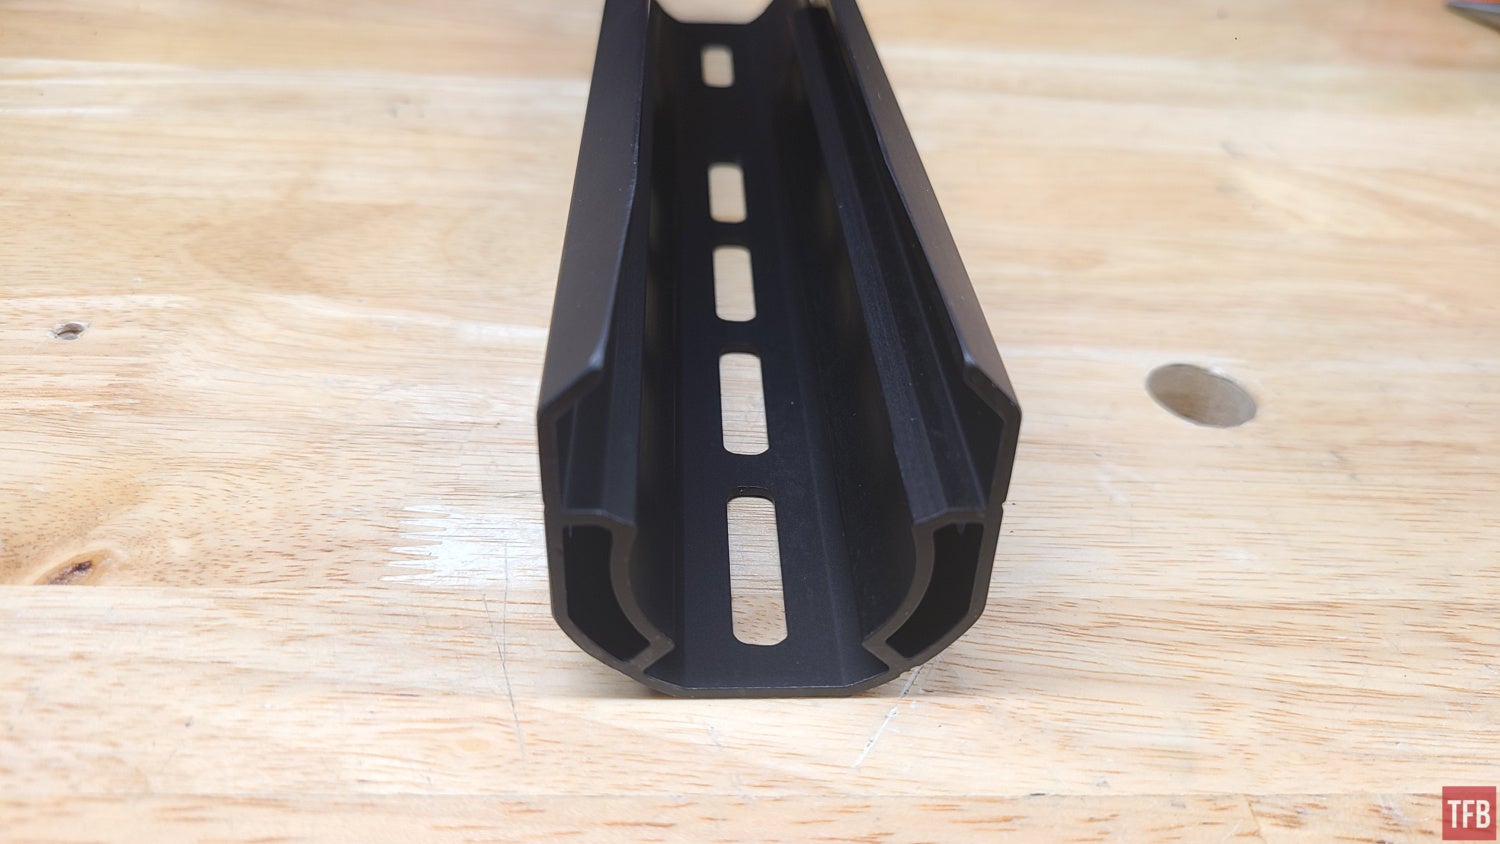
Inside profile of the Truckee handguard.
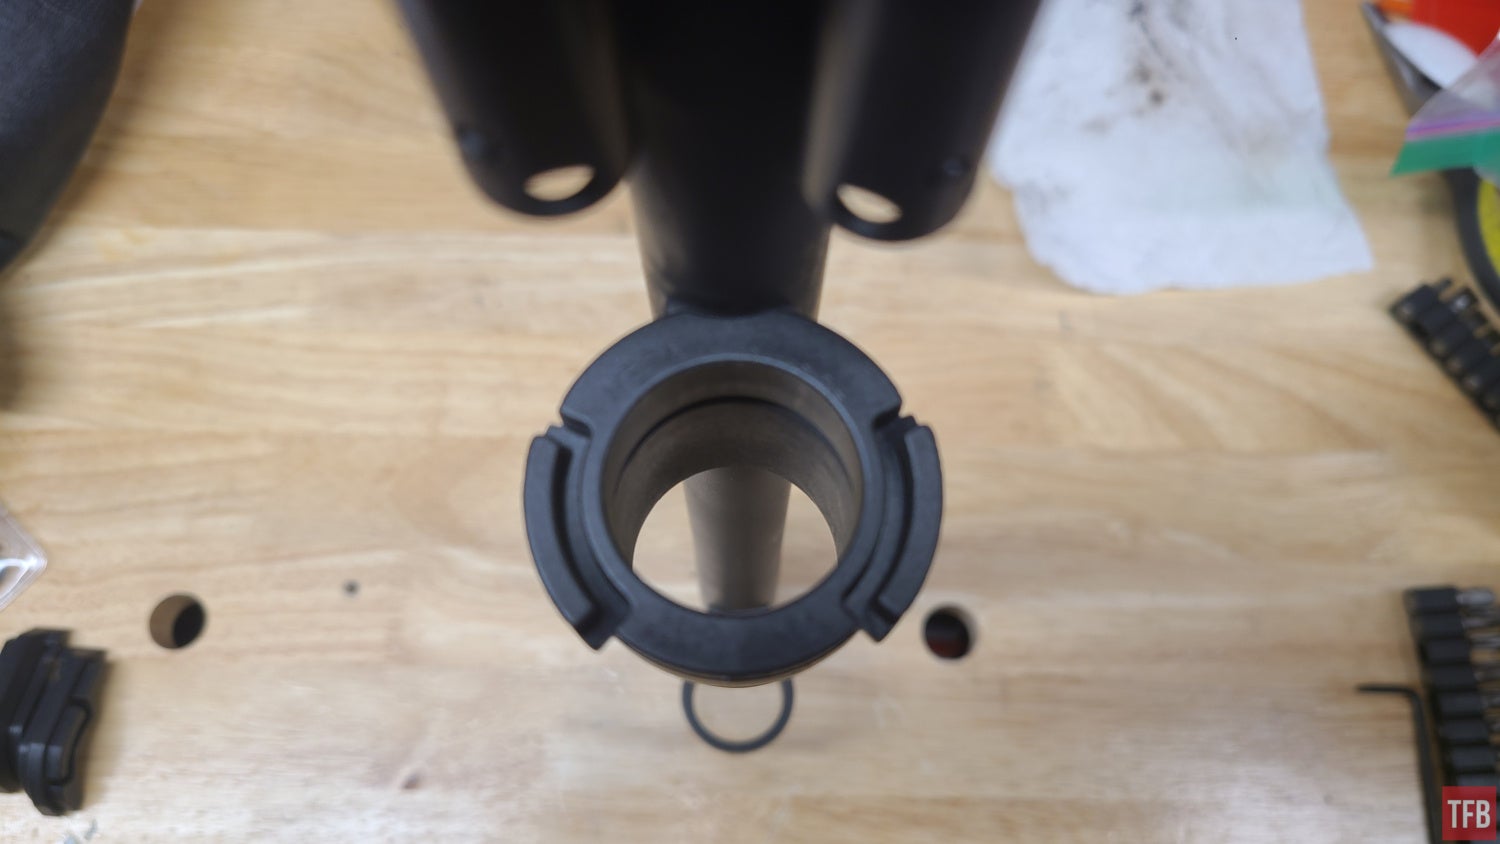
Make sure the front ring seats fully, with the small cutout against the barrel.
The Truckee handguard slips over the gas pistons and buts up against the front ring.
The two spacers sit at the rear of the handguard and rest inside the retainer plate on the receiver.
Conclusion
This leaves us with a gun that handles better and has more features, but how does it run? We’ll leave that for next time, but I have something like 600 shotgun shells on hand to put through the S4. Stay tuned for Part 2, coming as soon as I can get sufficient range time.
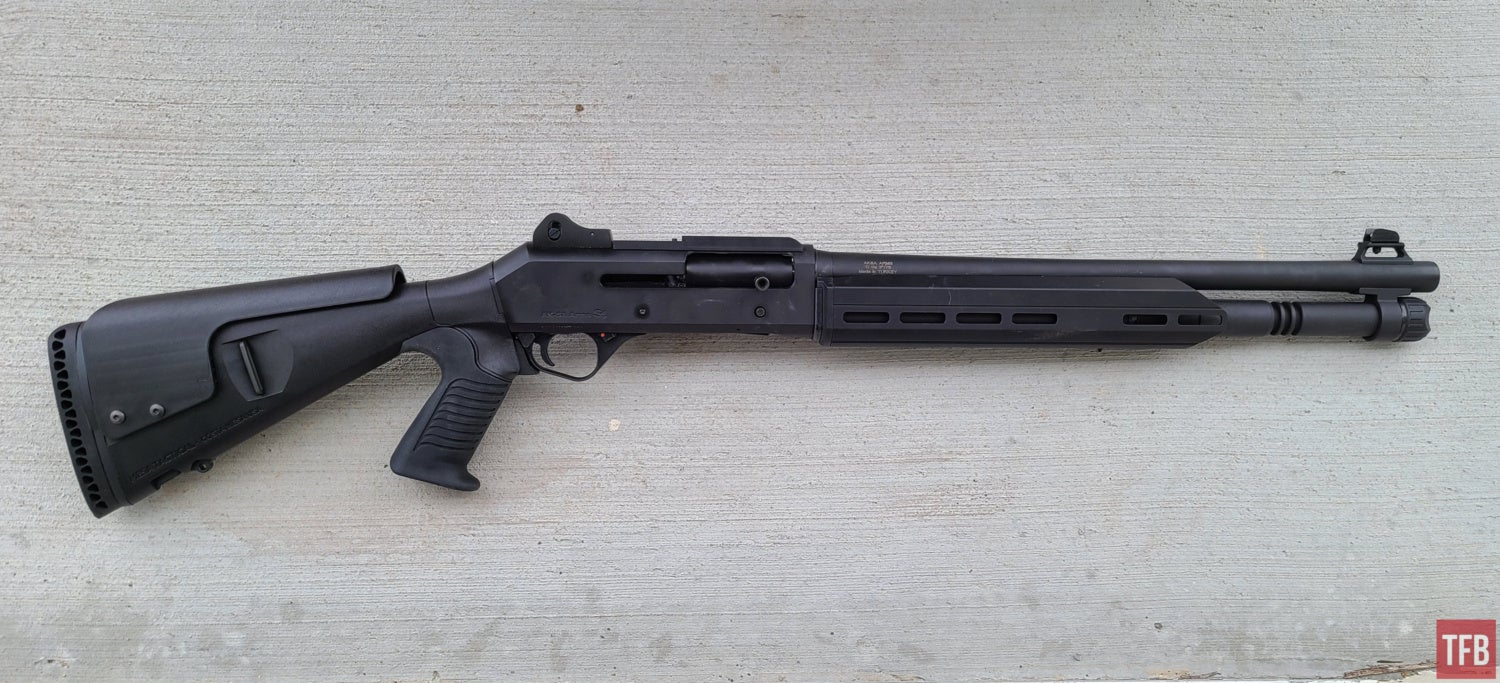
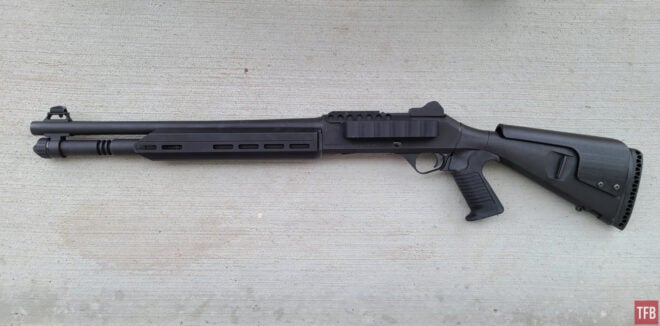
It still needs a red dot and a flashlight, but it already handles better.
We are committed to finding, researching, and recommending the best products. We earn commissions from purchases you make using the retail links in our product reviews.
Learn more about how this works.
 Your Privacy Choices