 Your Privacy Choices
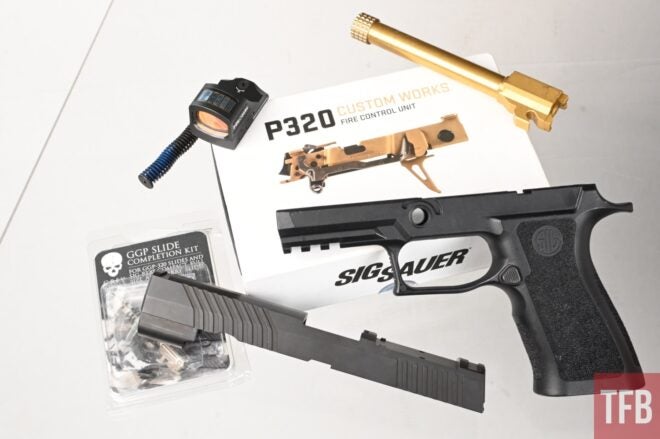
Almost two years ago, I bought my wife a SIG P320 FCU. She was pregnant with our second maniac. I mean, beautiful child. At a certain point, we decided it was unsafe for her to continue shooting. Since she couldn’t shoot, building some grown-up LEGOs was the next best thing. She’s since been hunting down deals and collecting parts, and we’re finally ready to put it together.
The SIG P320 FCU
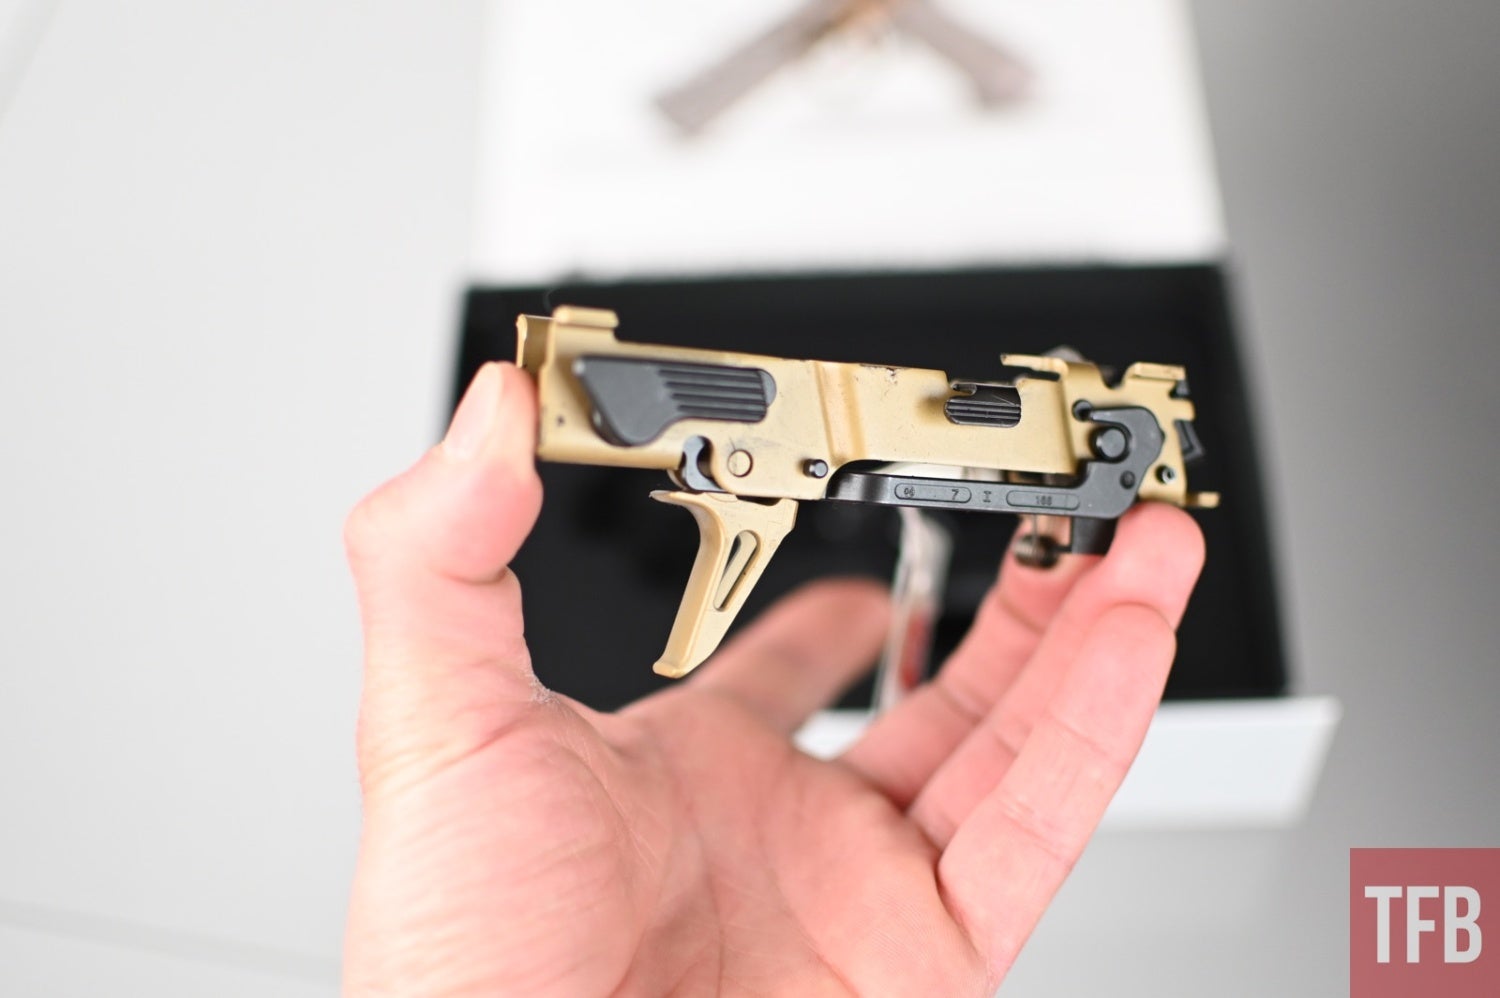
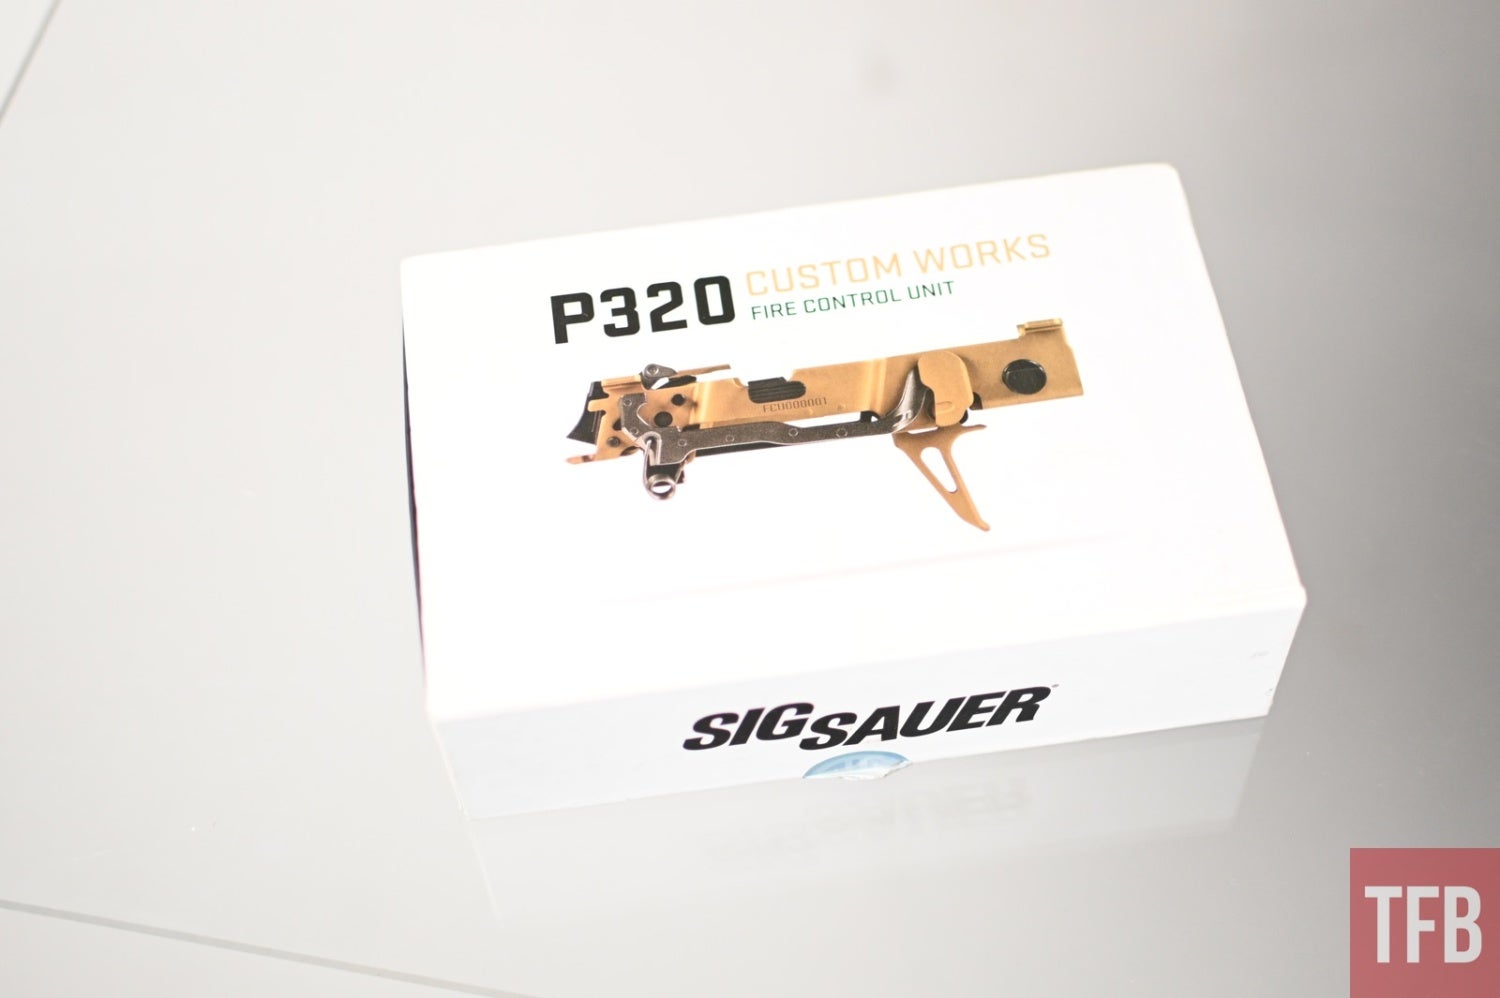
If you’re unfamiliar with the concept of a Fire Control Unit (FCU), it might be time to pick up a magazine. The SIG P320, M17, and all of its variants use an FCU, which is essentially a trigger pack. It contains all the parts that the pistol needs to drop the striker and fire a round. The sear, trigger, and slide rails are pre-assembled and ready to be dropped into a 320 frame. A quick search, and you have an ocean of aftermarket parts and options from outstanding manufacturers.
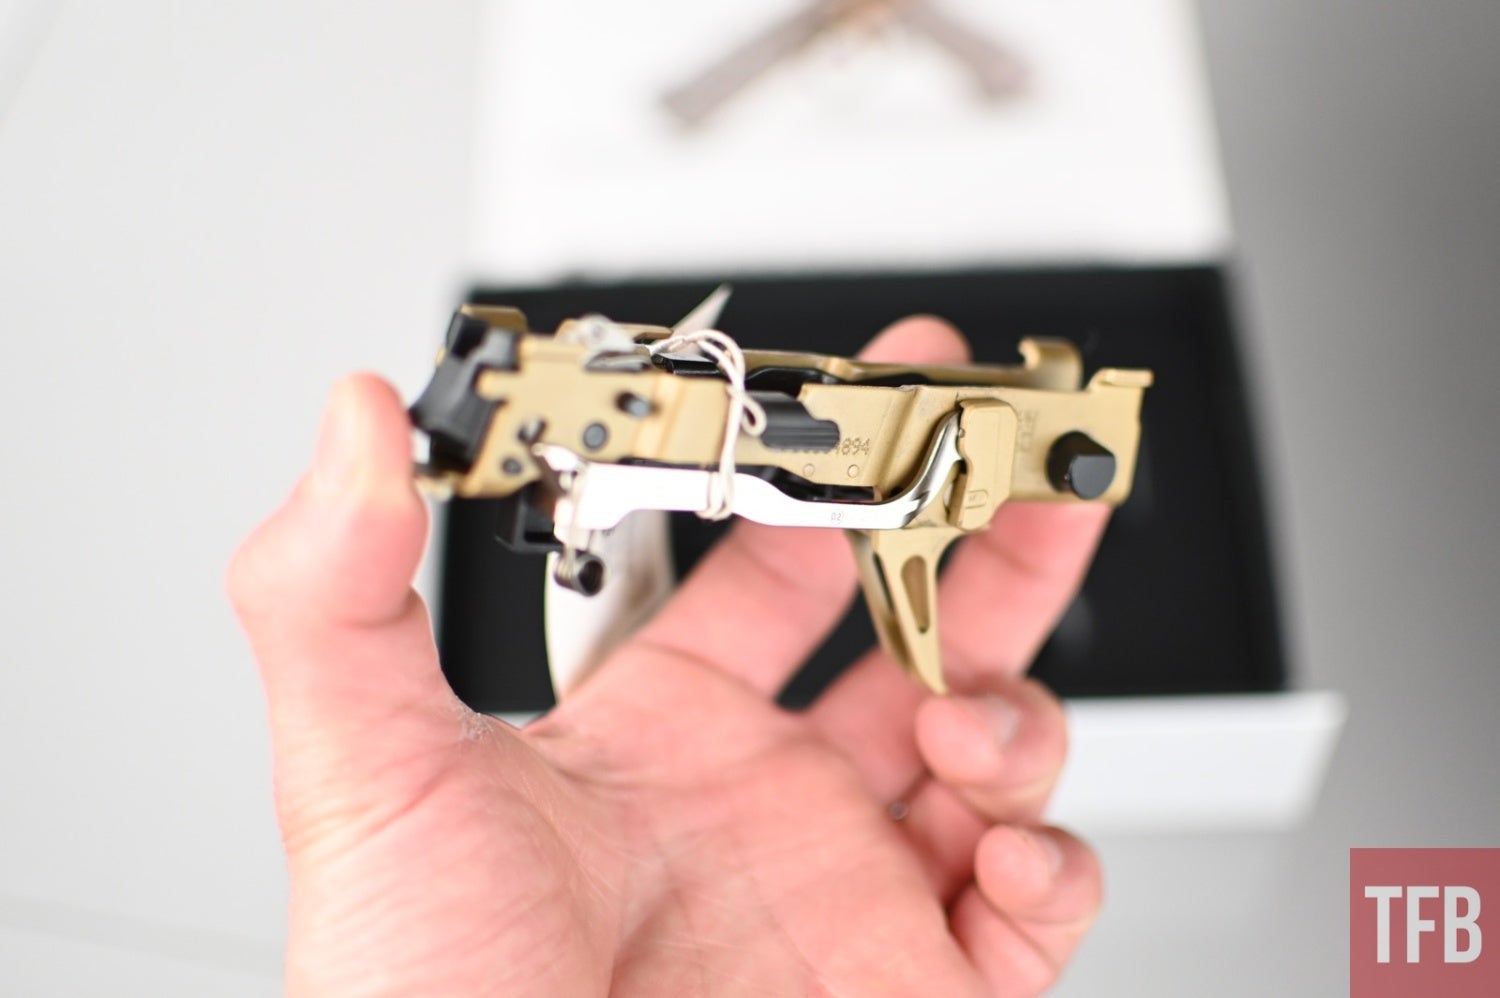
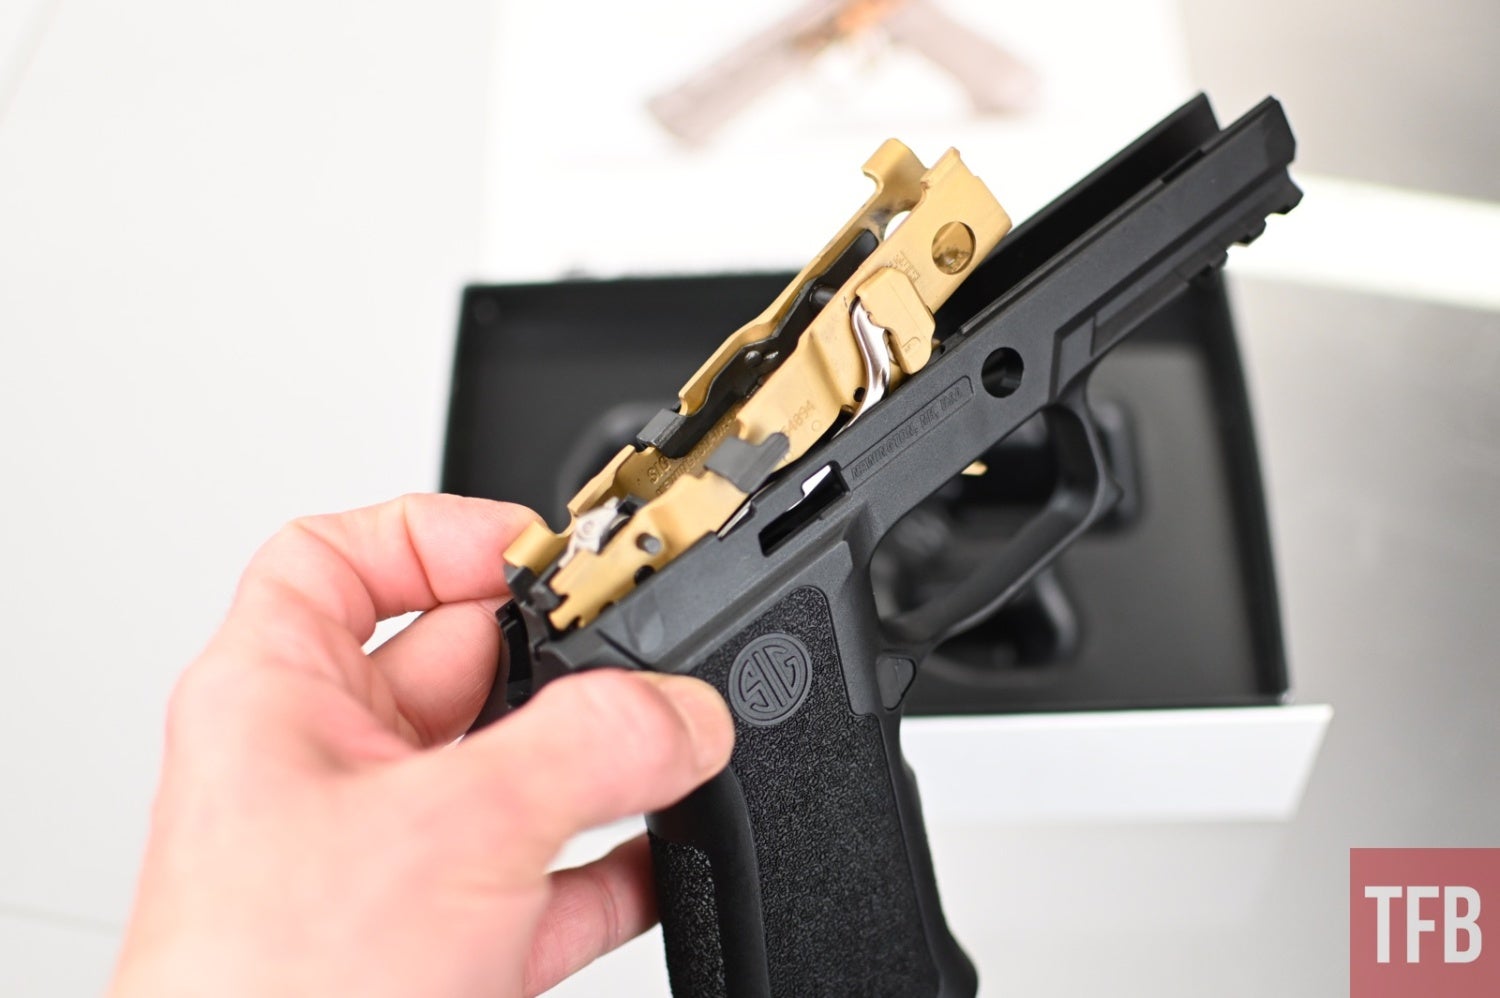
I have absolutely no idea what color this FCU is. That’s probably because, like many of you, my cones (or is it rods?) are lacking. Either way, it’s a portal to the future, while being rooted in modern utility. I love the way it looks. I’m not usually one for bright colors on guns, but this one tickled me in an unfamiliar and exciting way. Plus, this build is for my wife, so I can let my hair down and pass off any criticism with, “I swear, it’s not mine.”
Step 1: The Guts
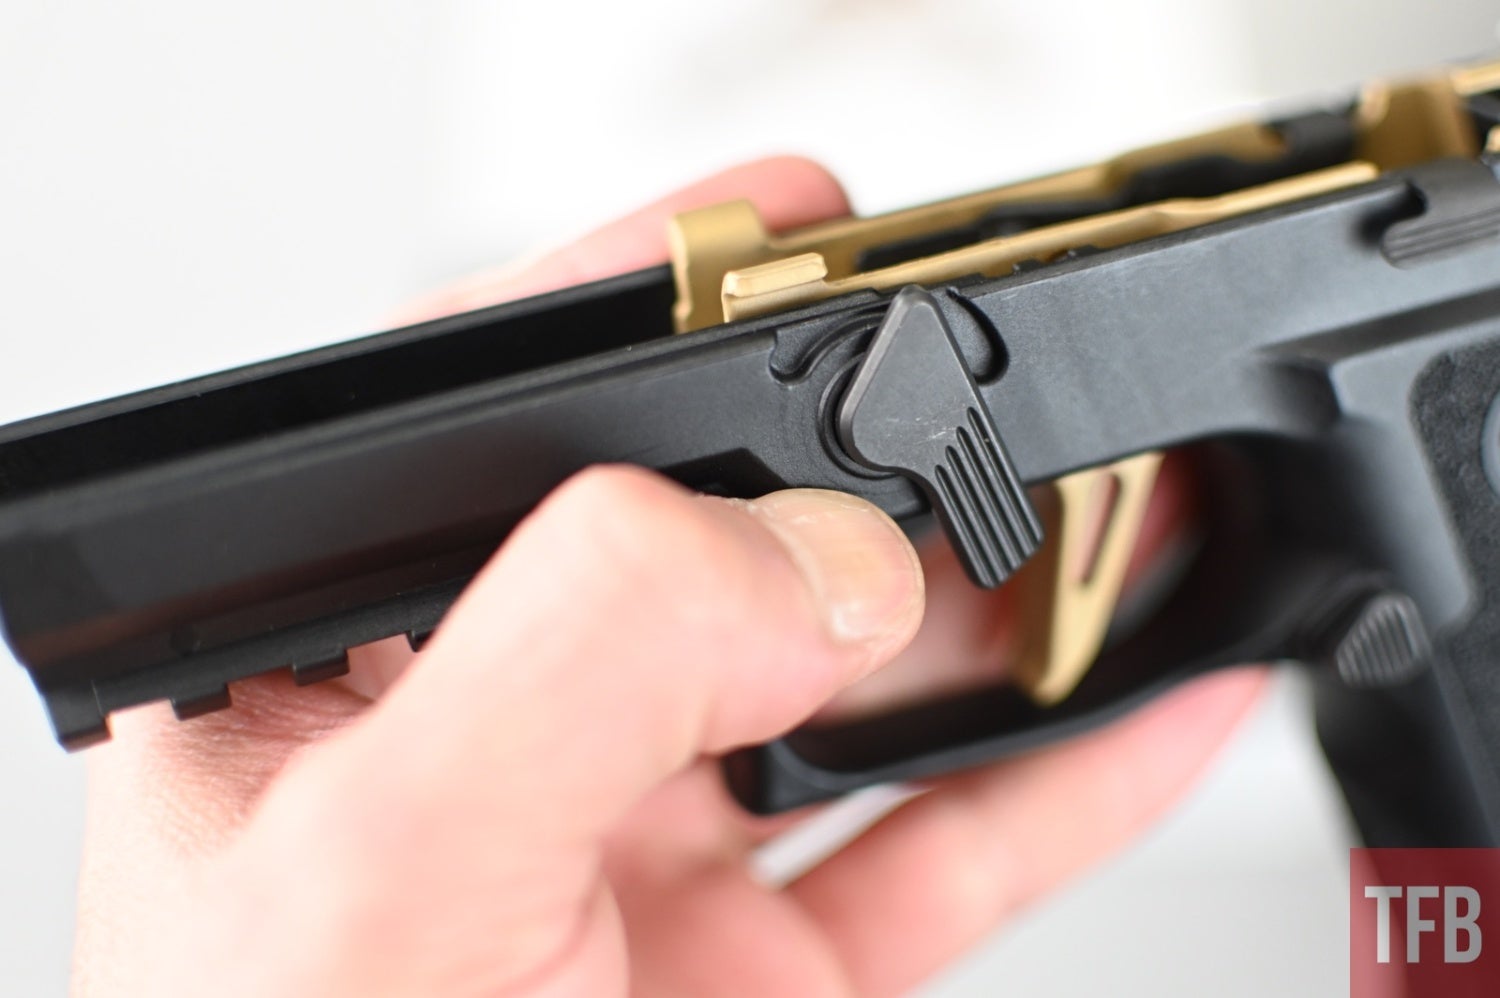
The first step is to install the FCU in the frame. The frame we’re using isn’t anything exorbitant. As I said, she was hunting for deals. This is a SIG XSeries Carry Medium module. The most difficult part of this is removing the takedown lever. I had more trouble than I wanted with this, and it was ultimately brute force from a trained fighter that got it done.
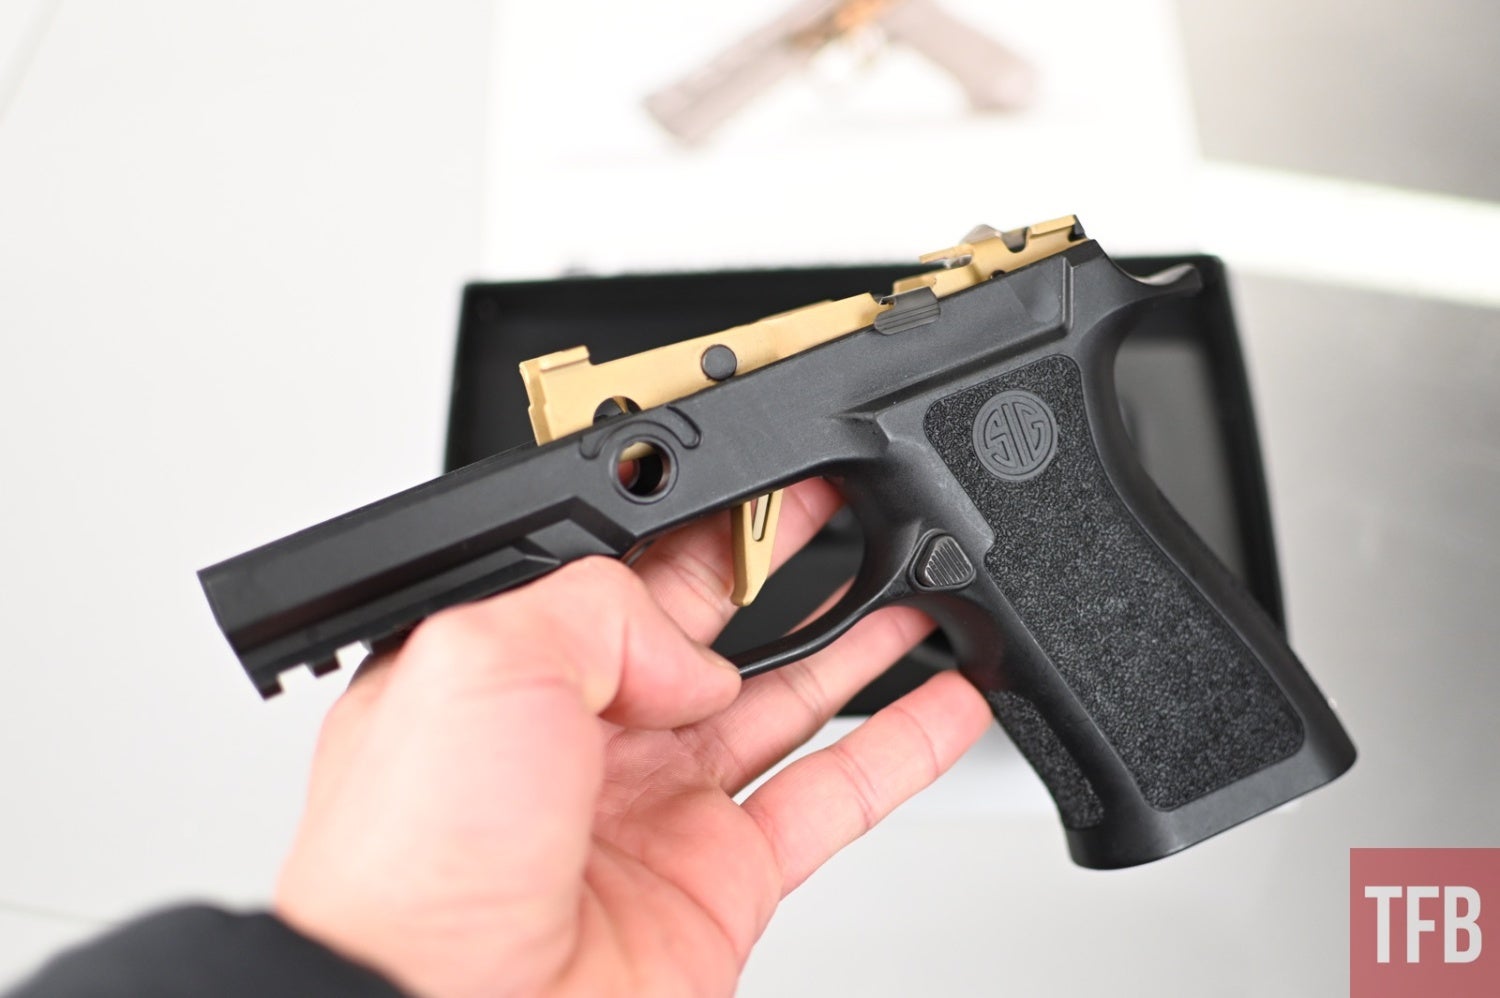
Once that was out, the FCU just sunk down into place, and reinstalling the takedown lever sealed the deal. If installing the magazine release is the same as it is on the P365, then it’s one of the easiest installs I’ve done. I didn’t need to do it in this case, since one came installed on the frame.
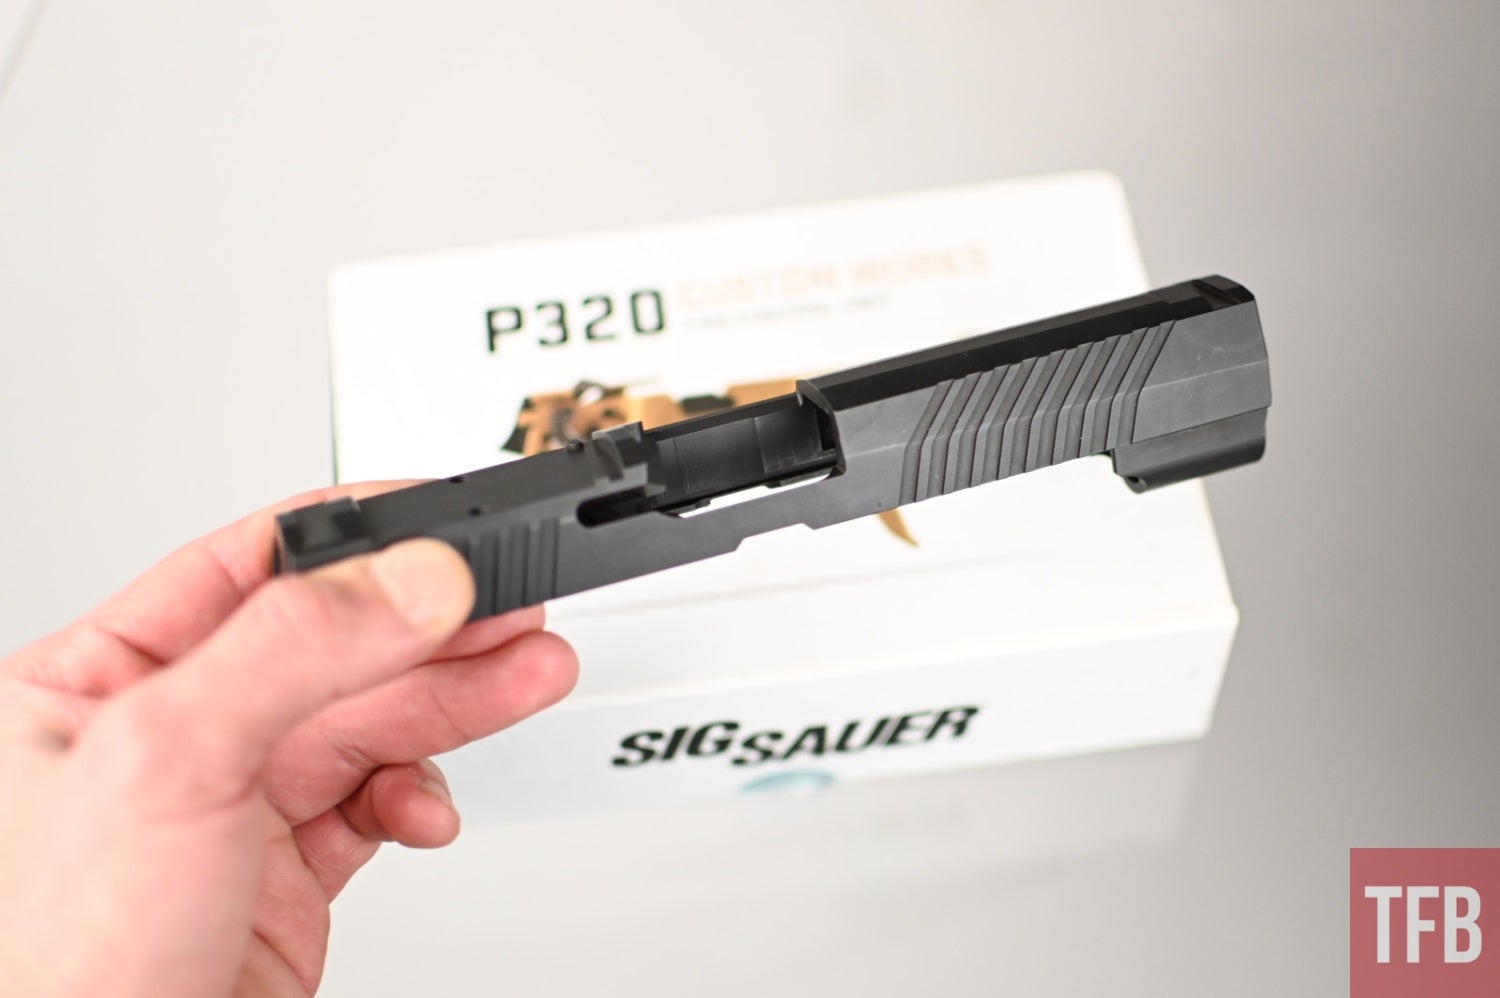
Step 2: Slide It On
With the easiest part out of the way, it’s time to move up to the slide. The one we’re using is the RMR Cut Slide for SIG P320 Fullsize from Brownells. I specifically chose this slide for the optic footprint. Our personal collection only has a few dots, but too many pistols. Everything we do have is RMR-compatible. It was the perfect fit. It’s stainless and features a black nitride finish, and there are slide serrations in the front and the rear.
I picked up a Grey Ghost Precision slide completion kit. I’m not usually about the skulls and stuff on the backplate, but this is meant to be purely a fun gun, so skulls it is. The kit includes the striker assembly, extractor, extractor spring, extractor pins, and the aforementioned backplate.
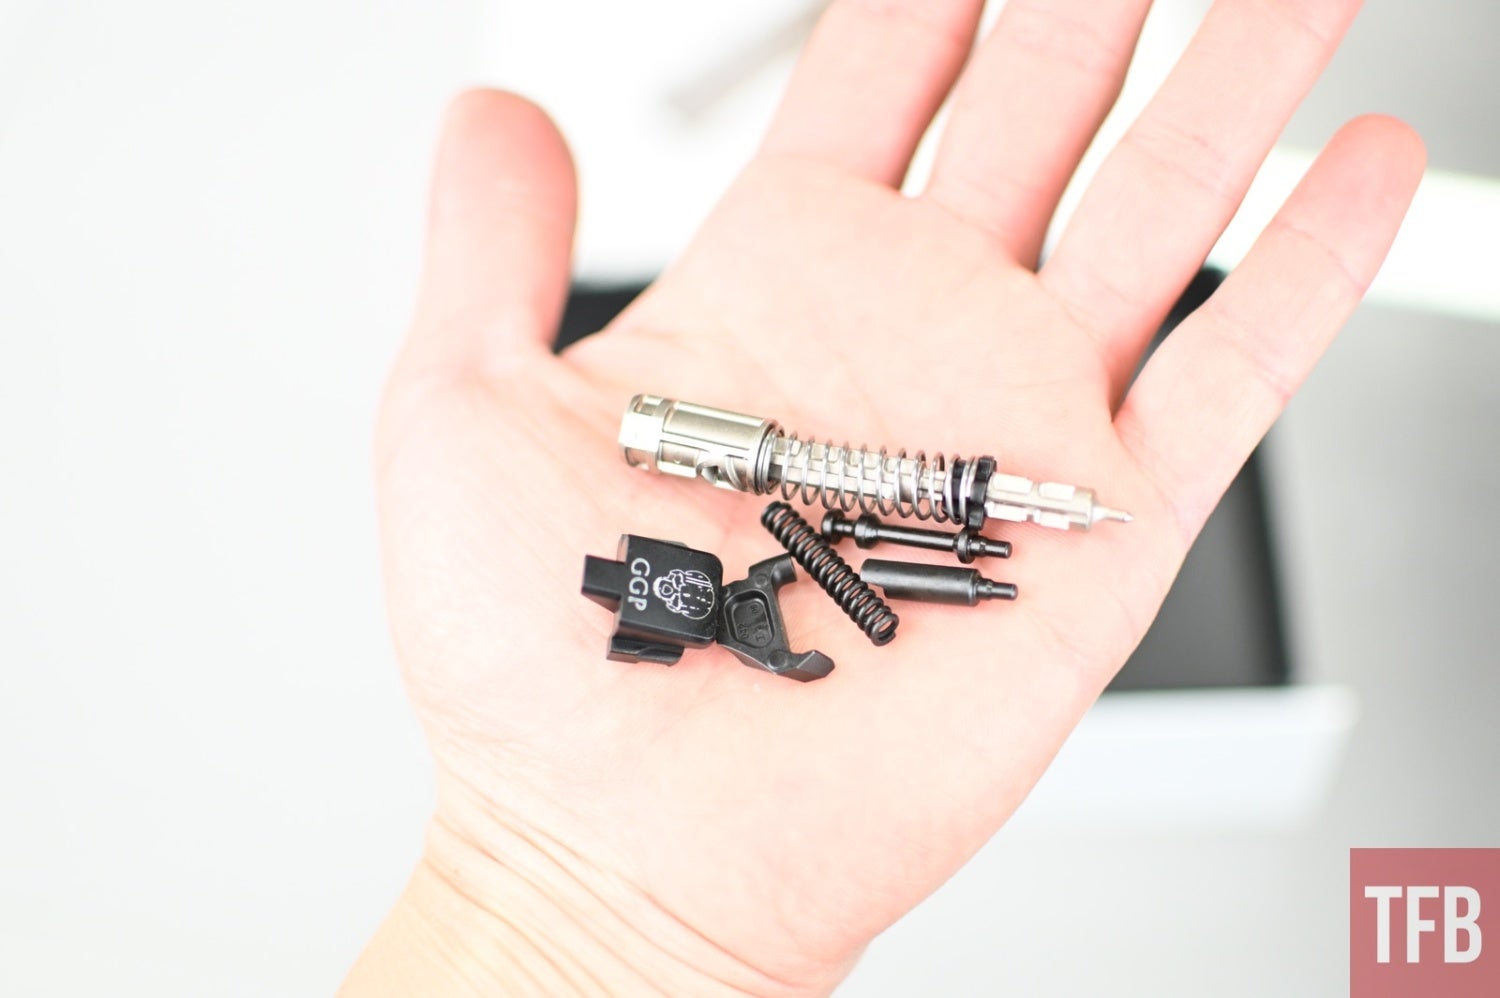
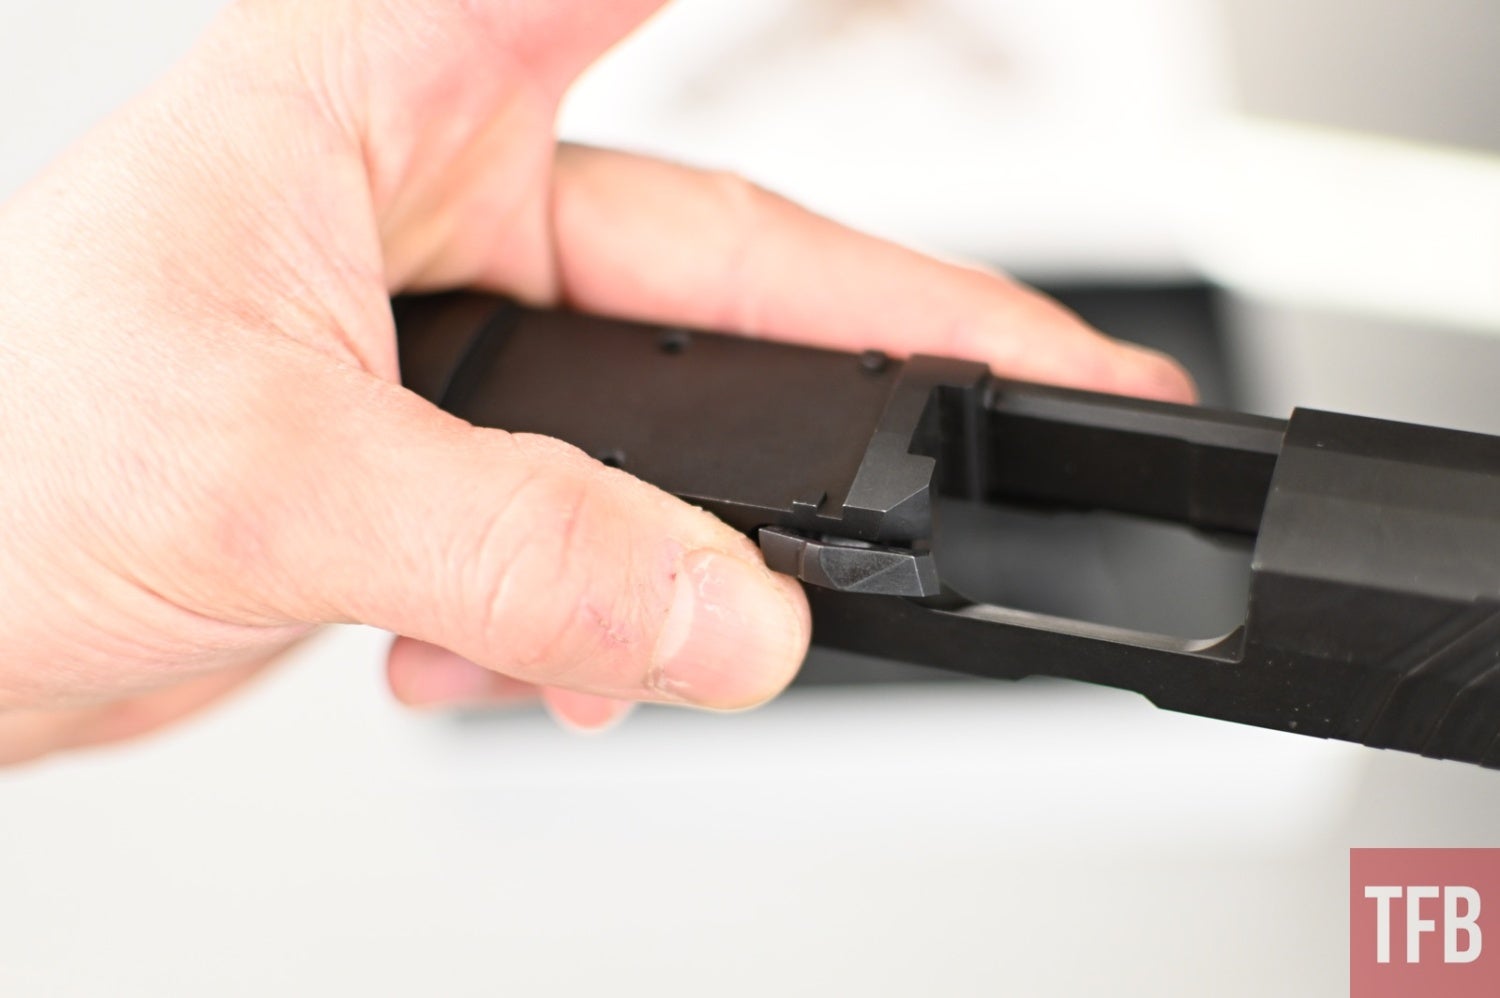
The first piece to go in was the extractor. This one just drops into the slide just behind the ejection port.
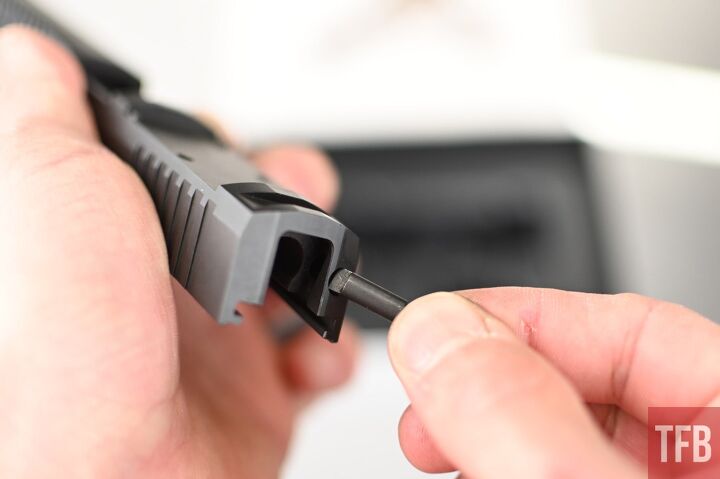
Coming up the rear are the extractor pin, extractor spring, and extractor spring pin.
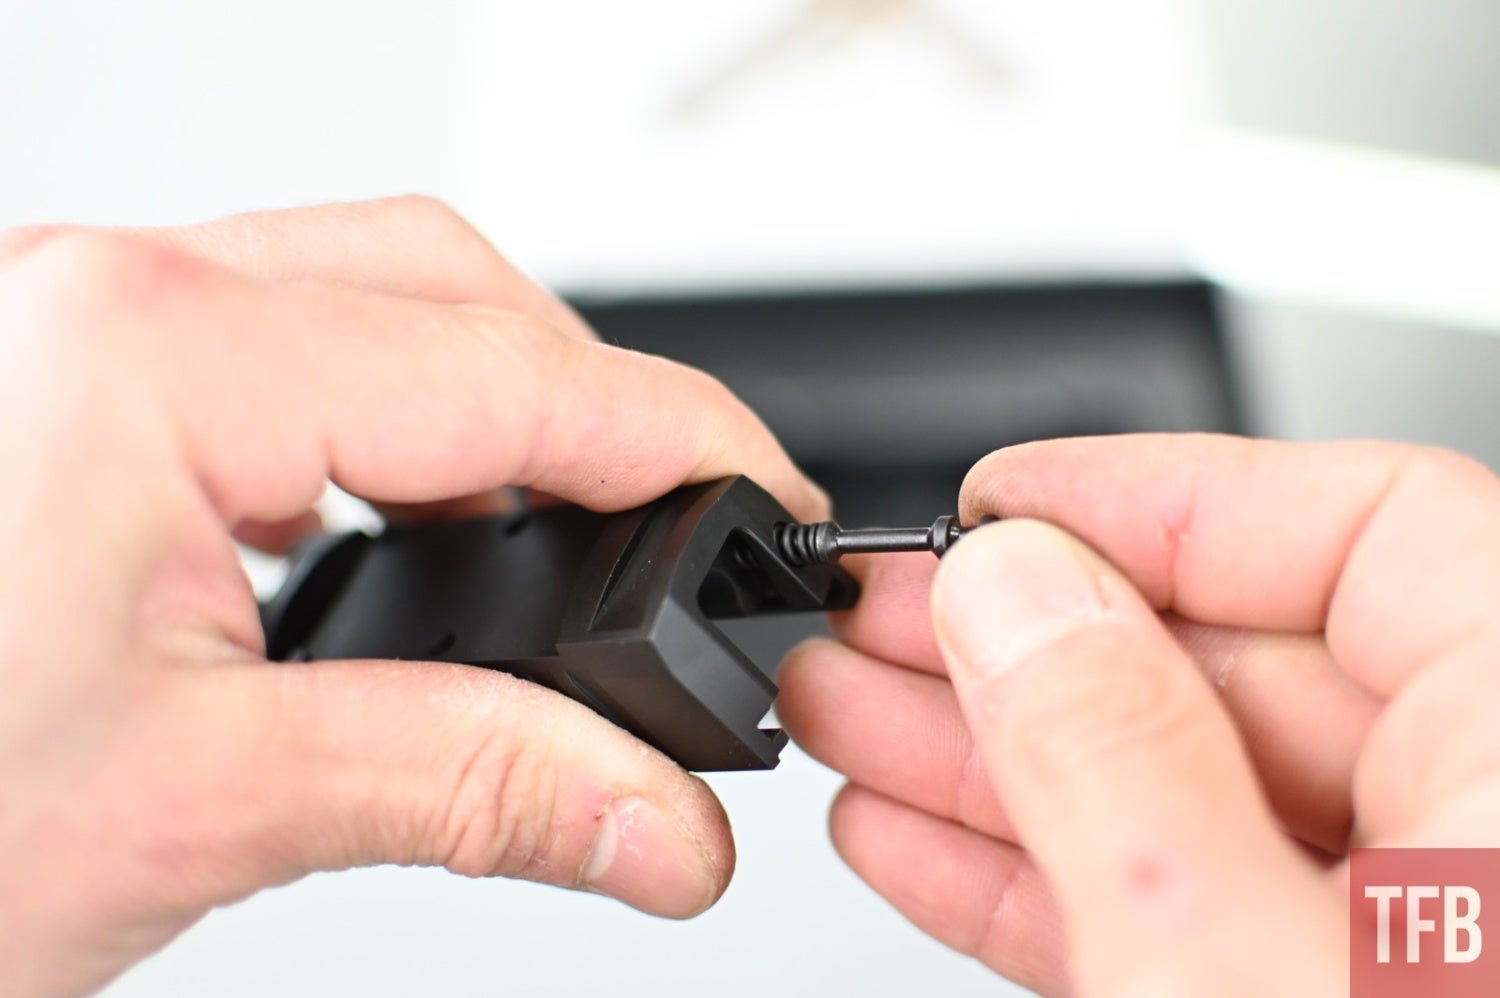
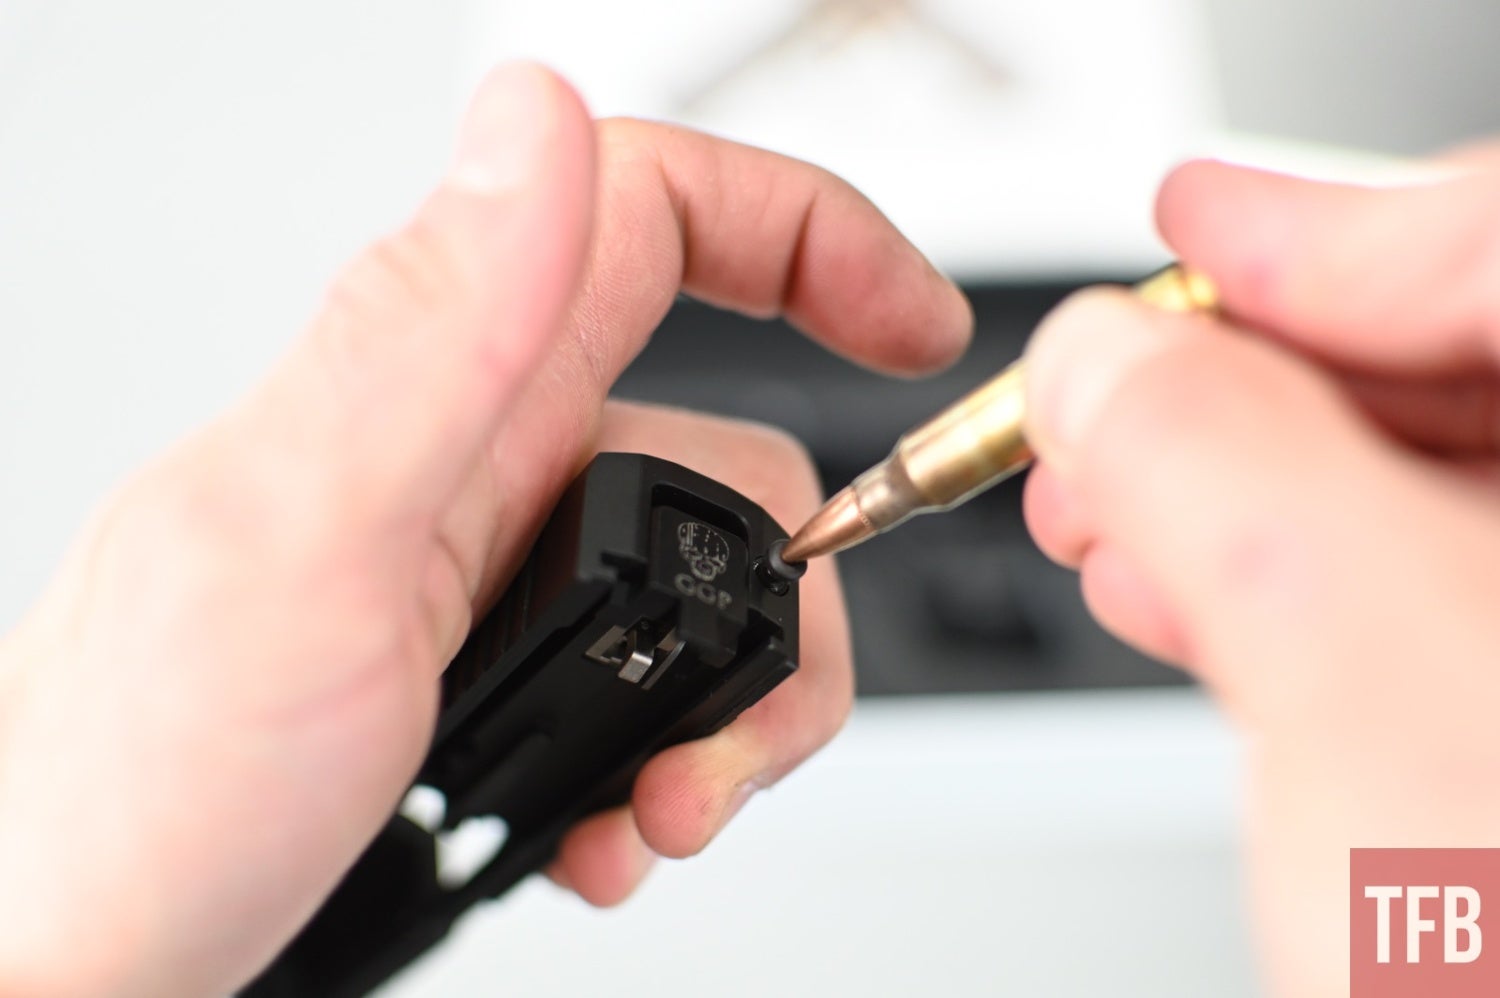
With the extracting parts installed, it’s time for the main event. In went the striker assembly, locked in by the backplate.
To get it up that last bit, the tip of a 5.56 is a handy tool.
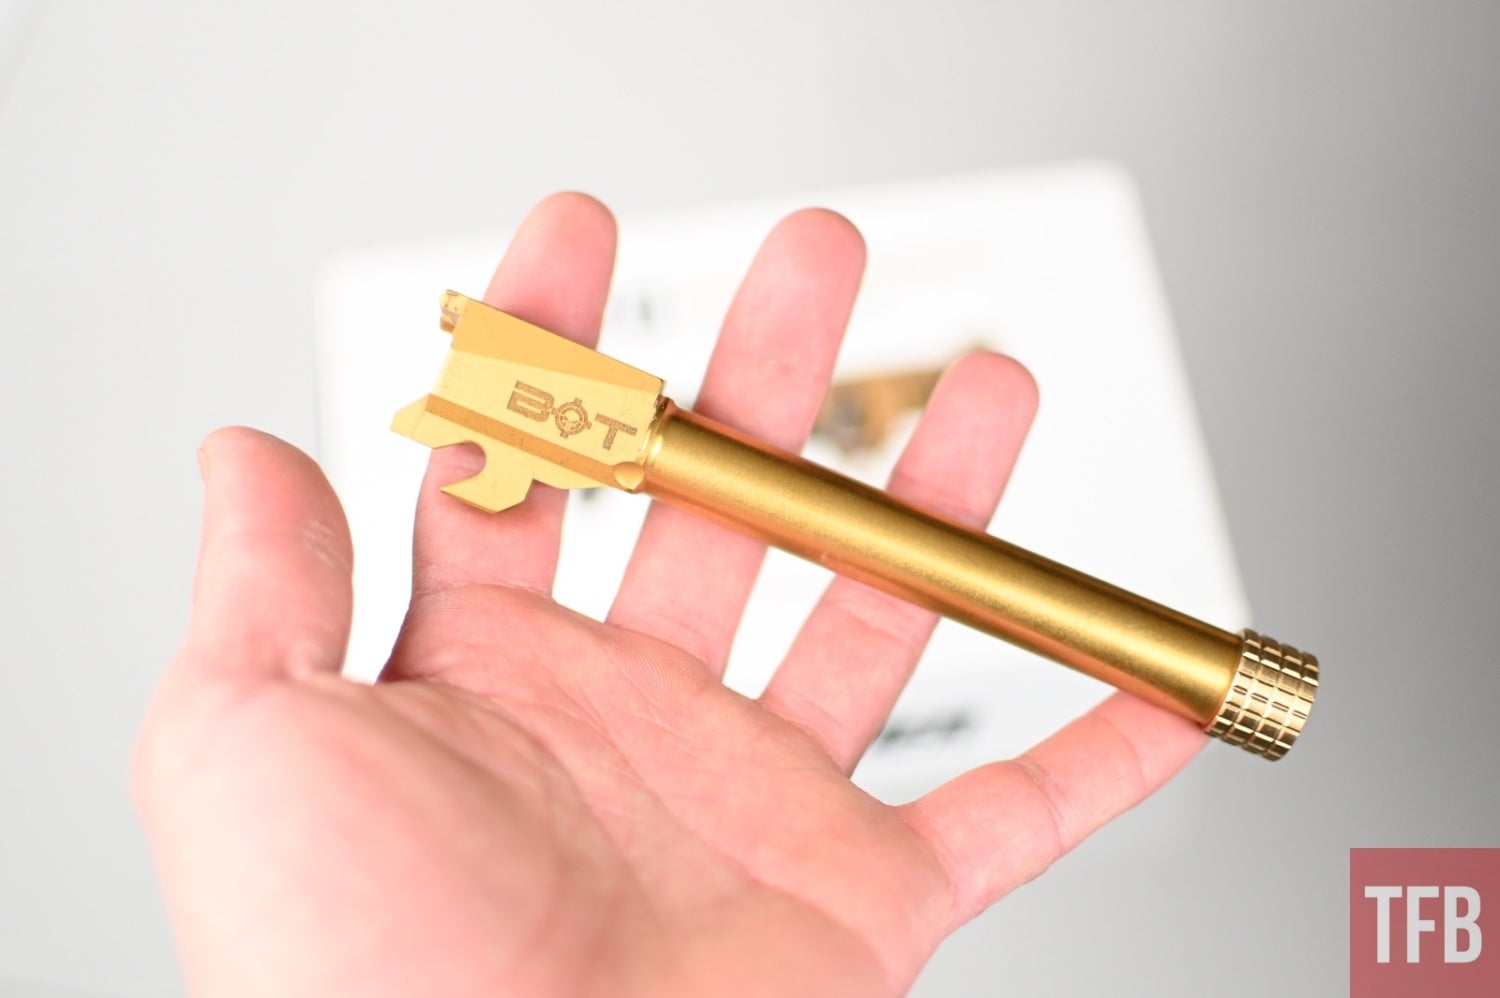
The barrel is a Backup Tactical Threaded Barrel for the full-size P320. A threaded barrel has quite a few benefits. I’ve got five of them right here for you. This thing may end up with a comp, but we’ll get there later. For now, the angular and bright thread protector will do the trick.
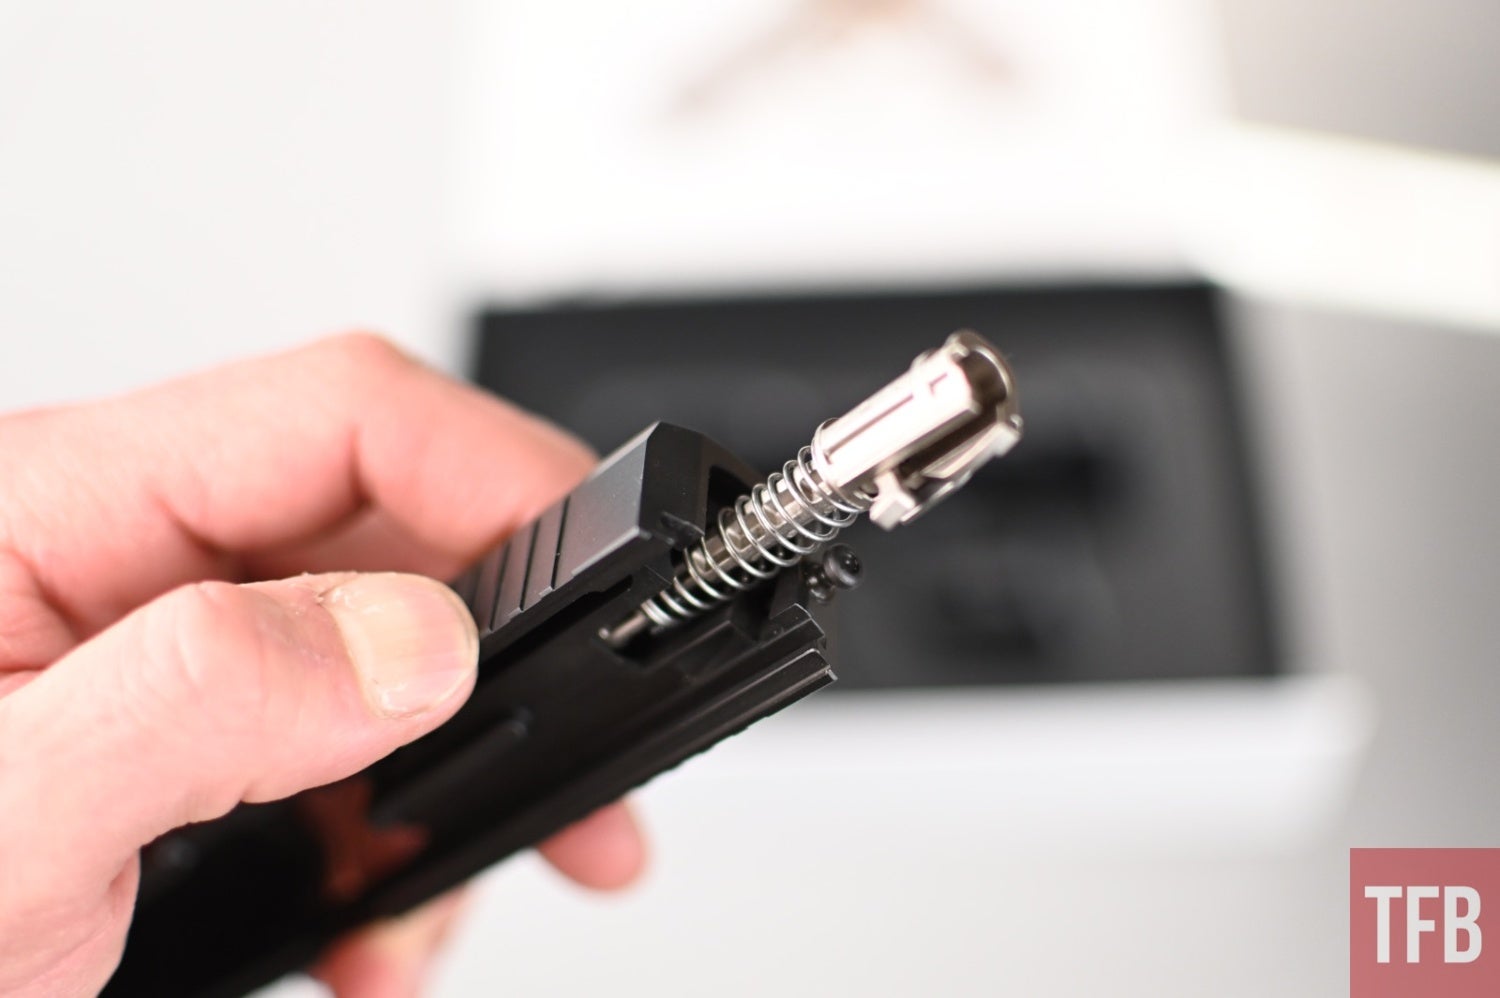
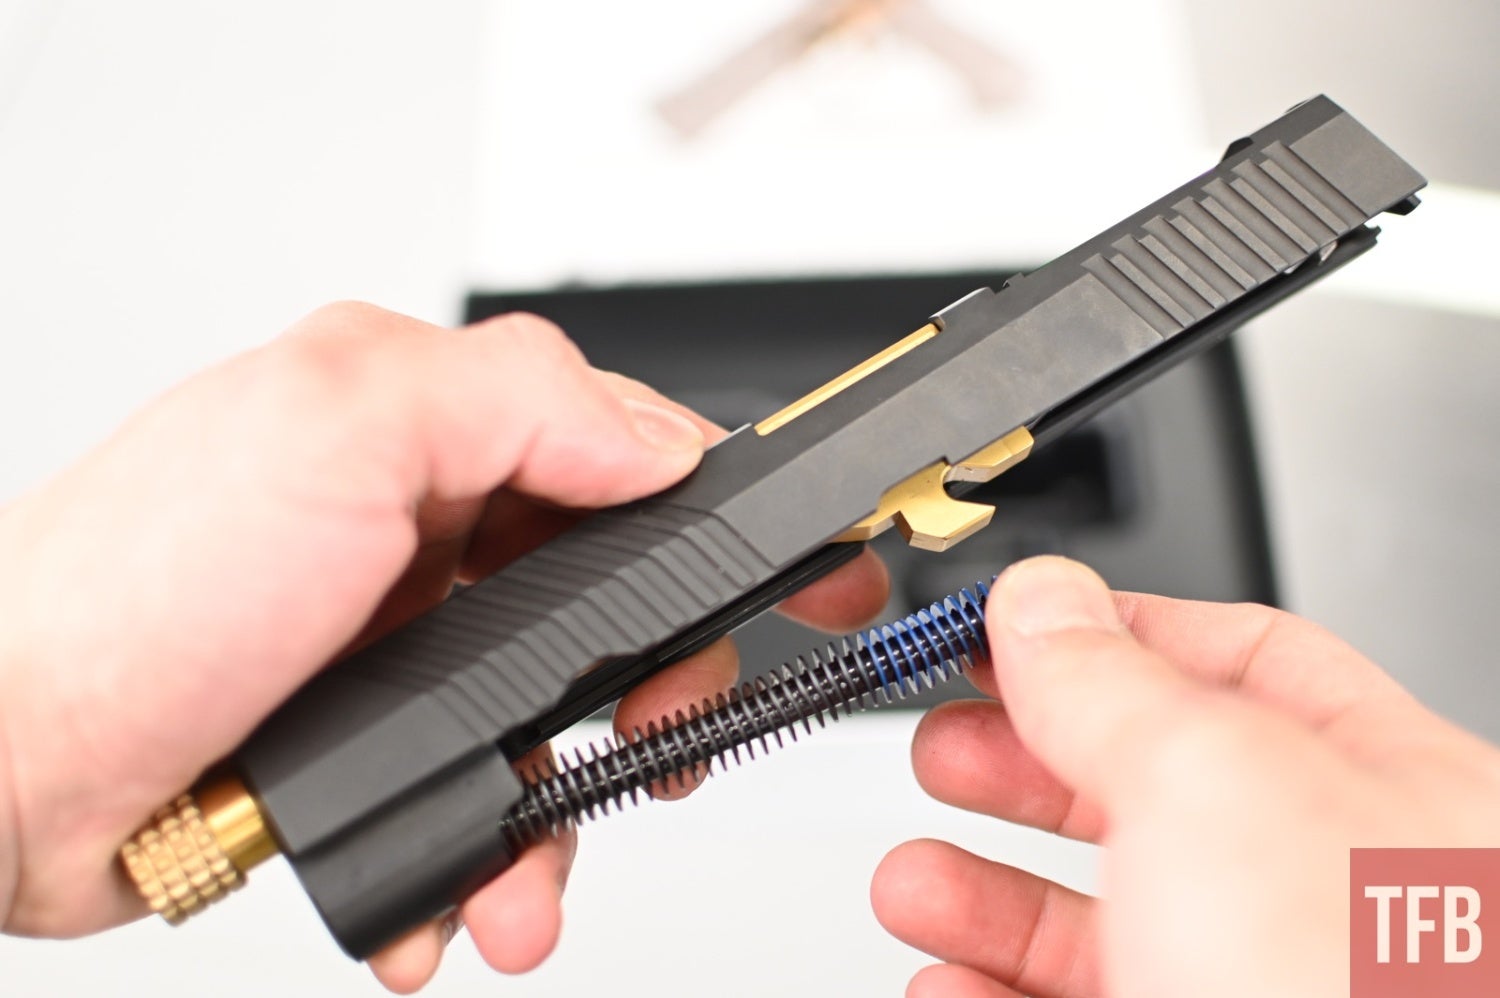
Finished with a basic SIG recoil spring, the slide nears completion.
Step 3: It’s Alive!
Combining the upper and lower parts of any firearm gives a special kind of satisfaction, especially the first time. Well, assuming it goes your way. There have been far too many mallets used on my workbench.
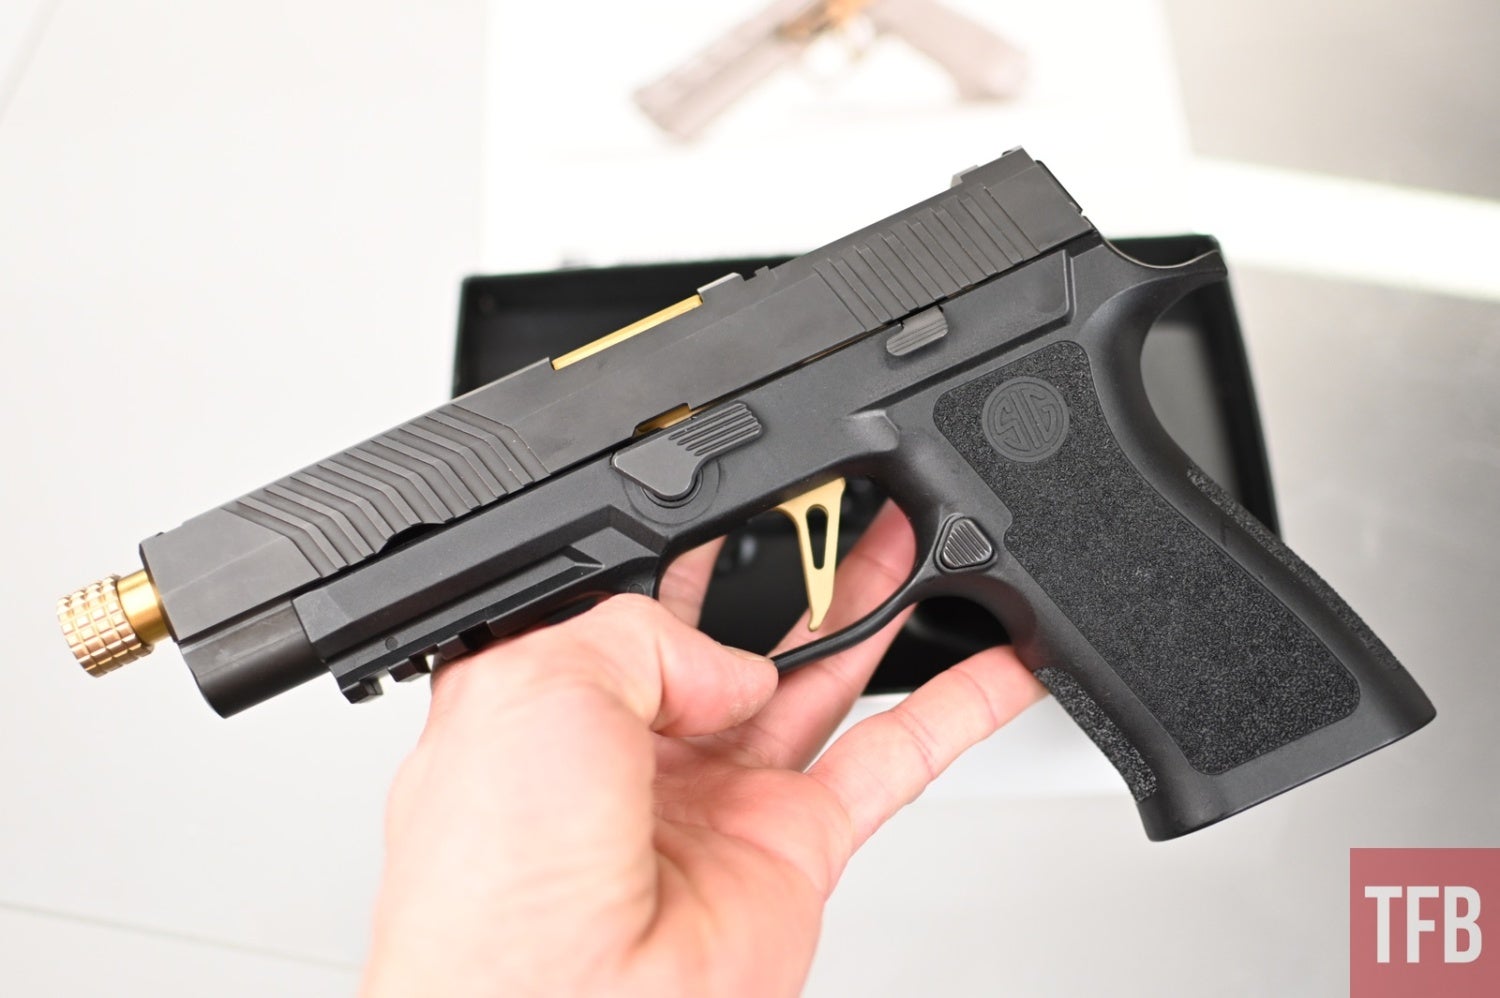
At this point, the firearm is functional. We stepped out of the shop and a brave individual fired the inaugural round. No explosions, so that’s a pretty good sign.
Step 4: Green Cherry On Top
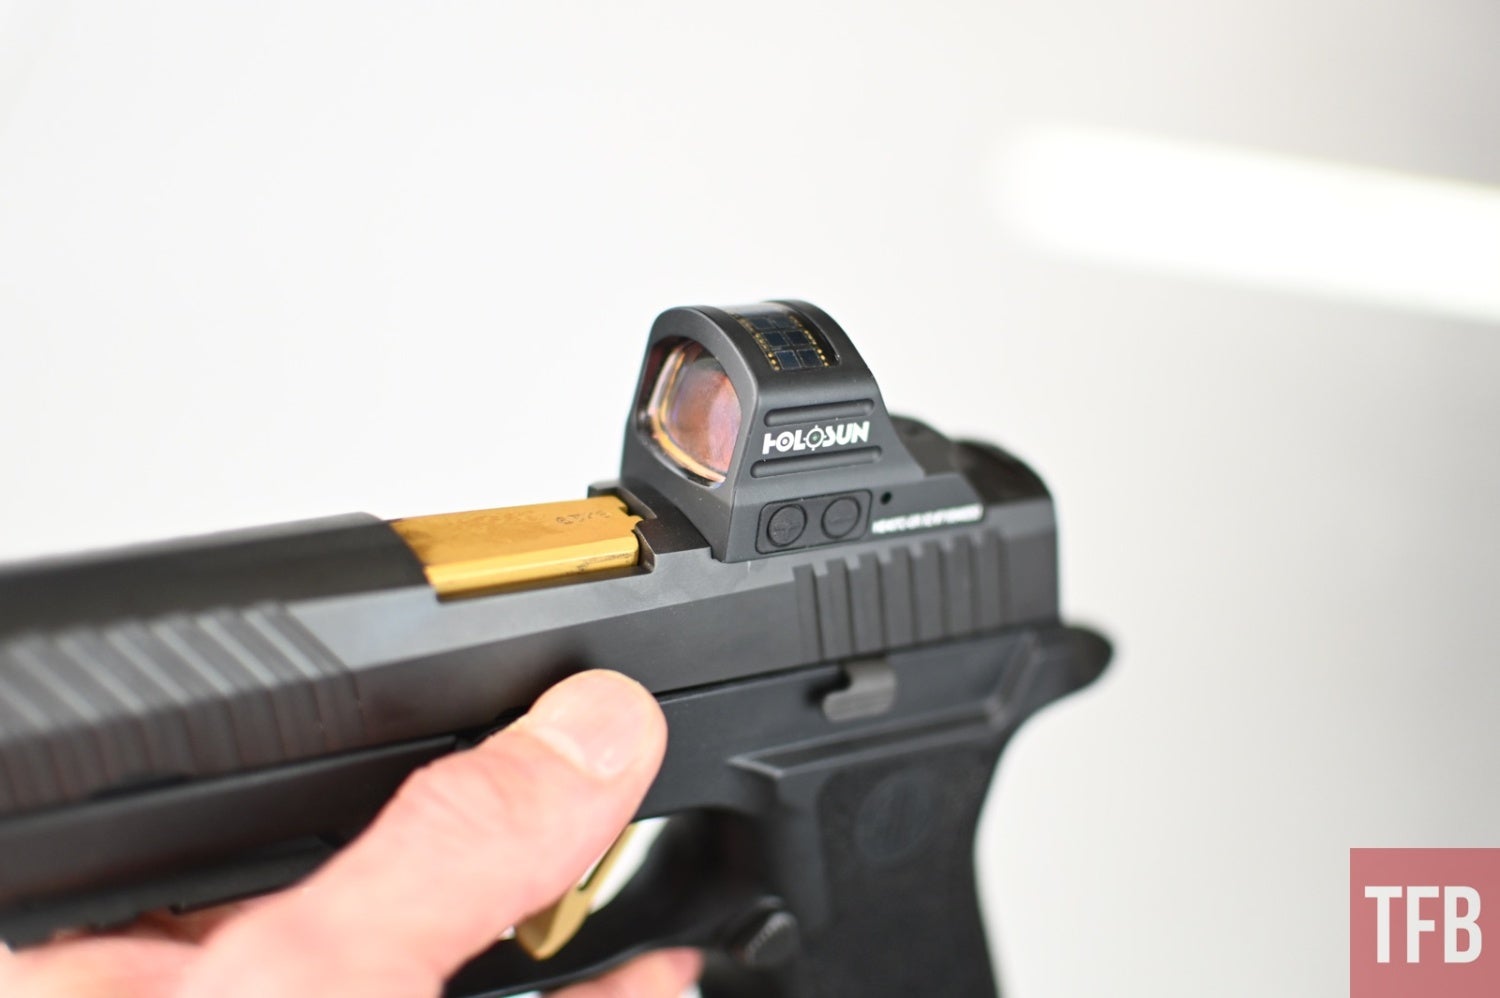
The last one is big. I wanted this slide specifically for this dot. My wife picked this up on sale at GunMag Warehouse and had been so itchy to get behind it. It’s a Holosun 407C with a green dot. She wanted one with the multi-reticle option, but I think most of us know how long that feature is used for. This dot is great.
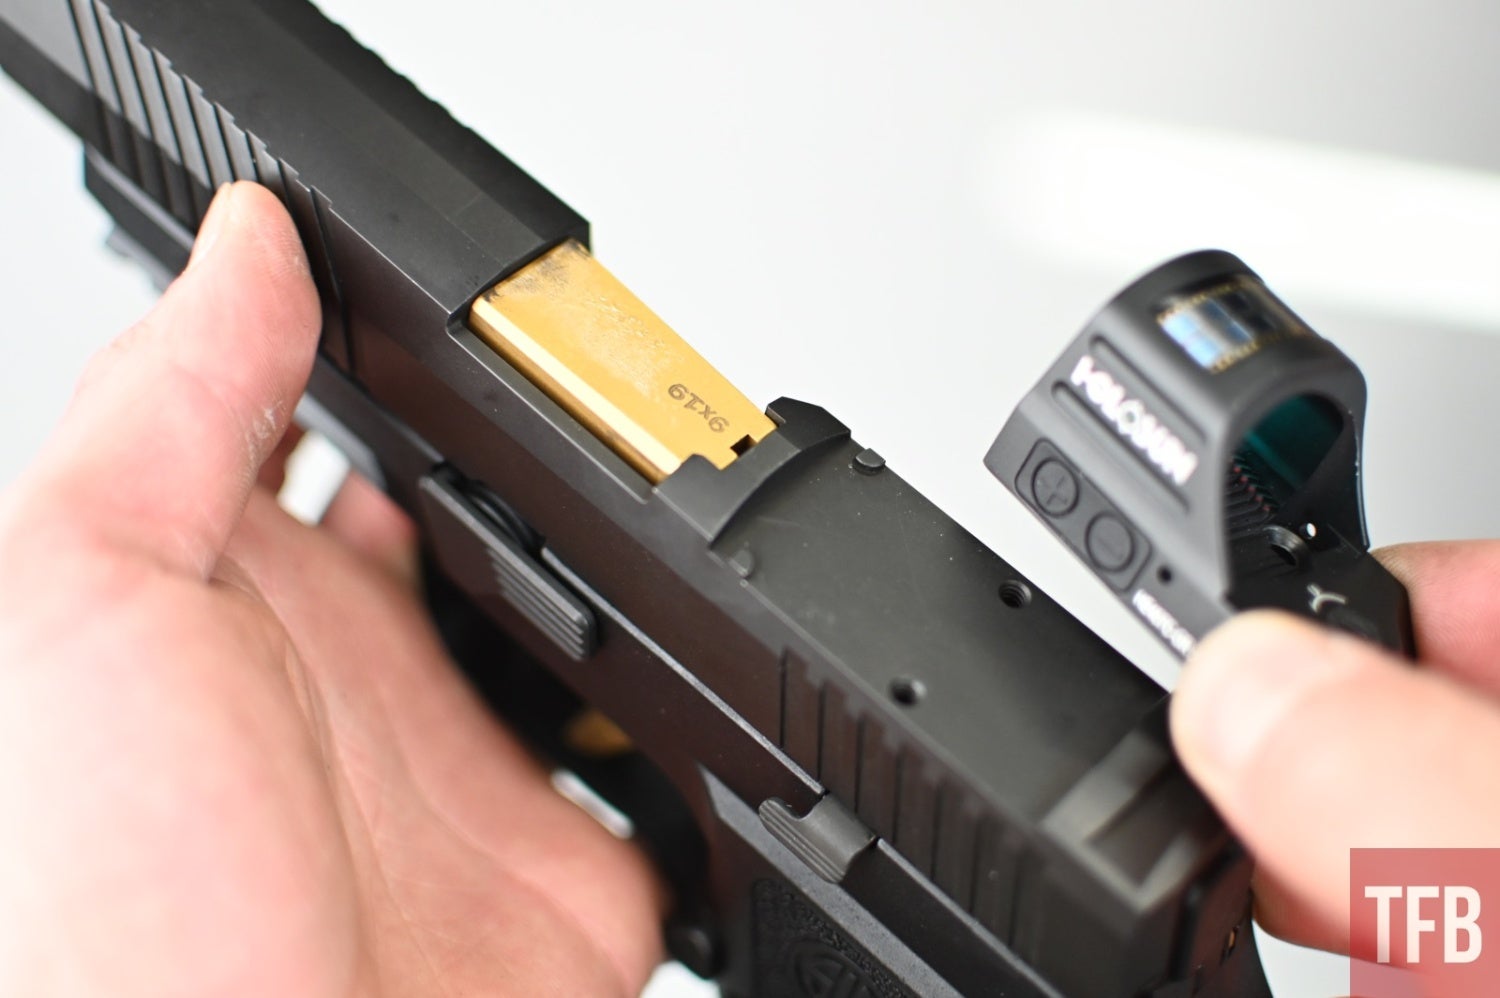
Another deciding factor on the slide was the added support from those nubby guys at the front of the cut. Not all slides use these and I prefer to have the strength. The correct screws are included with the slide. Dab a little blue Loctite, torque to spec (check the manual for your optic), and you’re ready to roll.
The End…?
Assembling this pistol lasted all of about 45 minutes, including stopping to take pictures. While this was no deep dive into the how-to, I’m sure 95% of people reading this could figure it out, even having no previous knowledge of how the system works. It really is like LEGOs. This isn’t the most exciting build, but that’s up next. For now, the focus will be dry fire and a toe dip into the world of competitive shooting by my favorite shooter. Either way, I’m excited to update you all with the finished P320.
We are committed to finding, researching, and recommending the best products. We earn commissions from purchases you make using the retail links in our product reviews. Learn more about how this works.