 Your Privacy Choices
Welcome everyone to the TFB Armorer’s Bench! As mentioned in the little blurb below, this series will focus on a lot of home armorer and gunsmith activities. Today we get to look at a box of gun parts and what to do. Last time around we took a look at the process of firearm conservation and resurrected an old Marlin A1DL. I had mentioned that it was a gun that was given to my grandfather as basically a barn gun.
My grandfather’s go-to 22LR rifle that he bought used in the 50s however was a Remington Model 550-1 made in June of 1949. For at least a decade that gun sat disassembled after someone attempted to maintain it for him. Recently after seeing the magic of conservation performed on that old Marlin, my grandfather gave me this box of gun parts and basically said if I can get it running again I could have it. What an excellent opportunity to talk about the steps involved in getting a box of gun parts to having a rifle that works. Let’s dive right in!
“I put a lotta rounds through that one I tell yuh.” – Grandpa John
Recent TFB Armorer’s Bench Content:
- TFB Armorer’s Bench: Firearm Conservation – Back From The Dead
- TFB Armorer’s Bench: Rust Bluing The Blunderbuss
- TFB Armorer’s Bench: Stock Finishing – Blunderbuss Kit
- TFB Armorer’s Bench: Initial Steps with a Muzzle Loader Kit
- TFB Armorer’s Bench: Silencer Central Barrel Threading
TFB Armorer’s Bench: Box Full of Gun Parts – What to Do
Here, we at TFB hope to inform, entertain, and even inspire any would-be gunsmith or armorer out there. Ideally, with the information I provide and with the help of our sponsors, you can have some useful knowledge about the conservation and improvement of firearms technology while at the same time sharing experiences and teaching each other new tips and tricks along the way in the comments. Digging deep into what it is to be an armorer or gunsmith has significance but what is important is what those people do to show they’ve earned that title. I am happy to share my experiences and knowledge and hope it is informative!
Make your personal safety a priority:
- Practice proper gun safety. Always make sure before the firearm hits your bench that it is unloaded and safe to be handled.
- Wear the proper safety equipment. The main one would be safety glasses (decent ones) since parts are often under spring tension and you may work with high RPM tools. Other honorable mentions would be latex gloves or a respirator when working with potentially harmful solvents and oils. Also hearing protection when working with loud machinery or test-firing firearms.
- Modifications, alterations, and customizations will void your firearm’s warranty 9.5 times out of 10. Please take that into consideration before attempting any at-home gunsmithing.
- If you are unsure about proper safety practices, disassembly procedures, or warranty standards, stop, put down the tools, and consult a competent gunsmith.
Quick Disclaimer
It should go without saying that if throwing a box of gun parts together is overwhelming and there are few guiding resources, then perhaps contacting a competent gunsmith for help would be the best course of action. Some folks don’t have the experience or aren’t the best at puzzles and that is okay! Would you rather it all go back together and work or would you rather risk it not, parts breaking, or worst of all you get hurt in the process.
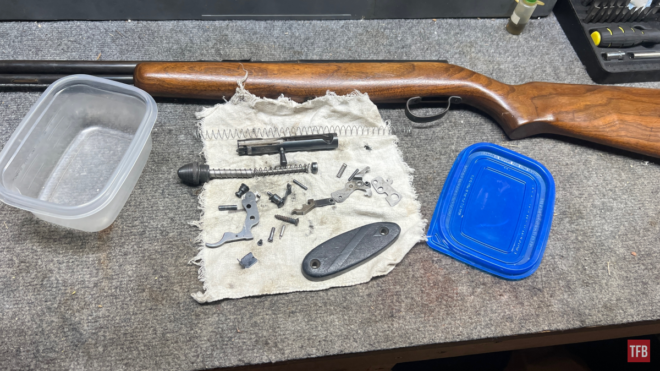
Step One: Is It All There?
It may sound obvious but when you get a box of gun parts your first step is finding out whether or not all of it is there. Better yet, if there are extra parts in the mix seemingly just there to stump your efforts.
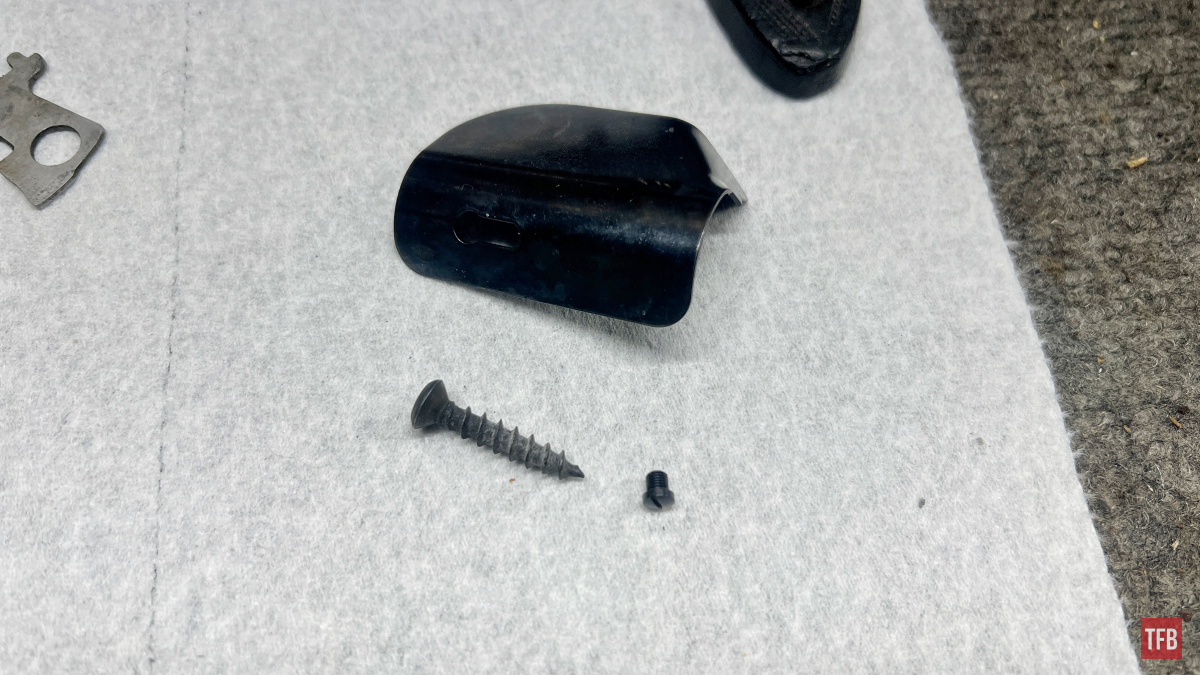
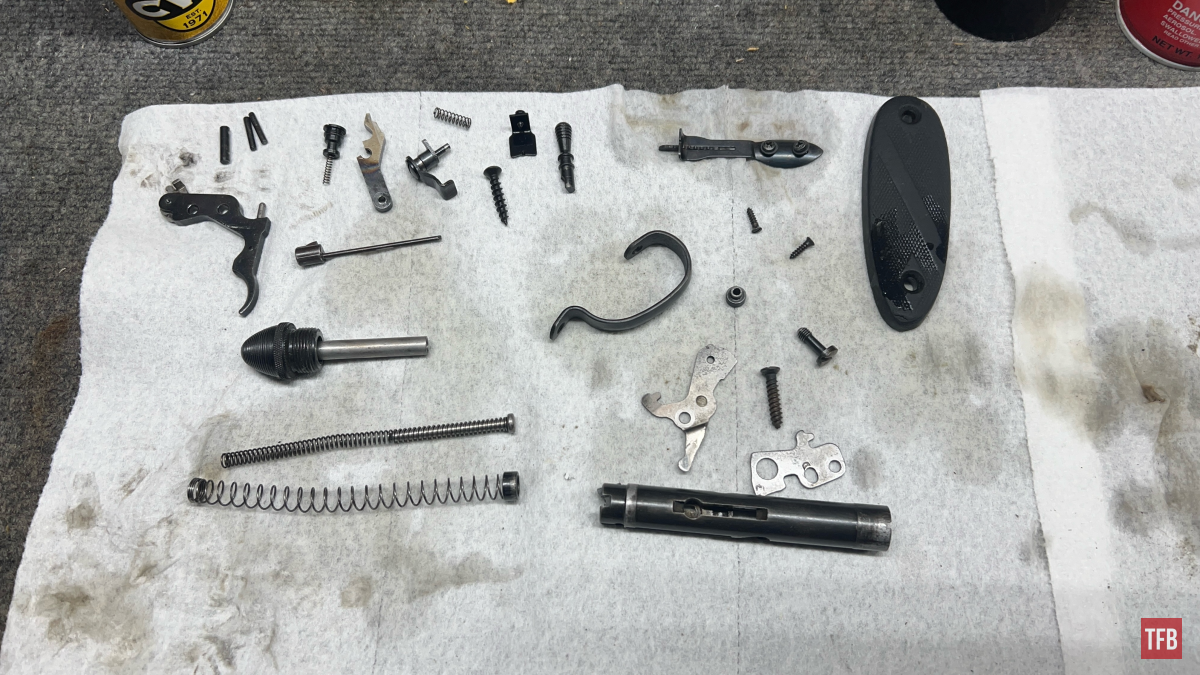
This gun was missing the deflector, deflector screw, and one butt plate screw. I preemptively ordered them for this project.
I’ve been doing this long enough and cleaned enough Remington 550 rifles to have a good idea of what it should have and what should do what. Also, there is the fact that guns will almost always have a set of necessary parts. Bolt of some sort, firing pin or striker, trigger, etc.
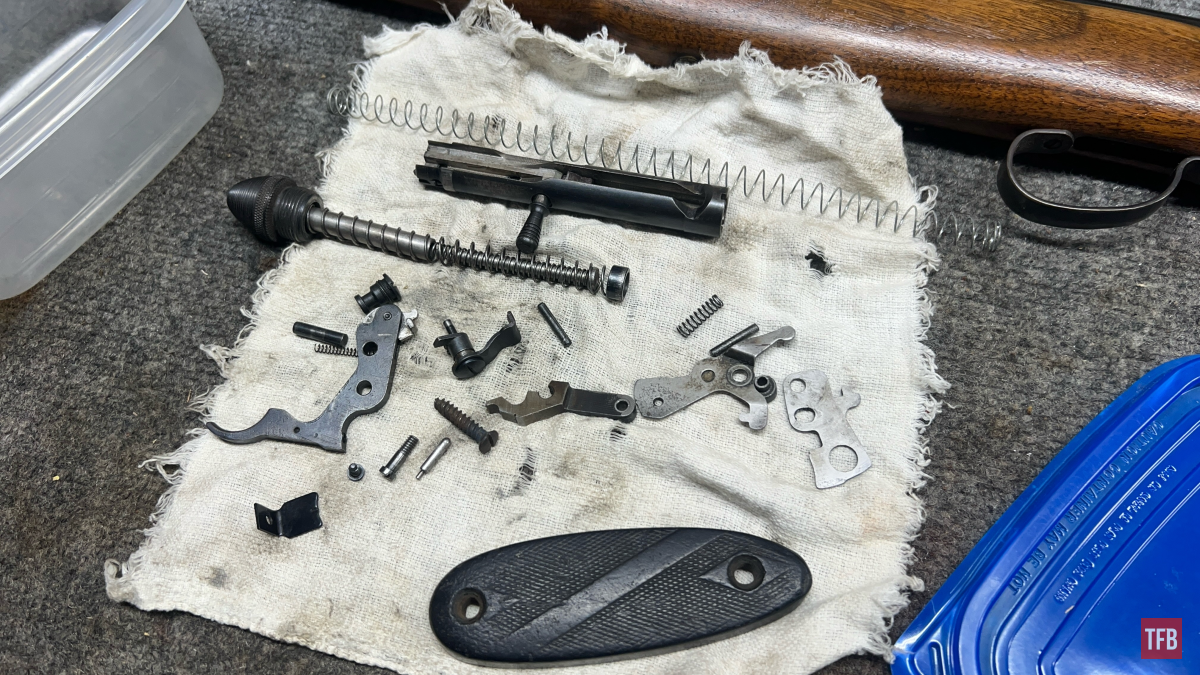
On top of this is those pesky pins and screws. Look for holes in the receiver. What fits where? Is this one too big for that or too short for this? You get the idea. Have a clean and visible work area. Sort everything out. Put them in groups that look right.
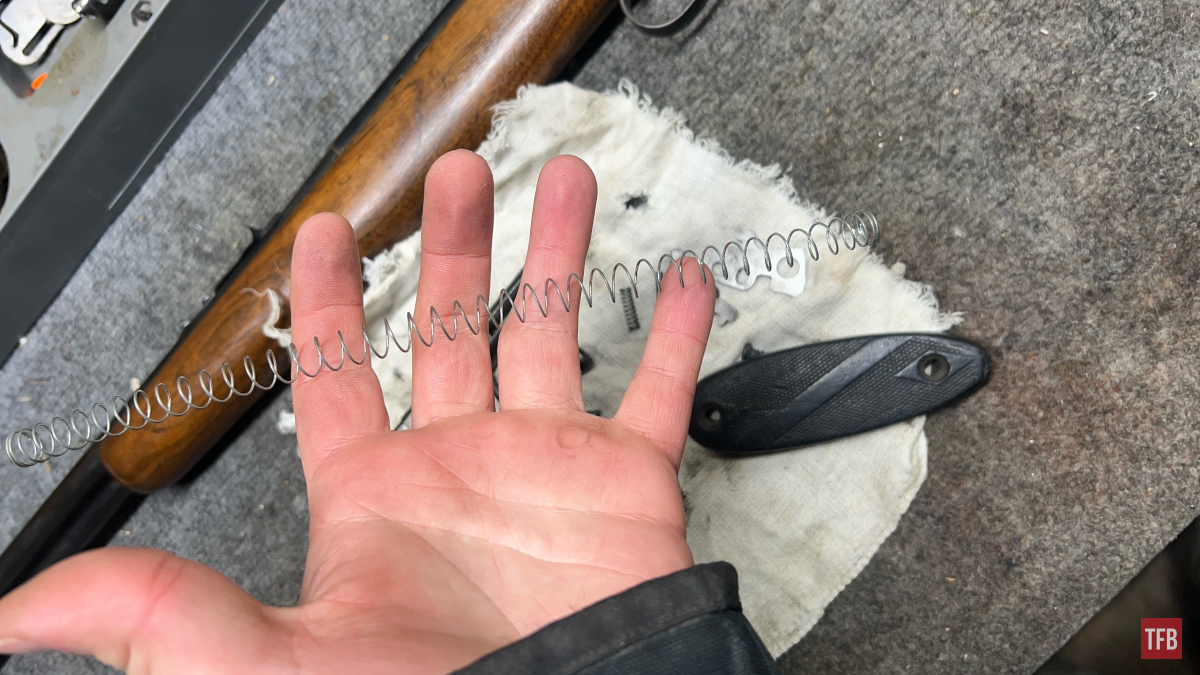
This spring is not a part of this gun. Toss it into the bonus spring bucket!
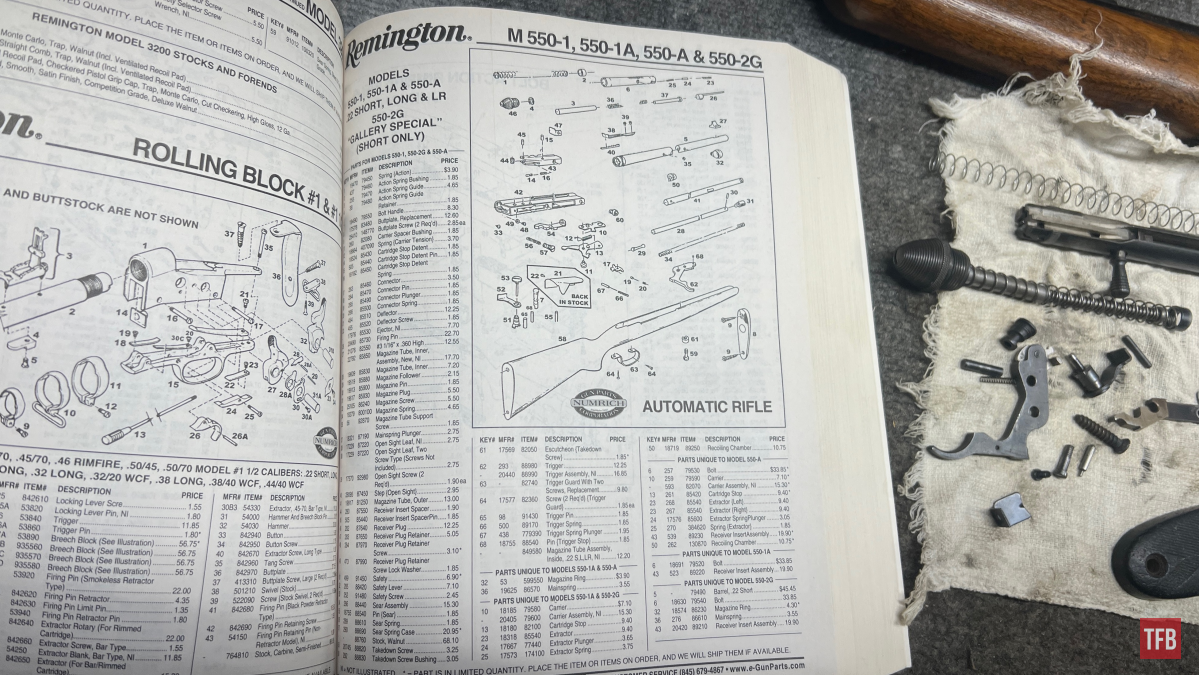
Best of all consult a resource to know exactly what should be there or even better yet how it may go together or come apart. I own quite a few exploded firearm drawings or parts schematic books and these are typically my go-to. Use it as a checklist. Numrich makes one that goes in and out of stock (beyond that they sell parts and have schematics for most guns on their website individually for free to view. Otherwise, I also have this one that I lugged around when I was in gunsmithing school. I would say they are created very equally. Videos and pictures on the internet are fine but it’s hard to beat books.
Step Two: Maintenance is Top of Mind
I harp on the maintenance podium a lot but it is because it is essential for firearm preservation. This gun was made in 1949 and probably sold for pennies. If it rusted to crap it could have easily ended up in the dump. Someone took care of it though. We are putting something back together. The effort in taking it apart is already done. Why not make sure everything is cleaned and protected before putting things back in action?
Step Three: What Goes Where? And In What Order?
Ideally, at this point, we have it all in groups or have begun grouping. Parts of the safety mechanism, the trigger group, the sear system, etc. The hard part however is figuring out what order this may go into a gun. Sometimes parts can sort of haphazardly be thrown in at random but this Remington 550 for example has a very specific order of operations. It also is tough to document and photograph the whole way through (sorry for not taking a million pictures this time).
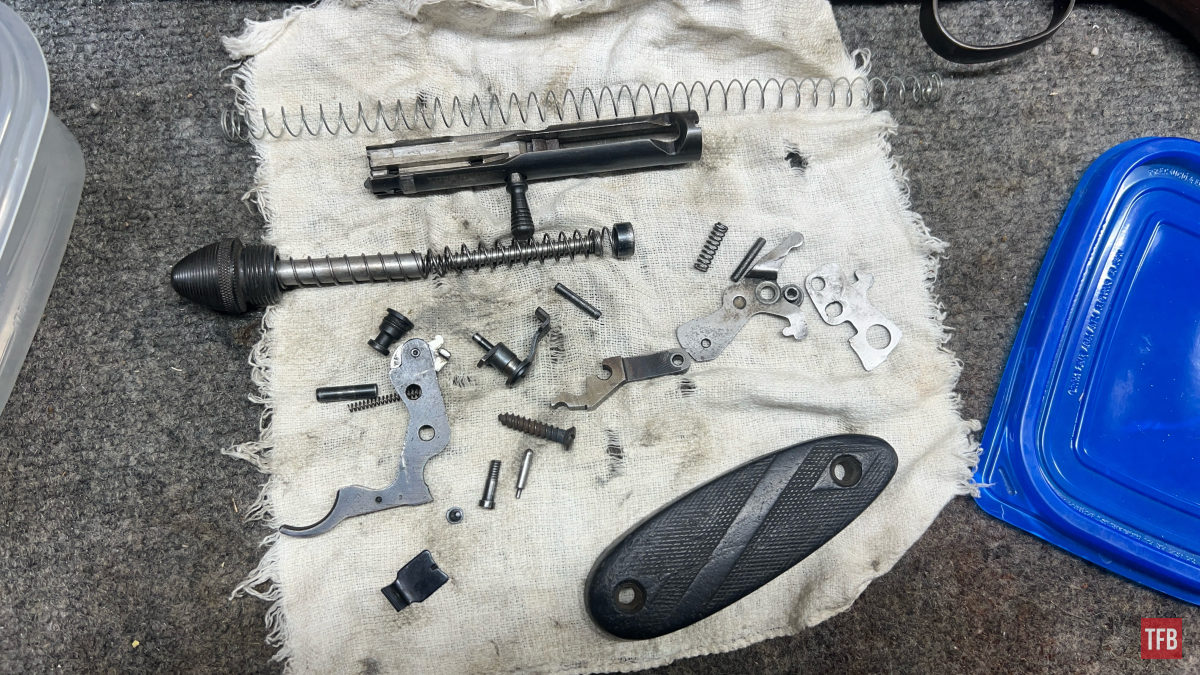
For reassembly of the Remington 550-1, it goes as follows:
- Safety system (safety, safety lever, safety screw)
- Carrier assembly (carrier, carrier spring, cartridge stop, spacer, pin)
- Sear (same pin as the carrier)
- Sear spring & spring case
- Trigger assembly (trigger, trigger connector, connector spring & plunger, trigger spring & plunger)
- Bolt assembly (bolt, extractor, firing pin)
- Charging handle
- Recoil spring assembly (action spring & bushing, mainspring & guide, receiver plug)
- Receiver plug retainer assembly (retainer & screw)
Final Thoughts: Box Full of Gun Parts – What to Do
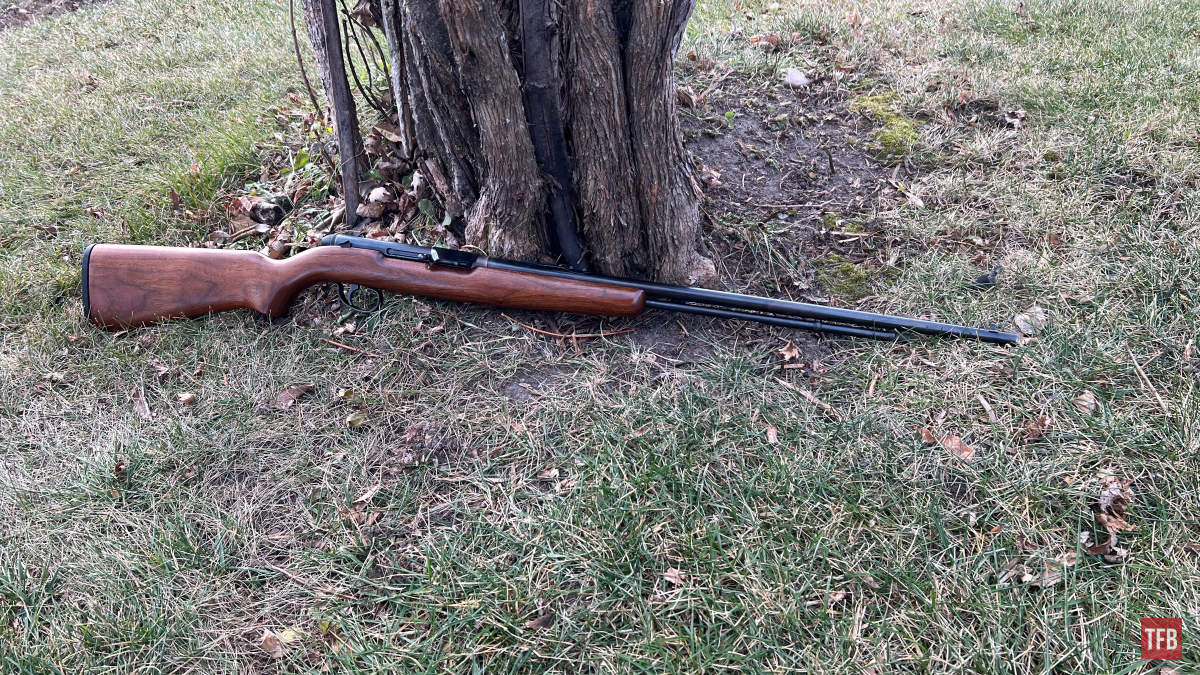
It was deeply gratifying to put back together this old Remington rifle that my grandfather used for decades. This endeavor exemplified the care and meticulousness needed to return disassembled guns to working order. Attempting to reassemble a disassembled firearm requires patience, proper tools and schematics, and careful attention to detail. However, with some perseverance, a box of gun parts can be transformed back into a functioning and sentimental firearm. I’m stoked at the thought of presenting it to my grandfather soon. It’s the little things folks!
As always, thank you for reading TFB! Be safe out there, have fun while shooting, and we will see you next time for the TFB Armorer’s Bench! Also, let us know what you think in the comments below! We always appreciate your feedback.