Your Privacy Choices
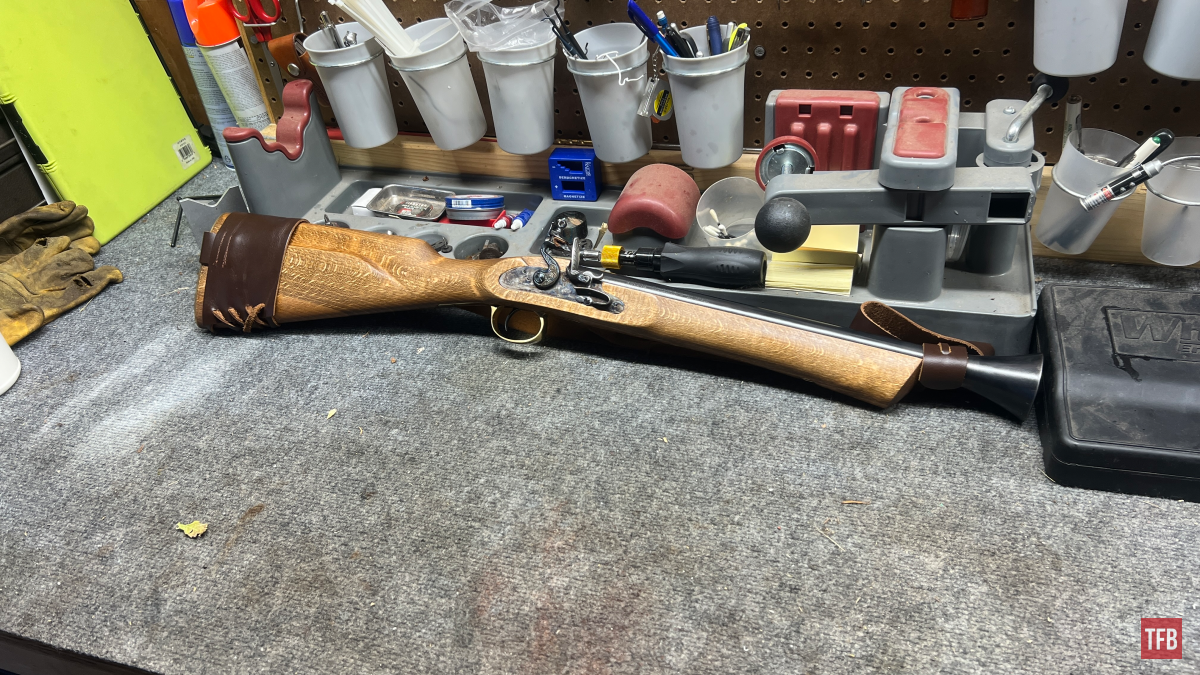
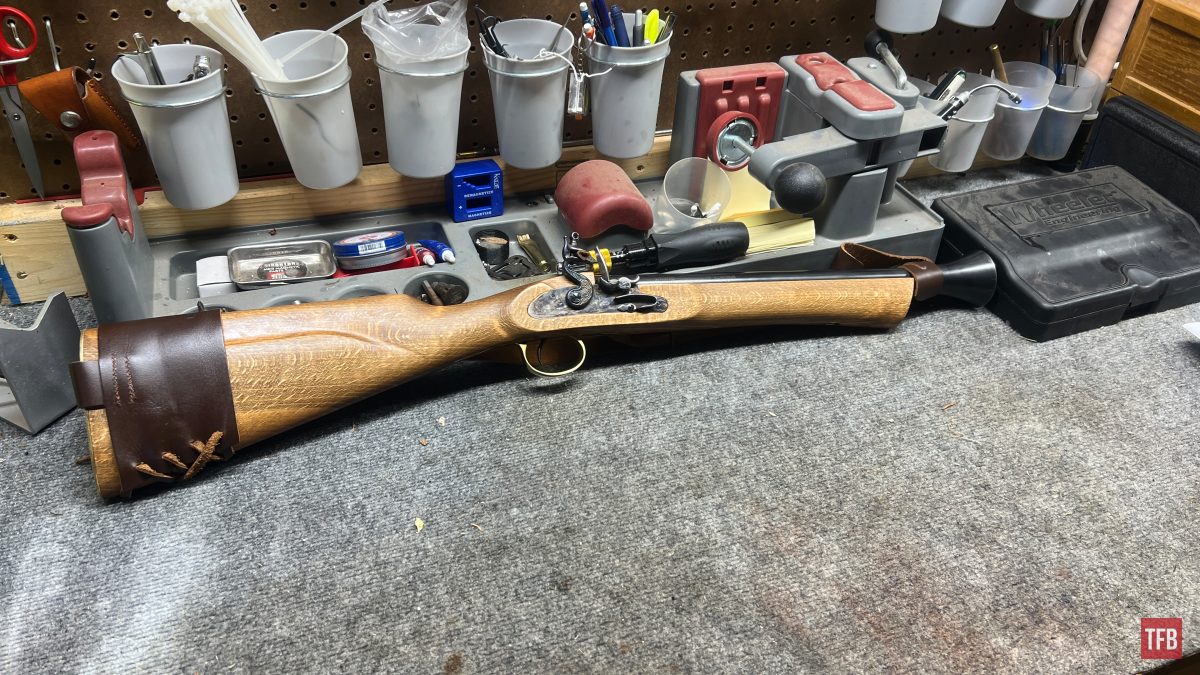
Welcome everyone to the TFB Armorer’s Bench! As mentioned in the little blurb below, this series will focus on a lot of home armorer and gunsmith activities. I am excited to finally roll out an article on rust bluing. This article ties in with a previous Armorer’s Bench article that covered some different types of bluing as well as the recent blunderbuss build articles. This one should cap off that last one.
Rust bluing is something I really found a passion for back in college and have refined and tweaked things here and there. People have been using rust-bluing techniques for centuries. The namesake may sound counterintuitive and if you haven’t read my other article on bluing, it may surprise you to hear that bluing is a form of rust. Rust is a required part of true bluing. Let’s dive into this extremely simple yet somewhat forgotten process and build a blunderbuss along the way!
Related TFB Armorer’s Bench Content:
- TFB Armorer’s Bench: Initial Steps with a Muzzle Loader Kit
- TFB Armorer’s Bench: Stock Finishing – Blunderbuss Kit
- TFB Armorer’s Bench: Education on Bluing Types & Processes – Part 1
- TFB Armorer’s Bench: Education on Bluing Types & Processes – Part 2
- TFB Armorer’s Bench: Cleaning Up and Fire Bluing Screws
- TFB Armorer’s Bench: It Isn’t Bluing – Using Cold Blue
TFB Armorer’s Bench: Rust Bluing The Blunderbuss
Here, we at TFB hope to inform, entertain, and even inspire any would-be gunsmith or armorer out there. Ideally, with the information I provide and with the help of our sponsors, you can have some useful knowledge about the conservation and improvement of firearms technology while at the same time sharing experiences and teaching each other new tips and tricks along the way in the comments. Digging deep into what it is to be an armorer or gunsmith has significance but what is important is what those people do to show they’ve earned that title. I am happy to share my experiences and knowledge and hope it is informative!
Make your personal safety a priority:
- Practice proper gun safety. Always make sure before the firearm hits your bench that it is unloaded and safe to be handled.
- Wear the proper safety equipment. The main one would be safety glasses (decent ones) since parts are often under spring tension and you may work with high RPM tools. Other honorable mentions would be latex gloves or a respirator when working with potentially harmful solvents and oils. Also hearing protection when working with loud machinery or test-firing firearms.
- Modifications, alterations, and customizations will void your firearm’s warranty 9.5 times out of 10. Please take that into consideration before attempting any at-home gunsmithing.
- If you are unsure about proper safety practices, disassembly procedures, or warranty standards, stop, put down the tools, and consult a competent gunsmith.
What is Rust Bluing?
Rust bluing, also called slow-rust bluing (there is a slow way and a fast way), is a process that converts rust into a blackened/blued finish. It relies on the interaction of chemicals, steam, and/or boiling water with the metal’s surface to induce and control rust formation over time.
The process involves coating the metal with a rust-blasting solution (usually a mixture of salts and acids). The metal is then exposed to moisture and heat to initiate a chemical reaction between the solution and metal, creating a layer of red rust (ferric oxide). The rusting is closely monitored to avoid pitting.
Once sufficient controlled rusting occurs, the rust layer is converted through additional heat and moisture (with steam or boiling water) into the desired black finish (ferroferric oxide). Multiple cycles of solution, induced rusting, and conversion build up the darkened color. Rust bluing uses controlled rust formation and conversion to transform the metal’s appearance.
This same process can be used for firearms that are/were already blued and require a touchup but any existing rust will have to be converted and removed beforehand. We will cover this in a future article.
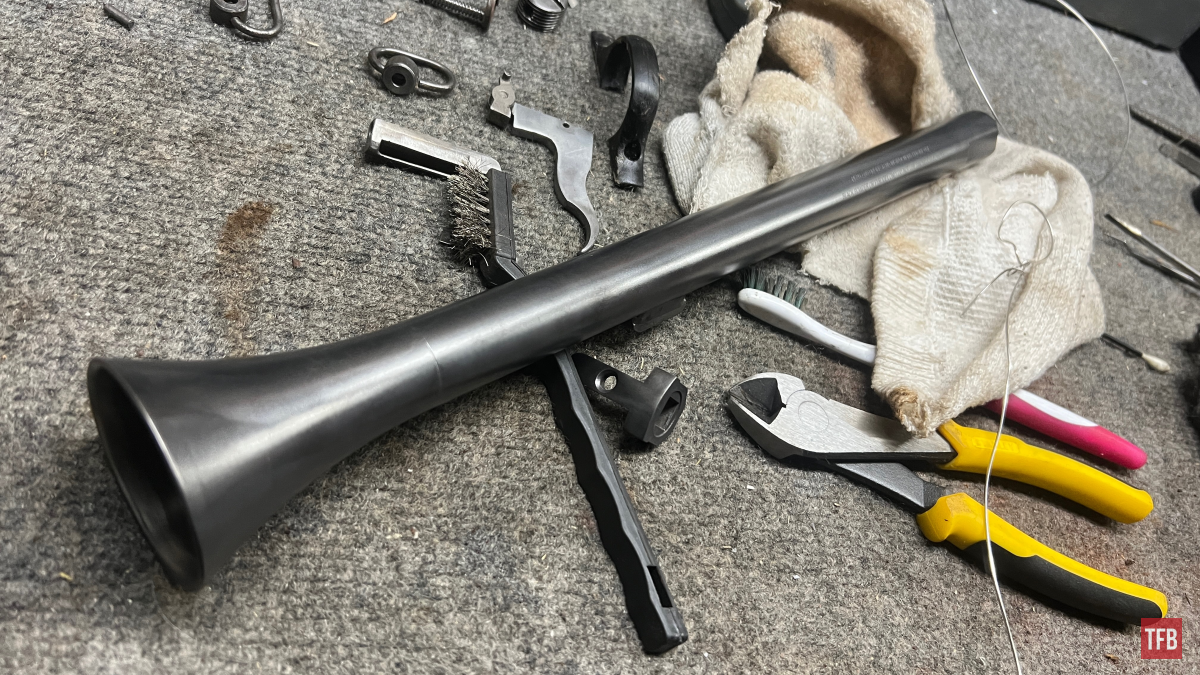
Rusting Bluing Preparation & First Steps
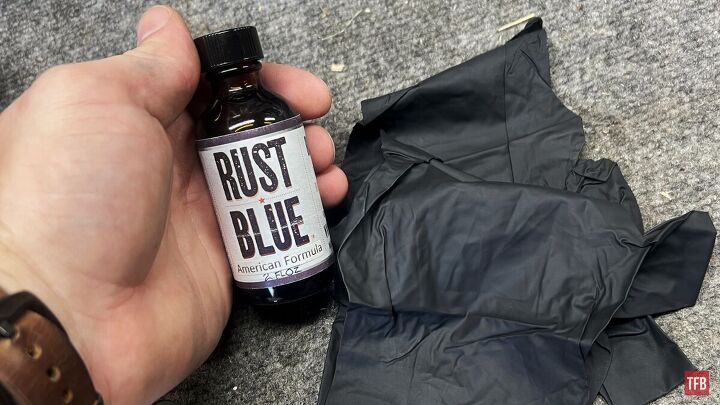
Make sure to wear gloves from here on out to avoid any hand oils getting on your workpiece.
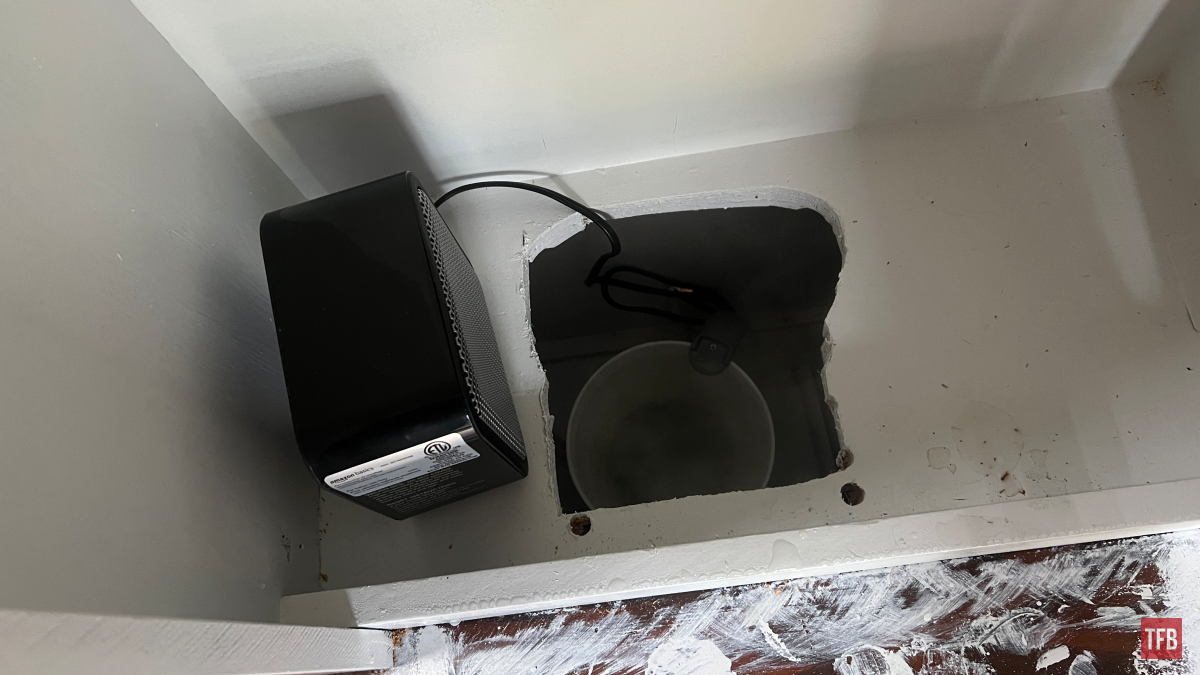
I’ve developed an elaborate setup for rust bluing over the years. The first important piece is a homemade “sweat box” made from an old gun cabinet. It contains a fan, space heater, and electric kettle to control moisture and heat. I also use gauges to monitor temperature and humidity. While intricate, you can totally rig up something similar with simple household items.
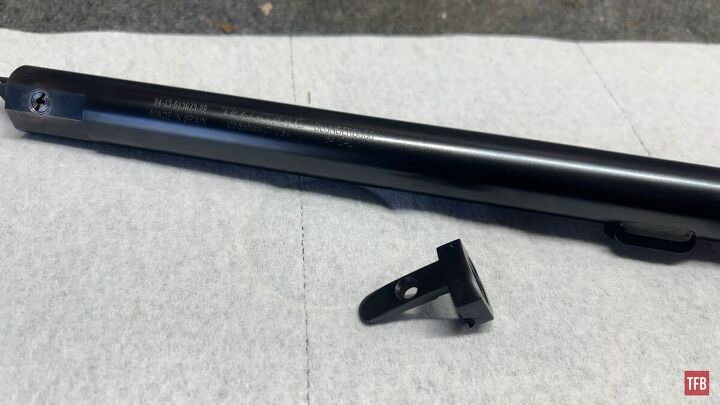
First I thoroughly degrease the metal using break cleaner or acetone and let it dry completely.
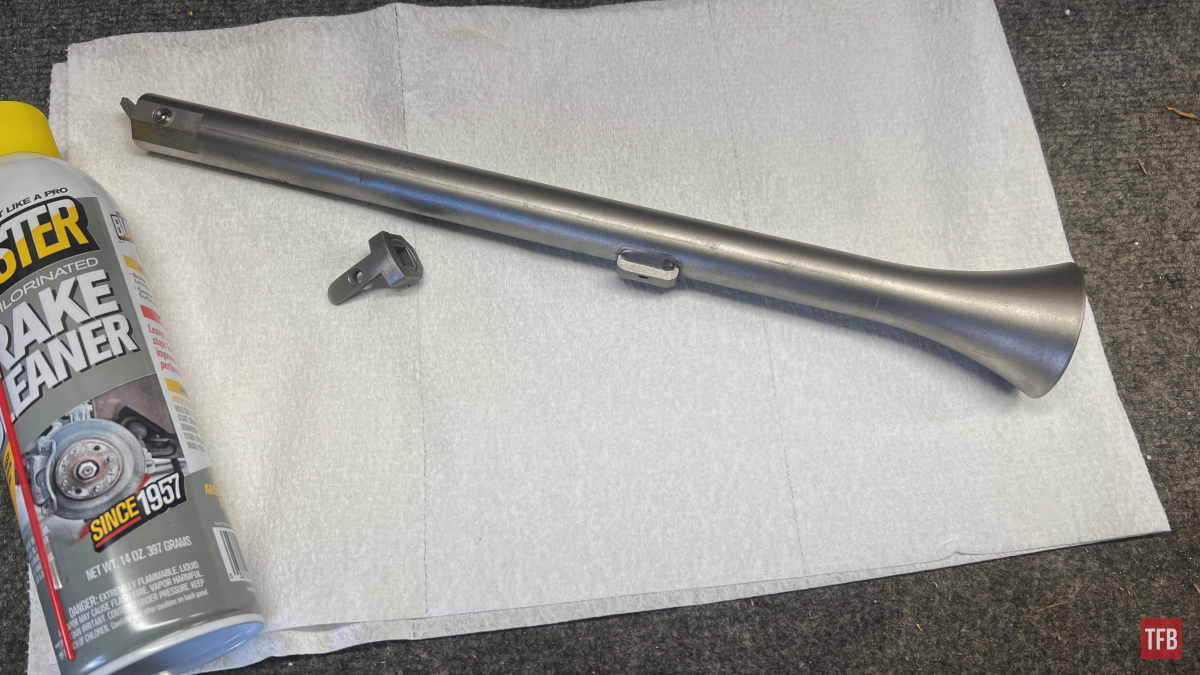
I carefully apply a thin coat of rust-bluing solution, working in strokes and avoiding overlaps or drips. This sits for about an hour until the coating dries (you may see rust forming at this stage due to humidity in the air.
I do a second coat then put it in my preheated sweat box.
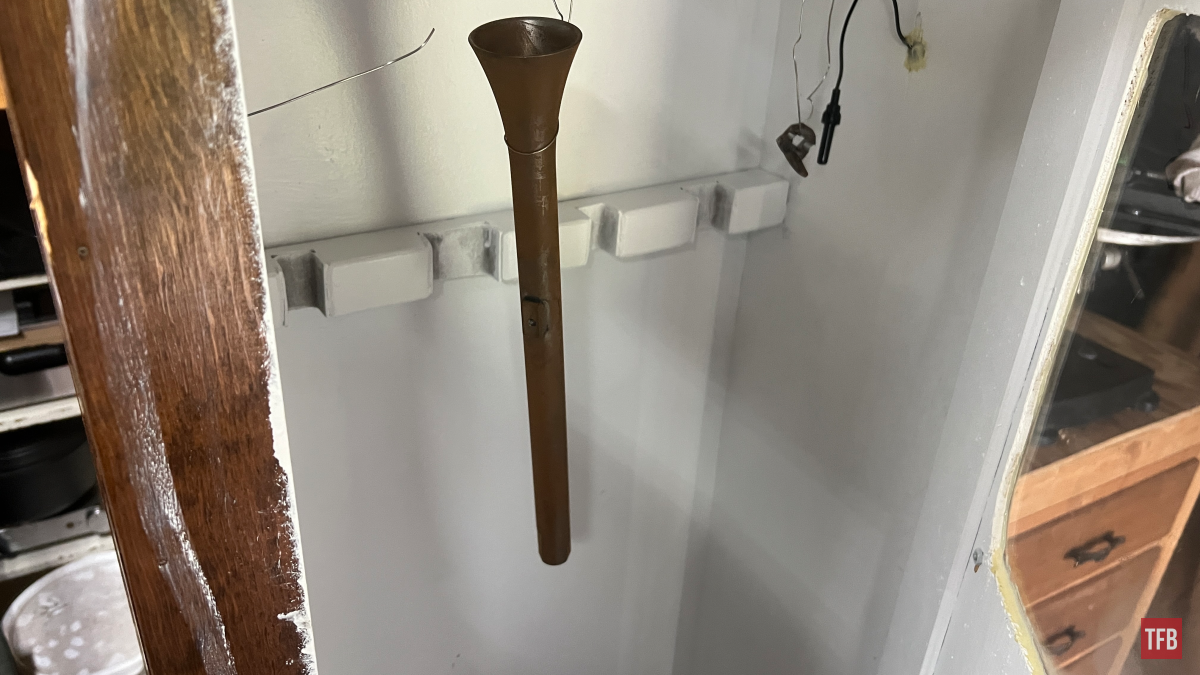
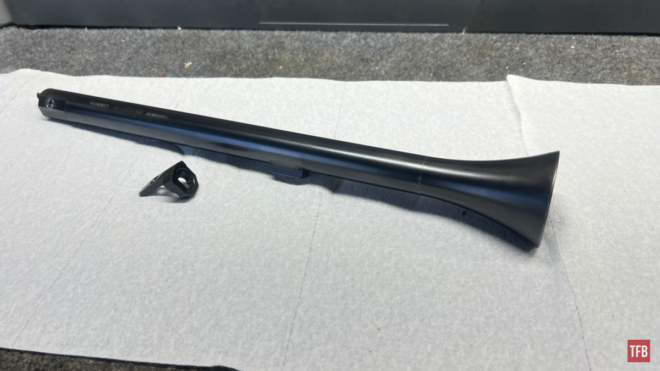
The barrel after around 45 minutes.
The heat helps prevent beading, which causes streaks. When the steam is turned on, it will be mere minutes until rust forms but I leave it be for about 45 minutes. With my homemade controls, the rust develops evenly. My elaborate setup allows tight monitoring for ideal results, though a simple cardboard box or steamy shower can work great too. The keys are managing humidity, preventing drips, and applying the solution carefully.
Rust Bluing Step by Step
The next vital step is conversion. The rusty metal gets subjected to high heat and steam to convert the rust to black oxide and loosen the top layer. I use a homemade steam pipe contraption but boiling water works too.
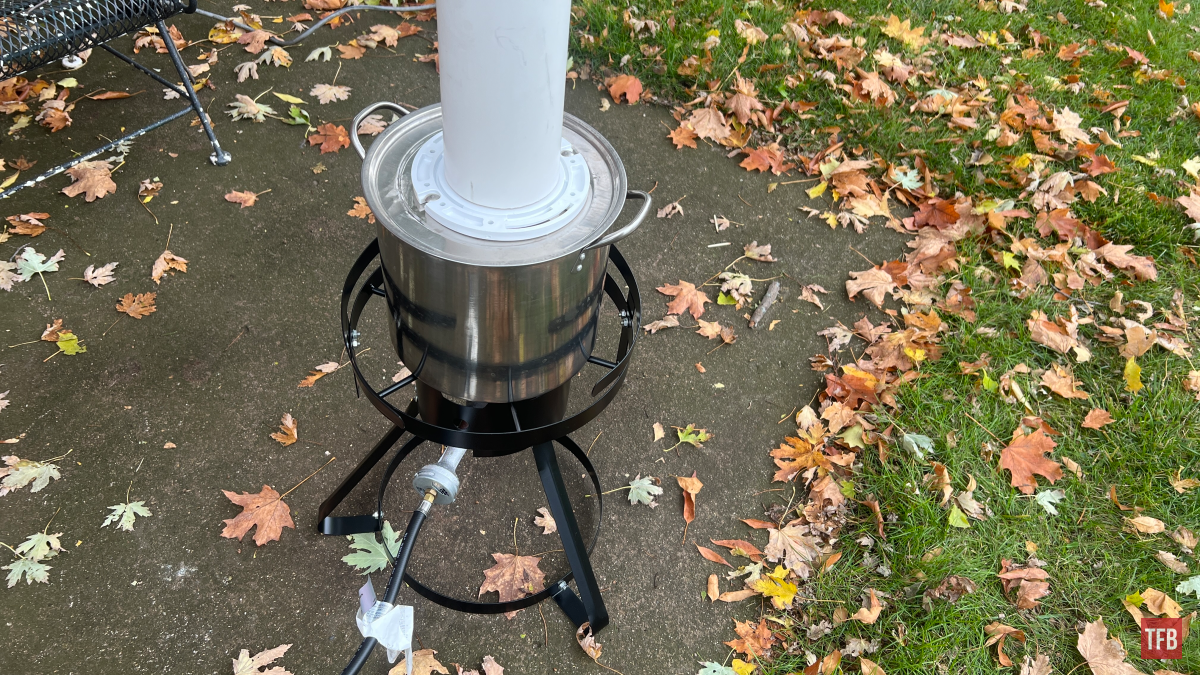
Just 15-20 minutes of steam converts the red rust to black.
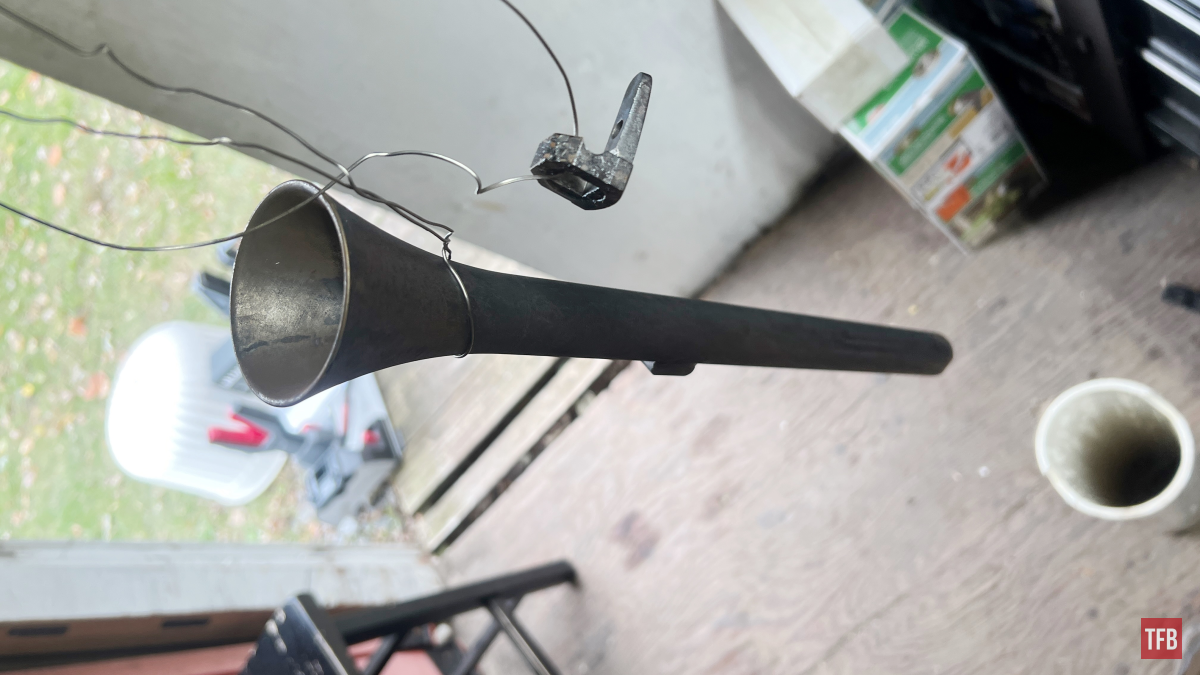
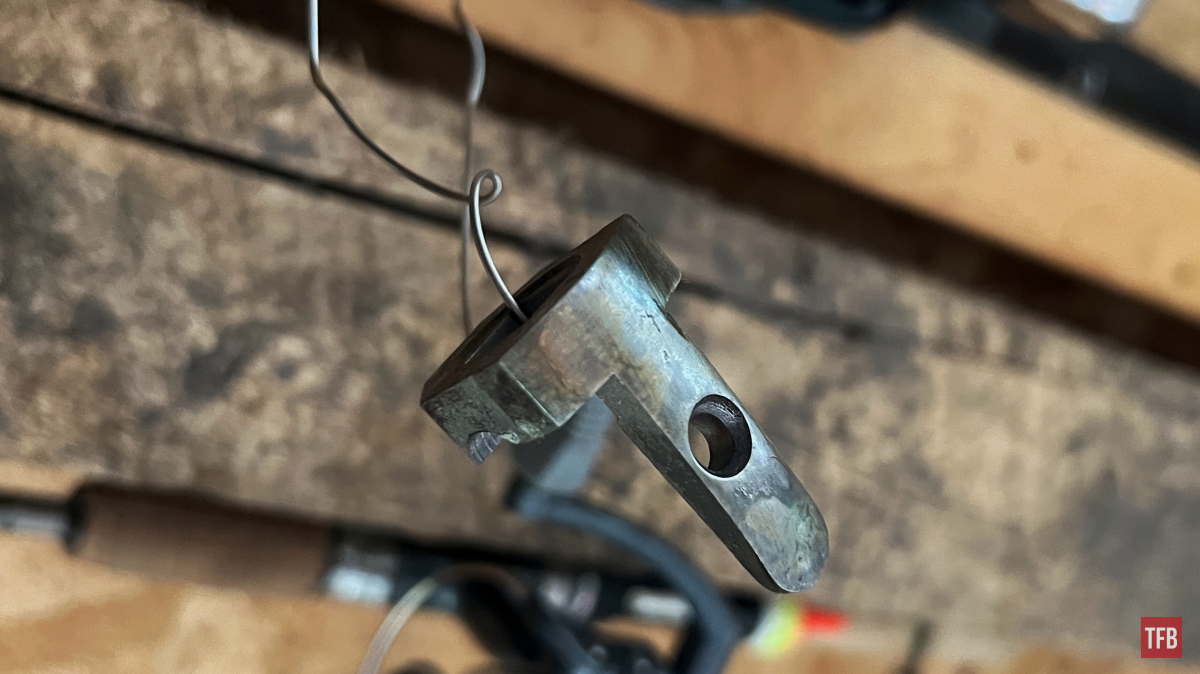
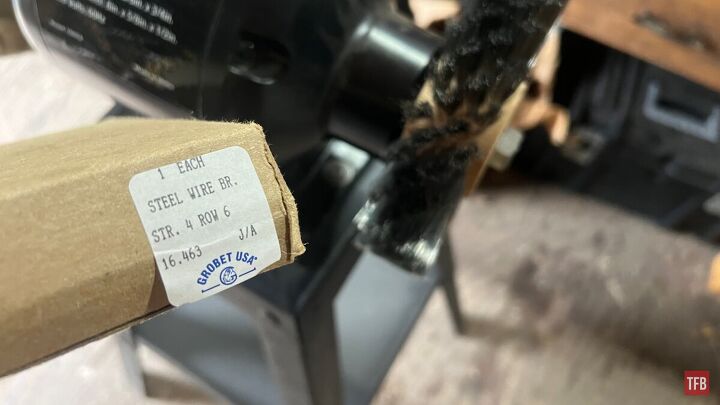
After cooling, the blackened metal is “carded” by gently scrubbing it with a very fine wire wheel or steel wool.
This removes the top rust layer to reveal the bluing underneath. It’s like a magic reveal. suggest watching any of Mark Novak’s videos on the topic if you want to see it in action. It was hard to capture that while also being safe and careful not to harm myself or the workpiece while carding. The entire process is repeated until the desired deep blue color develops. Each cycle further enriches the tone.
Once the ideal amount of blue is achieved, we need to prevent further unwanted rust. This is done by applying or soaking the parts in water displacing oil. Companies like Brownells make an “after bluing” solution that is super spendy, but kerosene or a non-detergent motor oil works just fine. Do not use regular gun oil or regular motor oil since they have rust-removing/preventing agents. We just put a coat of black rust on. It would be a shame to remove it so soon. As a rule of thumb, I leave my parts in a non-detergent oil for at least a day to seal the pores.
After this, they can be wiped off and coated in gun oil.
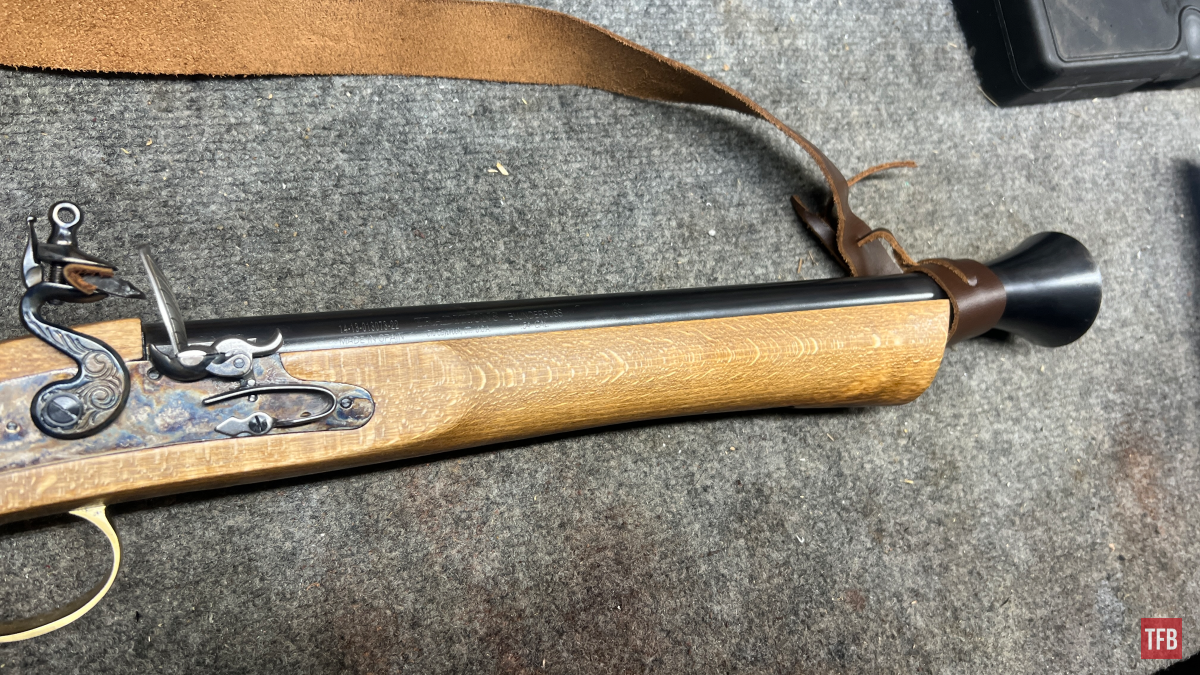
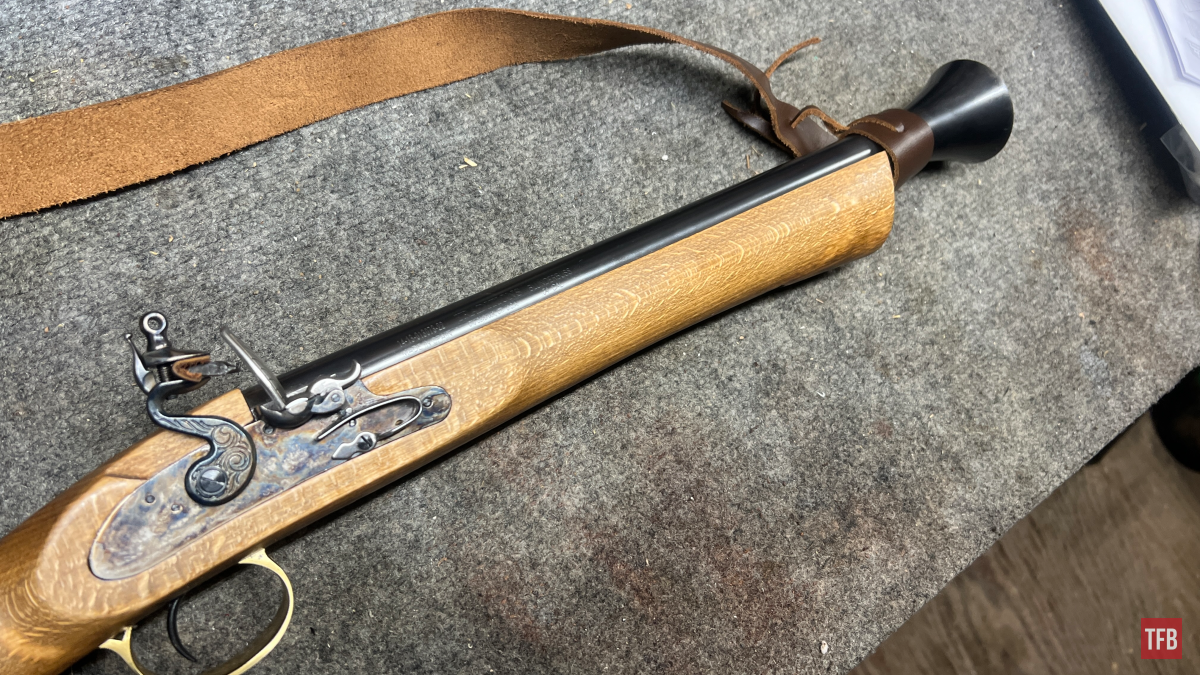
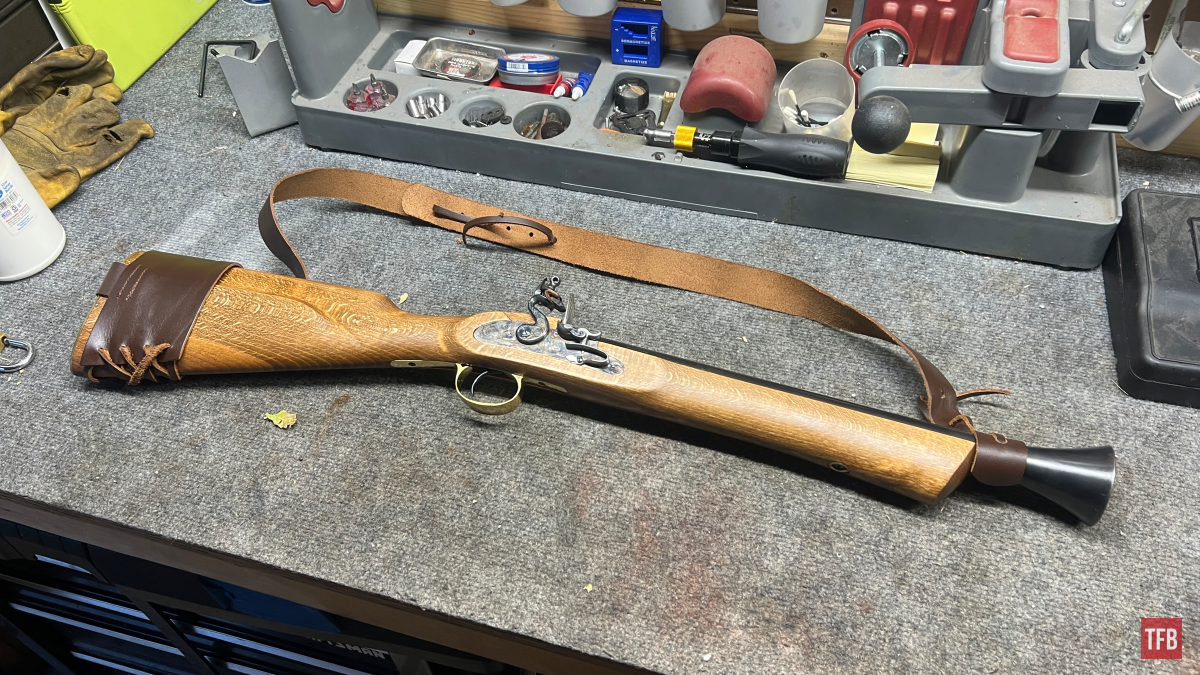
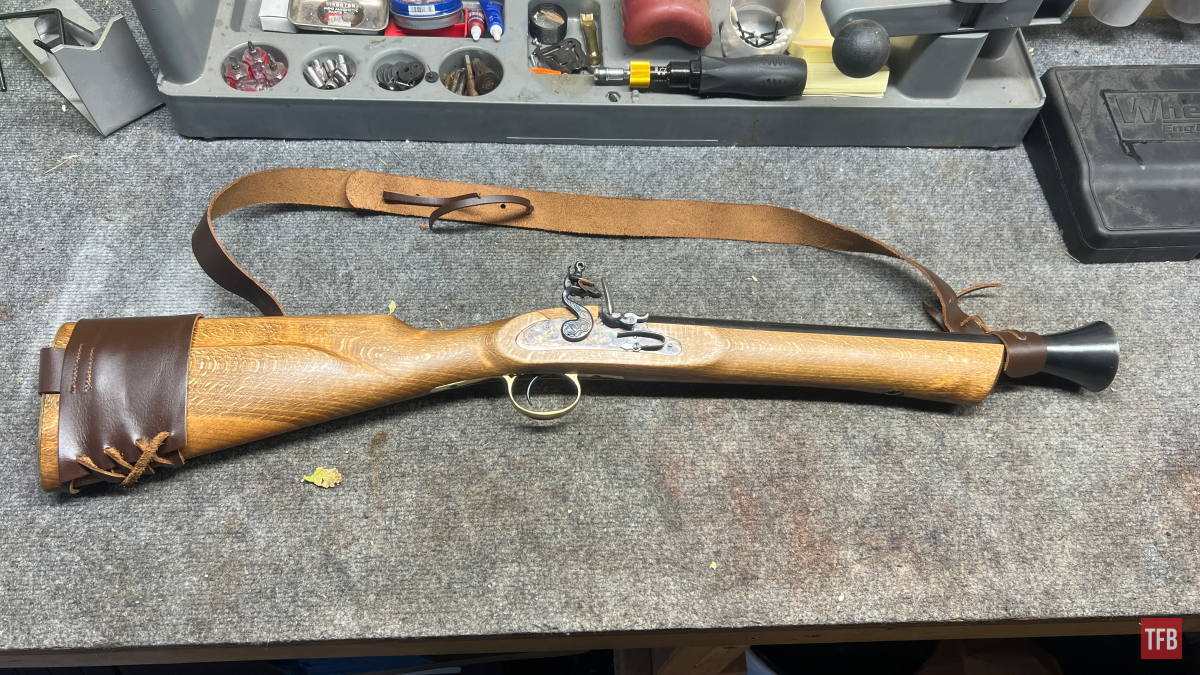
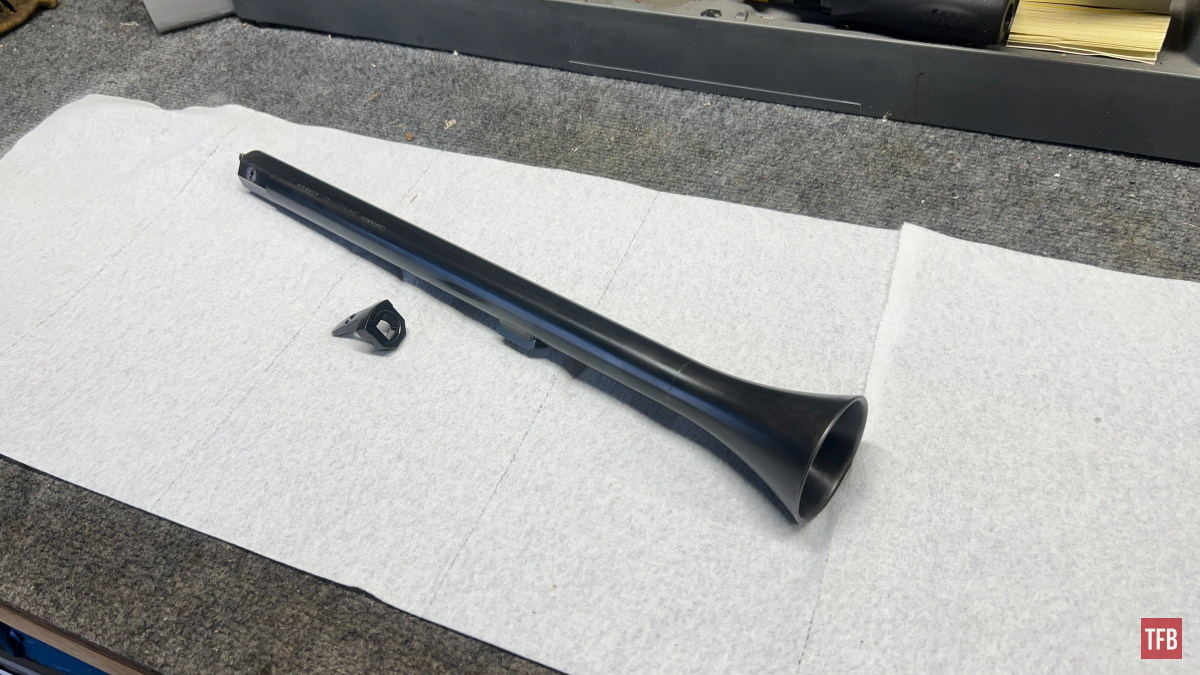
Deep Blue. See?!
Rust bluing is a historic yet effective way to create a deep black finish on metal. With careful preparation, controlled rusting, and repeated conversions, the once-detrimental effects of rust can be harnessed to transform the appearance of firearms. While elaborate setups help, the underlying principles can be followed with basic homemade equipment and patience. Want a glossier look? Polish the metal ahead of time and it will show through. I hope this overview of my rust-bluing process provides insight into this classic gunsmithing technique.
As always, thank you for reading TFB! Be safe out there, have fun while shooting, and we will see you next time for the TFB Armorer’s Bench! Also, let us know what you think in the comments below! We always appreciate your feedback.