 Your Privacy Choices
Welcome everyone to the TFB Armorer’s Bench! As mentioned in the little blurb, this series will focus on a lot of home armorer and gunsmith activities. In this article sponsored by Wheeler, Tipton, Caldwell, and Frankford Arsenal, I decided to do a sort of impromptu tutorial on how to clean up some messed-up flat head screw heads and fire bluing them as a bonus. Originally this particular weekend I was going to start on our AR15 assembly stack of articles (it has been a while since we took one apart, I know) and talk about potential upgrades. Unfortunately, I ran out of time to do the AR15 stuff but I had this stuff on the back burner for a reason. Let’s dive right into cleaning pp and fire bluing screws!
TFB Armorer’s Bench: Cleaning Up and Fire Bluing Screws
Welcome to our recurring series of Armorer’s Bench which is made possible and brought to you by Wheeler, Tipton, Caldwell, and Frankford Arsenal who are our sponsors. Here, we at TFB hope to inform, entertain, and even inspire any would-be gunsmith or armorer out there. Ideally, with the information I provide and with the help of our sponsors, you can have some useful knowledge pertaining to the conservation and improvement of firearms technology while at the same time sharing experiences and teaching each other new tips and tricks along the way in the comments. Digging deep into what it is to be an armorer or gunsmith has significance but what is important is what those people do to show they’ve earned that title. I am happy to share my experiences and knowledge and hope it is informative!
Make your personal safety a priority:
- Practice proper gun safety. Always make sure before the firearm hits your bench that it is unloaded and safe to be handled.
- Wear the proper safety equipment. The main one would be safety glasses (decent ones) since parts are often under spring tension and you may work with high RPM tools. Other honorable mentions would be latex gloves or a respirator when working with potentially harmful solvents and oils. Also hearing protection when working with loud machinery or test-firing firearms.
- Modifications, alterations, and customizations will void your firearm’s warranty 9.5 times out of 10. Please take that into consideration before attempting any at-home gunsmithing.
- If you are unsure about proper safety practices, disassembly procedures, or warranty standards, stop, put down the tools, and consult a competent gunsmith.
Short Story: Cleaning Up and Fire Bluing Screws
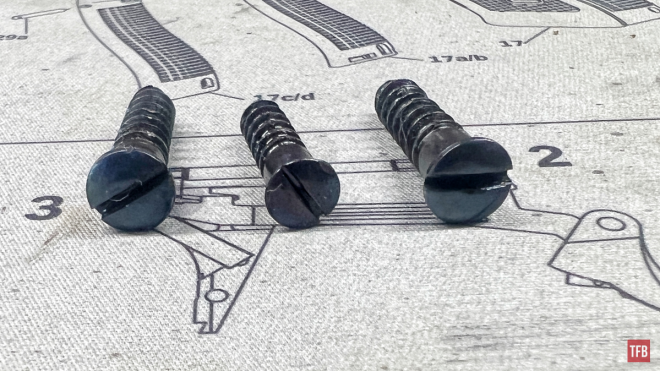
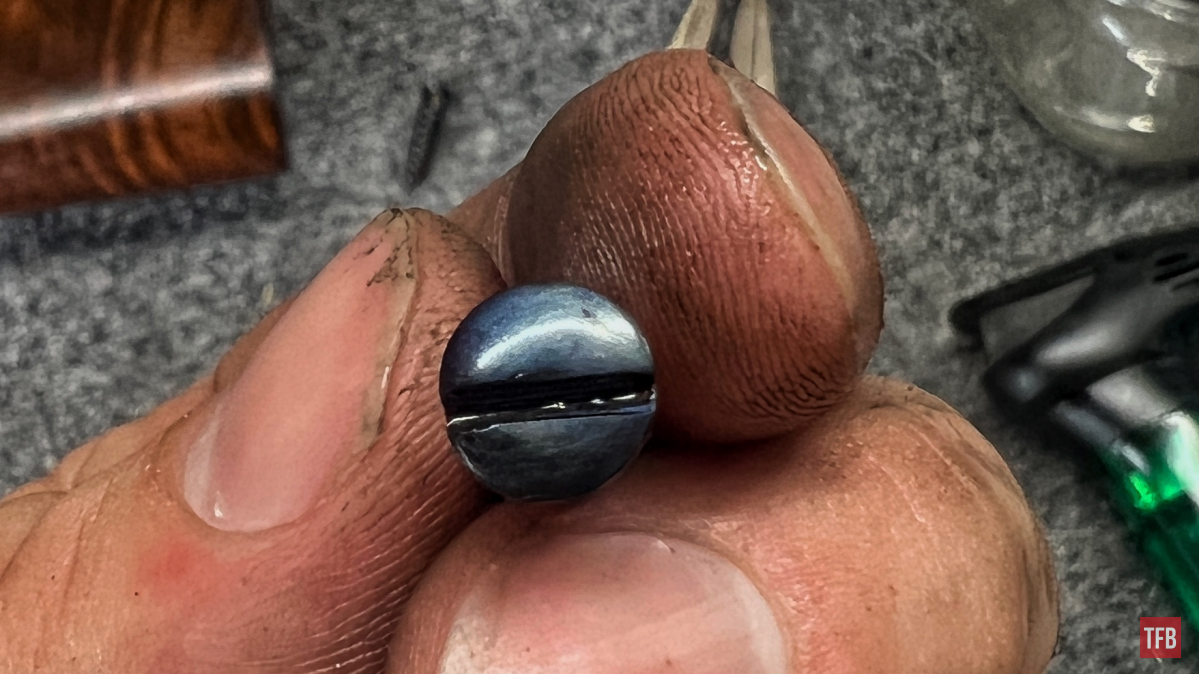
Not too long ago, I picked up a Savage Model 99 since it was a bucket list gun…it is a long list. It is a shooter and nothing to write home about. Since it is not a special collector Model 99 and it looks a bit rough in some spots, I decided to go through and clean it where I felt it necessary. One thing that irks me is deformed screws. Not only are they unsightly but they also have the potential to fail to function and let you down if you need to remove them. All of the flat head screws on it were pretty torn up by a previous owner.
This sort of thing happens when the wrong size screwdriver/screwdriver bit is used. Flat head screws will get messed up very quickly by undersized screwdrivers particularly. Too undersized and the ends of the bit will rase and deform the walls of the flat head slot. Over time this will weaken the screw head and potentially render it unusable.
Precautions: Cleaning Up and Fire Bluing Screws
First of all, I do not recommend anyone do this on a whim, under pressure, or without proper training and safety equipment. This all (most hands-on work) has the potential to cause harm and necessary safety precautions should be taken. Before I deep dive into how I go about all of this, there are typical safety precautions you should be aware of that may not come to mind at the moment.
- Safety glasses at a bare minimum are a must.
- If you polish your screw heads, fine metallic dust will attach to your fingers and work area. Keep them out of your eyes and away from your face.
- Only work in well-ventilated areas
- Only work in an area devoid of easily flammable materials
- When using a metal set of pliers, be aware that heat will transfer to the pliers as well. Gloves typically are not necessary since the heating duration should be short. Welding gloves are good for more repetitive fire bluing.
Cleaning Up Flat Head Screws
Cleaning up flat head screws sounds better than “fixing”. Anytime you remove material from a stock part it changes it forever. In this case, a Savage Model 99 had some messed-up screws from a previous owner. Steps taken to “clean them up” are simple but procedural.
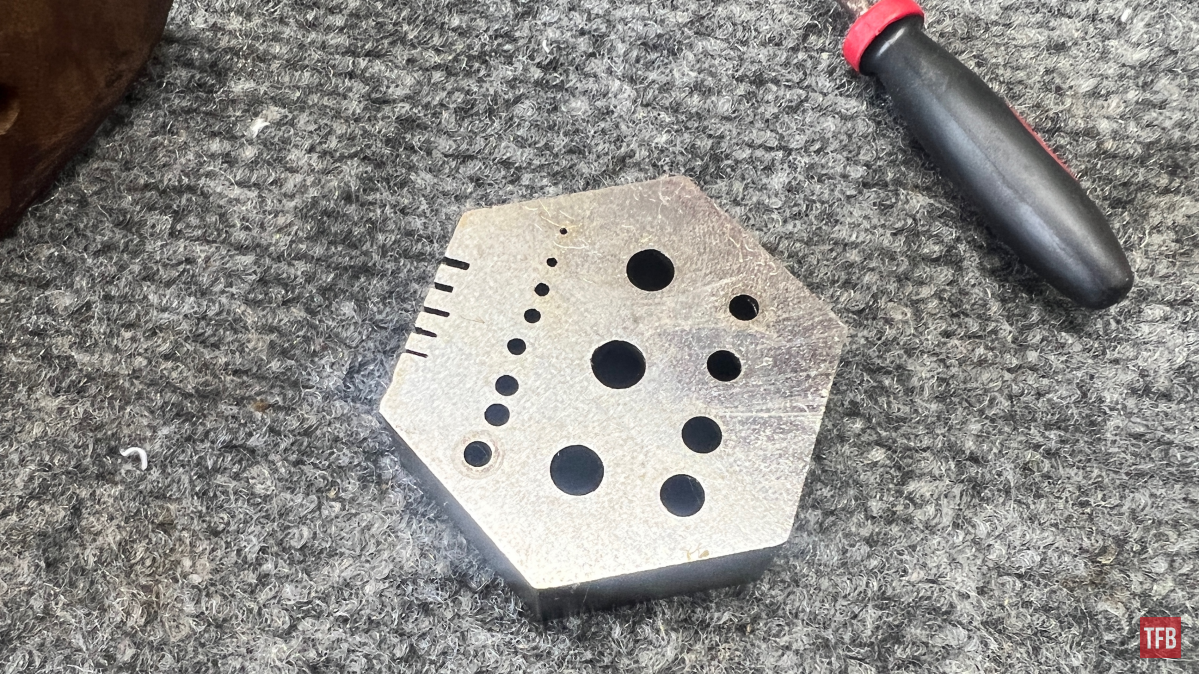
The first article of business is making sure you have a vise and/or a metal jeweler’s block. Plastic bench blocks may work okay (I have never tried it) but the general rule of thumb would be to have something you can secure the screw to in order to properly clean it up.
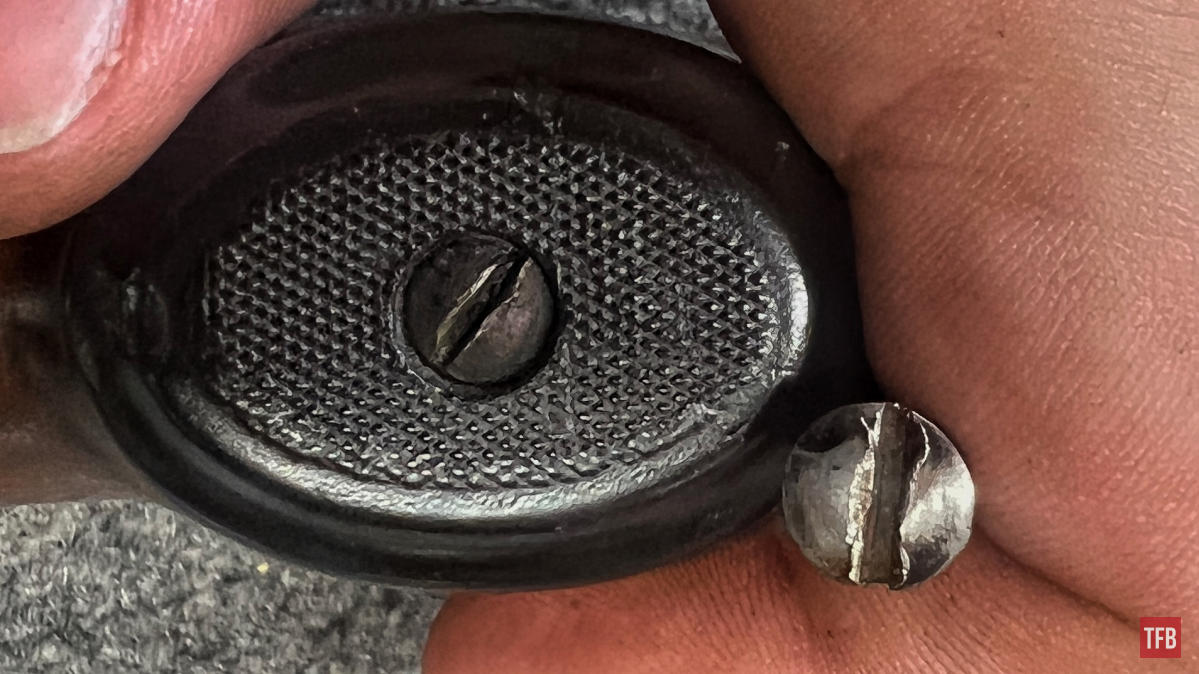
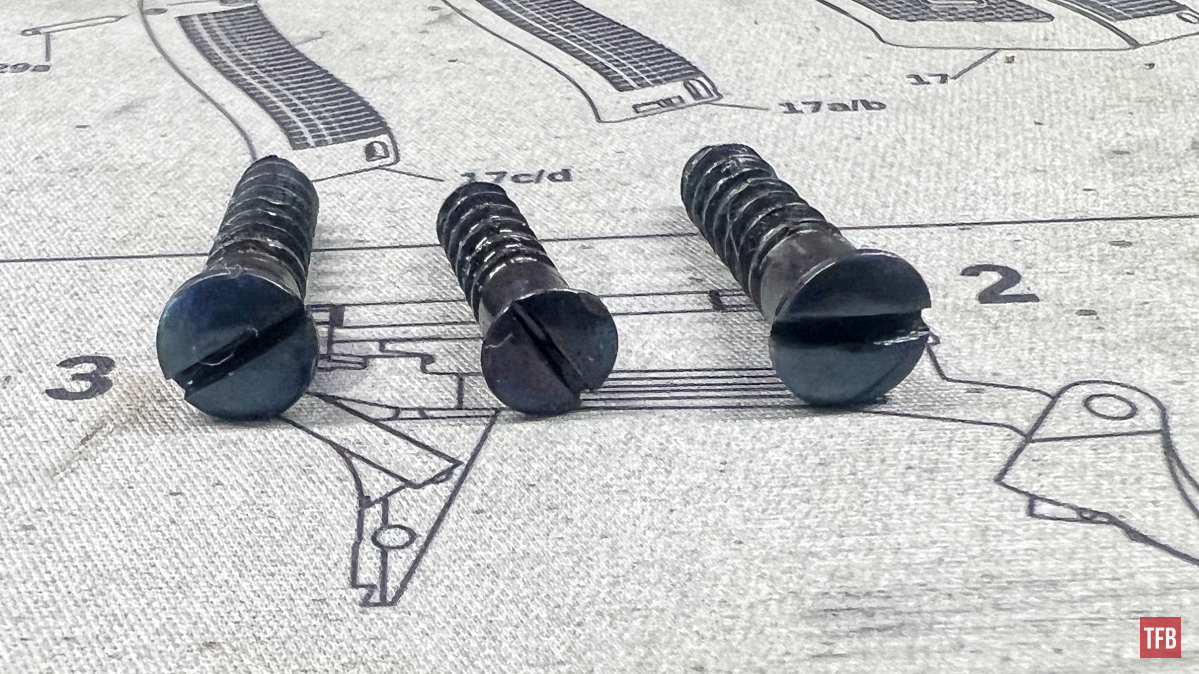
Remove screws (if possible) and assess the damage. On this rifle, there was a crunched grip cap screw and butt-plate screws that could use some attention. As I previously mentioned, this was almost certainly done by using an undersized screwdriver bit that pushed and deformed the crew slot material. They most likely were never blued or at the very least glossy blued but they served the purpose for this demonstration sort of article.
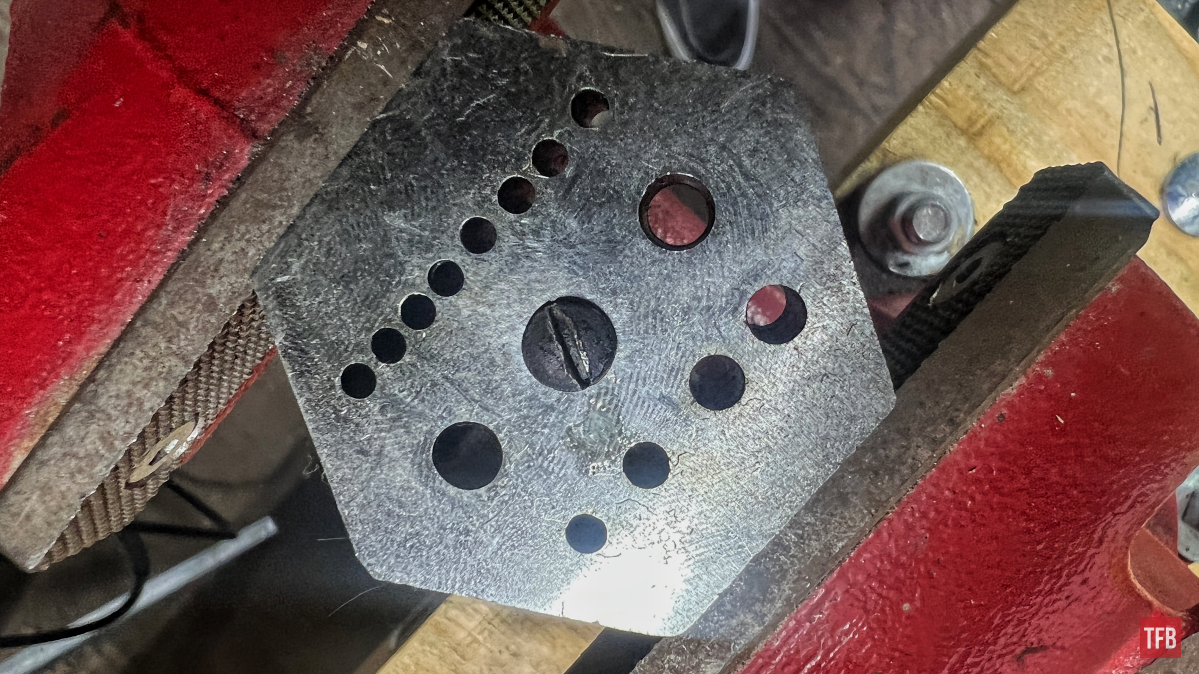
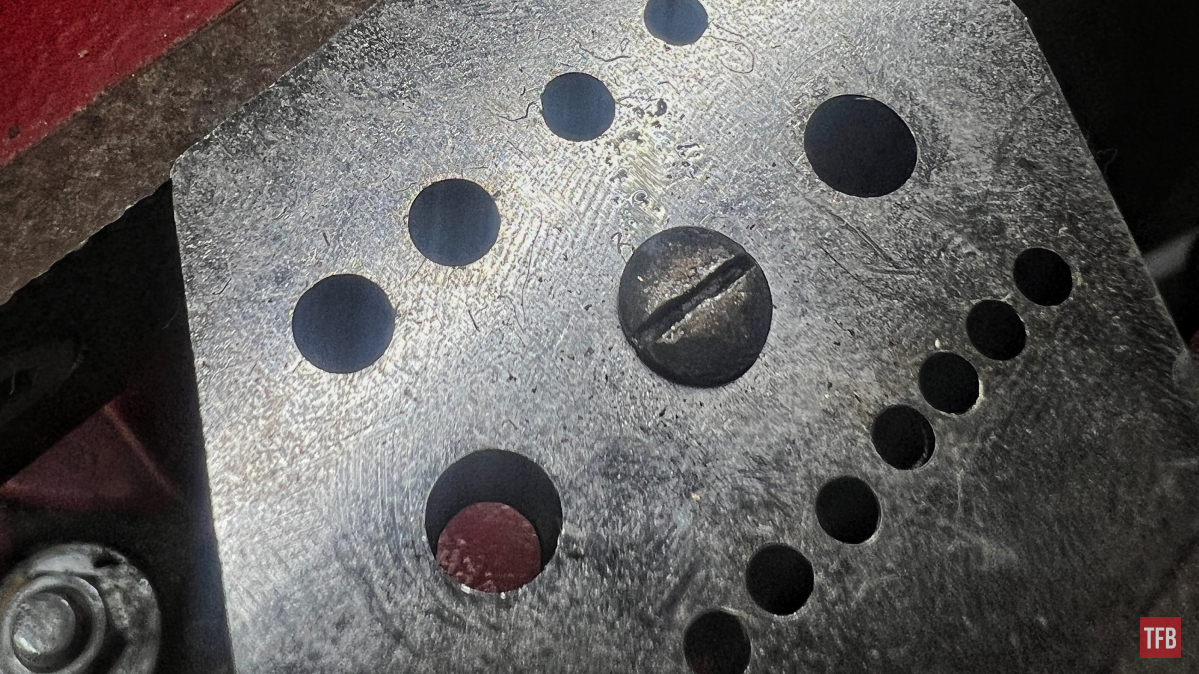
Using a vise, clamp your jeweler’s block/metal bench block and place your screw in it. The screw does not need to be held tight by any means or be screwed into anything. In fact, make sure that the screw is only being retained by the width of its head rather than by any threads in order to prevent further damage.
Note: if your screw is too wide for a jeweler’s block holes, then you can lightly close a vise on the screw without actually clamping down on the threads. Just make sure not to bounce the screw across the room with the hammer you are about to use.
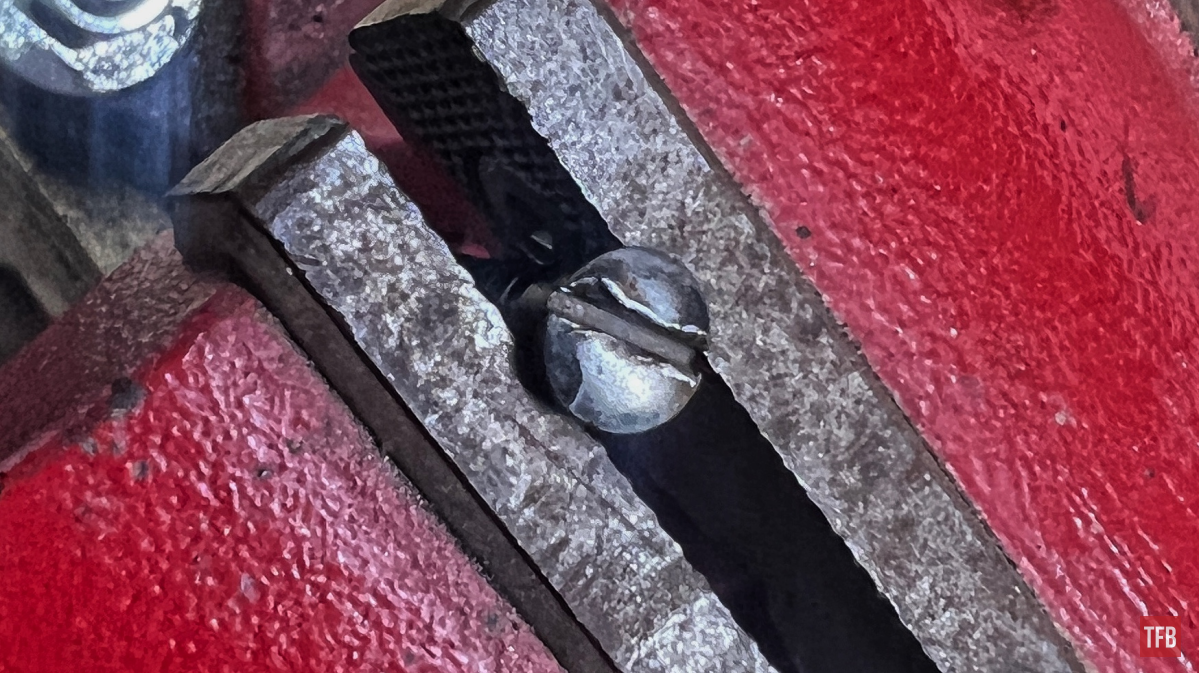
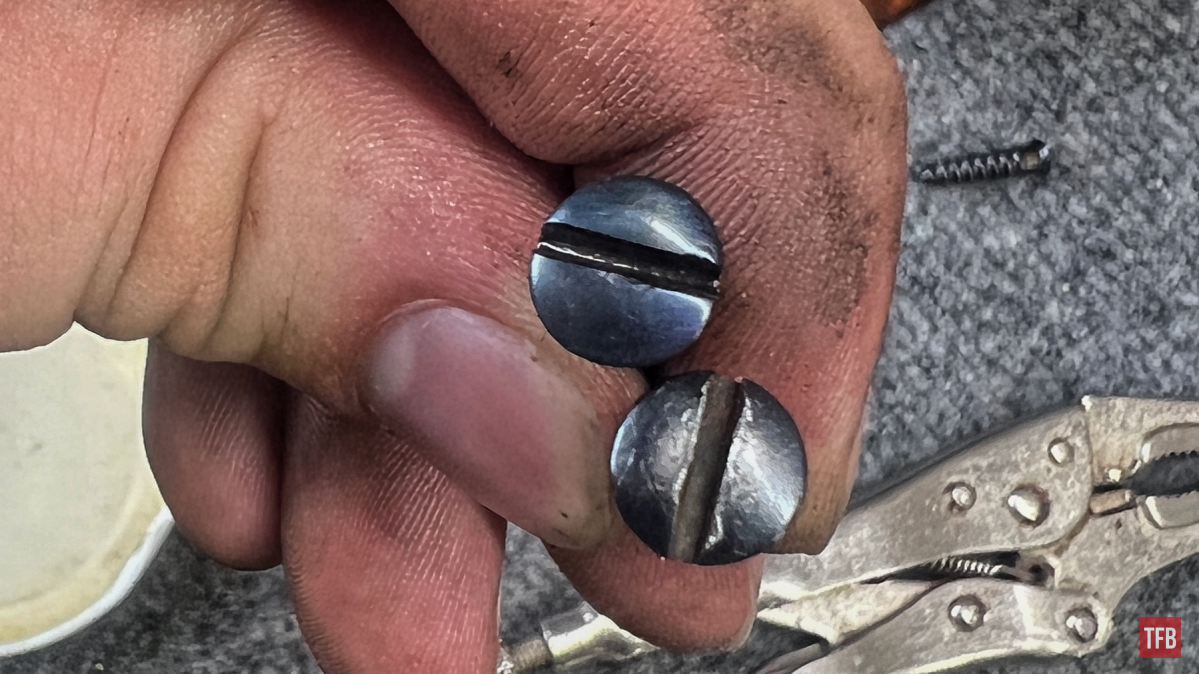
Next up, we use a light hammer to tap around the head of the screw. Ideally, you are letting the weight of the rather light hammer do all the work. The majority of the “taping” you are doing should be directed straight down and toward the slot. This moves material back and over around its original location. If your screw head is so mushed up that material fills the slot, fret not, the next step is designed to alleviate that and clean the slot up.
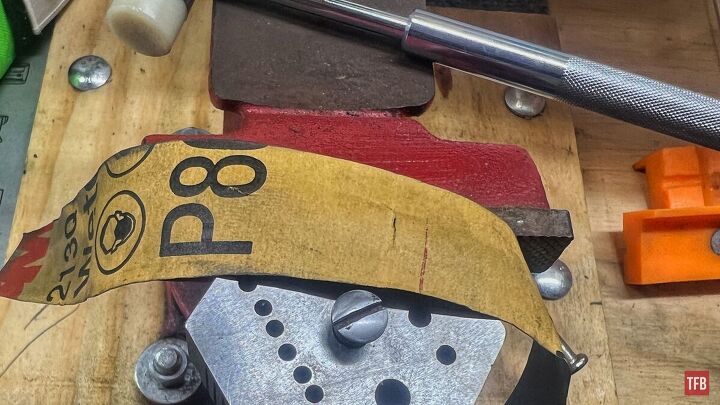
After tapping and persuading the material back into its area of origin we can clean up the slot that is potentially filled with excessive material. This is done by using a screw slot file (these are pretty spendy but worth it if this is the kind of thing you find yourself working on frequently) or a hack saw.
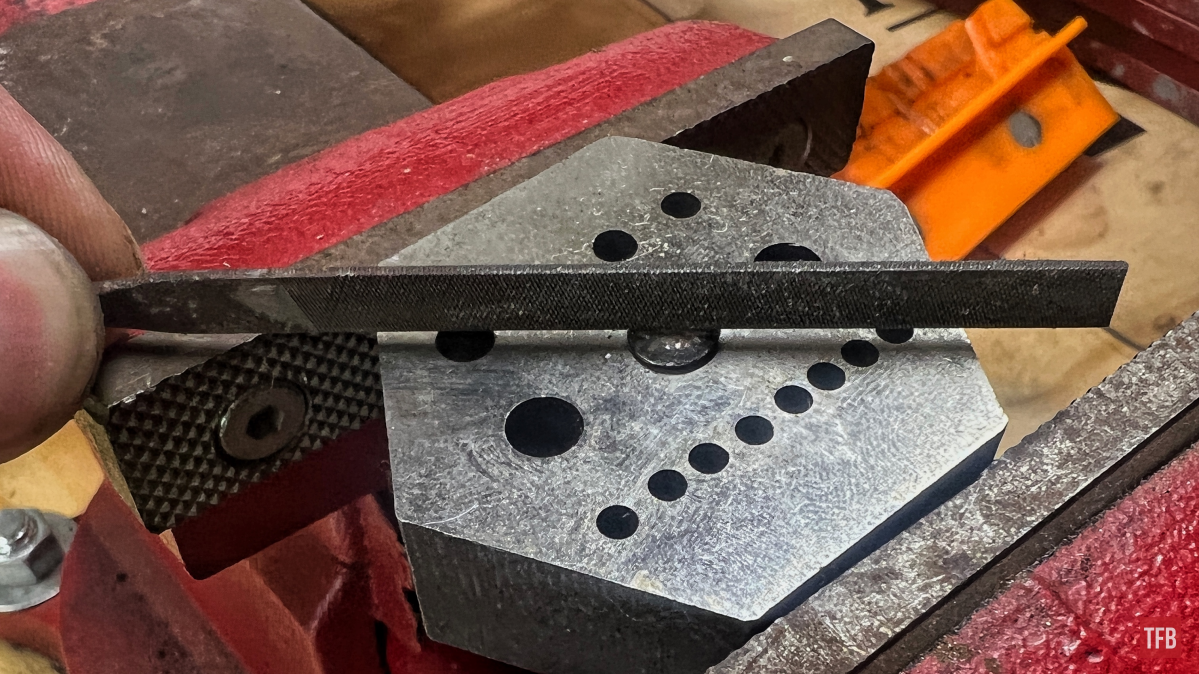
I do not own any screw slot files, they are on my list, but I have some thin-ish files that work from time to time. In this case, the hacksaw was the right fit for the slot. Rather than literally sawing a slot, I lightly push the saw forward without applying a ton of cutting pressure. This clears away excess material and gives more uniformity to the walls of the slot.

Using a file you can lightly scrape the top of the screw head if there are any burs or unseemly material.
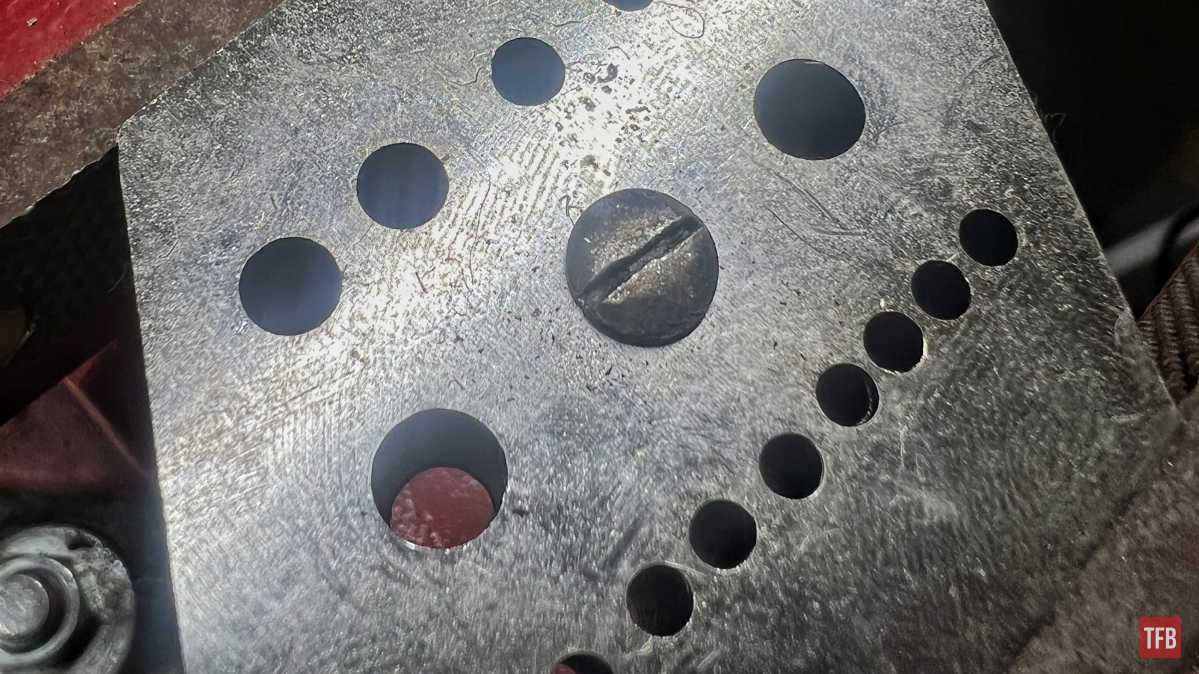
After making the slot as uniform and cleaned up as it can get we are ready to move on to finishing or bluing if you so chose for the particular project you may be working on.
Fire Bluing Screws
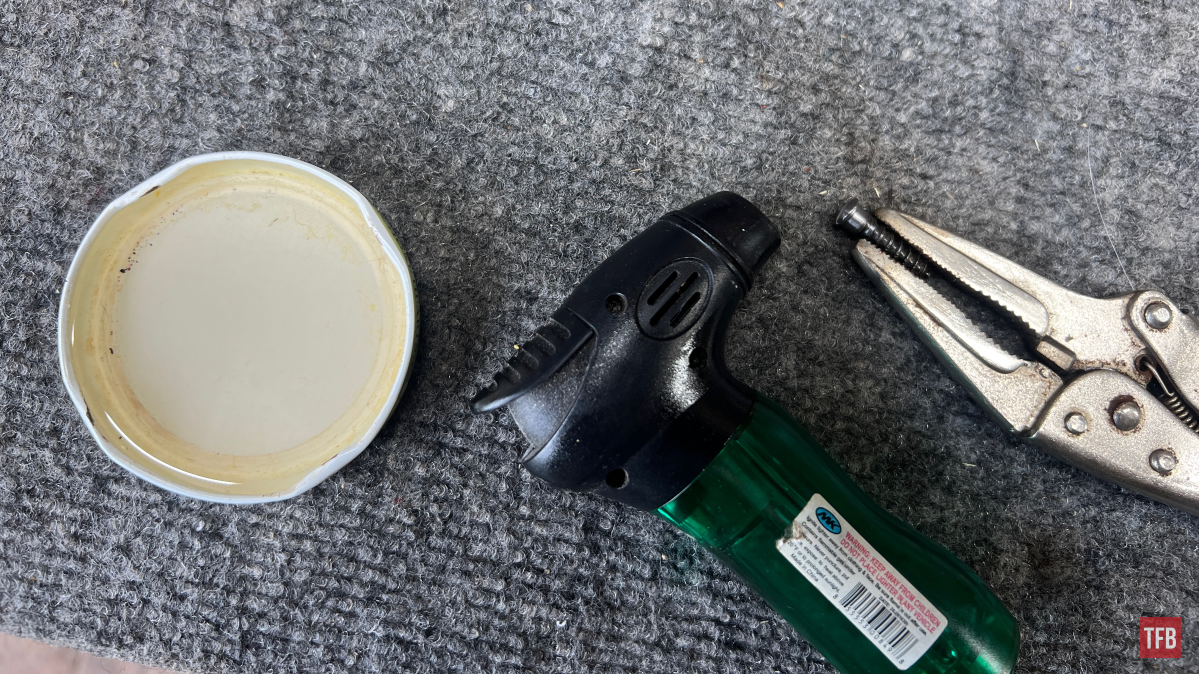
Bluing is a topic I deep dove into a little while back and I suggest you go back and read the Part I and Part II articles if you want to learn more about the different processes. Fire bluing or flame bluing is not actual bluing. It is a rather temporary and light change in appearance that yields a look that is very similar to bluing. In this case, you need the object you intend to fire blue ( make sure it is a non-integral part, one that does not undergo any stress), some oil, a set of pliers (vise grips do a good job), a welding glove, and a torch of some sort. This torch does not need to be anything heavy-duty. I did these with a cheap storebought torch.
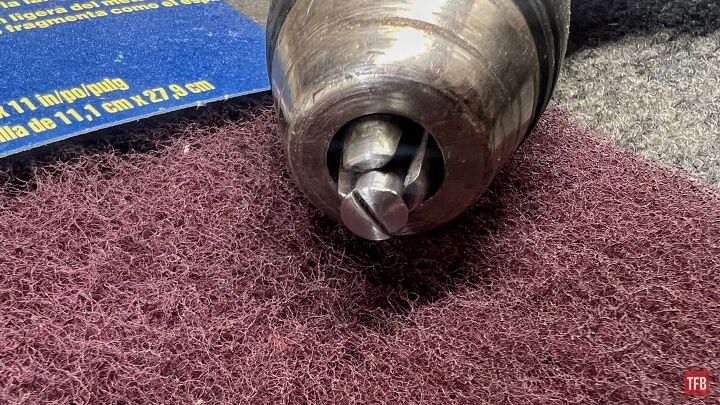
An optional thing you can do is polish the screw head with sandpaper, emery cloth, or an abrasive pad meant for metal. This will yield a glossier look after flame bluing.
This polish is very easy to achieve and does not need to be labor intensive. Chucking the screw into a drill and running the head over some abrasive pads meant for metal polishing shines it up quick!
Once the screw head is cleaned and polished to your desired look you are ready to do some fire bluing. The setup I rolled with was rather improved so by no means must it be replicated to a tee. I used a set of needle nose vise grips to grasp the screw in a way that it would not smush the threads.
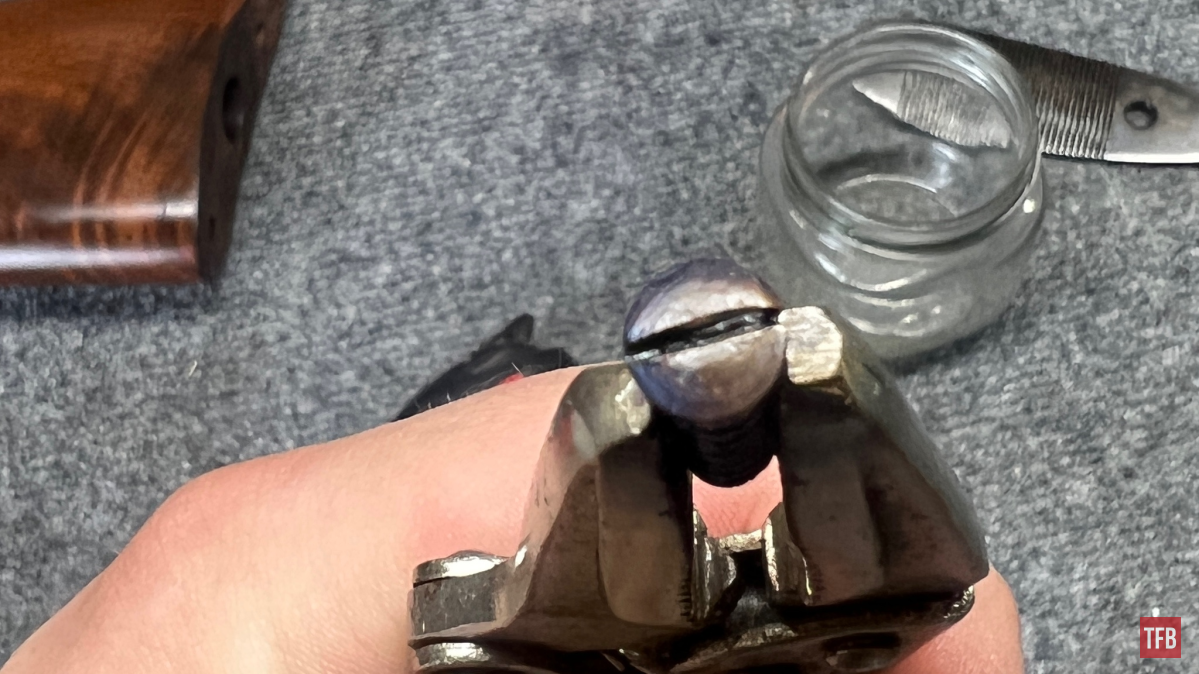
Holding the vise grip in one gloved hand (heat transfers, folks) I began applying the torch flame to the screw head. Specifically, in almost a painting or brushing motion, waved the flame up from the base of the screw head to the actual top of it. This drags the heat to the head.
The head will retain its color for a short while and then suddenly turn to gold or yellow color and shortly after that it will flood into a deep blue. This happens around 600 degrees Fahrenheit.

After the screw head turns blue, plunge it into some oil. After this you can let it air cool or rinse it with some water, just make sure to apply to oil it before putting it back into your workpiece.
Conclusion: Cleaning Up and Fire Bluing Screws
Fire bluing as I mentioned is not a huge chemical process. It is actually a pretty wimpy form of finishing which is why it is applied to things like screws (things that normally do not experience a lot of outside wear). It is so light of a finishing step, in fact, if you do not achieve the look or deepness of blue you want the first time around, you can just lightly polish it and do it all over again in minutes.
Cleaning up the screw slot itself can take some practice. I suggest that if you are attempting it for the first time, do a trial run on a throwaway screw. Hopefully, this was informative. I apologize for the lack of “step-by-step” pictures but I am a one-man show and it is hard to hold a camera when you are using both hands, especially when you are working with fire. Also, the image quality could have been done better as well. The camera lenses got pretty filthy with all the polishing going on. I am sure there are videos out there that go over the same process I just explained. Until next time, take care and be safe out there!
As always, thank you for reading TFB! Be safe out there, have fun while shooting, and we will see you next time for the TFB Armorer’s Bench brought to you by Wheeler, Tipton, Caldwell, and Frankford Arsenal! Also, let us know what you think in the comments below! We always appreciate your feedback.

Caldwell Pro Range Glasses, Clear

The Caldwell® Pro Range Glasses feature a stylish wrap-around design and are a great choice for all shooters. They feature an adjustable nose piece and temples for all day comfort. The scratch resistant lens meets ANSI Z87.1 standards and offers 99.9% UV protection.
Tipton POWER SWABS – PISTOL CLEANING KIT, 500 COUNT
Tipton’s new Power Swabs are an essential part of your cleaning kit. They’re disposable, fast, and easy to use, plus they provide no-mess cleaning with all your favorite solvents and oils. They also fit lands and grooves better than a patch for maximum cleaning.
Wheeler Universal Bench Block
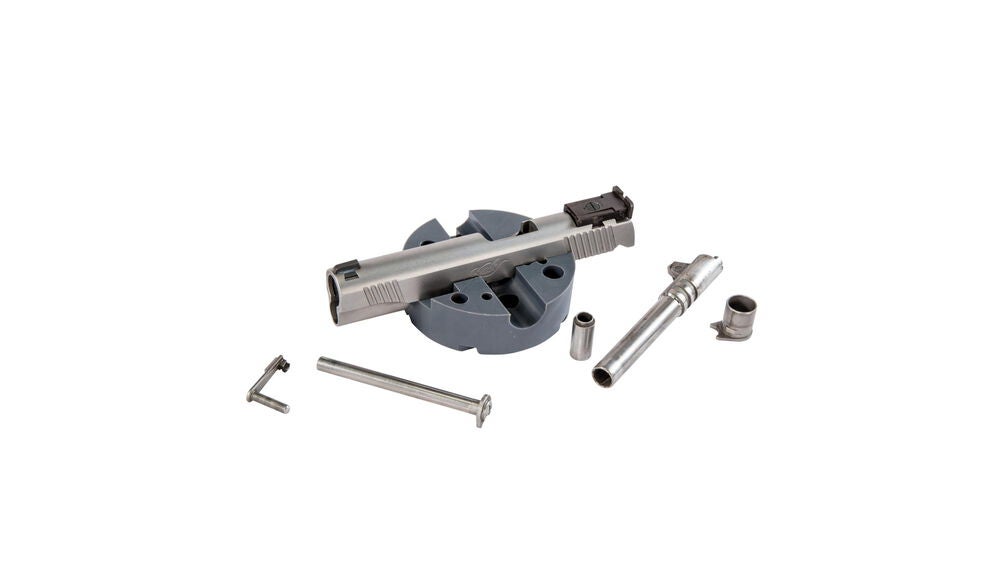
Made of non-marring urethane, the Universal Pistol Bench Block is perfect for use on M1911 pistols as well as other firearms such as 10/22s.
Tipton CLEAN AND OIL BRUSH
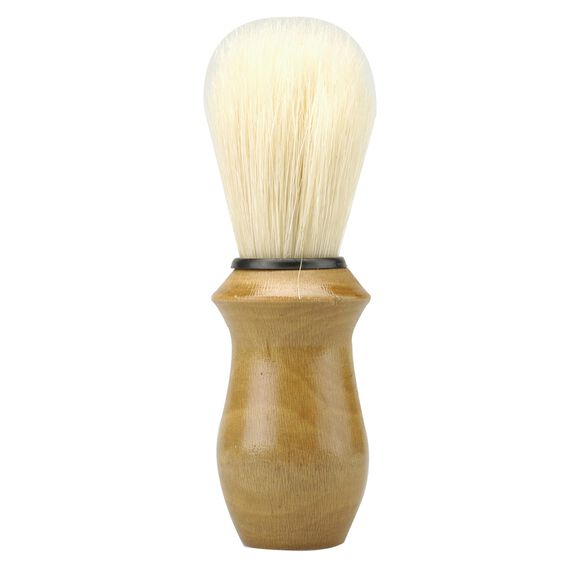 Fine natural bristle cleaning and oil application brush. Contains hundreds of soft 1-3/4″ bristles for cleaning and carrying oil and preservatives to the exterior of your guns, and the hard-to-reach areas like under vent ribs.
Frankford Arsenal Stainless Steel Dial Caliper
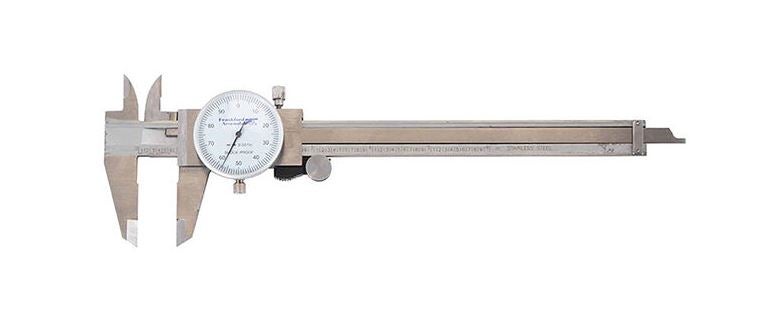
Reloading ammunition requires attention to many critical cartridge dimensions, including case length, neck and base diameters, overall length, primer pocket depth, etc. Verifying these dimensions is quick and convenient with the Frankford Arsenal® Stainless Steel Calipers. These calipers are accurate to within .001″. The calipers allow you to measure inside and outside diameters, plus depths. You will find them useful for many measuring tasks on and off the reloading bench. Packaged in a convenient and protective case.
Tipton SHOOTERS SWABS
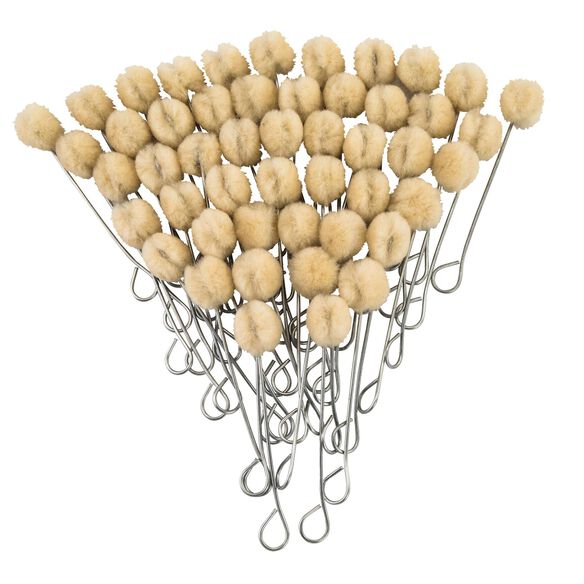
Wire-handled swabs are perfect for applications of lubes and preservatives. They also work well with solvents to scrub out recesses in receivers, bolt bodies and other hard-to-reach areas. Dozens of uses. 4” long.