 Your Privacy Choices
Welcome everyone to the TFB Armorer’s Bench! As mentioned in the little blurb below, this series will focus on a lot of home armorer and gunsmith activities. In this article, I decided to walk through assembling the Real Avid Master Gun Workstation step-by-step. I’m sure many of you have been eyeing this modular and customizable gun vise since it first came out. With its sturdy construction and versatility, it’s an excellent addition to any home armorer’s workbench. By the end of this article, you’ll be fully equipped to set up your own Master Gun Workstation and customize it to your workflow. So let’s get started and put this thing together!
Real Avid Reading @ TFB:
- TFB Armorer’s Bench: New Real Avid Master Gun Workstation Review
- TFB Armorer’s Bench: First Look – New Real Avid Master Gun Workstation
- TFB Armorer’s Bench: Closer Look – Real Avid Master Gun Vise
- Real Avid Introduces MASTER-FIT Armorer’s Wrench Kits
- Real Avid Introduces The Foul-Out Gunk Blaster Cleaner/Degreaser
TFB Armorer’s Bench: Real Avid Master Gun Workstation
Here, we at TFB hope to inform, entertain, and even inspire any would-be gunsmith or armorer out there. Ideally, with the information I provide and with the help of our sponsors, you can have some useful knowledge pertaining to the conservation and improvement of firearms technology while at the same time sharing experiences and teaching each other new tips and tricks along the way in the comments. Digging deep into what it is to be an armorer or gunsmith has significance but what is important is what those people do to show they’ve earned that title. I am happy to share my experiences and knowledge and hope it is informative!
Make your personal safety a priority:
- Practice proper gun safety. Always make sure before the firearm hits your bench that it is unloaded and safe to be handled.
- Wear the proper safety equipment. The main one would be safety glasses (decent ones) since parts are often under spring tension and you may work with high RPM tools. Other honorable mentions would be latex gloves or a respirator when working with potentially harmful solvents and oils. Also hearing protection when working with loud machinery or test-firing firearms.
- Modifications, alterations, and customizations will void your firearm’s warranty 9.5 times out of 10. Please take that into consideration before attempting any at-home gunsmithing.
- If you are unsure about proper safety practices, disassembly procedures, or warranty standards, stop, put down the tools, and consult a competent gunsmith.
Step One: Safety First!
The first thing is first! Safety. Yes, I know safety is boring and sooo mainstream but bear with me. As far as PPE, I highly recommend wearing safety glasses at the very least. Working at the bench has a way of making you forget you do not have them at the moment you should.
Step Two: Real Avid Master Gun Workstation
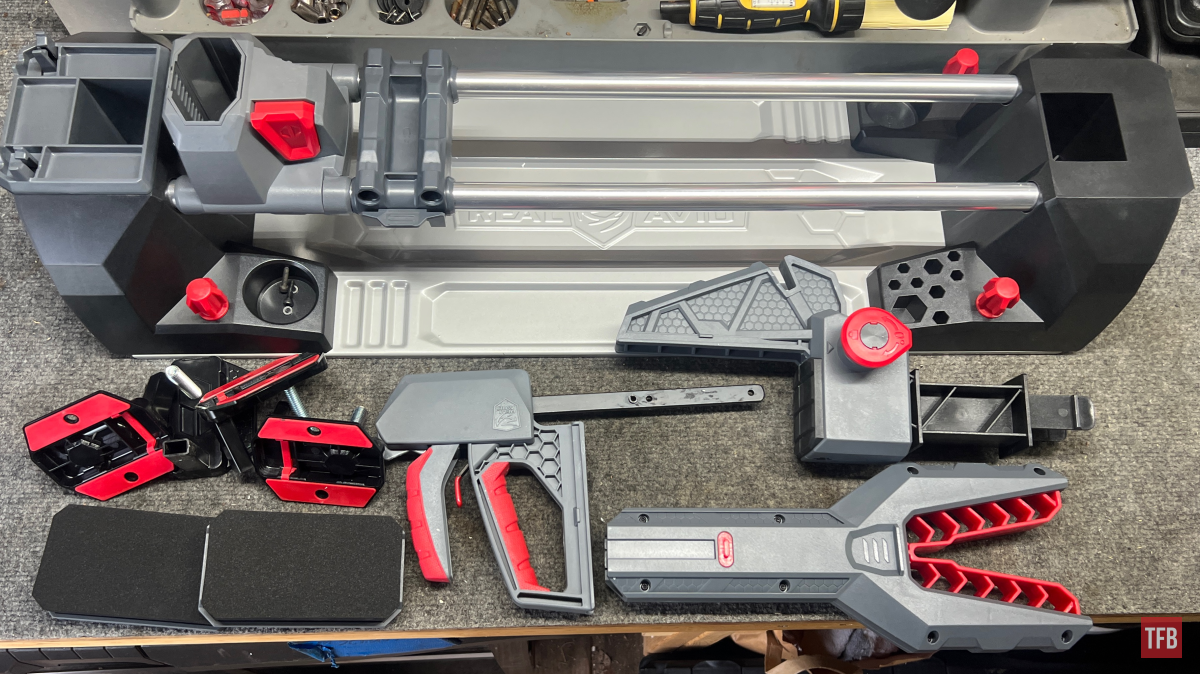
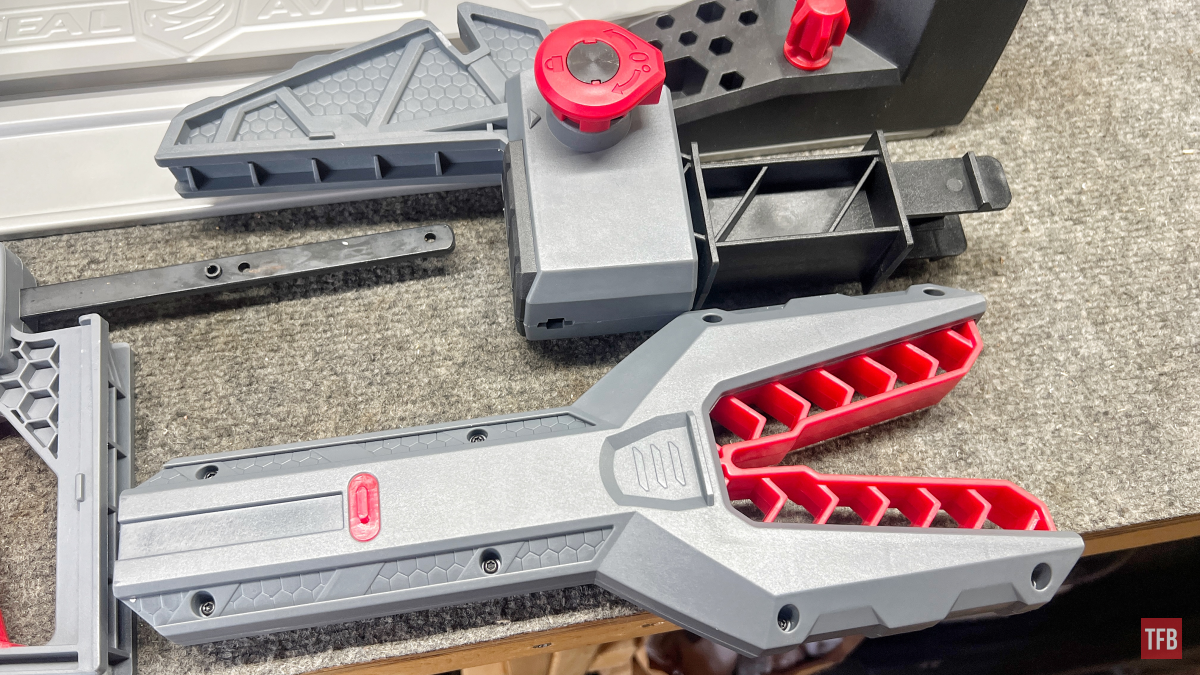
First, we have to make sure we got everything out of the box. That “everything” is pictured below. Make sure to spy the screws and mini washers in the parts cup.
Step Three: Real Avid Master Gun Workstation
Let’s start with the feet!
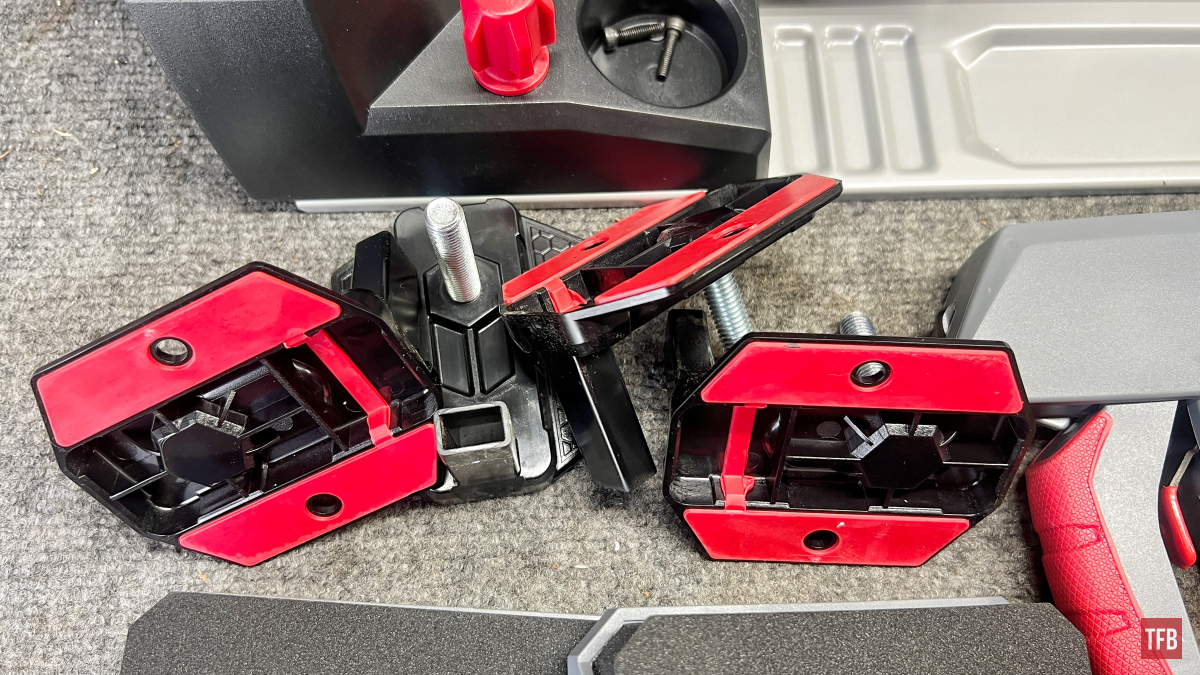
Below is the orientation that they should be in when they are installed.
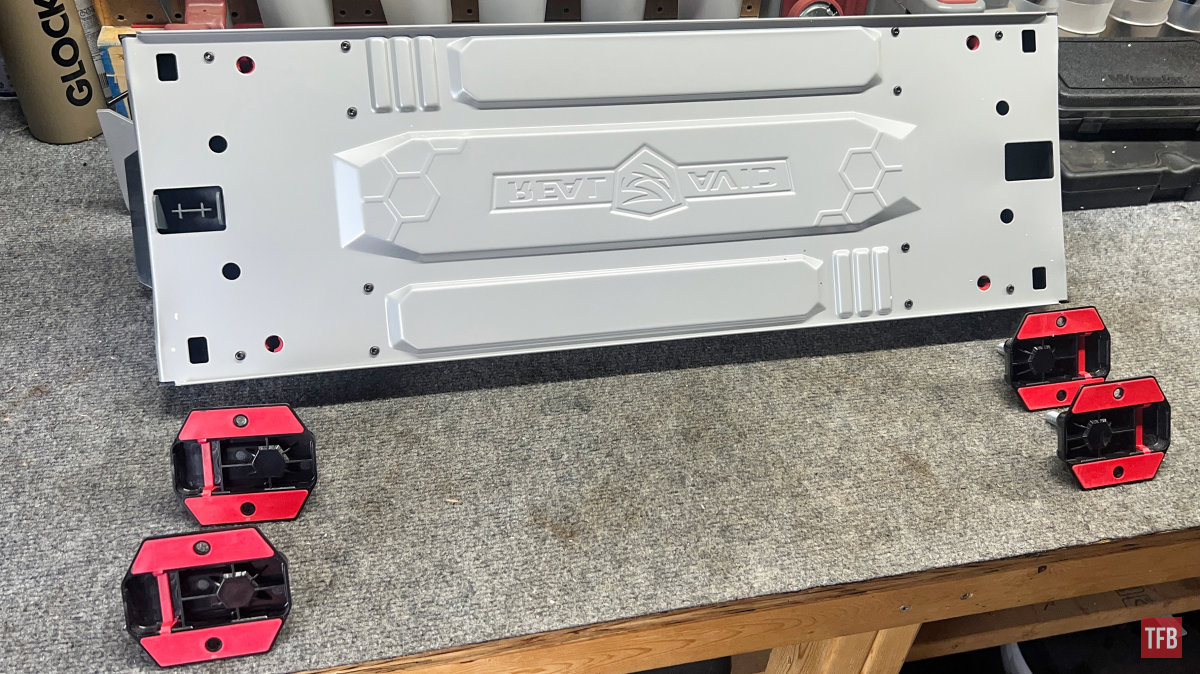
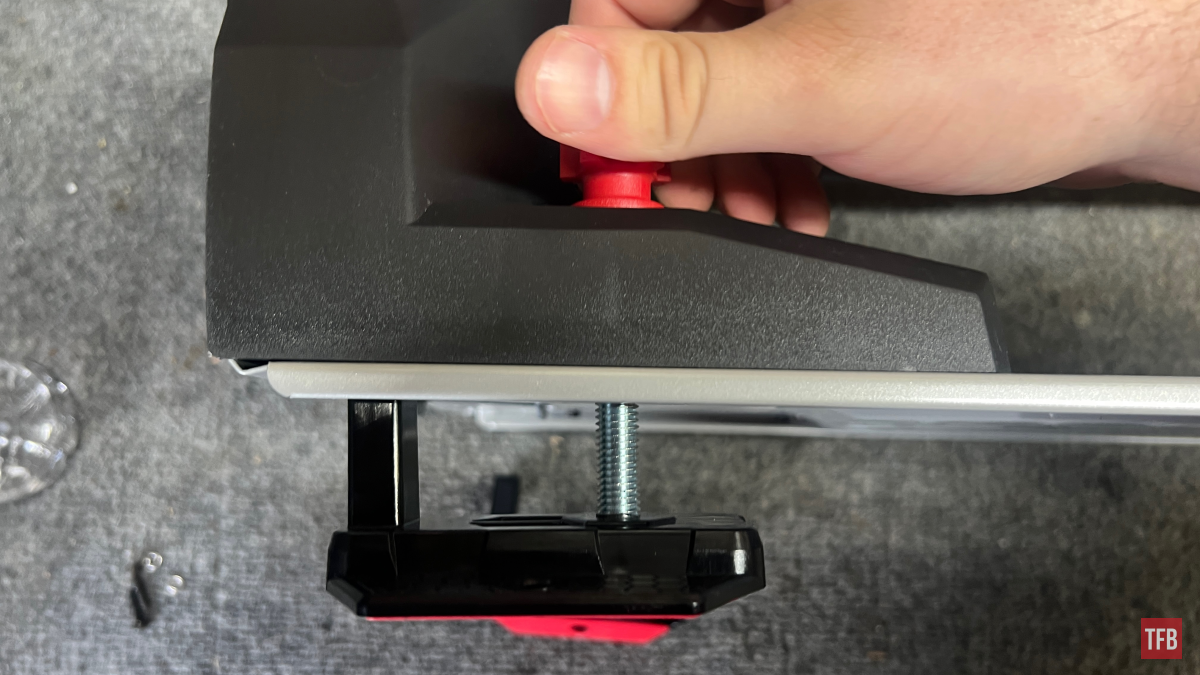
From here all that needs to be done is please the bolt threads into the workstation base below the height adjustment knobs. Twist the knobs until they start to bite the bolt and adjust accordingly.
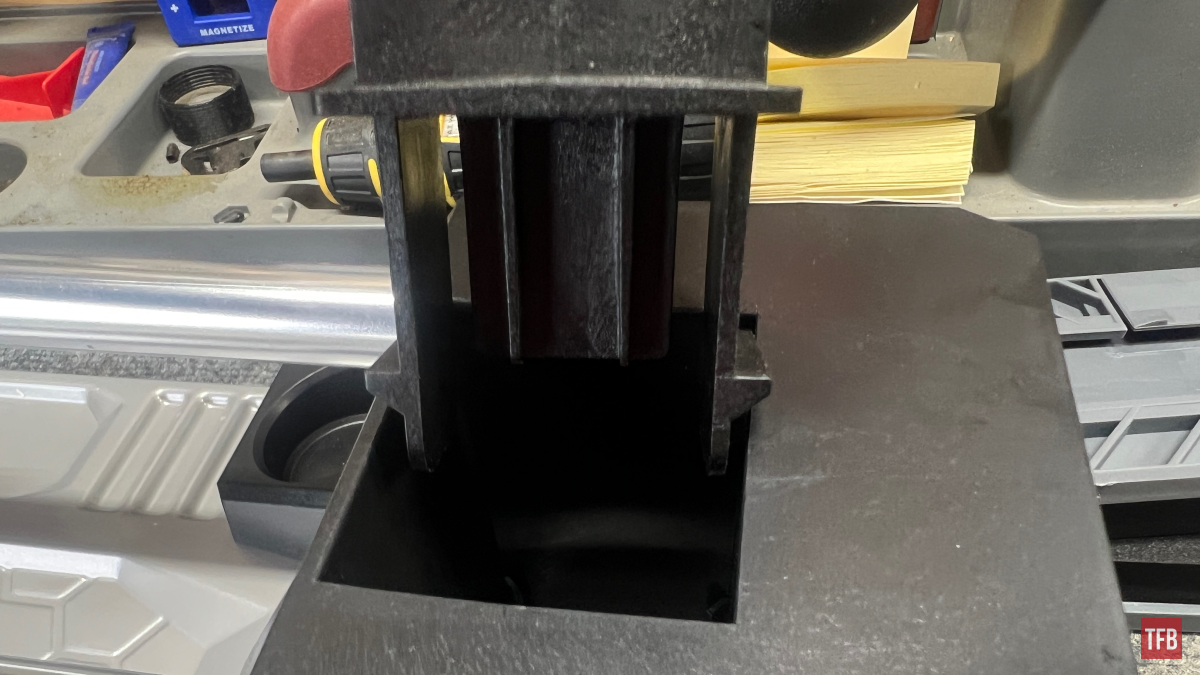
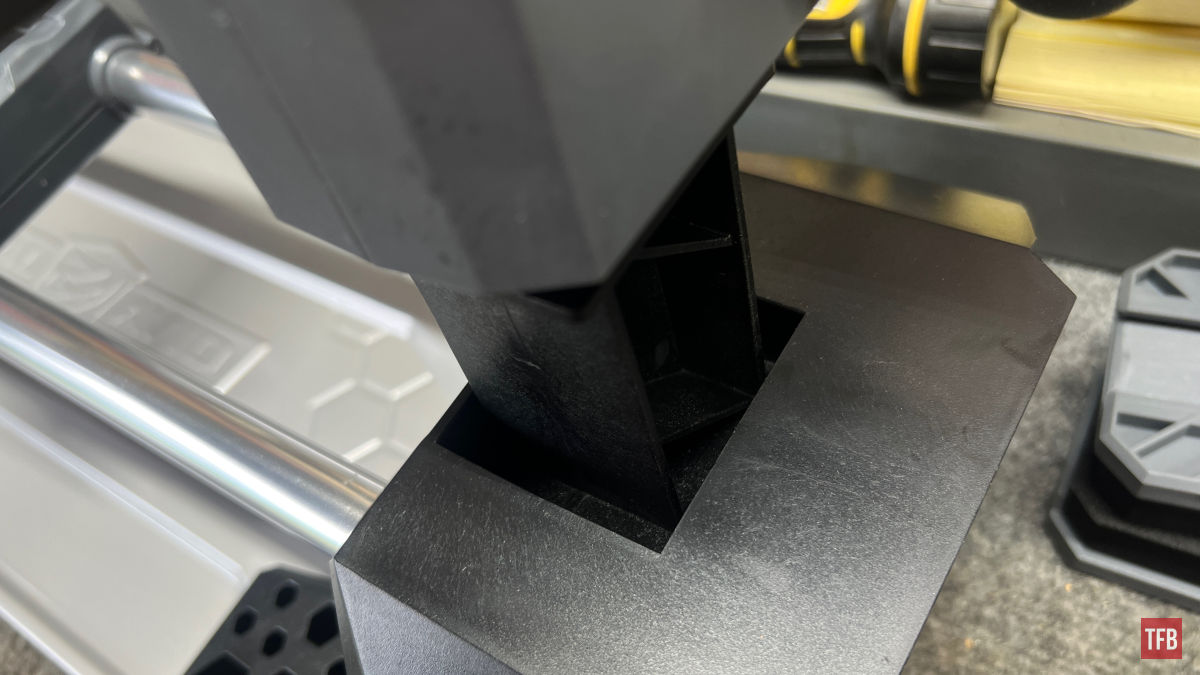
Step Four: Real Avid Master Gun Workstation
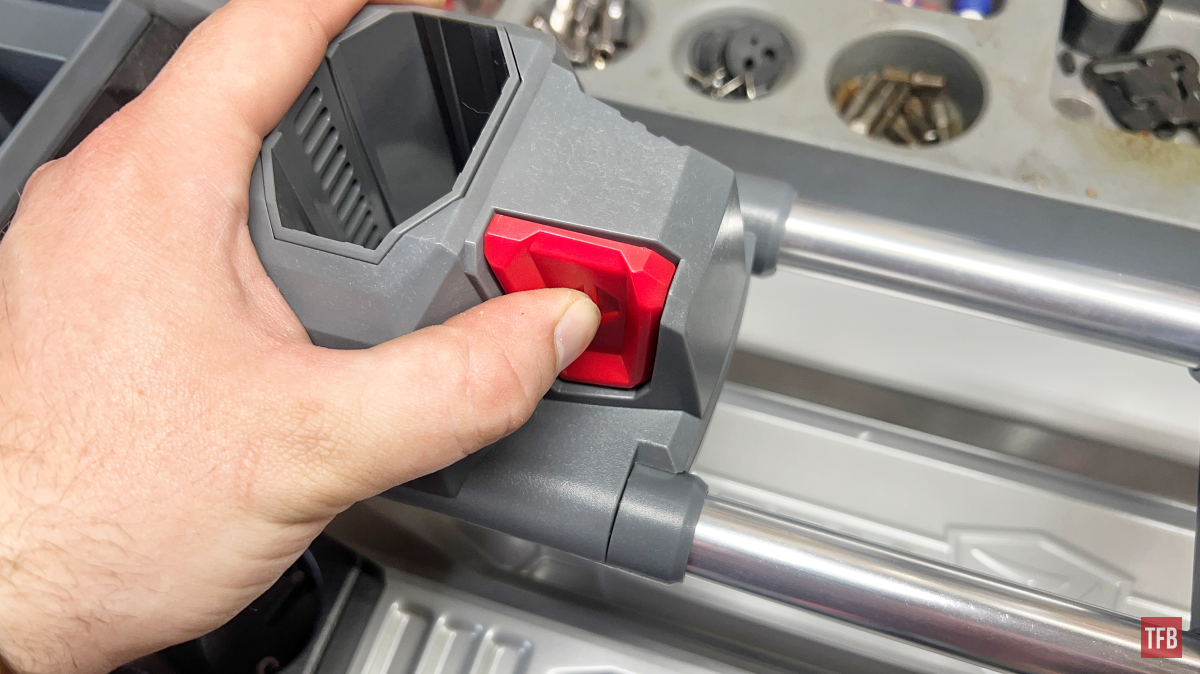
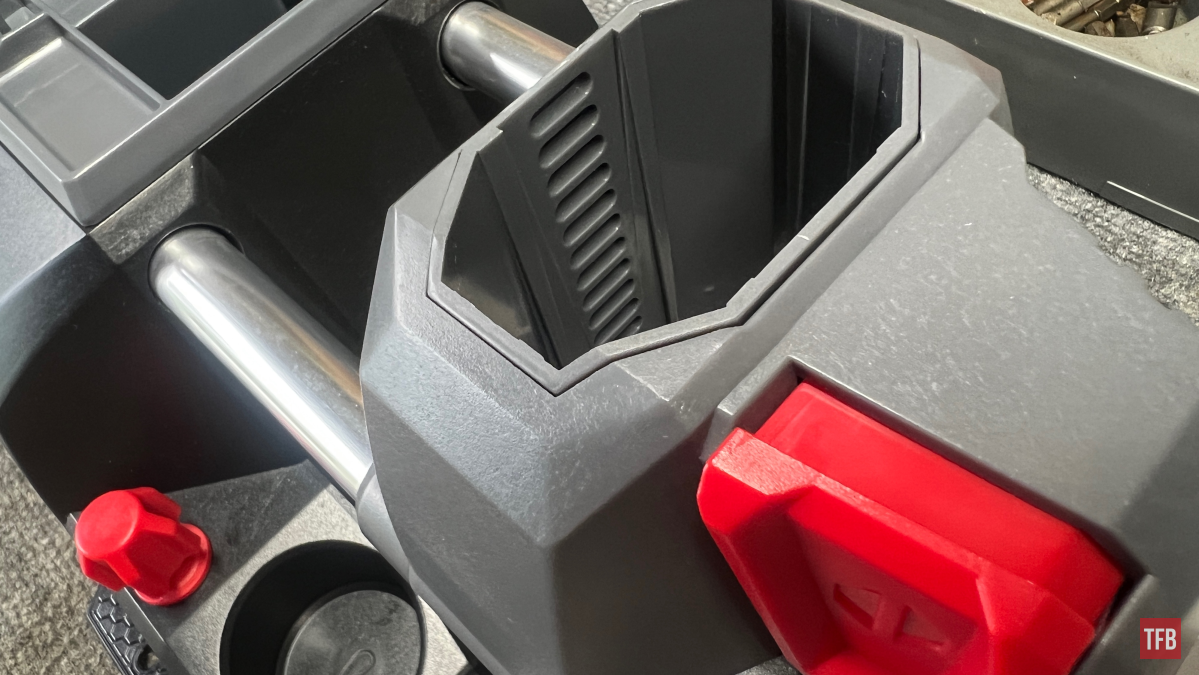
Now onto the adjustable barrel yoke! This is the “Y” shaped piece.
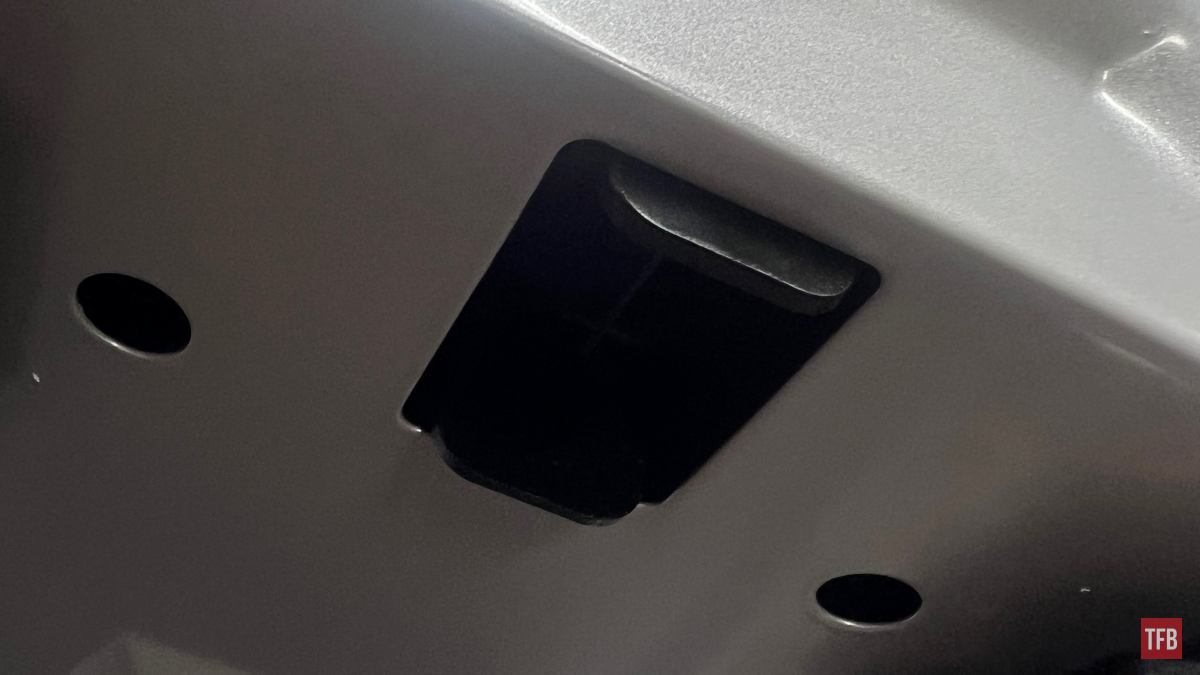
The barrel yoke goes into this reservoir here.
The base of the yoke needs to be rocked in similar to an AK magazine. That lip needs to be pushed inward before the yoke can be installed.
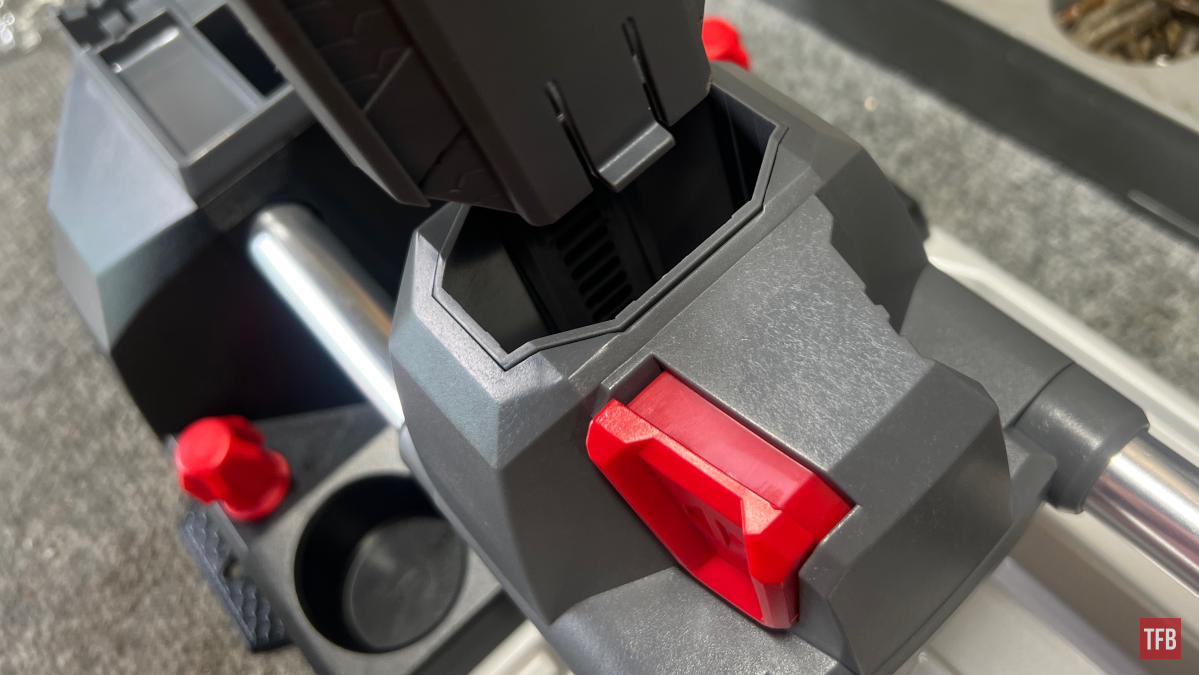
The opposite side of the yoke has a similar lip in the form of a red button. This button intersects with slots on the inside of the reservoir in order to adjust your level.
If you are wondering what the big button on the side is, it is for moving the whole apparatus forward or back.
Step Five: Real Avid Master Gun Workstation
Now the pump adjustable clamp.
This is where the two screws come in.
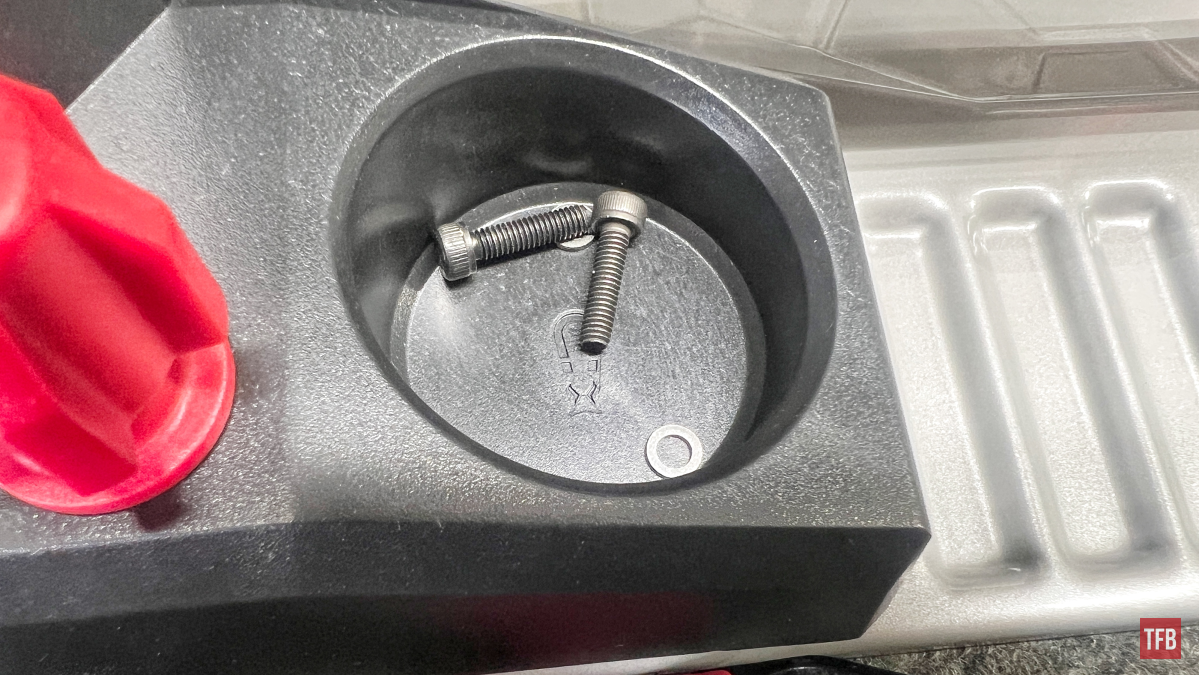
The rod below is included in the box but assembly of the pump is required. The way it will line up on the inside is like so.
The nuts are built into the pump apparatus so the bar can be inserted into the pump until the holes line up.
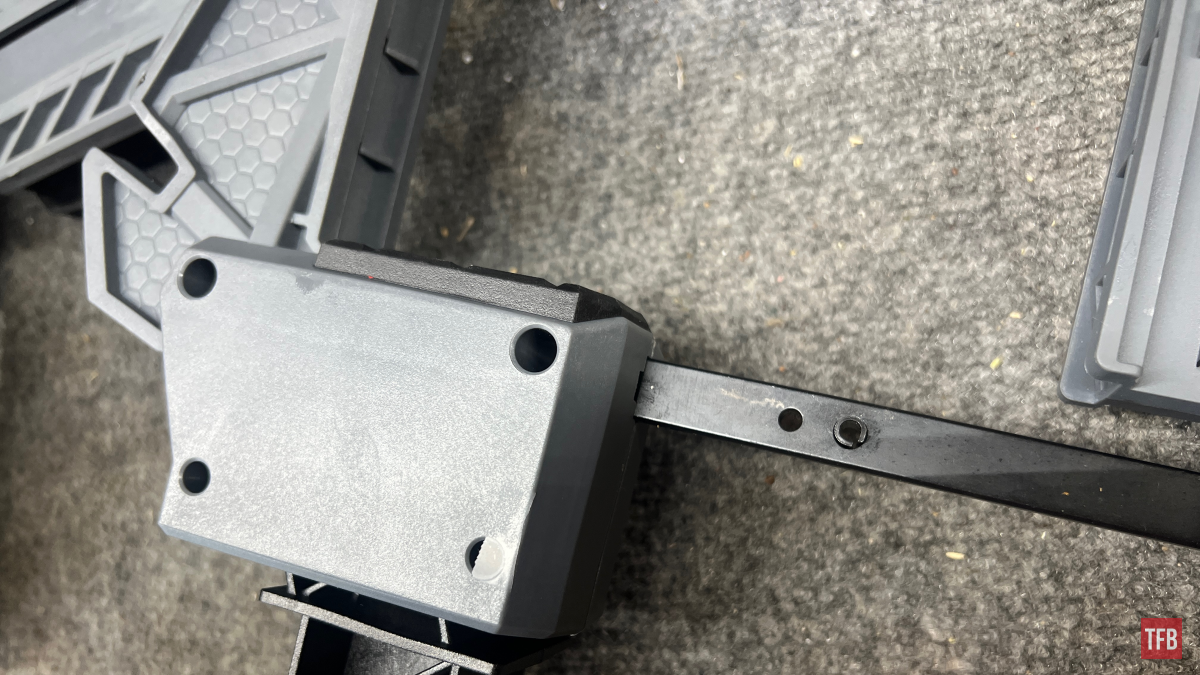
Torque the screw down hand tight.
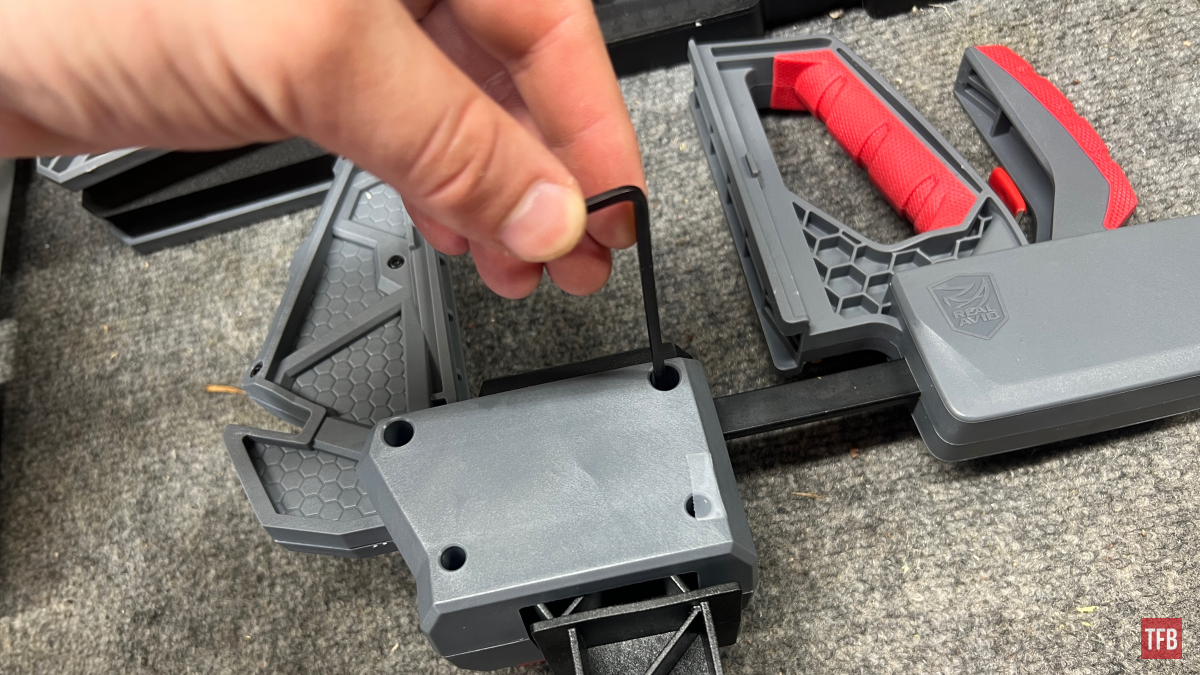
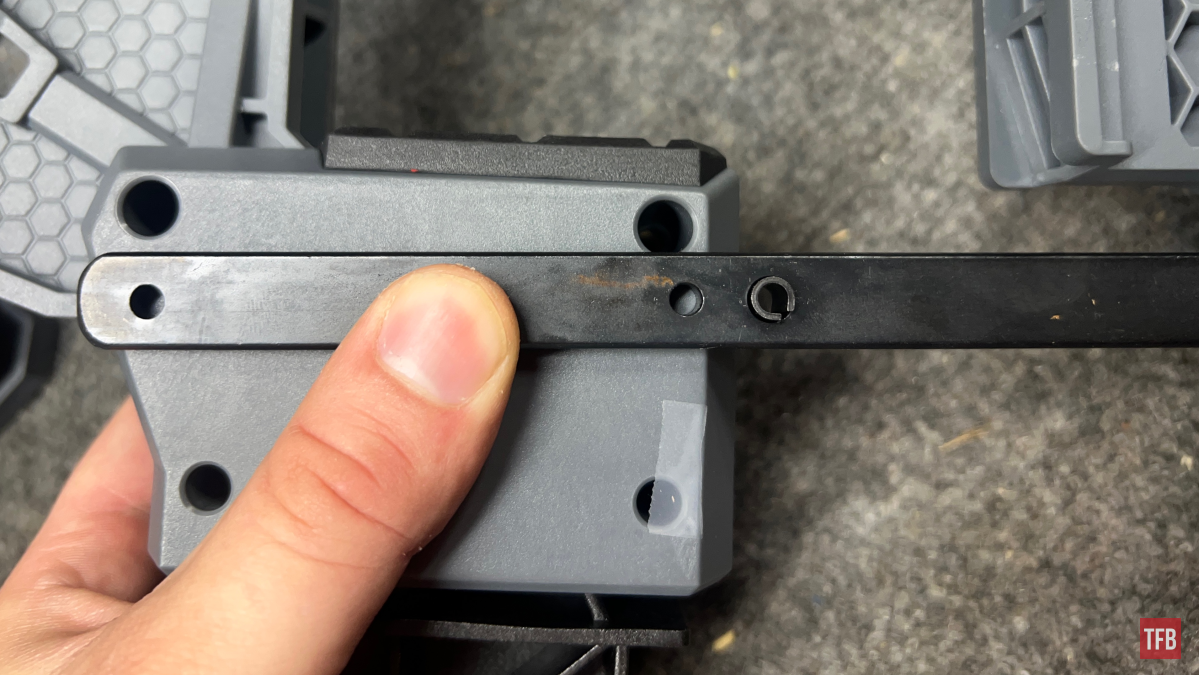
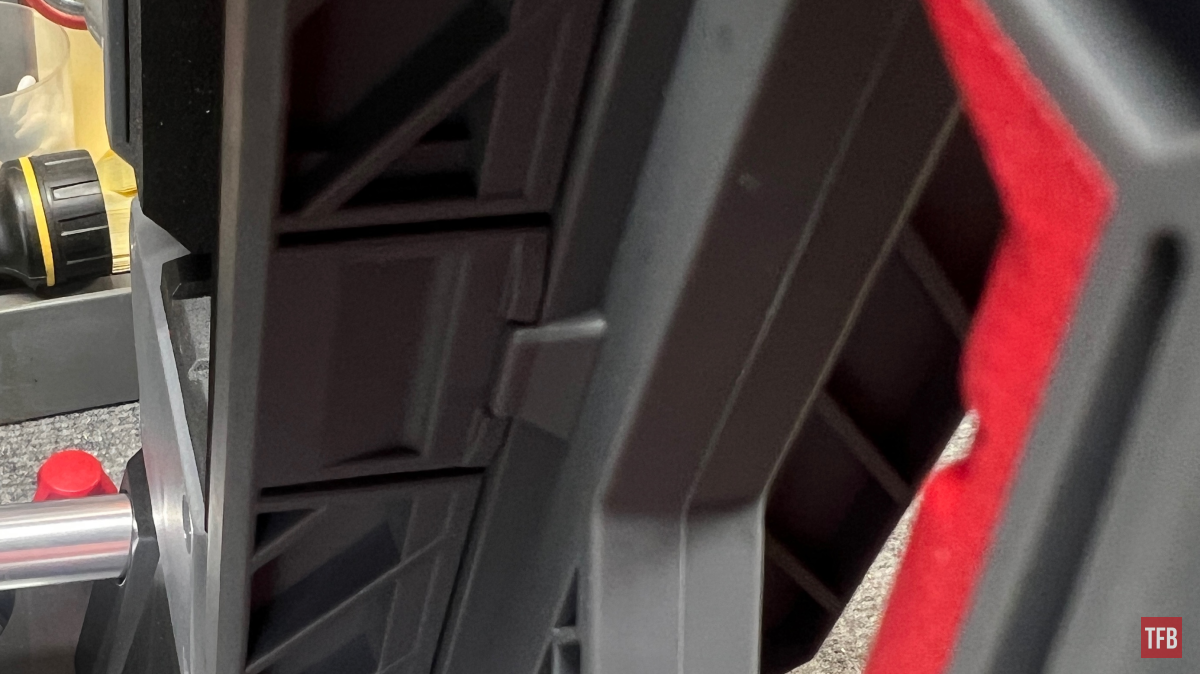
With these two main parts mated, we can install it into the workstation. This thankfully is less complicated than the yoke. The base has plastic fins that have some spring tension.
Simply depress the fins and lower the pump system into the workstation until the fins lock to the bottom of the base.
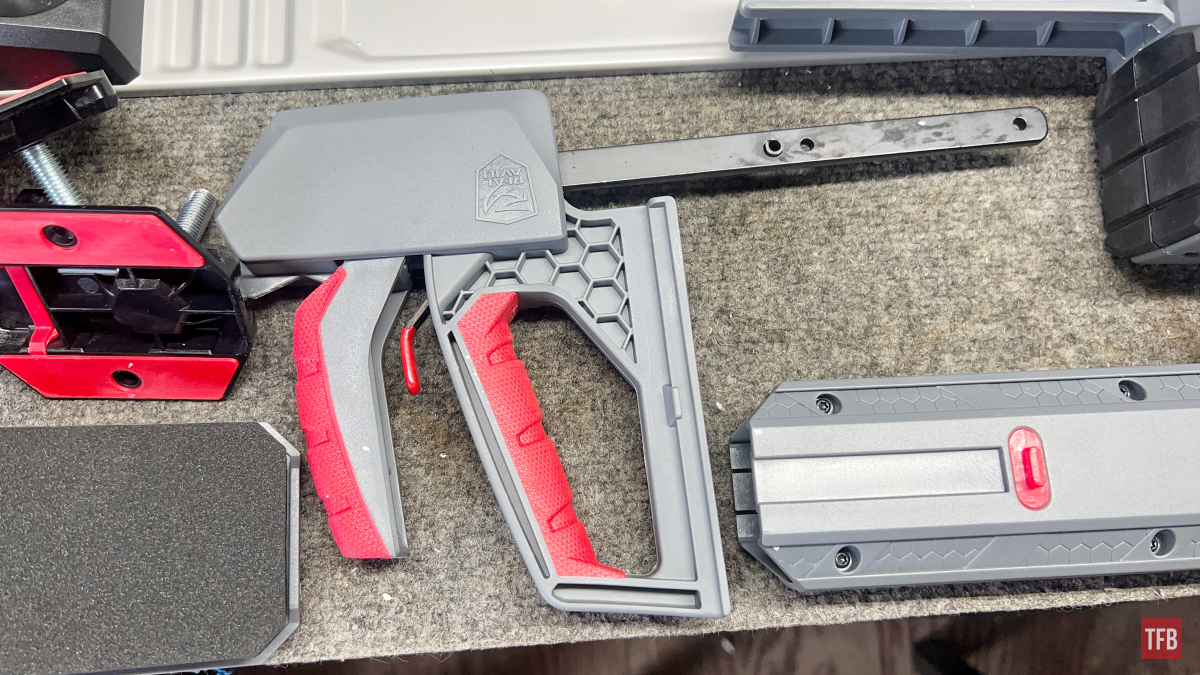
Step Six: Real Avid Master Gun Workstation
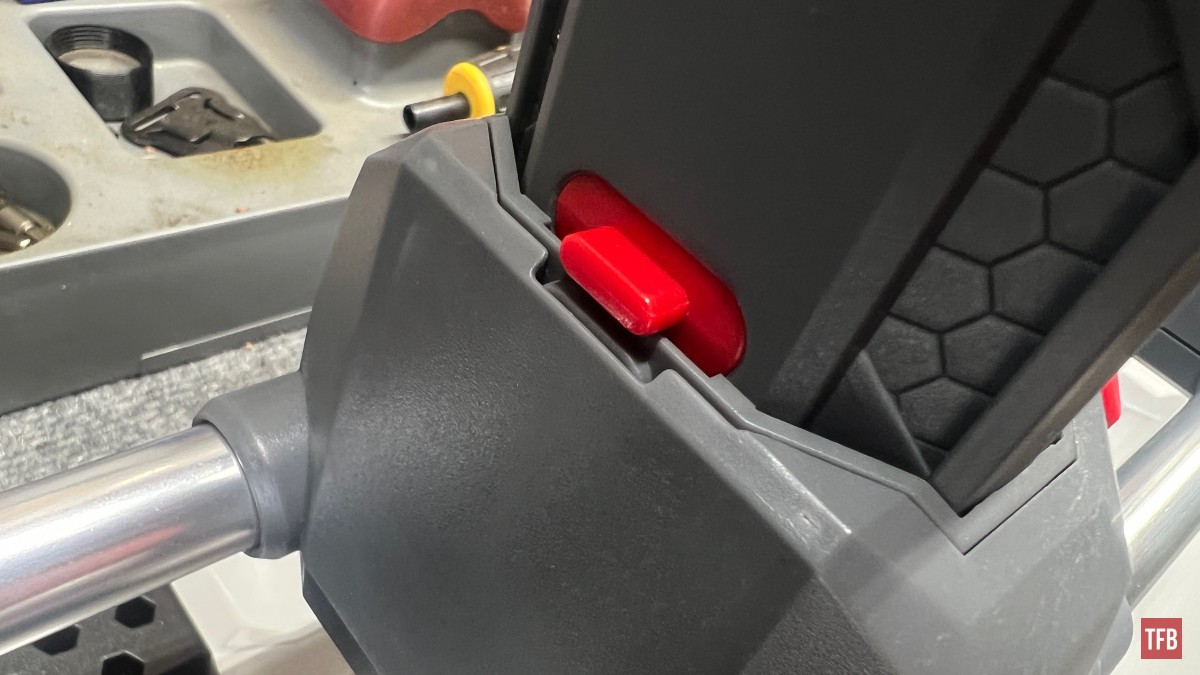
Last but not least, we have the foam ads for the pump clamp.
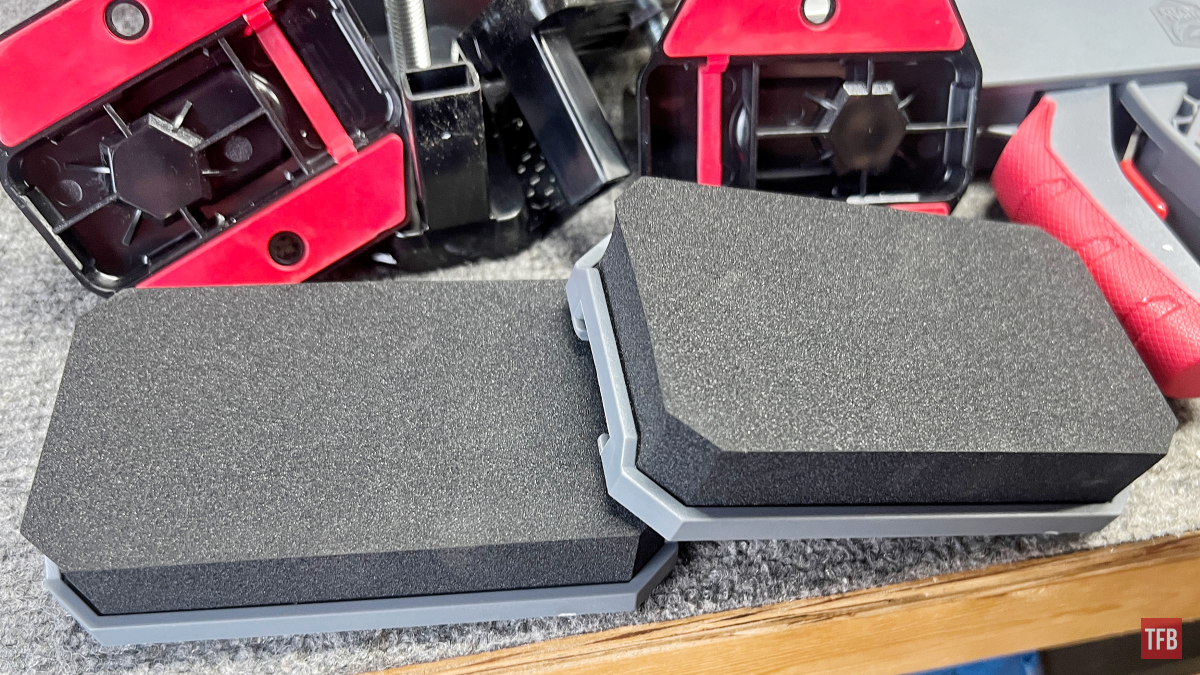
These guys slide right onto the rails of the pump clamp.
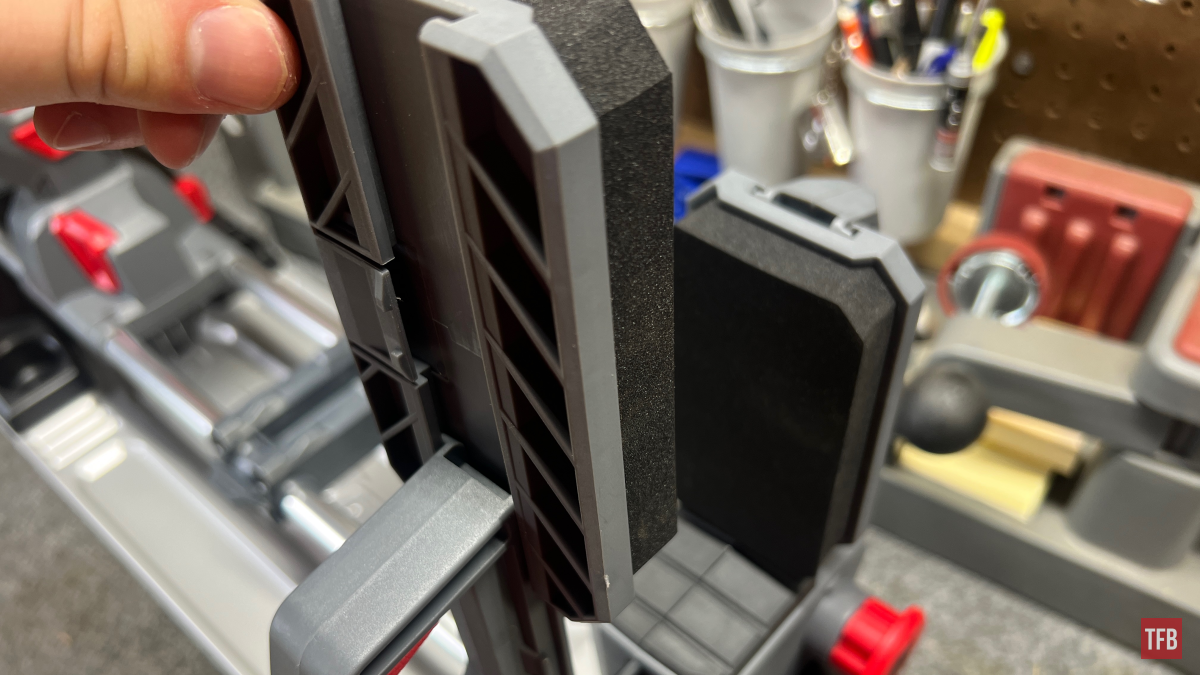
The foam pads will snap into place and be locked with the tab you see below my thumb in the picture above.
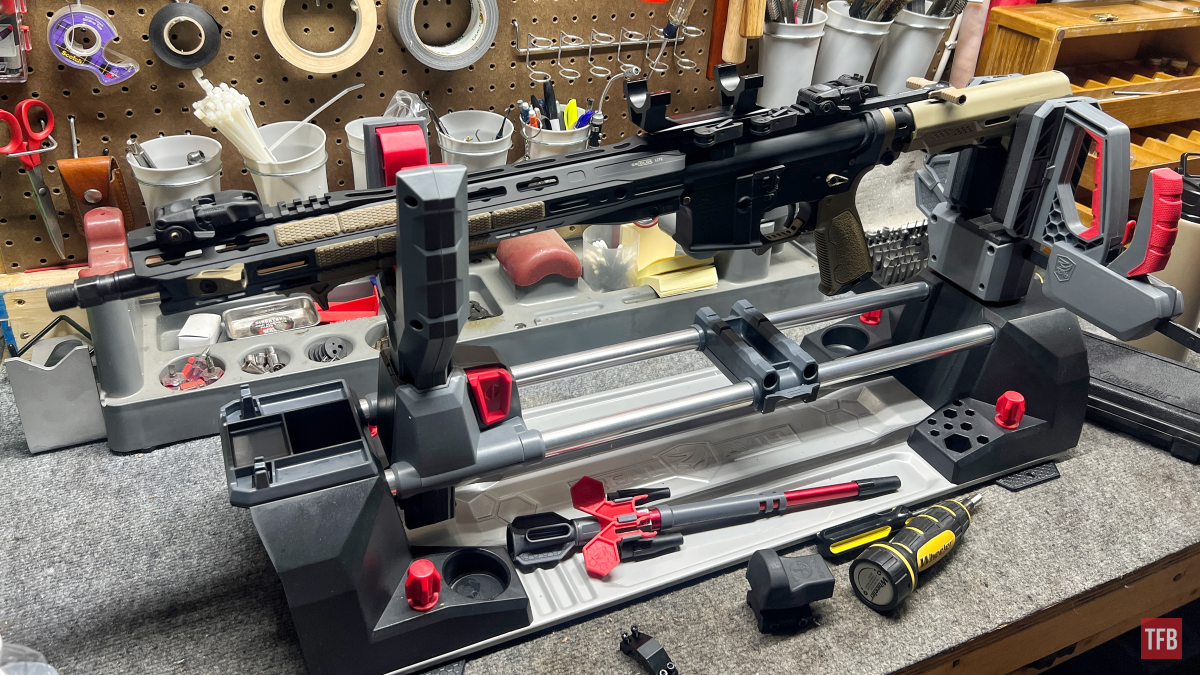
End of Assembly: Real Avid Master Gun Workstation
That wraps up this step-by-step assembly guide for the Real Avid Master Gun Workstation! As you’ve seen, the process is straightforward. If you need further instruction I suggest this link where instructions can be found. With its solid construction and customizable options, this is a great centerpiece for any home gunsmith’s or armorer’s workbench. Now that yours is fully assembled, you can outfit it with the accessory components that best suit your needs. Let me know if you have any other questions in the comments, and thanks for following along on this assembly journey!
As always, thank you for reading TFB! Be safe out there, have fun while shooting, and we will see you next time for the TFB Armorer’s Bench! Also, let us know what you think in the comments below! We always appreciate your feedback.
We are committed to finding, researching, and recommending the best products. We earn commissions from purchases you make using the retail links in our product reviews. Learn more about how this works.