 Your Privacy Choices

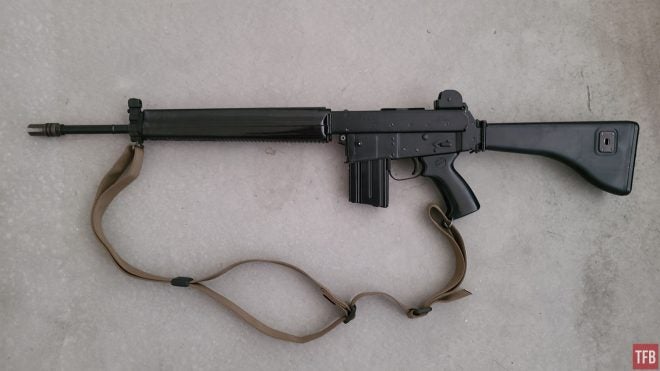
Most people use rifle slings to carry a long gun when their hands are busy with other things. Various trends have come and gone, such as the three-point and one-point slings. Another classic style of sling that is not as common today is the shooting sling, which secures around the arm to add tension and stability. Magpul added the Rifleman Loop Sling (RLS) to their lineup a few years back, which is an affordable shooting sling. So let’s take a look at how it works.
Magpul @ TFB:
- New Davidson’s Exclusive Savage 110 Magpul Hunter
- Ruger PC Carbine With Stealth Gray Magpul PC Backpacker Stock
- Three New Magpul PMAG D-50 Drum Mags Now Shipping
- [SHOT 2022] Magpul Maztech X4 System
- New 110 Magpul Hunter Announced by Savage Arms
The terms for this review are non-existent. I bought an RLS to try it out, and I ended up buying several more. All were purchased at retail and I don’t have a relationship with Magpul, other than buying a heap of their magazines and encouraging others to do the same.
Shooting Slings
Stability is always beneficial when shooting. Shooting slings wrap around the support arm and provide tension to help keep the rifle steady. How exactly that works varies from model to model, but there is usually a loop in the sling that tightens around the support arm. This works well when stationary and firing very deliberately, such as in a hunting or target shooting situation. It is not a great method for shooting on the move or from unconventional positions.
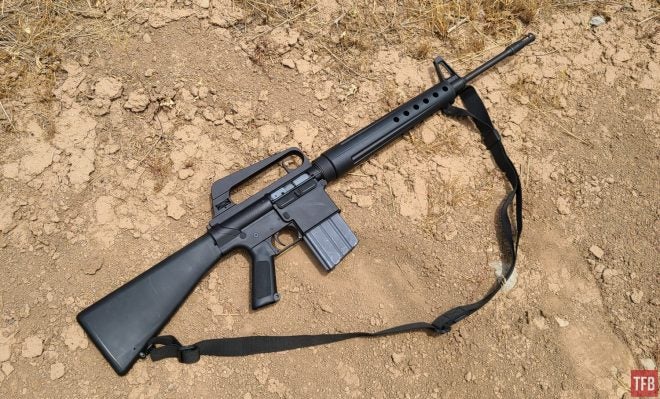
RLS installed on an AR-180
Several US military slings were designed to both carry the rifle, and to act as shooting slings. The M1907 leather sling and the M1 Garand web sling both can be used as loop slings, and are still used today in competition.
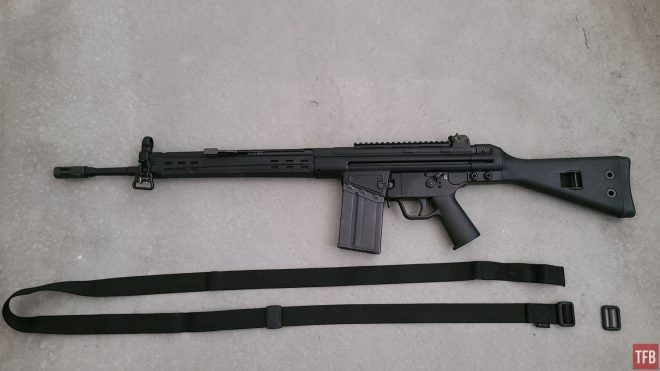
Magpul’s entry into this market segment was something of a surprise. Most of their slings are targeted at the tactical market and are two-point or one-point models with various attachment methods. Their lineup was very comfortable on an AR-15 or MP-5 but did not fit well with a Remington 700. That changed with the RLS. It functions best in a traditional configuration, threaded through the front and rear sling swivels on a traditional rifle stock. The rifle is then carried muzzle up or muzzle down with the sling over the shoulder. It does not work great for the modern two-position style of carry, with the sling over the head and one arm and the muzzle low.
Installation
Before we talk about the RLS and its feature,s we have to get it on the rifle. Installing the RLS is a bit of a pain. The included instructions do explain the process but leave a lot to be desired. I ended up looking at pictures of the sling on the Magpul website and messing with it until it looked right.
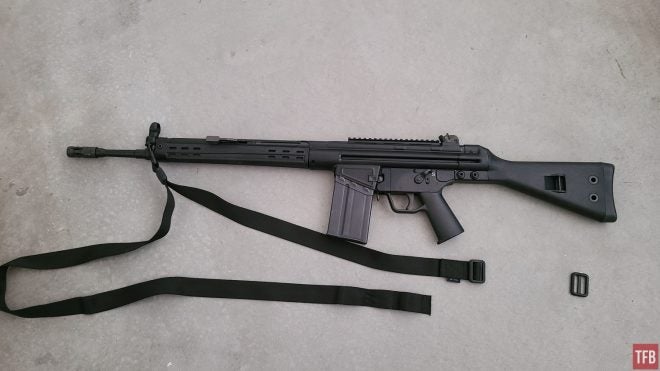
Step 1: Lay out the sling as shown:
Installation on a PTR-91 with a Blue Force Gear U-Loop serving as the front swivel
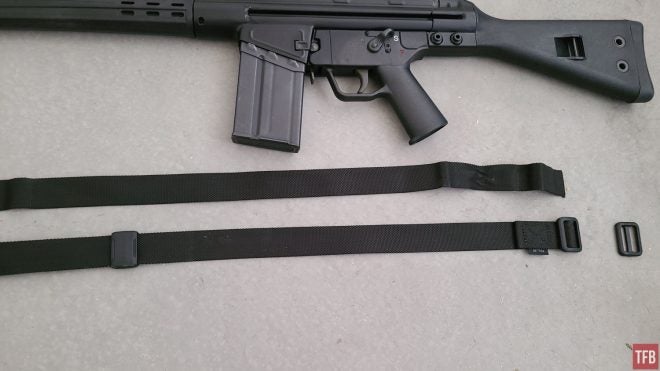
The sling should have the loose D-ring removed, and the slider on the muzzle side of the slider sewn into the sling
Step 2: Put the sling through the front swivel
Run the free end of the sling through the front swivel, making sure to not get a twist in the webbing
Step 3: Thread the sling back through the slider using a flathead screwdriver or similar tool
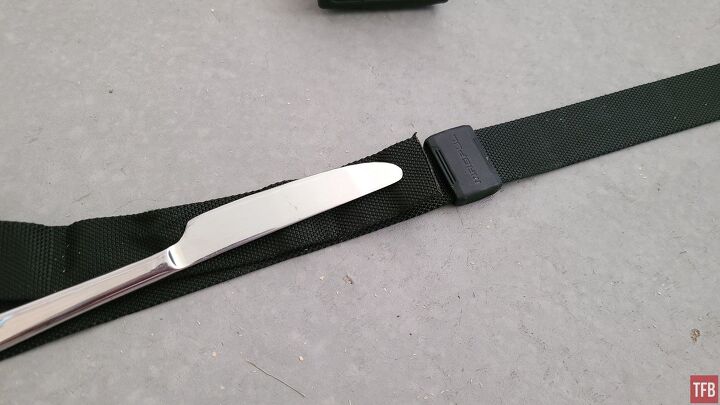
The hardest part: feeding the loose end through the closed slider. Use a flat tool to jam the front in the slider. I find it works best to push the slider over the free end of the webbing while holding it in place with the tool rather than pushing the webbing with the tool.
Hold the back side of the webbing and push the slider over the free end, and eventually, it will slide through
Step 4: Thread the sling through the length adjustment slider
Run the free end through the sewn-in D-ring so it creates a closed loop with the free end loose, pointed toward the stock
Step 5: Run the sling through the rear swivel and secure
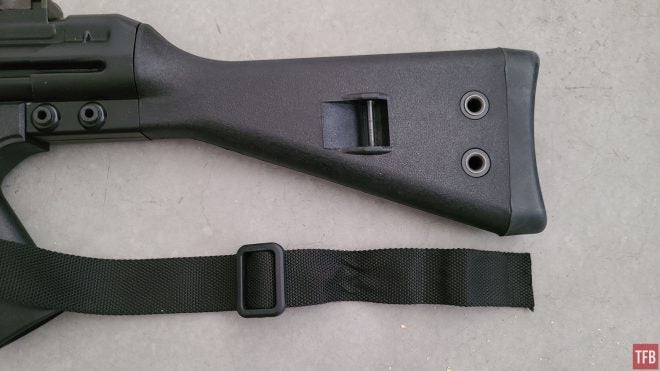
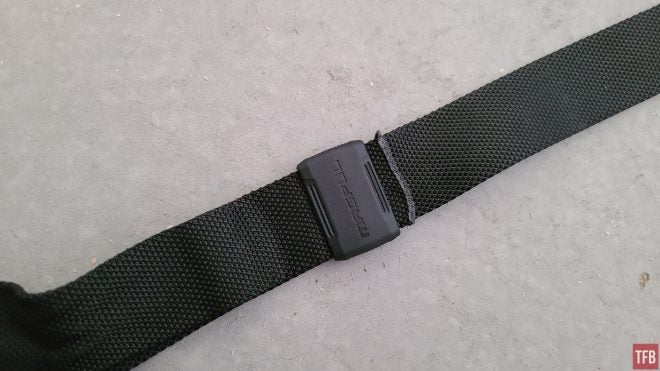
Put the loose D-ring on the free end, and use it to secure the sling to the stock
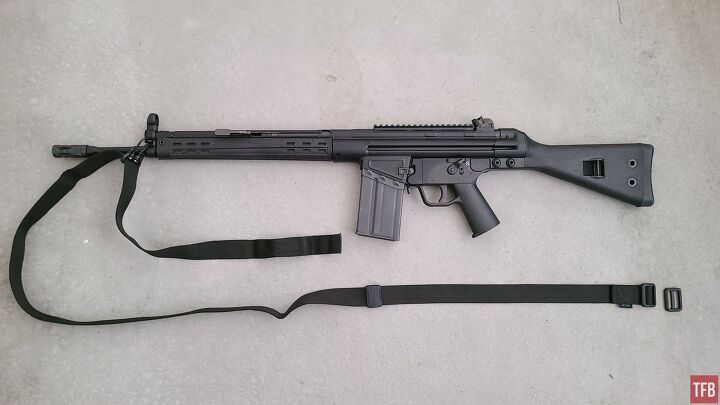
The finished product! The closed slider should be between the sewn-in D-ring and the muzzle, and the loose D-ring is used to secure the tail end of the sling to the stock
The RLS In Action
The RLS works well to carry a rifle over the shoulder in the classic style, either muzzle up or muzzle down. It is not as comfortable as some padded hunting slings but it works well enough as long as the rifle is not abnormally heavy. The webbing is soft and does not chafe the neck while the rifle is slung. It also has a surface that is pretty slick. This makes for easy adjustments but can lead to some movement when slung.
There are two length adjustments on the RLS. The tail end of the sling secures through a D-ring, which can add or subtract overall length. In the middle of the sling is a slider that controls the size of the front loop. That setting should be driven by the setup of the shooting loop rather than the length of the sling though.
Where the RLS really shines is in sling-supported shooting positions. When installed properly, there is a loop at the front end of the sling. A slider can move forward and backward on that loop to adjust its size. With the slider at the top or bottom of the loop, it causes it to stand open. This is perfect for a hasty sling, sometimes called a Rhodesian sling. The shooter slides their support arm through that loop, does a quick half-turn to the outboard side, then pushes forward to create tension. This is a great method for a quick setup, particularly in standing.
The Hasty or Rhodesian configuration
The other method takes longer to set up but is more stable. With the slider forward on the loop, the shooter places their support arm into the loop. The slider is brought down to create a tight loop above the bicep. The support arm makes a half turn up through the sling to the outboard side then pushes forward. This configuration creates an actual cuff to hold the arm. This is well-suited to prone, sitting, and kneeling positions.
The slider positioned for use as a cuff sling
The RLS looks like it belongs on a classic rifle like the Brownells BRN-10My only real complaint is the lack of an olive drab color option. It would look so good on an M-16A1 clone if it were green. Another minor gripe is threading the sling back through the slider with a screwdriver is annoying but it is not hard to do. Those minor gripes aside, I really do love the RLS and have bought half a dozen of them.
Conclusion
The RLS is an affordable, simple sling that pulls double duty as a shooting sling. It is comparable in cost to other slings in the hunting section of your local sporting goods store but has a few extra tricks up its sleeve. If you are looking for a fast, one-hand adjustable sling to keep your Mk-18 retained while you switch to a sidearm, the RLS is not the sling for you. But if you want a loop sling on a bolt gun or classic battle rifle that doesn’t break the bank, the RLS is worth trying. And you may just end up owning a few of them.
We are committed to finding, researching, and recommending the best products. We earn commissions from purchases you make using the retail links in our product reviews. Learn more about how this works.