 Your Privacy Choices
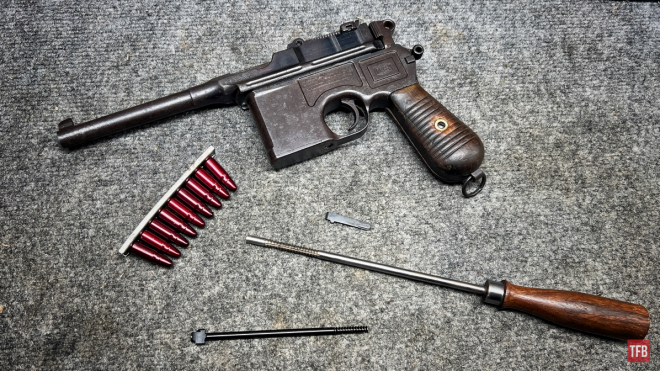
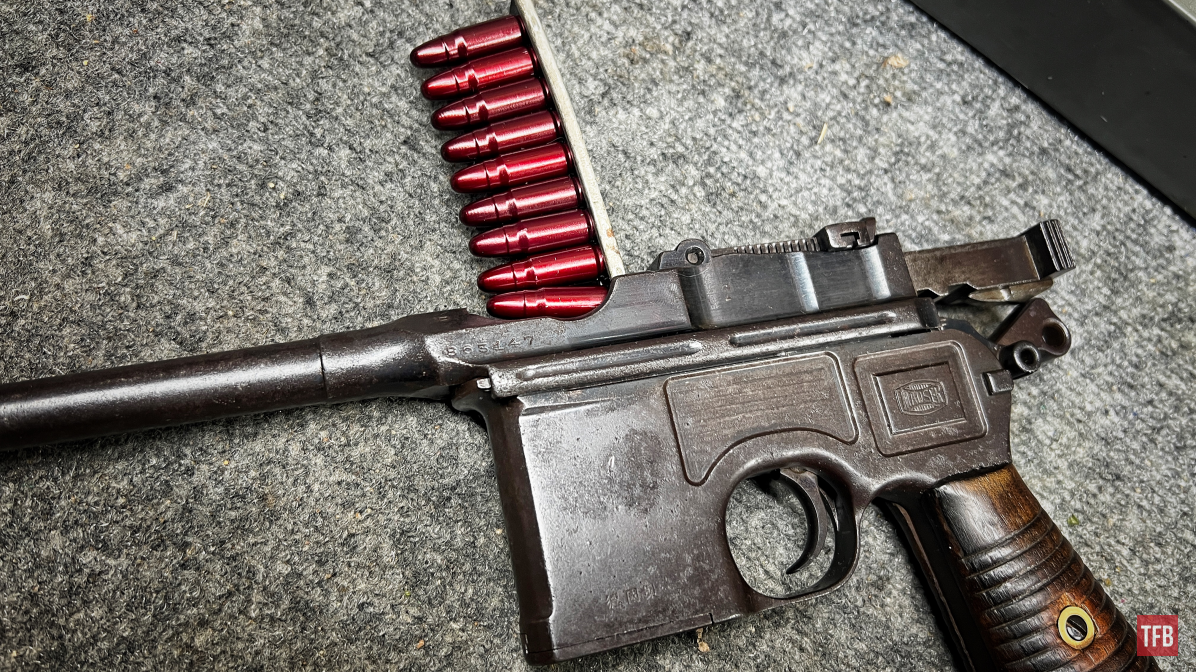
Welcome everyone to the TFB Armorer’s Bench! As mentioned in the little blurb below, this series will focus on a lot of home armorer and gunsmith activities. In this article, I decided to give my Mauser C96 a bit of maintenance and a fresh change with new Mauser C96 parts since it has been getting a lot of attention lately. For the past few weeks, it has been featured fairly heavily as the hero gun in my Curious Relics series over at our sister site AllOutdoor.com. With that comes the price of hands-on wear and tear at the range. By no means do I mistreat my old school firearms but shooting them and working with them, in general, can be sort of “stressful” on them for lack of a better word. One recommendation I have to anyone out there who is interested in owning and shooting older guns is to make sure you buy spare firing pins and extractors if you can without breaking the bank. Then swap those out with the originals and keep the originals on standby. That is what I did and that is what lies below. Let’s dive right into installing new Mauser C96 parts!
Mauser C96 Content on TFB & AO:
- The C96 Broomhandle: A Thing of Beauty
- Han Shot First: RIA Auctions Off Han Solo’s DL-44 Heavy Blaster Pistol
- HOT GAT or FUDD CRAP? Is This Mauser a Wowser or just a Middlerbrow-ser?
- Curious Relics #055: A Personal Favorite – The Mauser C96
- Curious Relics #056: A Legend is Born – The Mauser C96 Part Two
- Curious Relics #057: Variations Continued – The Mauser C96 Part Three
TFB Armorer’s Bench: Installing New Mauser C96 Parts
Here, we at TFB hope to inform, entertain, and even inspire any would-be gunsmith or armorer out there. Ideally, with the information I provide and with the help of our sponsors, you can have some useful knowledge pertaining to the conservation and improvement of firearms technology while at the same time sharing experiences and teaching each other new tips and tricks along the way in the comments. Digging deep into what it is to be an armorer or gunsmith has significance but what is important is what those people do to show they’ve earned that title. I am happy to share my experiences and knowledge and hope it is informative!
Make your personal safety a priority:
- Practice proper gun safety. Always make sure before the firearm hits your bench that it is unloaded and safe to be handled.
- Wear the proper safety equipment. The main one would be safety glasses (decent ones) since parts are often under spring tension and you may work with high RPM tools. Other honorable mentions would be latex gloves or a respirator when working with potentially harmful solvents and oils. Also hearing protection when working with loud machinery or test-firing firearms.
- Modifications, alterations, and customizations will void your firearm’s warranty 9.5 times out of 10. Please take that into consideration before attempting any at-home gunsmithing.
- If you are unsure about proper safety practices, disassembly procedures, or warranty standards, stop, put down the tools, and consult a competent gunsmith.
Basic Old Gun Disclaimer: Installing New Mauser C96 Parts
It should go without saying that if you own a piece of history and want to do a similar parts swap, you should have a professional do it. If I did not obsess over this stuff for a source of income, I would not know any better and probably end up really harming one of my guns. As I mentioned, the firing pin and extractors are the top two parts (in general) that fail on these older guns.
As a precaution, it is good to swap them with new reproduction parts so long as they still function to your liking. Swapping parts on this old M30 (more on that later) Mauser C96 is not particularly difficult since there are no pins and the only screw in the gun is holding the grips together. Regardless of that, it may not be apparent to someone who owns one but is afraid of taking one apart. This will be sort of out of order just to highlight each new part installed.
Note: This is not a full disassembly article just a Mauser C96 Parts swap. If that seems like something you folks would like to see, let me know down below and I will make it happen as soon as it is not in the negatives (I live in MN) out in the workshop!
The Firing Pin: Installing New Mauser C96 Parts
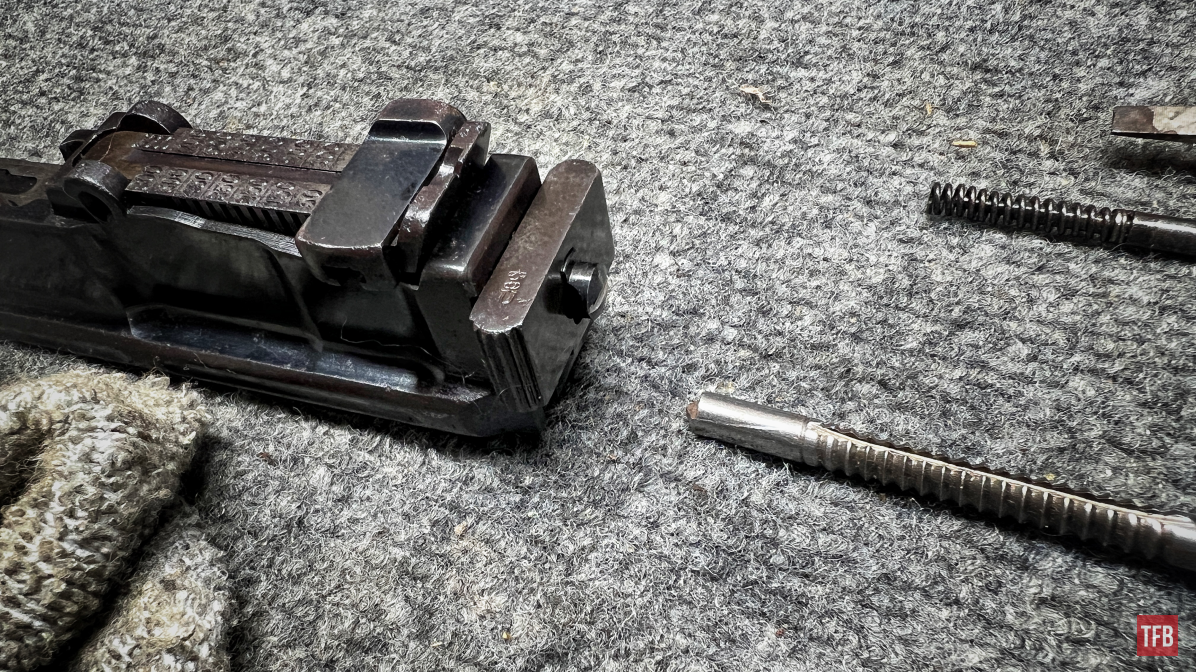
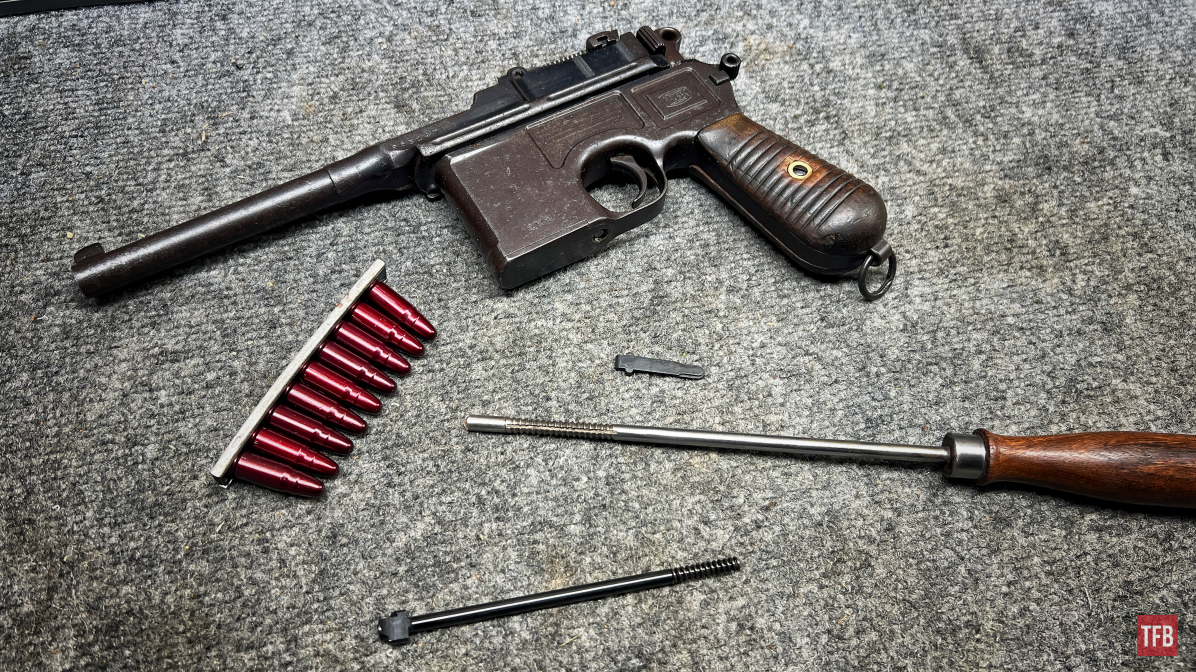
This will be the fastest firing pin change of your life. Big thank you to the folks at Mauser over a hundred years ago that decided this was necessary! Access to the firing pin is located at the rear of the bolt and is visible so long as the hammer is cocked. This gun does not need to be “field stripped” to swap firing pins. The Mauser C96 has a unique tool that is very widely reproduced that is meant to do this job amongst others like cleaning and spring compression.
Mauser C96 Upper & Cleaning Rod Tool
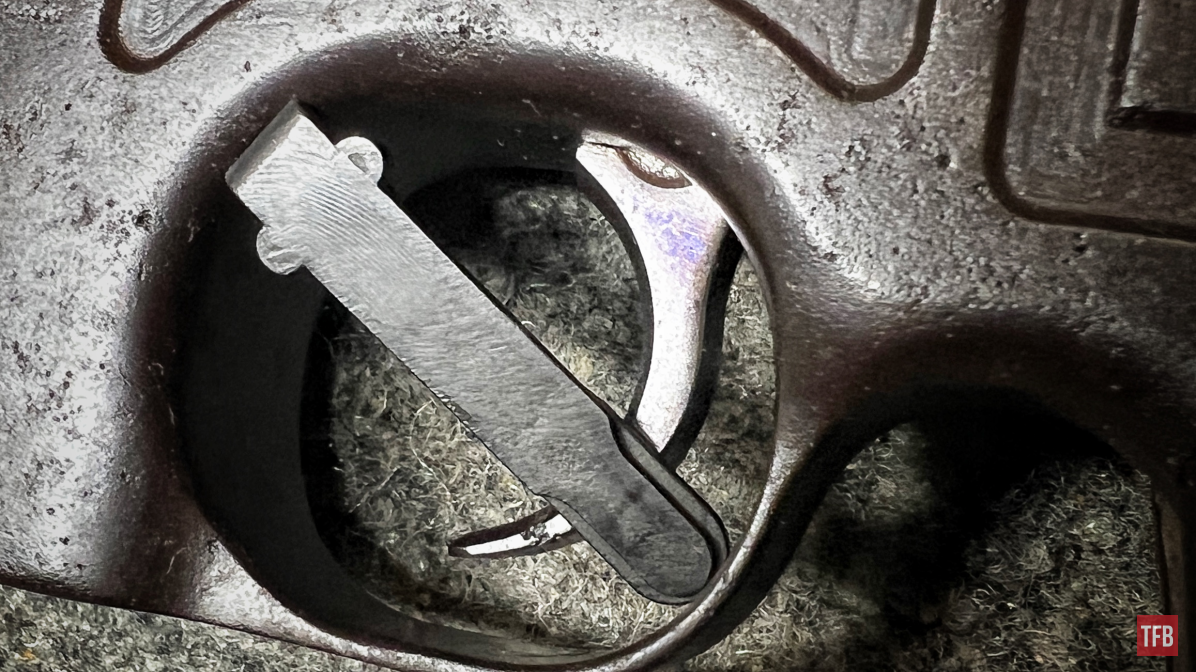
There is a cut in the rear of the firing pin for this tool, a flathead screwdriver, or a rim of a cartridge case. This gun was made to be disassembled without tools (pretty ahead of its time in that sense) and new Mauser C96 parts could be installed in a pinch.
Firing Pin in C96 Bolt
With this special tool which has a half-moon flat head to it, you can compress the firing pin while rotating it clockwise. Once it stops turning it should be lined up to be removed. Do not worry, it should not shoot out the back.

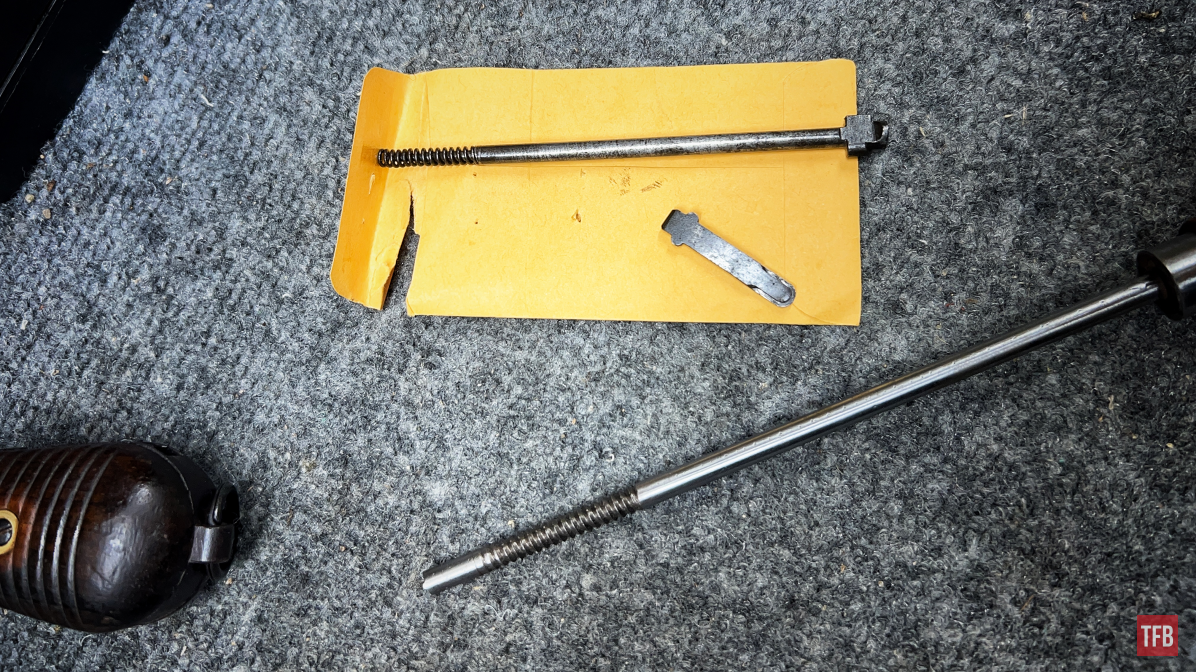
Here is what our old and original firing pin looks like. Yes, the spring is fitted to the pin in a way that makes it difficult to remove. I do not recommend removing it.

Mauser C96 Firing Pin
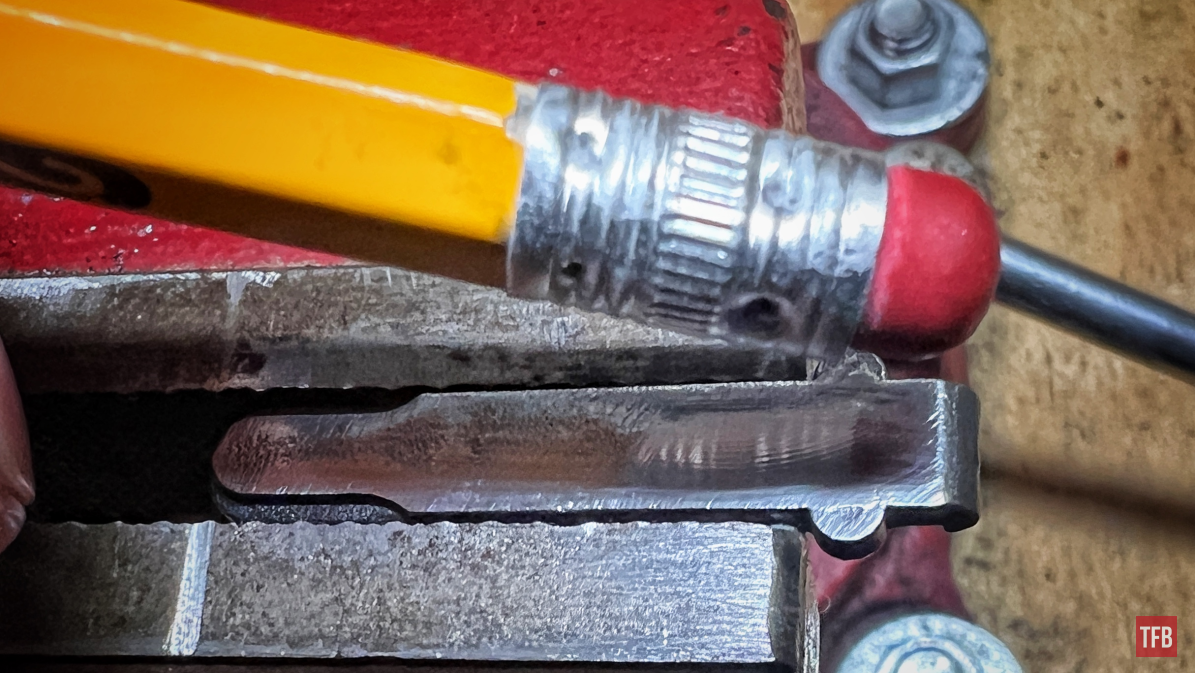
The replacement firing pin goes back in in the very same reverse order. Notice one peculiar thing: the slot on the back is meant more for a modern screwdriver rather than the cleaning rod tool. This is obviously on purpose for a bunch of reasons, all well-meaning in my opinion.
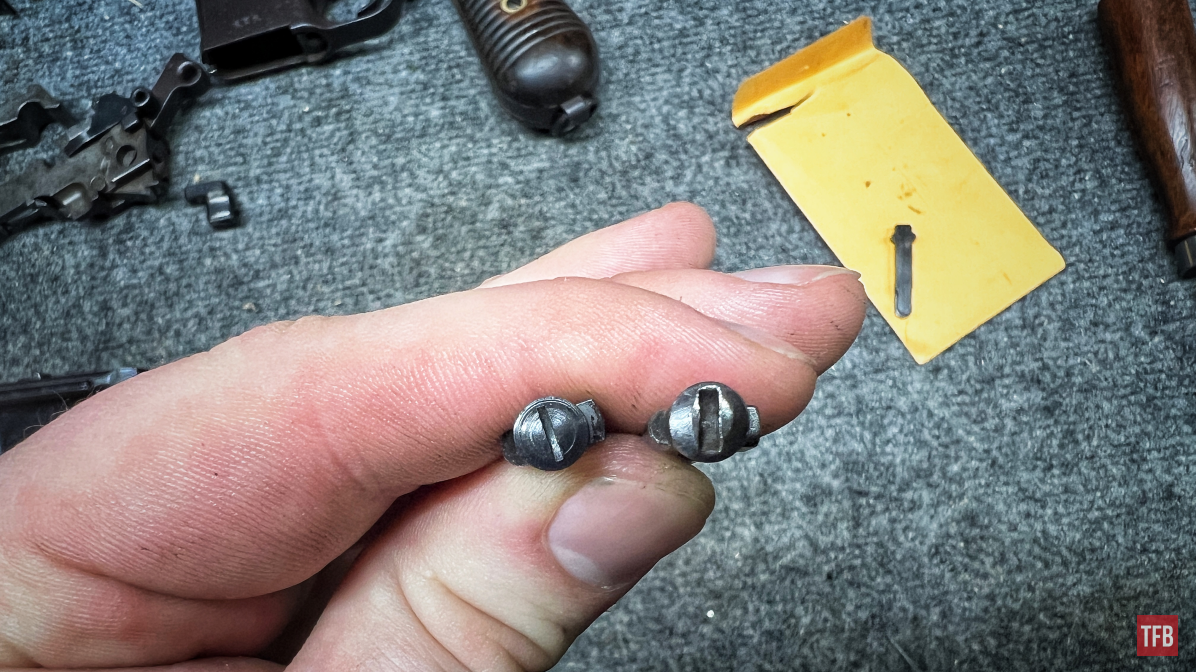
Reproduction C96 firing pin (left) & Original (right)
Installation is as simple as putting a new pin in (this one already had a spring), compressing, and rotating counterclockwise.
Not every reproduction part will be perfect. Sometimes things need to be fitted and as firing pins go they should be tested for their protrusion or length against the old one. I already measured this one compared to the old one and they were close enough for comfort. I was more worried about the newer stiffer spring-producing light primer strikes. I tested with both spent brass and a piece of deprimed brass with tape on the back and the results were satisfactory. You never really know until you go try it which I will do right before this article goes live. If there is no note below this, then everything went well!
Extractor: Installing New Mauser C96 Parts
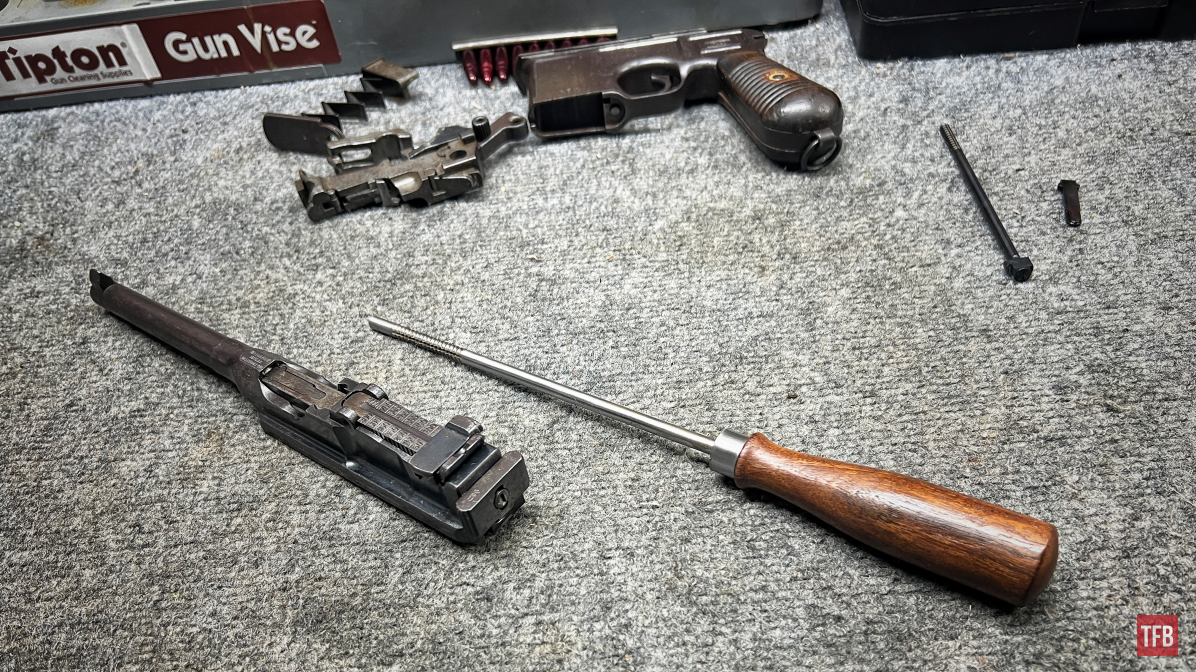
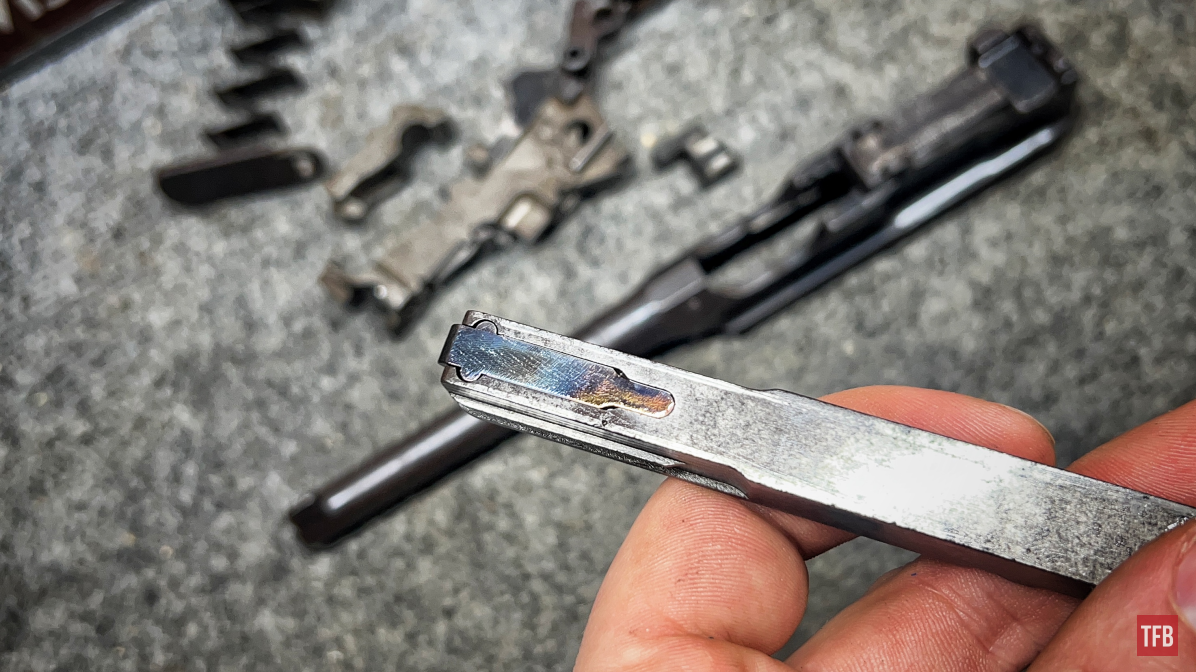
For the extractor, I field stripped the C96 just for photography’s sake and ease of maneuvering around parts. The extractor can be removed without the bolt being removed from the gun. It just has to be held back by the magazine follower.
Mauser C96 Bolt and Extractor
Storytime! So, my Mauser C96 is what folks refer to as an M30 or Model 1930 Mauser C96. They call it this because this specific variation was made in the final stretch of this gun’s production. This variety is accepted to be from very roughly 1928 to 1934. The M30 C96 pistols usually had a glossy blue finish with fire or nitre-blued small parts (more on bluing in the articles here and here). Below is the new extractor which would have been fired blued in my specific early M30. I placed the new extractor next to the trigger because if you look close, you can see the tiniest bit of original finish shining.
Someday I plan on putting this C96 back as close as I can to its original look. I would love to take you all with me while I do that but at the moment I do not have the time or equipment to do it right. A good start is fire-bluing this extractor. More on fire bluing or flame bluing in this article here. A good start is a nice polish.
The nice thing about fire bluing is things do not get hot enough to change the heat treatment of a part like nitre-bluing would. The downside is that fire bluing will fade with time and use. So will nitre-bluing but not as fast.
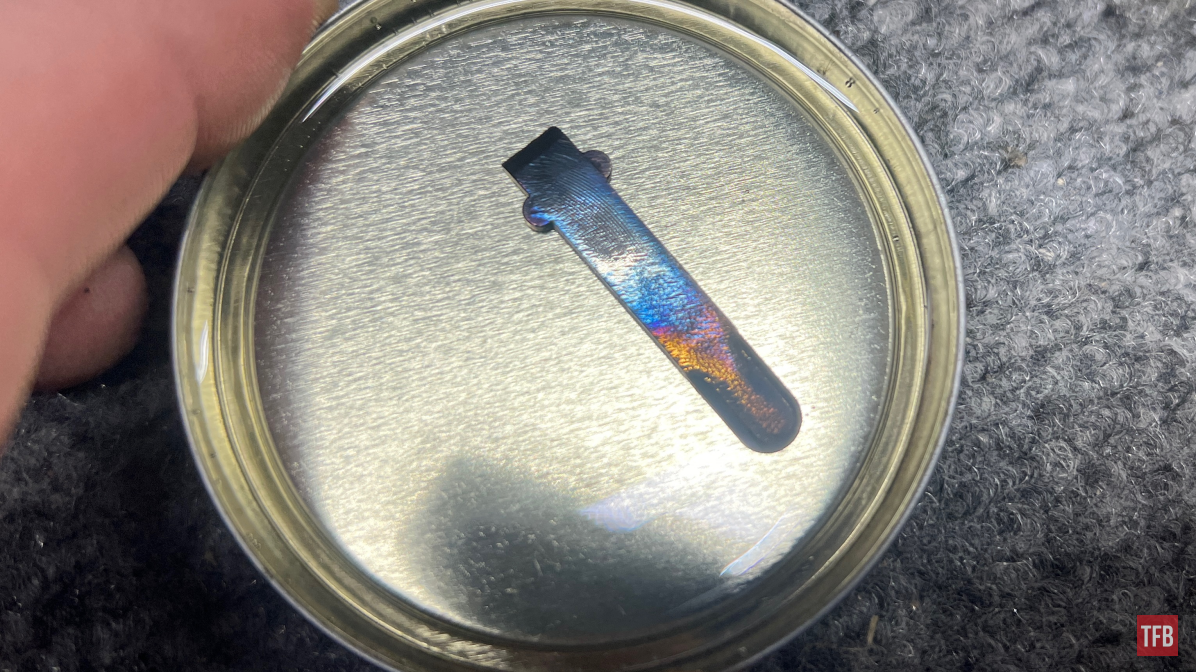
It was hard to get a picture of how this actually looks in person. Trust me it is a very pretty deep blue.
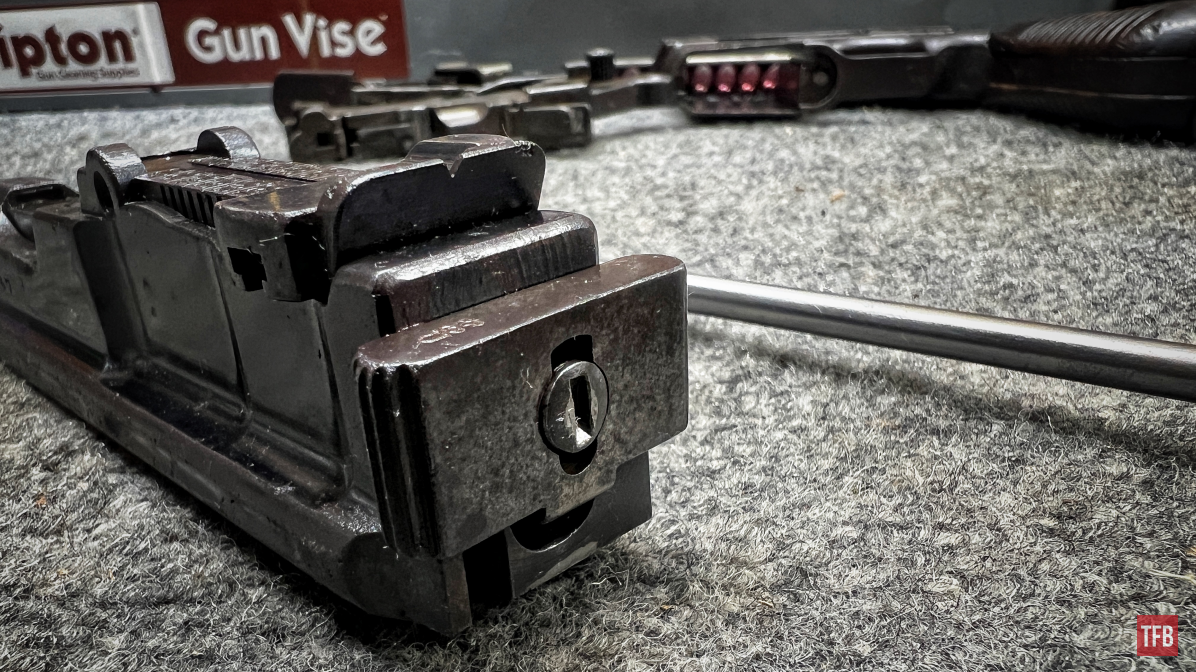
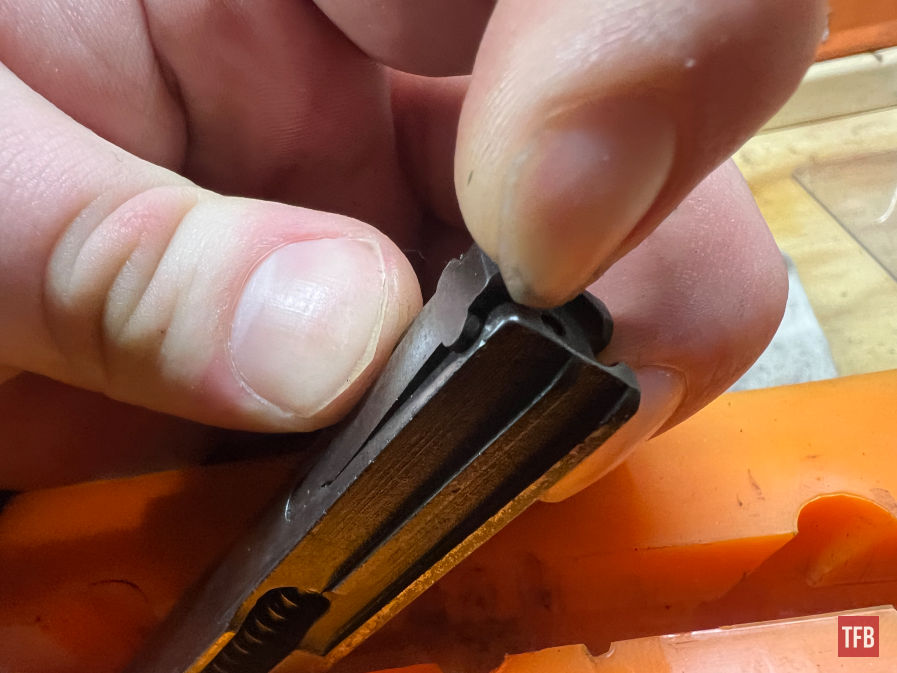
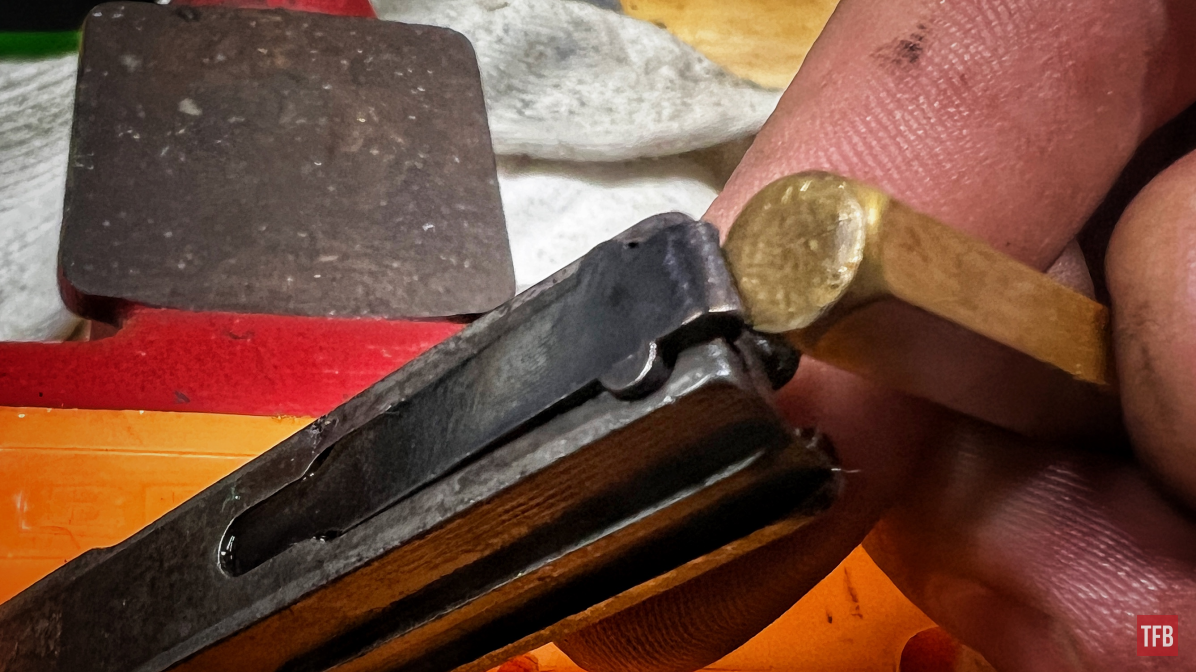
With the new extractor looking how I want it to, we are ready for replacement. This is a VERY easy part to bend or break so, seriously do not do this if you are not prepared for the consequences. You may break your well-fitted original part.
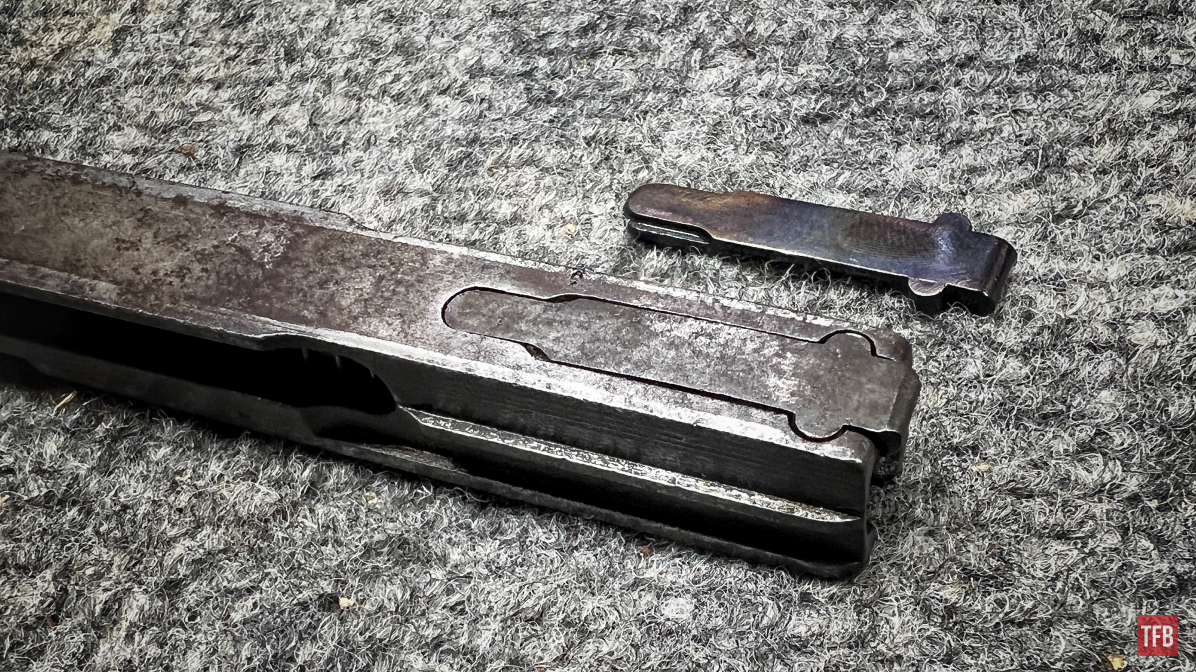
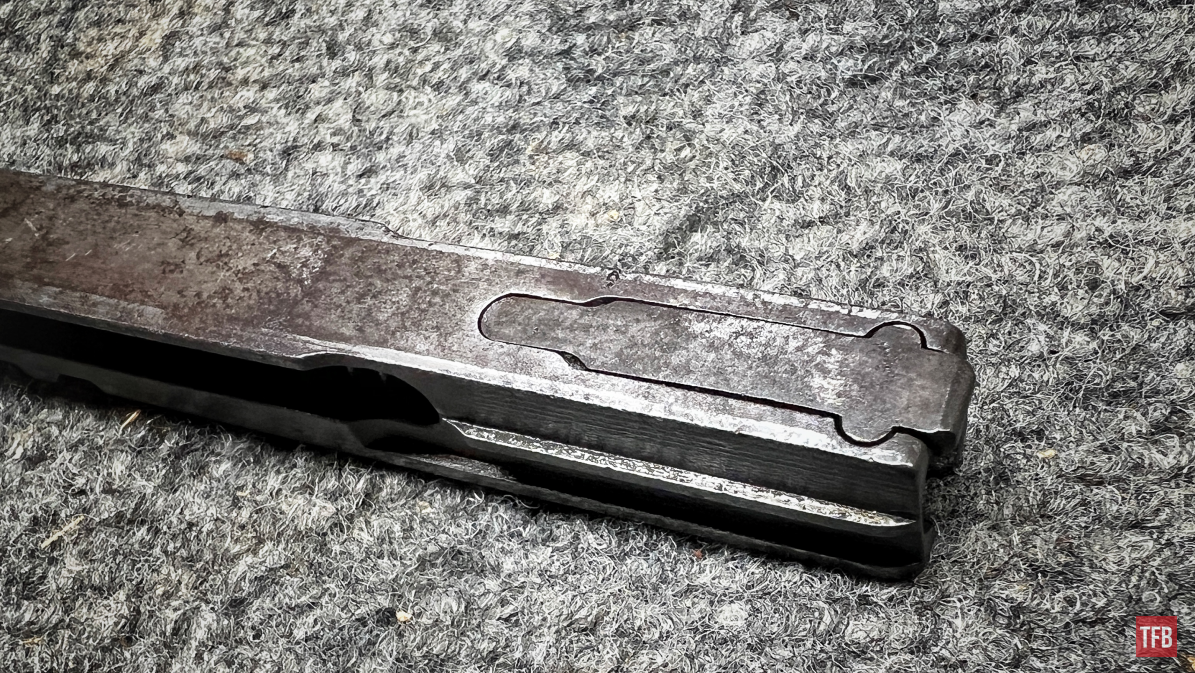
The way that the extractor is removed is very simple but if not done carefully, it can cause damage to your extractor or yourself. The front portion needs to be lifted up.
With the front lifted up it needs to clear the two half-moon notches and be slid forward and out.
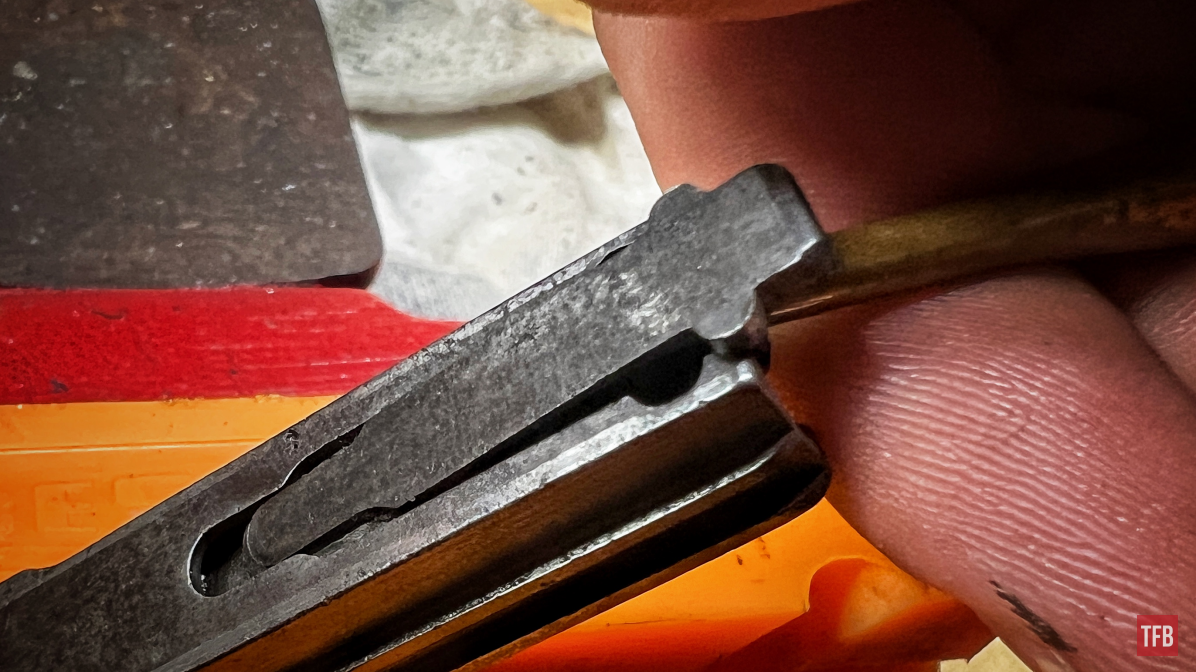
With the extracted out, it would be a good time to clean and lubricate the area. It will probably be a long time before the underneath sees the light of day again.
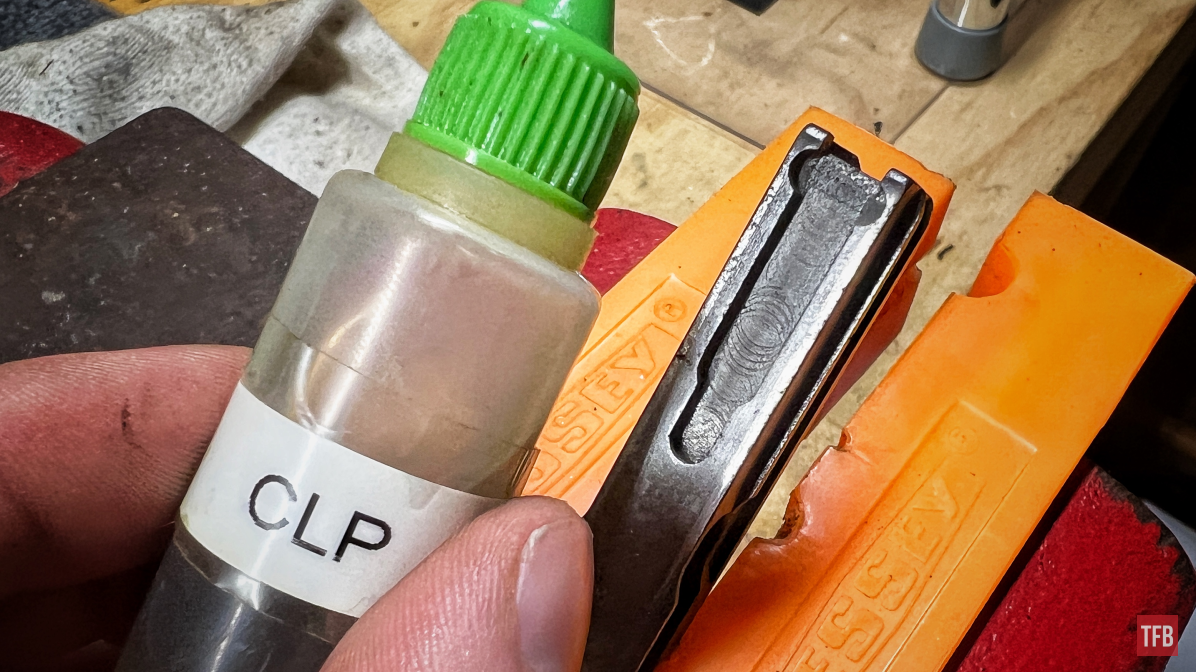
Installation is simple in that the rear of the extractor is placed in the rearward recess and lifted and slid further back.
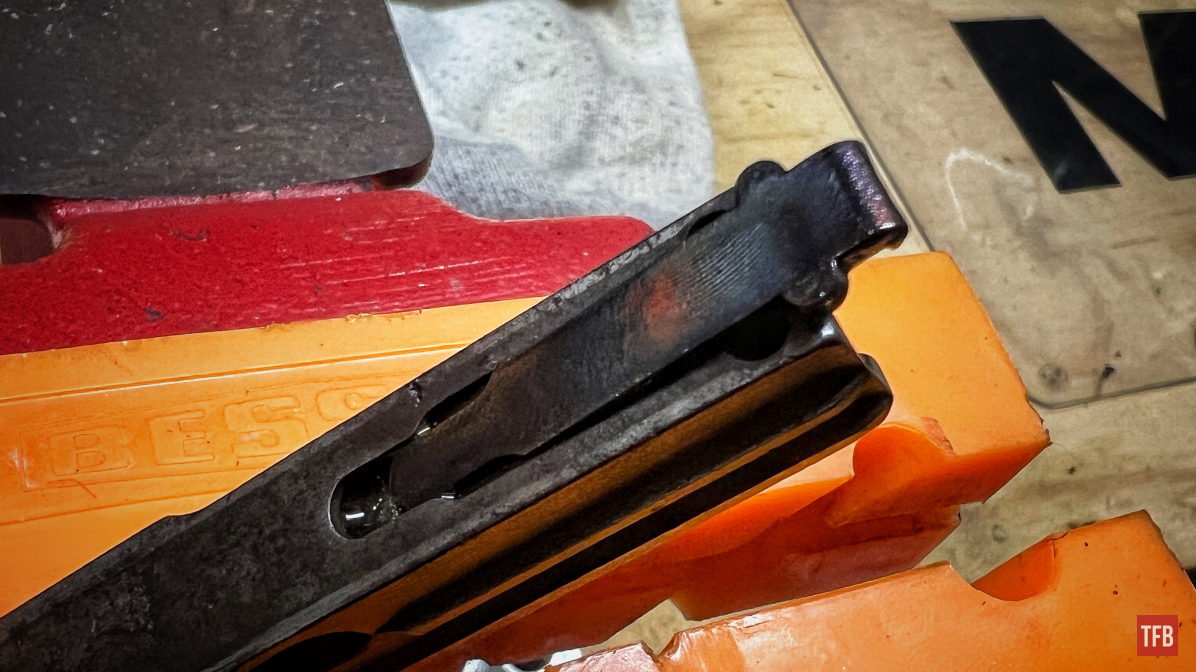
Once those half-moon chunks clear the top of the bolt they will settle quickly into their slots.
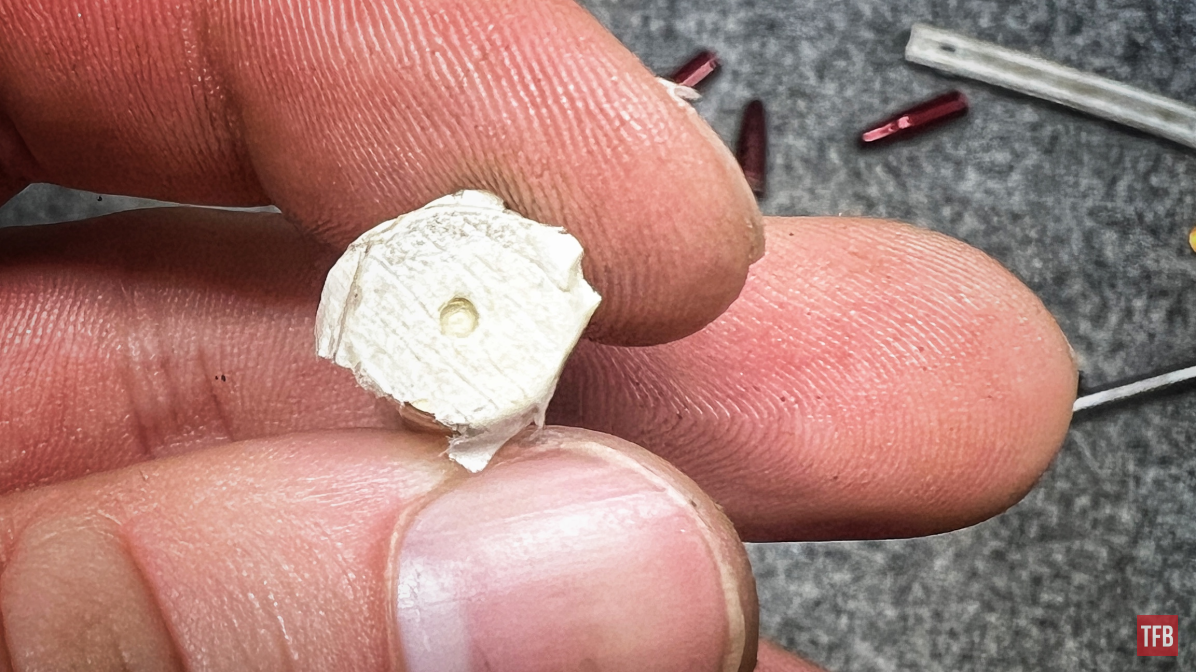
With the new extractor installed and my gun put back together, it is time to test extraction. Since Lyman does not make any .30 Mauser A-Zoom dummy rounds and I did not have time to make my own, I used some Tokarev snap caps since dimensionally they are basically the same. However, when I used them they are undersized for some reason and just did not work well so I need up using some spent brass that I had on hand and extraction was fine.
Conclusion: Installing New Mauser C96 Parts
This was one of those perfect mix articles for me. I love the older stuff, taking things apart and putting them back together, and of course, hopefully, showcasing something of use to the folks out there that may need the helping hand. Preserve your pieces of history but not to the extent where you cannot enjoy them. If you choose that means shooting them, this sort of thing may be a necessary and helpful precaution. I will see you folks in the next one. Take care!
As always, thank you for reading TFB! Be safe out there, have fun while shooting, and we will see you next time for the TFB Armorer’s Bench! Also, let us know what you think in the comments below! We always appreciate your feedback.