 Your Privacy Choices
Two years ago at SHOT Show 2019, we saw the Steiner CQT for the first time. At GunFest 2021, the Steiner Rep brought out the Steiner CQT. We were all excited to check it out and the Steiner Rep let me borrow it for a more in-depth review. So let’s dive in and take close look at the CQT.
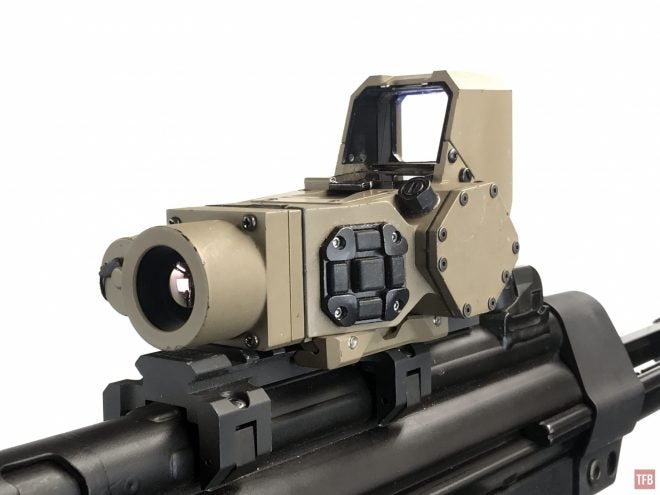
Steiner CQT – Thermal Red Dot
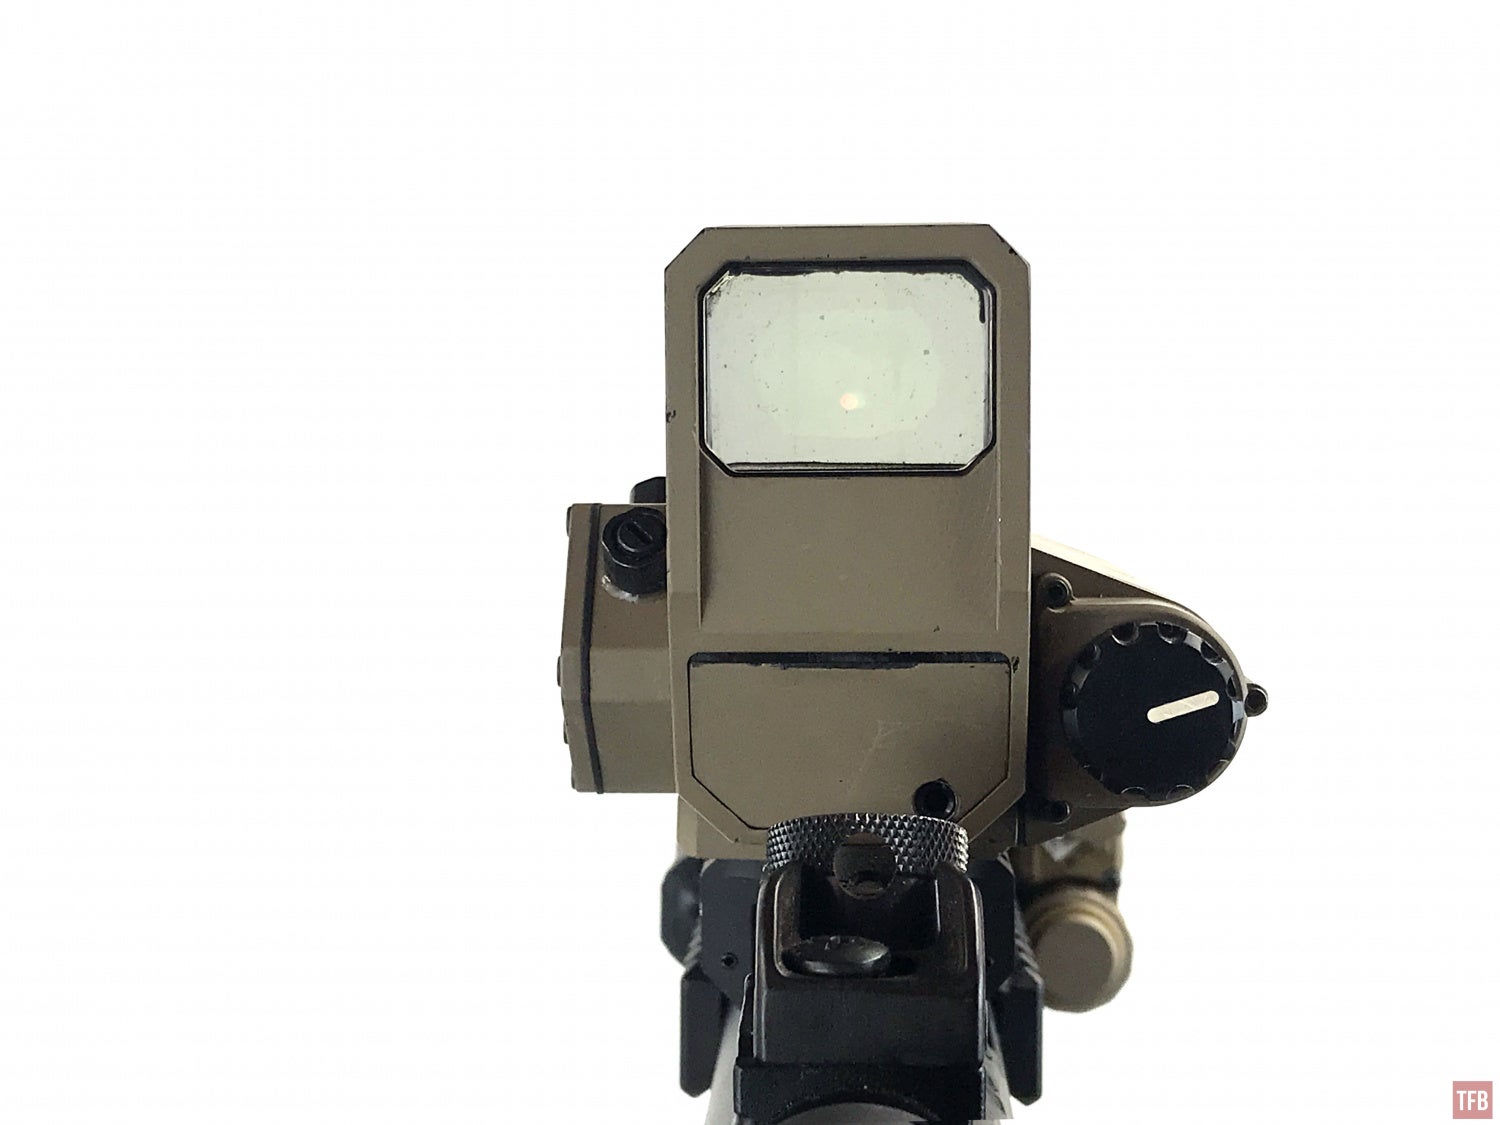
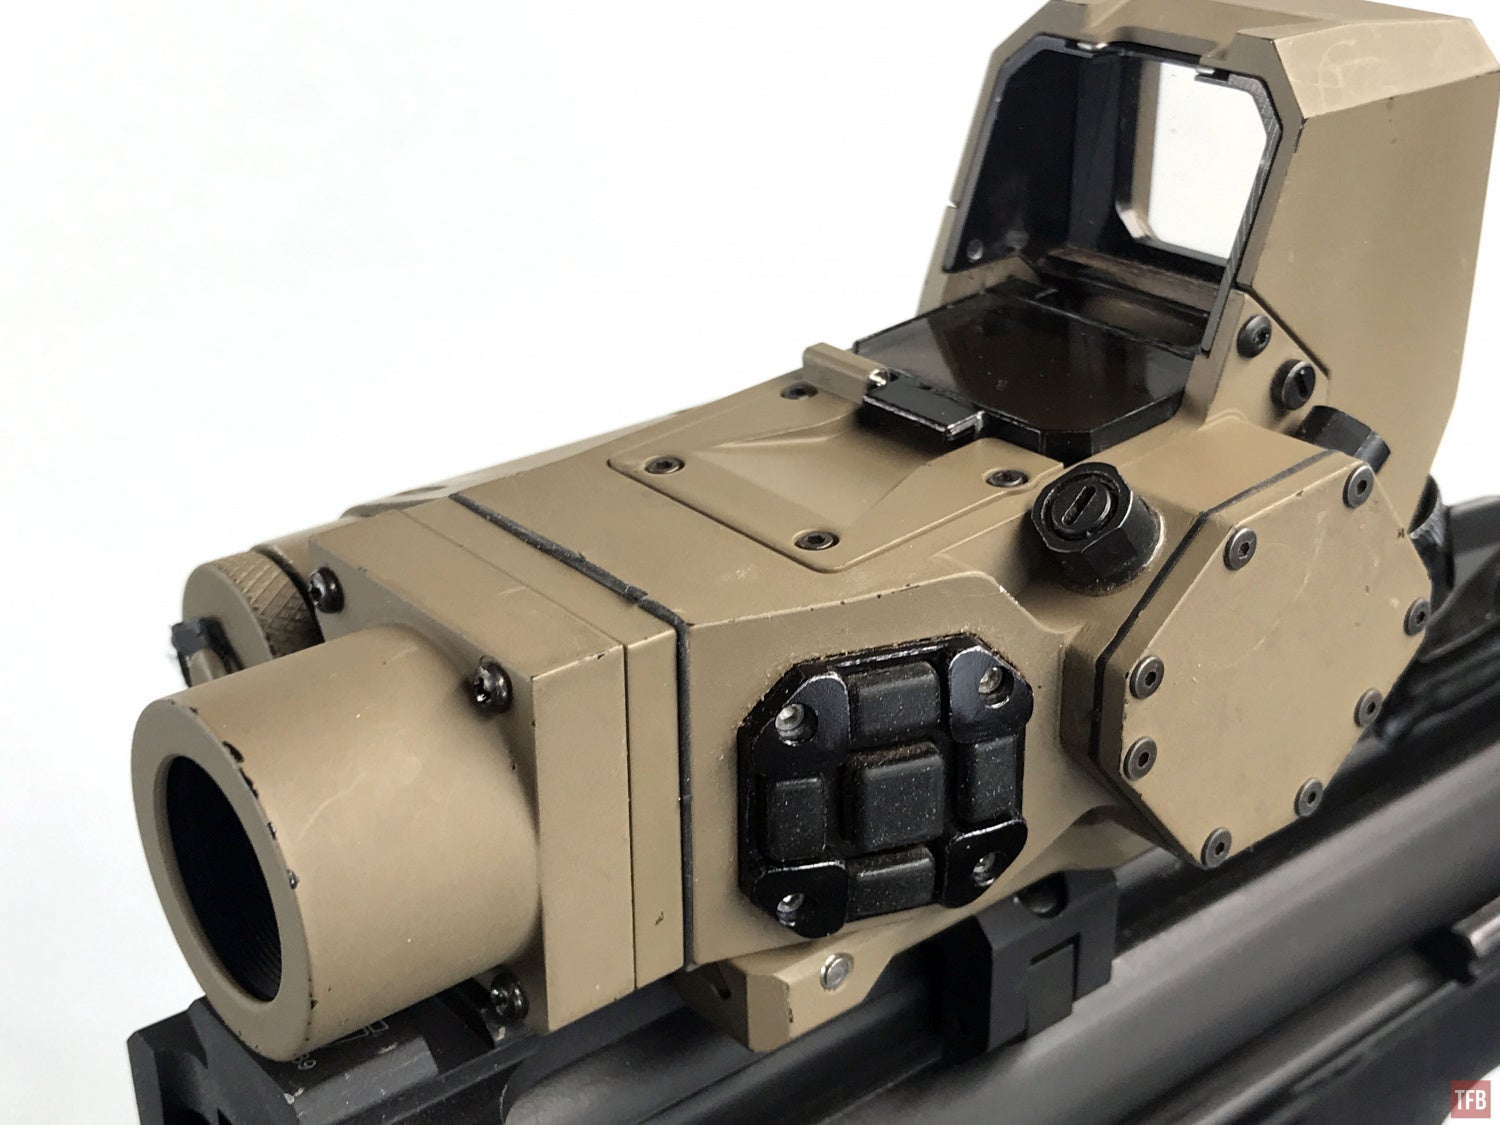
In order to turn on the Steiner CQT, there is a rotary switch at the back that faces the user. Rotate the switch clockwise. There are two positions. The first position turns on the red dot. The second and last position turns on the thermal imager.

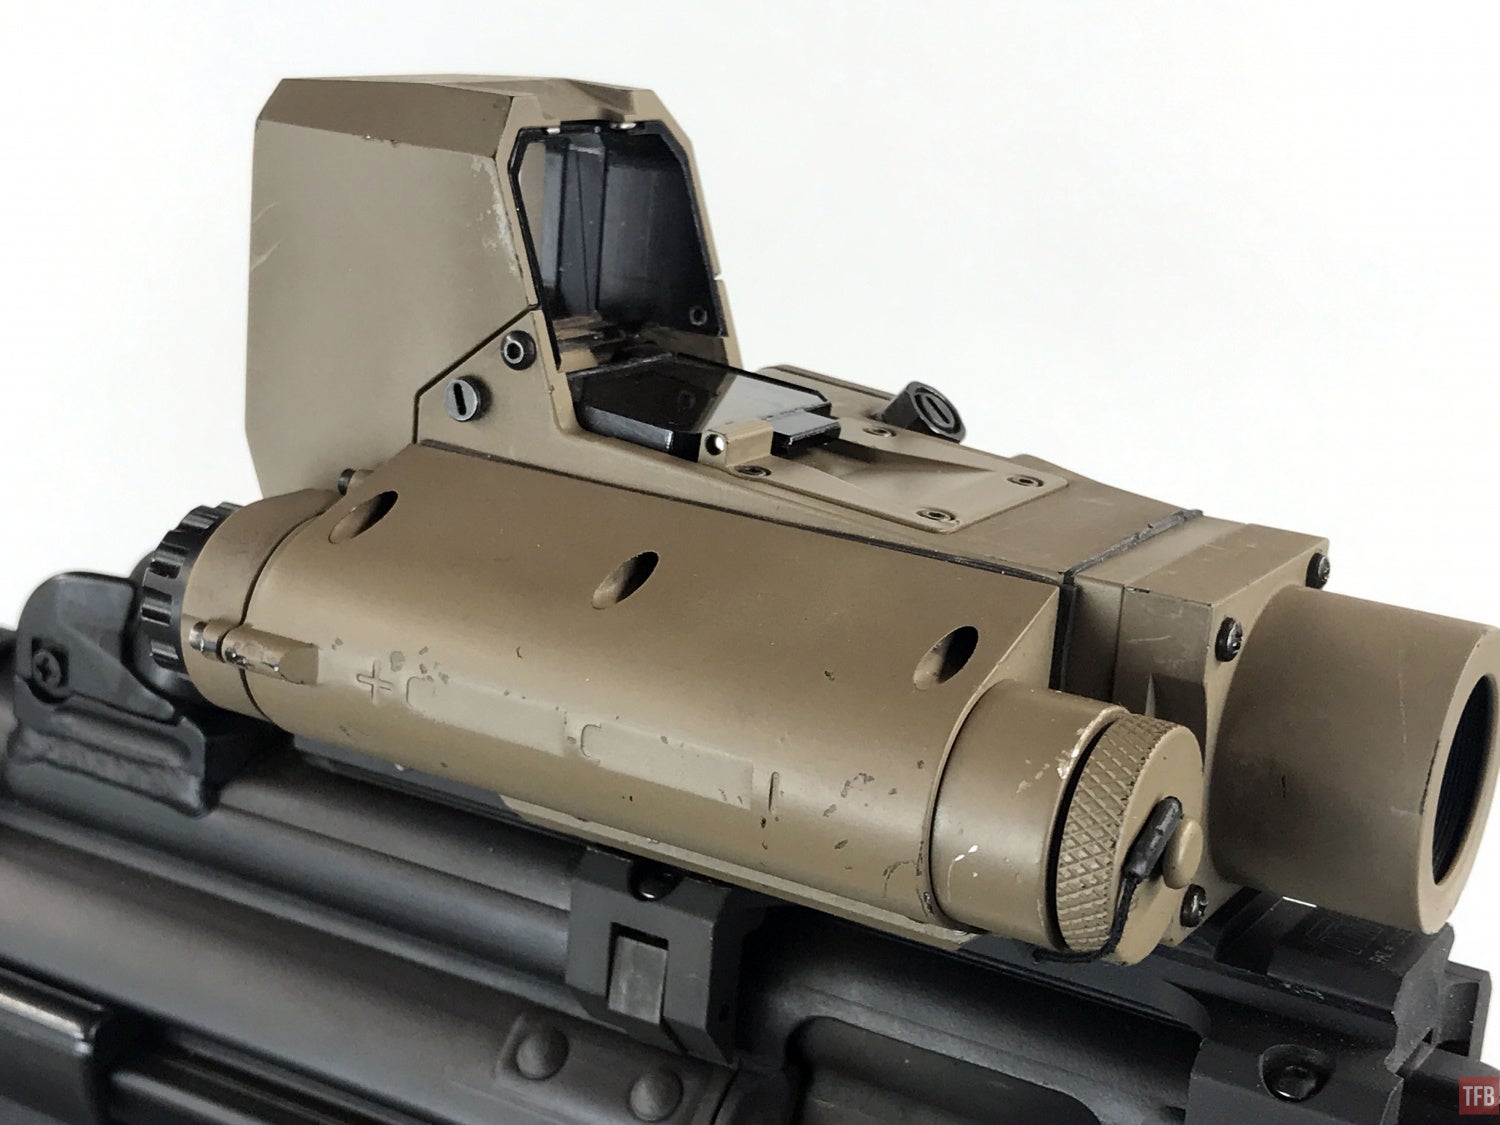
At the opposite end of the power switch, is the battery cap for the two CR123 batteries that power the CQT.
There is a five-button directional pad on the left side of the CQT housing. This allows you to change the thermal settings like the red dot brightness and thermal options. The CQT has a few thermal reticles but I did not find them to be that useful over the red dot. You have thermal reticles that look like a crosshair, circle with dot, box with dot and a redundant digital dot.

There are three thermal overlay settings: Full Thermal, Patrol, and Outline modes. I found patrol to be the best on this unit. Full thermal often shows me more than I need to see. Where Patrol only shows heat above 98º like people. The outline mode was not that prominent even when looking at things I know it should be highlighting like people.
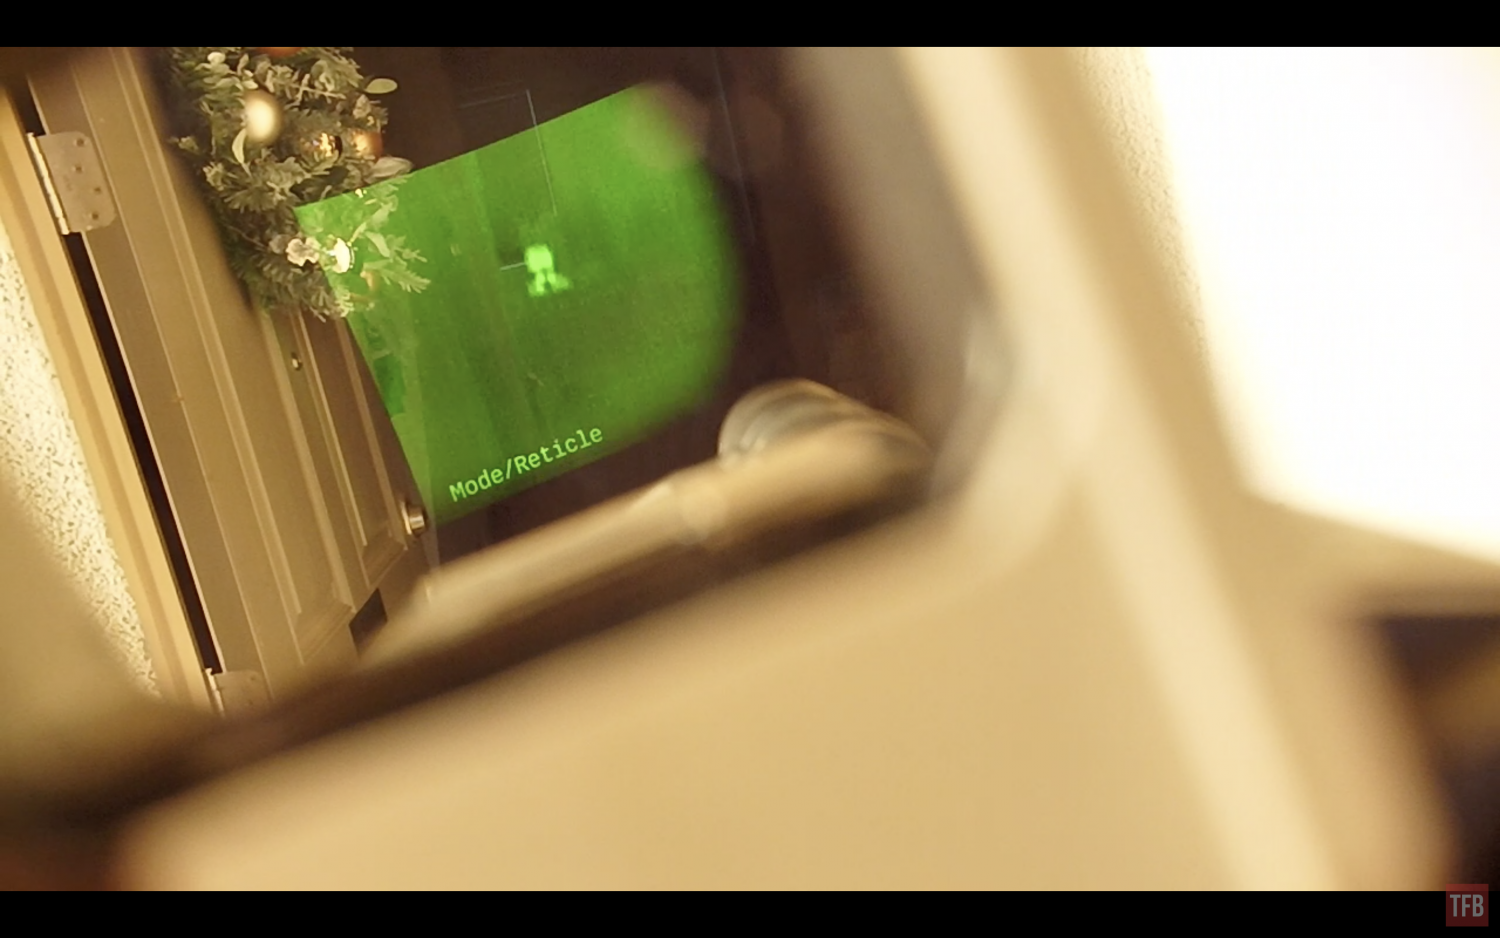
Steiner CQT in outline mode
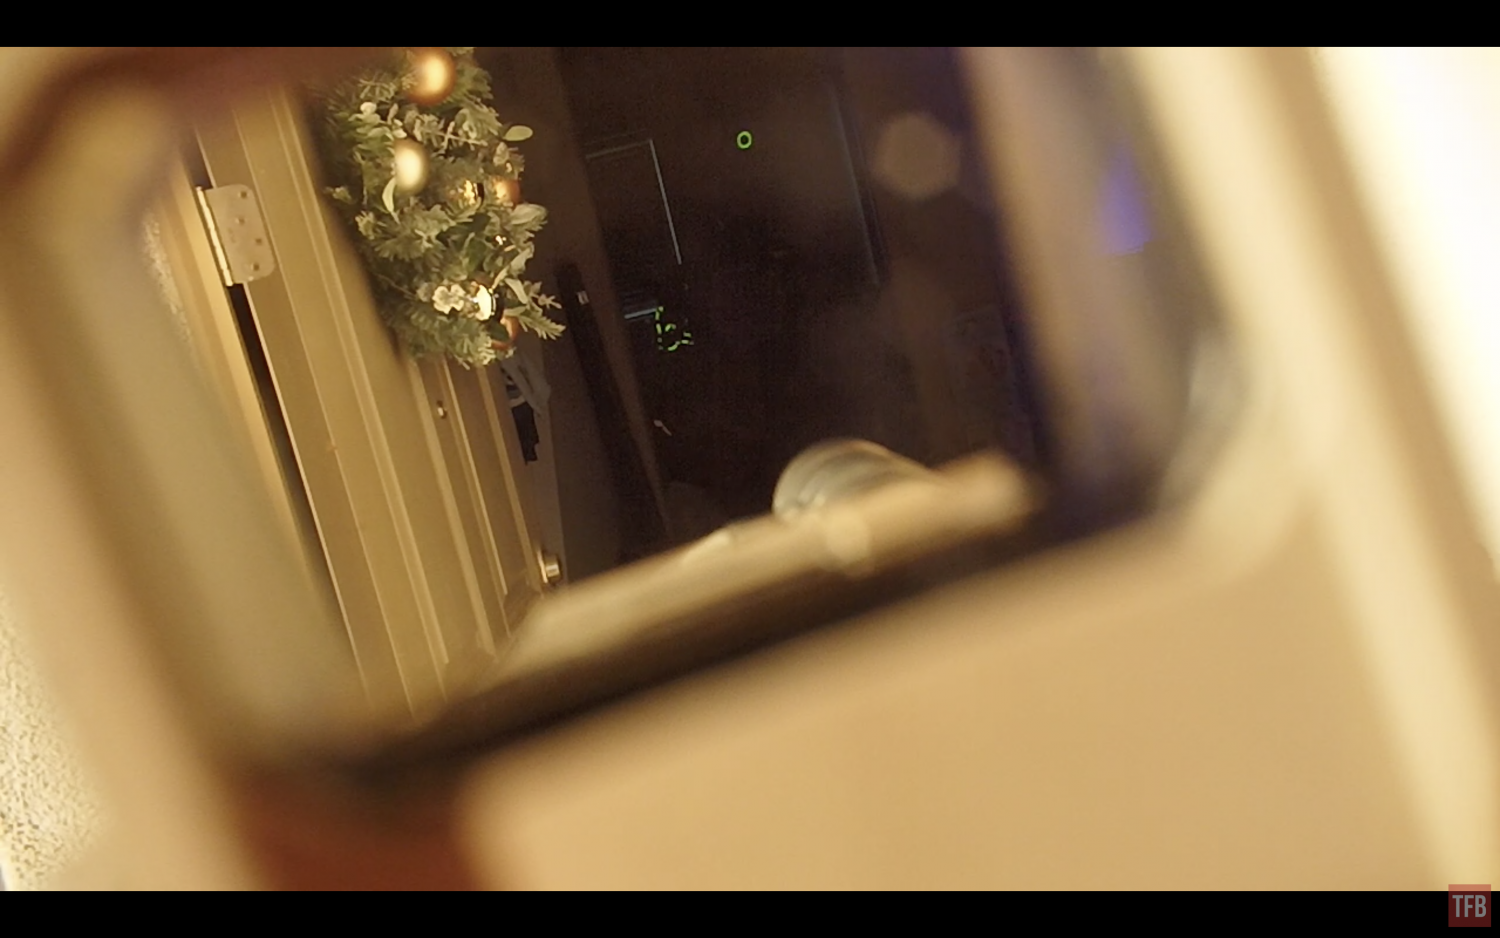
Steiner CQT in full thermal mode.
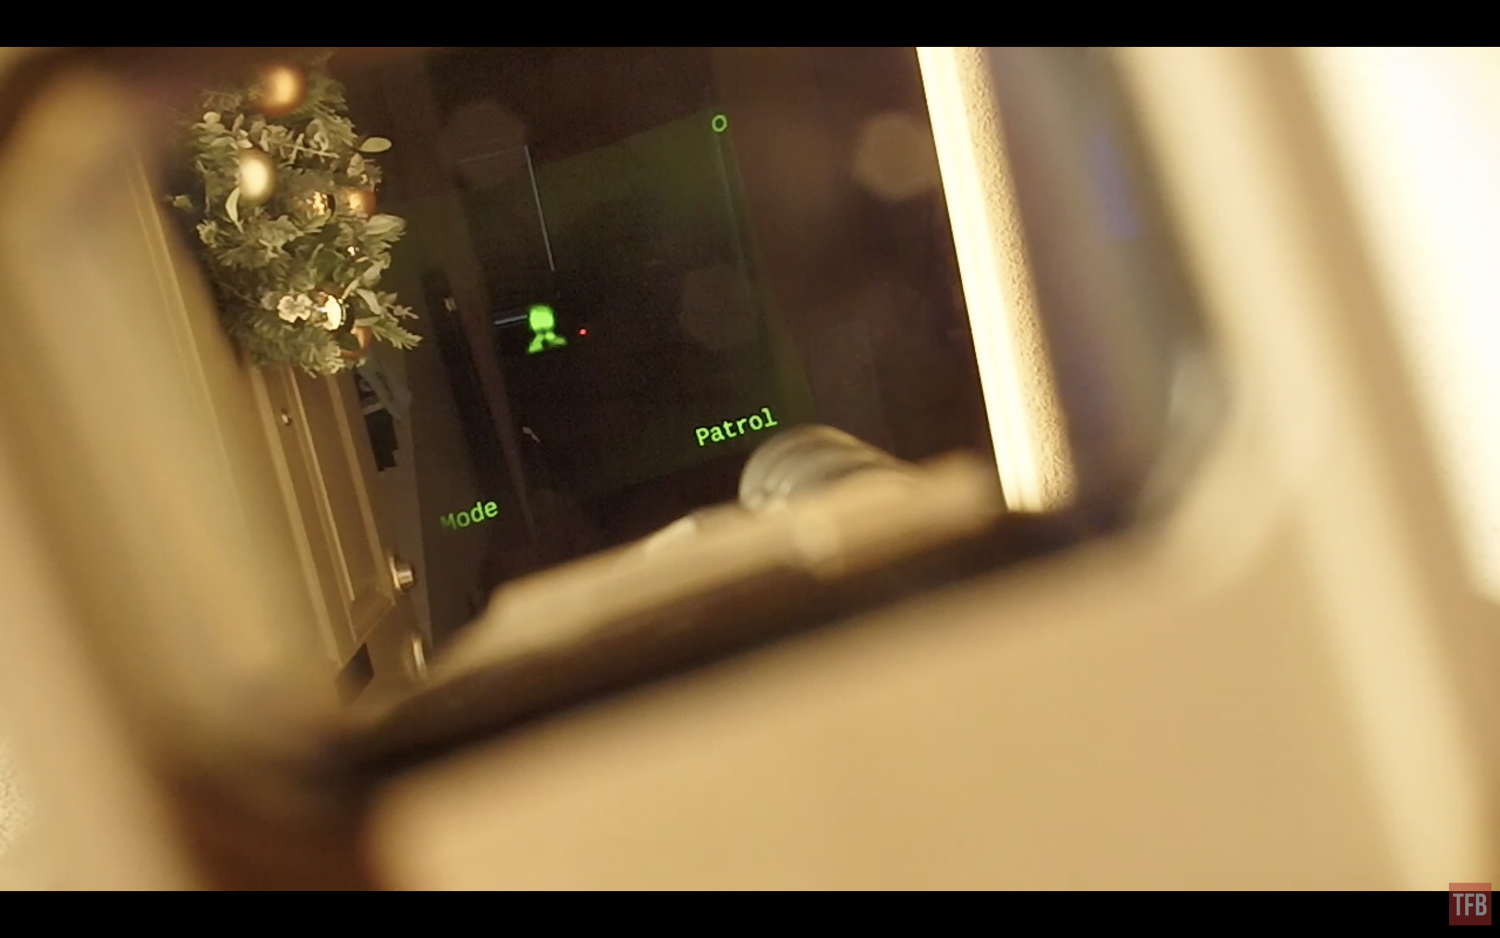
Steiner CQT in patrol mode.
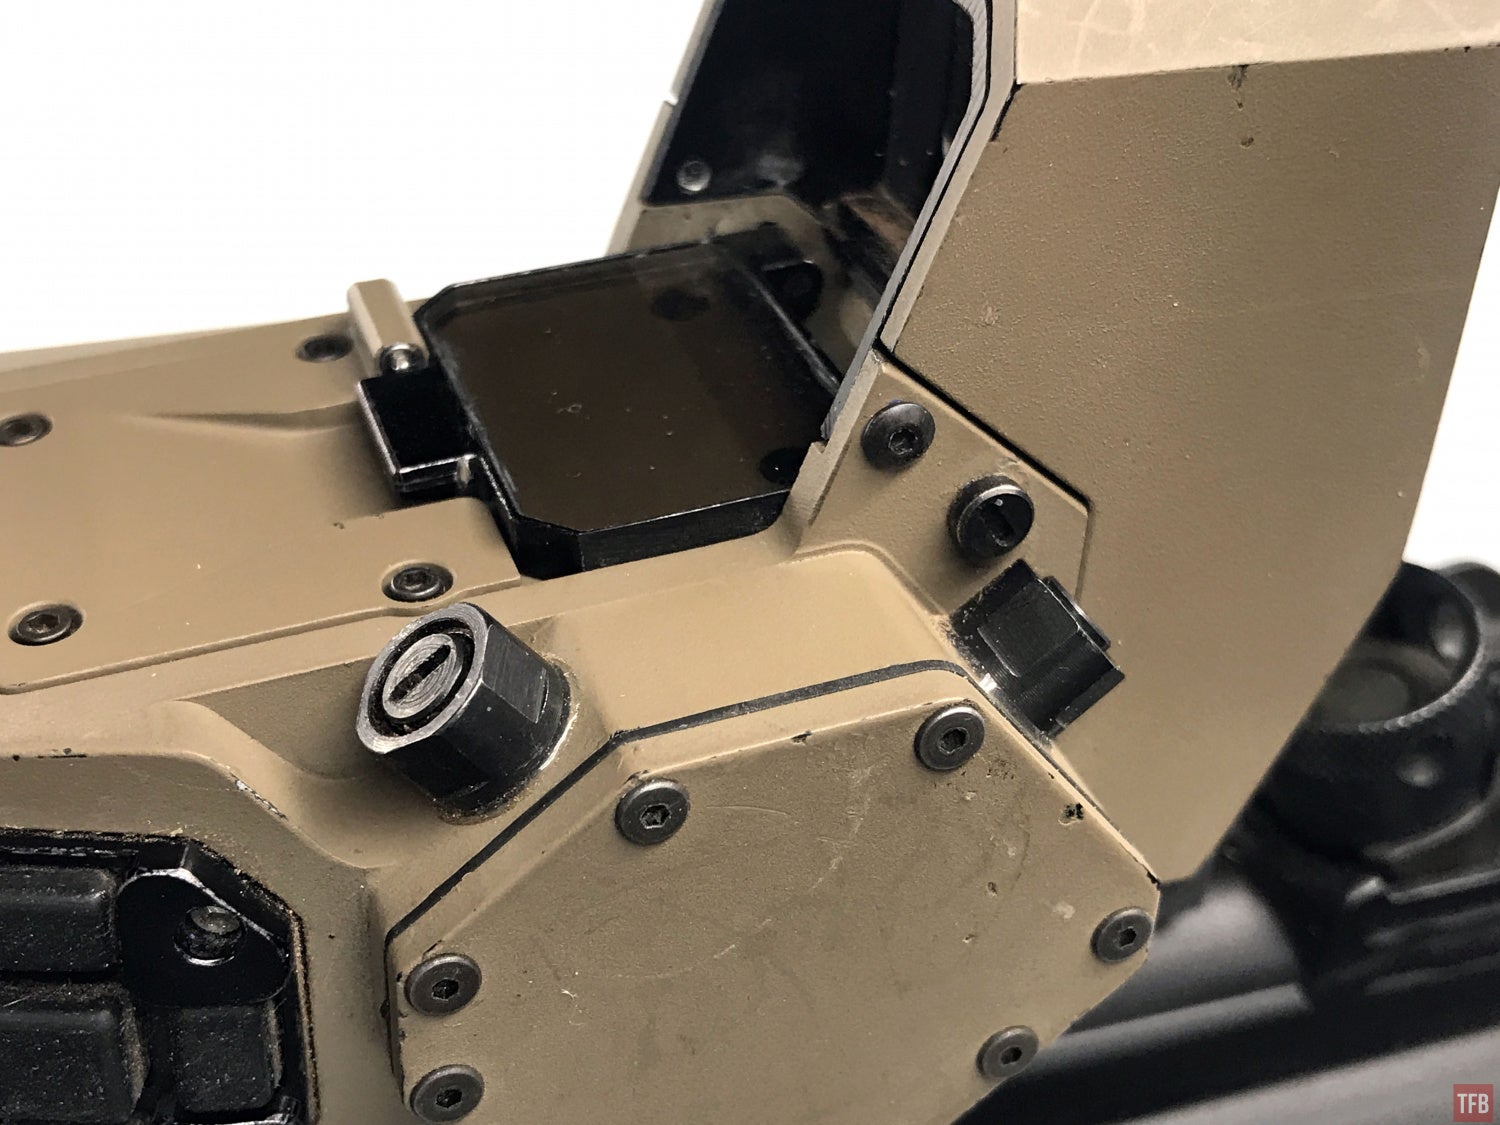
Depending on the lighting situation, like broad daylight, Steiner installed a sunshade for the CQT window. This reduces the amount of light coming through the red dot hood so you can see the thermal overly better and it won’t get washed out as much. You leave it down when not in use but it snaps into place when you deploy it.
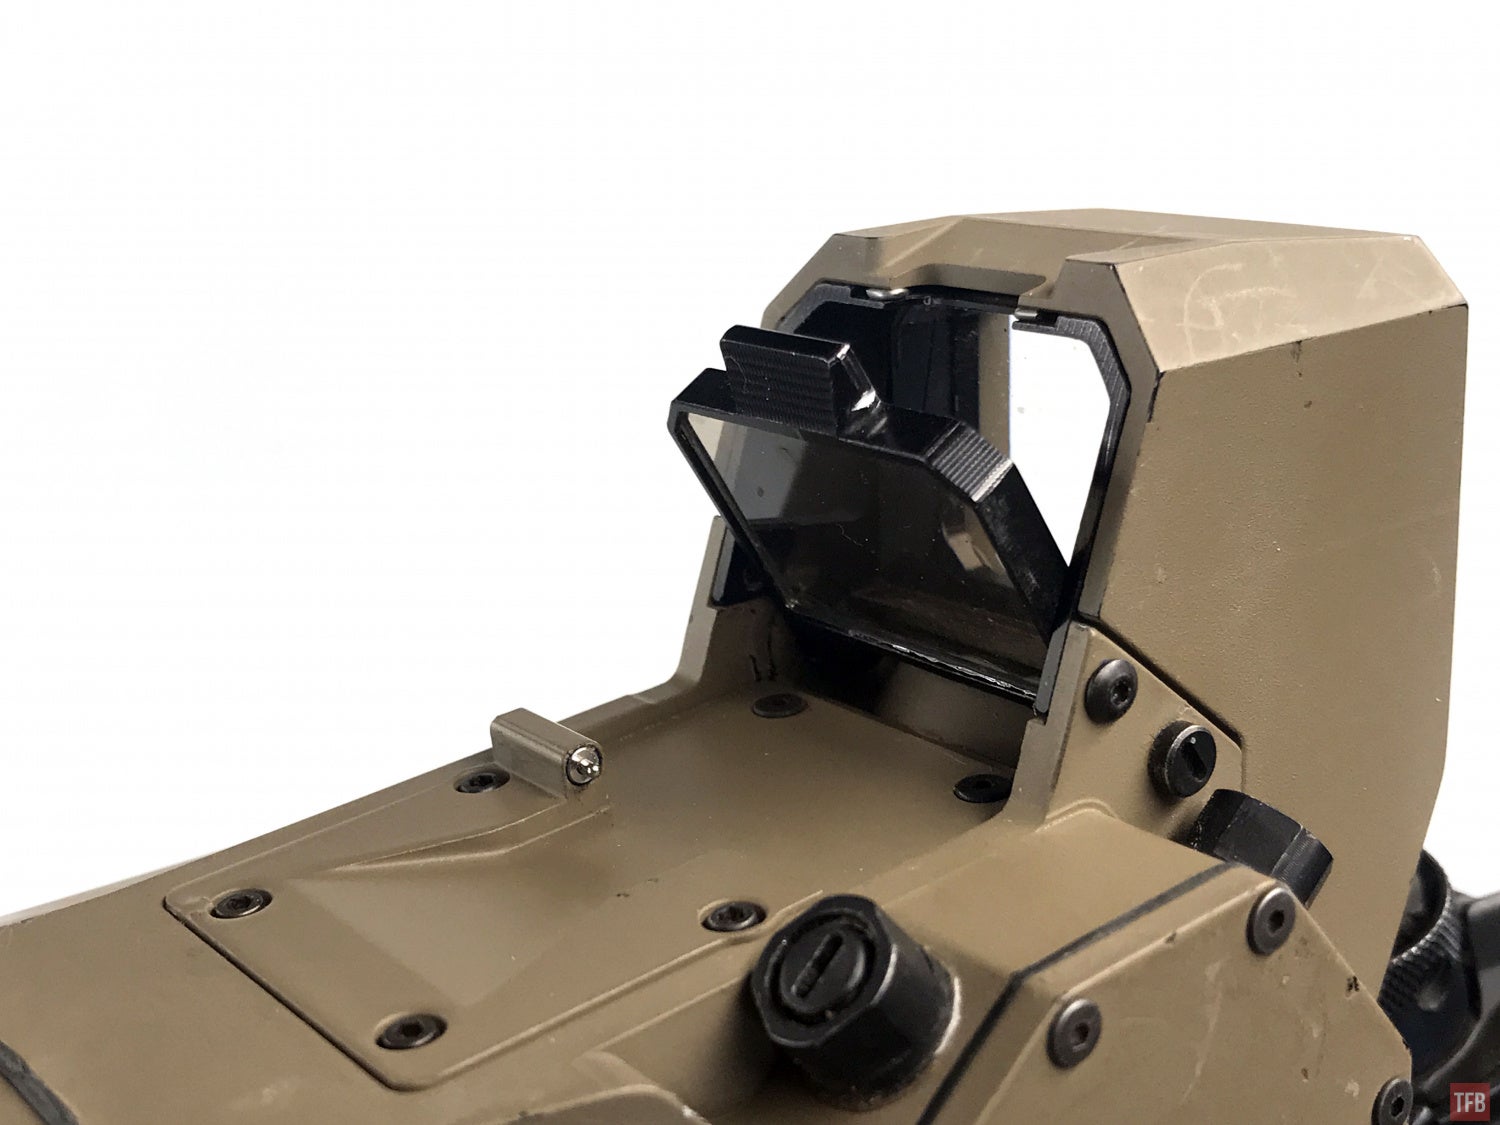
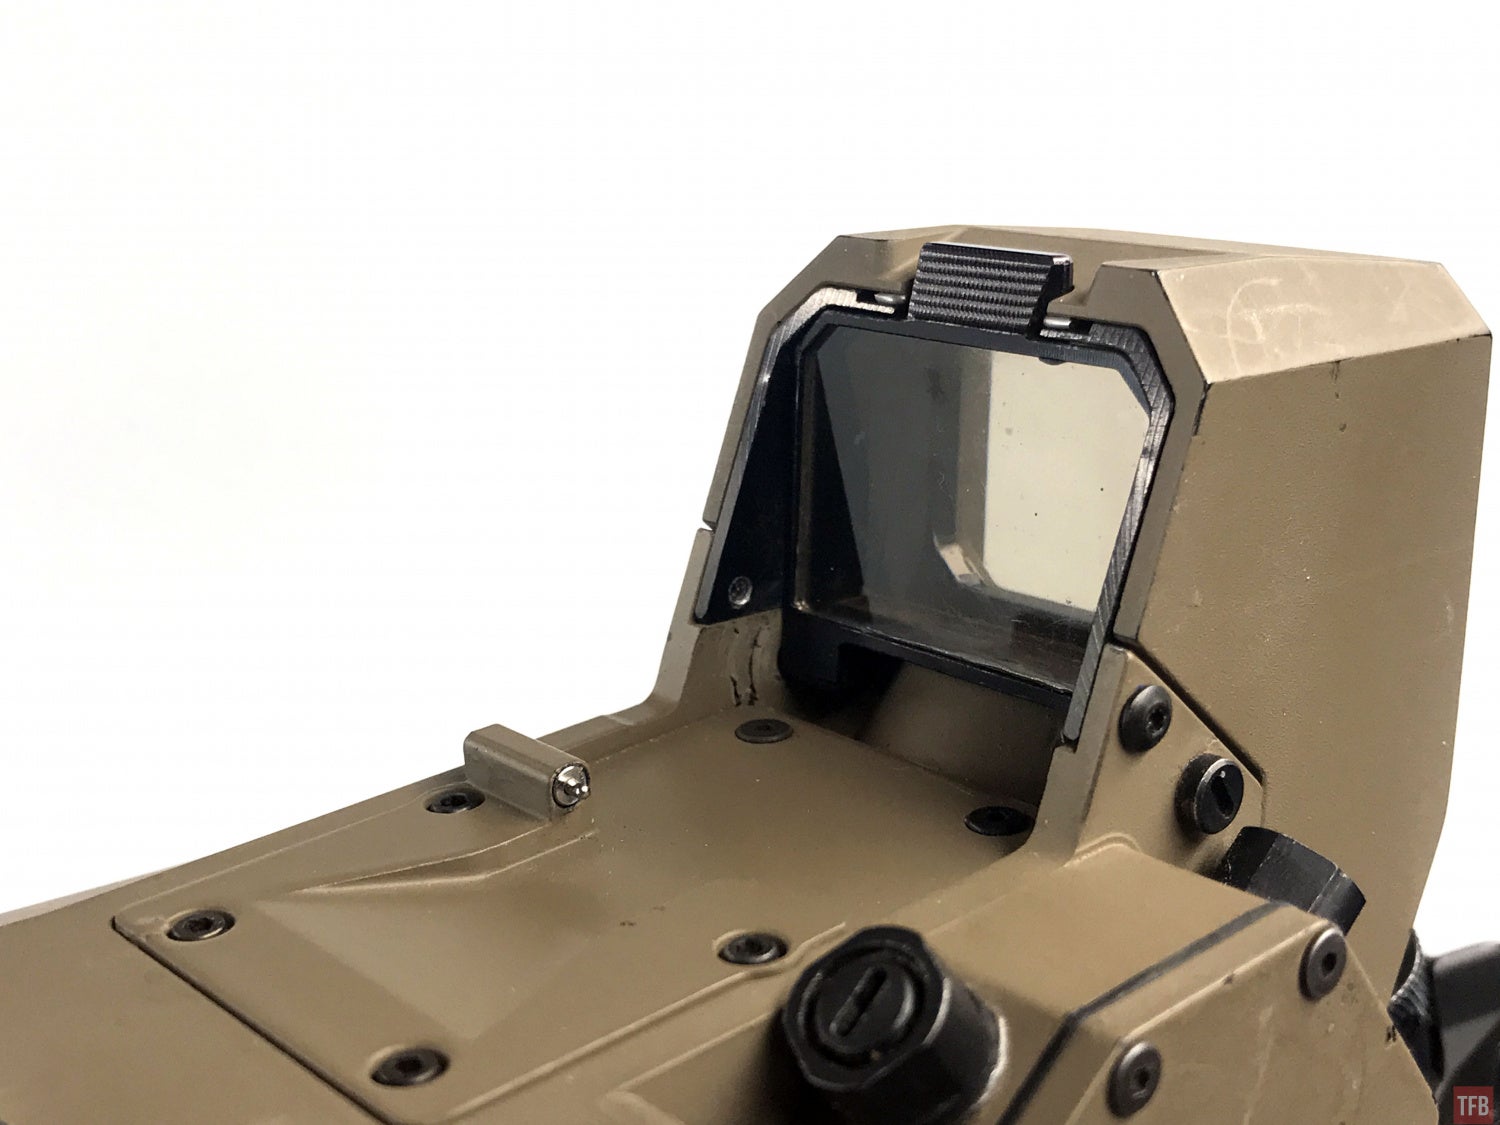
Just to the left of the window shade are the elevation and windage adjustments for the red dot. I am not sure why they are at these odd angles and not positioned at 12 and 3 o’clock like any other red dot system.
You can use a magnifier with the Steiner CQT however it requires a little bit of fine tuning. Below I attached an EoTech G33 magnifier on a lower 1/3 cowitness mount. Unfortunately, this does not work as the magnifier is too low.

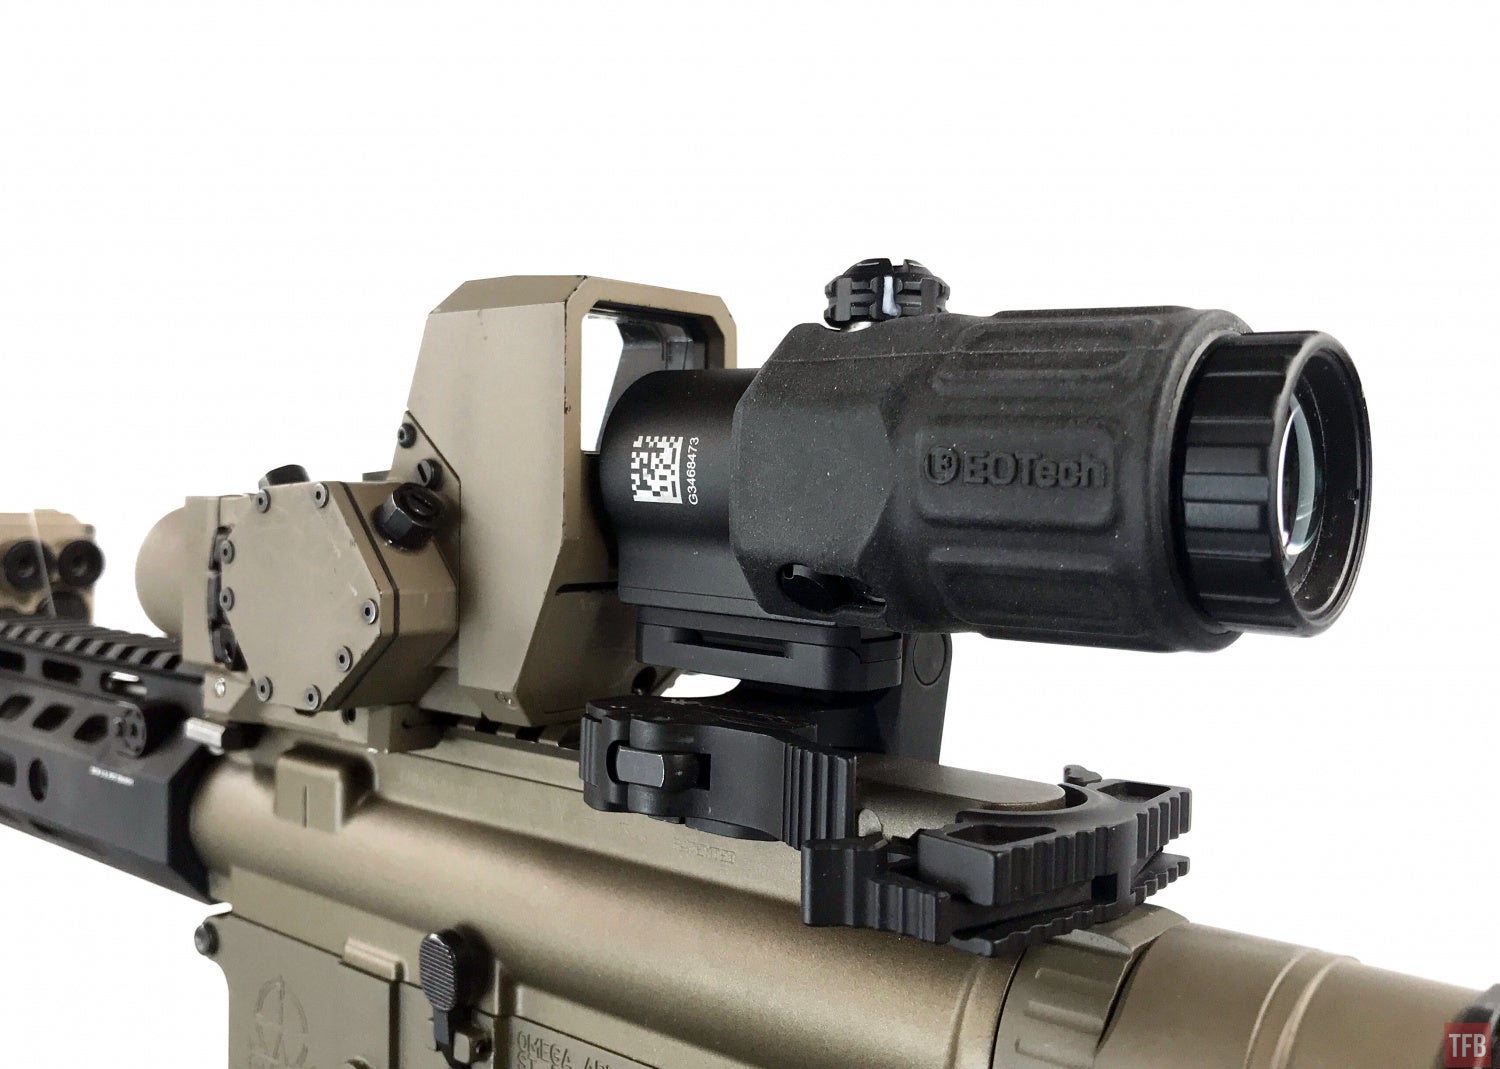
I ended up needing to use a small short Picatinny rail riser to raise the G33 magnifier high enough to see through the CQT window.
CQT without magnifier
CQT with G33 magnifier
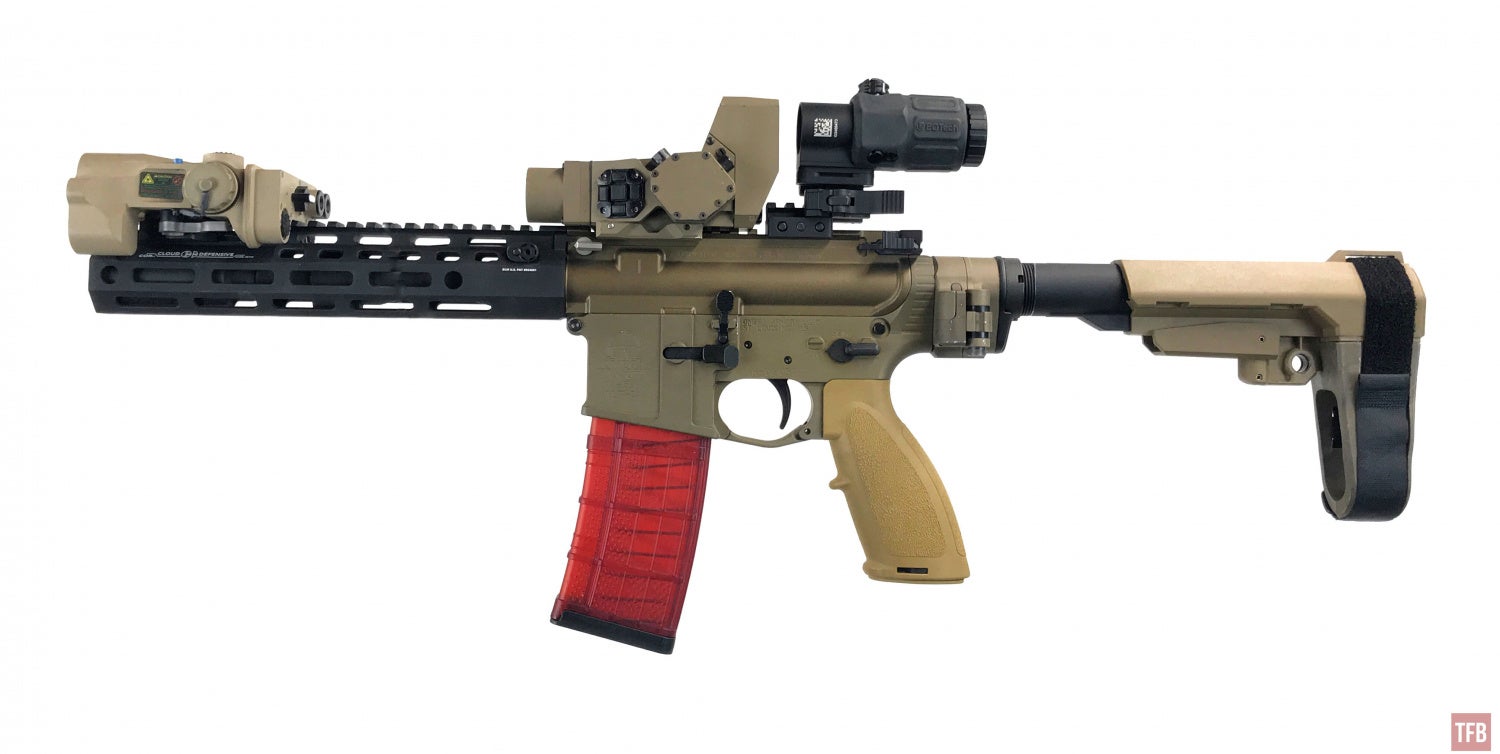
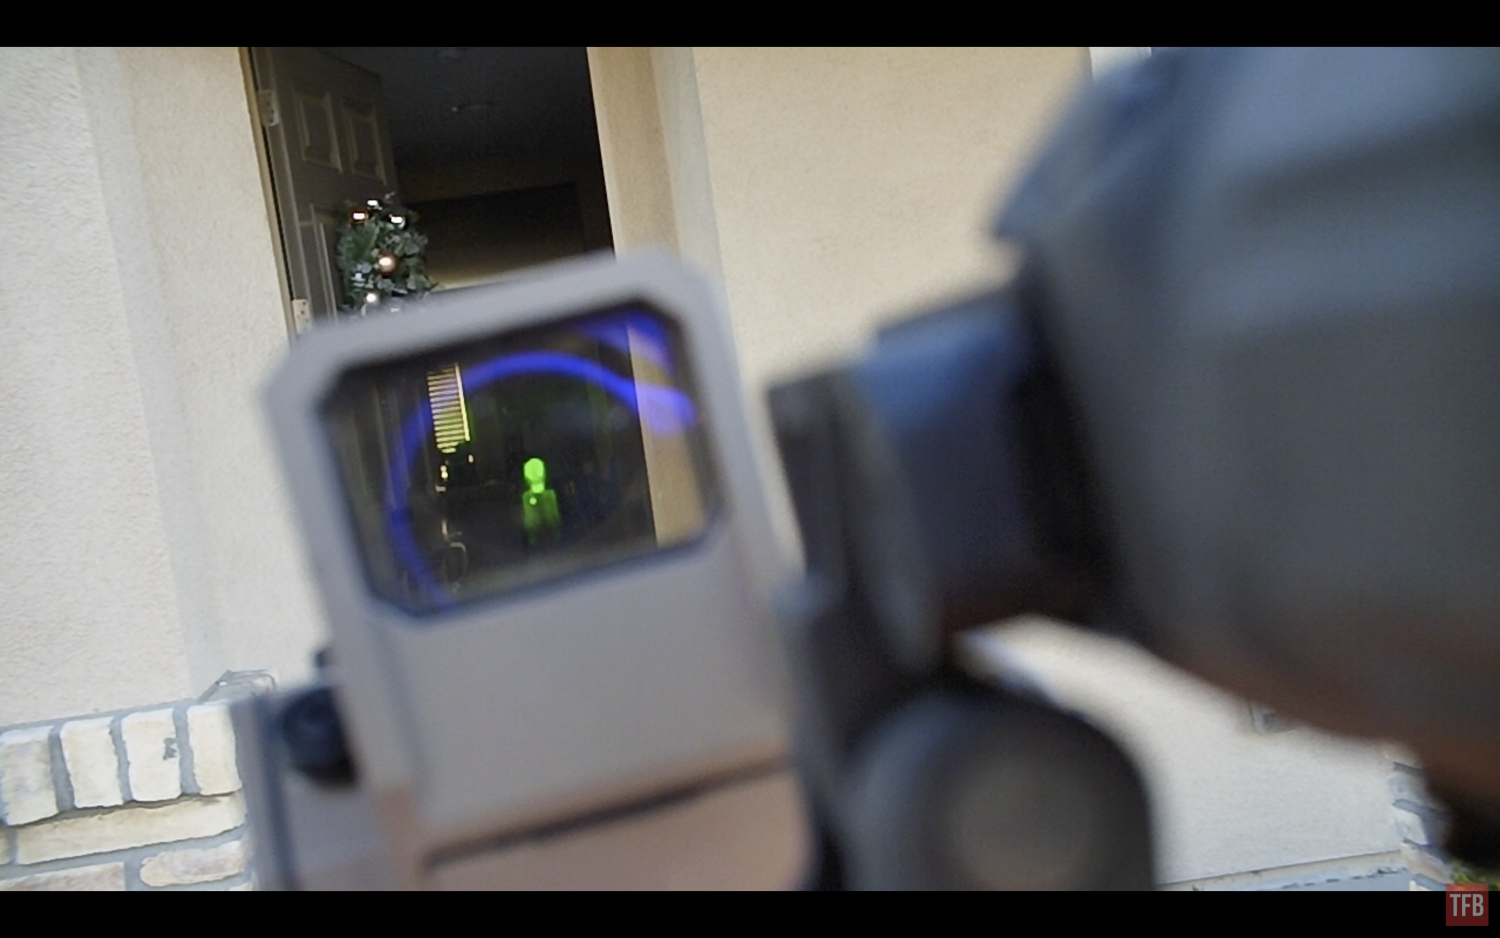
In order to test the thermal detecting abilities, I mounted the Steiner CQT onto a nerf gun. So the POV images above were always taken with the CQT mounted onto this nerf gun. You can see the magnifier mounted on a riser just so it is at the same height as the CQT. I tried my Unity Tactical Fast FTC magnifier mount and it positioned the magnifier too high for the CQT.
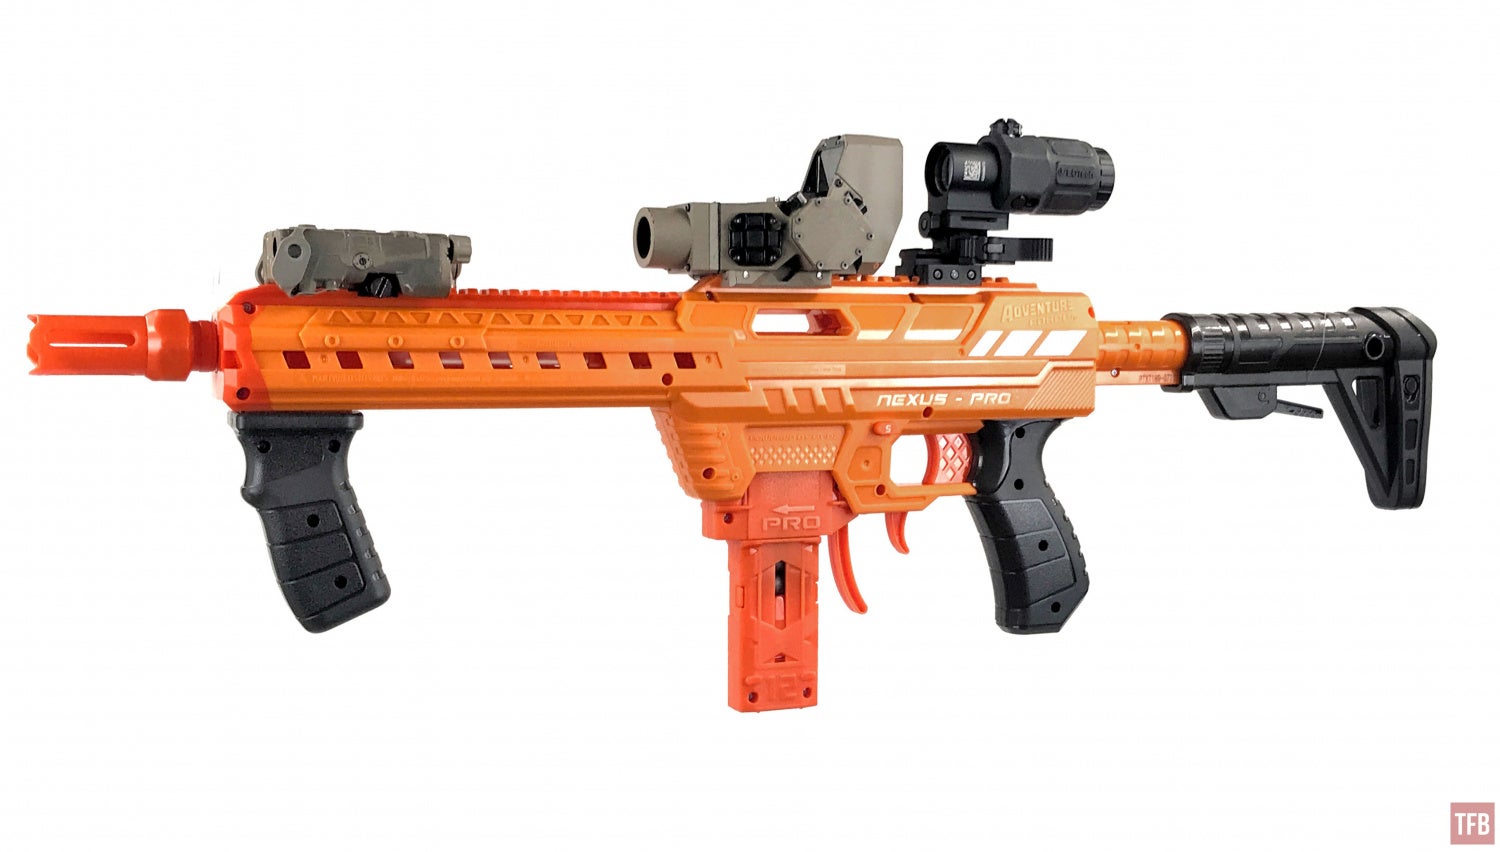
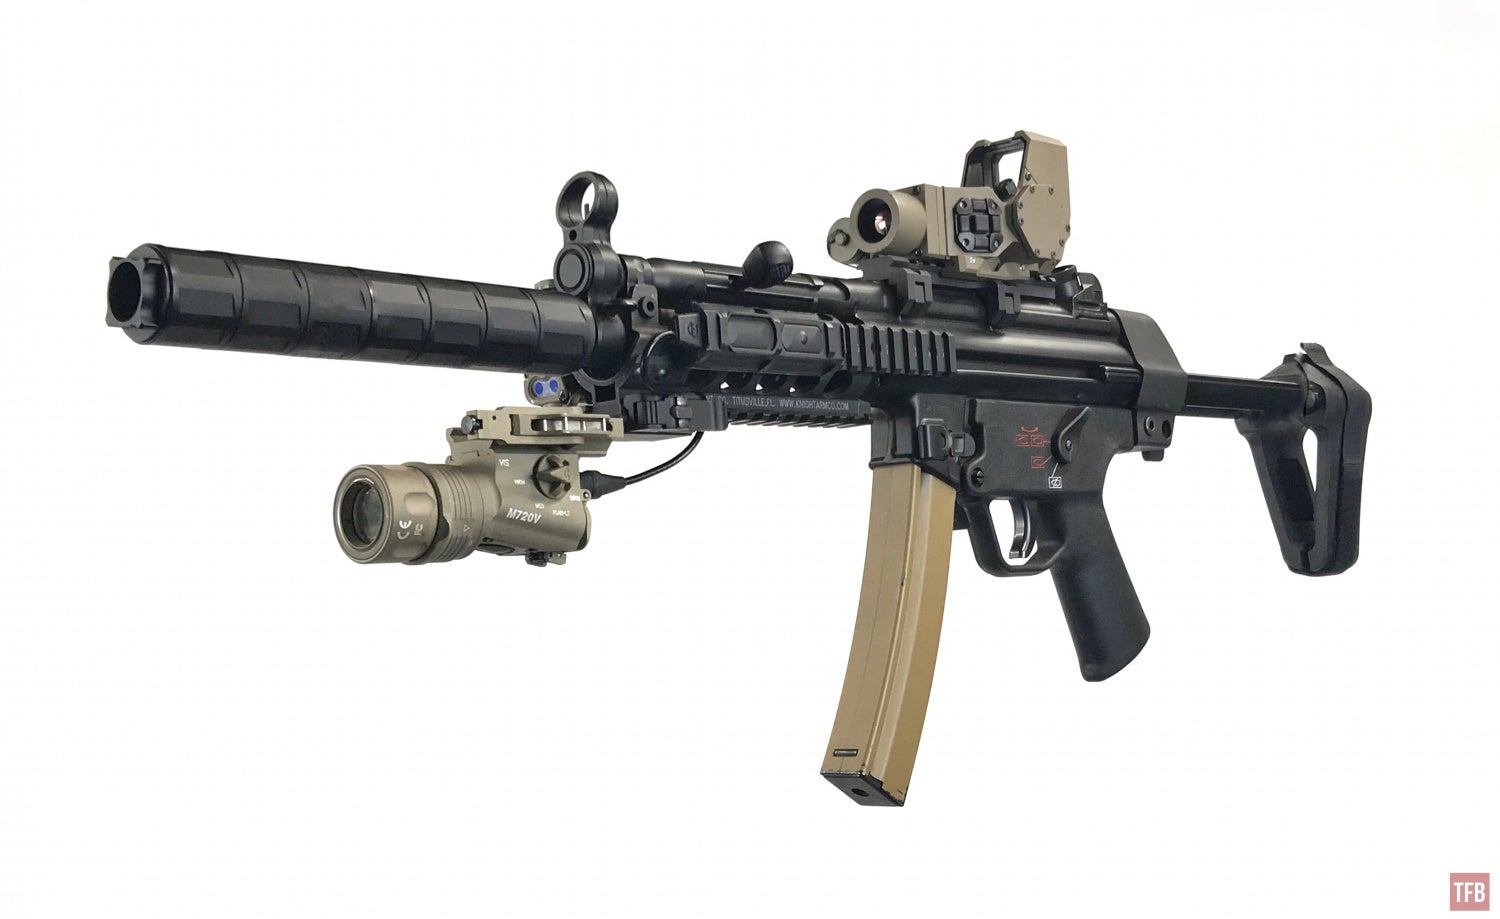
Do you see a problem with the picture above? Look at the position of the NGAL laser. Now take a look at the photo below. Due to the Steiner CQT thermal objective position, you cannot have anything mounted at 12 o’clock otherwise it could block the thermal sensor.
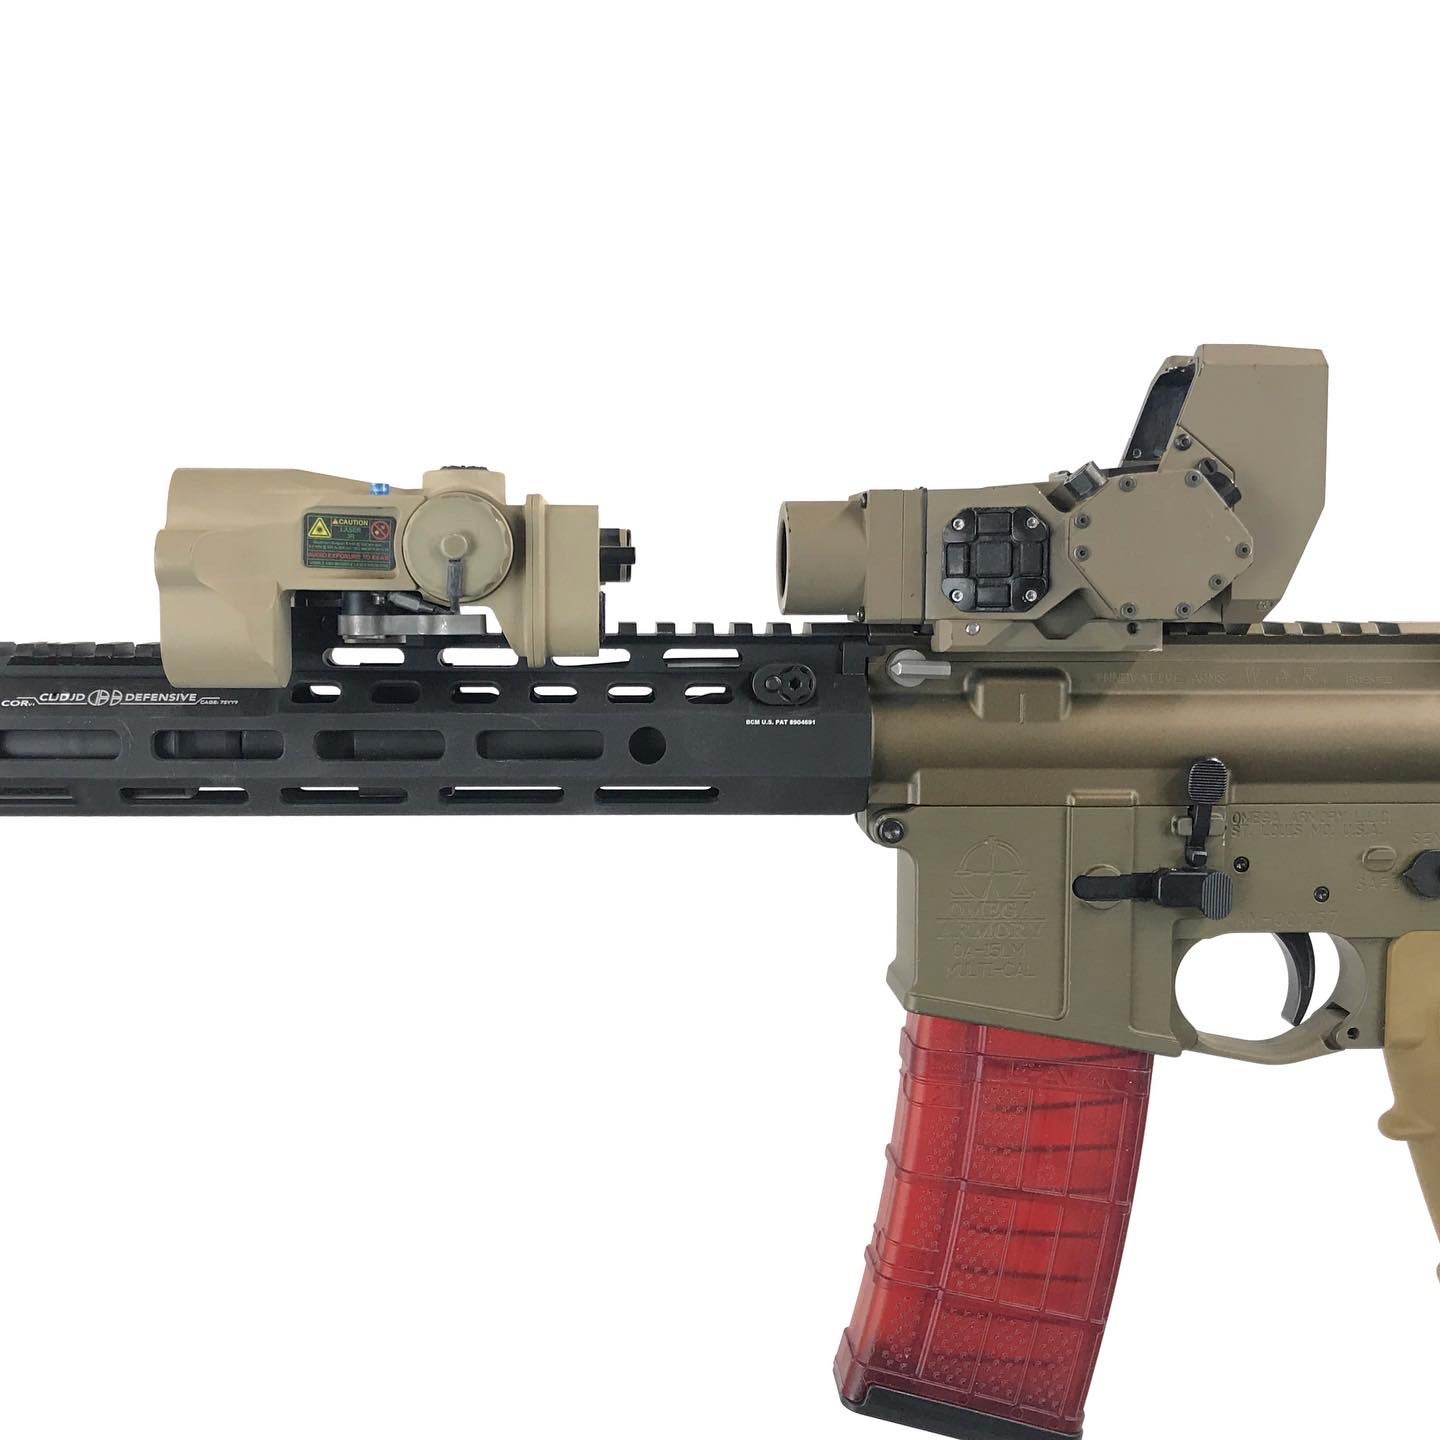
Steiner DBAL-A4 blocks the thermal sensor of the CQT
Besides aiming devices and front sights, your thumb can get in the way of the thermal sensor if you use a c-clamp style grip for your off hand.
Photonic Barriers
The problem with night vision and our eyesight is that we can only see so much with any amount of light. There are things like photonics barriers. For example, bright streetlights while using night vision. Your night vision will work but they will dim down and there will be shadows cast by the lights. Even though night vision can amplify light, you will still need to throw light into shadows to see what may be hidden there.
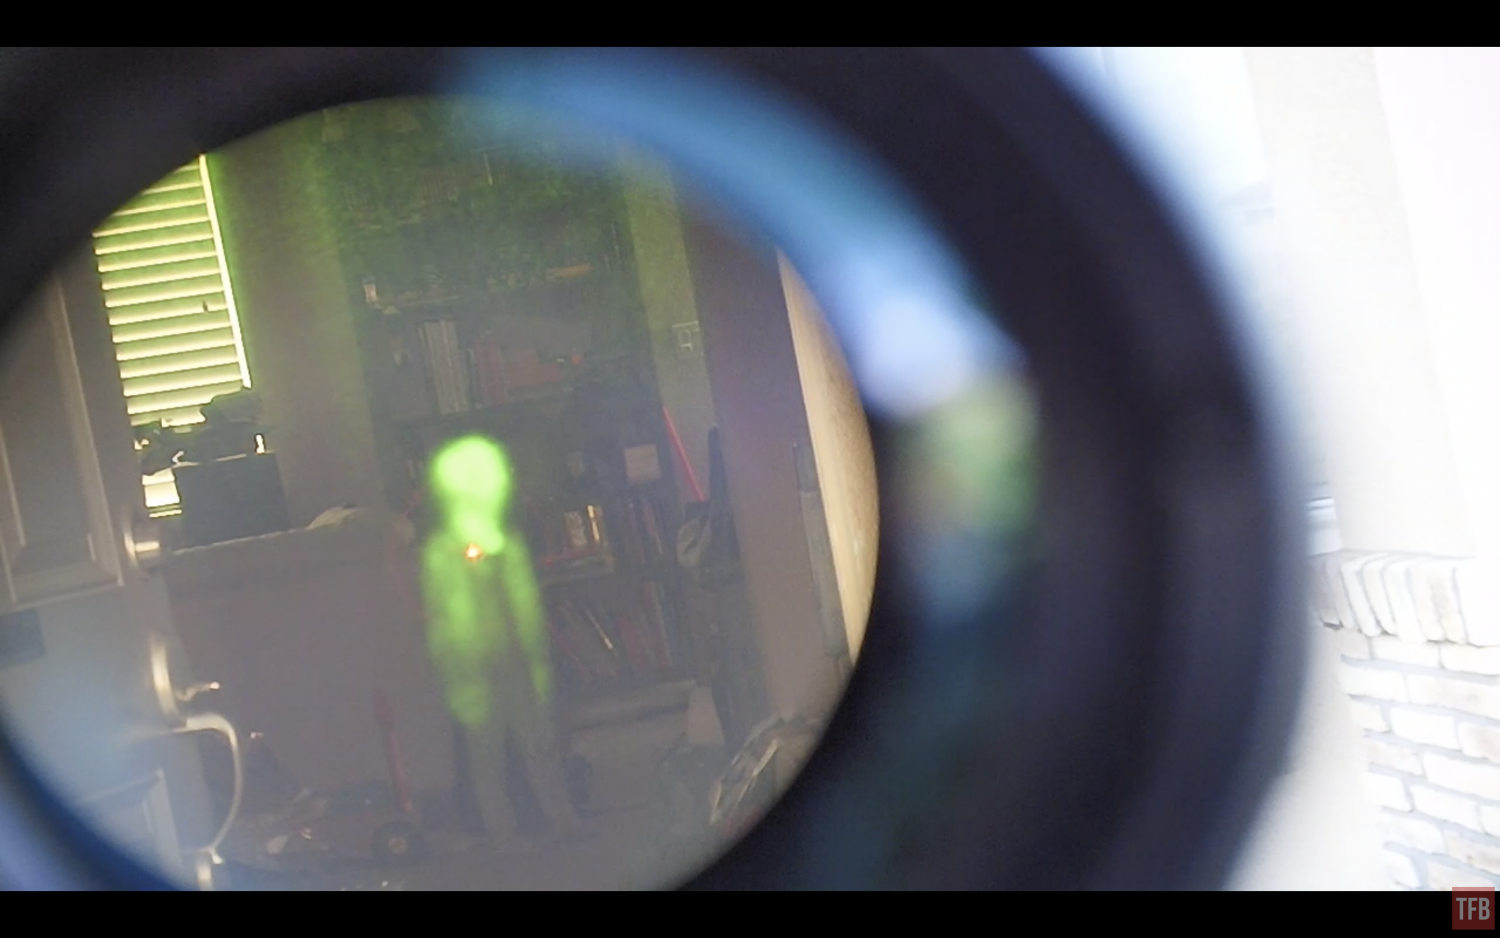
Thermal sensors do not see light. They see heat. So one benefit to thermal cameras is that they can detect heat regardless of how bright or dark it is. I tested this with the CQT mounted on the nerf gun and was able to detect my kid inside my house while I was outside the house in broad daylight. I kept our front door open and had my kid stand deep inside the house but where I could see her from the open doorway. Since I was outside I could not see her in the house through the open doorway. When I pointed the Steiner CQT in her direction, the thermal overlay showed her heat signature clearly.
Final Thoughts On the CQT
The biggest drawback is the price. The Steiner CQT retails for $9,999. $10k dollars can get you a lot of gear and equipment. The CQT only has a detection range of about 400 meters for a person. This is not very far considering other devices can detect much further for a lot less. However, there aren’t many devices out there that allow for VIS/Thermal fusion. Most weapon-mounted thermal units are only thermal. They do not allow you to see in the visible spectrum along with the day image. The closest candidate is the Sector Optics G1T2 and that costs over $4k. The benefit to the CQT is that you can see regular visible information and the thermal image is overlaid on top of said sight picture. No need to look at a separate PIP window or device. It is like night vision thermal fusion but without the night vision component. That is both good and bad. With just a CQT mounted on your gun, you will need to look through the optic all the time just to detect a heat signature. The resolution is ok but nothing too stellar that can give you a positive ID (PID) at any reasonable distance. I don’t know about you but I don’t run and gun looking through my optic 100% of the time. I don’t think LE are glassing 100% of the time looking for suspects either. For hunting, you could use the CQT but shouldering the gun to look for prey gets tiring fast. You can use the CQT to check dark areas for heat signatures. Even traditional optical camouflage can’t hide from thermal detection. However, we go back to the main issue of needing to scan your area while looking through the CQT and shouldering a gun at the same time. It is easier to have your gun slung and retained while you scan for potential targets or game using a handheld thermal monocular.
One of the negatives about this system, besides the price, is the position of the thermal sensor. I understand why it is where it is, but this limits your options for tape switches and aiming lasers. Even front sights can be an issue. However, if you know this going in, you can set up your rifle to accommodate this optic. I have been told that Steiner has an update for the CQT and it takes suppressor heat into consideration. Having a hot can at the end of your gun will create a thermal barrier. The CQT can have issues because it is displaying the heat coming off the suppressor rather than what is downrange. However, their update will fix this issue.
Steiner is also developing a civilian model of the CQT. It will too have an independent red dot and it will not have the extra modes like Patrol and Outline modes. The Steiner Rep said it will cost under $4k when it comes out. If the civilian version has a similar body style to the CQT, then they should make mounting options to attach a micro red dot on the deck of the body so the red dot cowitnesses with the hood of the thermal optic. That way you can have a red dot as well as a thermal optic all in one.
To learn more about the Steiner CQT, go to Steiner’s website.