 Your Privacy Choices
Last July I posted a news article about the Sector Optics G1T3. It was an LPVO with a thermal imager mounted to the top of the LPVO. More importantly, the G1 LPVO has their trademarked ID or Internal Display. This is a small second monitor inside the eyepiece of the LPVO that displays the thermal image. I requested a G1T2 so I could try and achieve thermal fusion with a night vision clip-on.
G1T2 Thermal LPVO
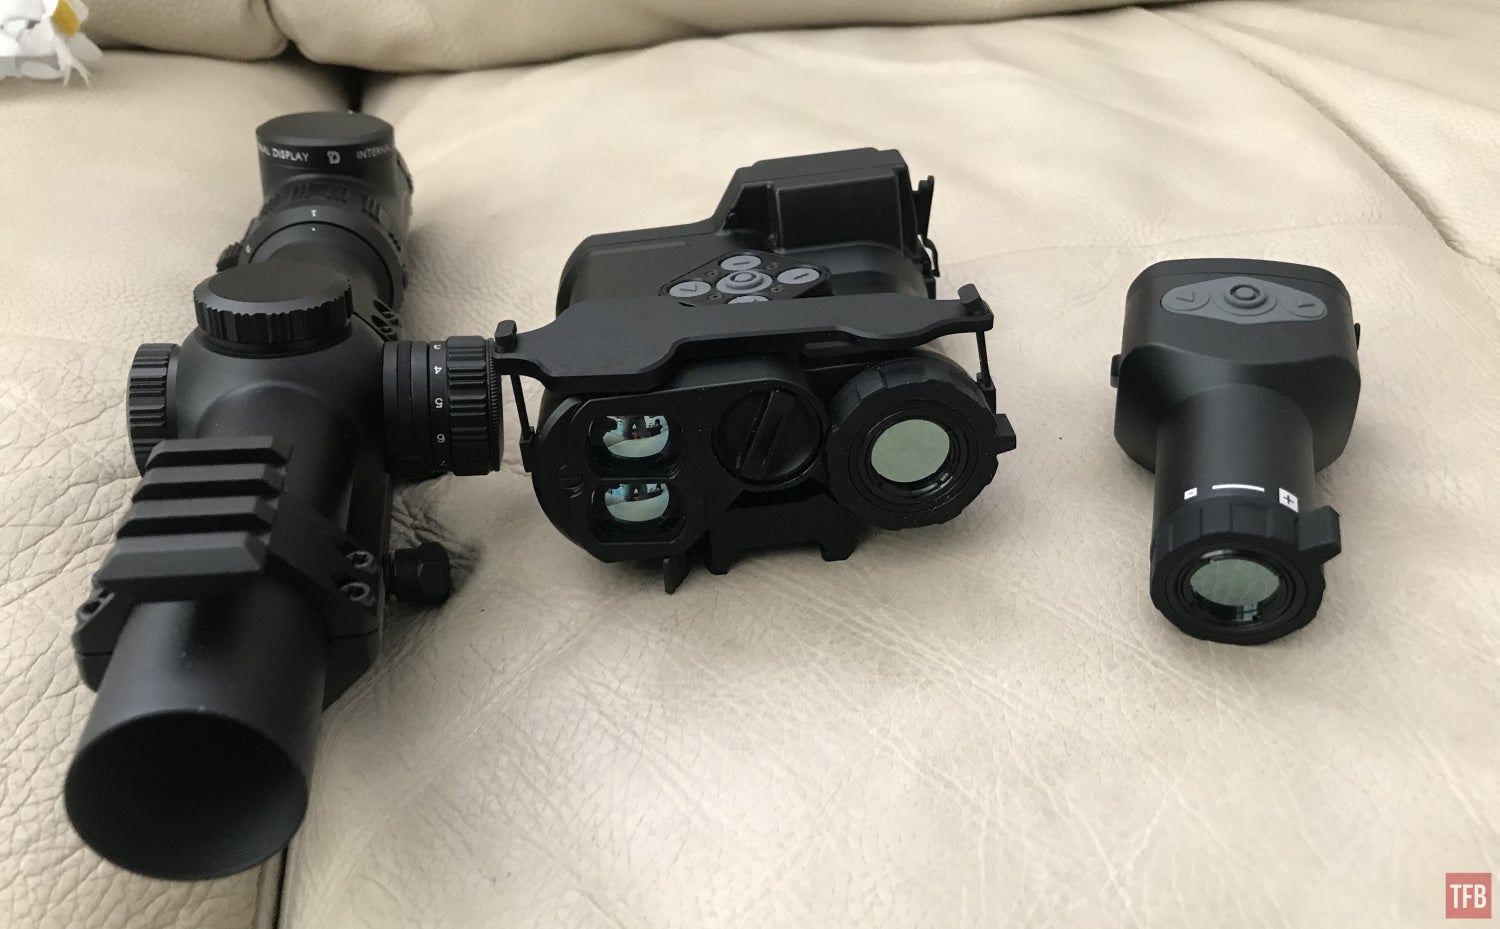
The G1T2 has gone through some small changes. My friend Kevin R. actually has a G1T2 but it is an older version.
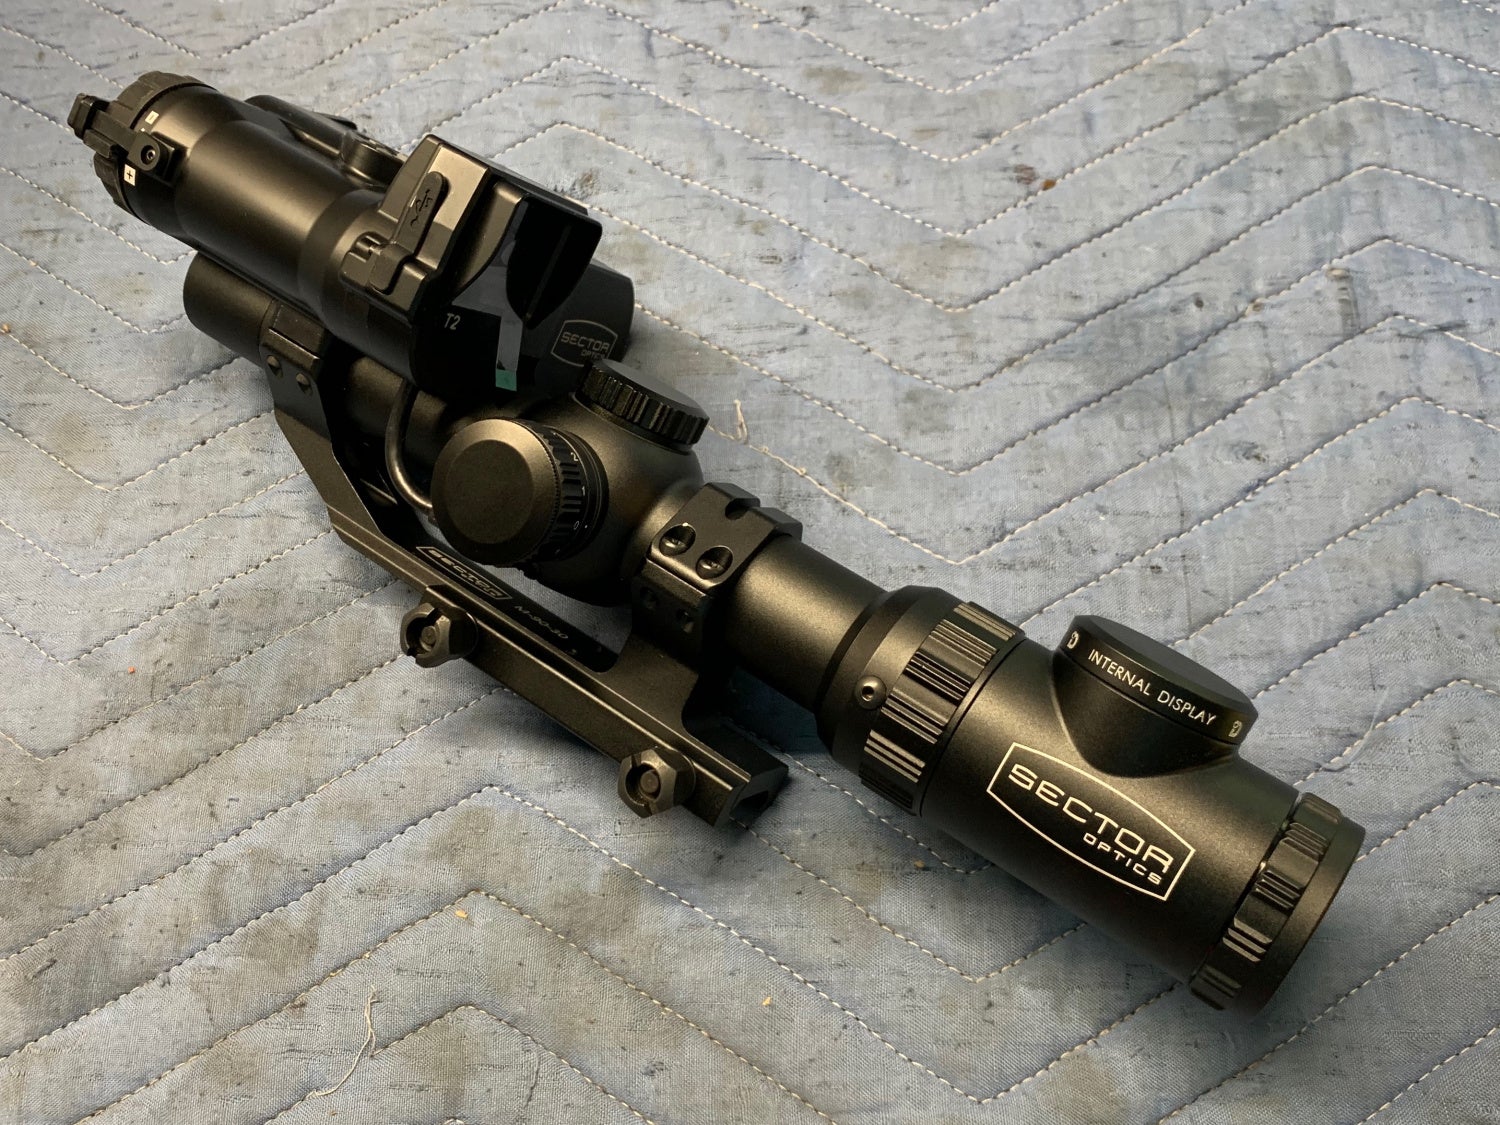
Photo by Kevin R.
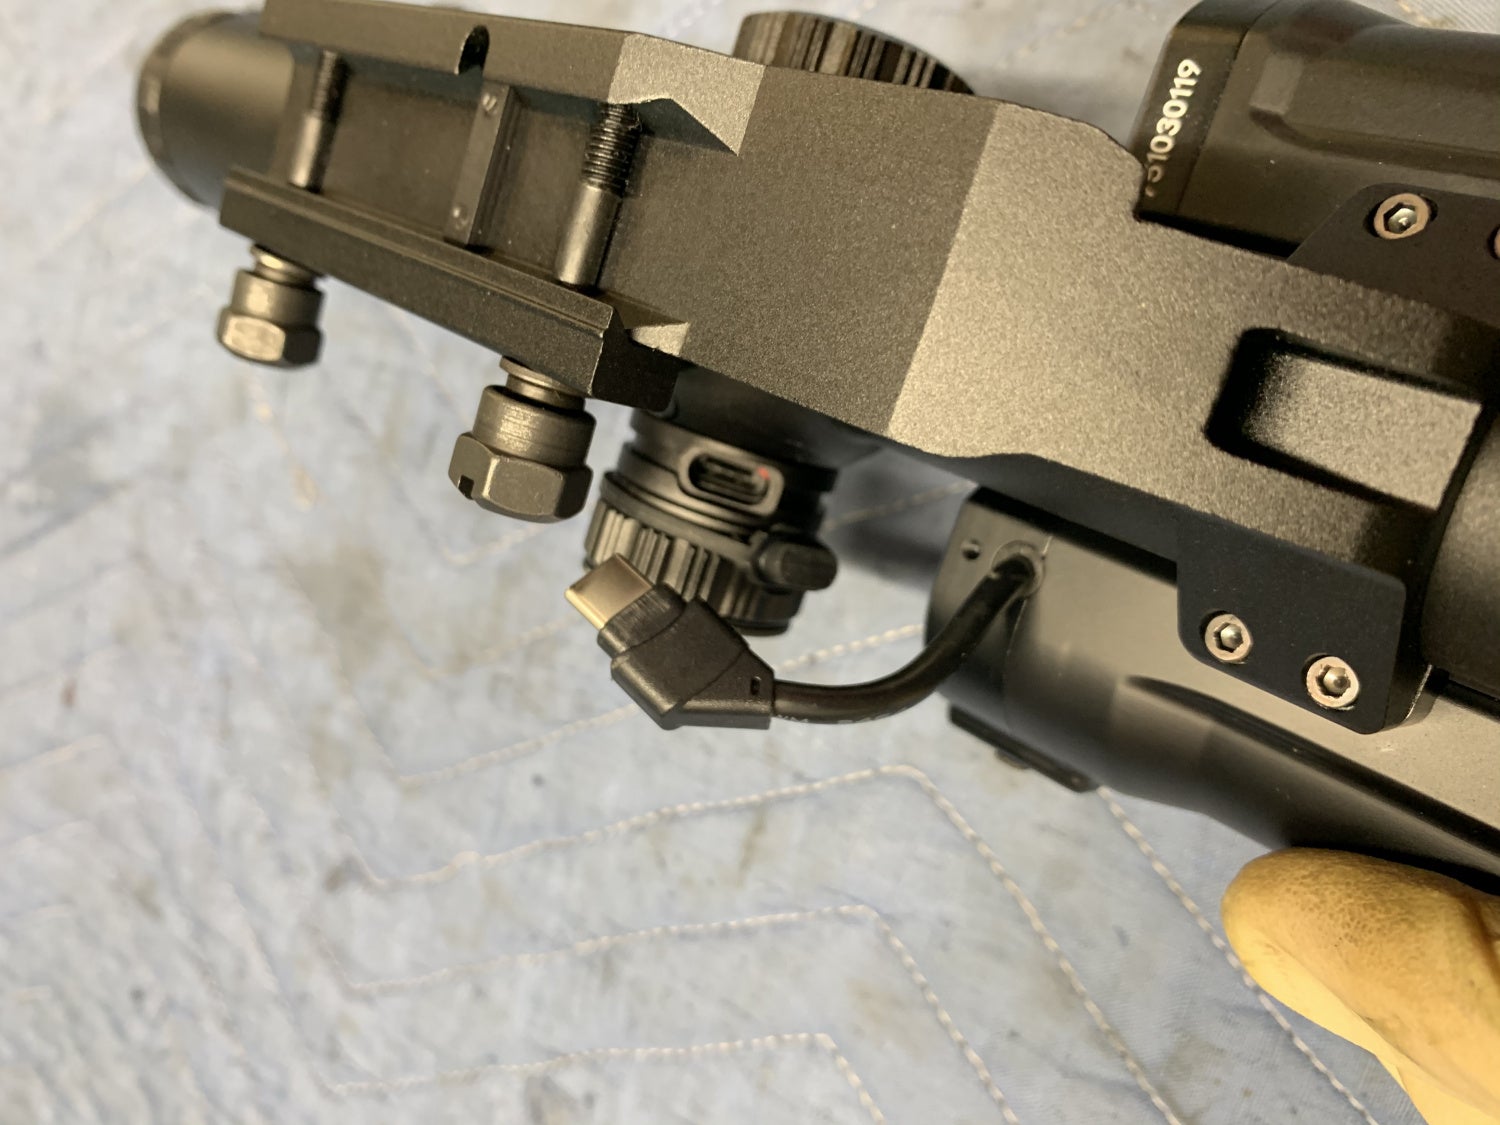
Photo by Kevin R.
Looking at the photo above, the cable to plug the T2 thermal imager into the G1 LPVO is fixed to the thermal device. On top of that the T2 straddles the LPVO tube.
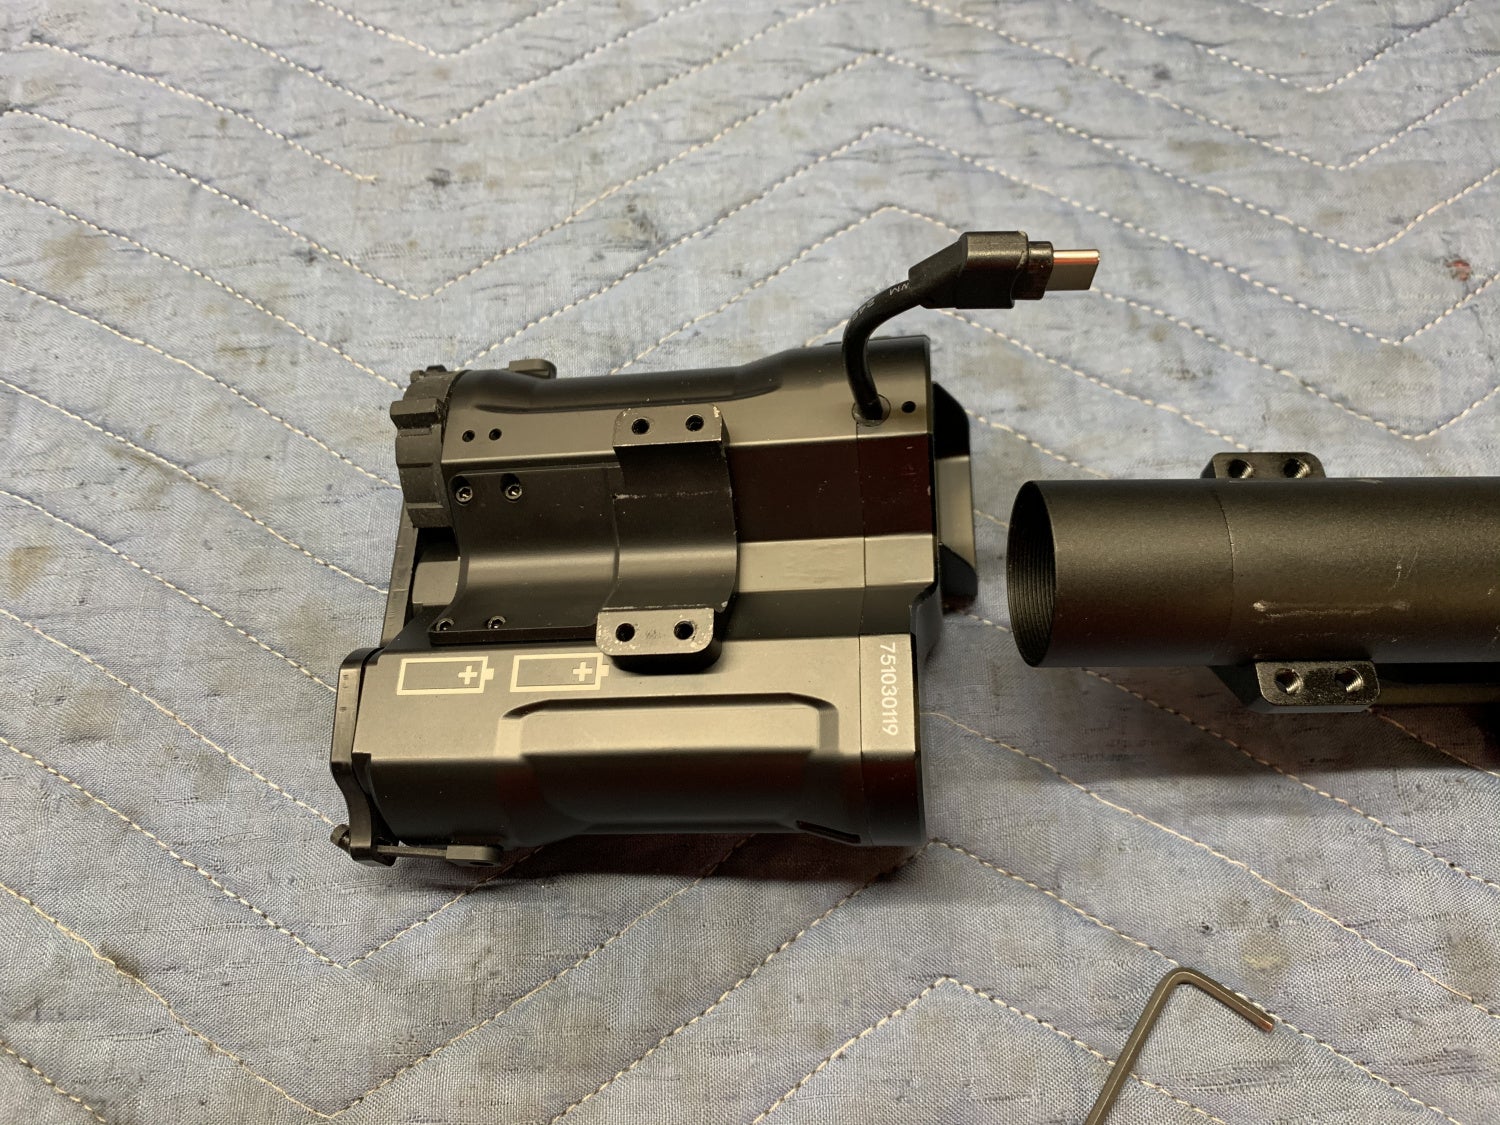
Photo by Kevin R.
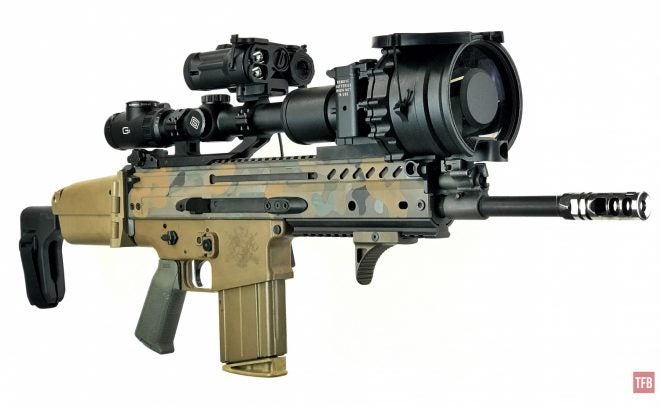
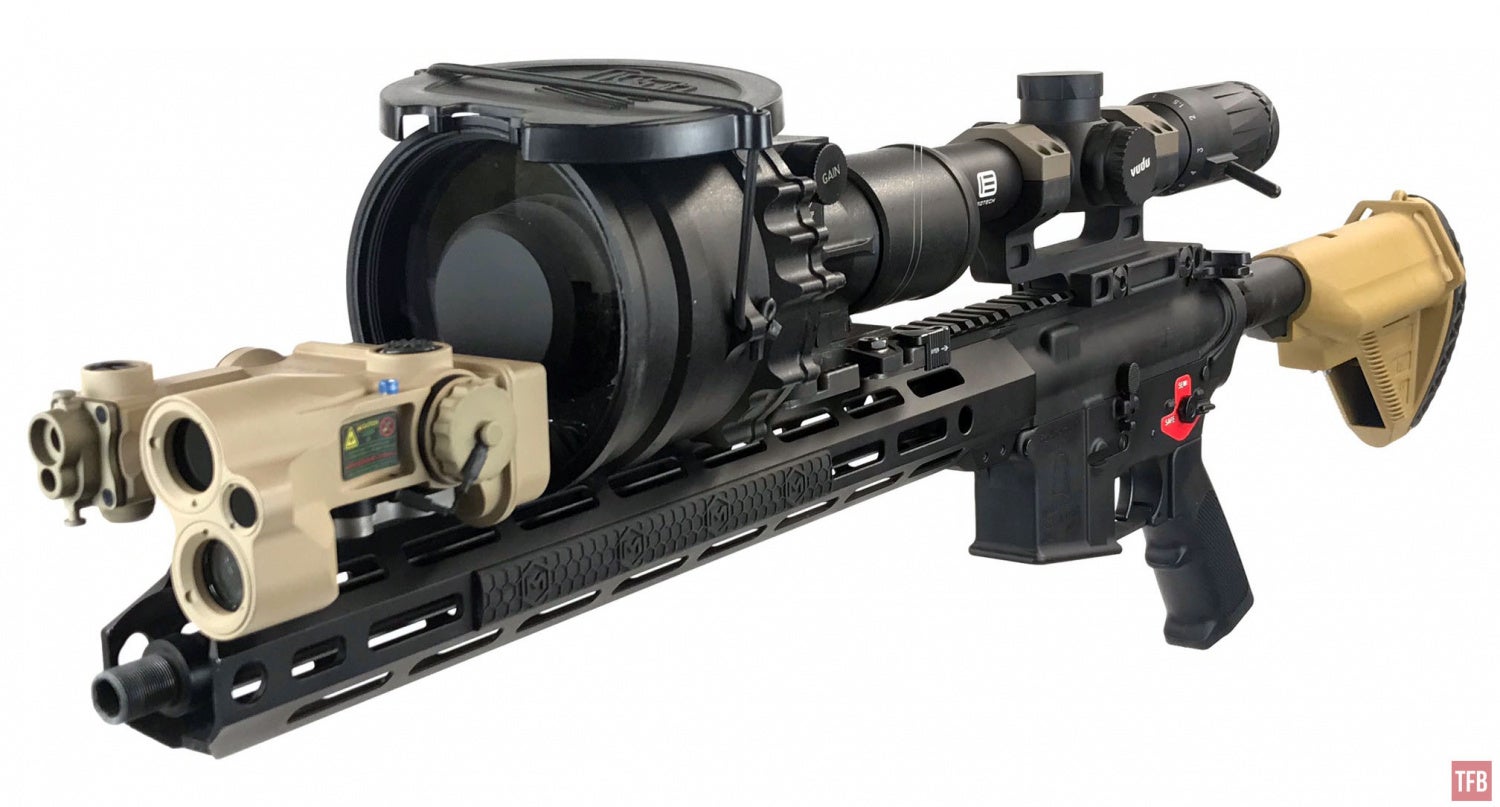
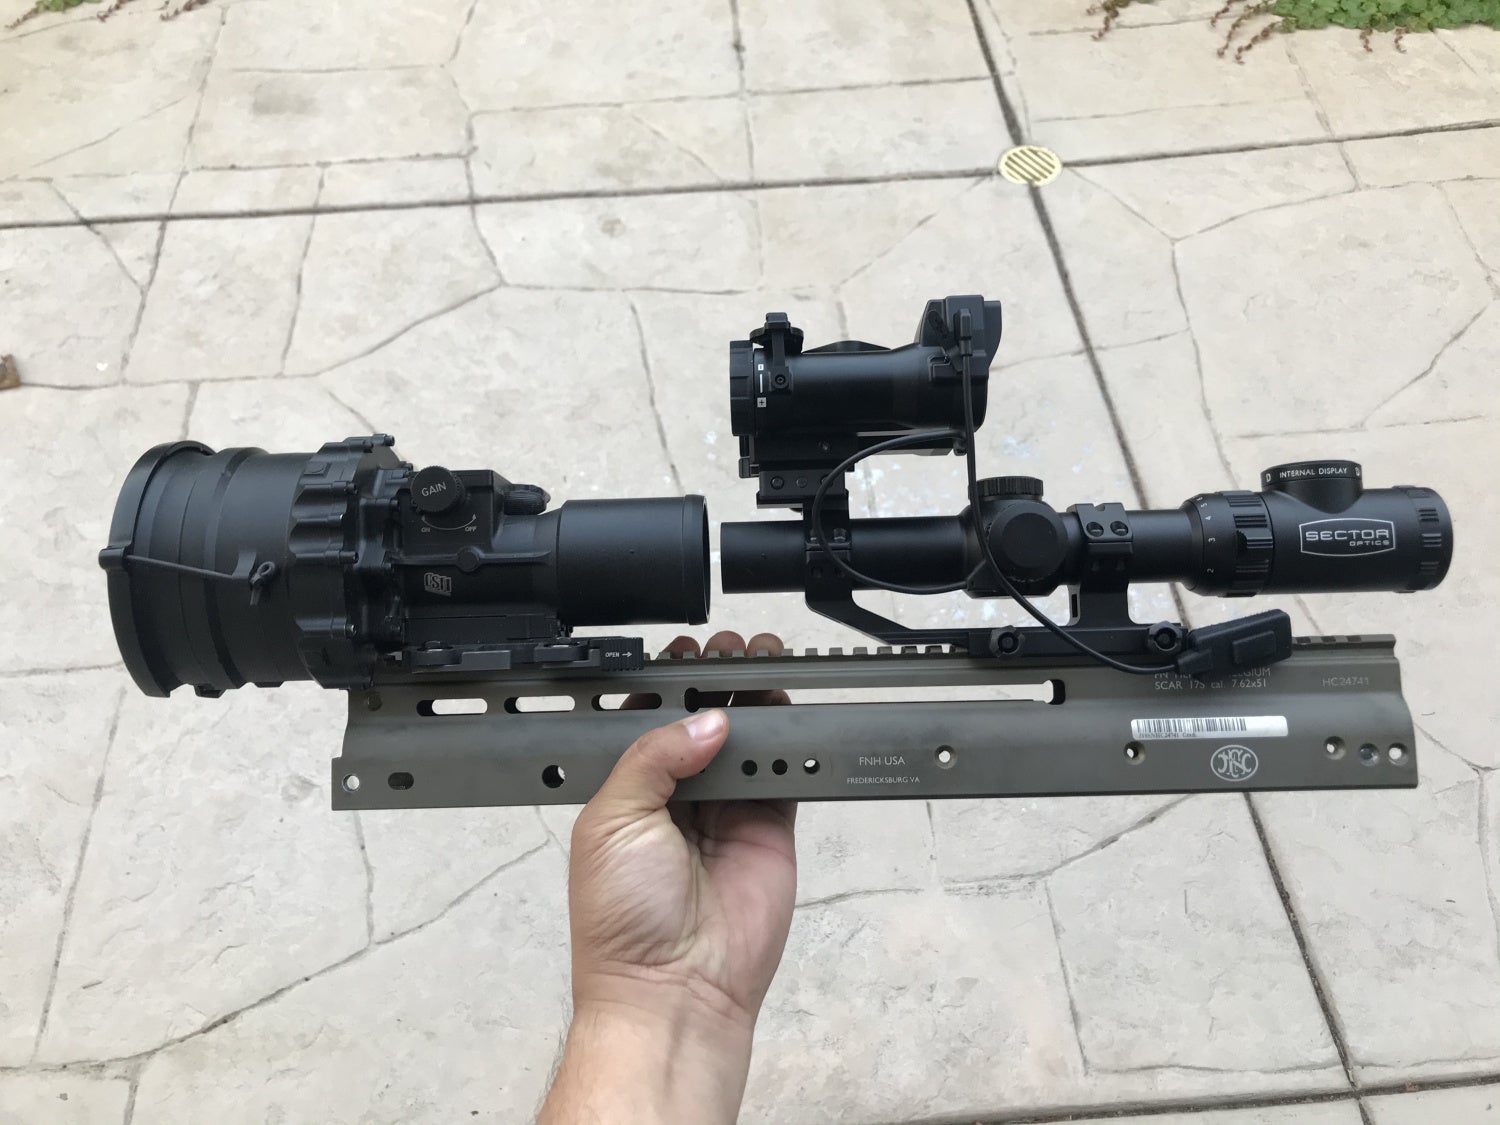
I had originally wanted to mount the T2 thermal imager off the scope and way out in front. Here is my original mockup. While the DBAL-A4 looks like it obscures the PVS-27, it is actually ok to run this setup. So I figured if I could mount the T2 out front then I could have a clear thermal sight picture.
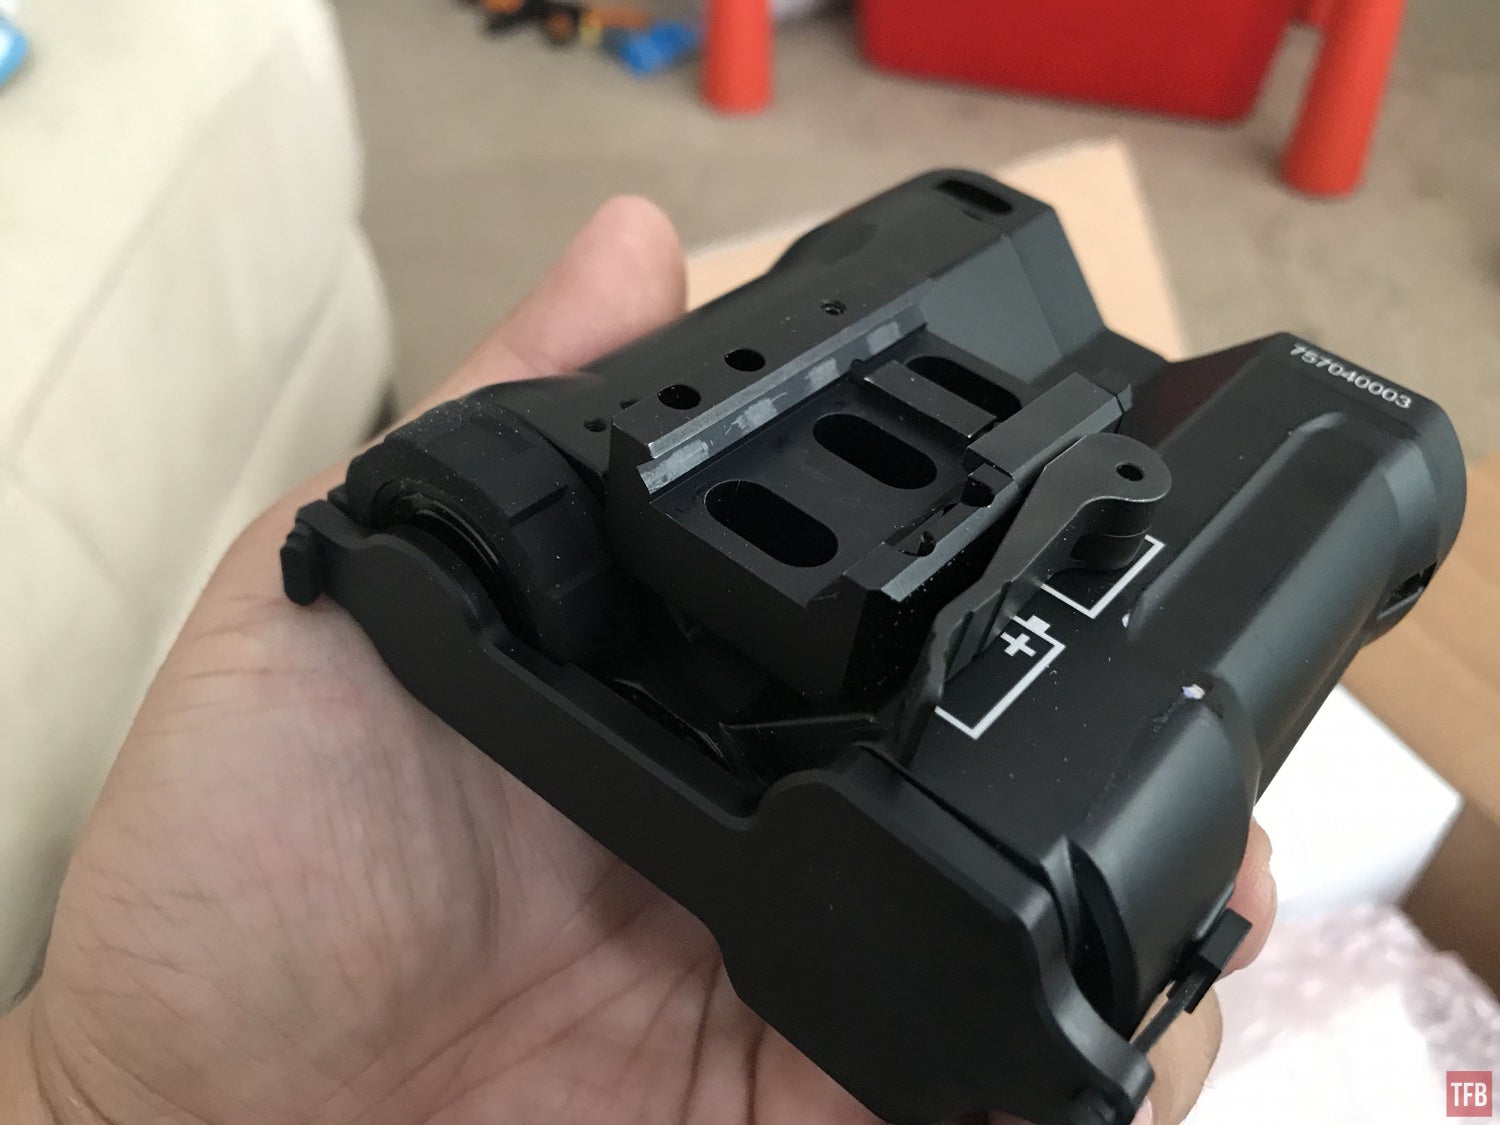
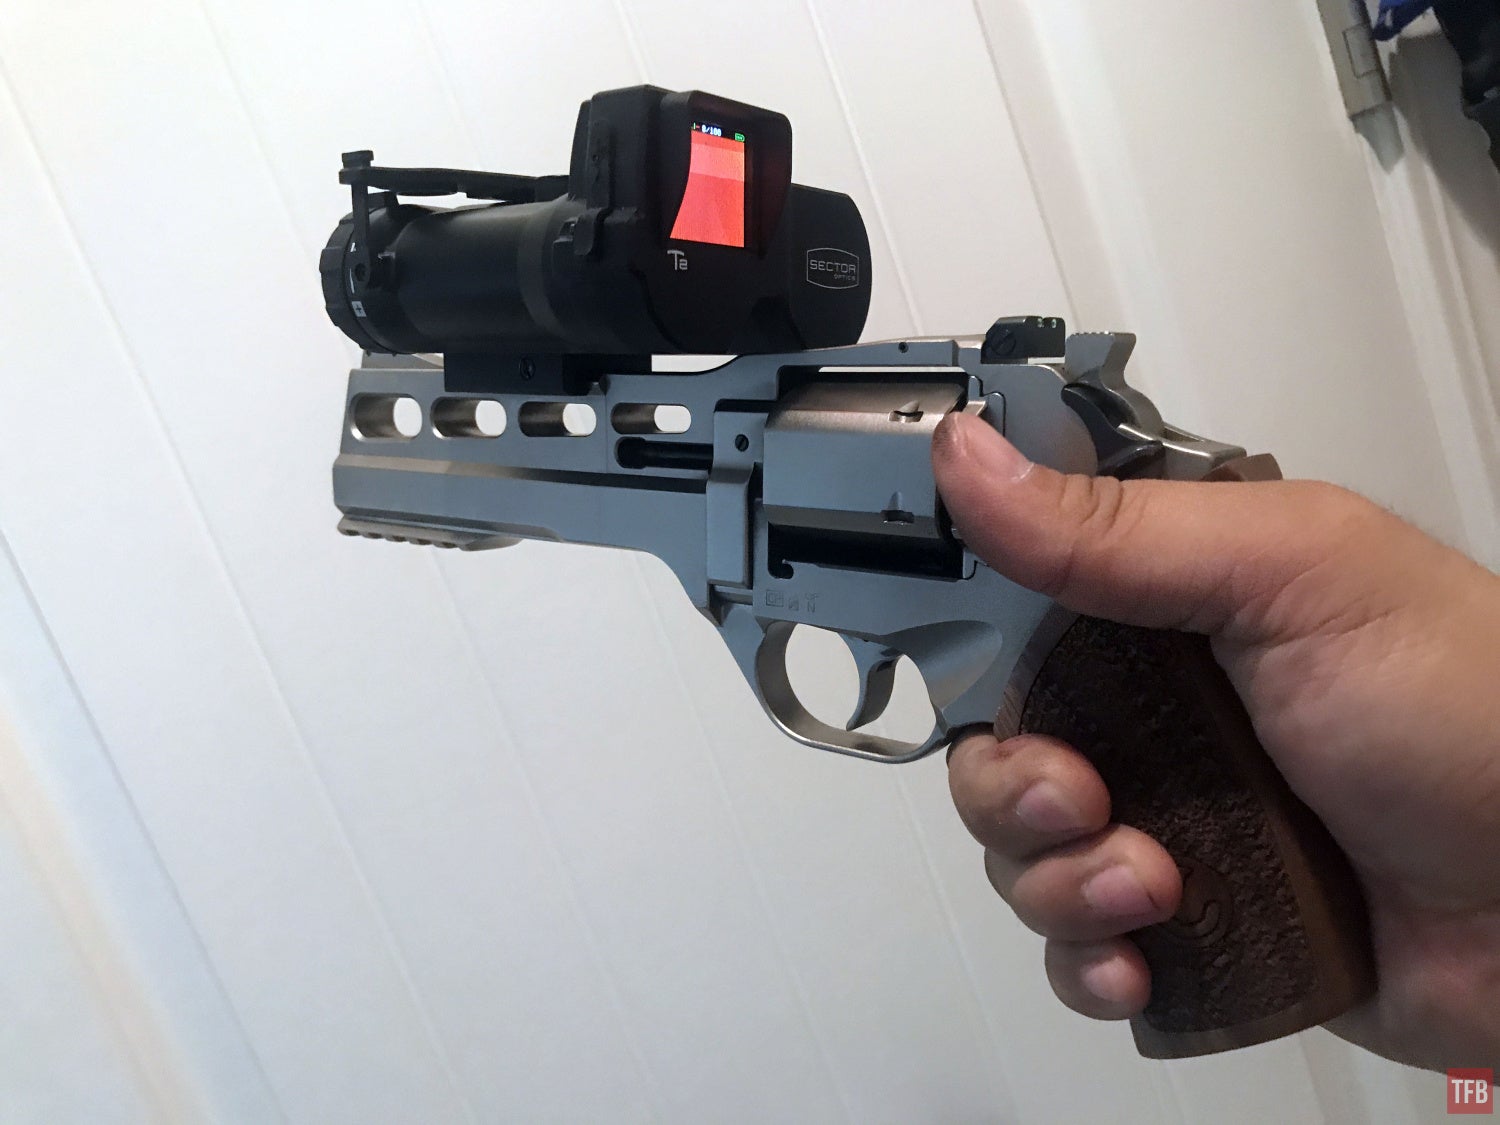
Well, Sector Optics made some changes to their T2. They now have a QD Picatinny mount and equipped the G1 LPVO with a scope ring that has a pic rail on top.
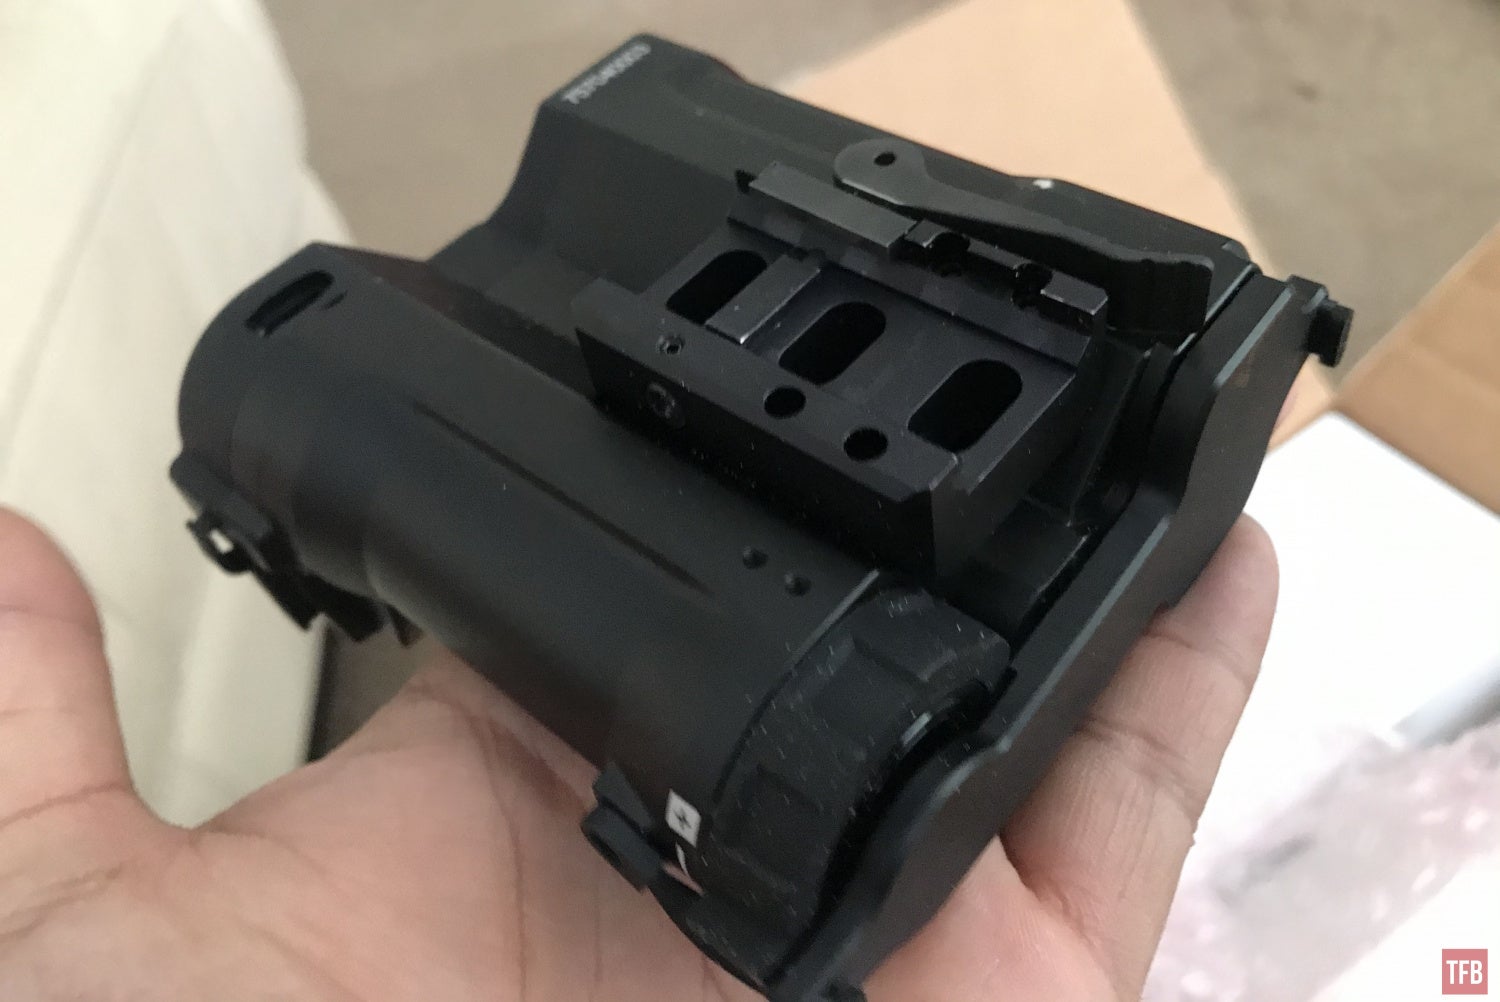
In the photo above, you can see the USB-C port in the upper left. The USB cable is now removable.
This almost works however the cable that connects the T2 to the G1 for the Internal Display is too short to mount the T2 in front of the PVS-27. The other problem is that the T2 and T3 both have a rear LCD display. Not a real issue since you can shut this display off when you project the thermal image onto the Internal Display in the G1 LPVO.
I tested the G1T2 setup on my SCAR17S receiver. I had to raise the T2 thermal imager a bit with a short riser so the thermal image is not obscured by the PVS-27 housing and lens cap. The lens cap sits on top of the housing when not in use.
The short pigtail switch is for remote activation of the laser range finder (LRF) built into the T2 thermal imager.
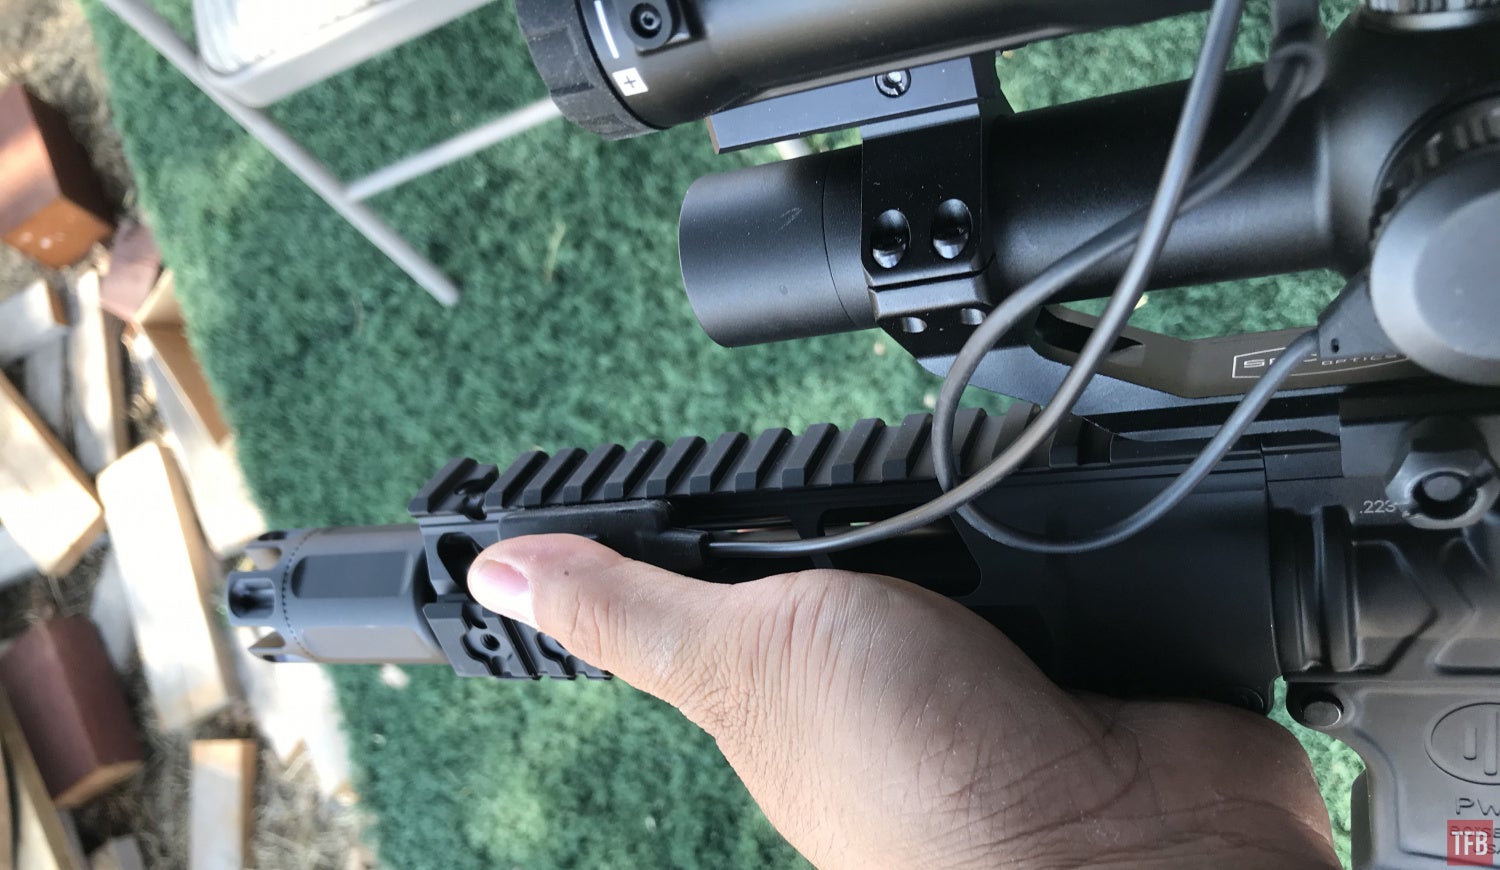
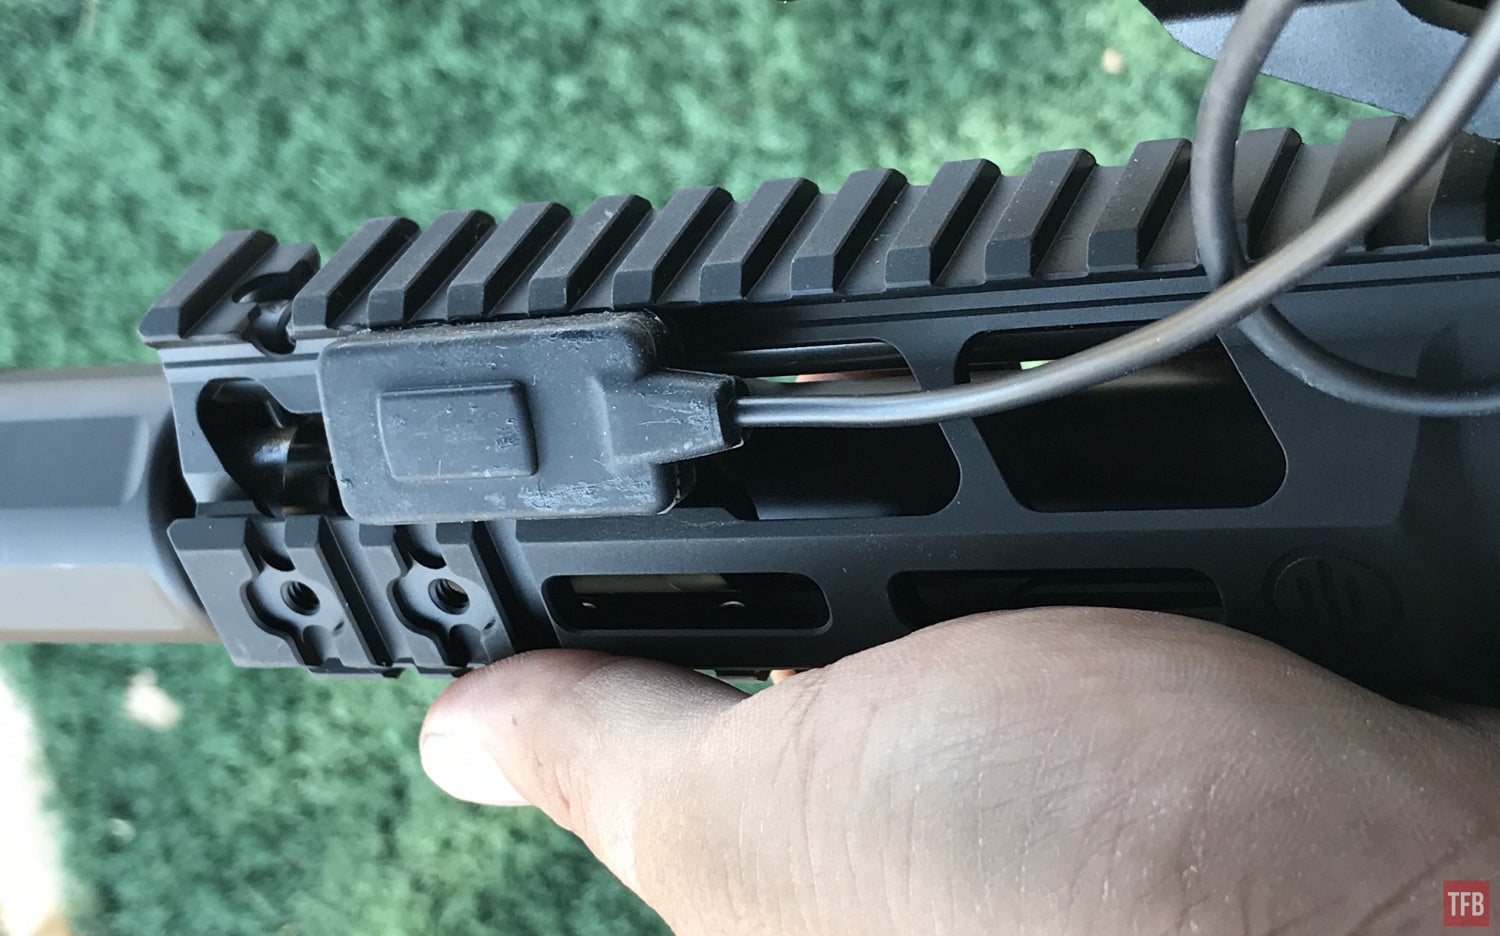
The pigtail is also removable. If you don’t want to use the remote cable, you can push a button at the top of the T2 thermal imager to activate the LRF.
Thermal Fusion With LRF Sight Picture
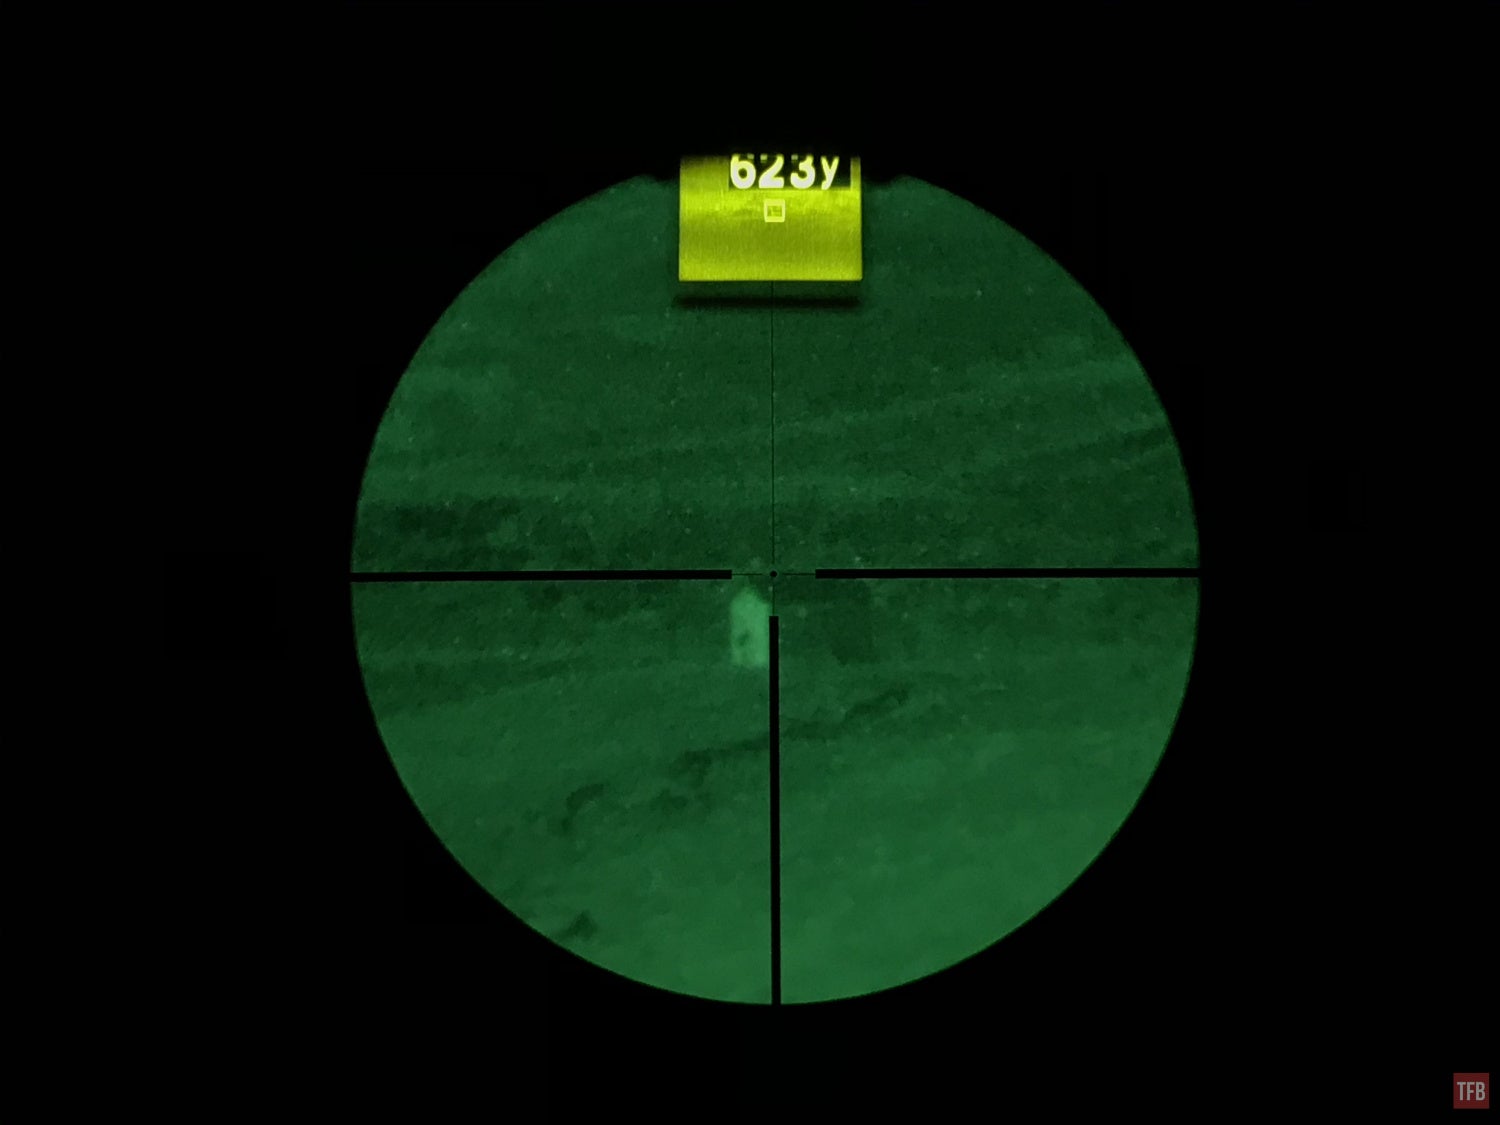
Success!! My idea worked. I am able to have night vision enter the G1T2 LPVO and the T2 thermal imager independently inputs a thermal image and projects it on the Internal Display. This works even with the T3 thermal imager but the beauty of this setup is the built-in laser rangefinder (LRF). So now you have night vision, thermal and laser range finder all in the same sight picture. Normally you would have a separate thermal device but thermal cannot see light. While night vision cannot see thermal signatures. On top of all that, if you have either a Wilcox RAPTAR or SWR Radius LRF mounted on your optic, you cannot see the range without taking your eyes off the sight picture. Well, with this setup you don’t have to shift your head or look at anything except what is inside the sight picture. Watch the video below.
Issues With The G1T2
Thermal is great since it is not affected by photonic barriers. You saw that in the video above when I walked away from the camera and shined a flashlight back at the night vision clip-on. All you could see was the light and nothing else. But the thermal image from the T2 was unaffected. Having night vision in front of the G1T2 LPVO means I can see the IR pulse of the LRF in the sight picture. However, the LRF is not adjustable like the Wilcox RAPTAR or SWR Radius.
If you watched the video above you would have noticed that the LRF creates a box reticle in the thermal image of the T2. While this is a close approximation of where the LRF is ranging, it is not very accurate. I wish you could adjust the laser and zero it to the G1 LPVO.
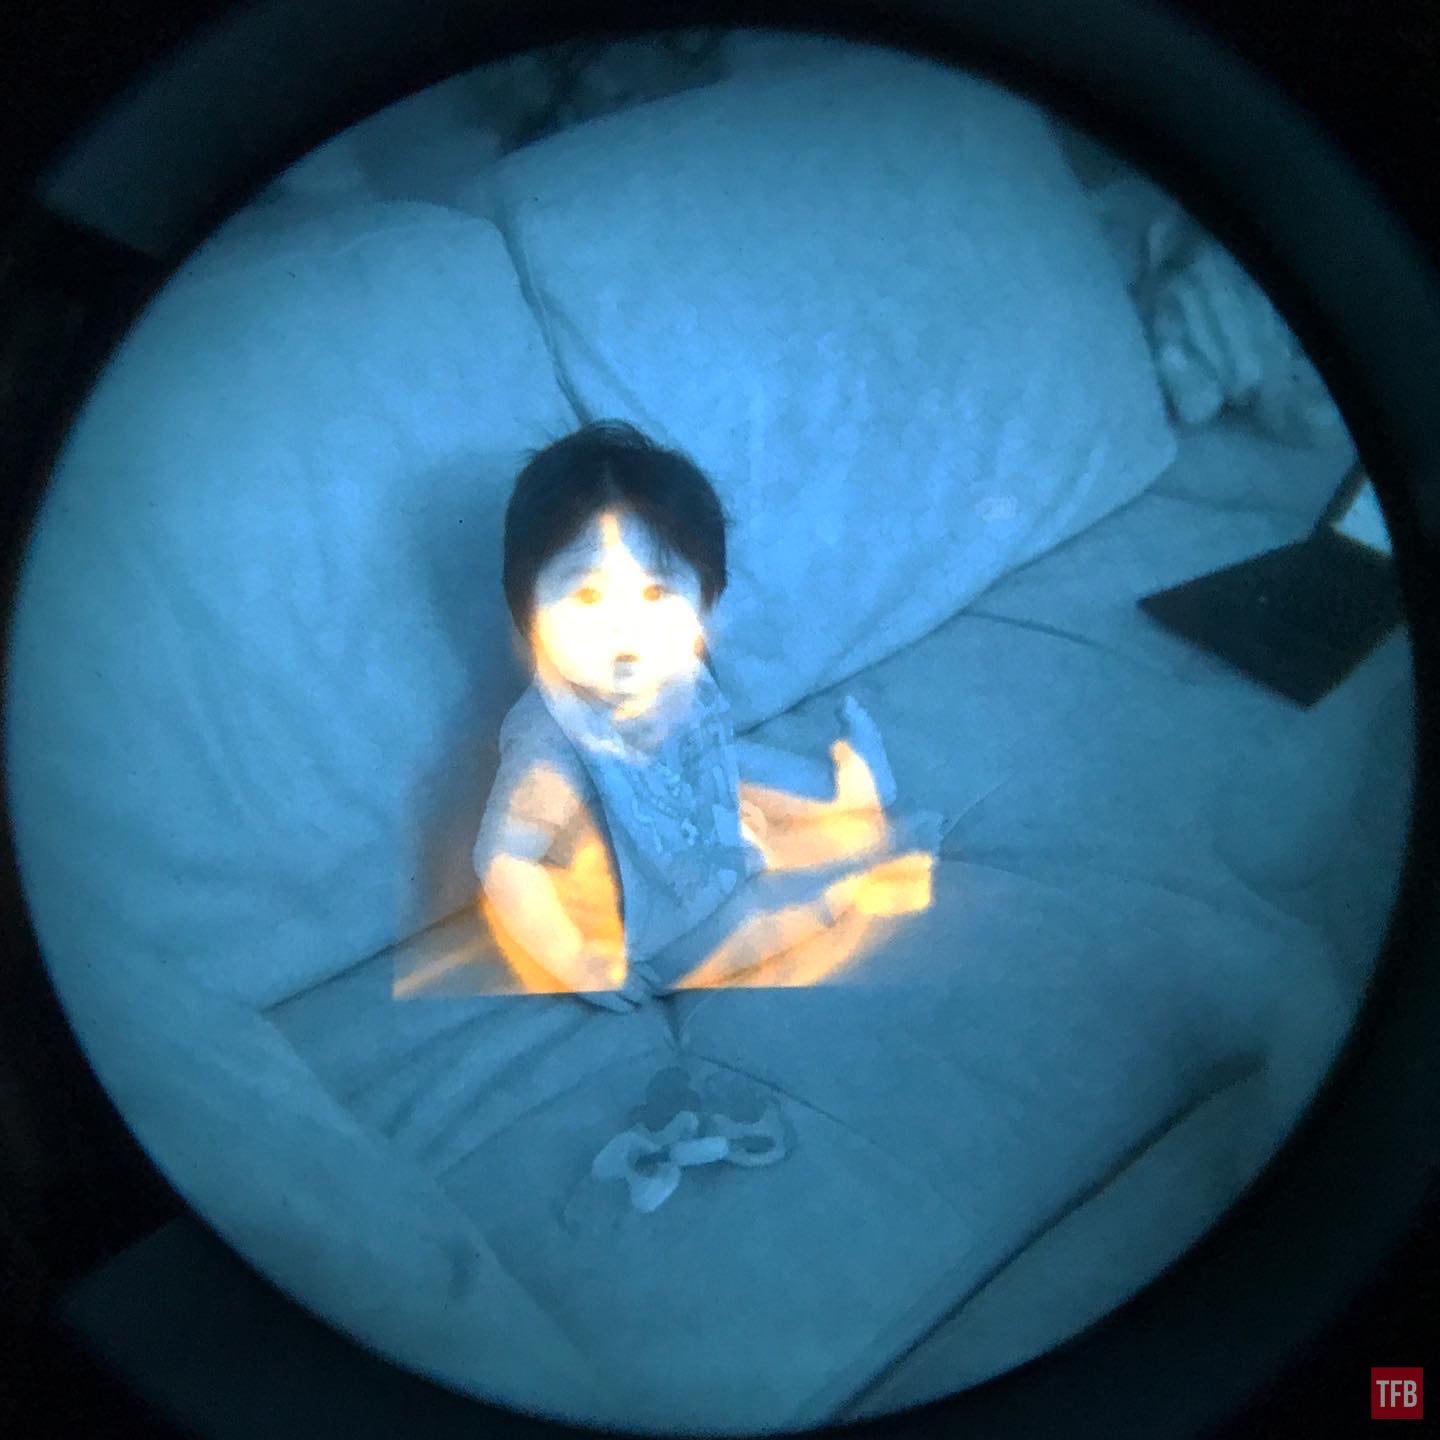
Another issue with this setup is the small monitor inside the G1 LPVO eyepiece. Try watching the video above. Your eye will be focused on the crosshairs. But when the T2 thermal imager detects something hot, you have to break your eye line on the crosshairs and glance upwards to see the thermal image. I would prefer a larger internal display and one that covered most of the G1 LPVO allowing the thermal image to overlap the day or night vision image from the LPVO, like the image from the ENVG PSQ-20 below. The thermal image overlaps the intensified image in the ENVG. This would make it faster to aim in either night vision or thermal.
Having an overlapping thermal image means you do not have to look at a different part of the sight picture. You just look down the middle and aim like normal. Another issue is the simple reticle of the G1 LPVO. It is simply a crosshair. There is no BDC or any sub tensions for shooting further.
Final Thoughts Of The G1T2
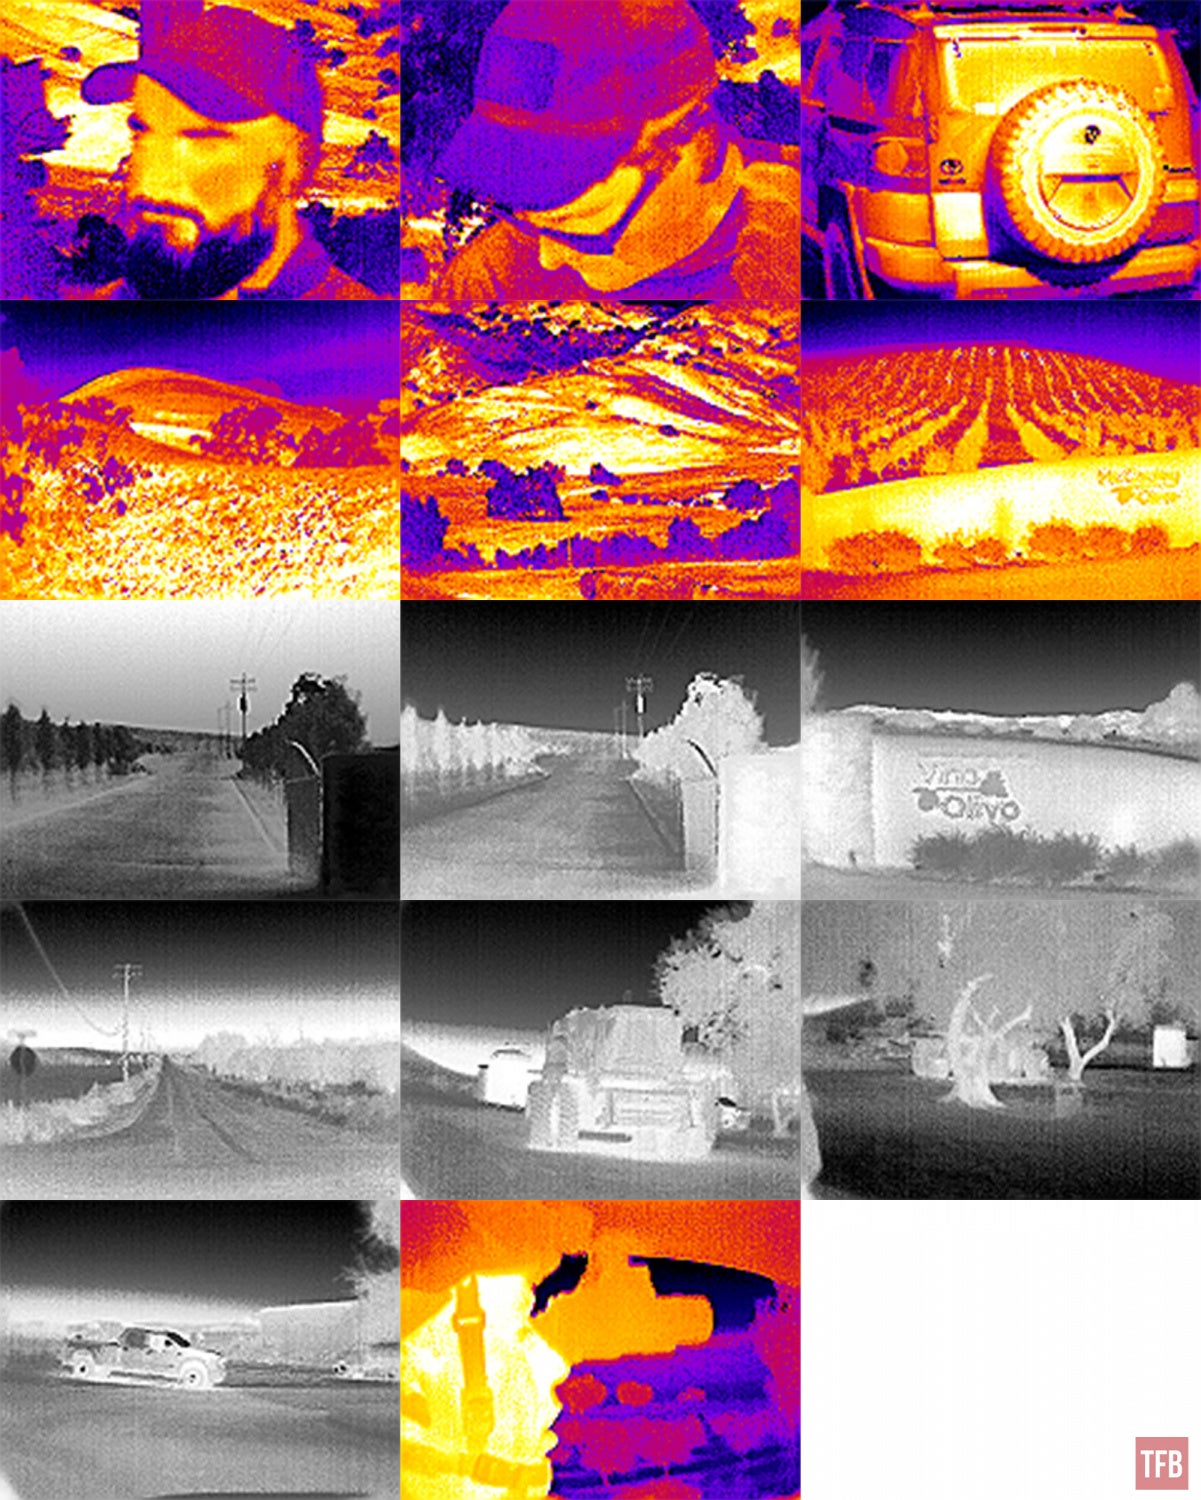
The T2 and T3 thermal imagers have LCD screens that allow you to see the thermal image. This screen is larger than the Internal Display in the G1 LPVO and in some cases easier to see and read. However, the image these devices produce is extremely low resolution. Here are some samples screen captures at full resolution.
The other issue is when to use the G1T2 thermal LPVO? Without a night vision clip-on, the day scope is not very useful. Sure you can augment this with a good flashlight but most night time hunters do not use flashlights other than those red coyote lights. So then would you use the G1T2 in the day time? Not really. If it is too bright the thermal window gets washed out and you can’t see the built-in LCD display on the back of the T2 or T3.
The Sector Optics G1T2 is a neat concept but does not feel like a finalized product. Yes, it works. But it could be better. First I would ditch the G1 LPVO altogether. Why force someone into an LPVO with less than optimal reticle? Rather than have an Internal Display integrated into a proprietary scope, they should instead make the Internal Display simply a clamp-on device that attaches to any scope eyepiece. Sort of like the Phone Skope rifle scope adapter. Then have the Internal Display be bigger and inline with the center of the eyepiece so that the thermal image lines up with your day sight picture. Then make a longer cable so the T2 or T3 thermal imager can reach the rear display.
The G1T2 is a bit pricey. The G1 costs $1,079.99 and the T2 thermal laser range finder costs $3,219.99. I think that is a bit much for the low performance of the thermal imager. The Internal Display is very small and rather difficult to recognize or even identify hot objects at a decent distance. So that is $4,300 for the complete G1T2 setup. You can get a better thermal weapon sight for that much money that has a much better thermal image with a built-in reticle. However, if you want thermal fusion with an integrated laser range finder, then the G1T2 plus a night vision clip-on is the only way to achieve this with off the shelf products. For more information go to their website.