 Your Privacy Choices
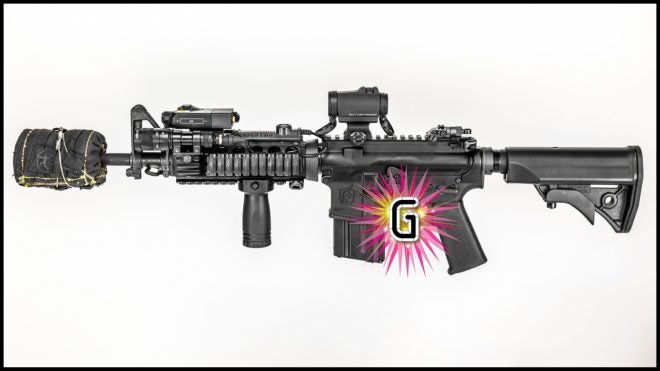
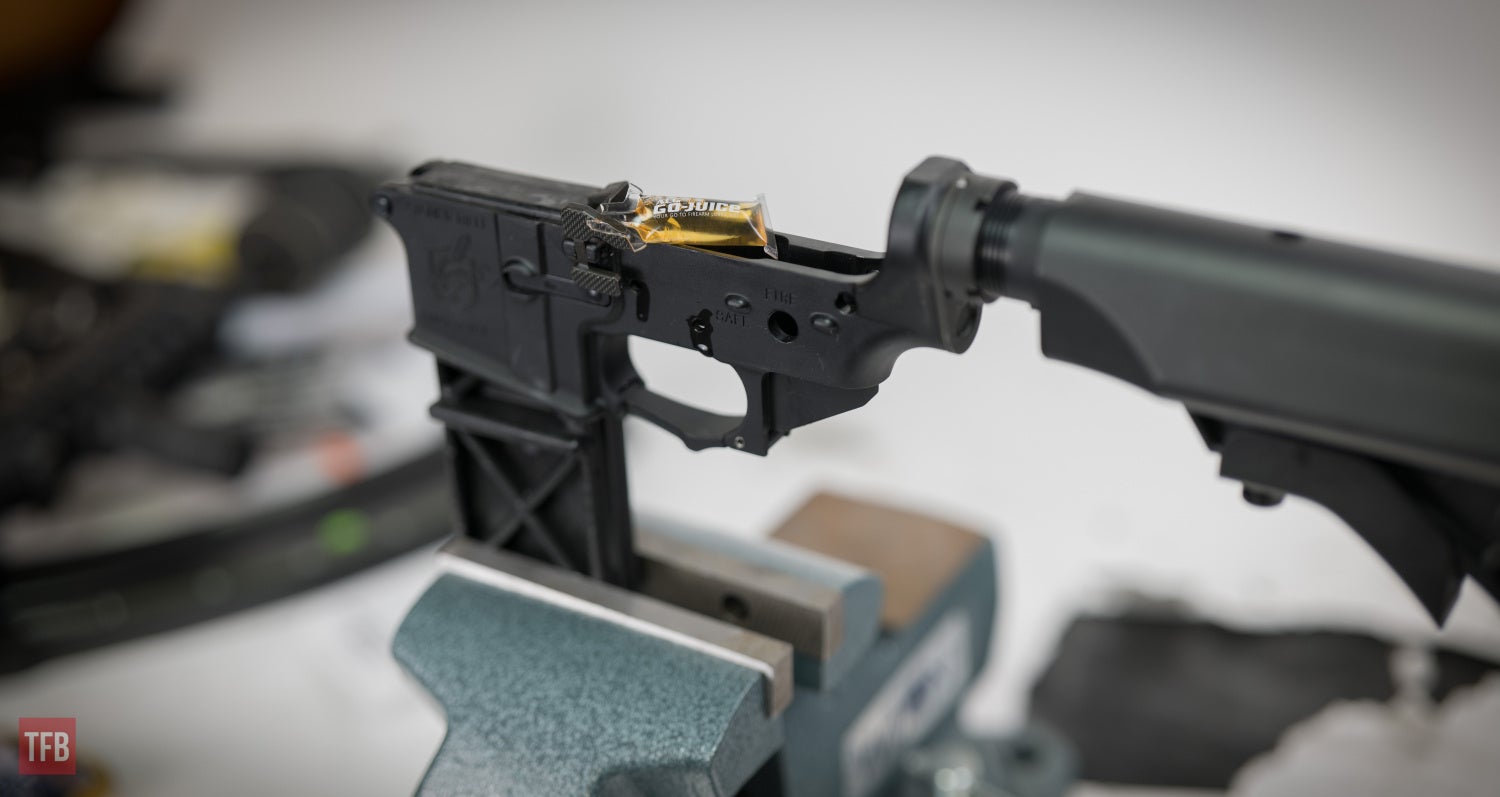
With restaurants, bars, theaters and a whole host of other entertainment establishments closed due to Corona 2020, some of you may be starting to feel the effects of extreme boredom. If you’ve organized the garage, inventoried the ammunition and cleaned the armory, it might be time to start working on some simple firearm enhancements. An AR-15 Geissele trigger upgrade is an easy way to step up performance on an otherwise average performing rifle. Let’s walk you through a trigger install in twelve easy steps.
Crafting With Corona: AR-15 Geissele Trigger Upgrade In 12 Easy Steps
First, a couple of tips.
- Technically, an AR-15 trigger installation should be done by a trained gunsmith.
- Know your limitations – don’t be afraid to set everything down and seek professional help.
- Read the instructions!
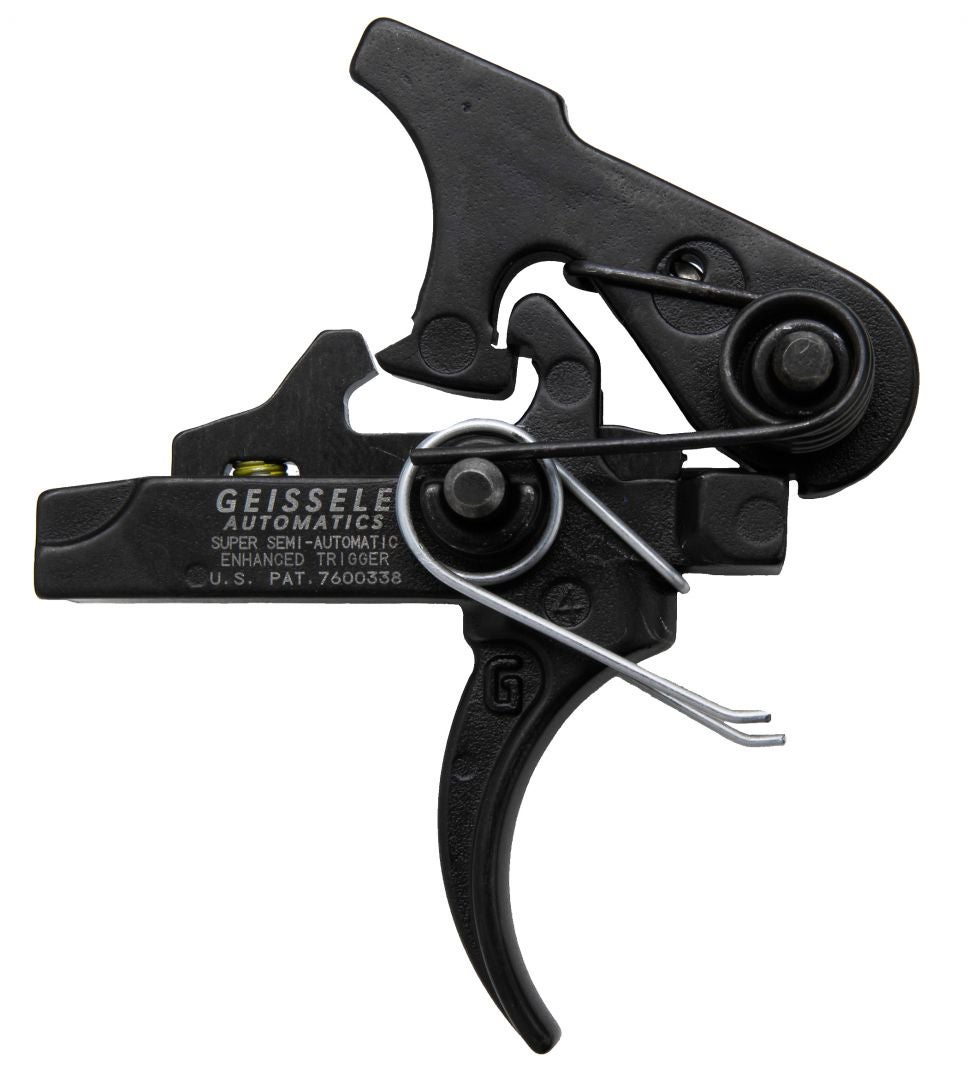
At the risk of alienating all the other trigger manufacturers, I purchased the Geissele SSA-E trigger (retail, direct from Geissele) because it is the gold standard for the AR-15 platform. Don’t get me wrong, there are plenty of other quality triggers on the market, the SSA-E just happens to fit my needs perfectly. Let’s take a look.
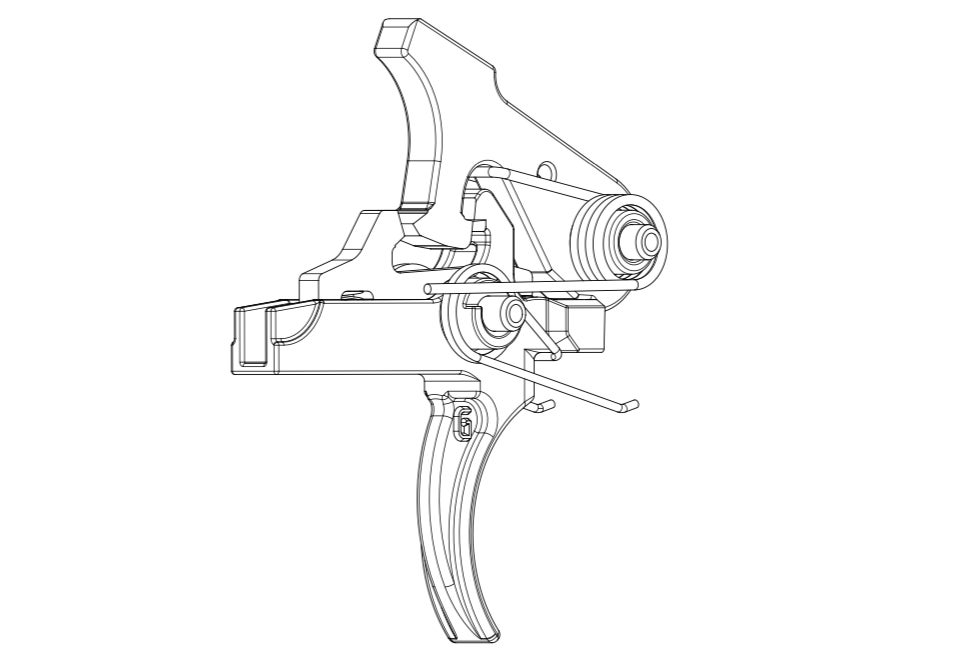
Geissele SSA-E Installation Instructions
https://geissele.com/amfile/file/download/file/a9ec88335315852c5b748e90401ef463/
- Unload rifle and make safe.
- ASSUME EVERY WEAPON IS LOADED.
- KEEP YOUR FINGER OFF THE TRIGGER UNTIL YOU ARE READY TO SHOOT.
- DO NOT LET THE MUZZLE POINT AT ANYTHING YOU ARE NOT WILLING TO DESTROY.
- KNOW YOUR TARGET AND WHAT IS BEYOND.
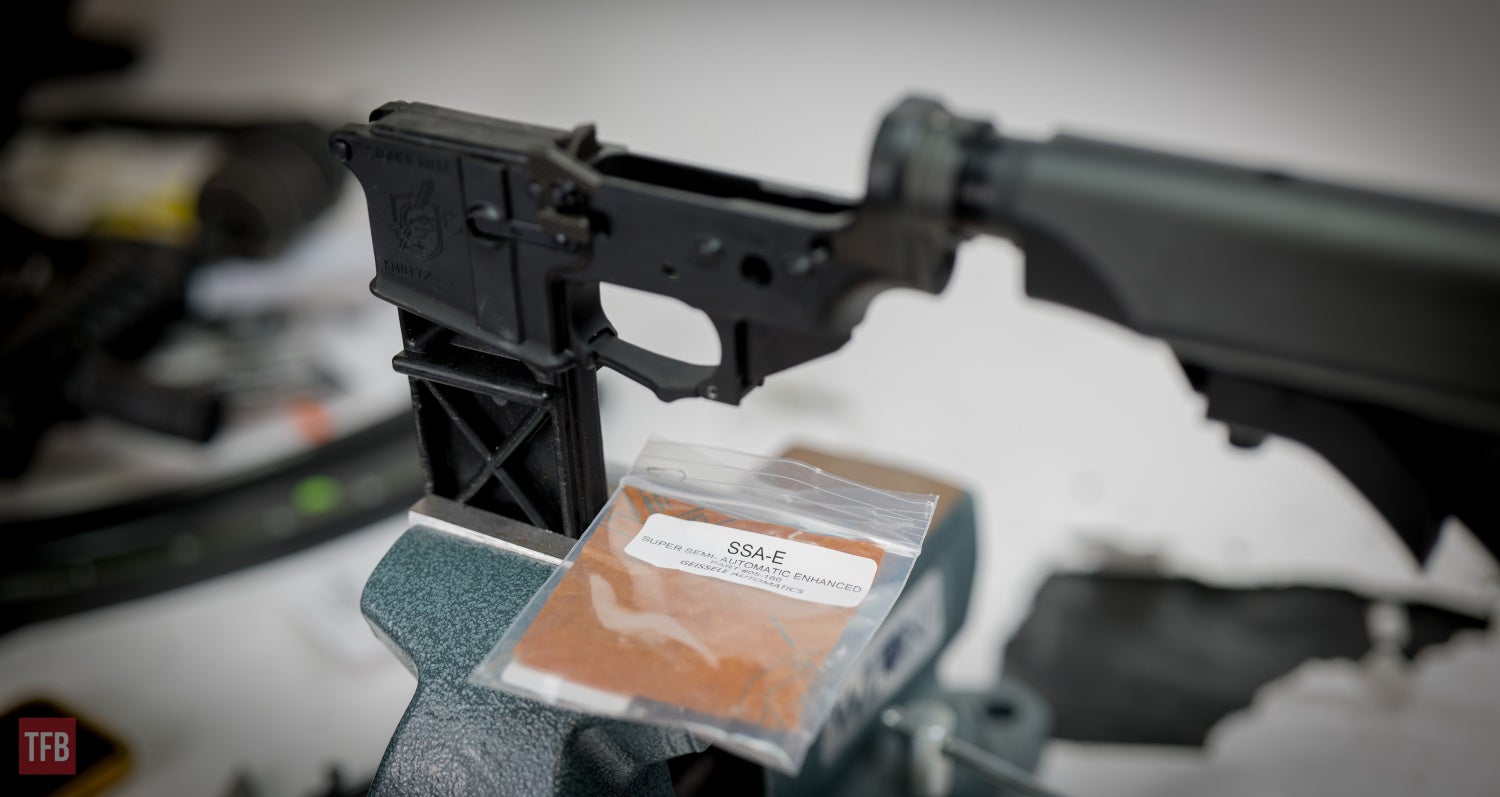
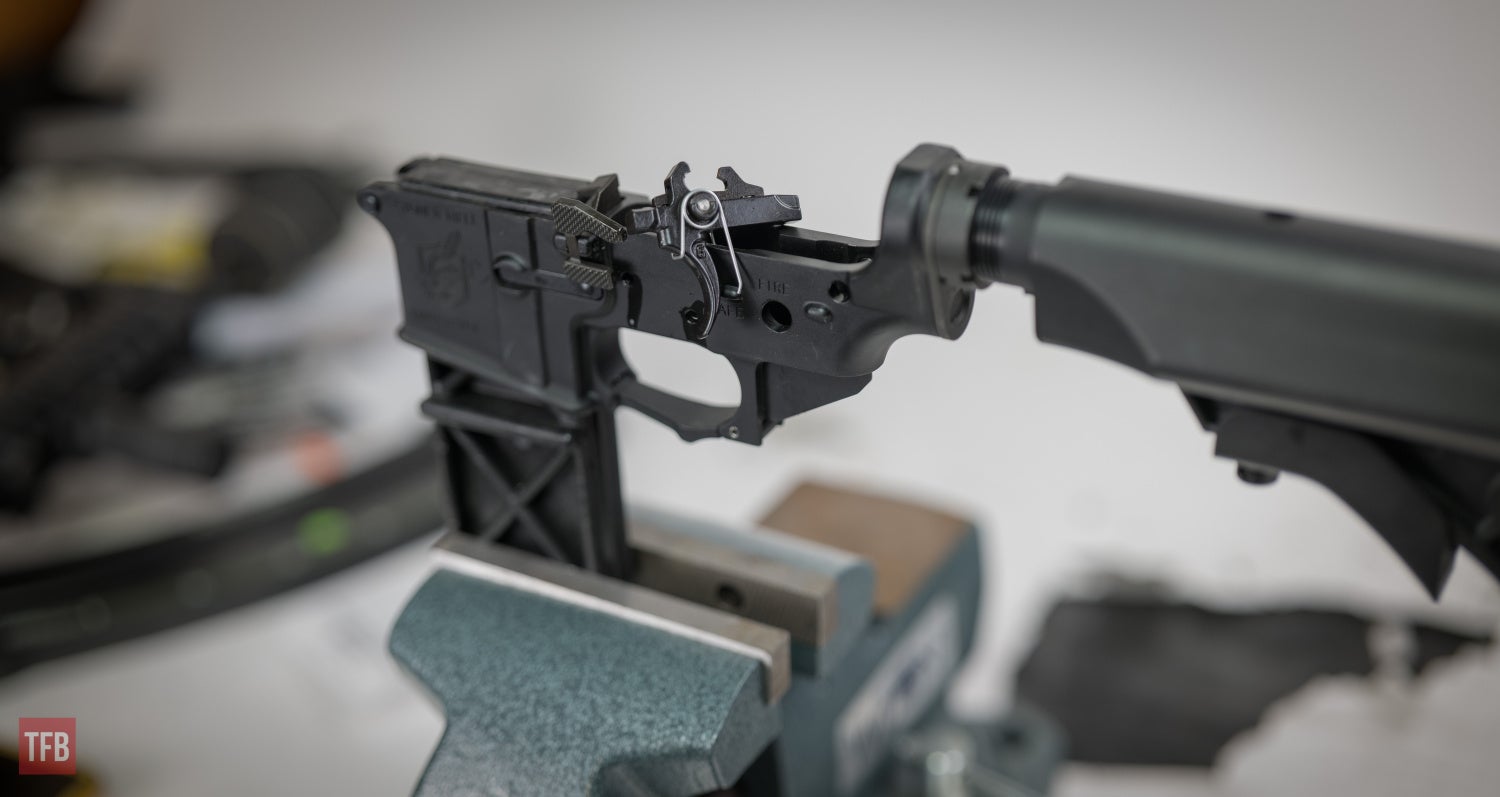
- Remove existing trigger and clean receiver. It is not necessary to remove the safety.
- Remove the trigger pin from the trigger and replace with the slave pin to hold the disconnector in place.
- Install trigger and slave pin into rifle. Align slave pin with receiver pin holes. Insert trigger pin into receiver, through trigger/disconnector, and into receiver on opposite side.
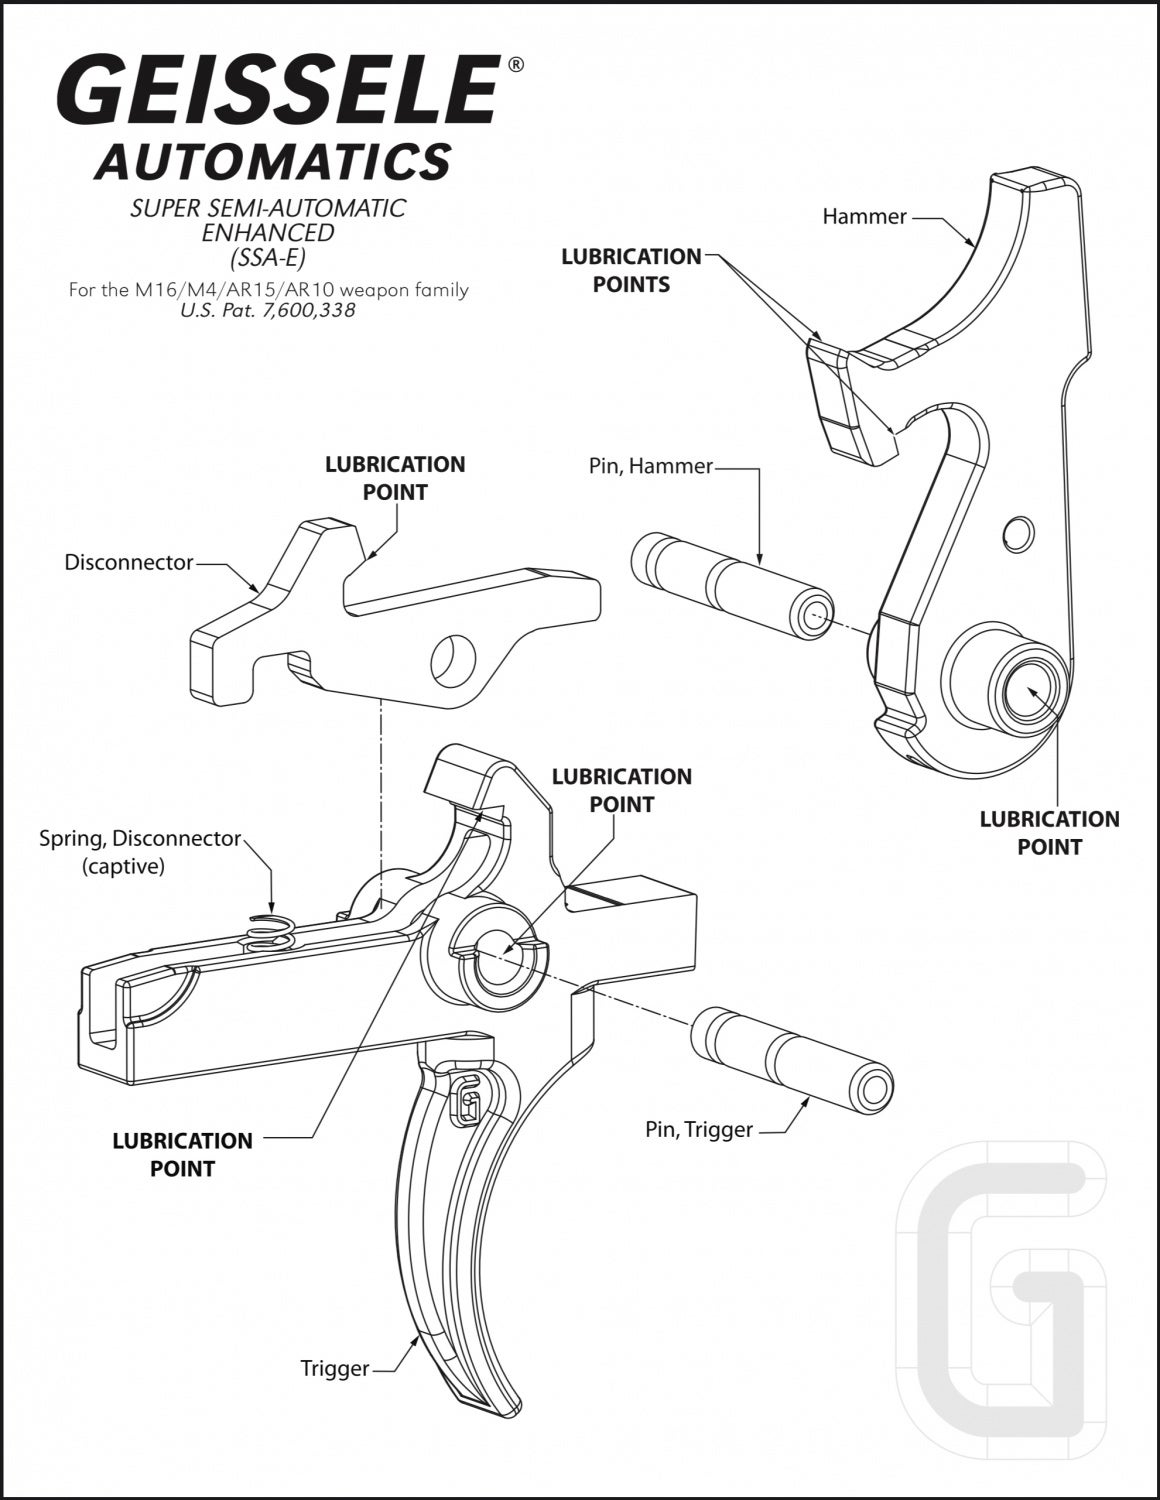
- Remove hammer pin from hammer. Place a drop of lubricant in the bore of the hammer pivot.
- Install hammer into receiver with hammer spring legs on top of the trigger pin. Insert hammer pin into receiver, through hammer, and into receiver on opposite side.
- Apply a small amount of lubricant in the following locations as shown on reverse side this page:
a. Each side of the disconnector above the trigger pin
b. Hammer and trigger sears
c. Face of the disconnector
d. Hammer tail where it contacts the disconnector;
e. Top of each side of the hammer spring where the spring contacts the receiver wall. - Check safety operation: With the hammer cocked and the safety selector set to the SAFE position, pull the trigger hard. The hammer should not fall.
- Check trigger reset: Set safety selector to FIRE. Dry fire weapon and keep trigger held back. Pull charging handle all the way back and release, letting the bolt carrier snap forward. The hammer should not fall. Release trigger. Hammer should be caught by the trigger.
- Check for the presence of a second stage: Set the safety selector to FIRE. Pull the trigger through the first stage until it comes to a distinct stop—this is the second stage. Applying additional pressure to the trigger will allow the weapon to discharge.
Crafting With Corona: AR-15 Geissele Trigger Upgrade (Credit: Geissele)
Trigger:
Trigger Upgrade Tools:
Truth be told, none of these are required; you can swap an AR-15 trigger with nothing more than a punch and your nimble fingers. However, this is the right way and it makes life so much easier.
- Trigger fitting pin – $15 – (Brownells)
- Wilton Mechanics Vise – $225 – (Amazon)
- Mag block support – $25 – (Brownells)
- Lubrication – light grease or oil
Crafting With Corona: AR-15 Geissele Trigger Upgrade
1. Lightly lubricate the trigger and hammer pin holes as well as the trigger locations noted above.
Crafting With Corona: AR-15 Geissele Trigger Upgrade
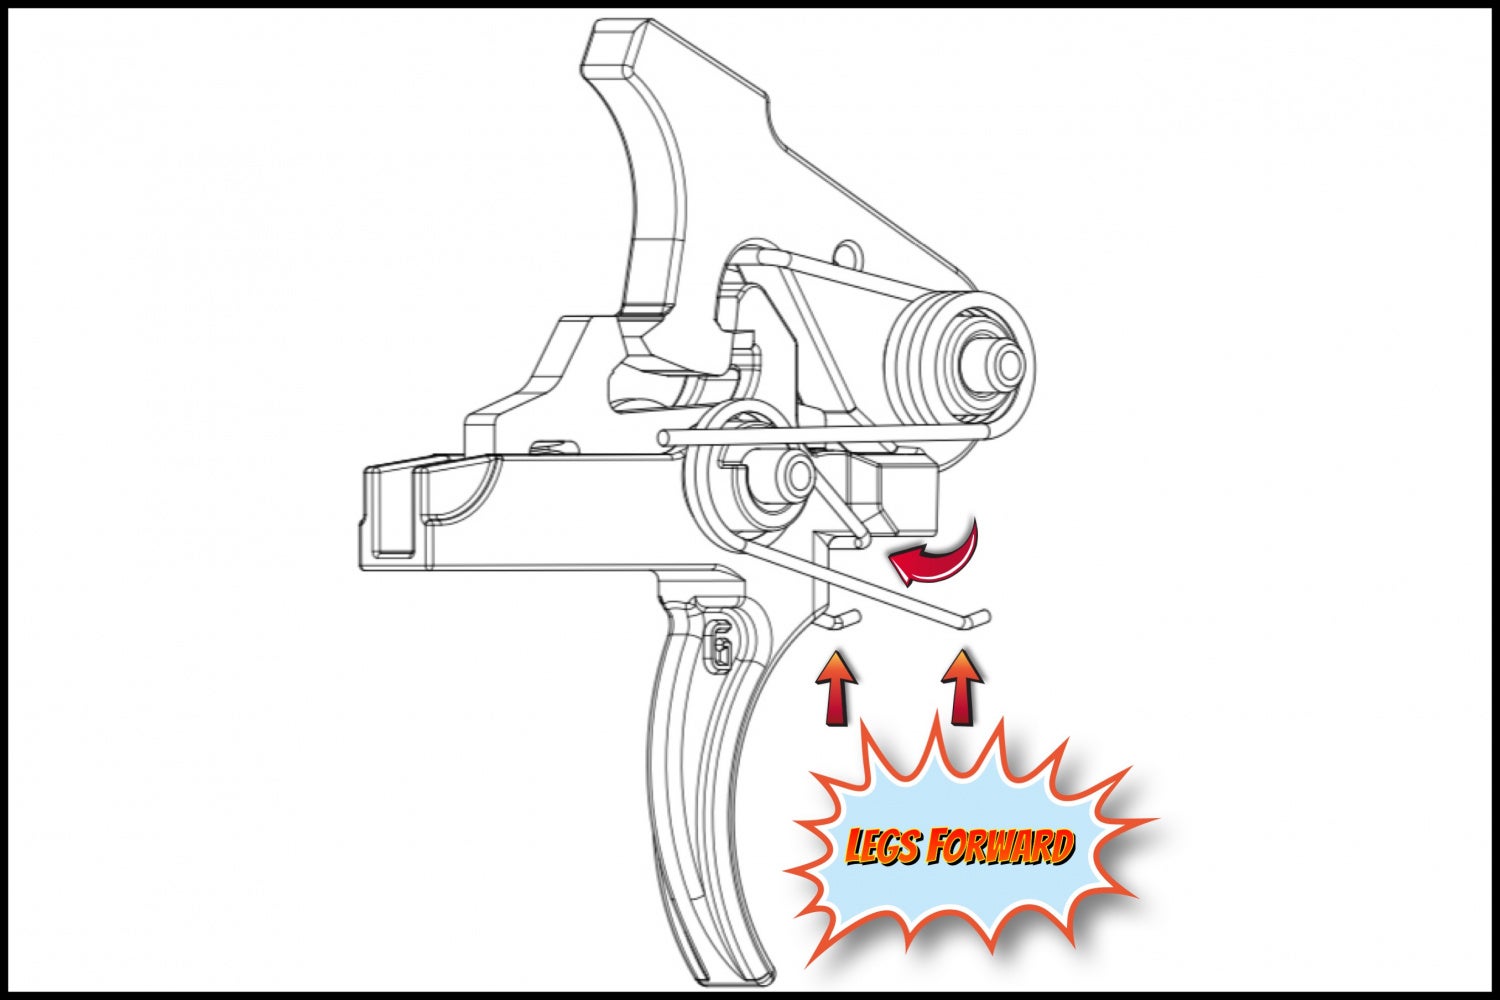
2. Position the trigger pin spring correctly. In the below picture the trigger spring should be rotated 45 degrees clockwise with its legs facing forward.
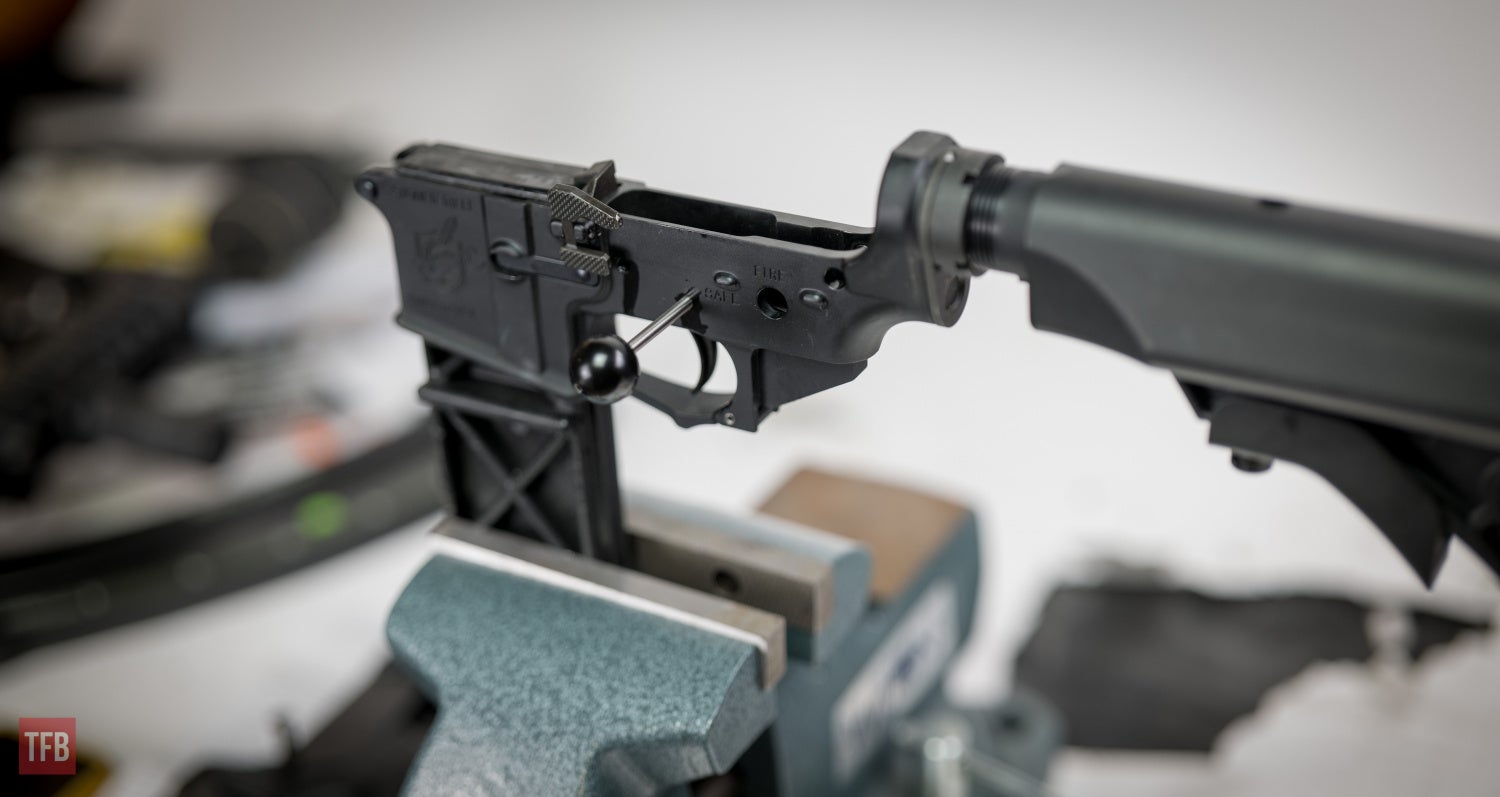
2a. Replace the trigger pin (comes installed) with the included slave pin (short silver pin) by inserting the trigger fitting pin to displace the trigger pin. Then use the slave pin to push out the trigger fitting pin. Below, the slave pin is installed.
Crafting With Corona: AR-15 Geissele Trigger Upgrade
3. Note the correct positioning of the trigger spring and trigger spring legs (forward).
Crafting With Corona: AR-15 Geissele Trigger Upgrade (Credit; Geissele)
Crafting With Corona: AR-15 Geissele Trigger Upgrade
4. Keeping the trigger spring legs forward, drop the trigger into the receiver and align the trigger pin holes. Once in position, use the trigger fitting pin to push out the slave pin.
Crafting With Corona: AR-15 Geissele Trigger Upgrade
4a. Below the trigger fitting pin has replaced the slave pin and is holding everything in place.
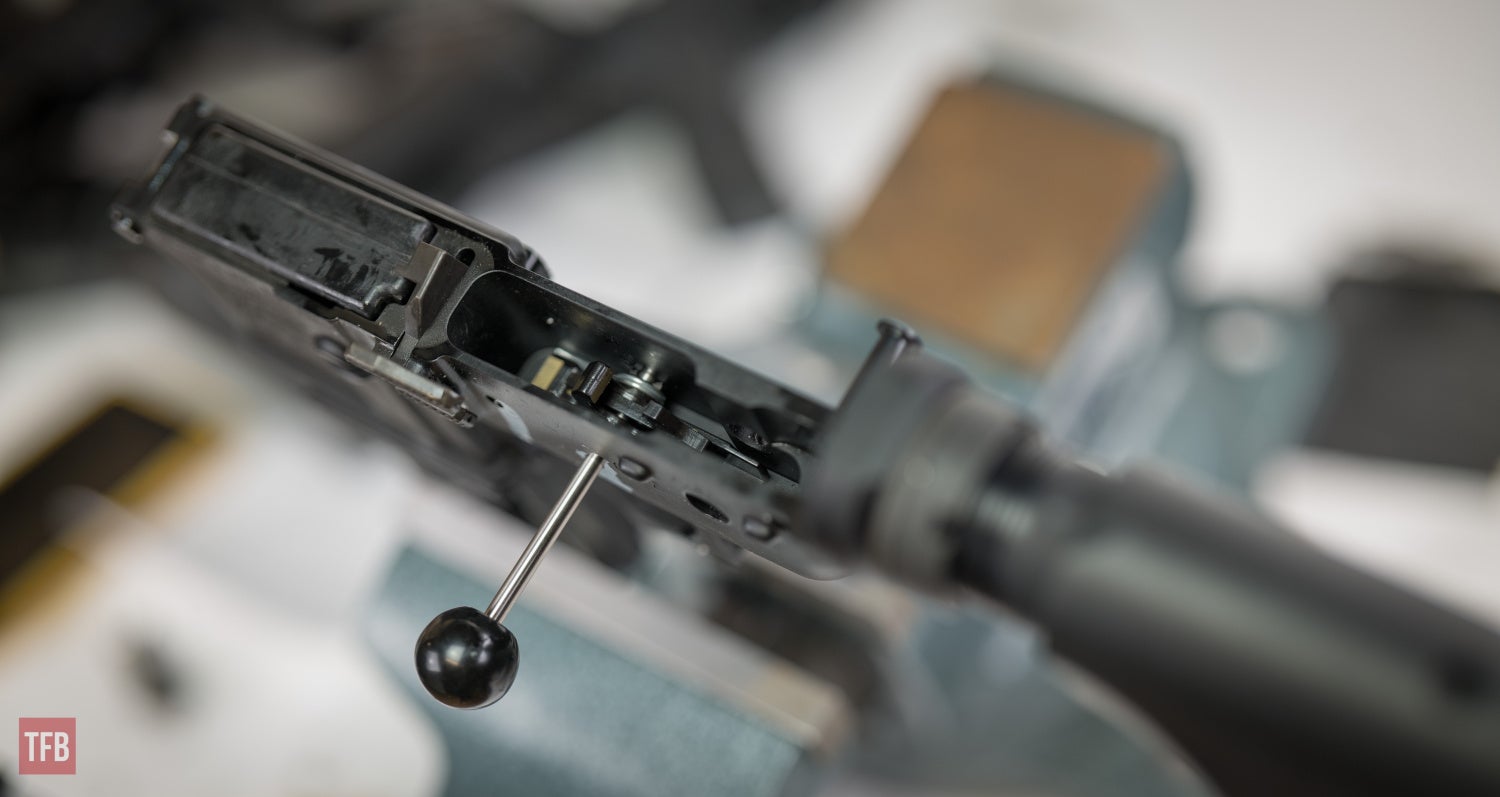
Crafting With Corona: AR-15 Geissele Trigger Upgrade
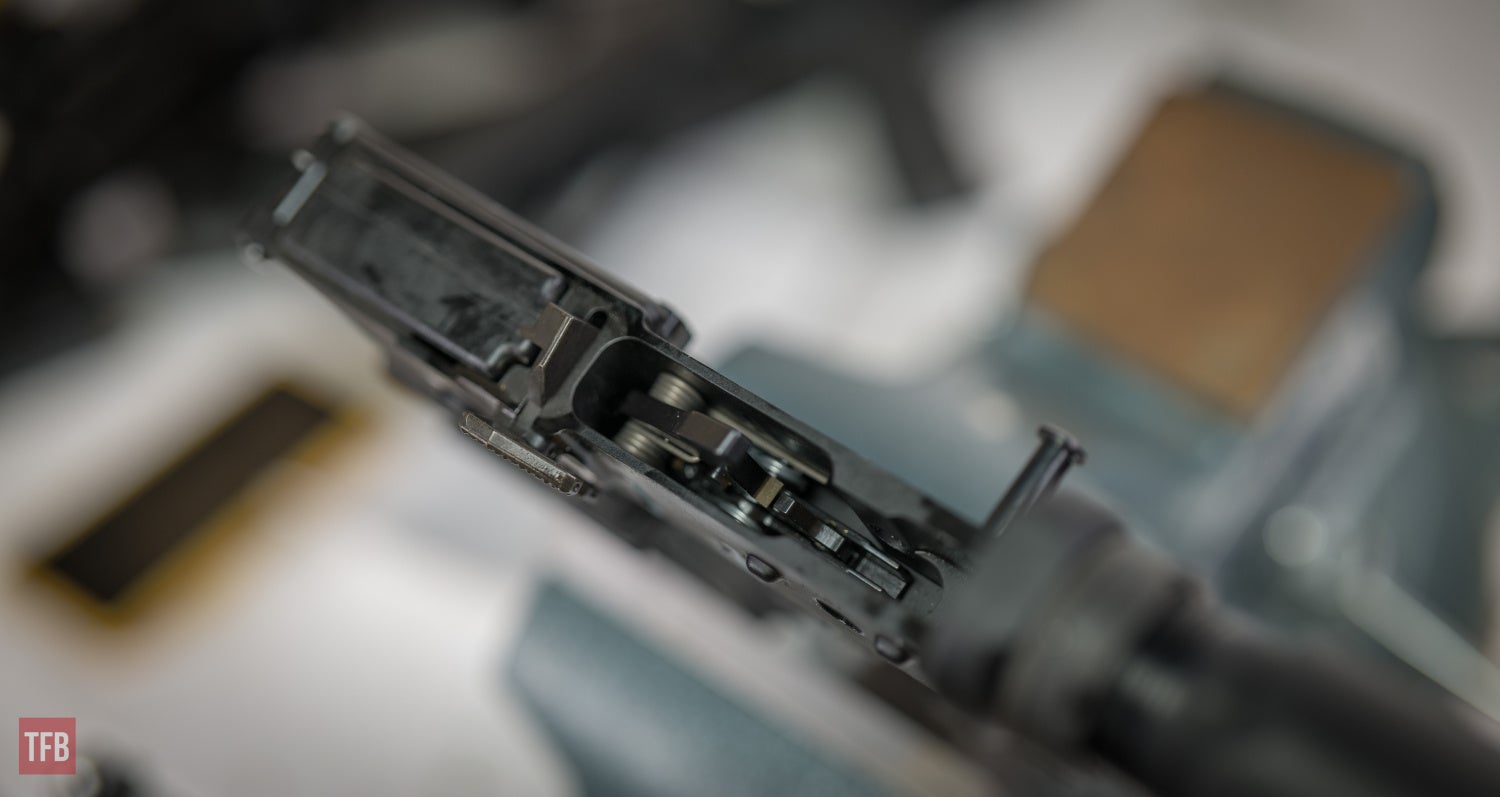
5. Install the trigger pin by pushing out the trigger fitment pin in reverse. Below the trigger pin is in place and the hammer and hammer pin are ready for installation.
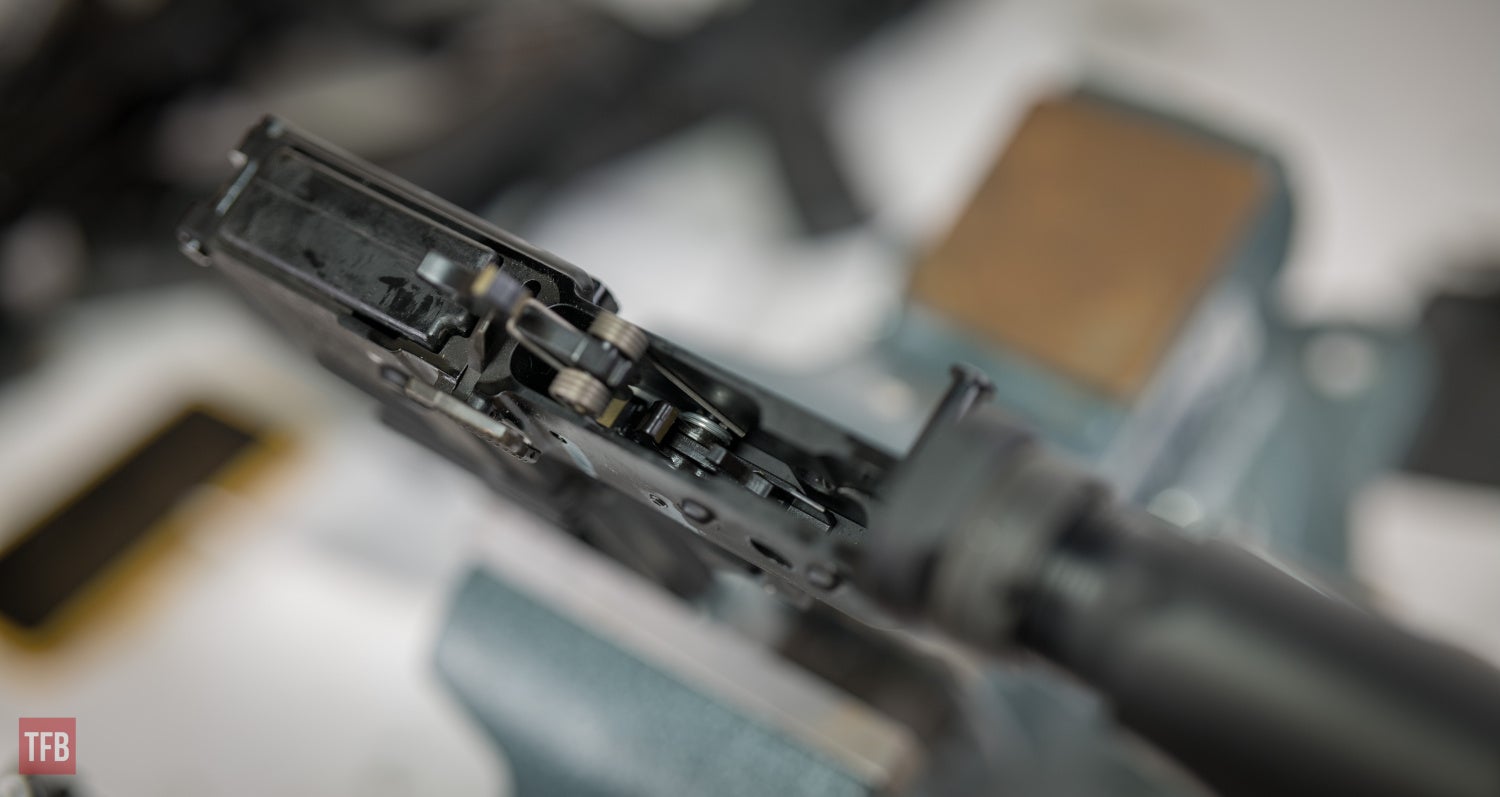
Crafting With Corona: AR-15 Geissele Trigger Upgrade
6. The hammer spring legs should rest on top of the trigger pin.
Crafting With Corona: AR-15 Geissele Trigger Upgrade
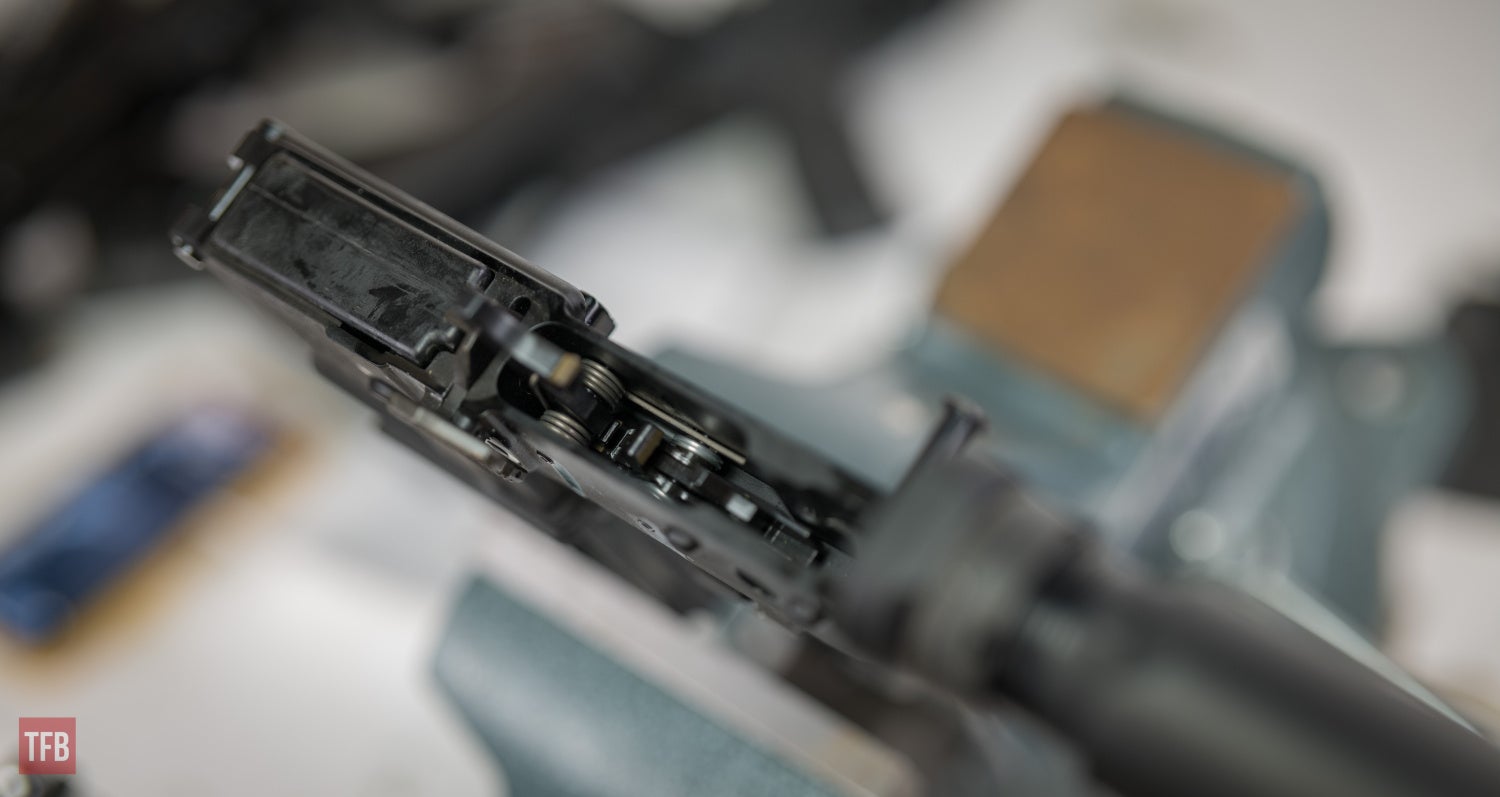
7. Push down on the hammer (under spring pressure) and align the hammer spring holes. Press the hammer pin into place.
Crafting With Corona: AR-15 Geissele Trigger Upgrade
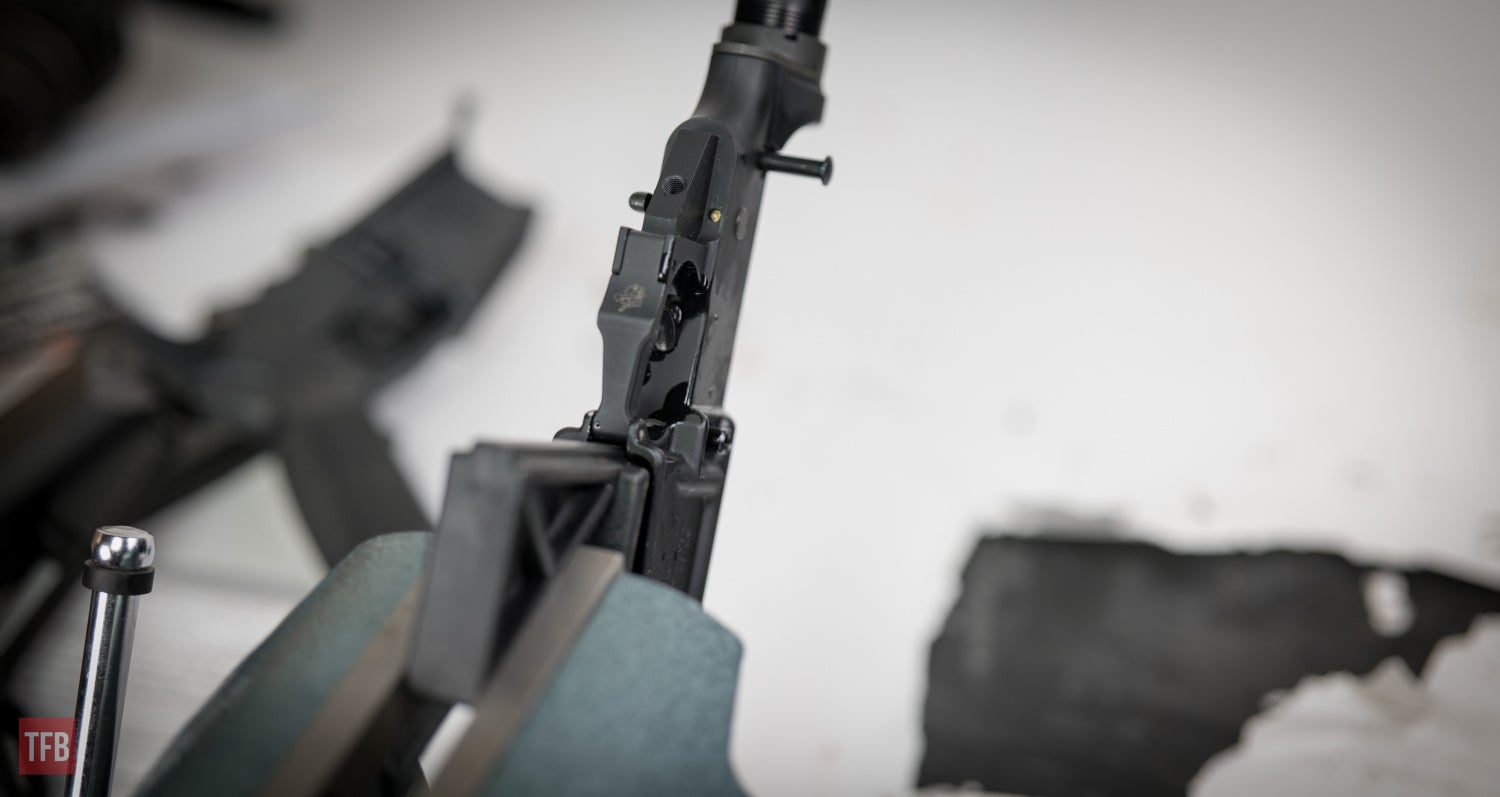
8. Angle the magazine block downward to replace the safety detent and keep it in place.
Crafting With Corona: AR-15 Geissele Trigger Upgrade
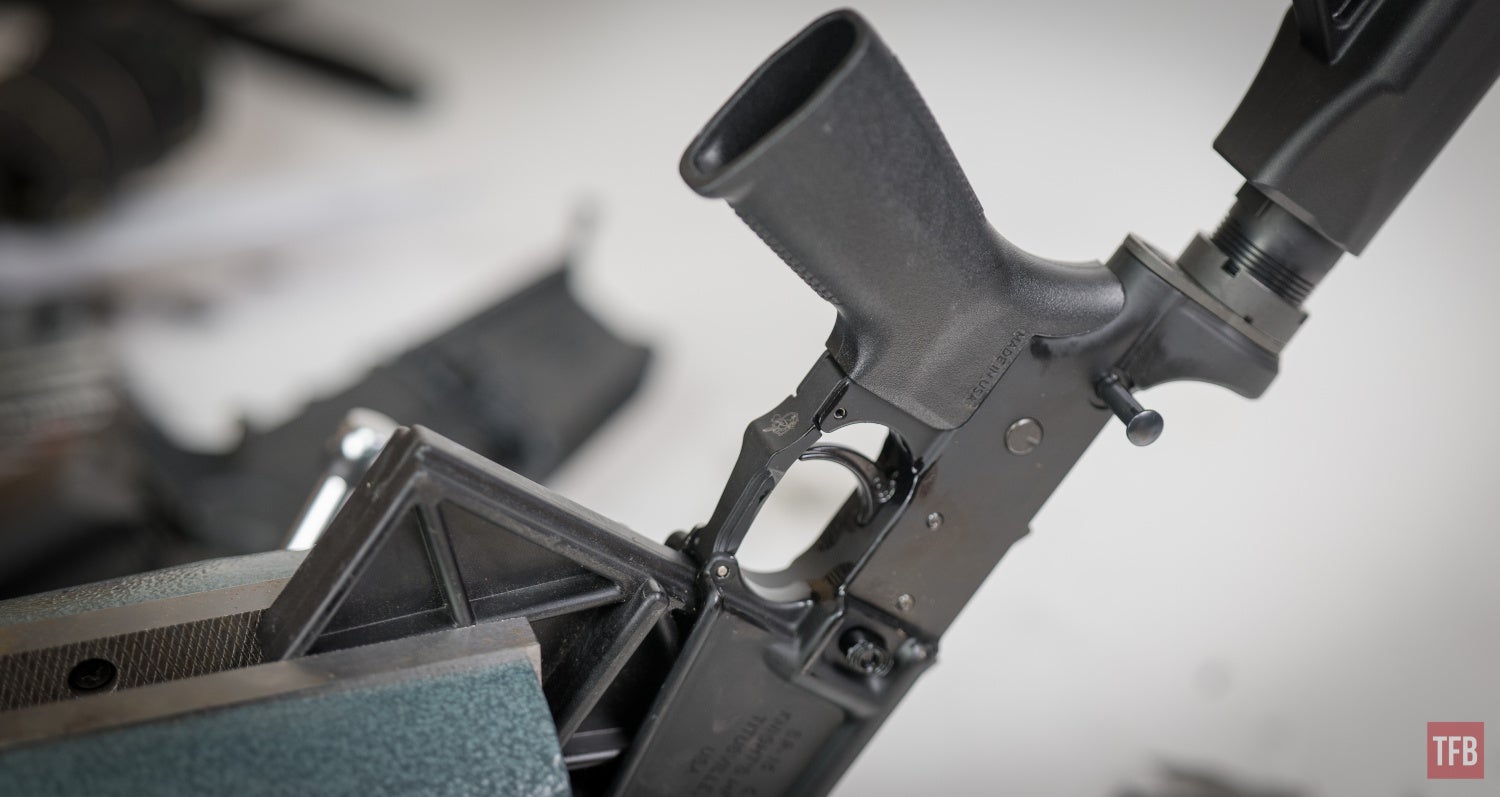
9. I’m replacing my grip with the Reptilia CQG grip. The safety detent spring is being reused from the previous grip.

Crafting With Corona: AR-15 Geissele Trigger Upgrade
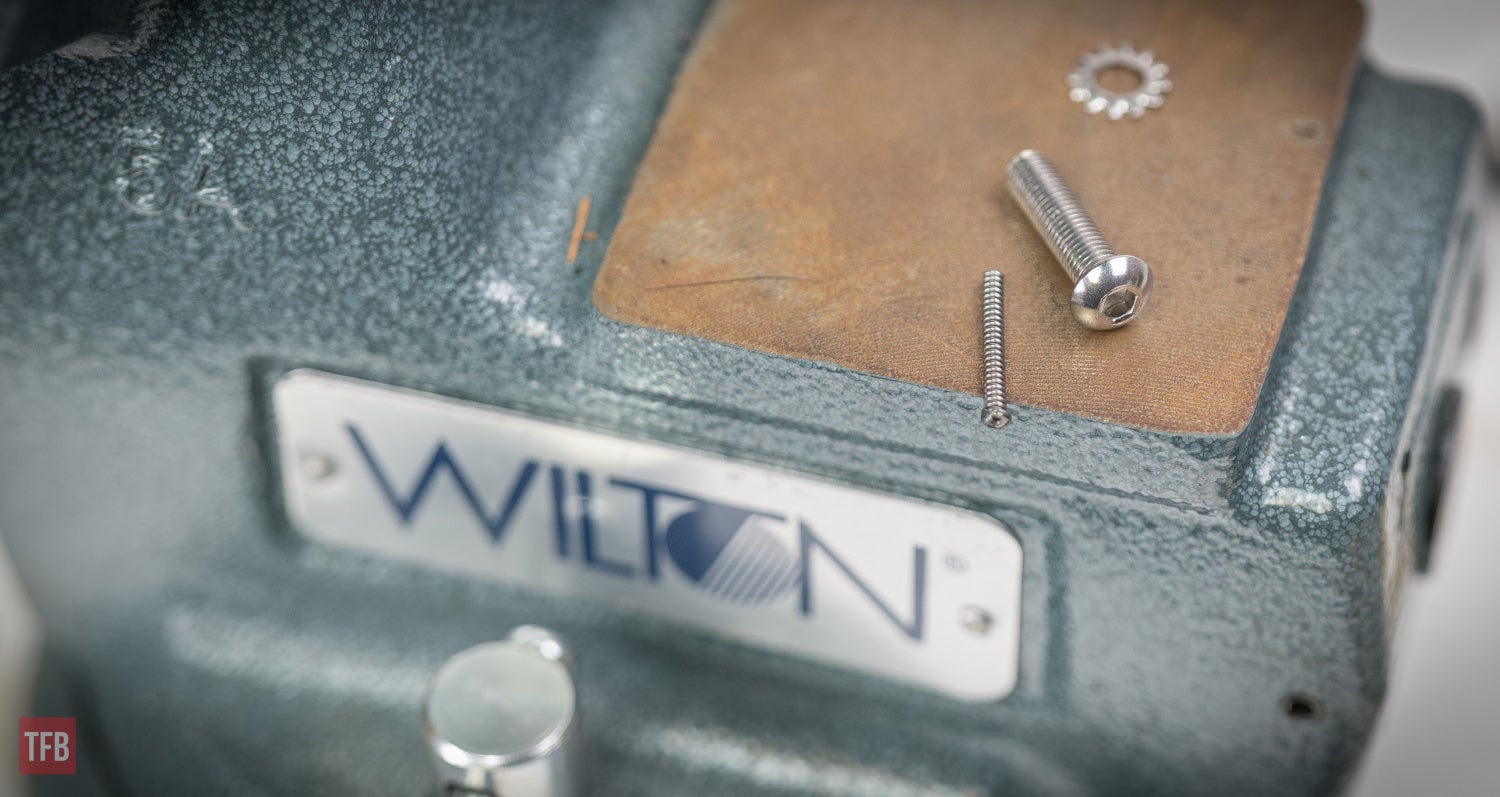
10. Use a tiny bit of grease to hold the safety detent spring in the grip.
Crafting With Corona: AR-15 Geissele Trigger Upgrade
10a. Trust me, the grease makes it easier to align the spring with the detent hole.
Crafting With Corona: AR-15 Geissele Trigger Upgrade
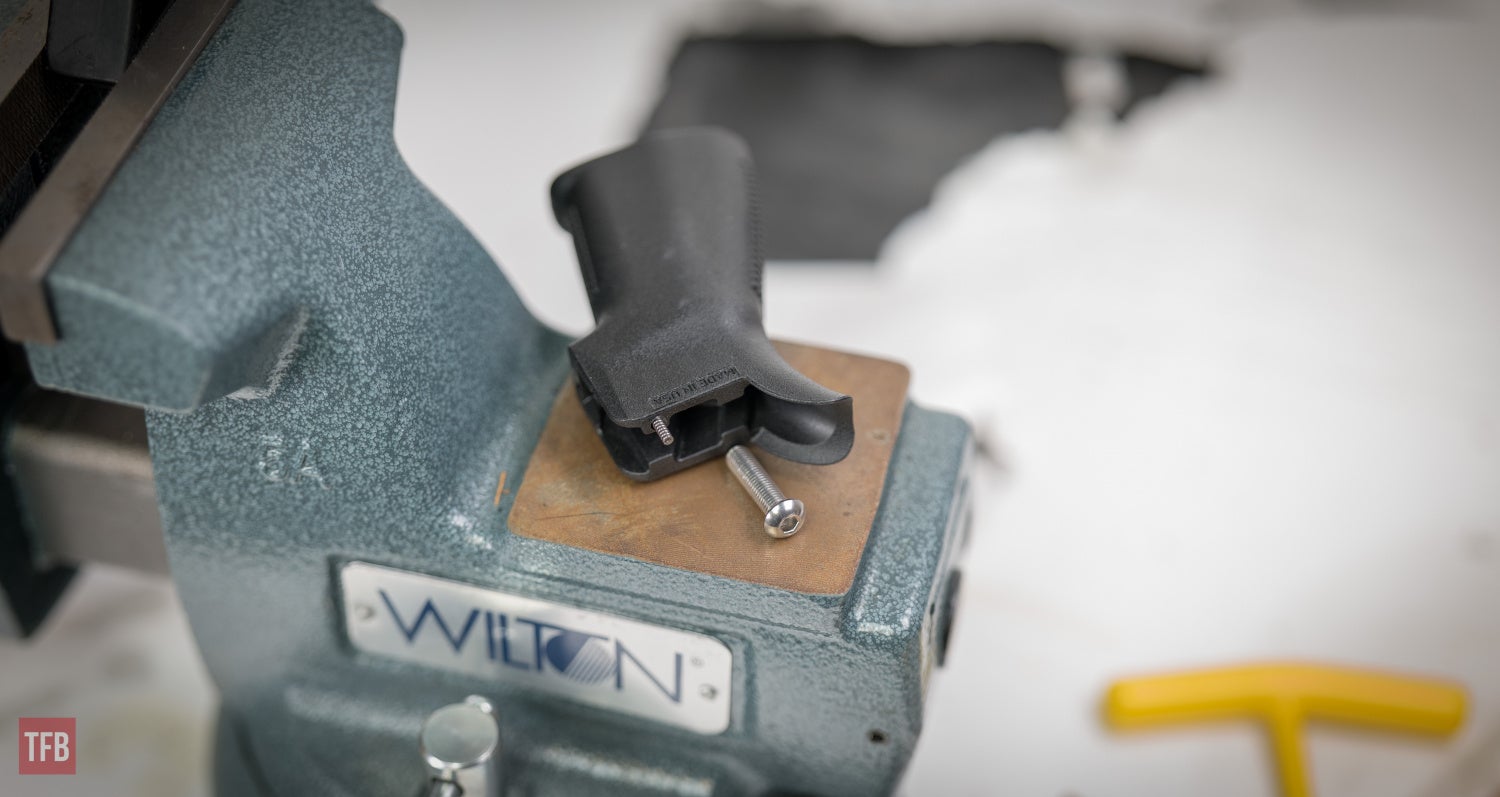
11. Press the Reptilia grip into place while aligning the safety detent spring and detent. Hand tighten with the included screw and lock washer.
Crafting With Corona: AR-15 Geissele Trigger Upgrade
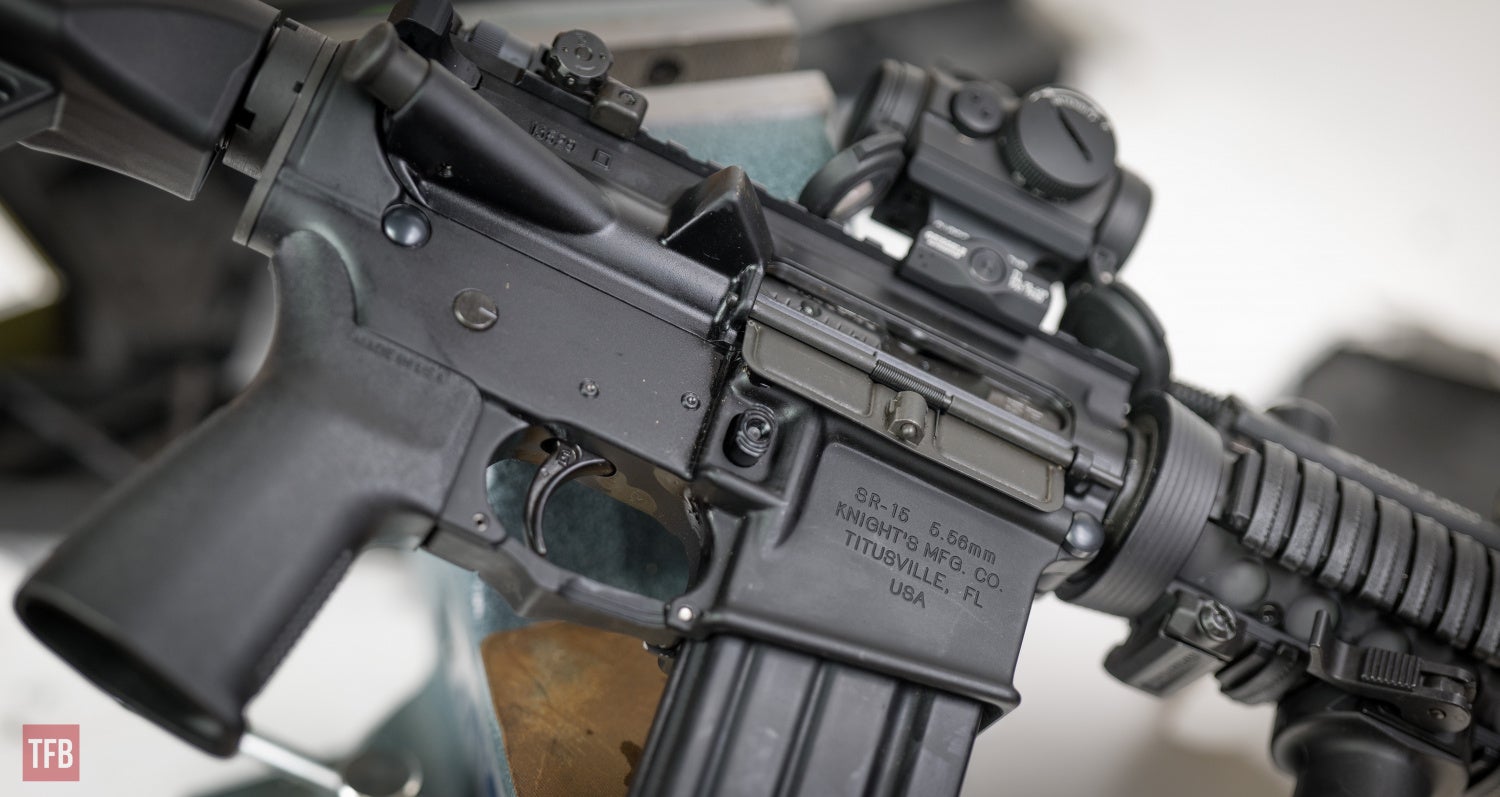
12. Reinstall the upper and lower receivers. Verify the firearm is unloaded. Visually and physically inspect the chamber and magazine well. Check twice.
Crafting With Corona: AR-15 Geissele Trigger Upgrade
Function check:
- Watch the bolt close on a empty chamber without a magazine installed.
- With the selector in the SAFE position, pull hard on the trigger while pointing in a safe direction. The hammer should not fall.
- Rotate the selector to FIRE and pull and hold the trigger to the rear while pointing in a safe direction. The hammer should fall on to the firing pin.
- While continuing to hold the trigger to the rear, cycle the action using the charging handle.
- Release the trigger. You should hear and feel the trigger reset.
- Live fire: monitor your new trigger upgrade for any abnormalities. Stop and unload if something doesn’t feel right.
Have fun, stay safe and thanks for reading TFB.
We are committed to finding, researching, and recommending the best products. We earn commissions from purchases you make using the retail links in our product reviews. Learn more about how this works.