 Your Privacy Choices
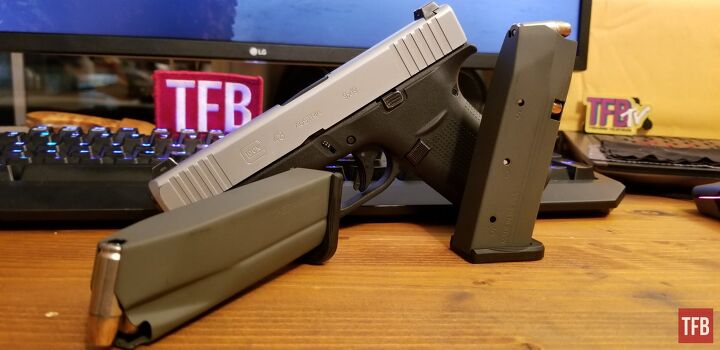
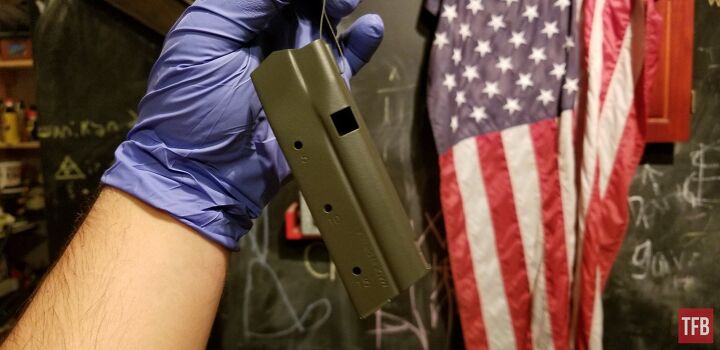
Modern corrosion proofing techniques have largely relegated paint coatings to hobbyists looking to customize the look of their firearm. I, on the other hand, seem to have the biology of a xenomorph, and by that, I mean that I have managed to corrode a couple of my gun slides as well as one of my recently purchased Shield Arms S15 magazines. Today I’ll provide you with a guide to corrosion proofing your gun parts with Aluma Hyde II as suggested by TFBTVs James Reeves.
A Guide for Aluma Hyde II – How to Corrosion-Proof your Gun Parts
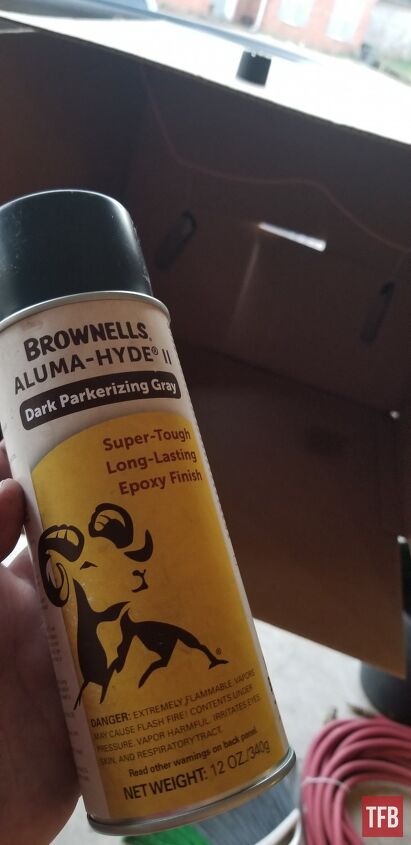
Brownells Aluma Hyde II is a colored hard-curing epoxy finish that works well on just about any properly prepared surface – especially synthetic stocks. Aluma Hyde II is also noticeably thicker than some of its counterparts like Cerakote or Duracoat, so be mindful before starting an Aluma Hyde II project as tight-fitting components may not go back together after you paint them with Aluma Hyde.
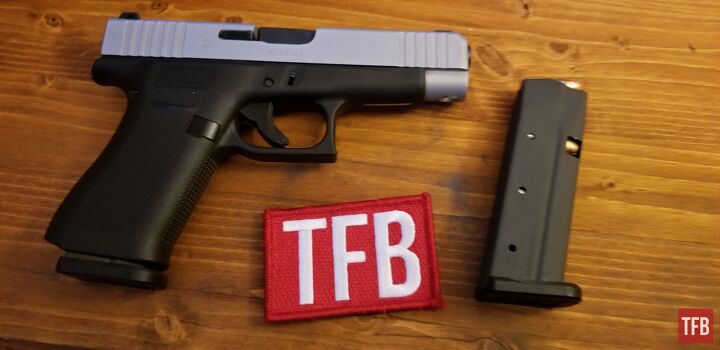
I swear I’m not a Xenomorph
Materials Needed
- Nitrile Gloves
- Thin Wire (Stripped twist-ties work great)
- Aluma Hyde II Spray Can (any color of your choice)
- Non-Chlorinated Brake Cleaner
- Sand Paper (220-330 grit) OR Sand Blaster
- Oven (Optional based on your wife’s level of complacency)
- A stiff drink (while you wait)

Step 1: Remove Rust and old Coatings
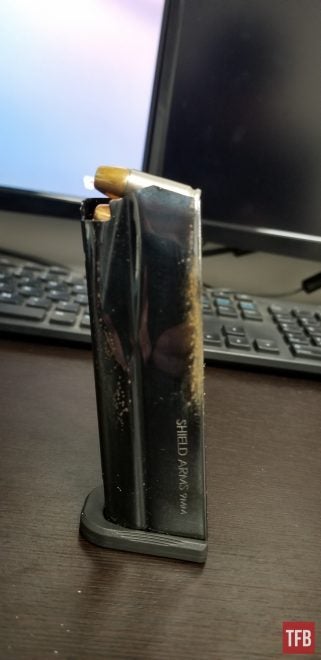
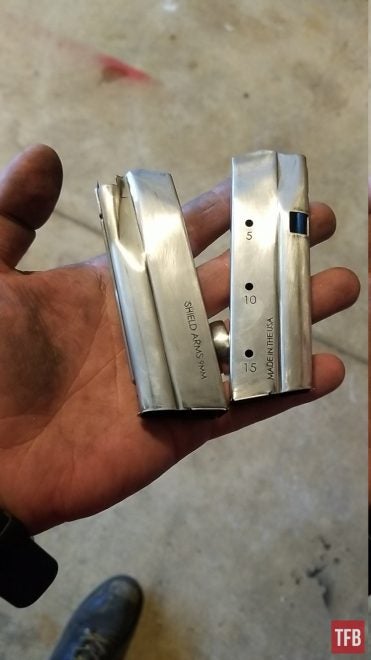
This is by far the single most important step of the entire process. If your surface is not properly prepared, your results will most assuredly end up looking bad and ultimately not adhere to your piece. The subject(s) for my project was my Shield Arms S15 magazines which had corroded due to being exposed to sweat on a daily basis (I carry 99% o the time using an Active Pro Gear Belly Band Holster).
The first signs of corrosion
IMPORTANT!!! If you are going to coat an already hard anodized piece skip to step 2
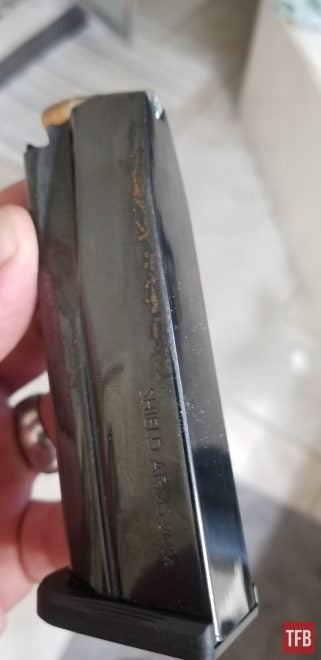
You’ll first want to make sure your surface is clean and free of any debris or rust. Since my magazines had a glossy coating on them as well as rust I had to sand off everything in order to give the Aluma Hyde something to adhere to.
For those fortunate enough to have access to a sandblaster this process is quite easy and quick – simply sandblast off all the rust and or old paint/coating and you can move to the next step.
I found that it took me about an hour or so with 220 and then 330 grit sandpaper to get rid of all the rust and make a slightly rough but even surface without any deep scratches.
Aluminum oxide abrasive sandblasting would have come out much more even but I worked with what I had
Step 2: Clean the Surfaces
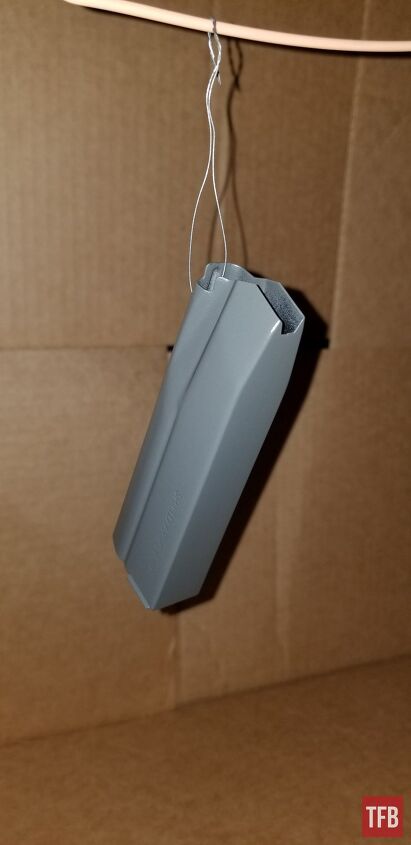
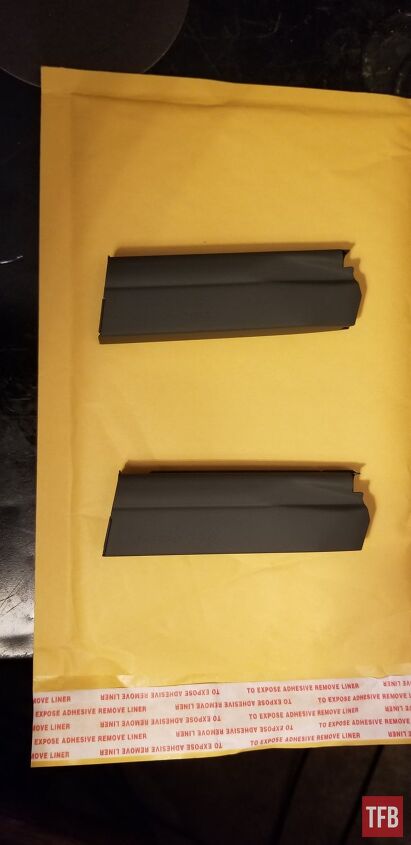
Once the pieces have been sanded or sandblasted to your satisfaction, next you’ll want to get rid of any surface debris which includes the oil from your hands. It is at this point where I chose to add my wire ties which would be used to hang the magazines from the oven rack while they cured.
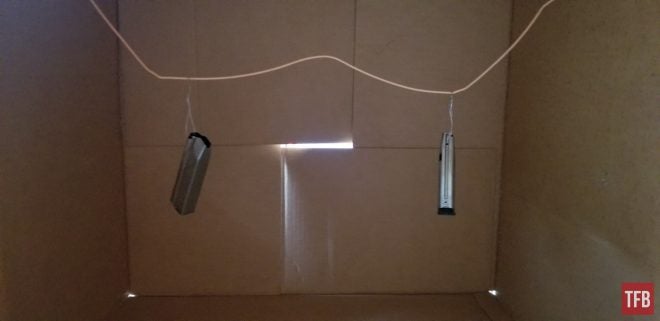
If going outside isn’t an option due to cold temperatures, a cardboard box can be used as a temporary spray box
If your piece doesn’t have a way to attach wires, you should find some other way to attach something to your piece that will allow you to spray all the surfaces and then later keep the piece suspended while it oven cures (also make sure whatever you attach can handle at least 300°F).
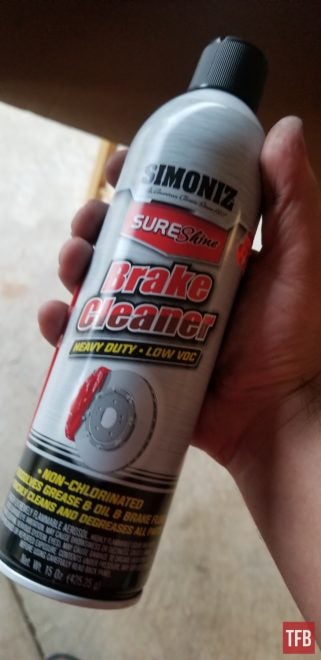
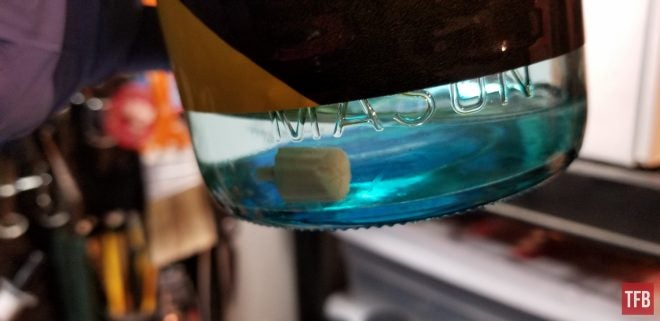
Next, grab your can of Non-Chlorinated brake cleaner. Using brake cleaner with chorine in it will leave a film on the outside of your piece and prevent the Aluma Hyde from sticking. Alternatively, you can order Brownells TCE Pressurized Degreaser alongside your can of Aluma Hyde II. I found no ill effects from using the brake cleaner. I find it helps to spray in a downward fashion from top to bottom to spray any debris and oils off in one direction.
After the pieces have been sprayed you’ll want to take special caution from here on out to not touch the workpieces with your hands. Stick to using the attached wires and keep the workpieces suspended between now until after they’ve cured. Failing to do so can introduce smudges, runs or cause bad adhesion of the coating.
Allow the workpieces a couple of minutes to flash off the brake cleaner, you can use a heat gun to speed up this process.
Step 3: Spraying on the Aluma Hyde II
At this point, you can go ahead and turn your oven on if you plan on “fast-curing” the workpieces. The Method I used took only about one hour to bake with some cooldown steps afterward. Brownells recommends a lower temperature and a longer cure time in the oven and you can use that as well if you don’t mind waiting. If oven curing isn’t an option, the standard air cure time for most workpieces is 7-10 days.
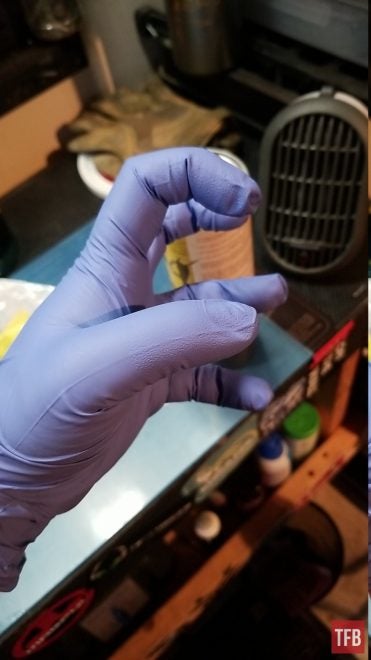
Don’t forget to wear gloves!
Start off by spraying an even and light first coat on your pieces. If it is cold out, you’ll want to warm the can of Aluma Hyde up as well as your workpiece. A heat gun works well for heating up the piece while a bowl of warm water does a good job of keeping the Aluma Hyde can warm in between coats.
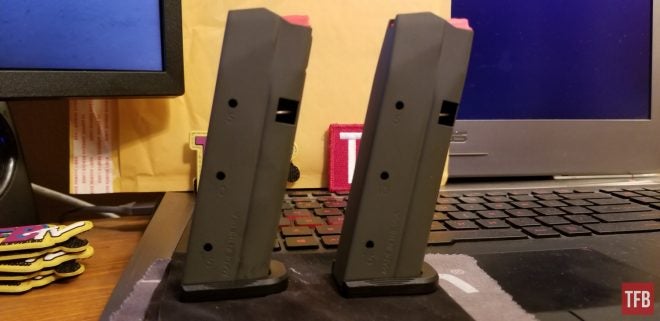
The First Coat
Aluma Hyde is pretty forgiving when it comes to runs so don’t worry too much if you overspray a little bit as it can be covered up on the next one or two coats. Be sure to shake the can during the application to keep the paint mixed and to avoid clogs in the nozzle.
You’ll want to wait about 5 minutes or so in between coats. I chose to apply four total coats to my magazines and this turned out to be maybe one or two too many. My magazines took a bit of working in after the coating in order to drop free – the next time I touch them up I’ll probably reduce the coat count to just two. The time in between coats can be reduced by using a heat gun to flash off the coat before proceeding to the next coat.
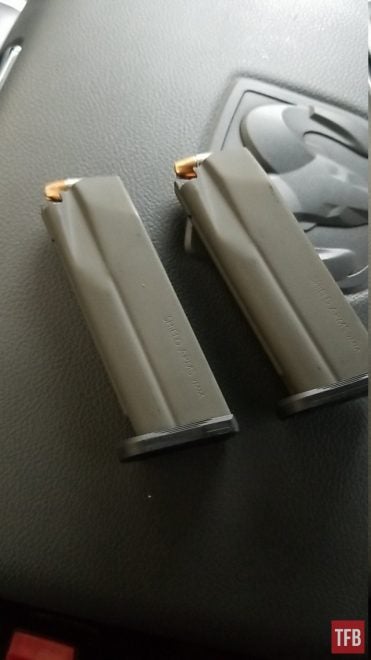
Final coat after air drying for 5 minutes.
After you’re done spraying, remove the spray nozzle and toss it in some paint thinner in order to keep it from clogging. If you forget to do this you can always buy another nozzle on the Brownells website.
Step 4: Oven Cure
WARNING!! This will stink up the house and your wife is likely to know you’ve been doing some at-home DIY gunsmithing so proceed at your own risk.
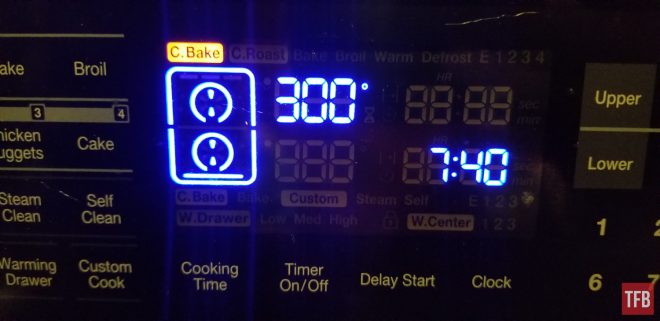
The method I’m going to detail here is a modification of the “speed curing” option that Brownells uses. I pre-heat my oven to 300°F and remove all but the topmost rack. Usually by the time I am done with the coating process my oven is ready to go.
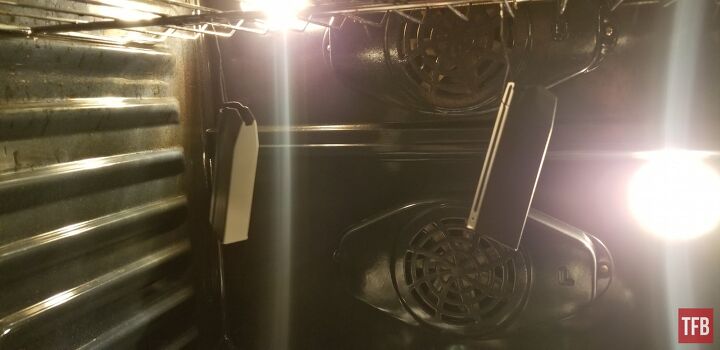
Simply suspend your workpieces from the oven rack and set your timer for an hour. I placed a piece of aluminum foil on the bottom of my oven out of paranoia that the wires might heat up and let the workpieces fall but that didn’t happen. If you have a normal oven that has a bottom element, the aluminum foil will prevent the workpieces from developing hot spots as the oven cycles to reheat. This shouldn’t be an issue in convection ovens like I have.

After the hour is up you can turn off and then allow the oven to cool down for about 45 minutes. After that 45 minute is up, open the oven completely and allow the piece to cool to room temperature for about 30 minutes. It’s this portion where the stiff drink comes in handy while you wait. After the pieces have been allowed to gradually cool down they’re fully cured and ready for reassembly!
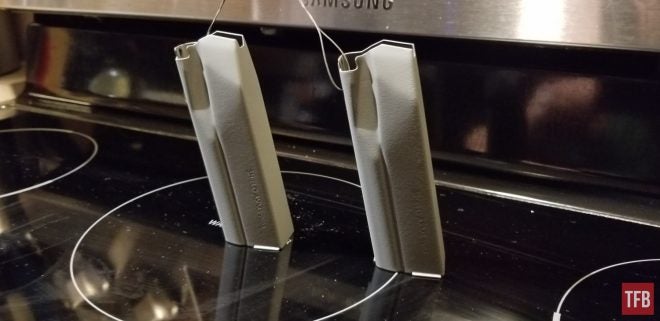
My Results and What I’d Change
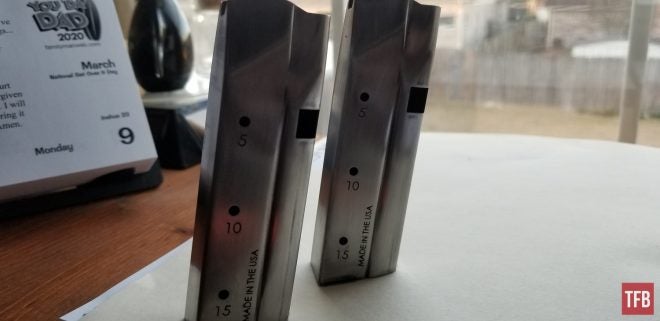
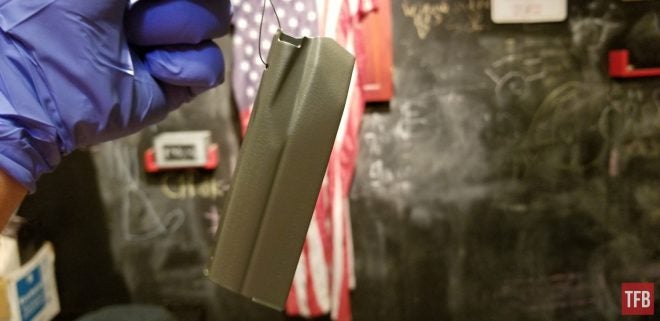
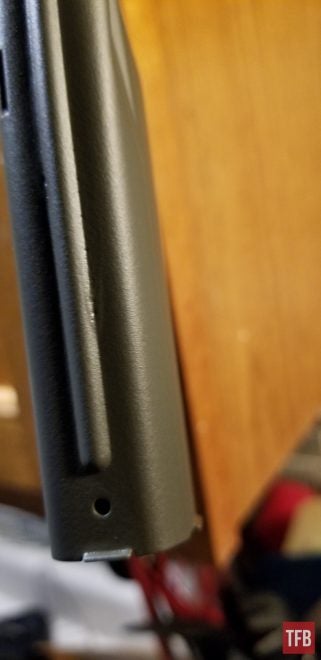
Personally, I think my magazines came out great! The grey color I chose turned out very well and I only had perhaps a tiny bit of run near the leading edge of the magazine where there is an almost 90° inside angle where paint built up but its hardly noticeable.
Like I said above, the four coats I applied were probably a bit too much. Aluma Hyde is one of the thickest coatings out there and if I am going to do this again I will definitely reduce the number of coats down to two. If you’re planning on just using this as an outside coating this shouldn’t be an issue for you.

The Aluma Hyde II coating holds up well to human sweat – even my weird alien blood brand of sweat.
After carrying the magazines in the same belly band as before it seems that the coating stands up to even some of the harshest conditions! I did notice a couple of small spots where the coating has worn off completely but they are mostly points where the magazine comes into contact with hard metal surfaces. The magazines still cycle and function just as well as when they were in their factory configuration.
Let me know down in the comments if you have any questions or let me know what your current coating project is!
We are committed to finding, researching, and recommending the best products. We earn commissions from purchases you make using the retail links in our product reviews. Learn more about how this works.