Last November, Rusty S, reviewed the ATN ThOR4. It was a mixed review. Some positives with a healthy dose of negatives. I got a chance to review the ATN ThOR4 640×480 whereas Rusty reviewed the 394×288 version. ATN sent me both to compare. So here is the ThOR4 revisited.
ThOR4 Revisited
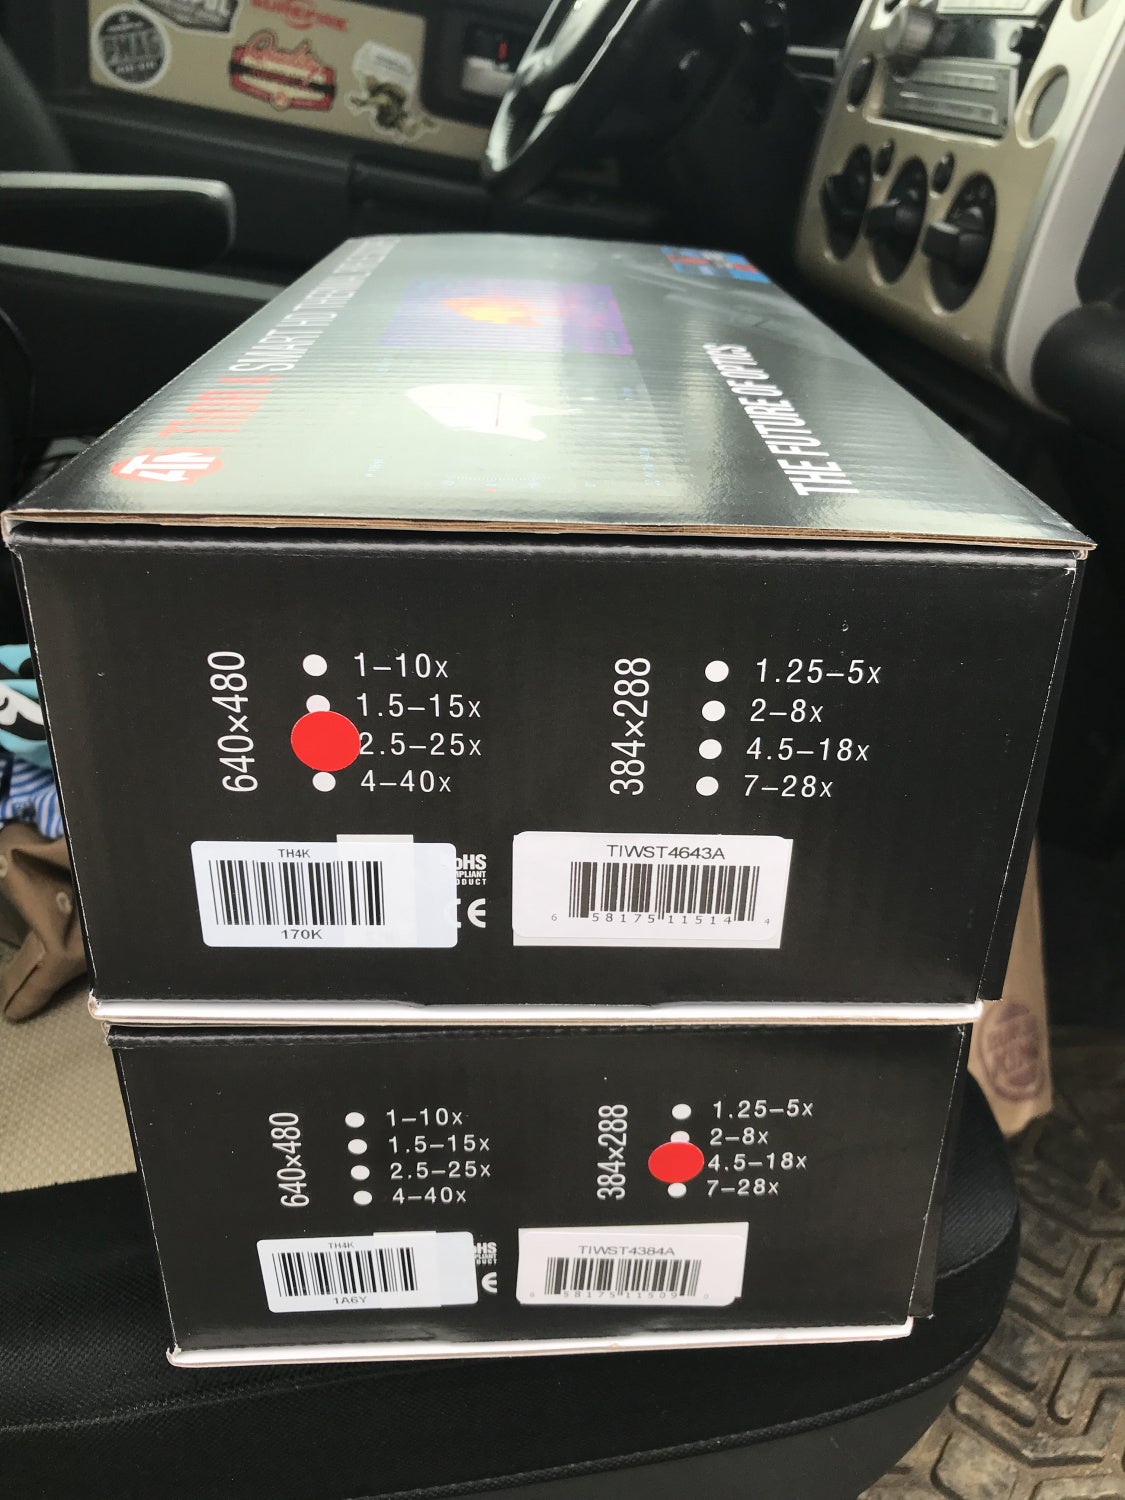
The two ThOR4 scopes they lent out are a little different but externally they are the same. The most obvious difference is one is 384×288 and the other one is 640×480 resolution. But the magnification levels are different. The 384 is similar to the one Rusty reviewed, it is 4.5-18x. Meanwhile, the 640×480 has a magnification range of 2.5-25x. While the 640 ThOR4 has more range, it does cover the same range as the 384 so I can compare them at the same magnification range.


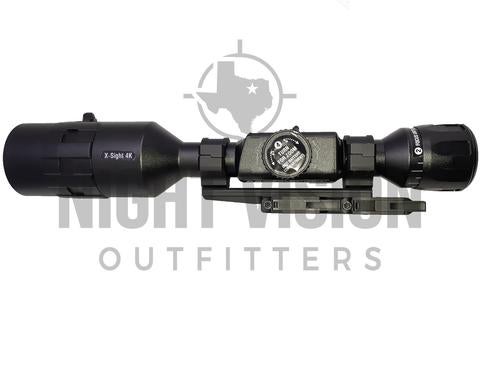
The ThOR4 comes with simple scope rings however there is a better option that just came out. Night Vision Outfitters collaborated with Bobro engineering to make a QD mount for the ThOR4.


One difference I found between the 384 and 640 addresses one of the issues Rusty had in his review. The rubber cover for the SD Card port has been fixed. When Rusty reviewed the 384, the rubber cover for the SD card had a ridge across it. This made it impossible to close the rubber cover without pushing the SD card. The 640×480 still has this old design so once the SD card is pushed inwards by trying to close the rubber cover, the SD Card wants to eject and pushes back against the rubber cover. You can see the rubber ridge below. This directly pushes up against the SD card preventing it from closing.

384 on top, old style 640 on the bottom.

This is what the rubber cover ends up looking like with the ridge. This is what the 640×480 came with. You can see how high it sticks up compared to the USB port cover. If the SD card is not there, you can shove the rubber cover flush with the housing.

Zeroing The Thor4
When I first tested the ThOR4 thermal scopes I found the 384 to be less desirable than the 640. Simply the magnification range and resolution were better so I ended up using the 640 more. I initially mounted it on my pump action .300blk Troy PAR. I tried to use the scope’s built in one shot zeroing feature but struggled with it.
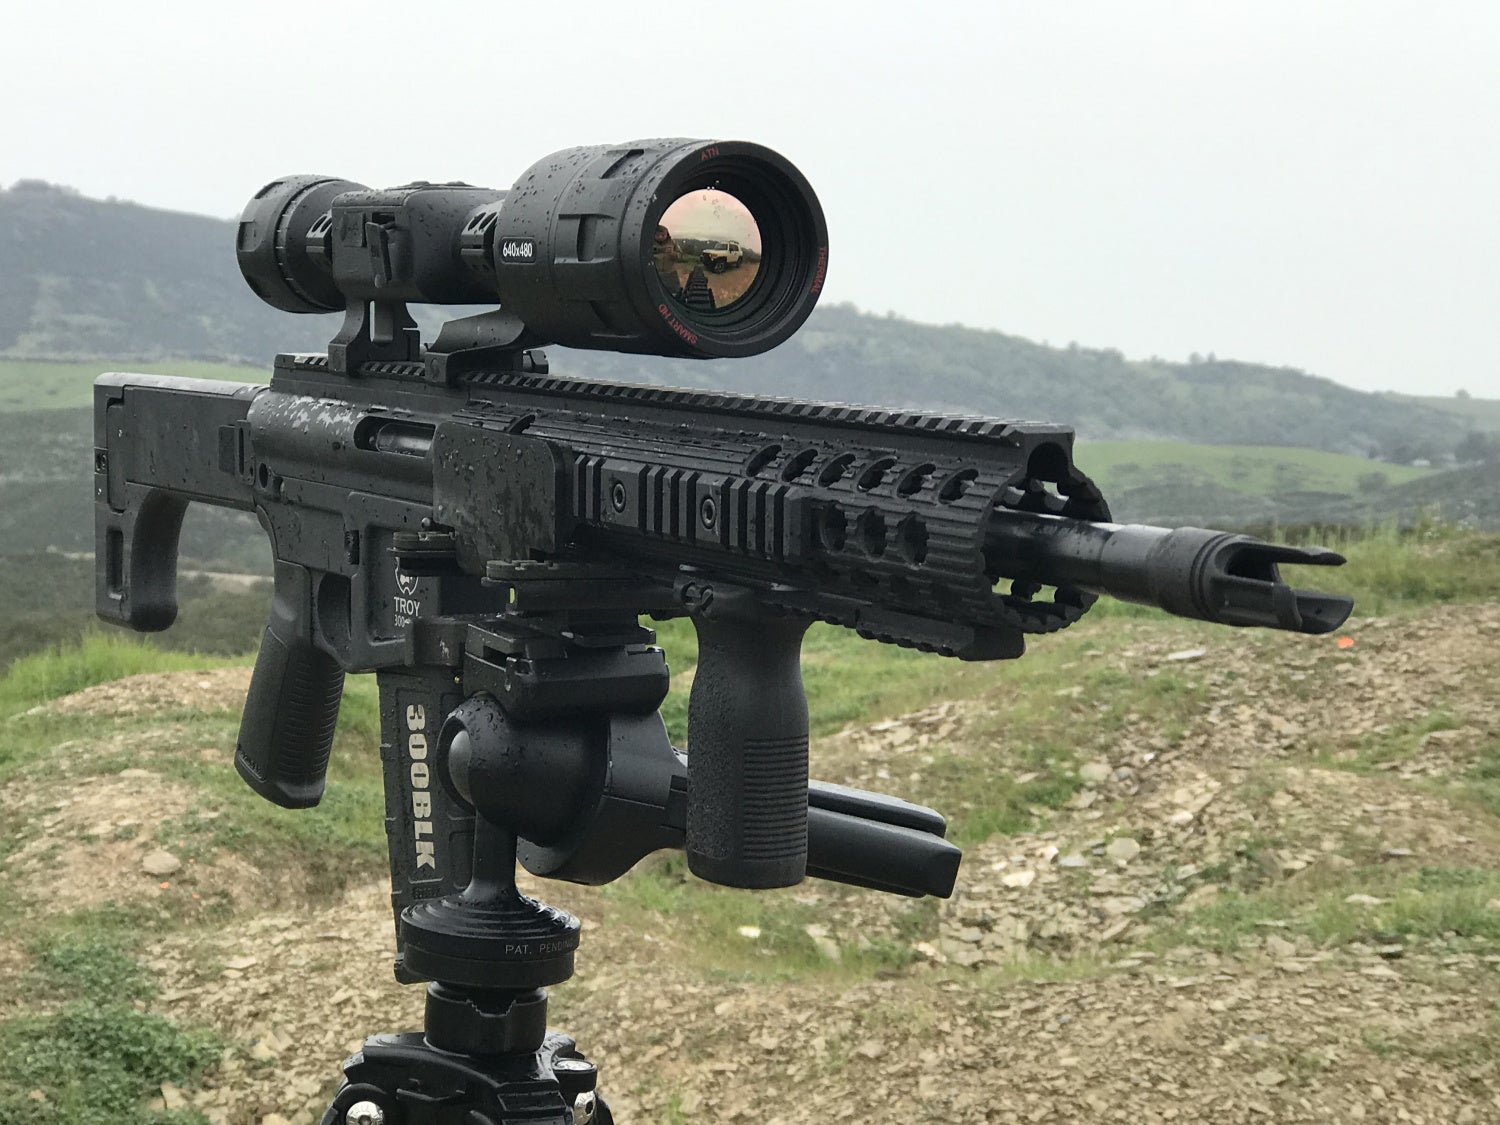
I abandoned this for a simpler solution. I took another rifle that had a day scope properly zeroed. I mounted my DBAL laser and zeroed the laser to the scope. I then removed the day scope to mount the ThOR4. I would then zero the ThOR4 to the laser. This made it a lot easier and did not require ammo until I went to the range to confirm my zero.
Here is the 384×288 mounted on a Cobalt 27 Expert with my DBAL mounted on the rail.

ThOR4 Revisited – Detection Range
Both the 640 and 384 were good at detecting animals but positive ID (PID) on the animals at distance is not that great. And when you zoom in, the image gets pixellated.
I brought the ThOR4 640 with me to San Diego and used it as a mini thermal spotting scope. Here are some people just 100 yards away.

La Jolla Cove
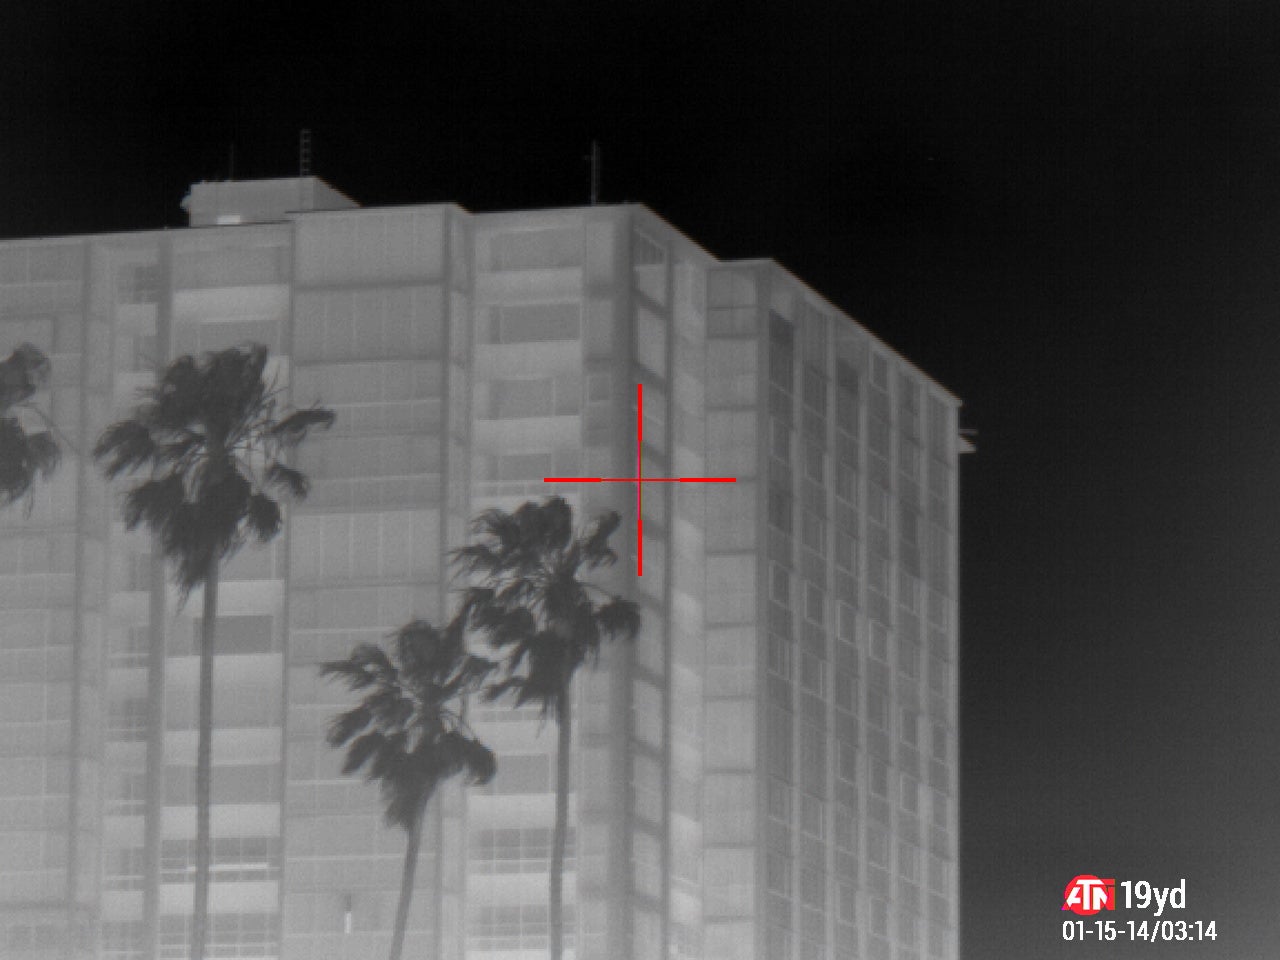
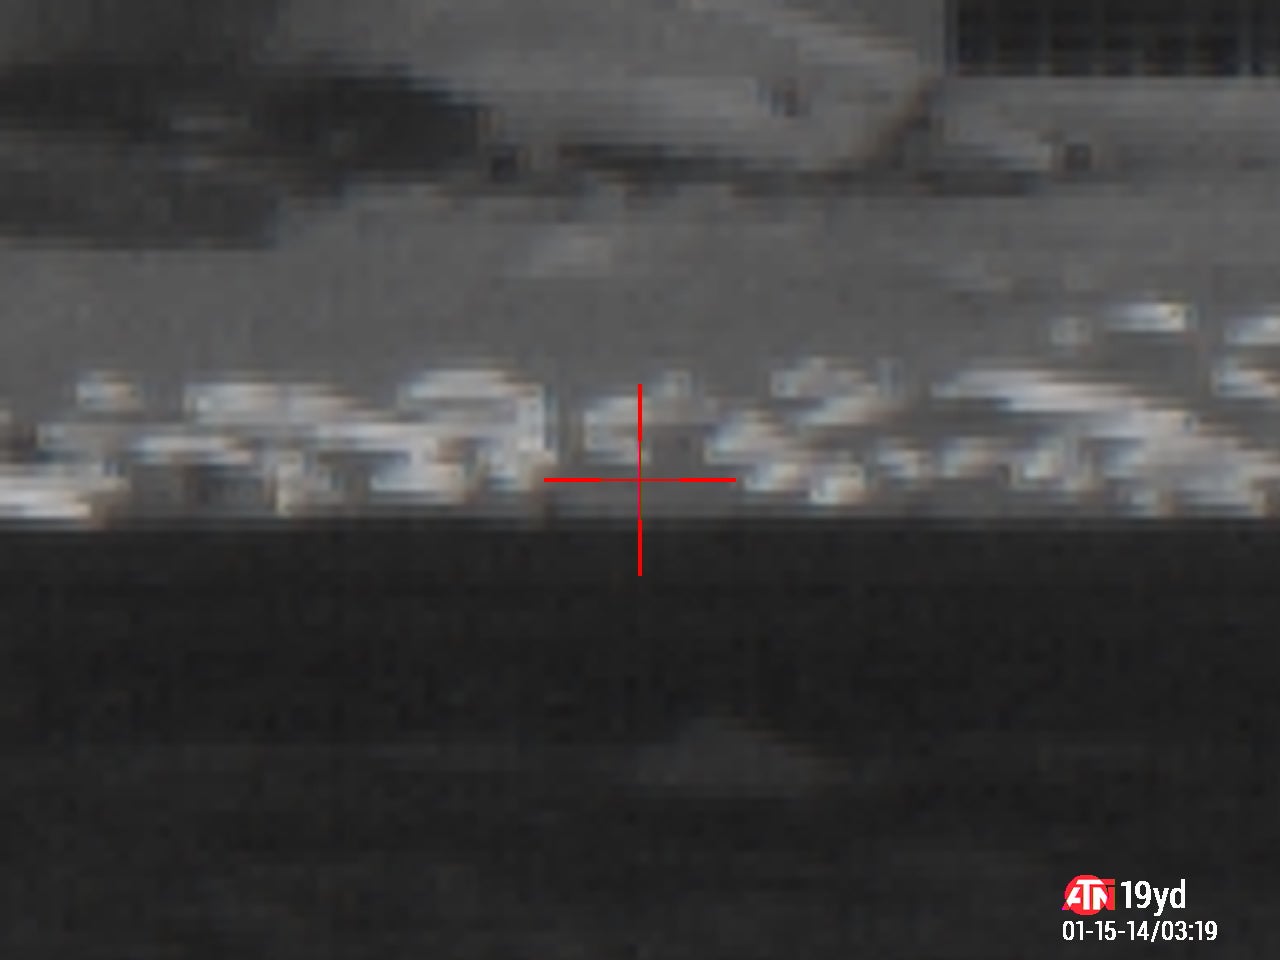
There were seals sunbathing on the beach and they were about 400 yards away.

However, if you tried to zoom in on them they become pixelated blobs.
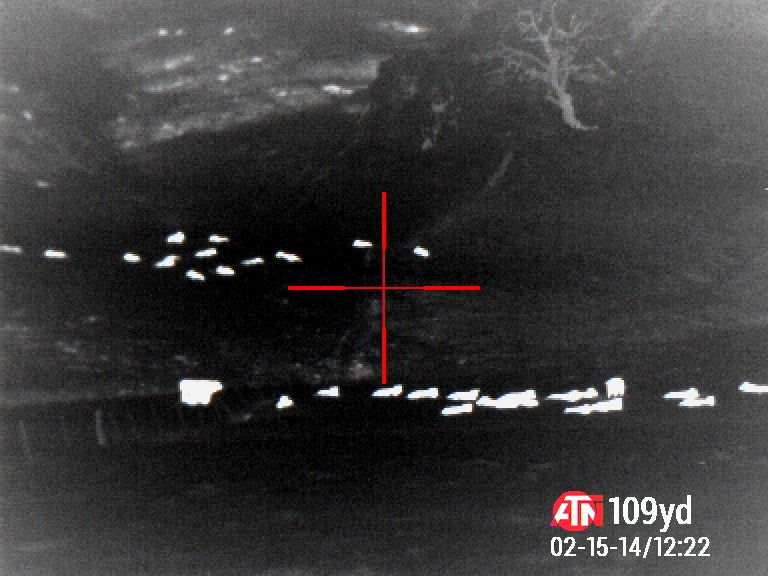
Quail Valley Ranch Cows
At Quail Valley Ranch I tested frozen 12oz water bottles. Below is a control image of the range. There are steel targets set at even whole distances. So 200, 400, 600 and 800 yards. Unfortunately, the steel did not show up that well in the ThOR4 640.
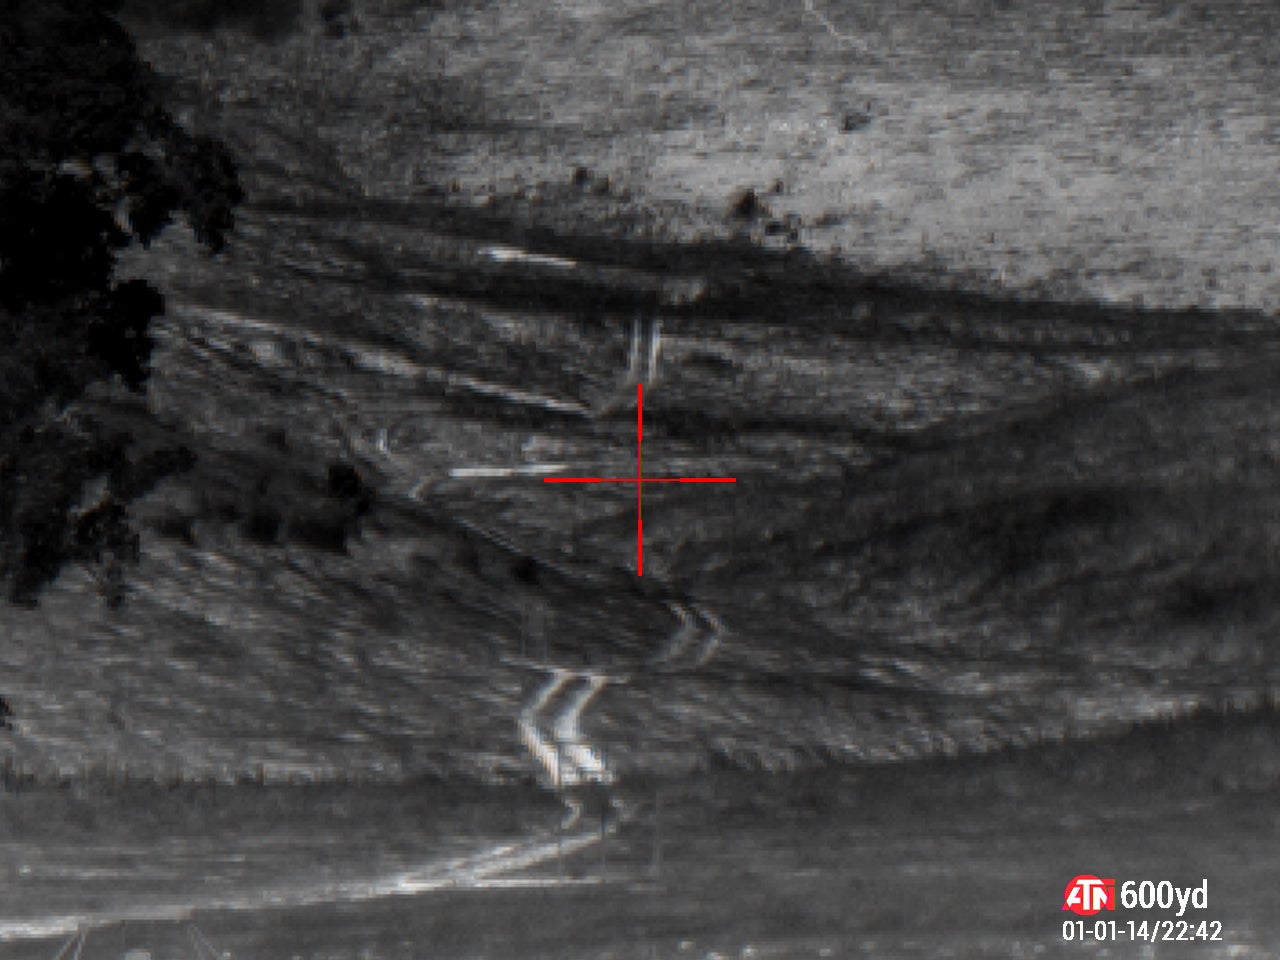
You can barely see the target stand intersecting the road behind it near the bottom of the image.
The frozen water bottles, on the other hand, showed up easily. Here was a test I did at just 50 yards.
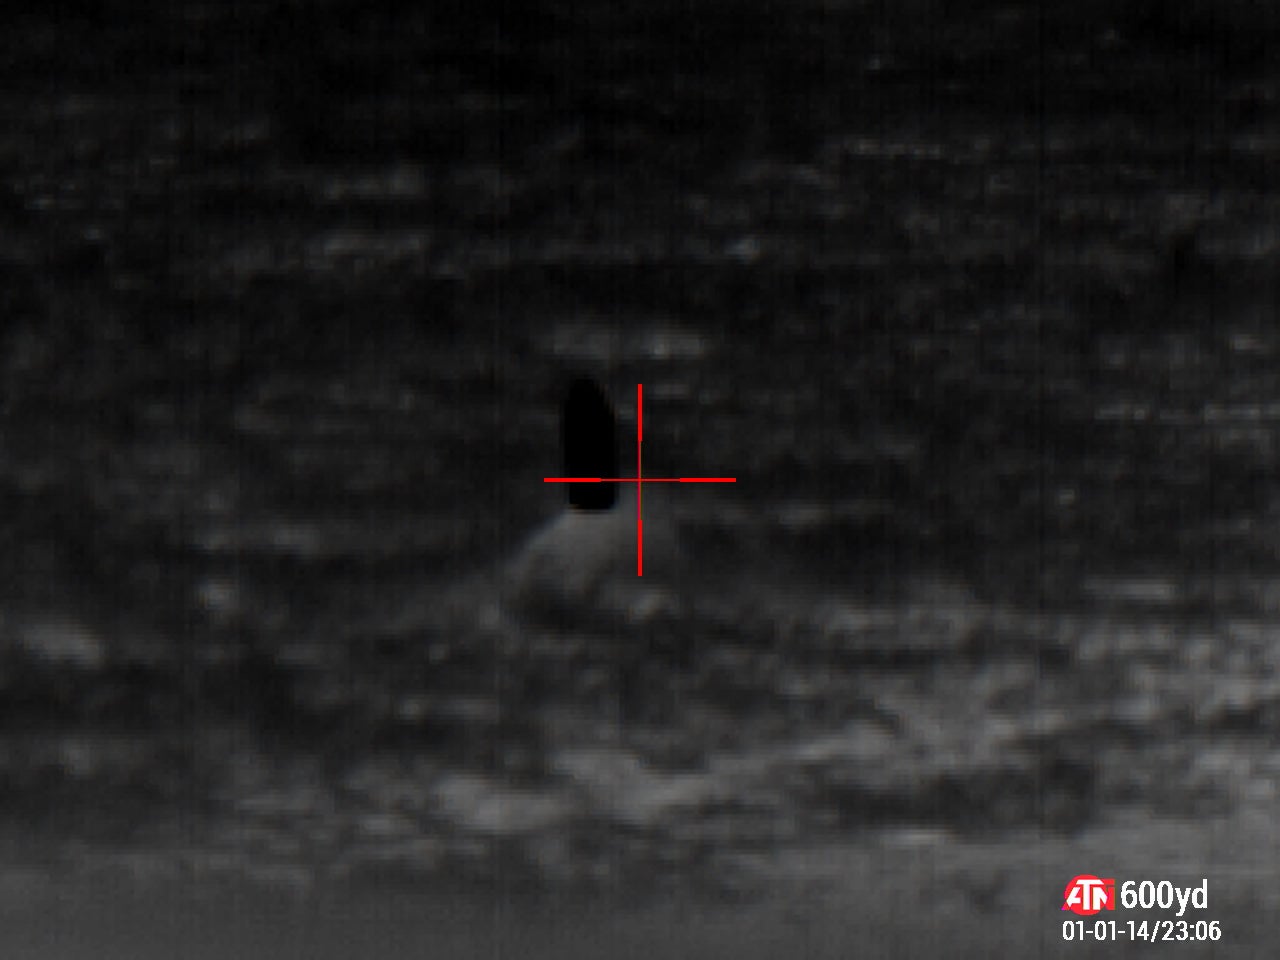
After we tested that the frozen water bottle could be seen by the ThOR4, my friend and range officer Kythe drove out and hung a frozen bottle at 200 yards and 400 yards.

The white blob is the engine of his side by side. Kythe is standing next to the side by side but he does not show up that well.
Once I reset the non-uniformity compensation (NUC) the contrast improved and you can see Kythe setting up the 12oz frozen water bottle. See the completely black spot in the space between Kythe’s head and arm? That is the frozen bottle.

To my surprise, I could see a 12oz frozen bottle at 400 yards. Even at full magnification, I can clearly see the bottle.

I had Kythe relocate the 200-yard frozen bottle out to 600 yards and that seems to be the limit of the ThOR4 for detecting something that small. It is so small that it is difficult to see even at full magnification. You can see the black blob circled in blue. That is the frozen water bottle.

Shooting With the ThOR4 Thermal Scope

Even though the ThOR4 thermal scopes are feature rich, many of them are a little clunky or tedious that I initially did not use them. I was pleased with the detection and resolution for shooting within 400 yards but there was no real way for me to adjust for the ballistic drop. In order to use the onboard ballistic calculator, you can tell the scope how far the target is. The problem is telling the scope how far the target is. The ThOR4 scopes have a range finder that is based on geometry. You are supposed to measure a known height by positioning two bars, one on top and one on the bottom and given the space between them, the scope will calculate how far that is. So let’s say the scope knows what one yard is. So you measure something that is one yard tall at 300 yards away. By measuring it on the screen the scope calculates it out. Often I would get incorrect readings and it was easier to just use my Zeiss range finder but I still have the problem of telling the scope how far my target is.
There is a Distance Entry mode that you have to select in the onboard menu aka carousel. Once Distance Entry mode is selected you then enter the distance by pushing the up or down buttons on the top of the scope body. You can also use the wheel on the left side to change the distance entered. The problem I had with this, is the fact that it is painfully tedious. The scope starts off at the last distance entered. When I first tried it 91 yards was stuck in the memory of the scope. I wanted to go to 600 yards. Every push of the up button only changes the distance by a single yard. I have to push this button 509 times? Screw that. The knob is just slightly better. It has 24 clicks per full 360-degree revolution and each click is one-yard increment.
This is just too slow. There has to be a faster way of doing this. I spoke with Steve of ATN and he told me they have a laser range finder that can be paired to the ThOR4 and he sent one to me. You need to pair the range finder to the ThOR4 scope first. Then with the LaserBallistics 1500 rangefinder, you simply paint the target to get your distance and it is inputted automatically into the scope. If you have the ballistic calculator setup in the ThOR4 then it will calculate a firing solution for you. You have to enter wind manually but this was so much easier. ATN is coming out with a scope mounted laser rangefinder that you can control from the ThOR4.


So I mounted the 640×480 ThOR4 to my Ruger American Predator 6.5 Creedmoor. I zeroed the ThOR4 at 400 yards. As I said earlier I used a laser that was zeroed to my day scope. Here I am confirming the zero of my laser with a friend. Once dialed in I just zeroed the thermal scope to the laser.
This was all before I got the laser range finder. Now that I had the laser range finder I wanted to see how well it would work. I was pleasantly surprised. With a 400 yard zero, I tested the laser range finder and lasered a target at 216 yards away. I aimed for one of the smaller steel targets as seen below. The larger ones to the right are torso sized.
Well, a 200-yard hit is nothing spectacular. So I went further back to a random distance of 566 yards. Painted the target with the laser range finder and I hit the steel on the first shot.
So the 216-yard image at full 25x magnification was a bit pixelated. That is nothing compared to the 566-yard image of the same target array.
The LaserBallistics 1500 or 1000 is a definite must-have accessory if you get a ThOR4. It makes shooting unknown distances so much easier. These scopes don’t have the ability to adjust by MILS or even MOA like a traditional scope. The onboard computer is powerful enough to calculate your ballistic drop and show you where to aim to make your shot at the distance you tell it. It really is as simple as pointing the laser range finder at your target, push the ranging button to paint the target with an IR laser, get the distance reading and then shoot your gun at the target.
Firmware Update Improves Image Quality
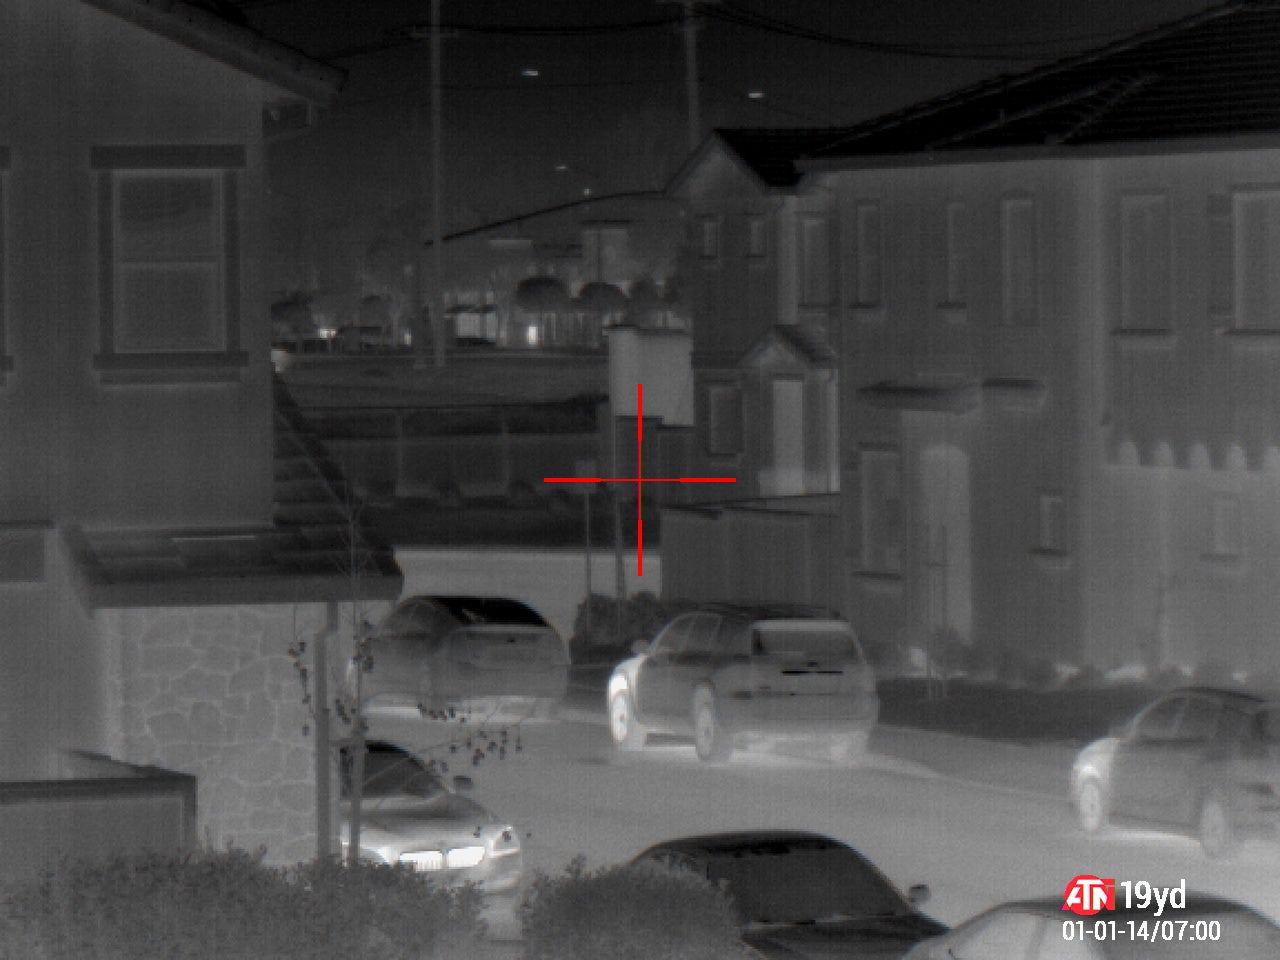
Last week ATN emailed me a firmware update for the ThOR4. This is version 394 and it is preliminary for better image quality in the viewfinder. It is a staggering improvement.
Below are two pictures I took a month ago before the firmware update. The SUV is just shy of 100 yards from where I am.
The intersection below is about 400 yards away.
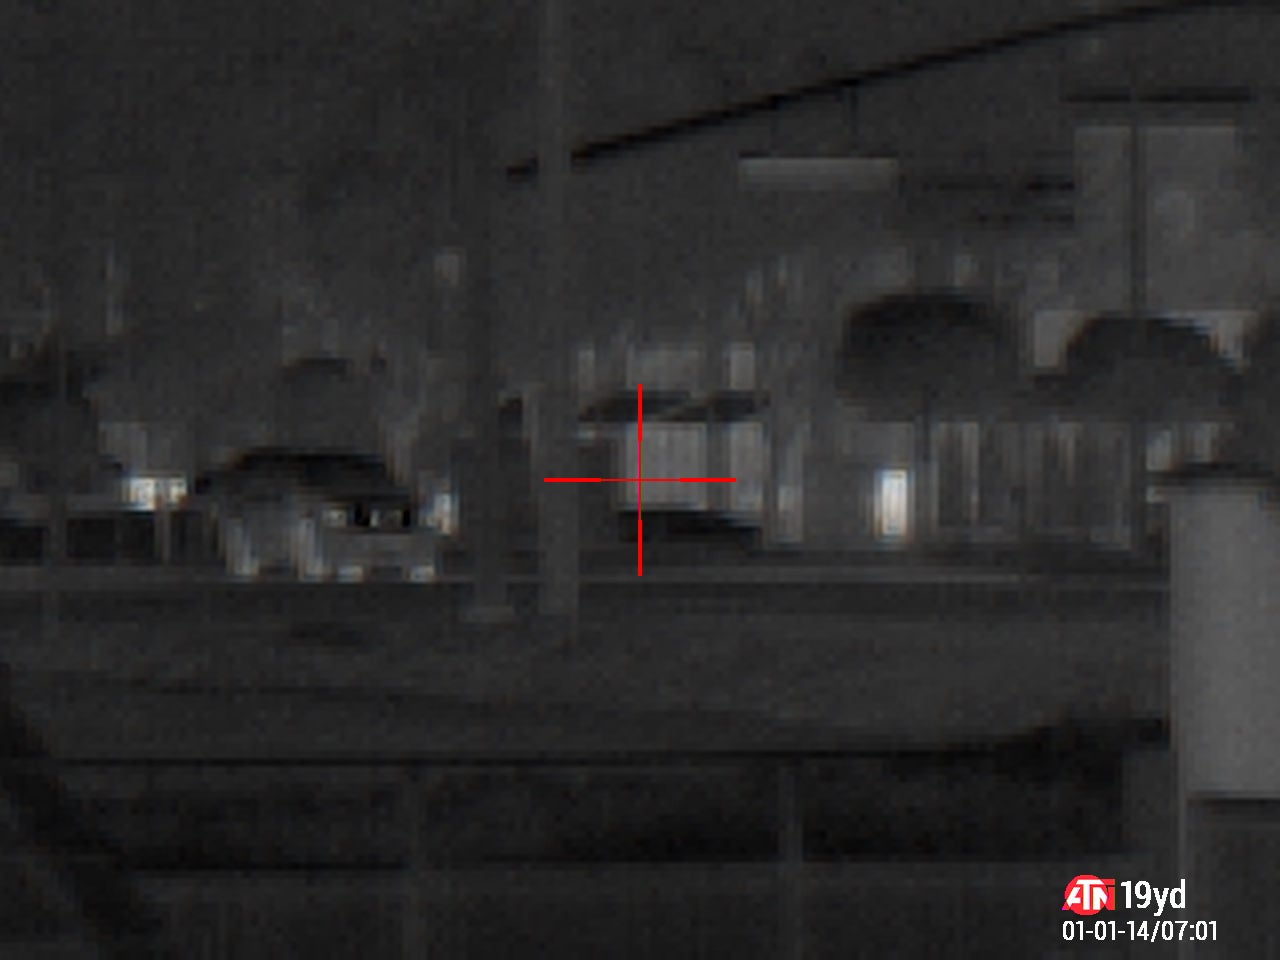
And here is what the 640×480 ThOR4 looks like after the firmware update.

Just look at the detail in the rock tiles on the house to the left. Granted this was taken in the day and the photo above prior to the update was taken at night, but the resolution is fantastic in the updated version.
Unfortunately zooming in does not look that much better. The photos below were taken at full 25x magnification. Same intersection about 400 yards away.


Here is the same view through the 384×288 which was also updated.

Here is what the 384×288 looked like before the firmware update.
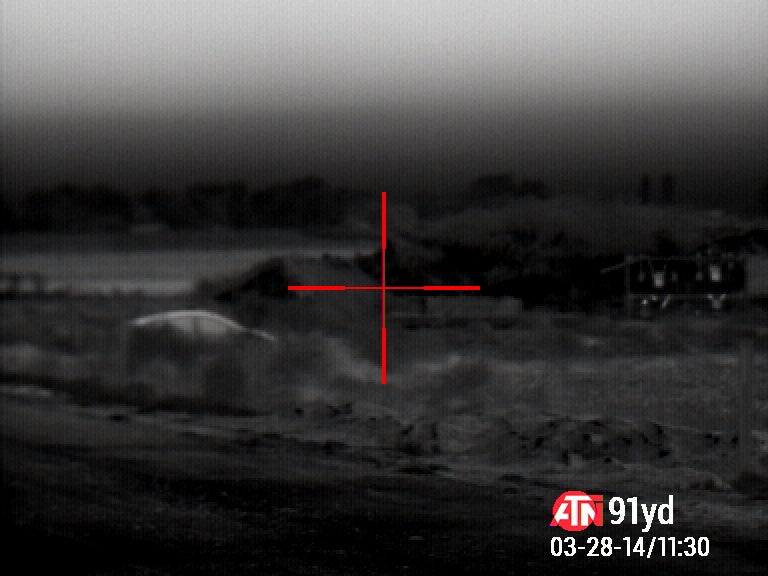
I found that changing to the Rainbow color palette made the steel targets show up better in the ThOR4. I am about 100 yards away. Ignore the 91yd. That is the last distance entered into this scope.


And here at the same distance, the 384×288 ThOR4 revisited at 100 yards after I updated the firmware. I also changed the reticle. Both were taken at similar times of the day around evening and dusk.


Final Thoughts On The ThOR4 Revisited
I like the ThOR4 for the fact that it can instantly take a snapshot of what you are seeing by simply pushing the left button at the top of the housing. If I push the right button it records video with audio. Once I got the LaserBallistics range finder it made shooting at unknown distances much easier for ballistic drop and it should be included with every ThOR4.
One cool thing about the ThOR4 is that you can use it while wearing night vision. You just look through the eyepiece while looking through your night vision.
The Obsidian 4 app which supposedly allows you to control the ThOR4 remotely via your smartphone did not work for me. I was unable to get it to work with my iPhone and it is a known problem that ATN is working on. I tried to change the ballistic profile in the scope via the app and every time I hit enter to submit the new profile data it would freeze up the ThOR4 which necessitated a hard reset the scope. This was mildly inconvenient. I was able to enter the ballistic profile manually via the menu carousel. The ThOR4 has a lot of features but I hardly used any of them. The 50mm germanium objective lens is rather large and helps with the resolution of the image compared to other thermal scopes with smaller lenses. As a standalone digital scope with thermal detection the ThOR4 is a great option for shooting at night or day, just don’t rely too heavily on the bonus features.
One last issue is the price. The 640×480 ThOR4 retails for $4,299. The 384×288 sells for $3,199. While it is just a $1,200 price difference, the 680×844 ThOR is the better scope due to the wider magnification range and better resolution. However, I am a little disappointed at its ability to shoot long range compared to a night vision clip-on like the PVS-30 at the same price range. Of course, the two are not the same thing. The PVS-30 is designed for long-range shooting at night and the ThOR4 is for thermal detection. I would just like the best of both worlds for the same price. But sadly that technology is not here yet.
We are committed to finding, researching, and recommending the best products. We earn commissions from purchases you make using the retail links in our product reviews. Learn more about how this works.
 Your Privacy Choices
