 Your Privacy Choices
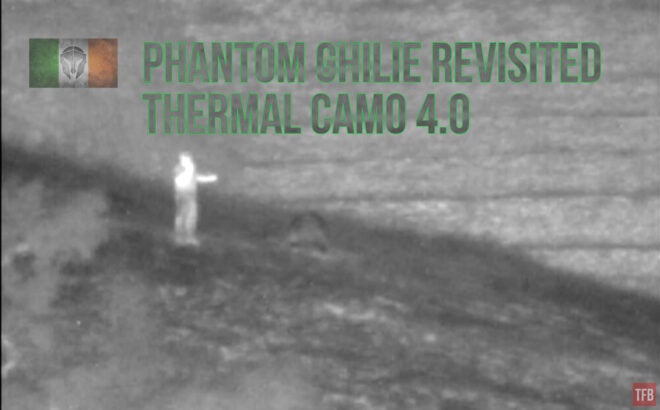
Welcome back. Are you thirsty for more Thermal Camo? Last week I started a 3-part review of the Phantom Defense Phantom Ghillie as part of my Thermal Camo series of Friday Night Lights. I resume my review in Phantom Ghillie Revisited and continue testing this legit thermal camouflage.
More Thermal Camo @ TFB:
- Friday Night Lights: Thermal Camo 2.0 – Testing Resumed
- Friday Night Lights: Does Thermal Camo Work?
- [Insert Phantom Ghillie Part 1 of 3 here]
Phantom Ghillie Revisted
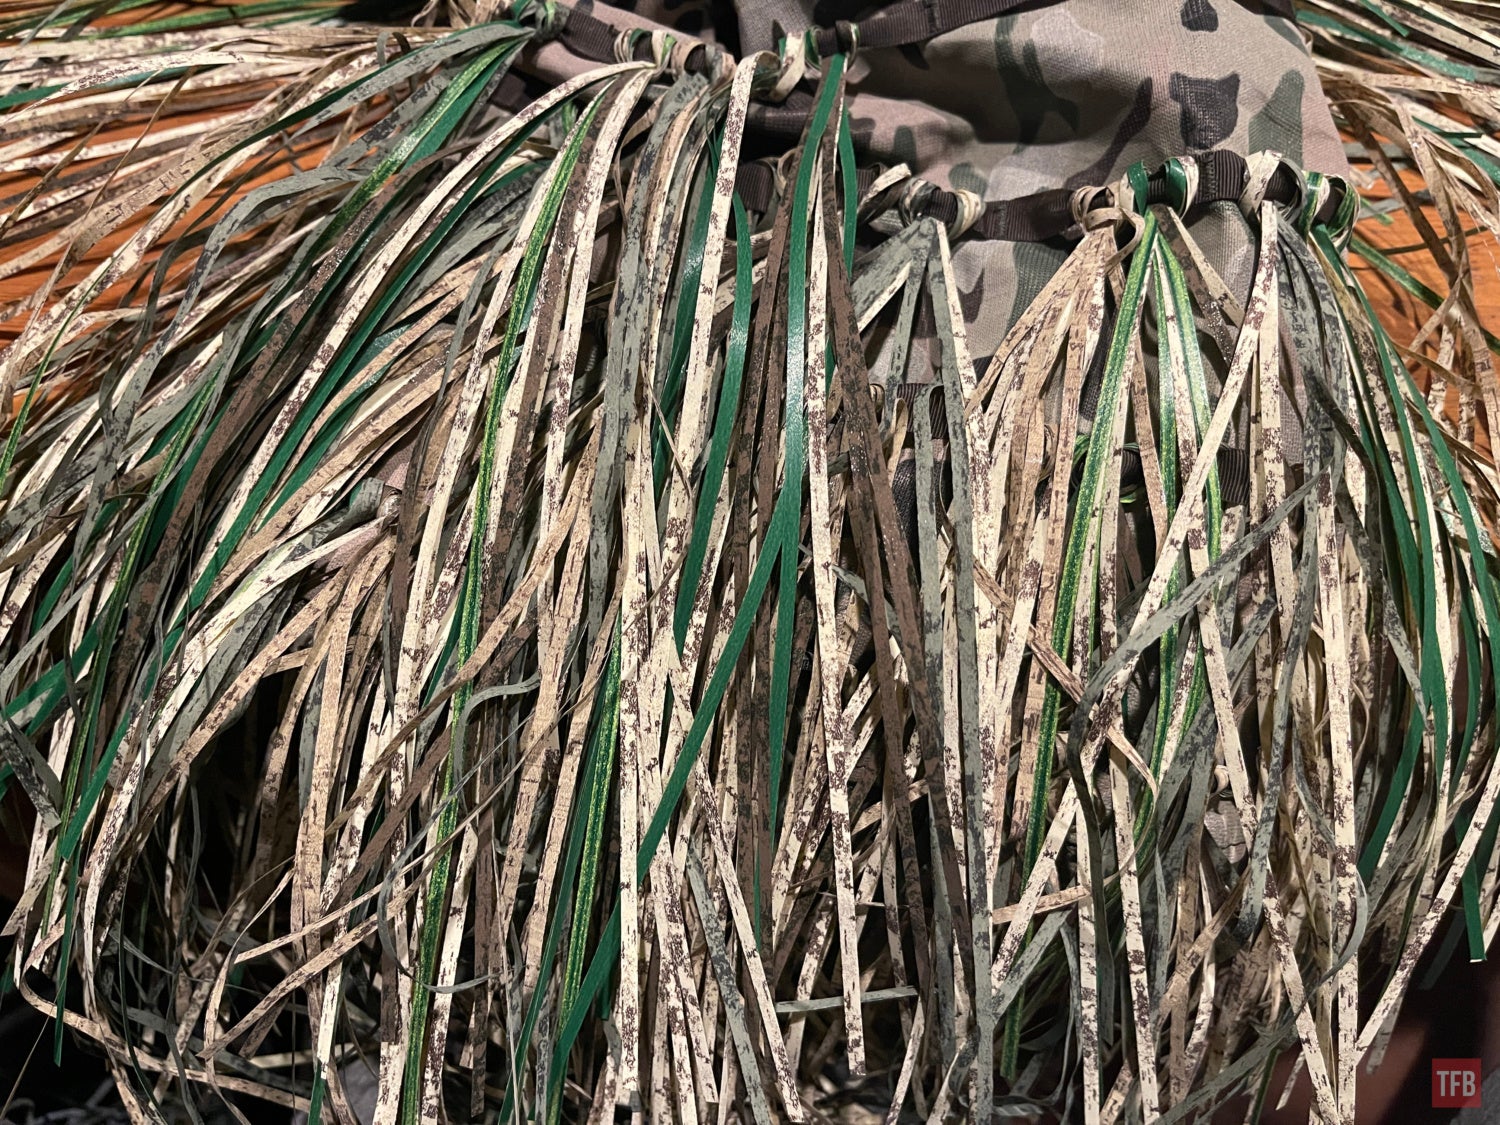
After our initial test of the Phantom Ghillie, I spoke with Phantom Defense. They think the Phantom Ghillie revisited would require a color palette change. I agree. It was too dark. It had urban grey mixed into it. So I took it home and removed every single fiber in just two hours by myself. I looked at the color chart from Phantom Defense’s PDF and chose their arid colors. I figured it could use some of the “light brown” as a contrast as well as some scattered strands of sage green.
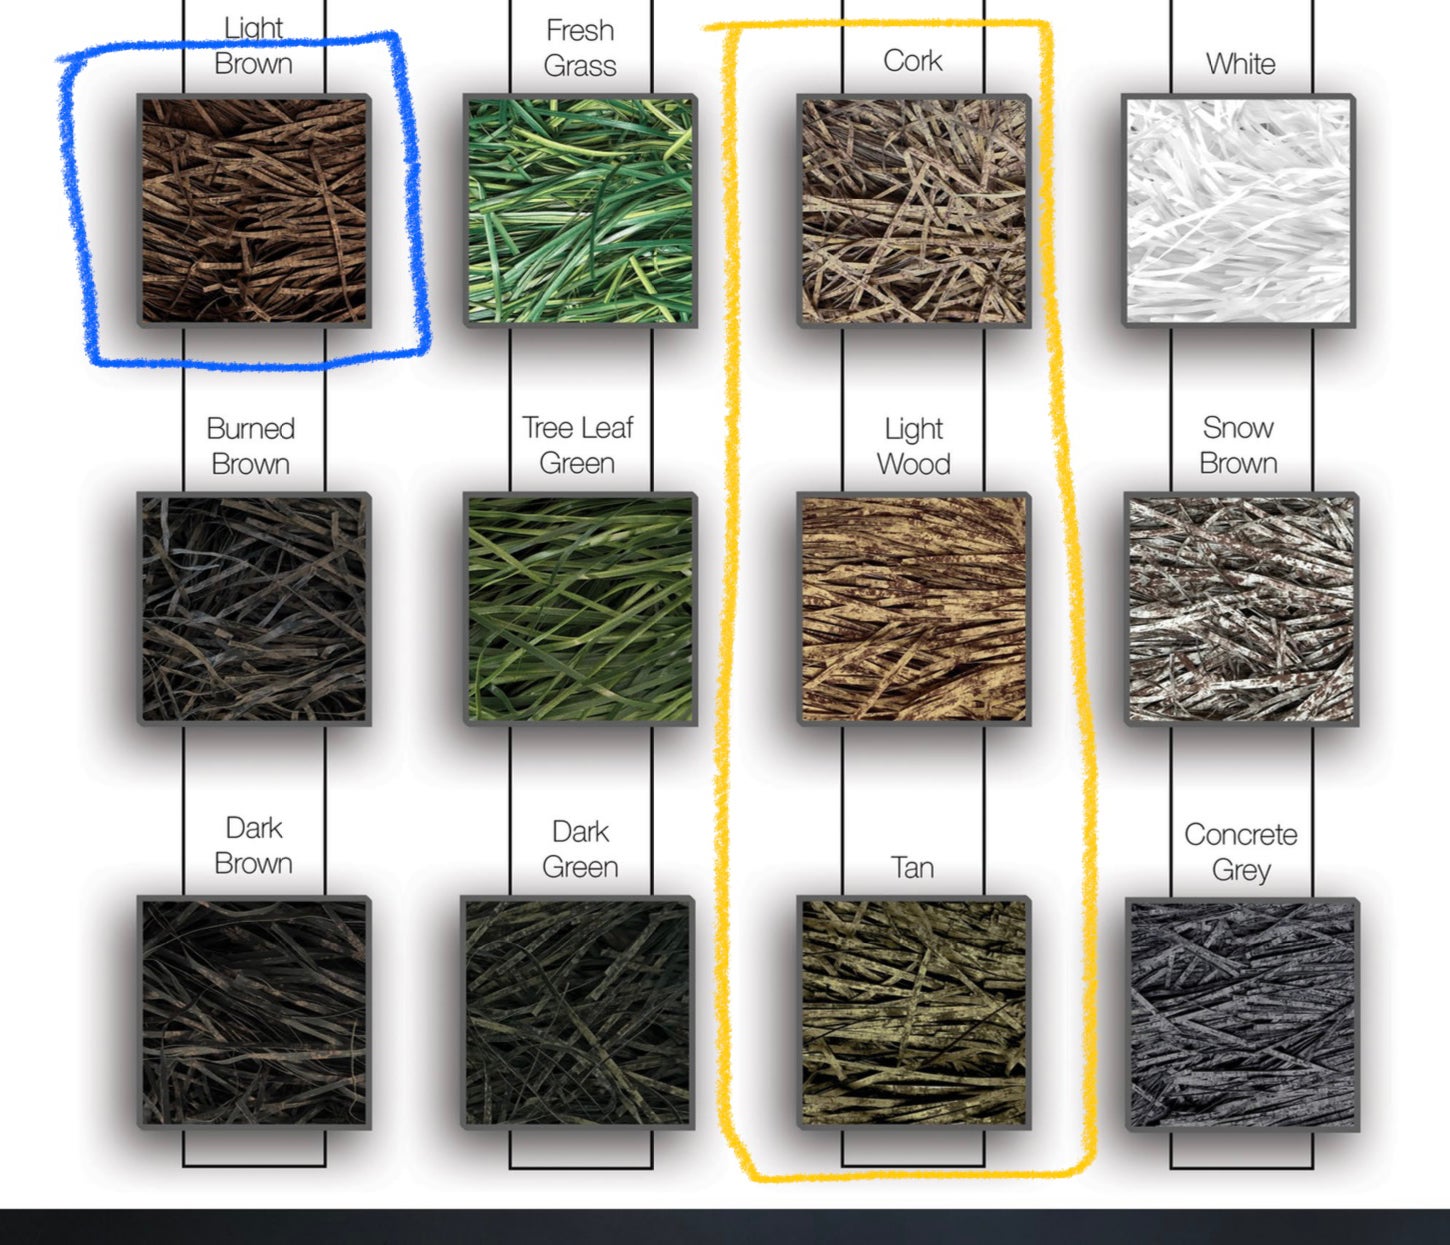
David used all the sage green and light wood. So with the help of my daughter, she helped pull all the light wood fibers from the massive pile of deconstructed fibers that David used.
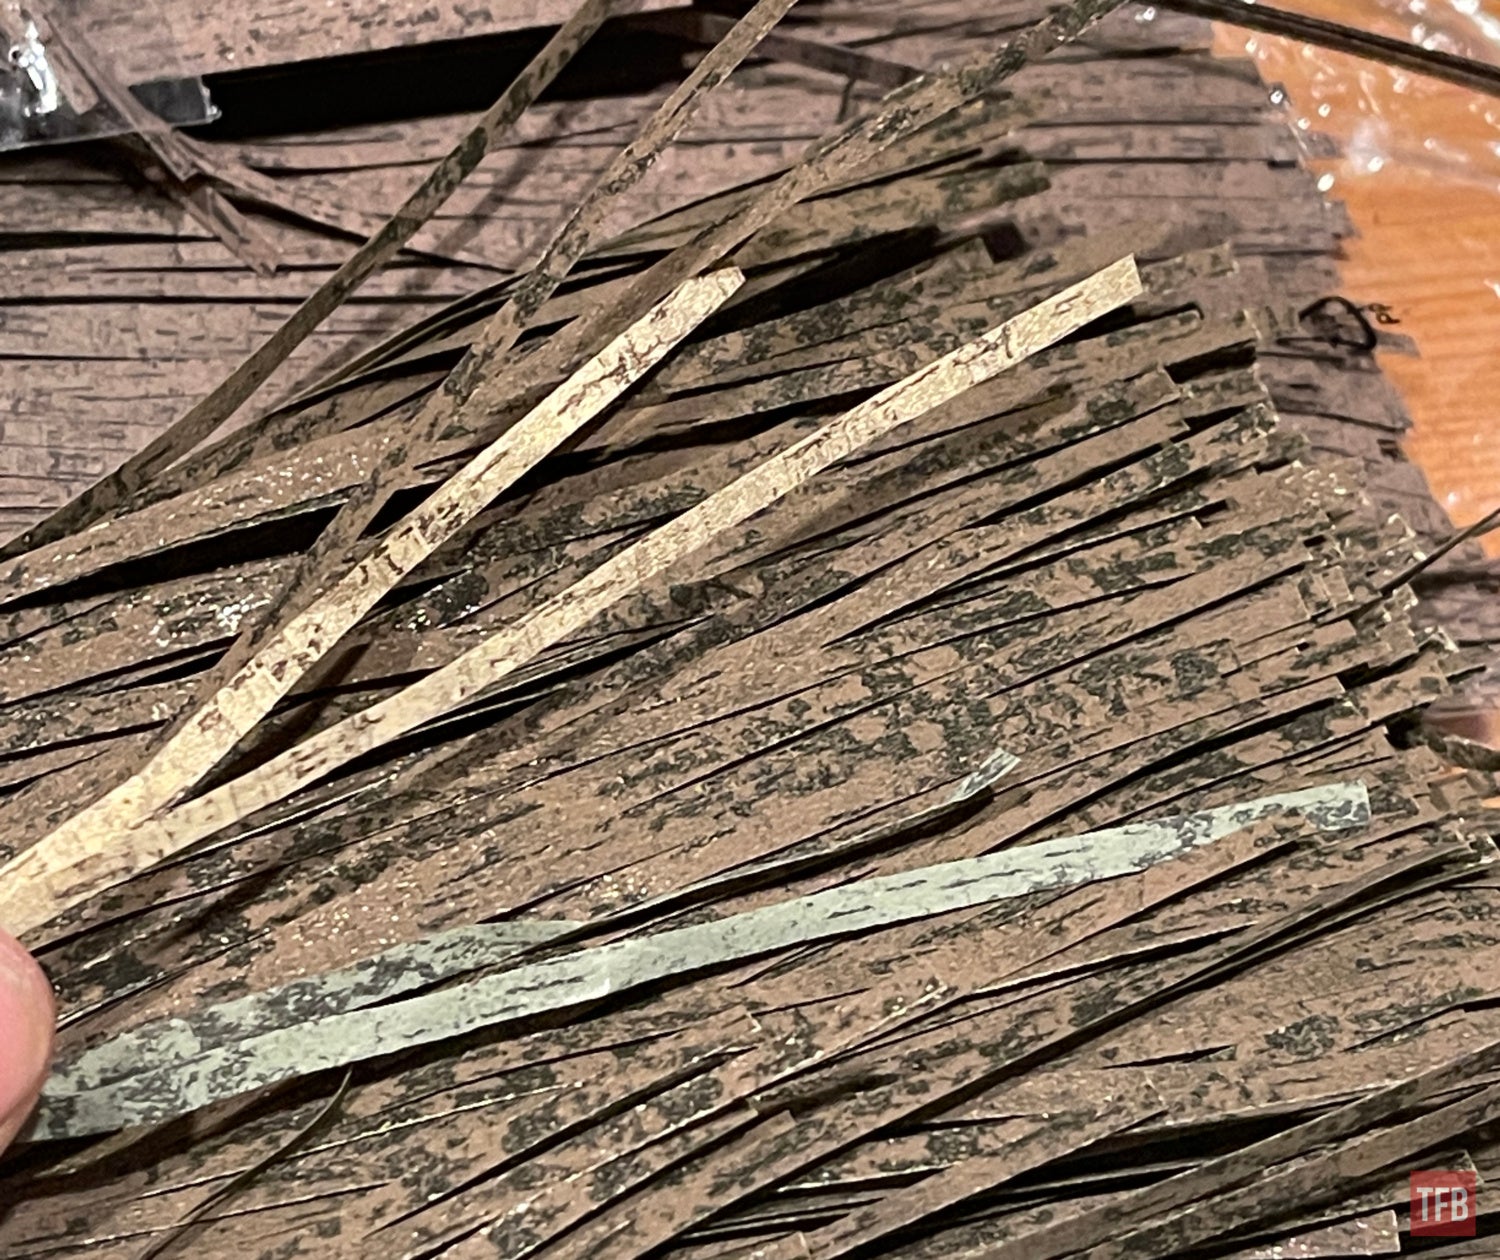
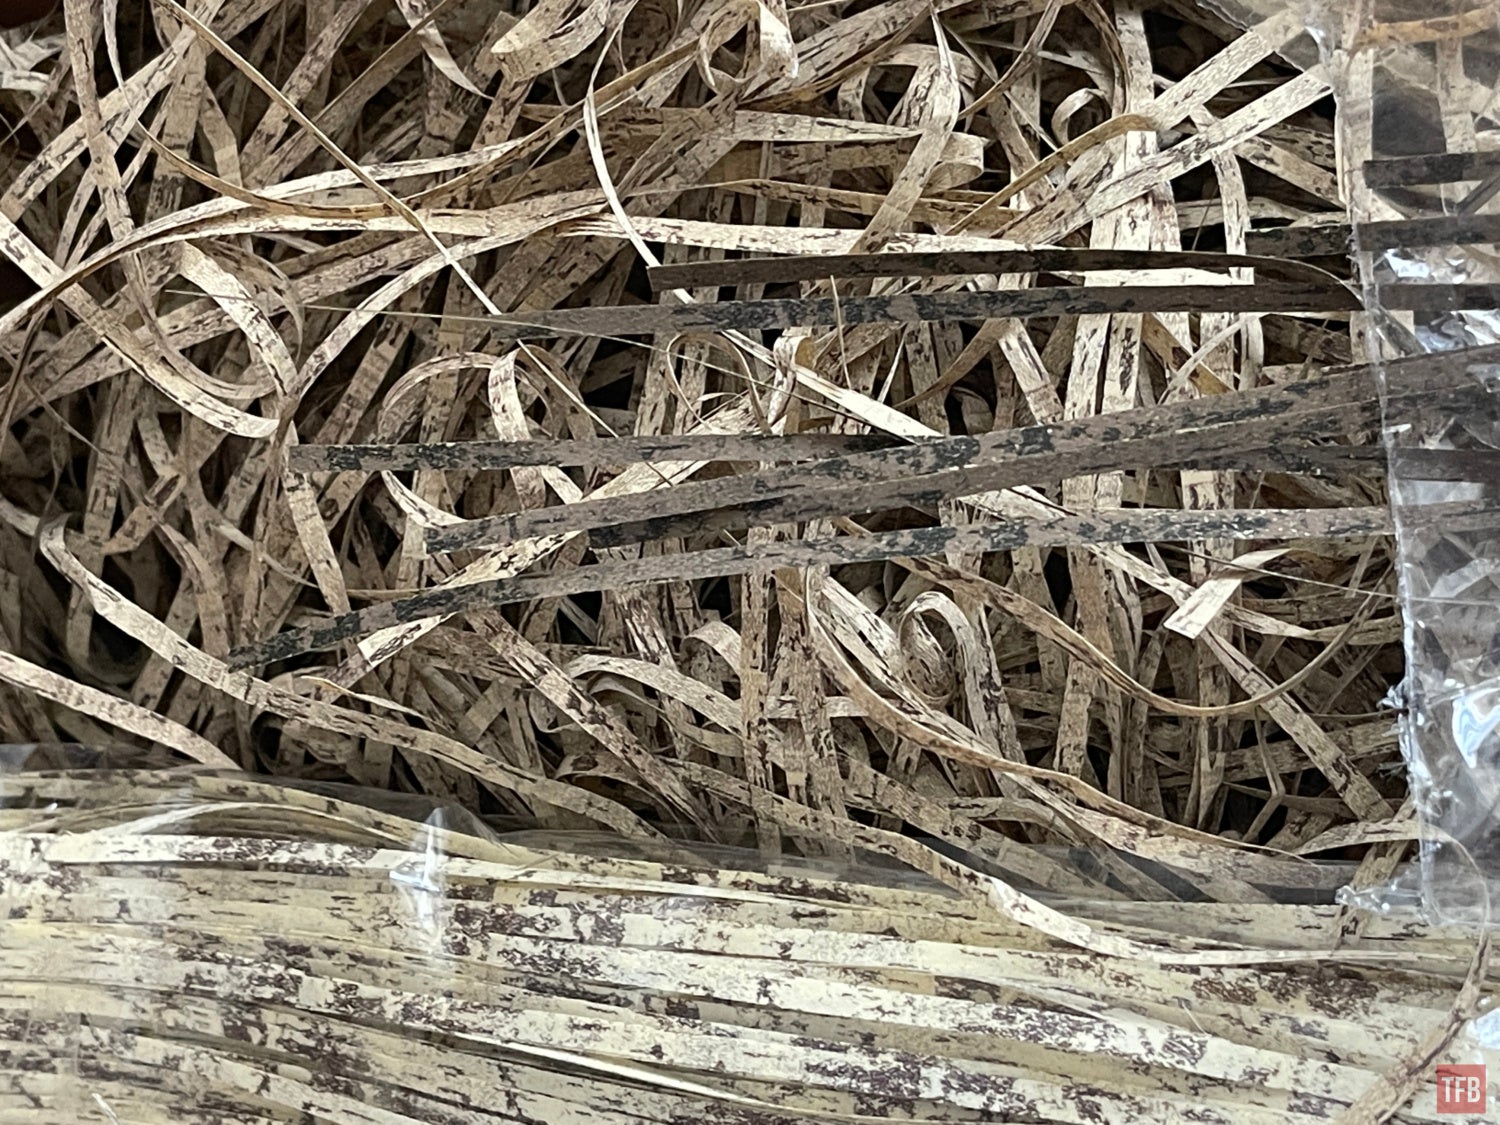
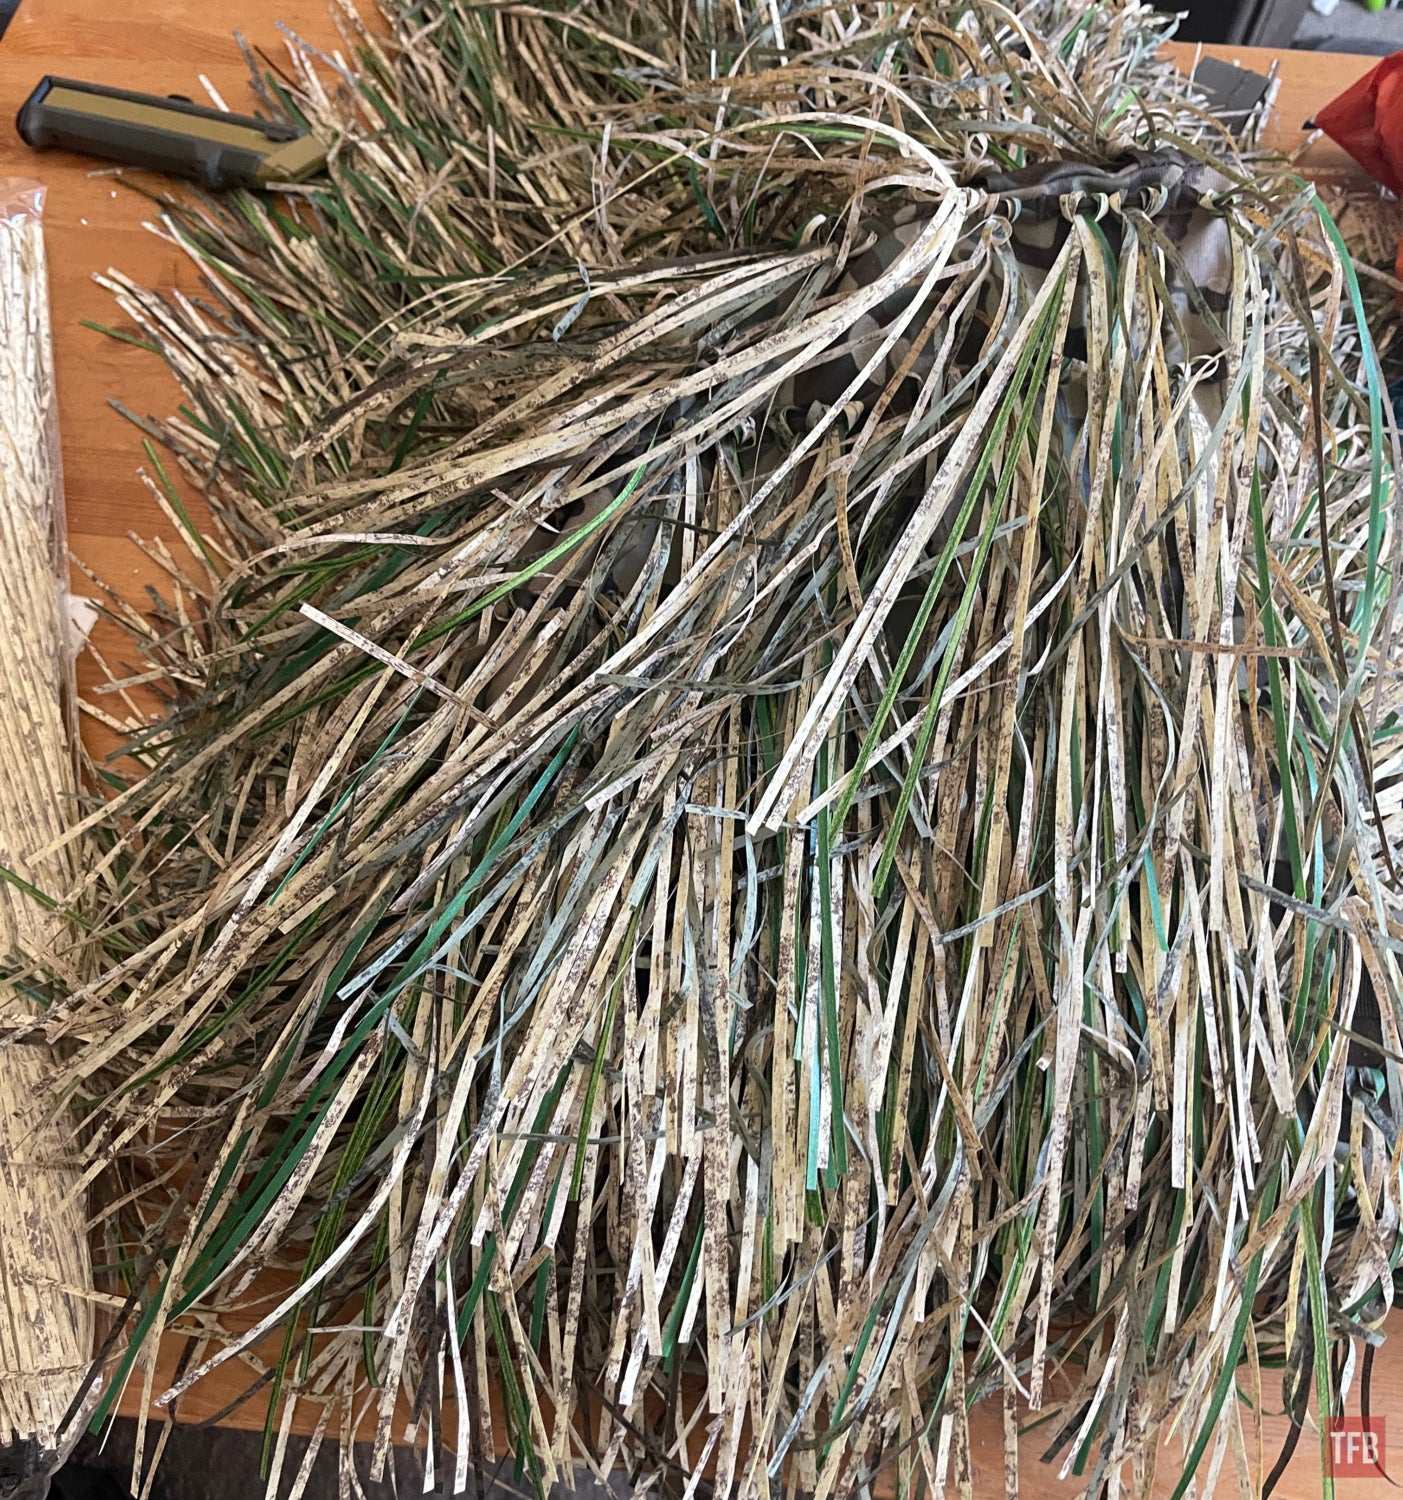
Below you can see cork (lighter color) with the light wood (darker shade).
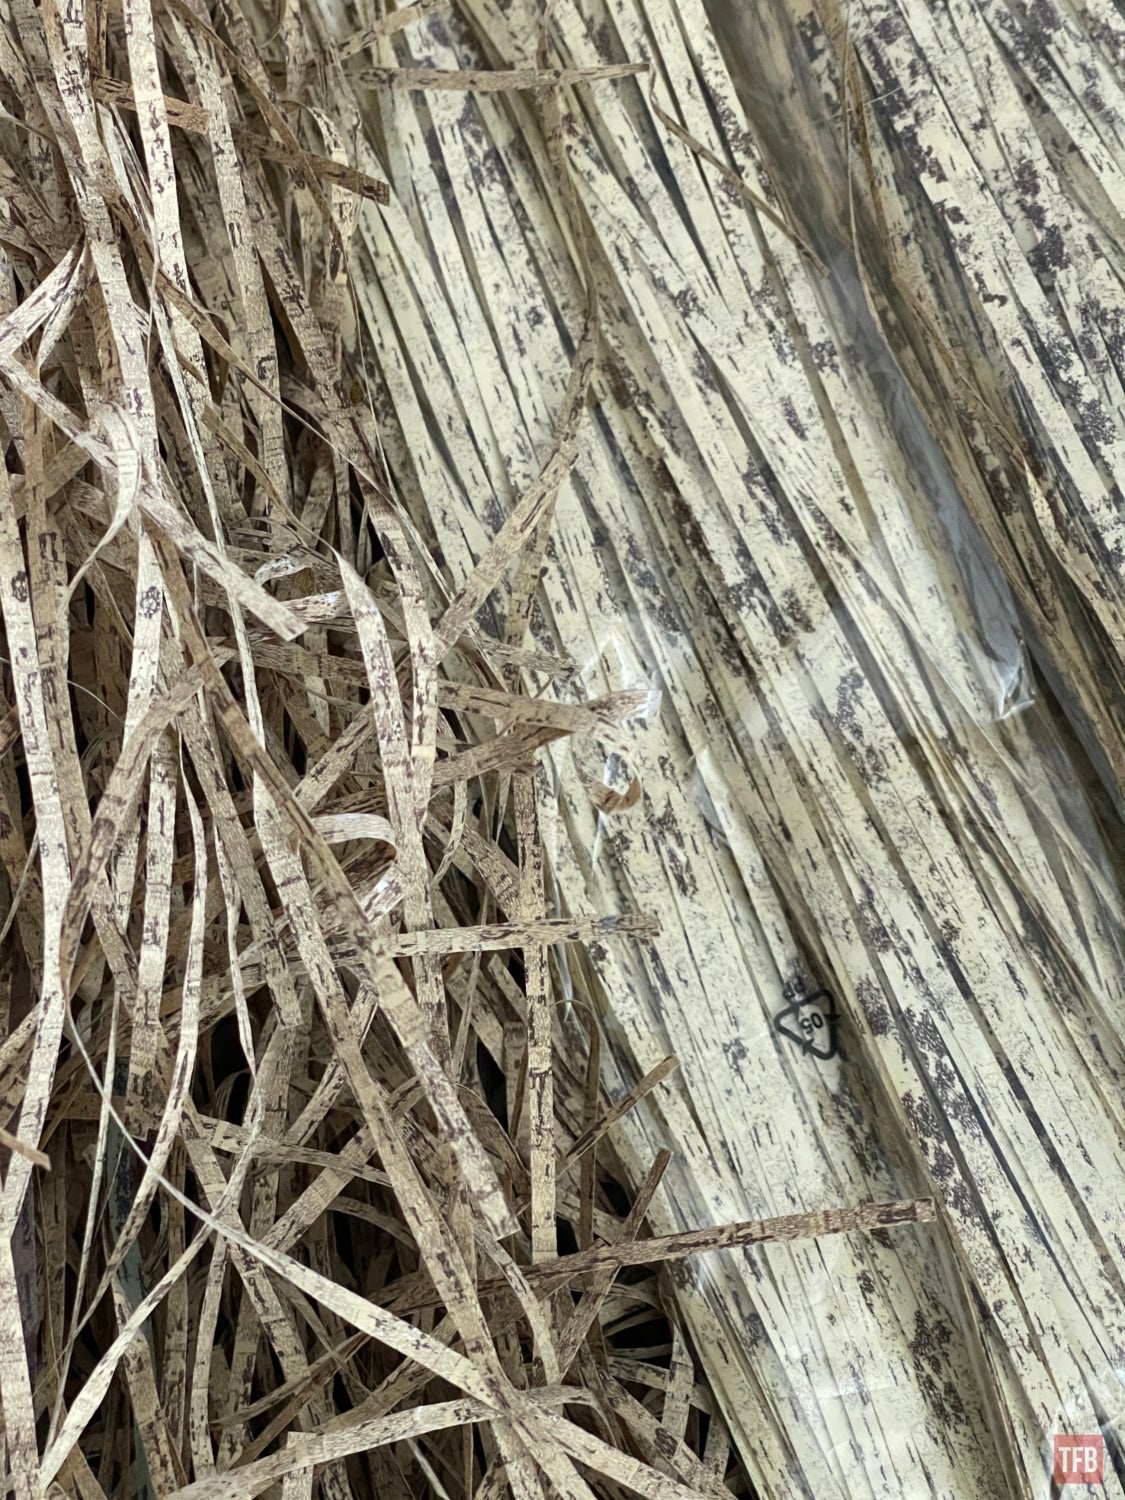
The curly pile below is light brown, The bagged new strands are cork and you can see the tan and light wood strands.
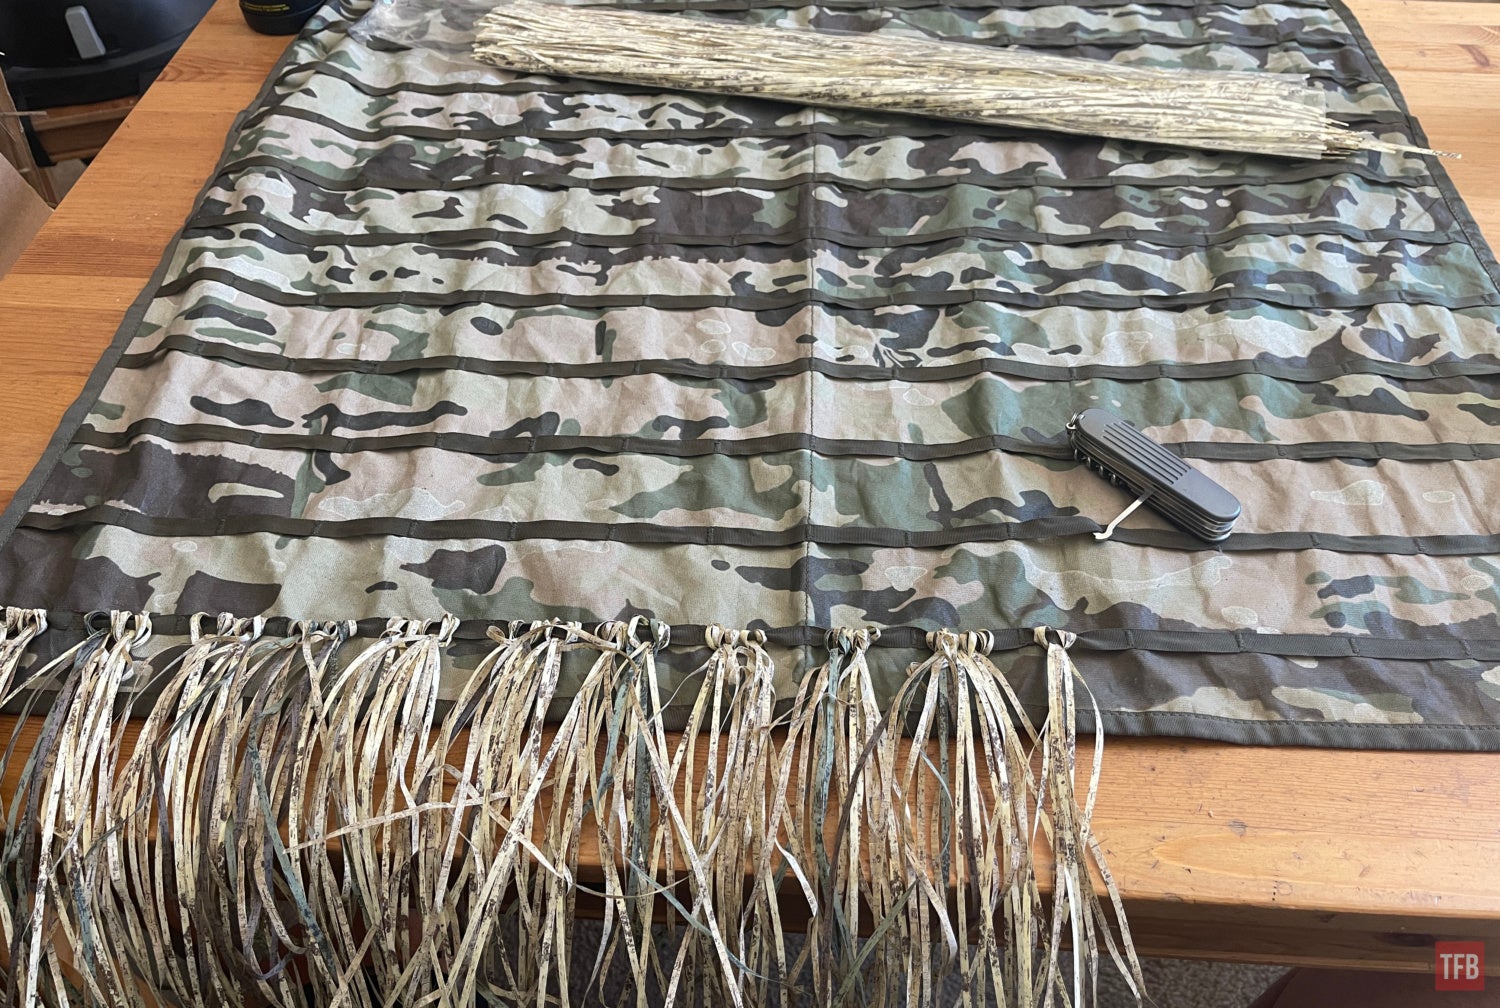
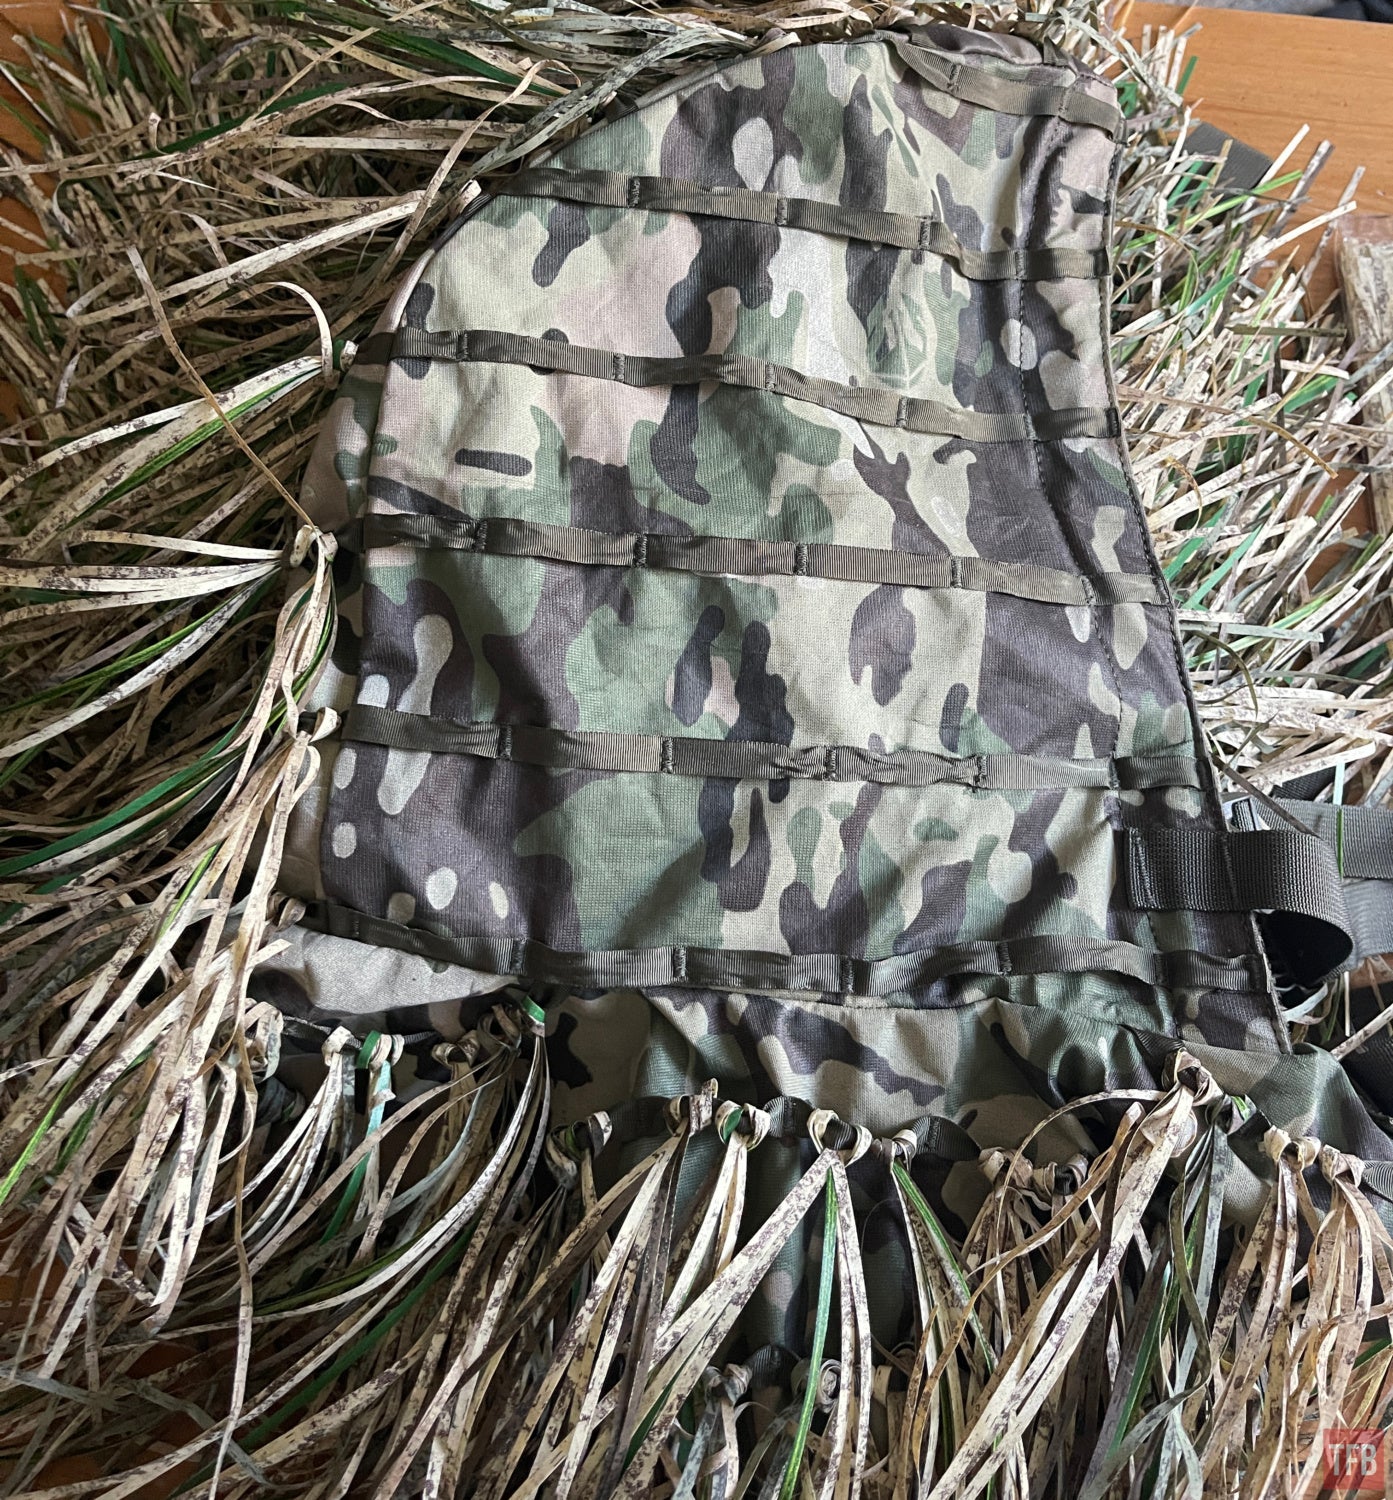
The ghillie is comprised of four components. The Bolero, which is the hood and upper part. The cape is the lower section which is below the waist and zippered onto the bottom of the Bolero. Then there are sleeves which are also fastened using a large zipper.
I started reconstructing the Phantom Ghillie revisited by attaching fibers to the looped daisy chain on the cape. I used the hook tool on my Victorinox Swiss Army Knife to help keep the folded bundle of strands together as I fished them under and through the loops on the cape. I eventually switched to a crochet hook I borrowed from my wife. It is easier to manipulate the crochet hook than the wine cork opener style hook you see below.
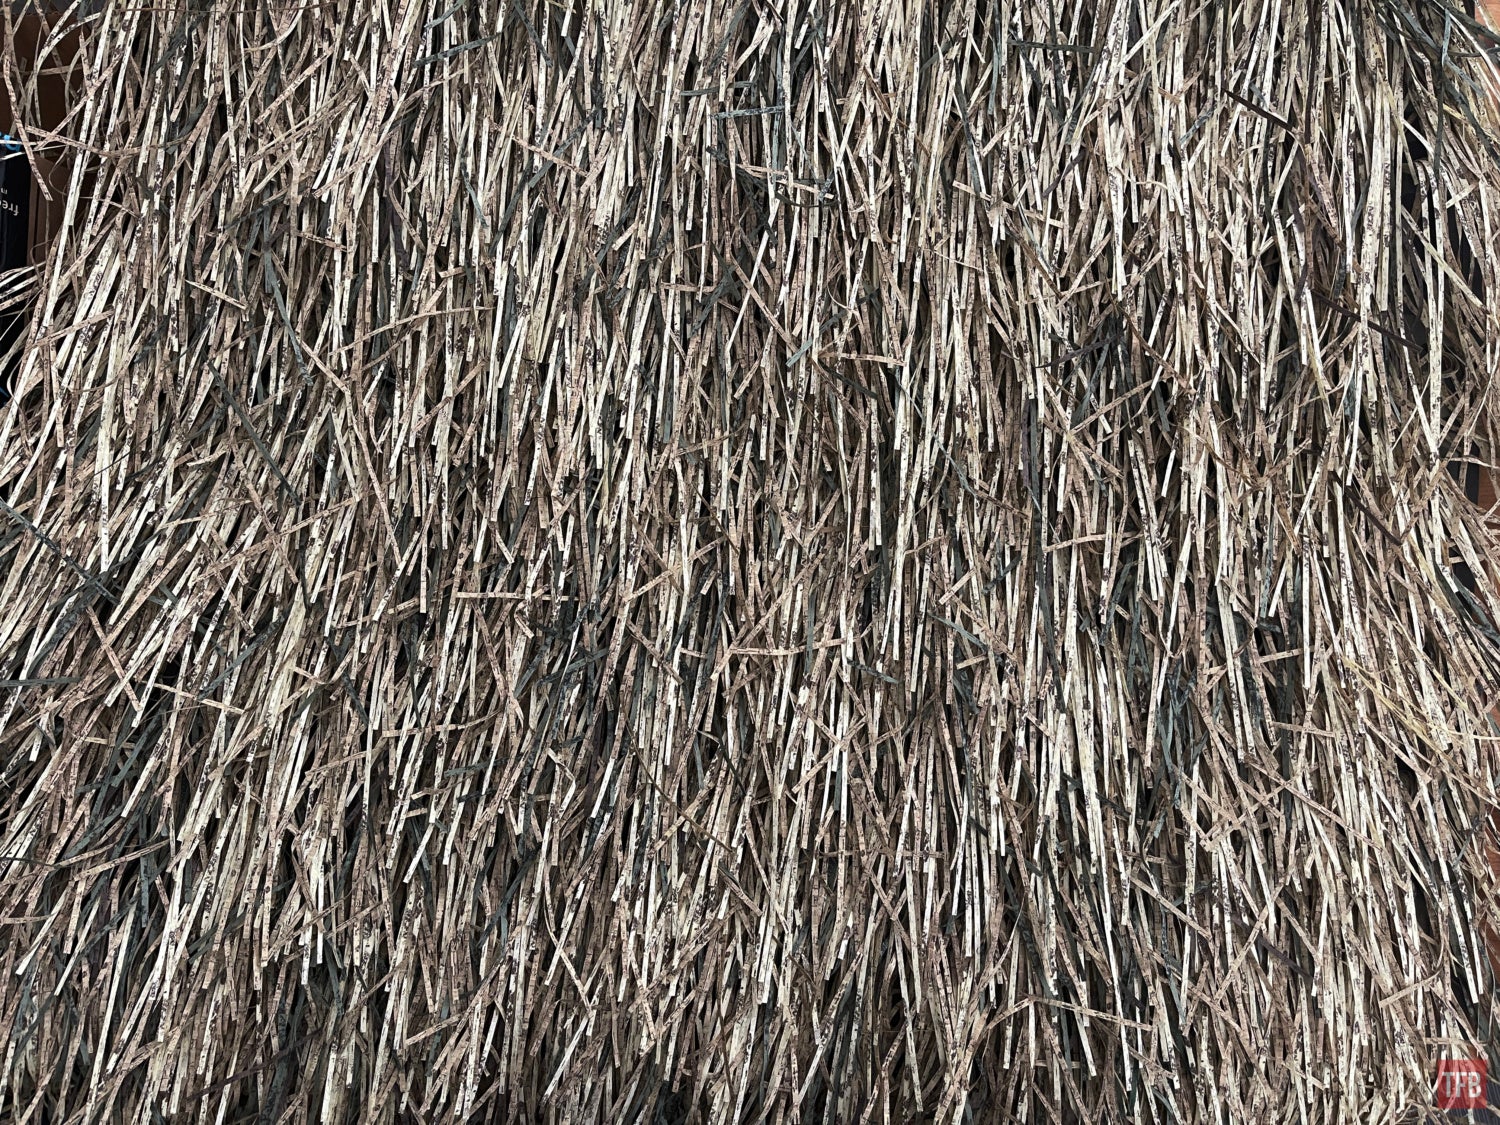
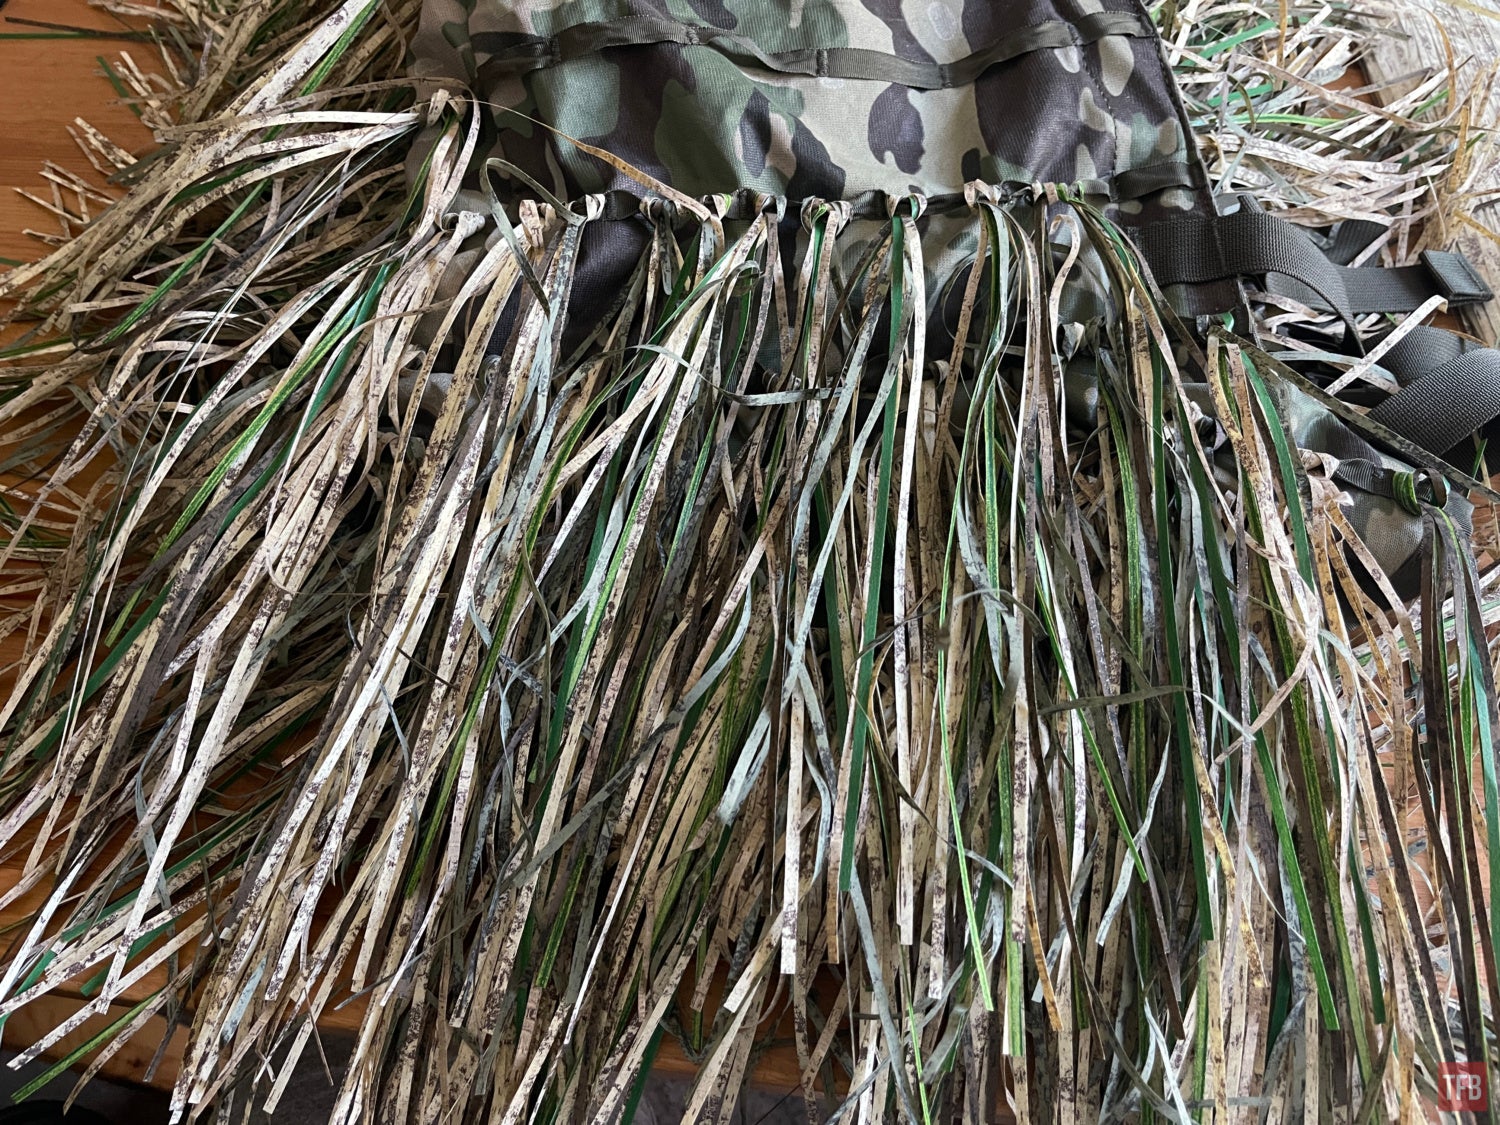
Here is the final result of the completed cape. This took me 5.75 hours by myself.
I took the cape outside to an unused lot near my house. The weeds and vegetation are very dry. I laid the cape on the dried grass.
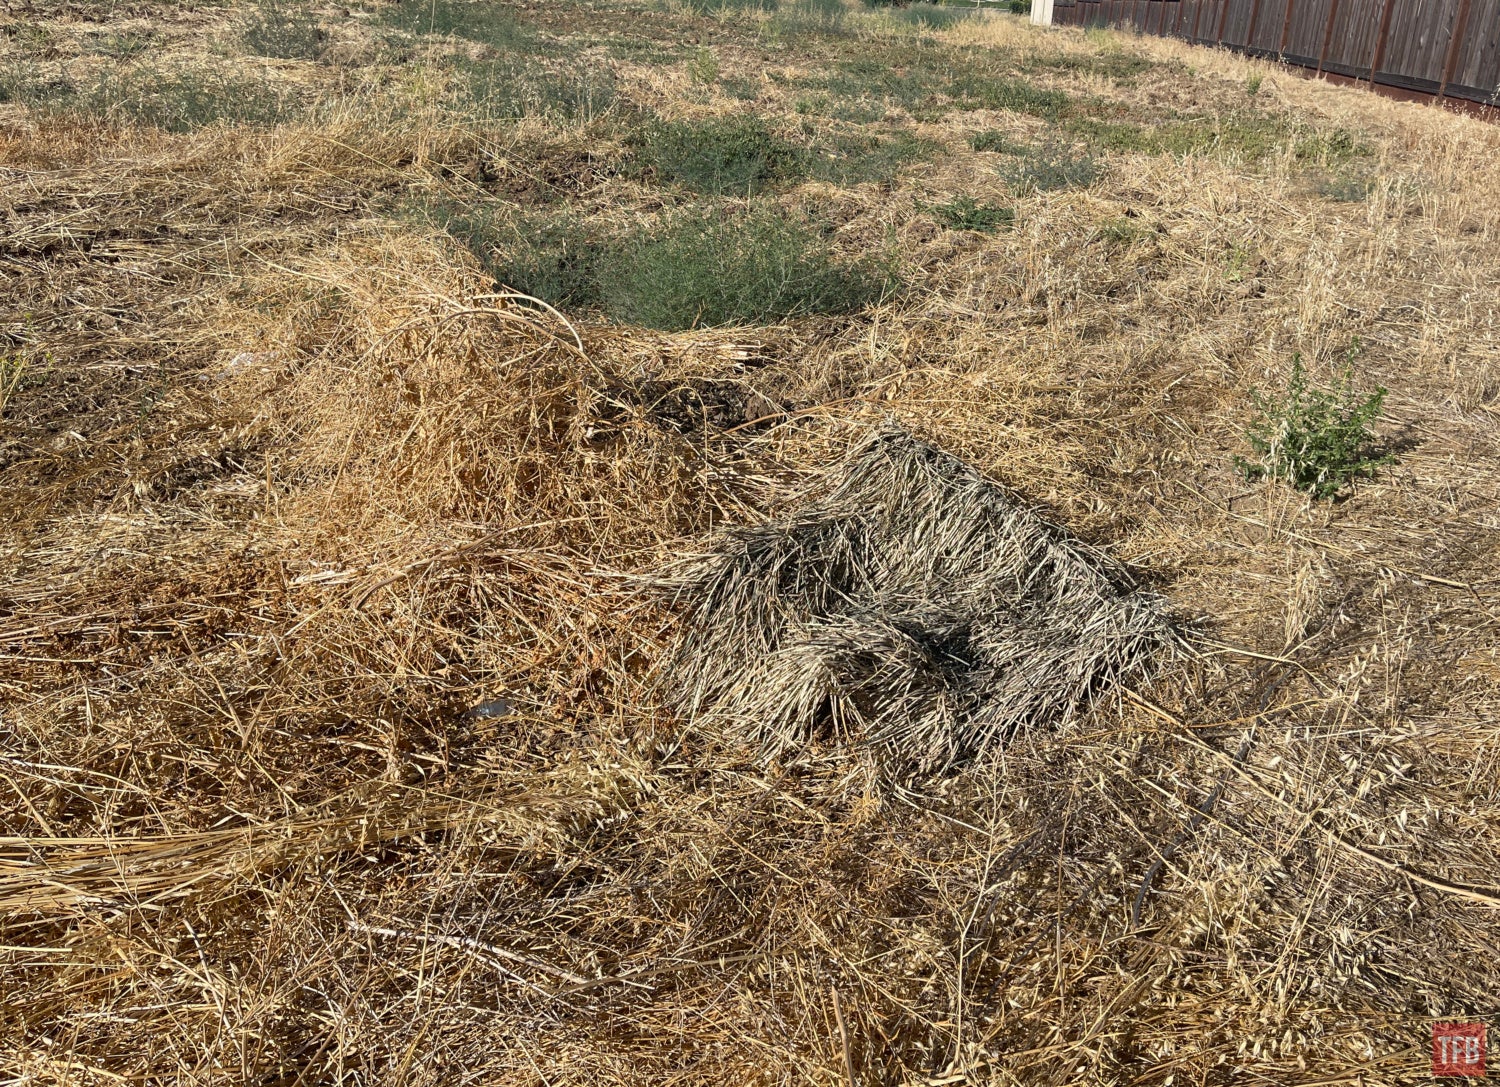
As you can see, the grass is yellow in color and nothing in the Phantom Defense color palette is yellow. So I decided to change my recipe for the Bolero. I introduced more sage, light wood, and some fresh grass phantom fibers.
The Bolero took a lot longer. Over 10 hours to complete it. What took the most time was fishing out the phantom fibers I wanted to use. I used a ratio of 3:2. Three parts cork or light wood. The other two would be sage, light brown or fresh grass. I would occasionally have light wood and cork bundles to help keep the dry grass look.
Phantom Ghillie Revisited Test
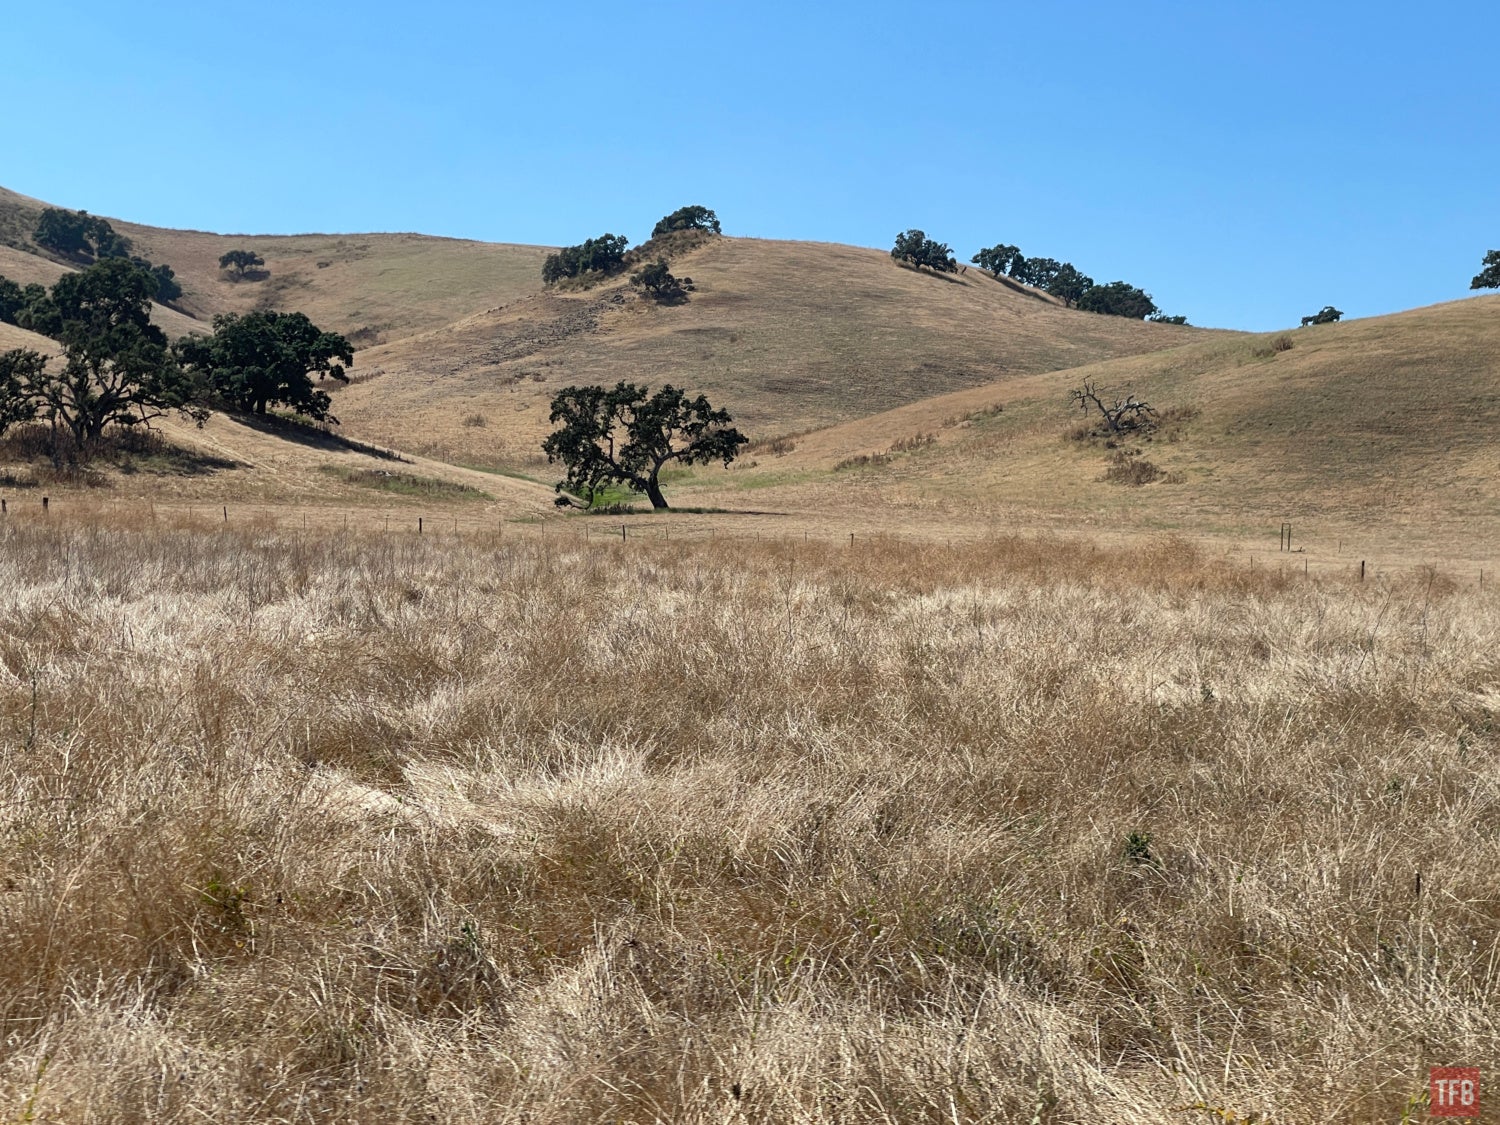
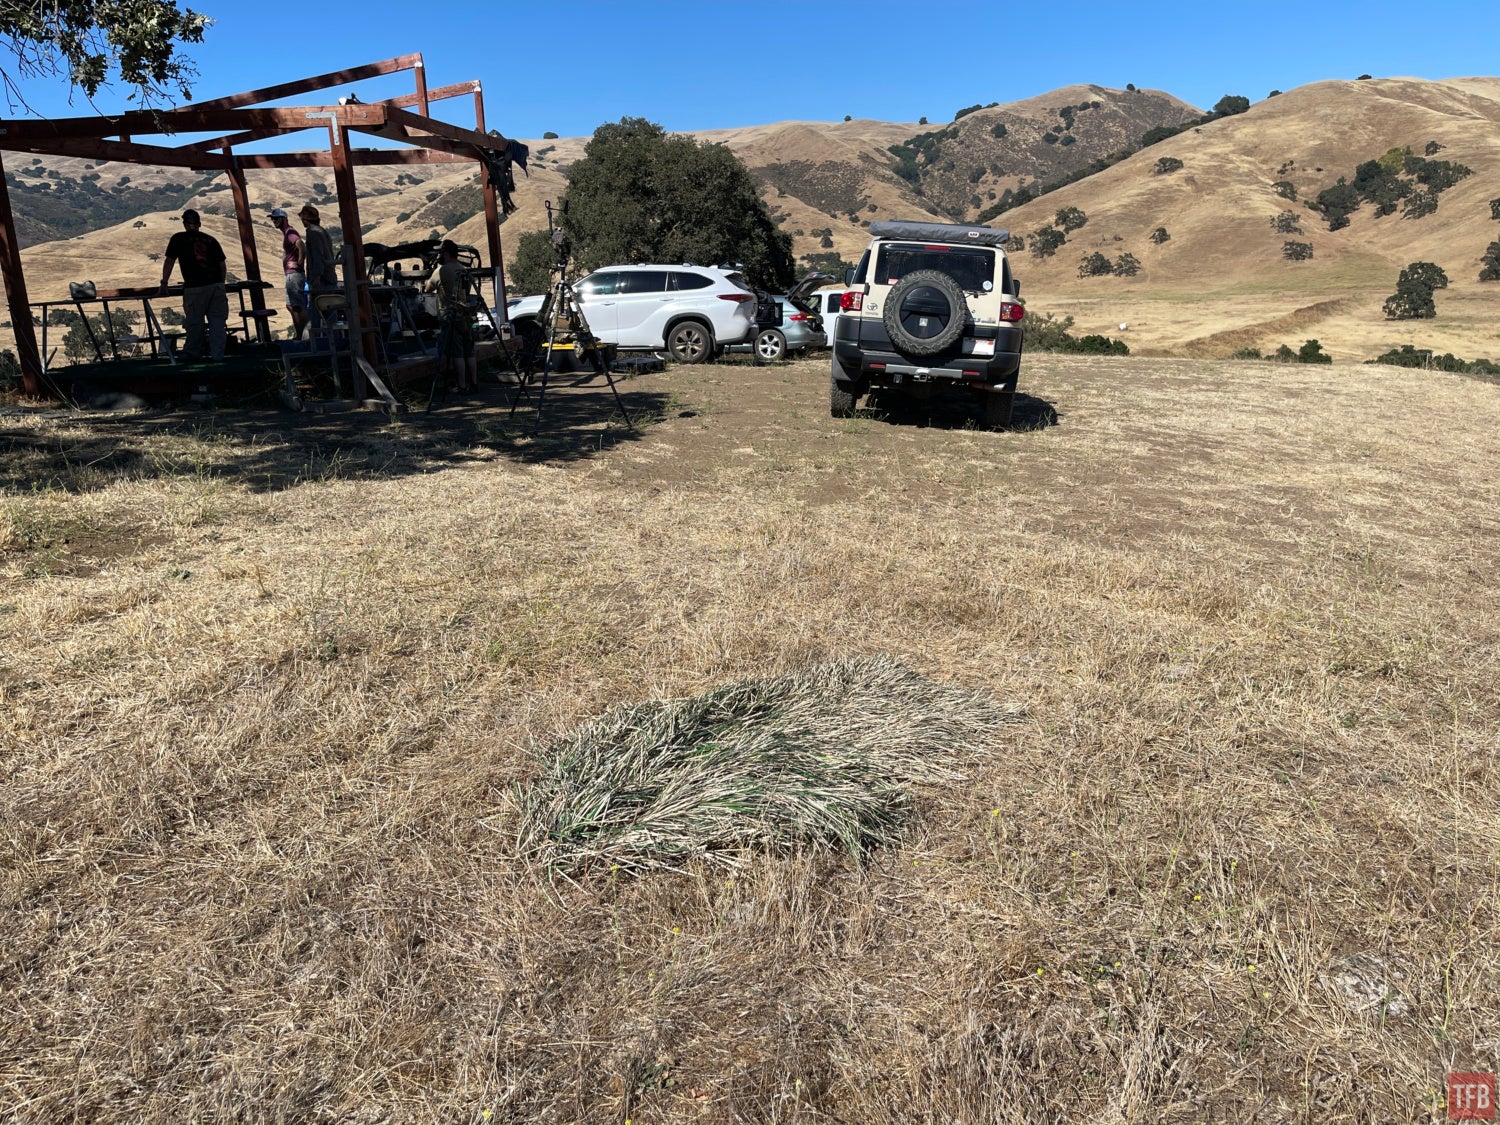
Below is the testing location we used for Thermal Camo 2.0. It gives you an idea of the natural vegetation we will want to blend in with. There are not that many bushes or trees. Just a large expanse of dried grass.
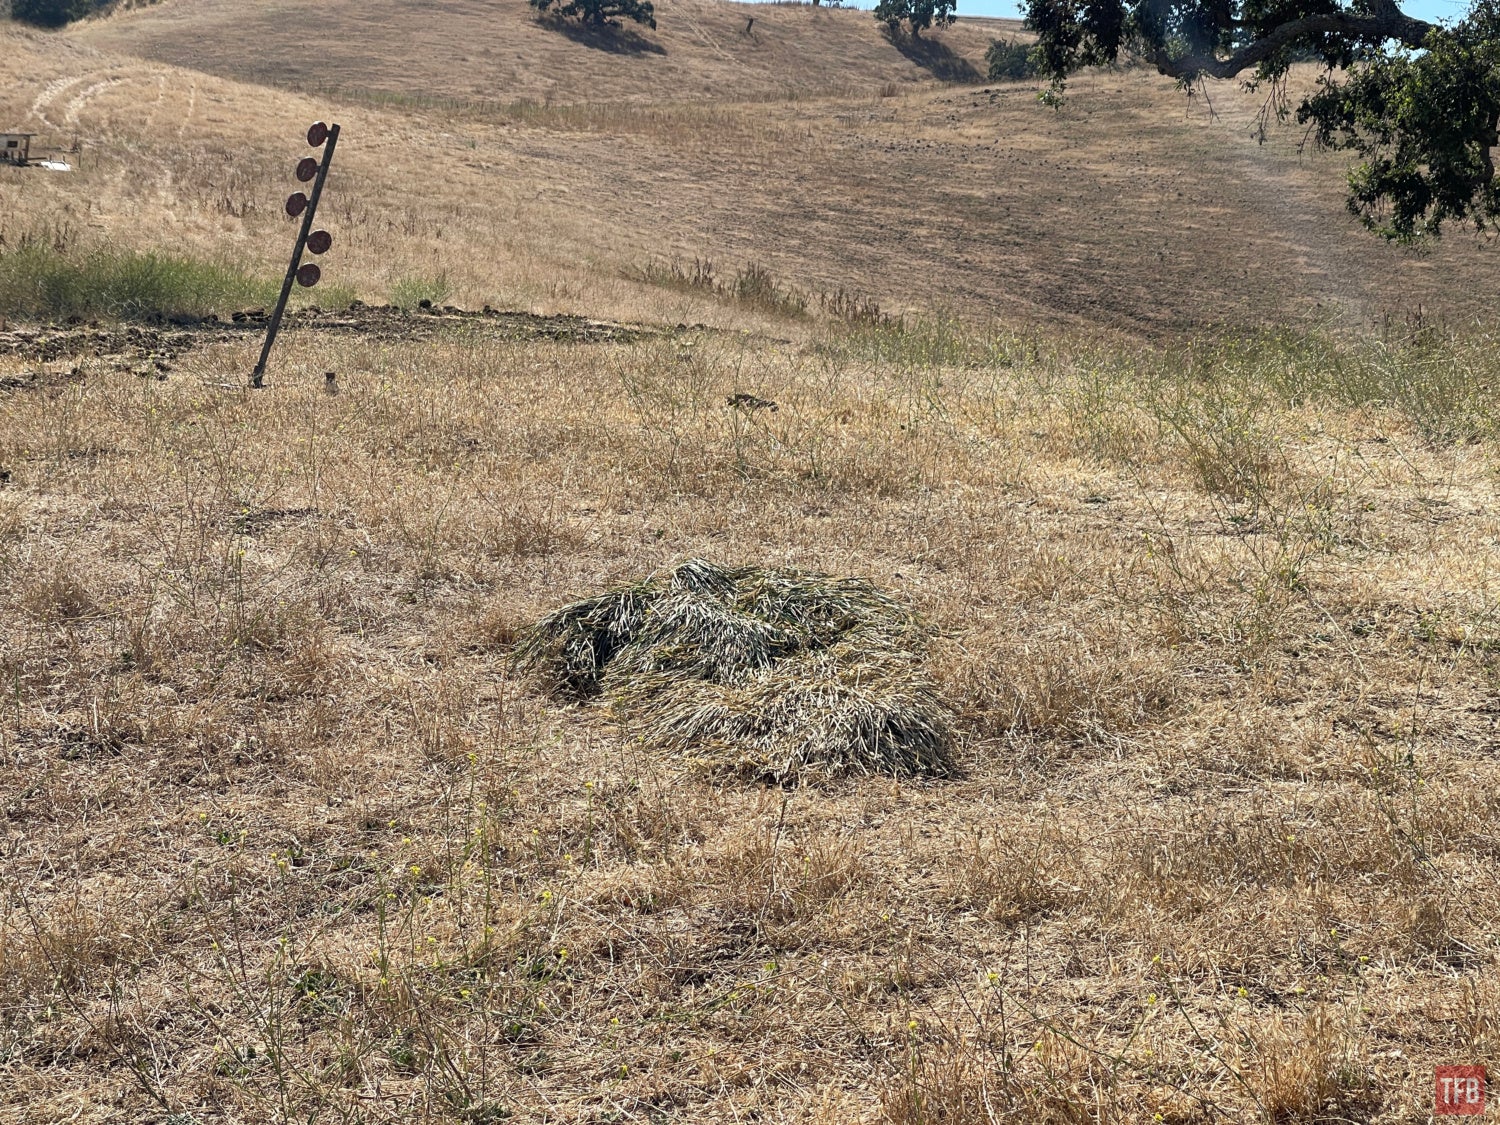
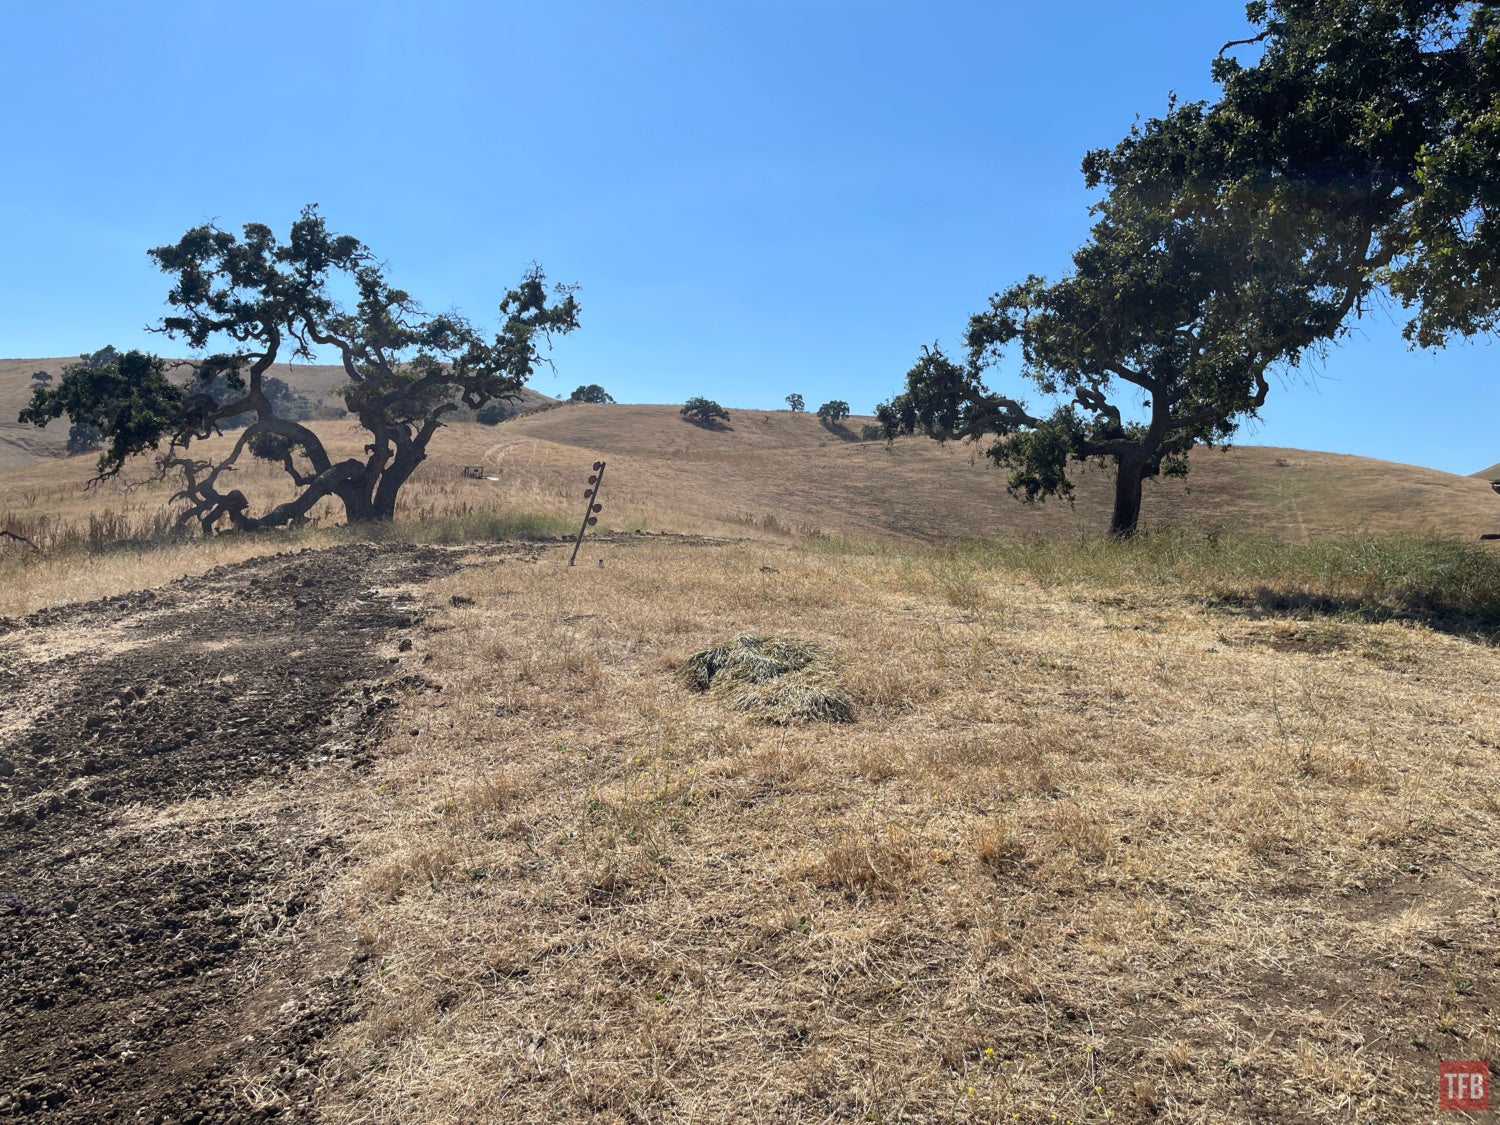
Below is the Phantom Ghillie revisited laid on the ground to see how well it blends with the grass.
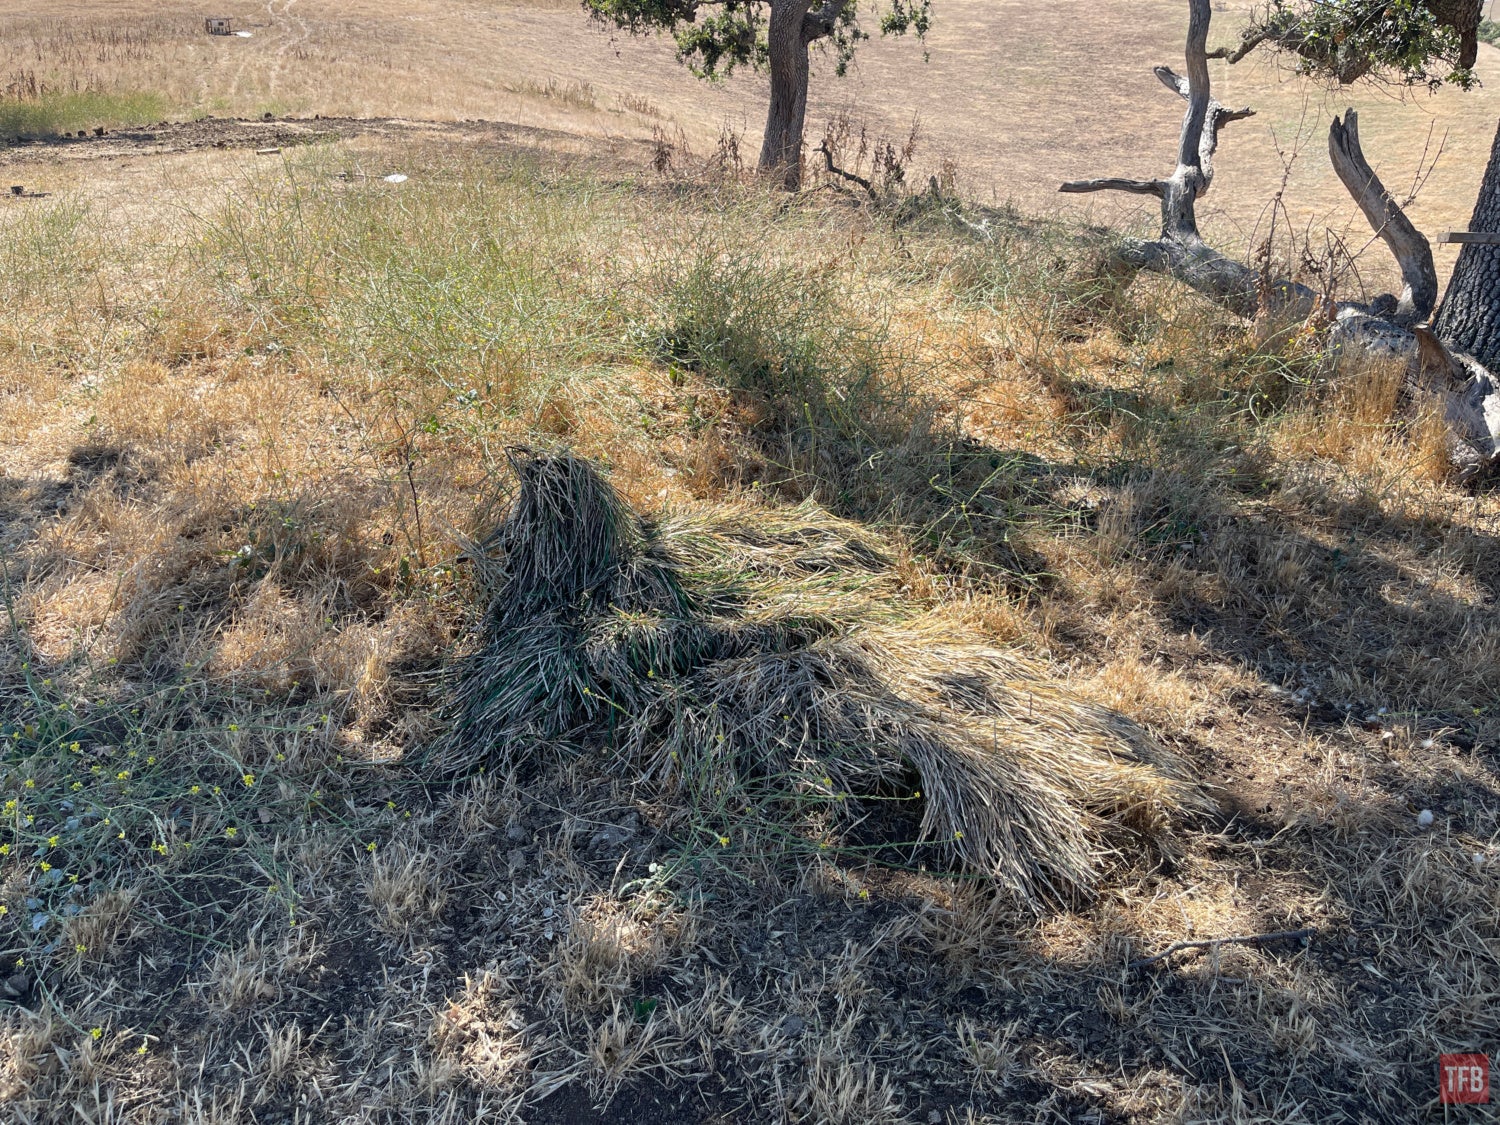
So far it looks much better than our initial test with Overwatch Strategies.
Time To Go Far And See Something
For the Phantom Ghillie revisited test, my friends Kythe and Issace volunteered to help out. Since the part 1 of 3 test was only done at 200 and 700 yards, I wanted to test the ghillie a lot further. I had them drive out to the 1300-yard target and test the Phantom Ghillie.
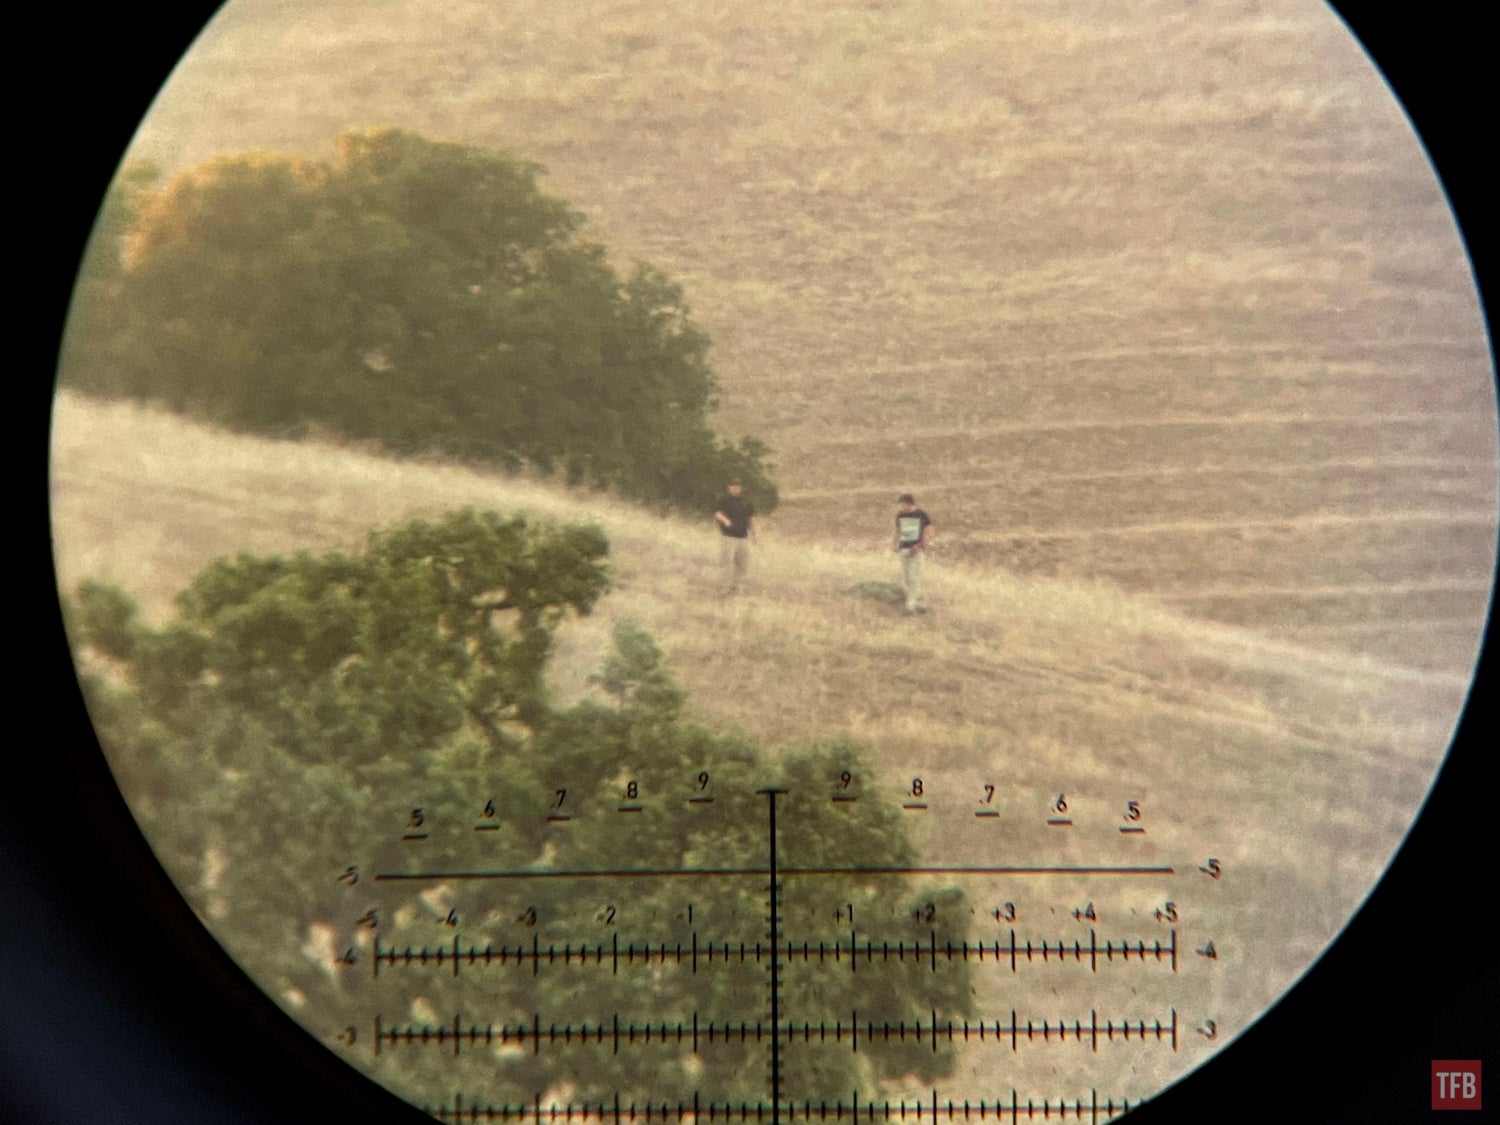
Kythe on the left, and Issac on the right.
Kythe brought along the mystery fabric with him to compare against the Phantom Ghillie revisited. Below you can see the mystery fabric on the left and the Phantom Ghillie on the right. To my surprise, the ghillie appears darker than the grass Issac is kneeling in.
Currently, their backs are turned toward me.
But How Does It Look Under Thermal?
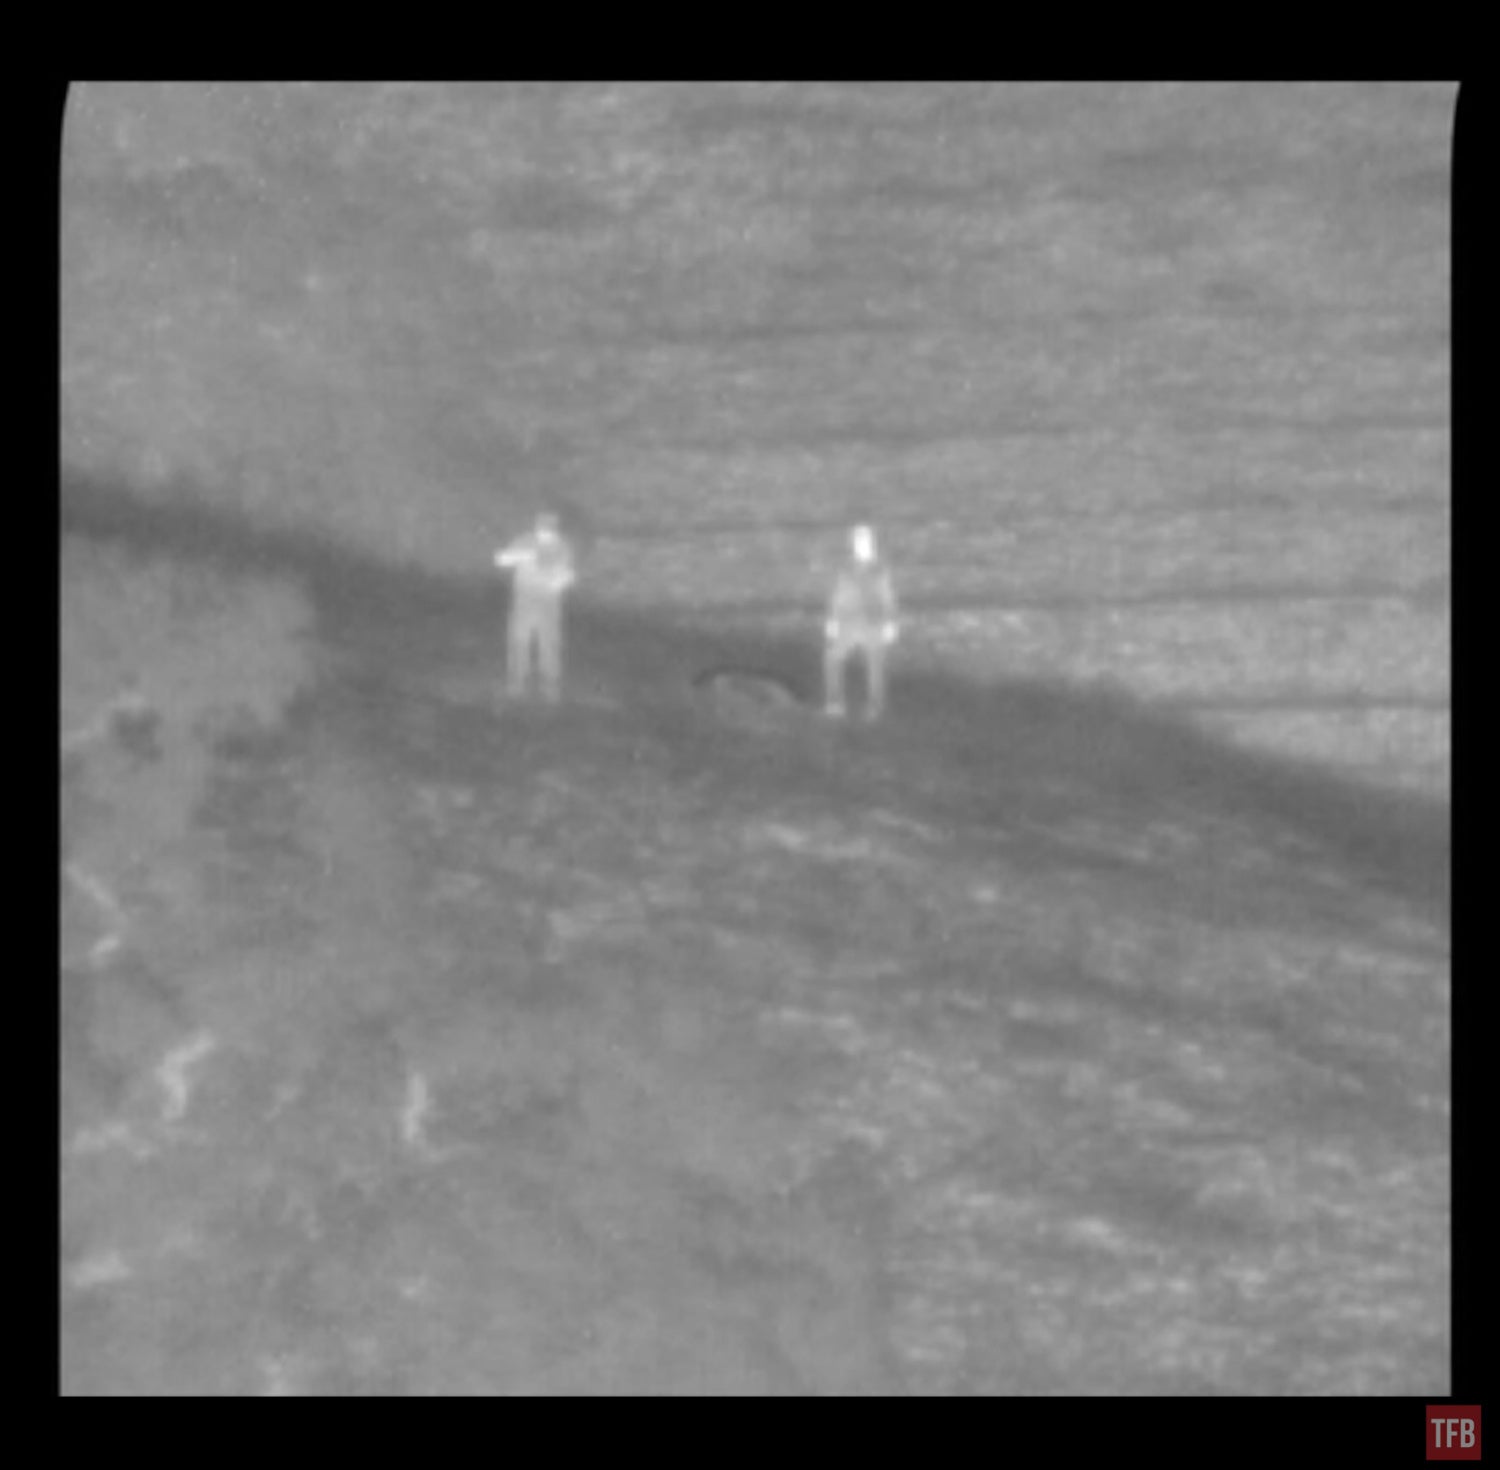
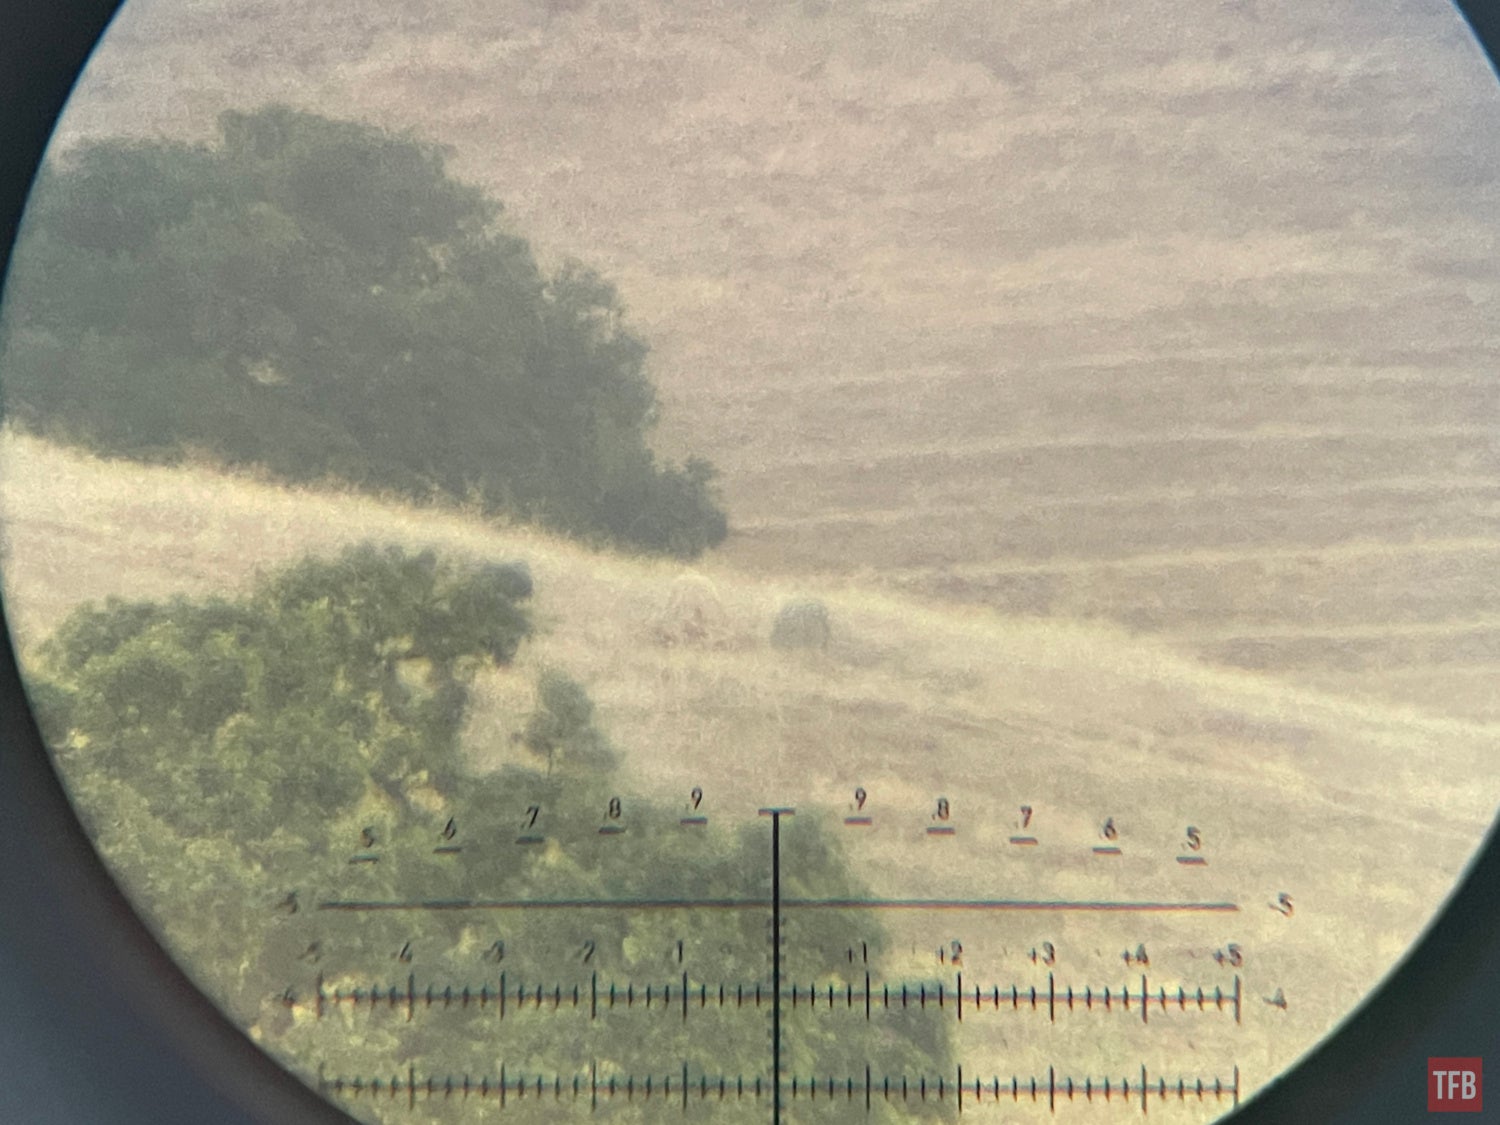
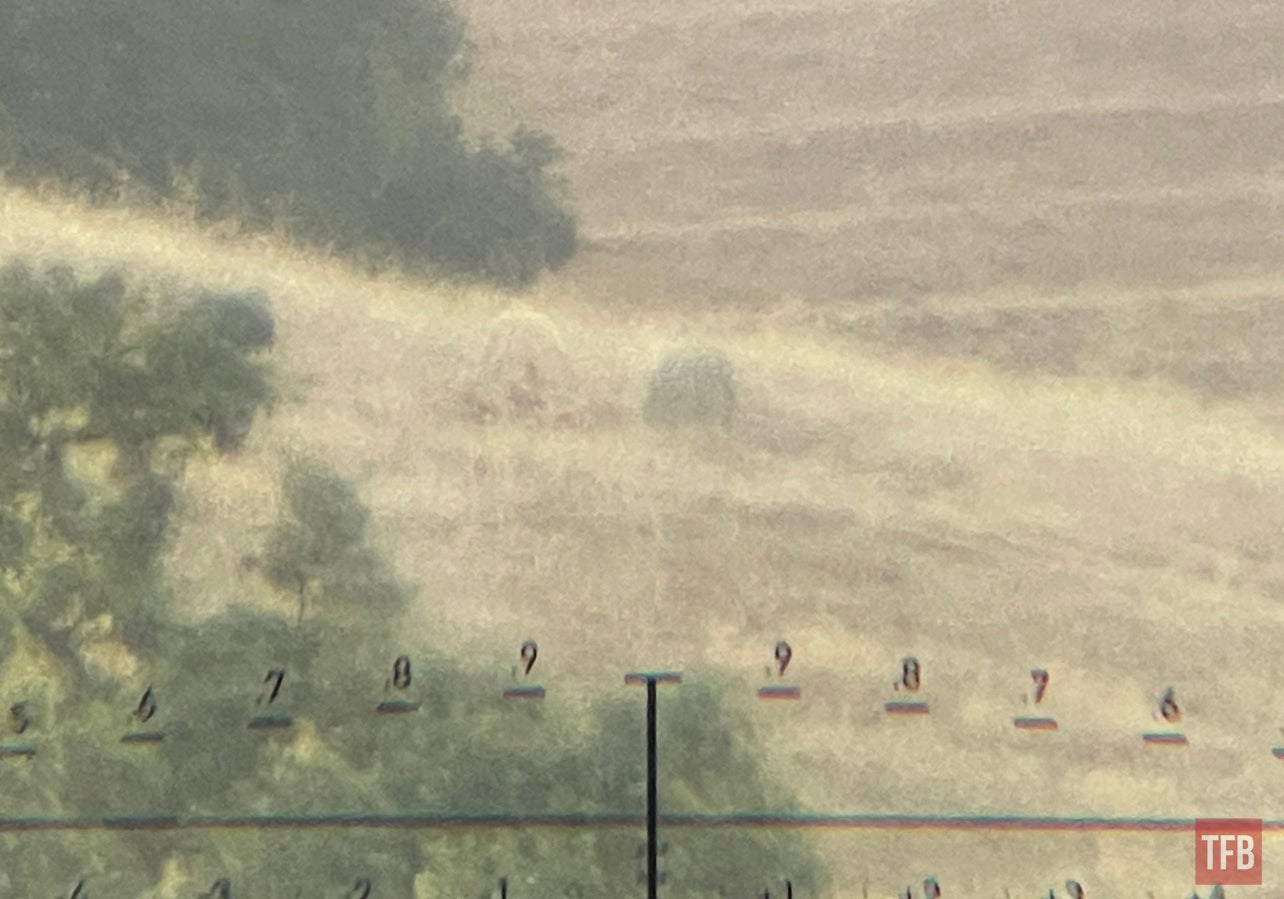
This is a baseline at 1300 yards away. The Phantom Ghillie revisited is laying on the floor next to Issac’s foot.
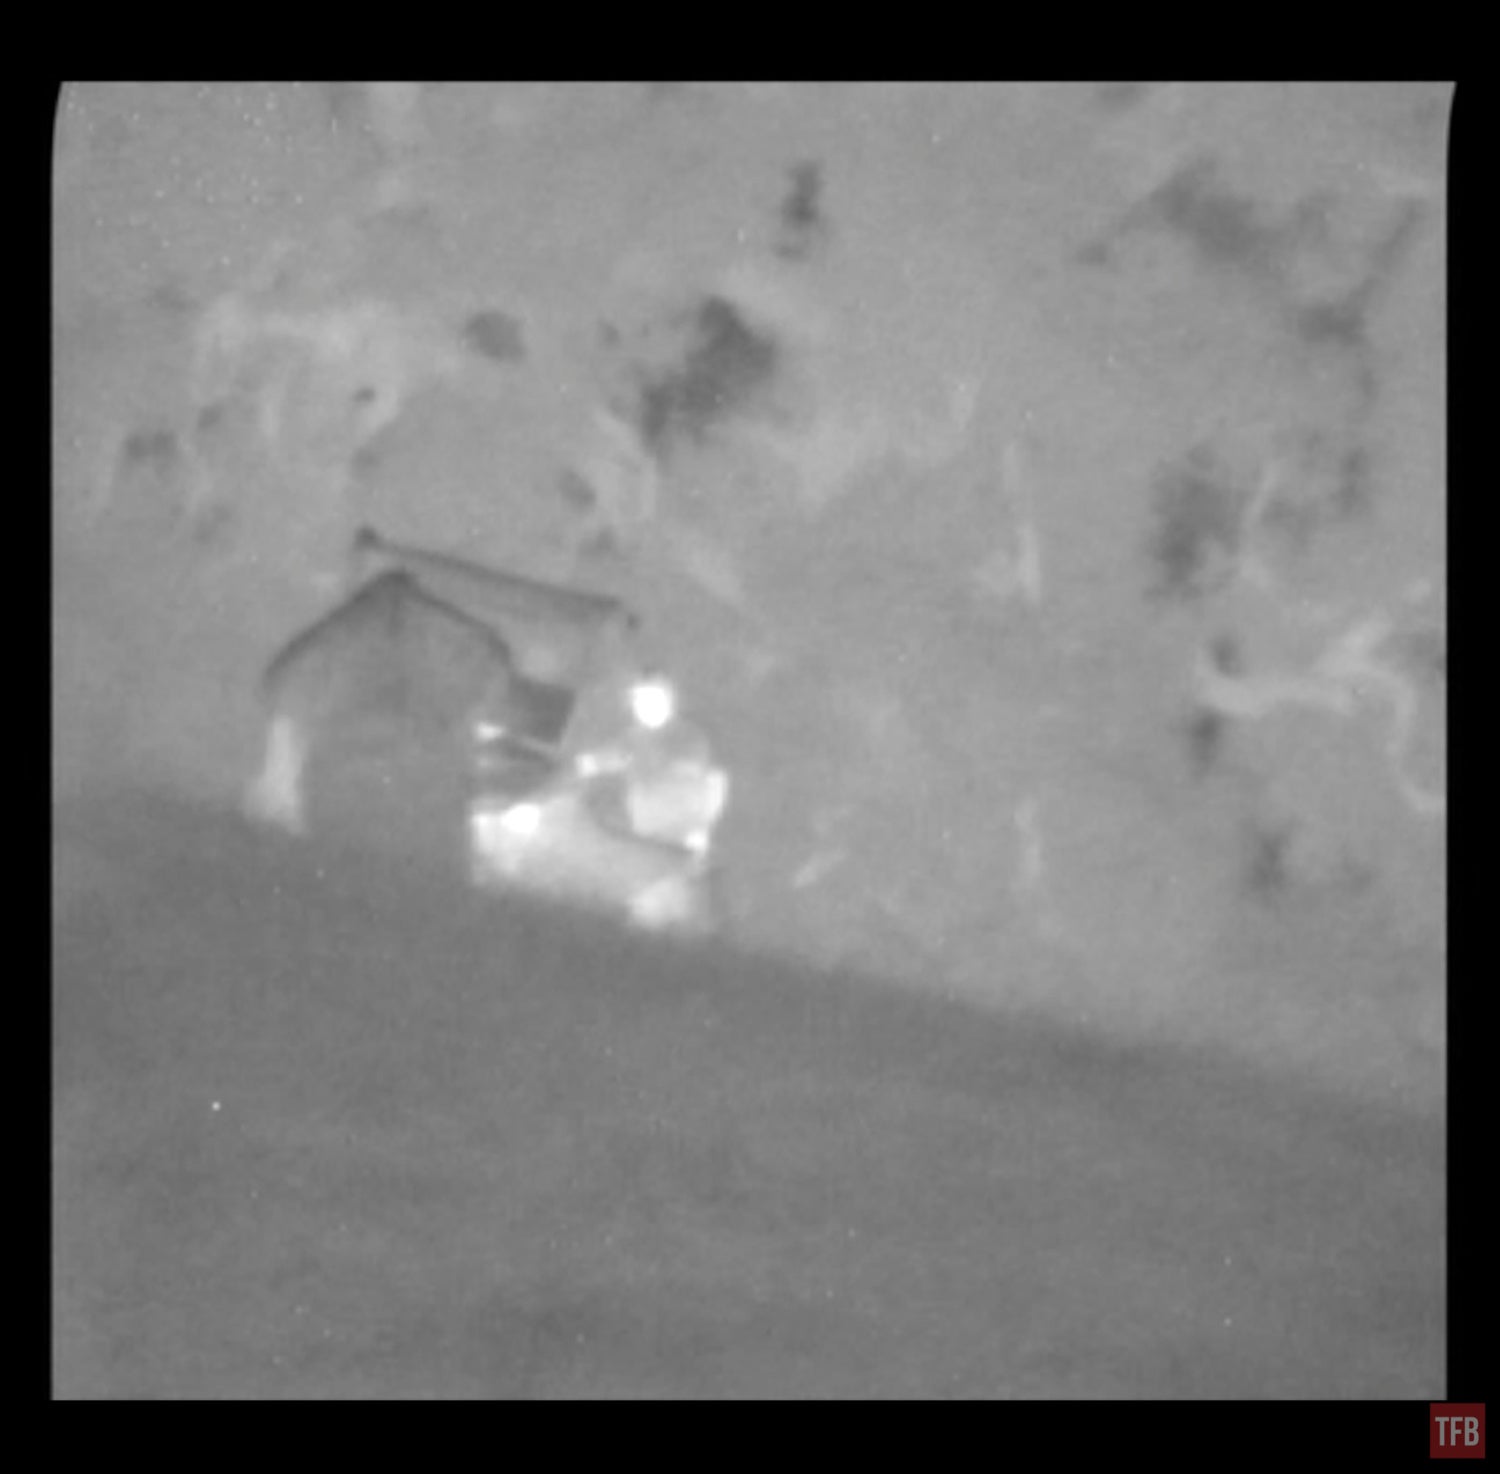
I am using my FLIR SeeSpotIII with a magnifier to see this close 1300 yards away. With the mystery fabric draped around Kythe, it started to exhibit heat soak much quicker than the Phantom Ghillie Revisited. However, the mystery fabric is only a single layer of lightweight fabric so this is not surprising. Interestingly if you look closely at Issac’s head and shoulders, you can see a distinct darkness as if the surface of the hood and shoulders are colder than the vegetation behind him.
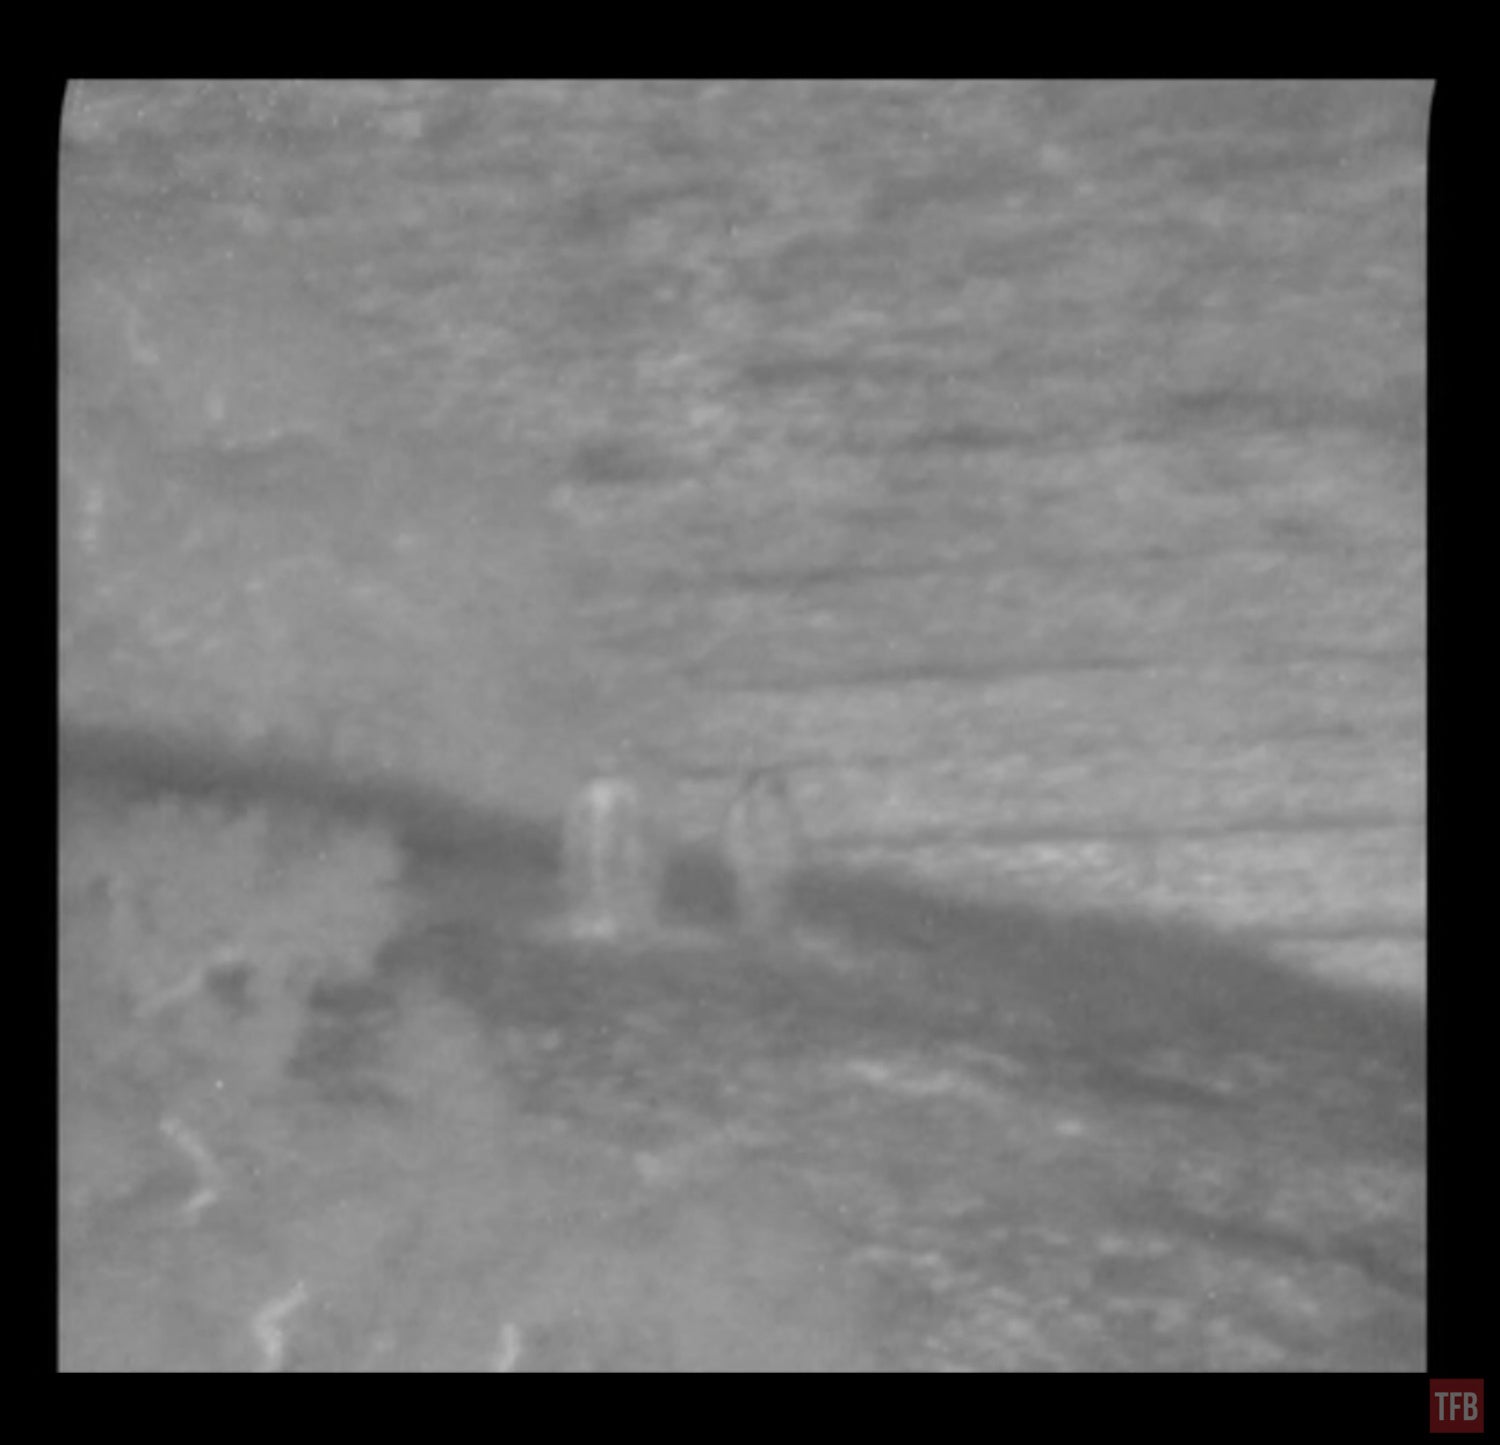
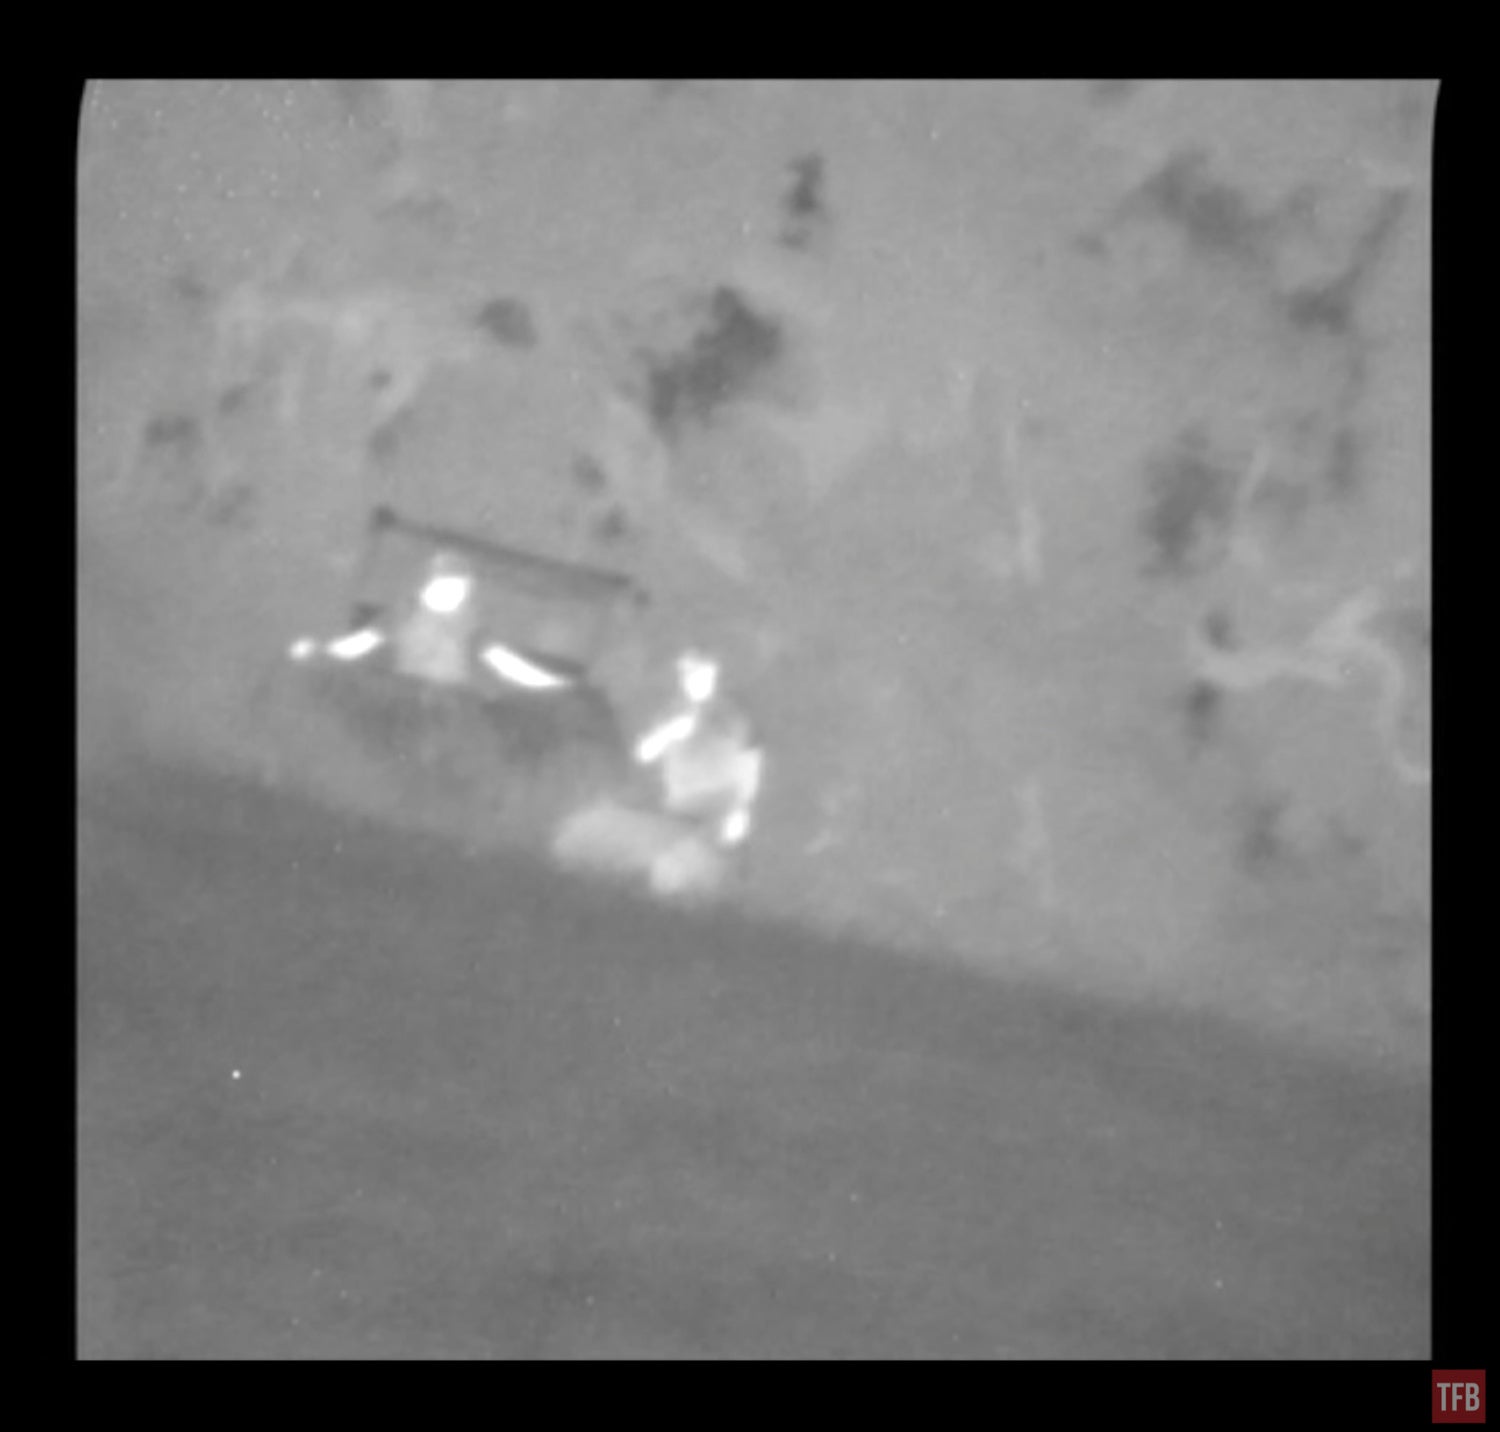
I then had Kythe and Issac relocate to a spot closer to me at around 700 yards away. This time I’m still using the FLIR See Spot III with a magnifier and it sees a lot more detail of the Phantom Ghillie revisited. You can more easily see the cold edge around Issac’s body. You can see Kythe’s body heat bleeding through the mystery fabric.
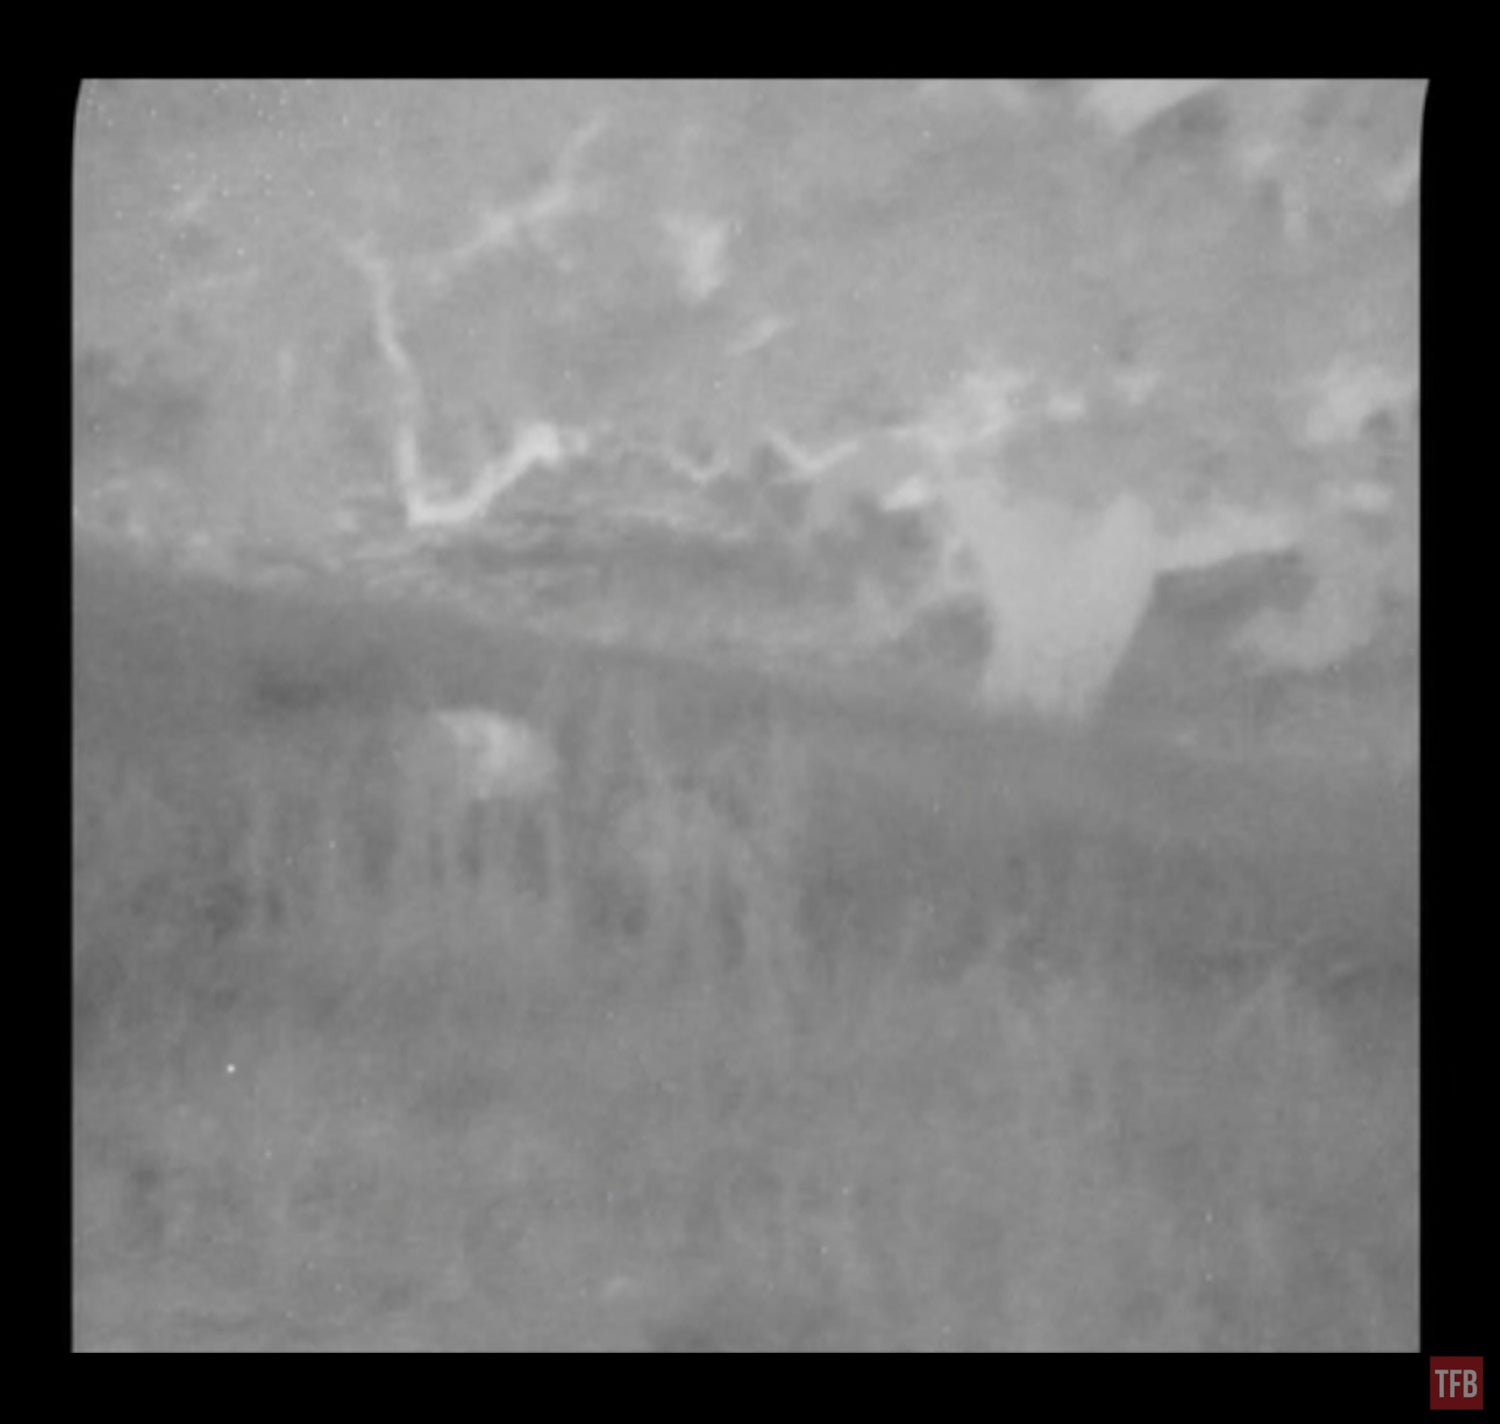
As I mentioned in my previous test with David of Overwatch Strategies, people trying to hide their thermal signature will not be standing upright out in the open. You should seek cover and concealment. There were some tall weeds so I had them kneel or lay prone behind the tall weeds. They basically vanished. You can make out a little bit of heat from Kythe but that is not enough to warrant further investigation.
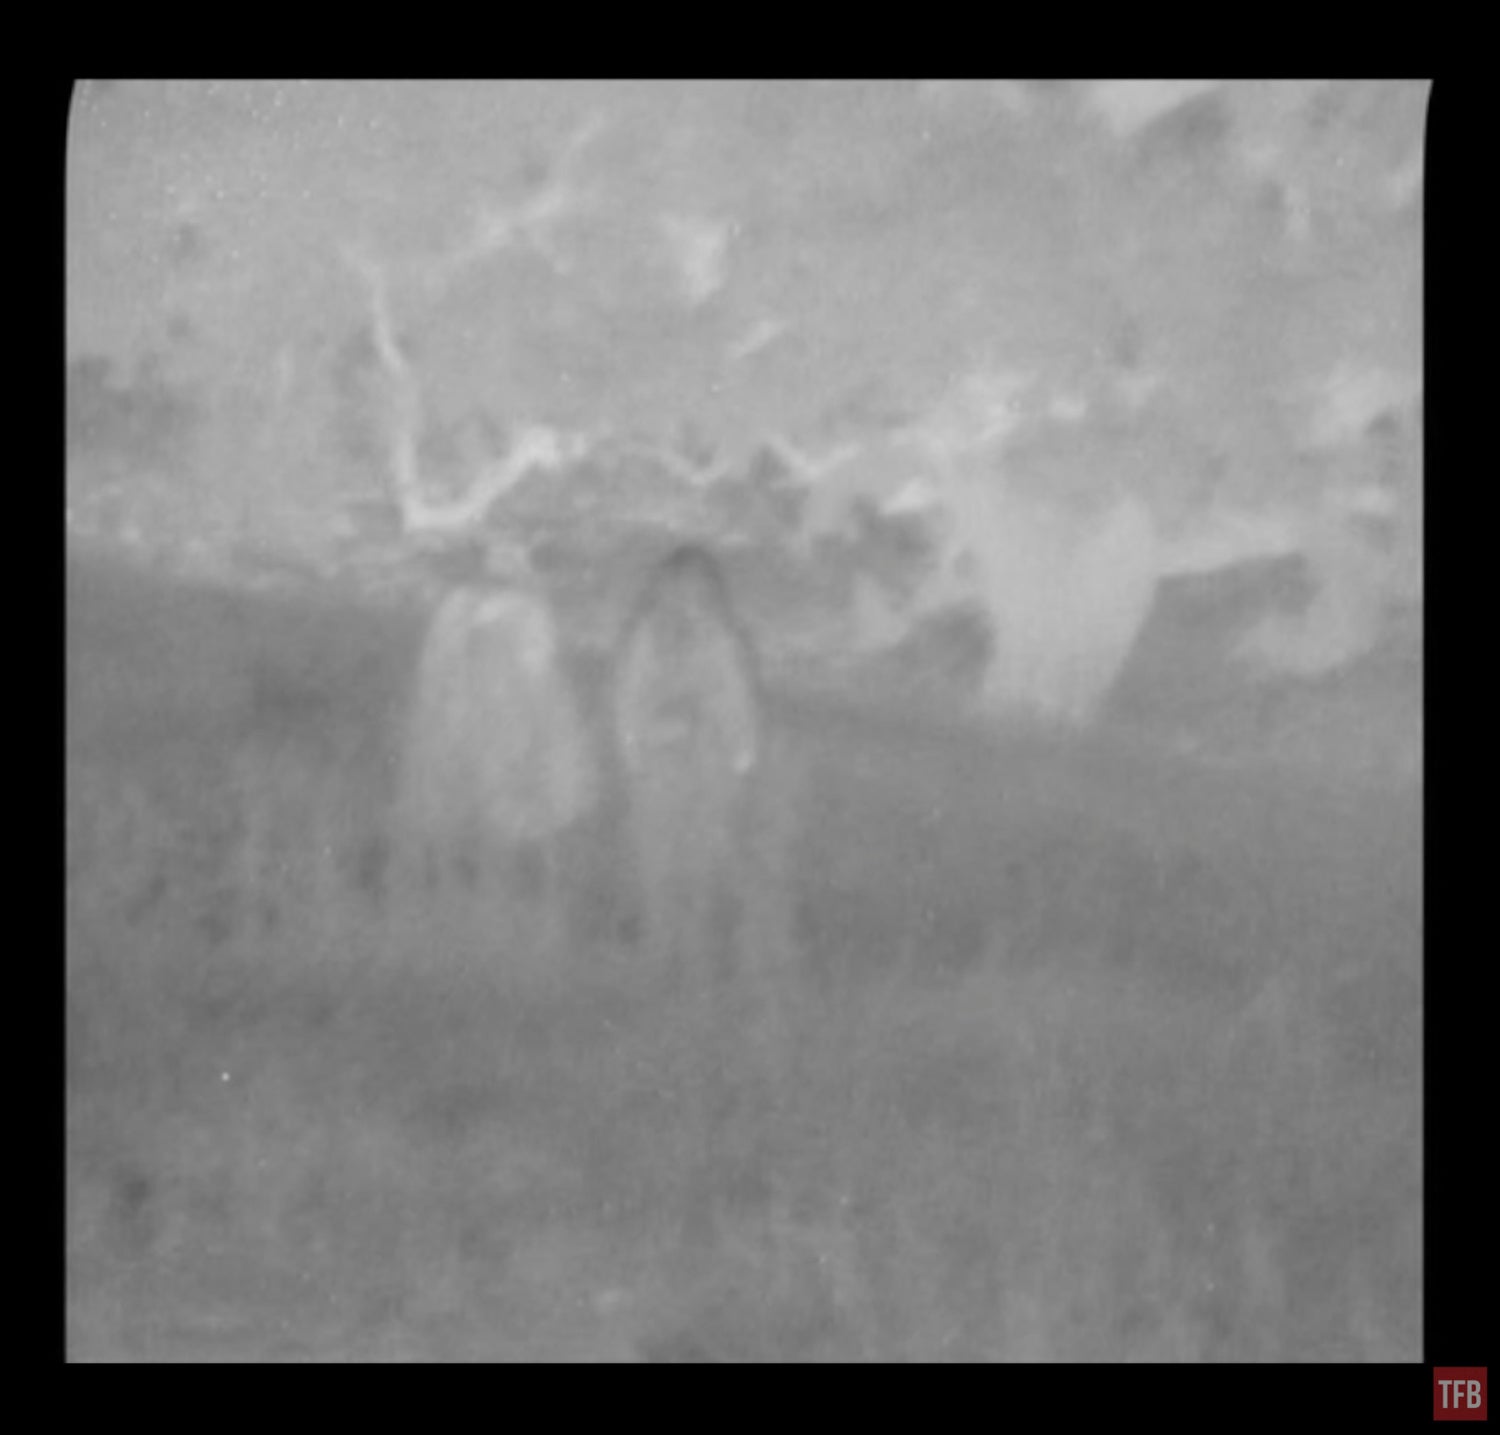
Upon Kythe and Issac’s return, I had Issac stand behind the side-by-side they used to get out there. Since it is a gas-powered vehicle, it has a lot of heat coming from the engine and exhaust. So I wanted to see how well the Phantom Ghillie revisited could be at blocking that heat.
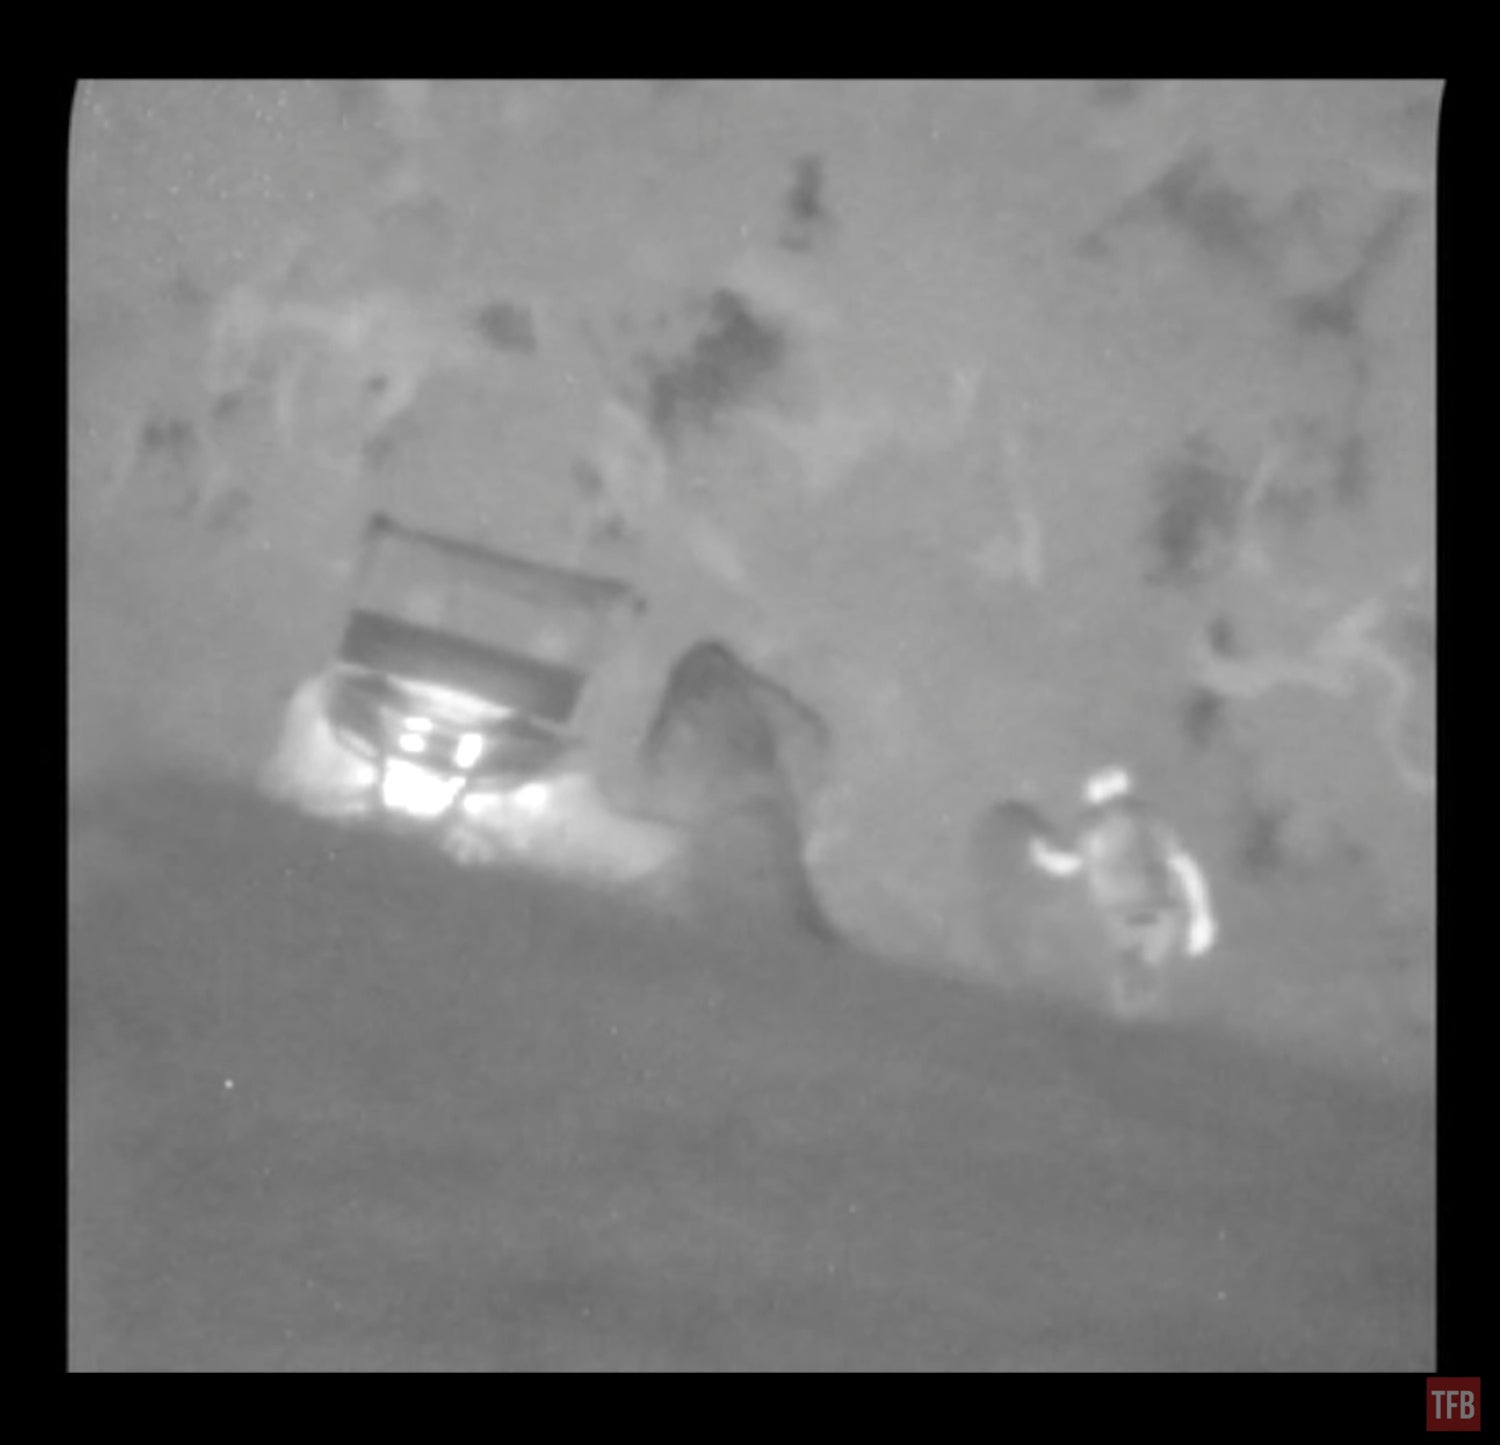
Just look at the image above and below. The Phantom Ghillie completely blocks the heat from the side-by-side engine.
Issac looks like he is touching a pygmy horse.
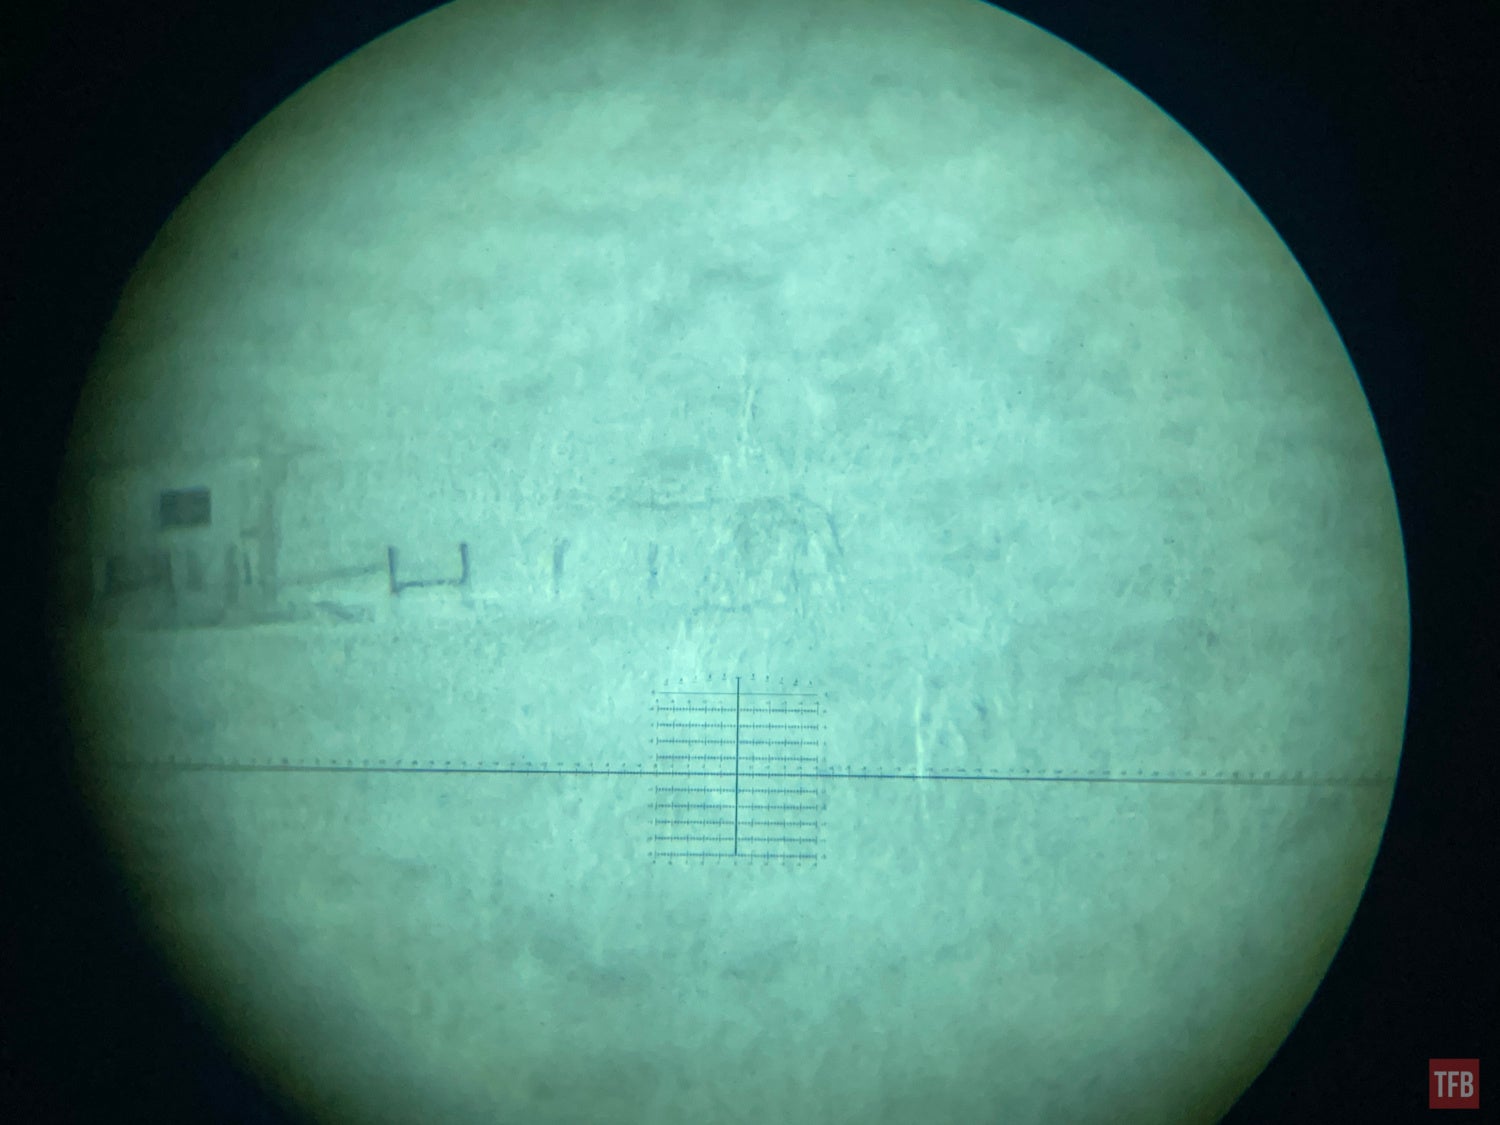
Once Issac returned, I had him walk out to the 100-yard paper targets and squat down. I used my night vision clip-on to observe Issac and to my surprise, it is very dark looking. So dark that it stands out from the local vegetation.
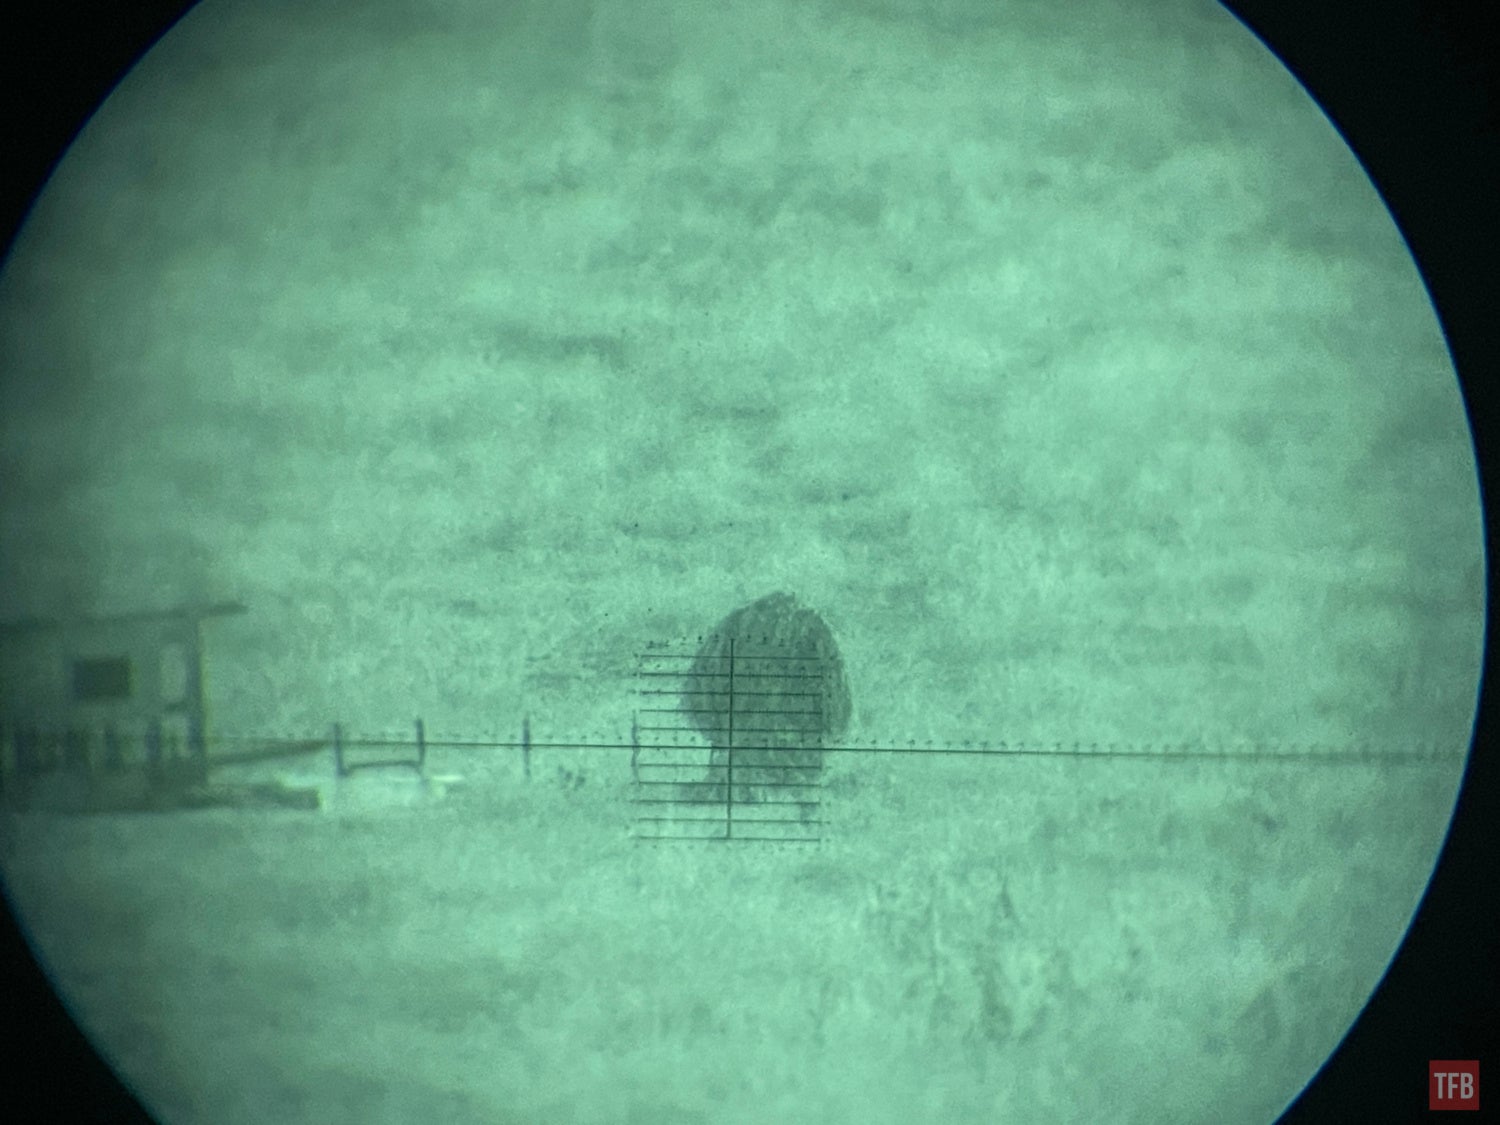
I blasted the area with IR illumination and the Phantom Ghillie revisited virtually disappeared.
Final Thoughts On Phantom Ghillie Revisited
My testing so far has been the worst-case scenario. I am using cooled MWIR thermal with extremely high magnification to nitpick the Phantom Ghillie. No one would really use something like that to scan for people. Normally one would have a handheld thermal device or weapon mounted with low magnification and they would be using LWIR rather than the more sensitive MWIR. The ghillie did defeat my LWIR biocular BAE UTBx.
I was a little disappointed in the NIR performance. It sticks out like a sore thumb even though I chose better matching phantom fibers to blend visually. There is one more test I want to perform with the Phantom Defence ghillie and that is to test it against my Mavic 2 Enterprise Advanced thermal drone. I think it could be rather effective if used properly but there are more things to consider since the ghillie user might not know where he is being observed from. Stay tuned for part 3 next week.