 Your Privacy Choices
Welcome back FNL enthusiasts. Did you enjoy last week’s article on the Oasys UTB? Well, today we take a look at another thermal bi-ocular, the PAS-28 MRTB aka PhantomIR by Elcan Raytheon.
Thermal Bi-Oculars @ TFB:
- Friday Night Lights: Oasys Universal Thermal Binocular (UTB)
- Friday Night Lights: SAFRAN JIM LR – Cooled Thermal Biocular LRF
- Pulsar Merger LRF XP50: New Thermal Imaging Binoculars with LRF
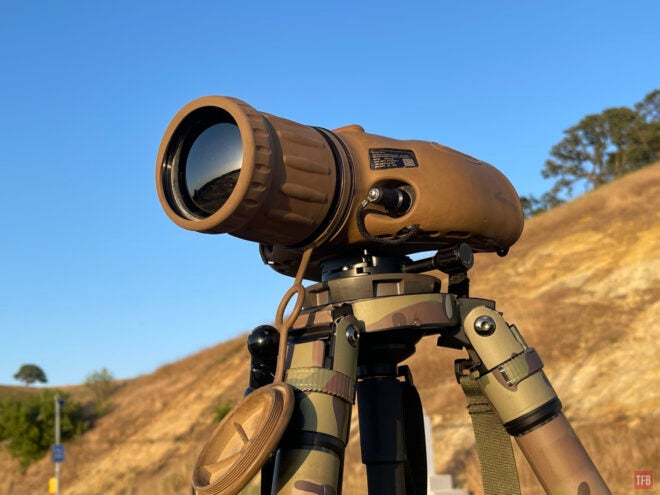
PAS-28 MRTB: Medium Range Thermal Bi-Ocular
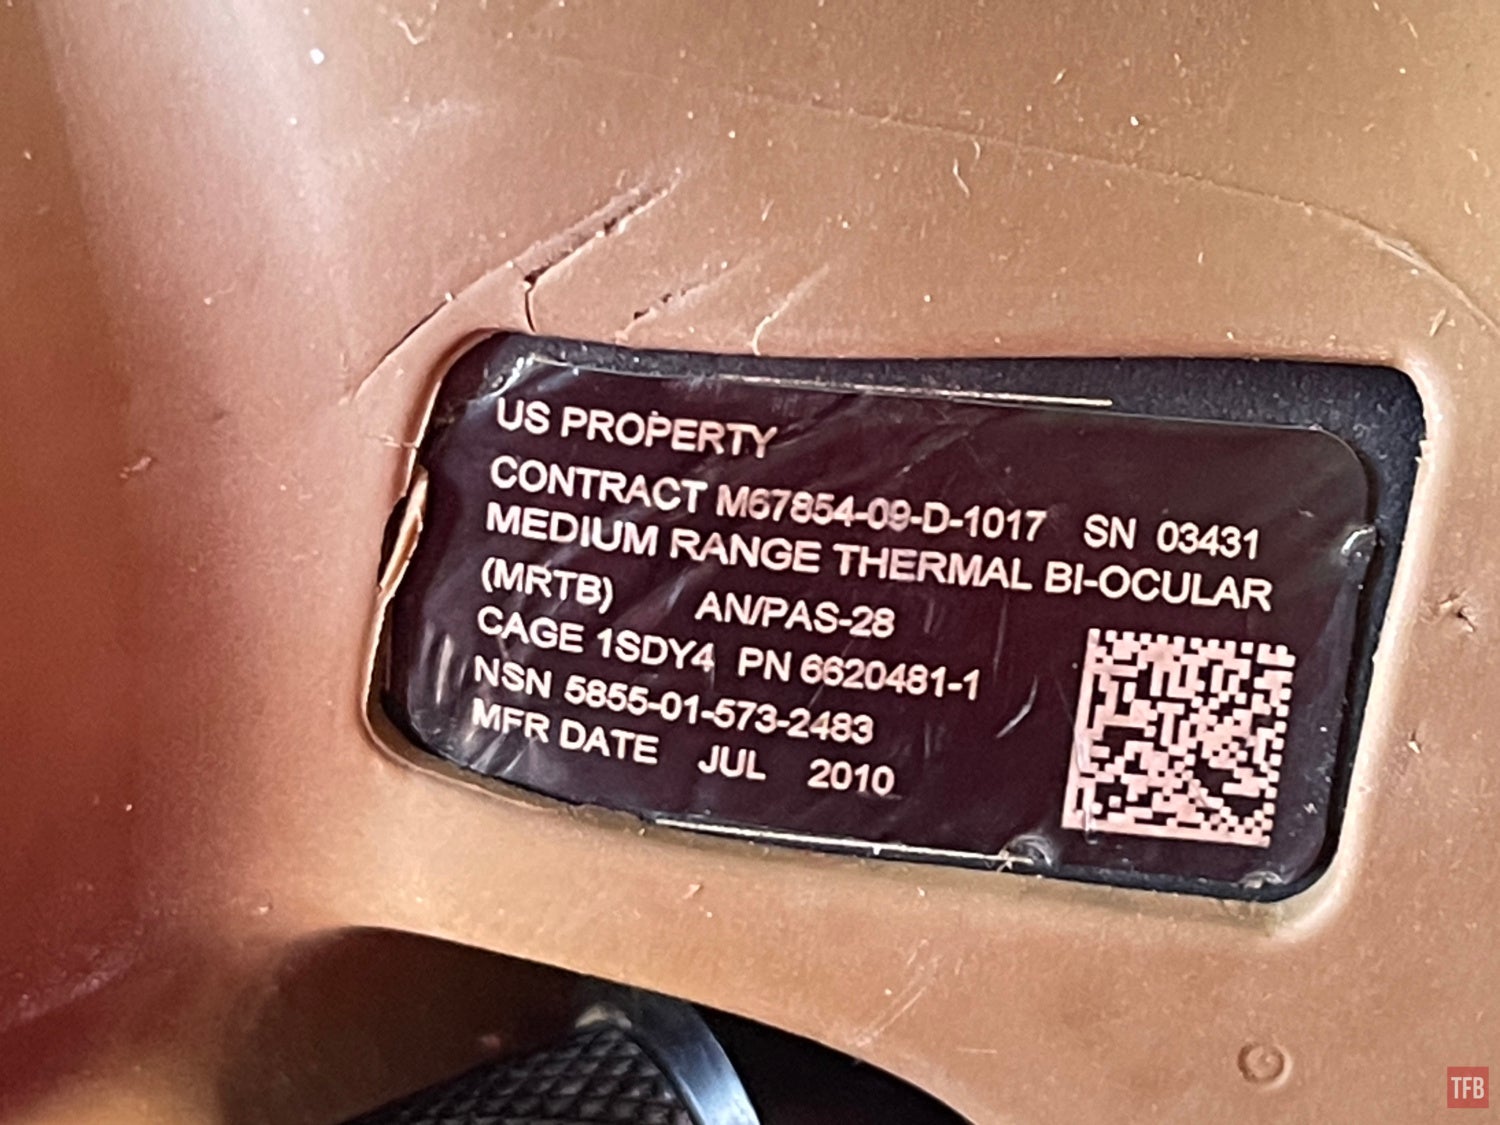
It is in the name, Bi-Ocular. Not “binocular”. Many companies mistakenly call devices like these binoculars. Pulsar and even Oasys make that mistake like on the UTB which stands for “Universal Thermal Binocular” even says so on the instruction manual. Anyway, the PAS-28 MRTB is a thermal bi-ocular made by Raytheon and Elcan. It was made in Texas at Raytheon’s plant. Even though it says Elcan all over it.
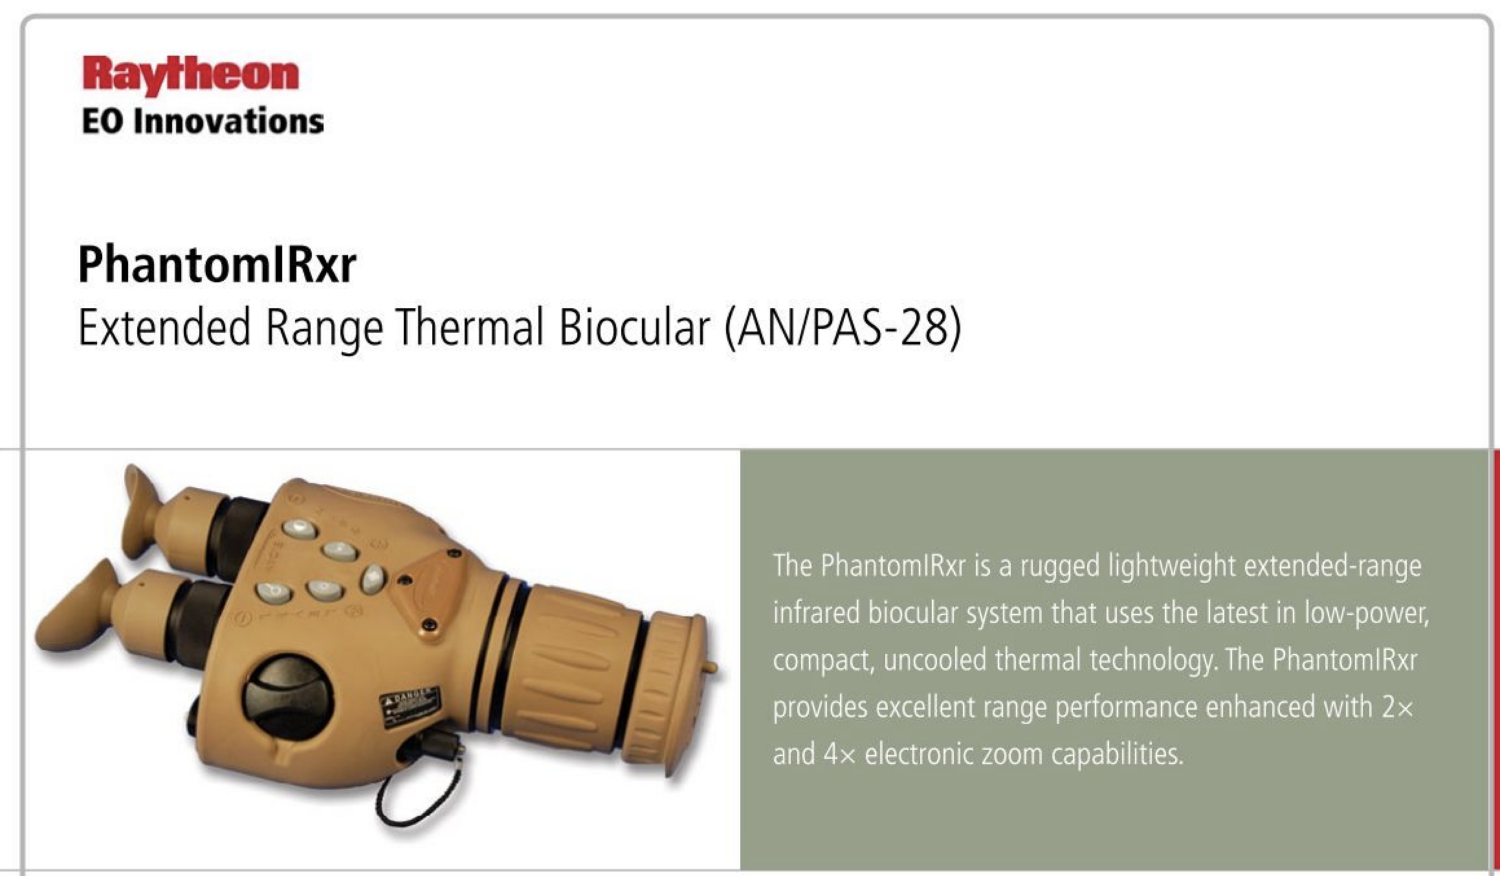
I found this PDF data sheet that has the Raytheon logo. Photo by Raytheon
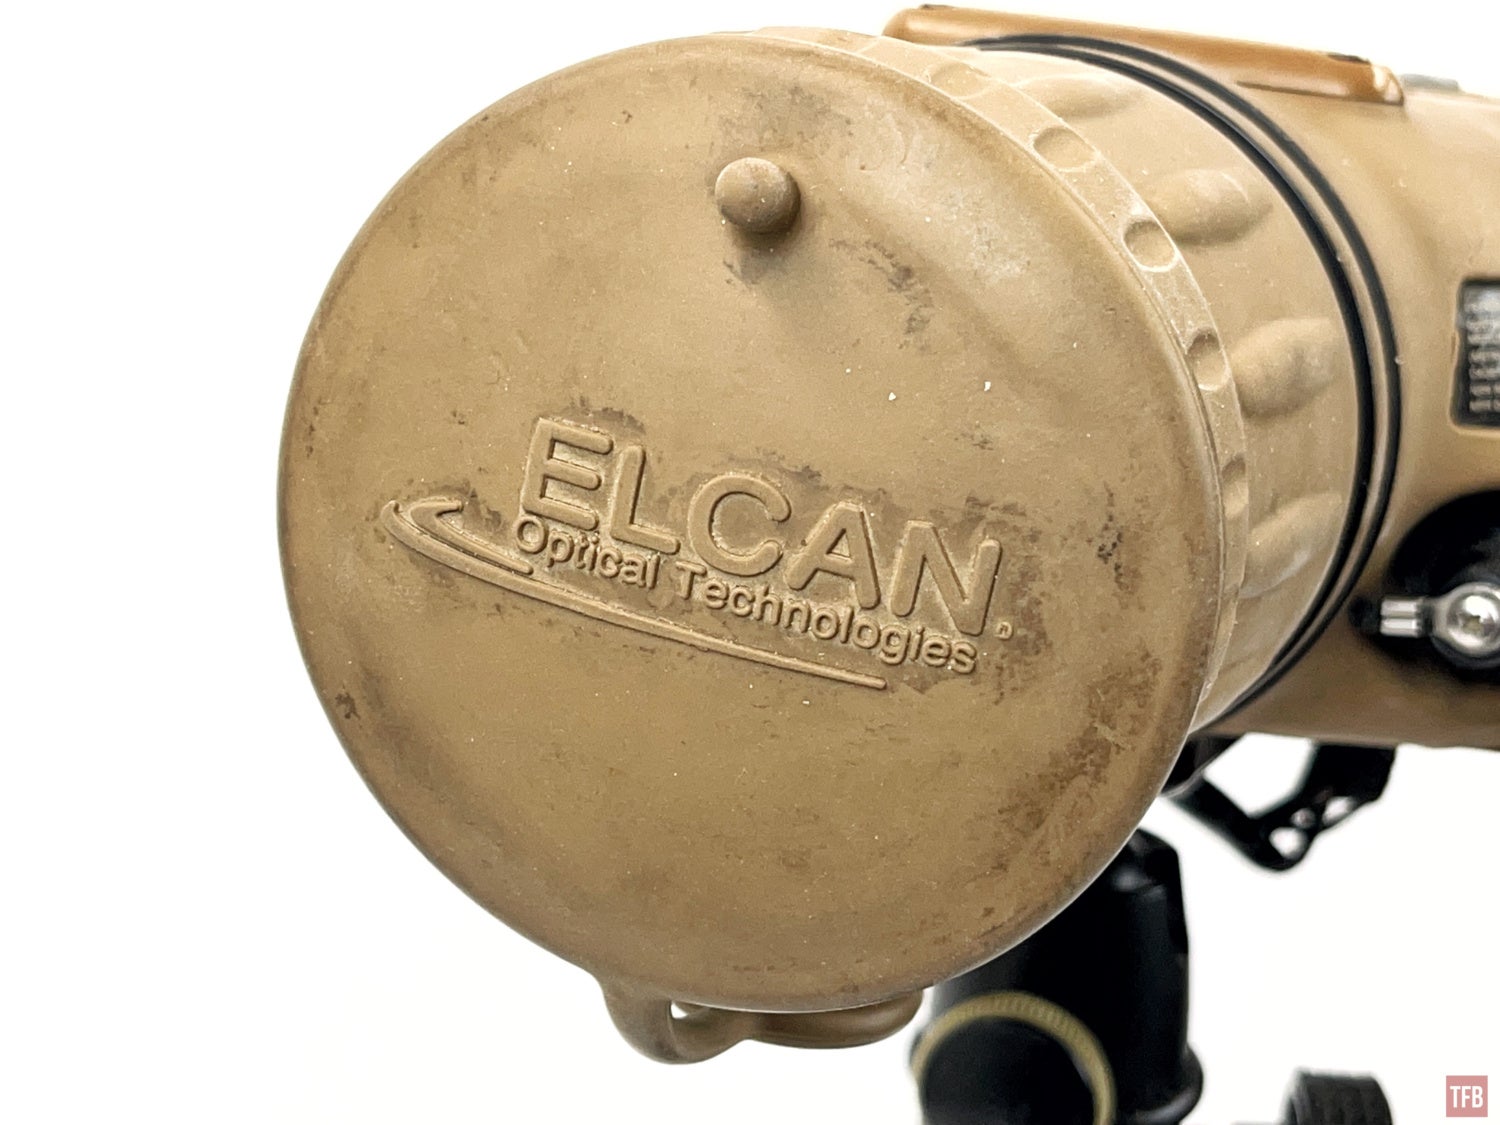
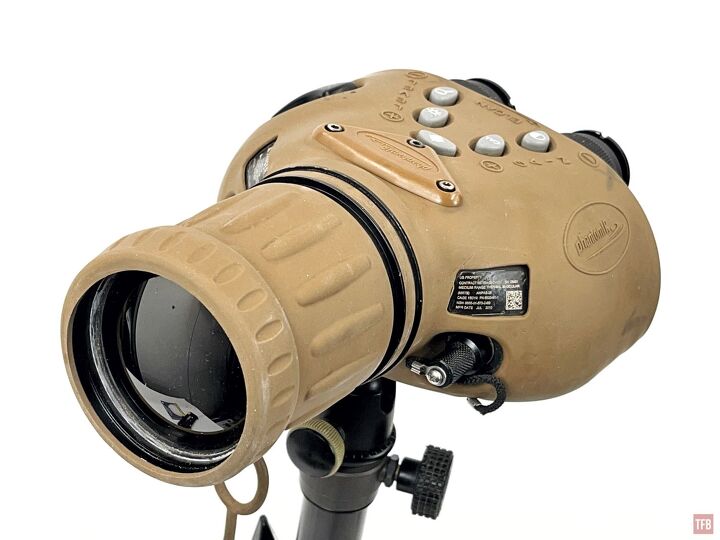
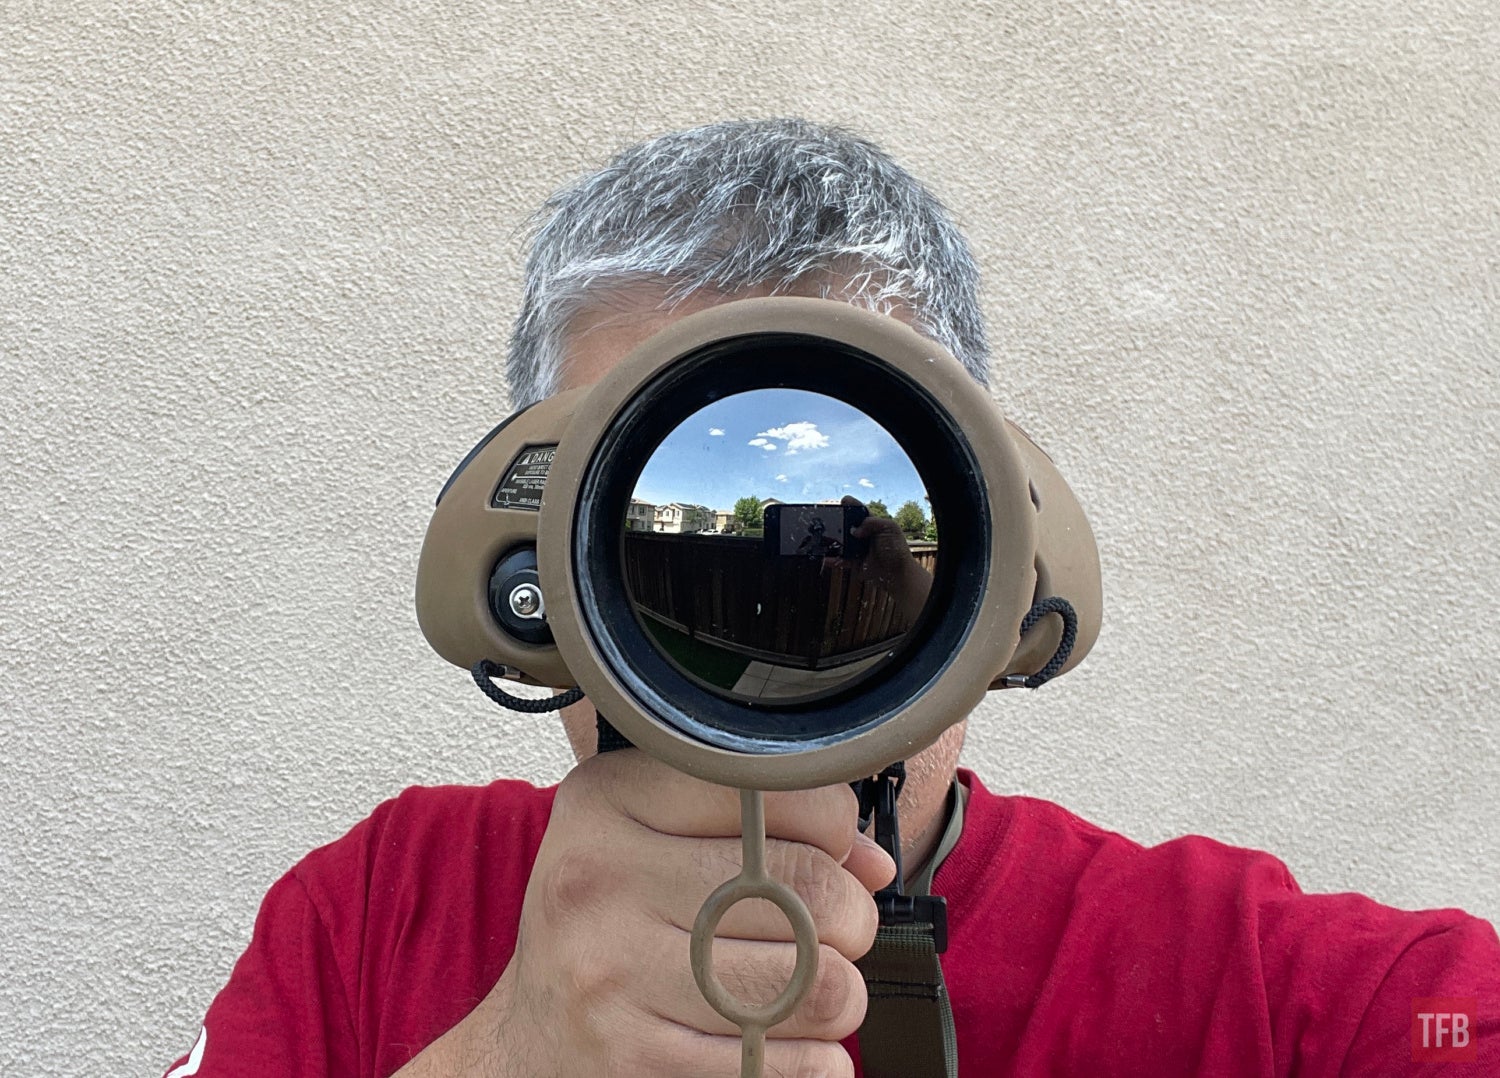
Pop the rubber lens cap off, it is tethered, and you expose the 76mm f/1.2 lens. If you recall, the UTB has a 75mm lens and a swappable 120mm lens. The MRTB has a massive collar behind the objective lens that adjusts focus.
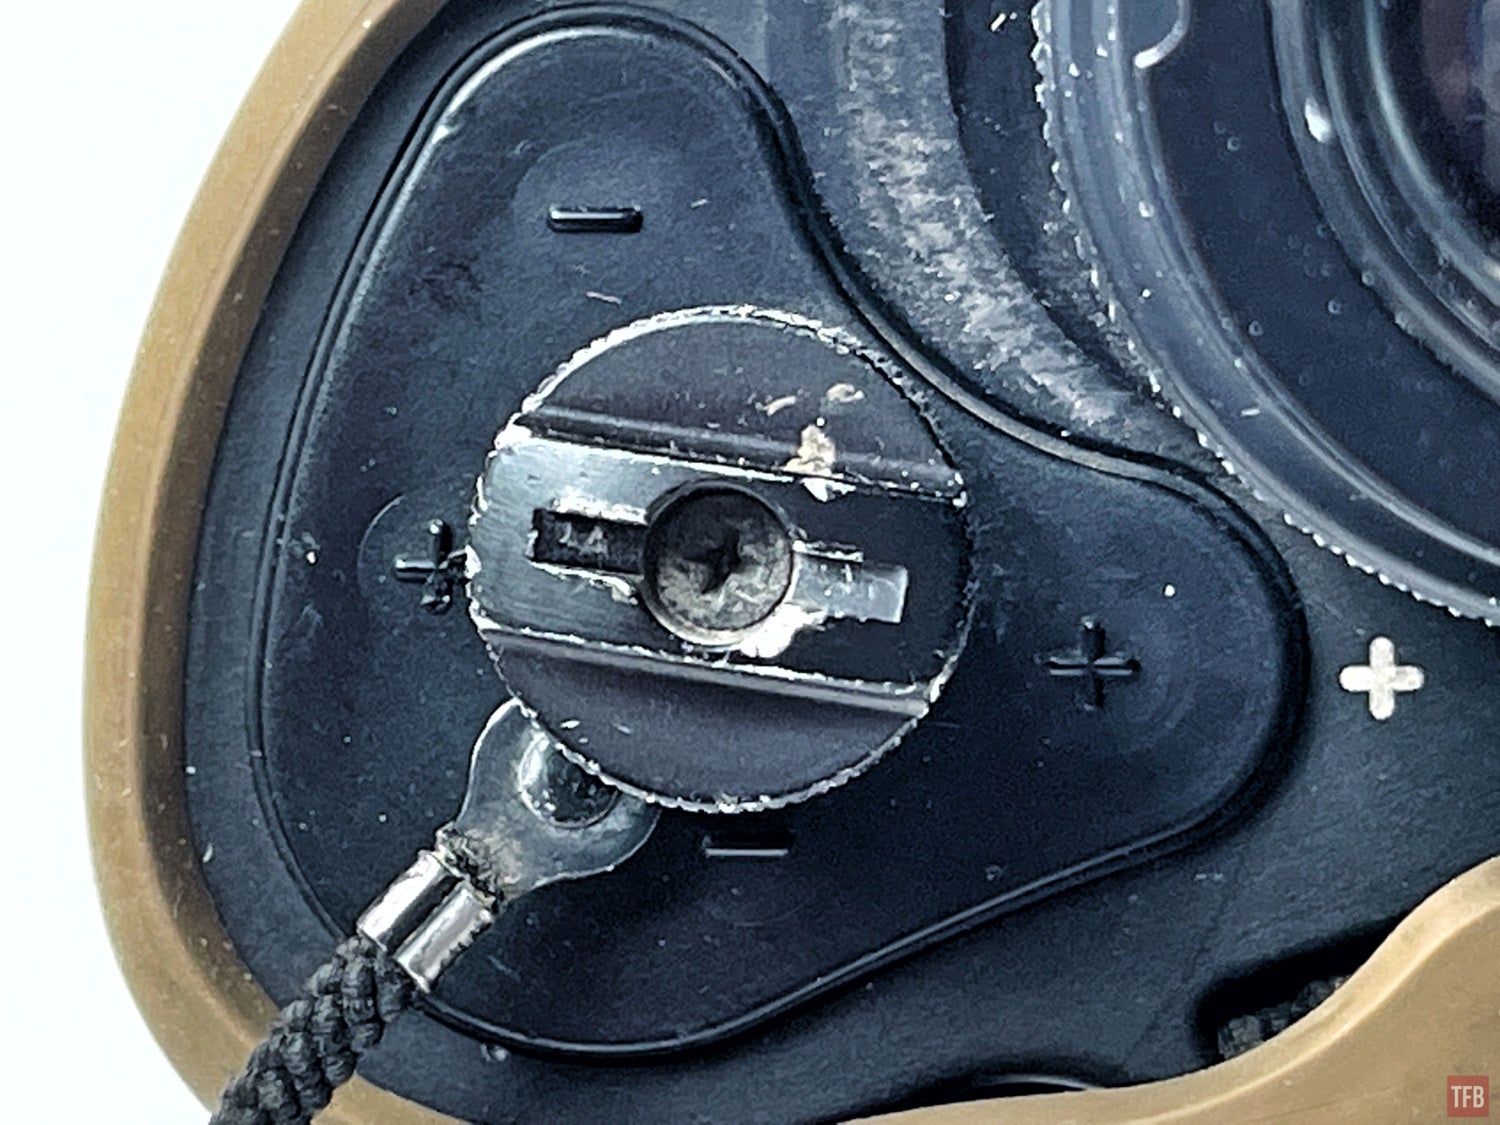
On either side of the housing is a data port, on the left of the user, and the laser designator port on the right of the user.
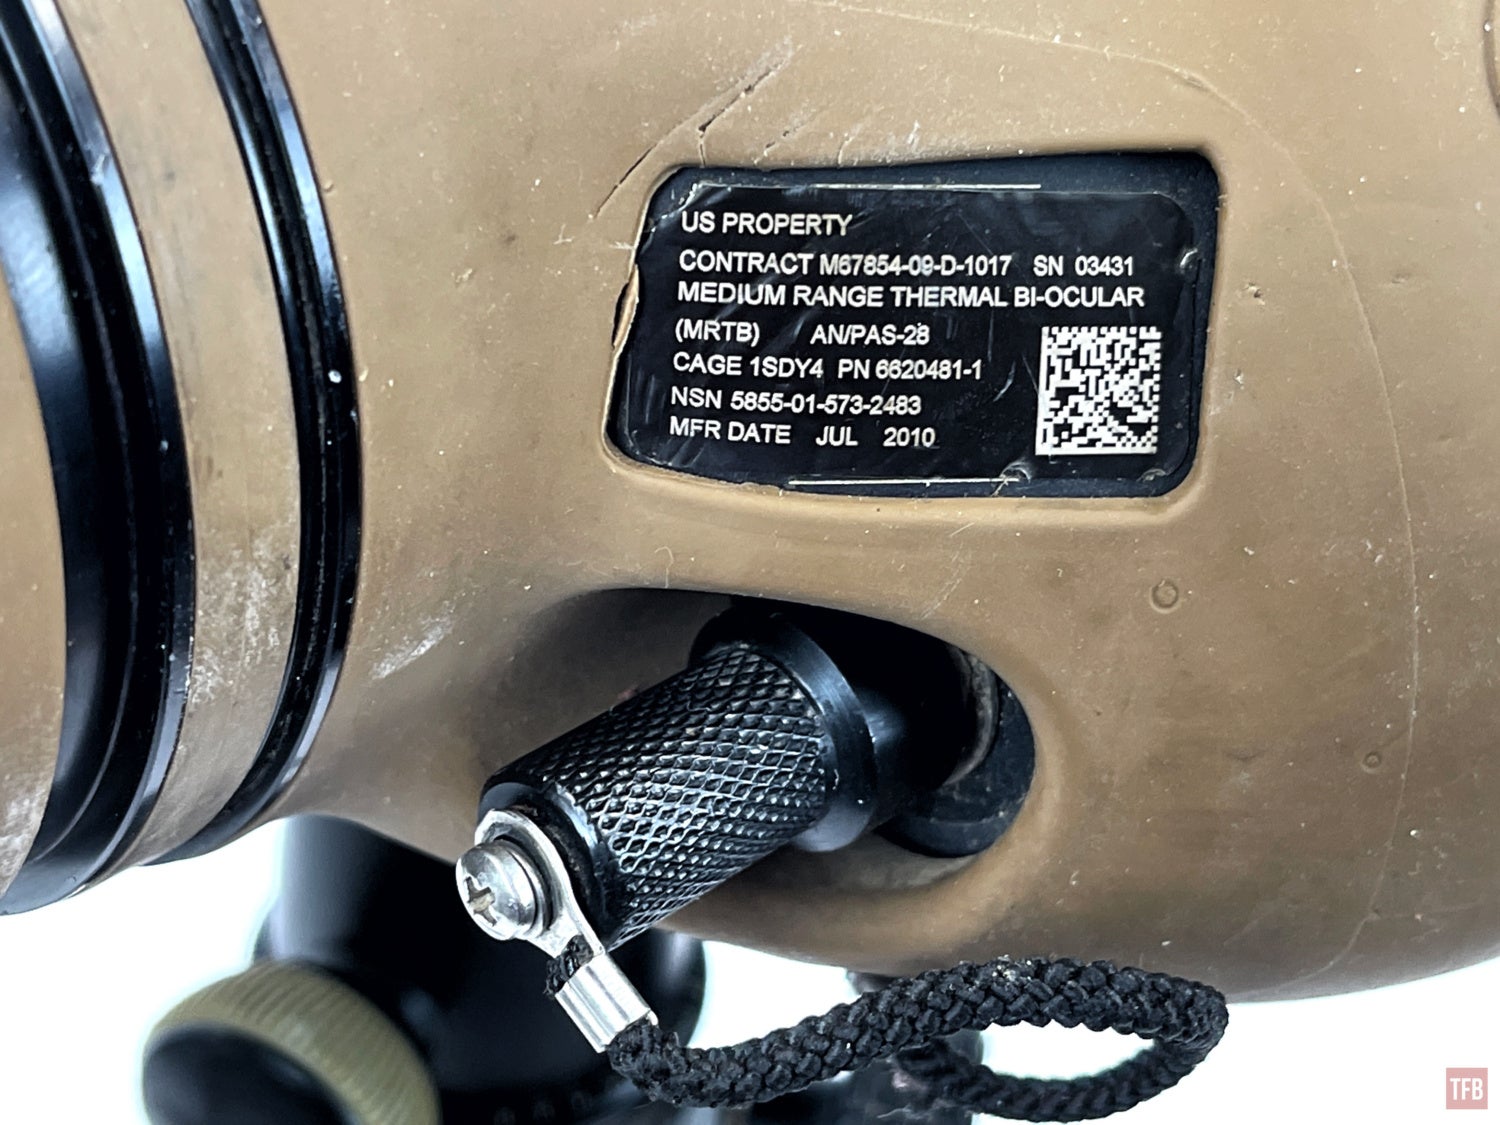
Unscrew the long cap and you expose the data port. This is for connecting remote power using a BA-5590 battery, video out or USB to download the images captured by the MRTB.
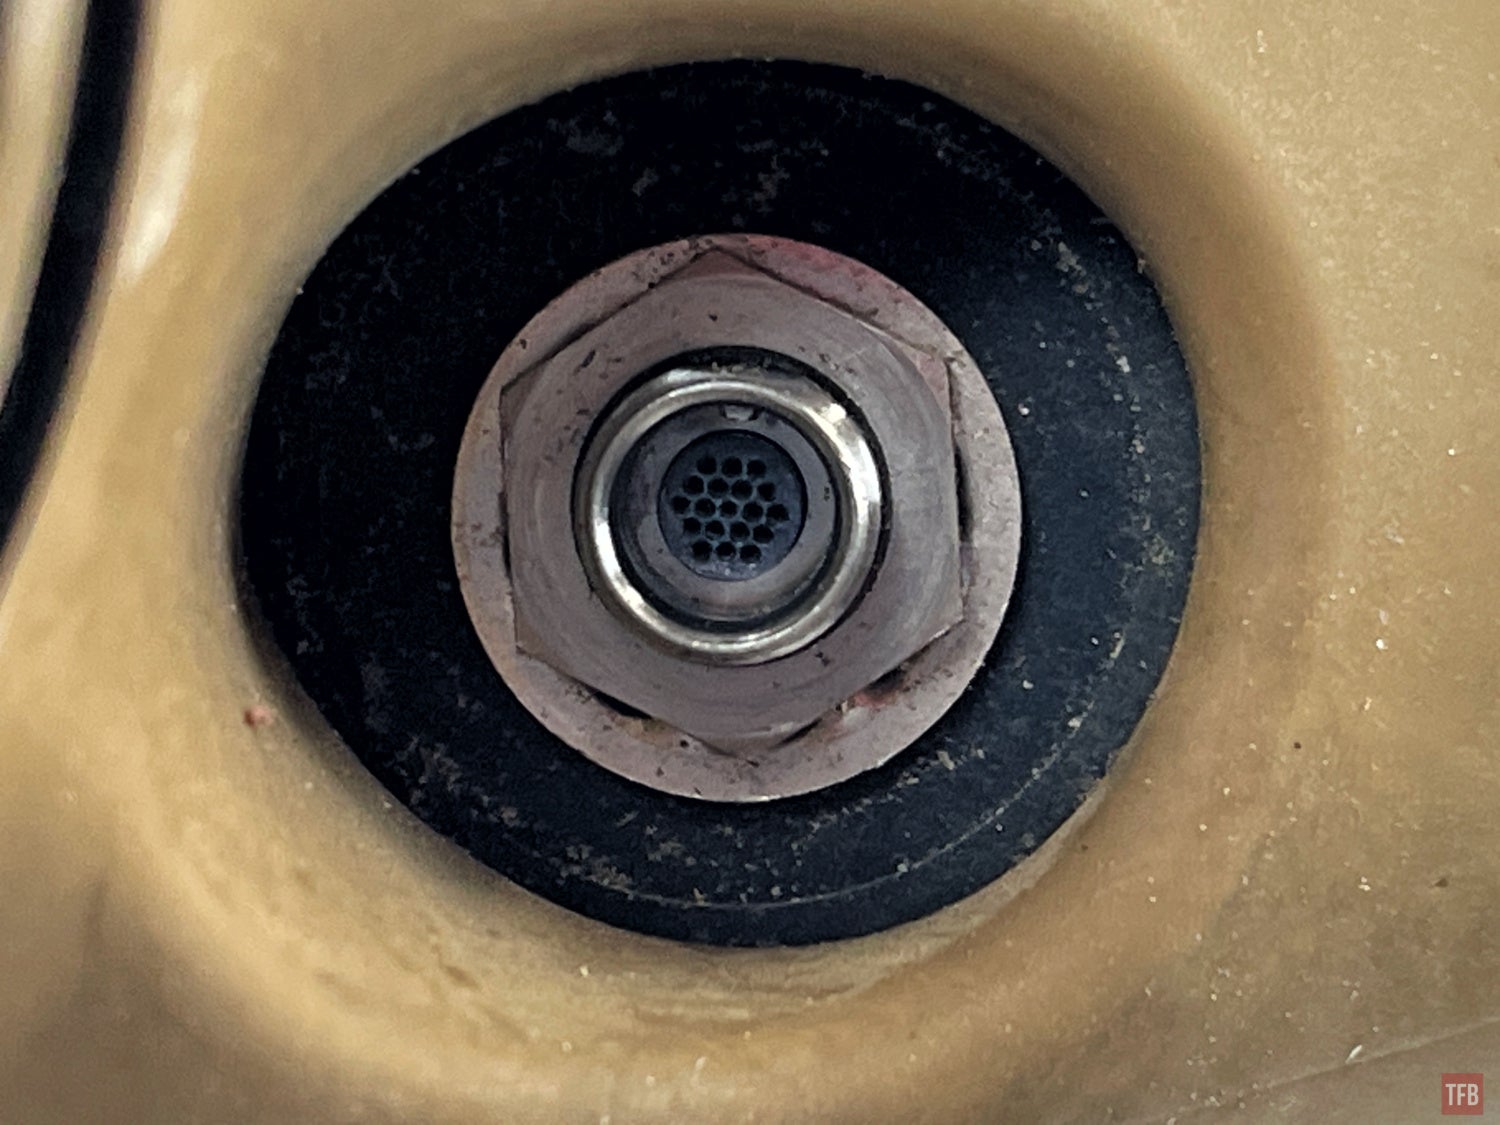
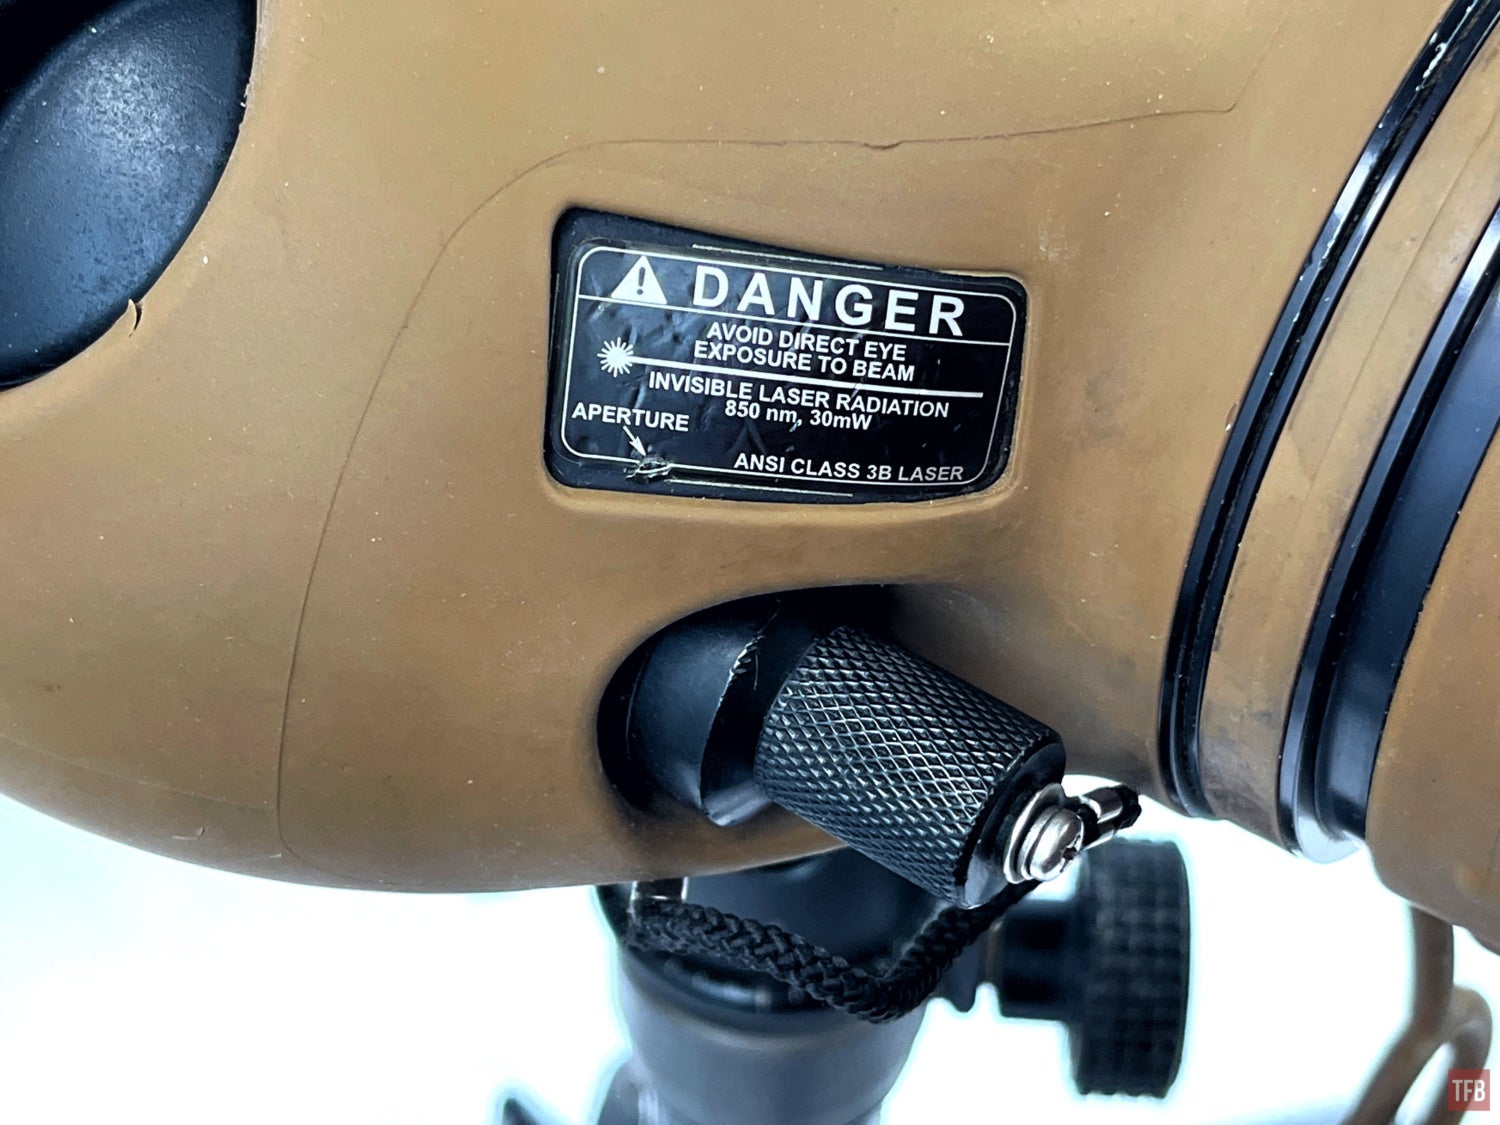
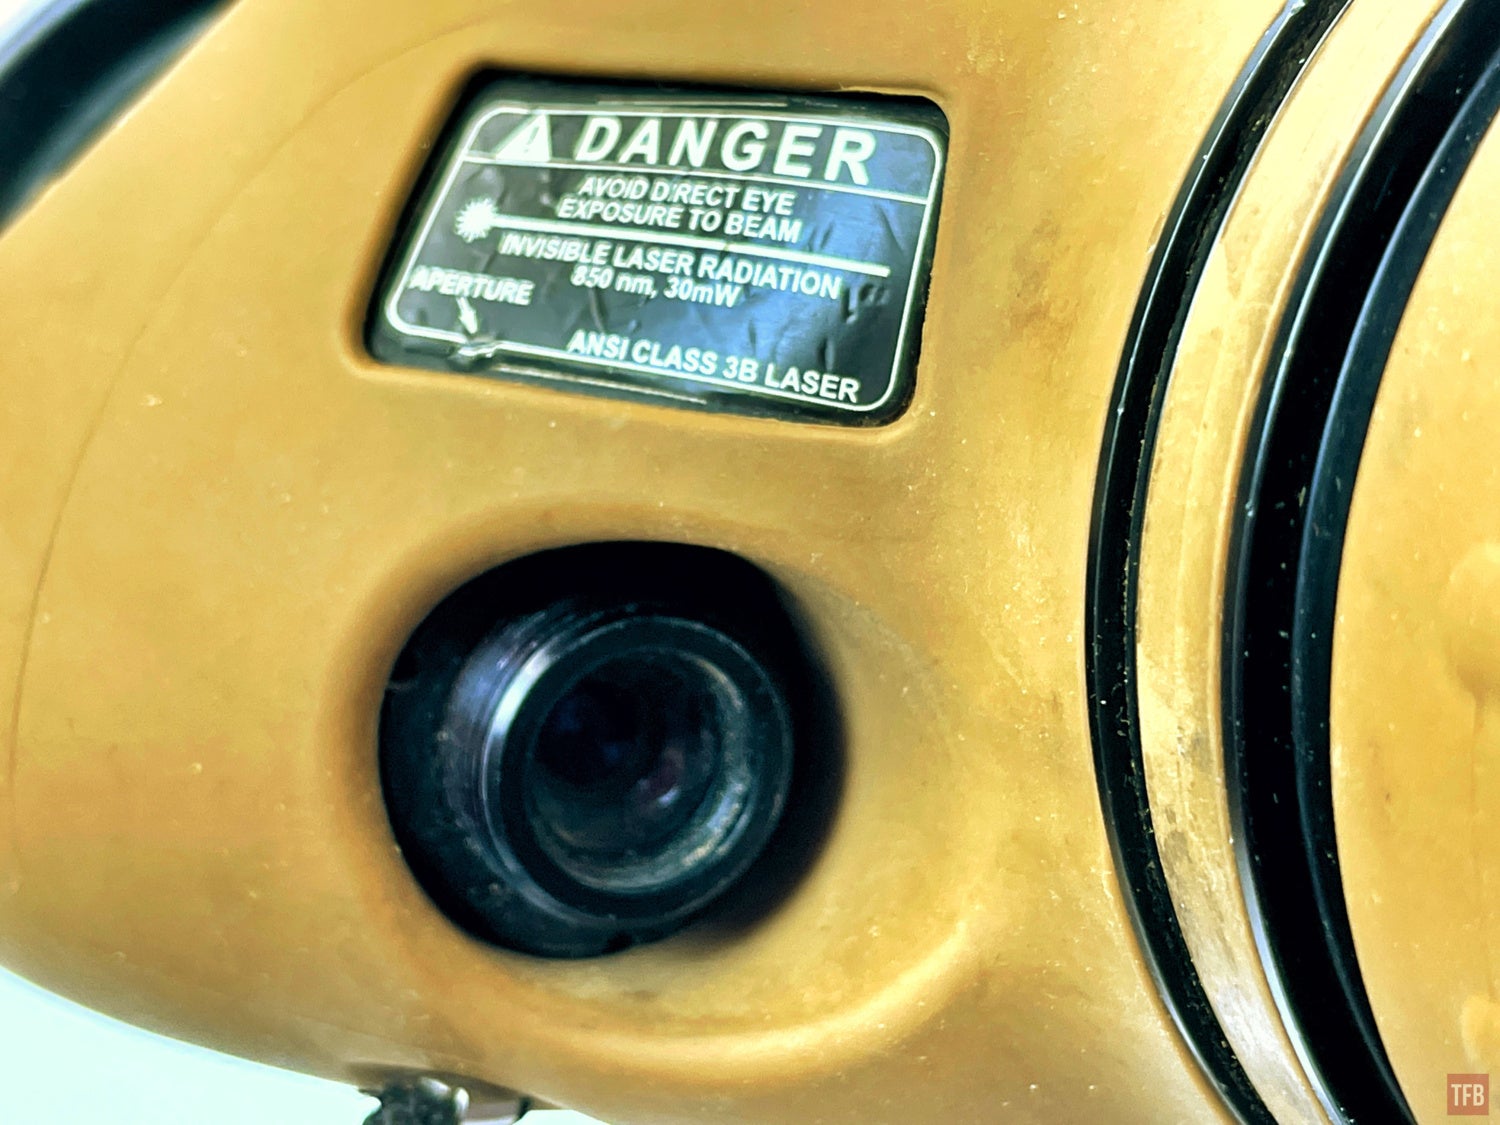
On the right side of the MRTB is another long metal cap. This protects the laser port. The MRTB only has a single infrared aiming laser that is zeroed to the MRTB. There is an eye-safe and non-eye-safe mode. Eye safe is a typical >0.7mw while full power non-eye-safe is 30mW output.
Further back on the housing is this large dial. This is the adjustment knob for the pupillary distance (PD) adjustment of the eyepieces. This seems overly complicated when a similar device like the Oasys UTB you just physically push the eyepieces independently left or right to set the PD.
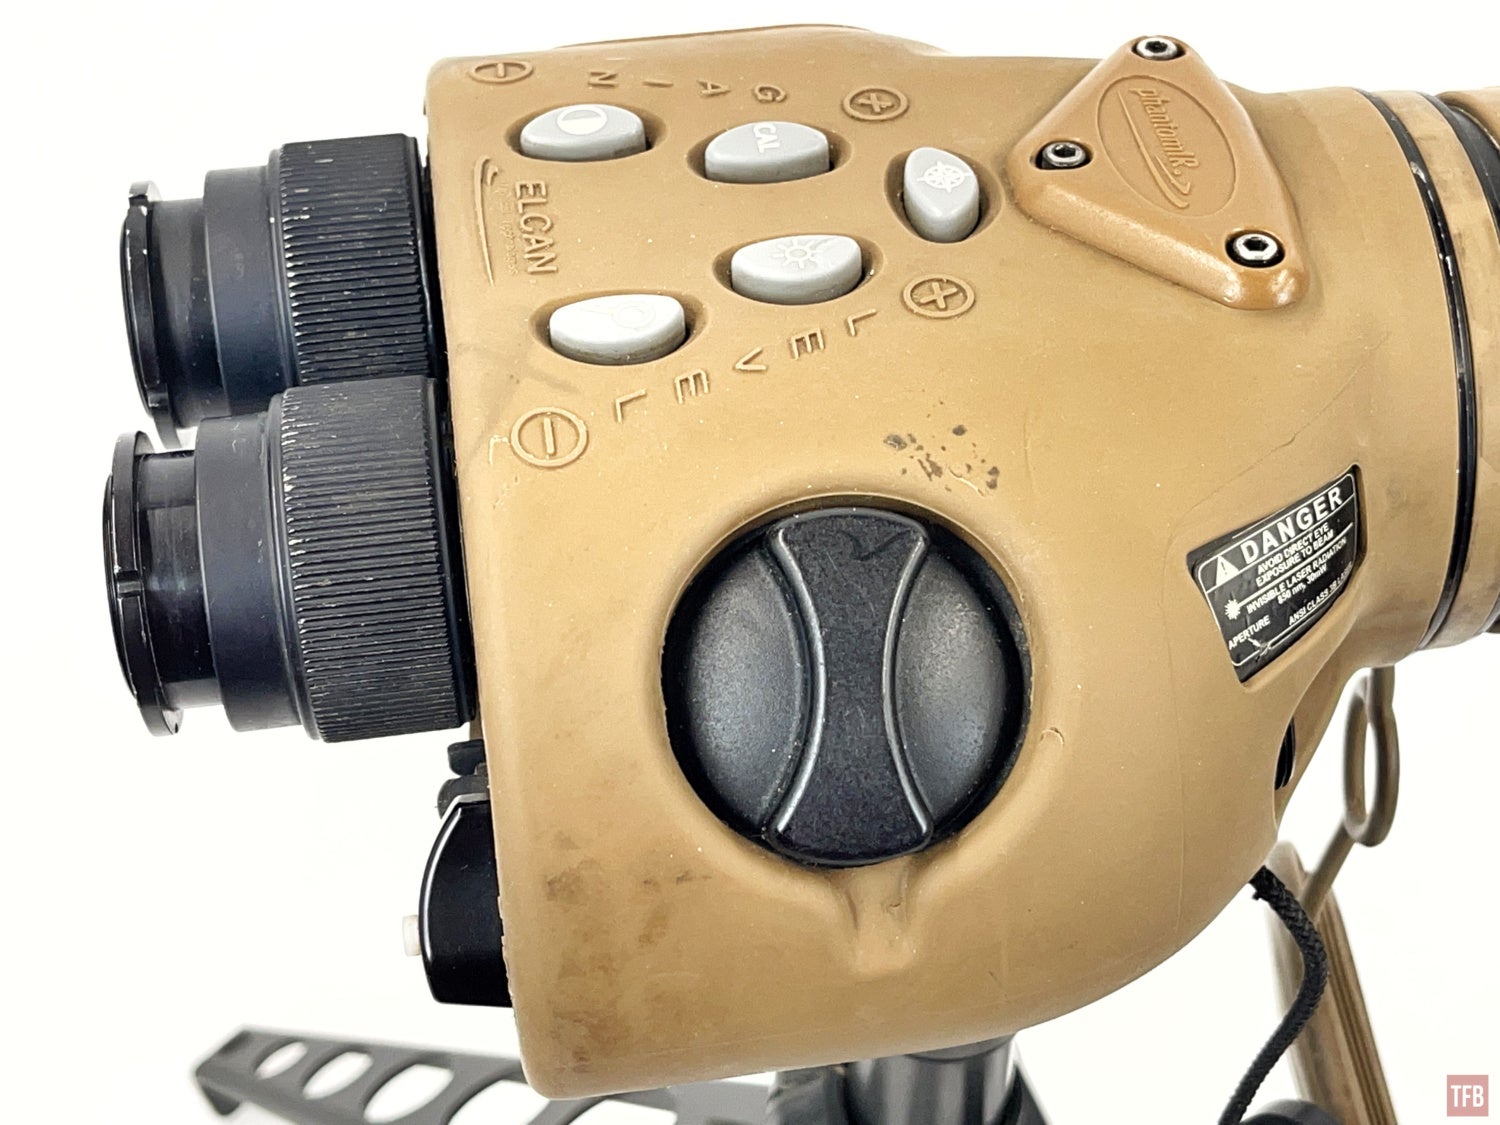
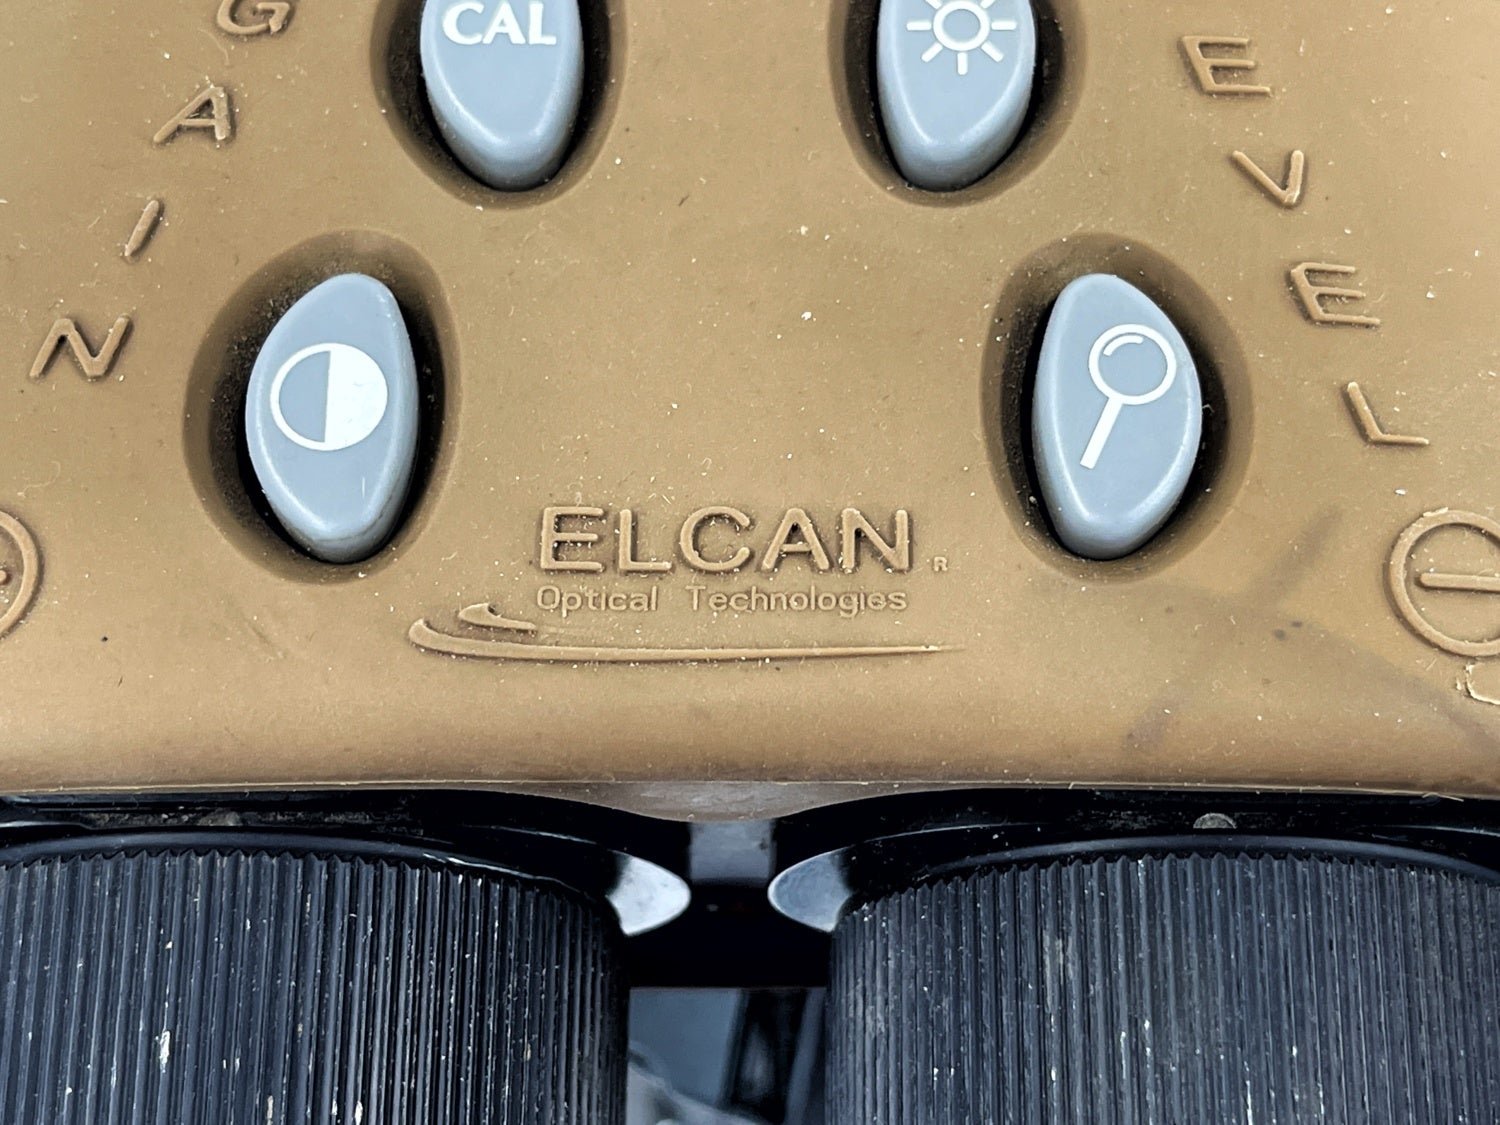
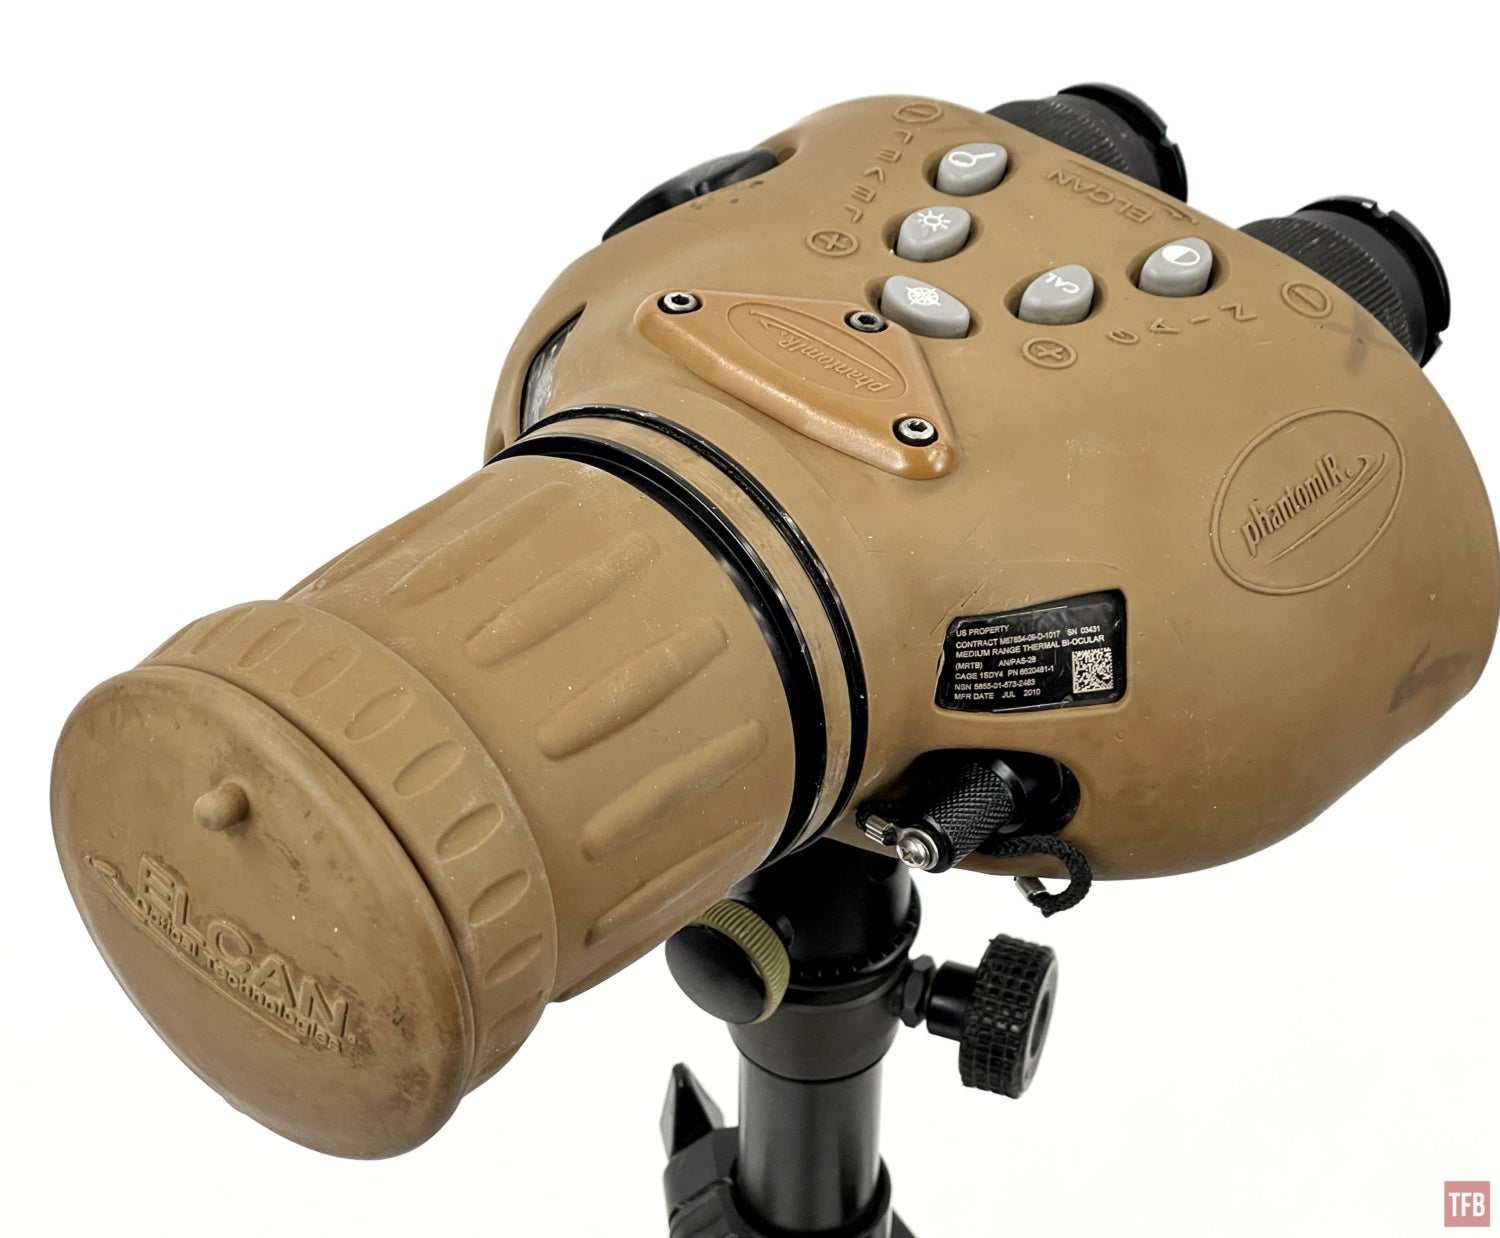
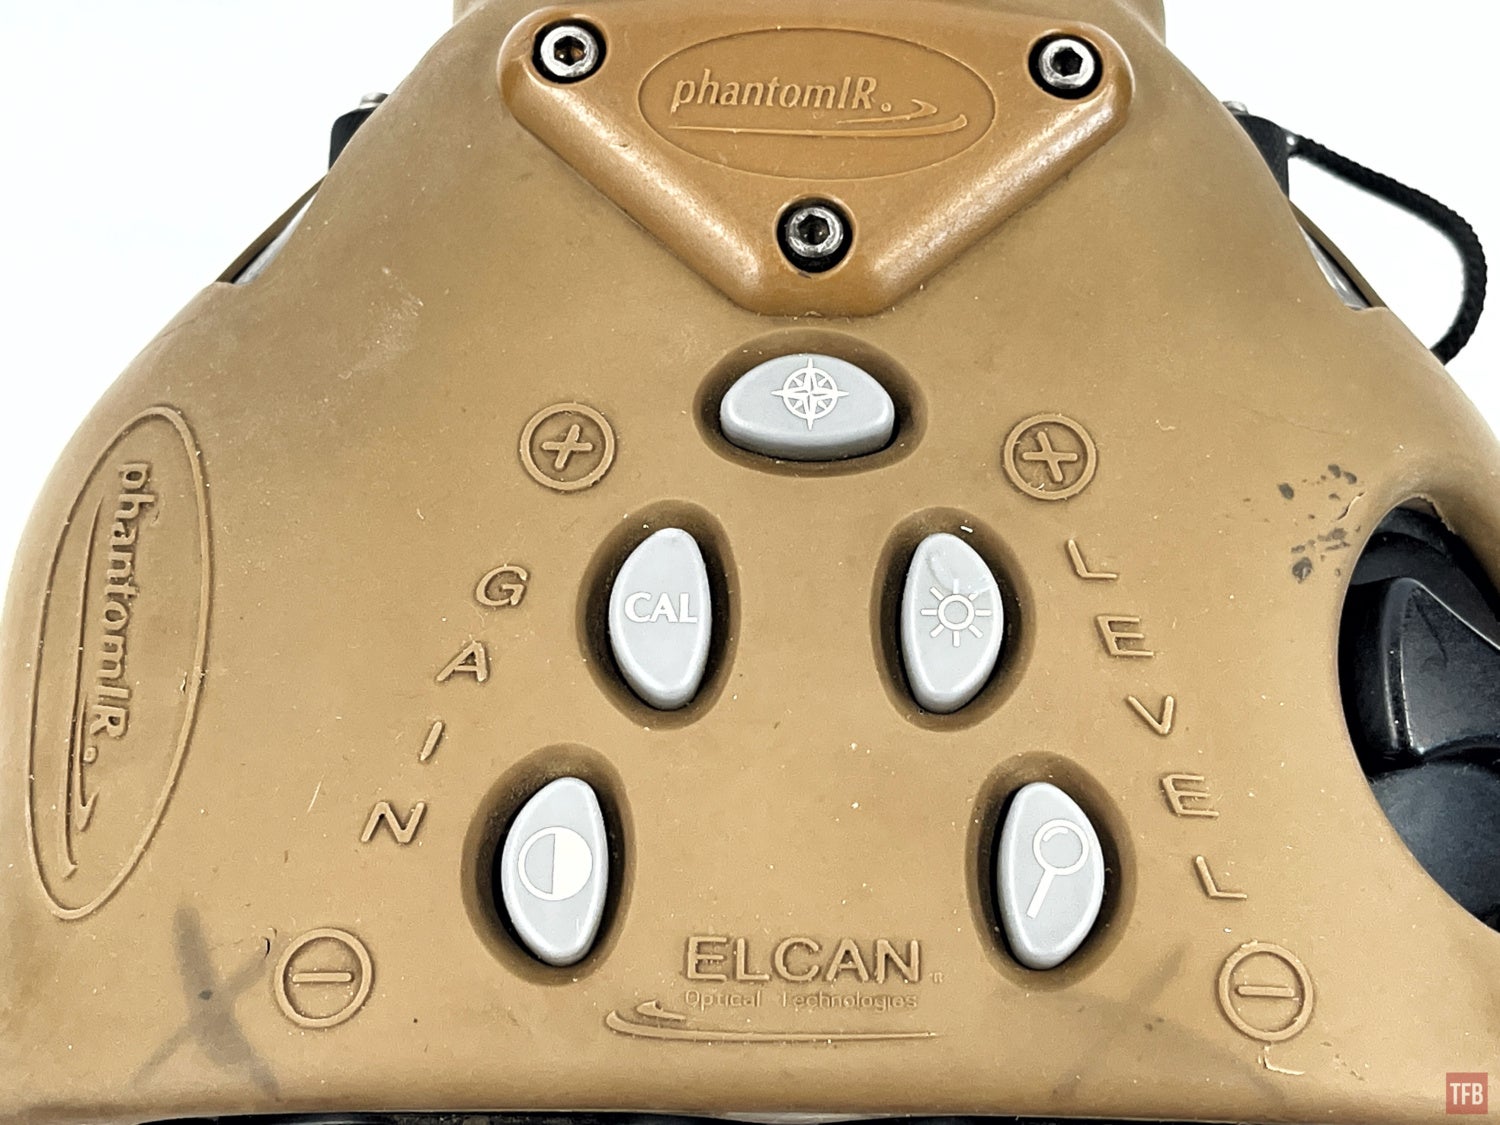
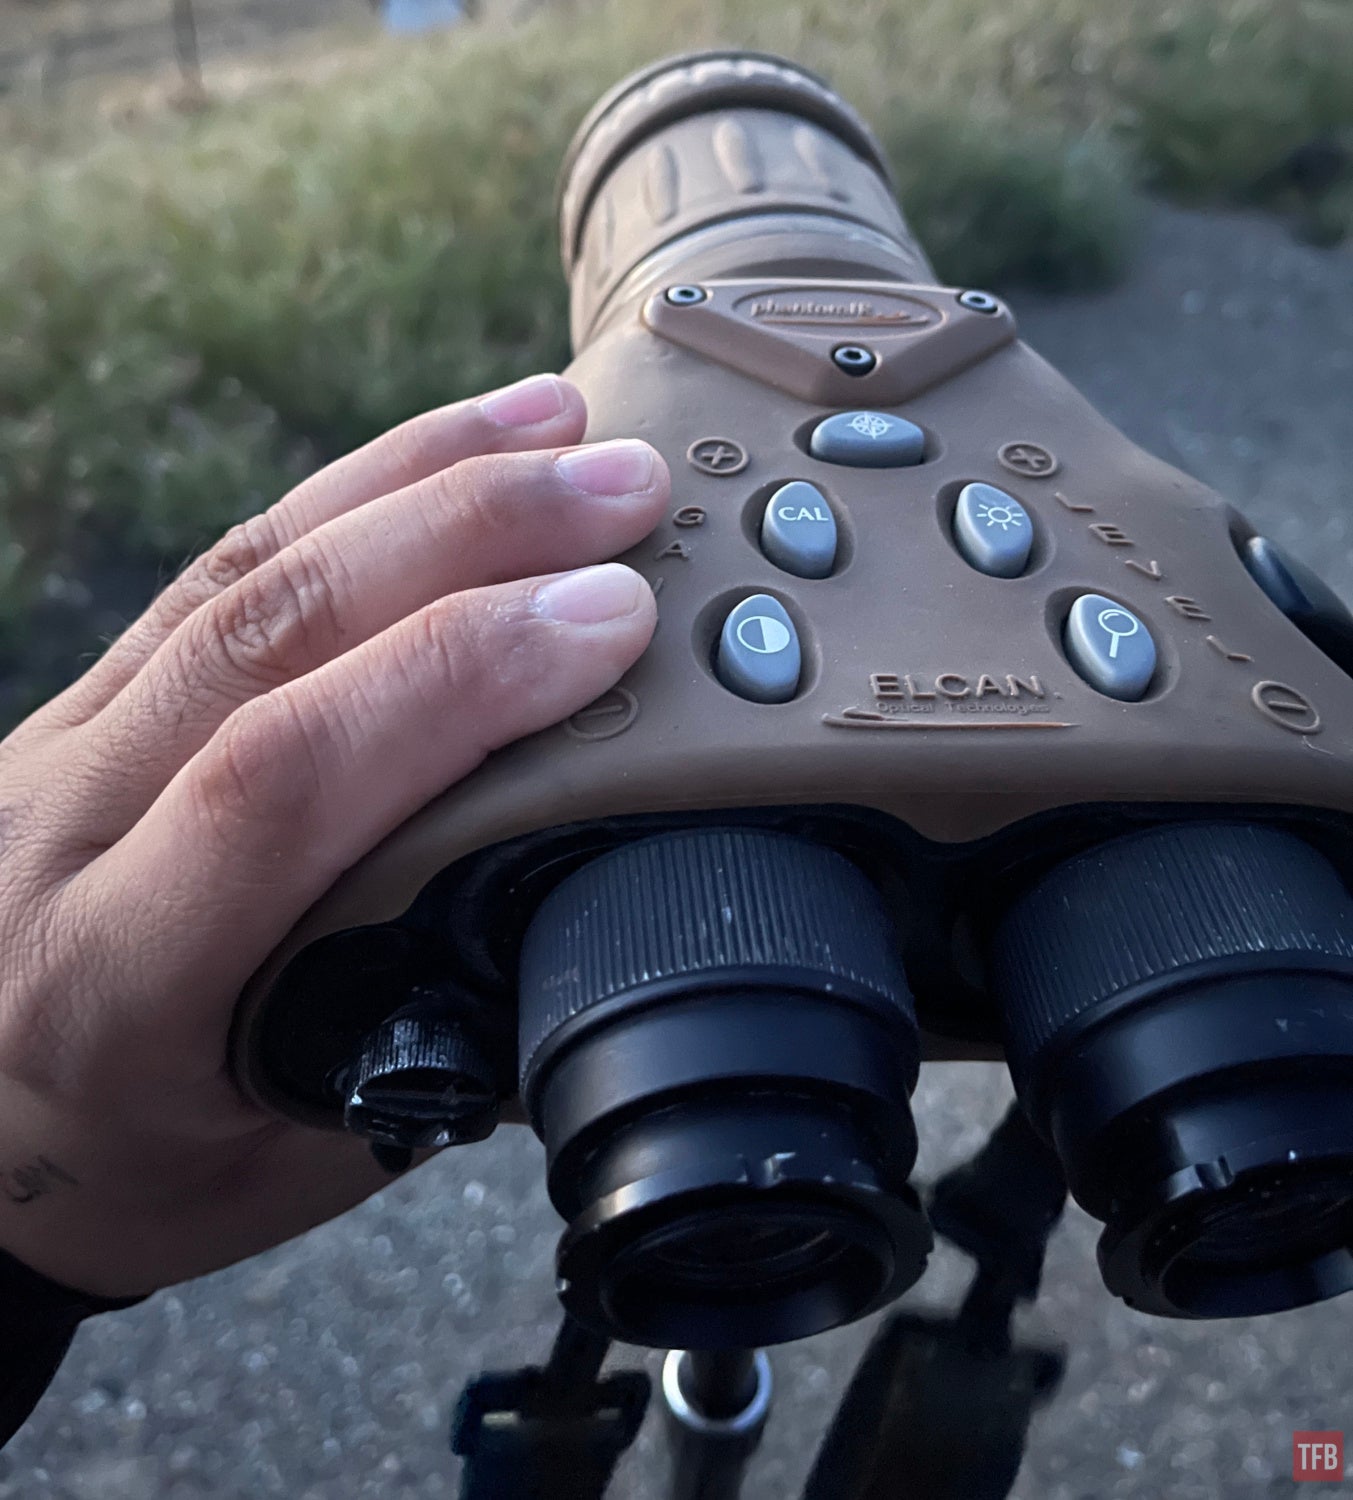
On top of the MRTB are five buttons. Starting from the bottom left and going clockwise:
- Polarity
- Calibration
- Menu/Select
- Brightness
- Digital Magnification
The four buttons also act as up and down buttons for selecting the menu and choosing different options.
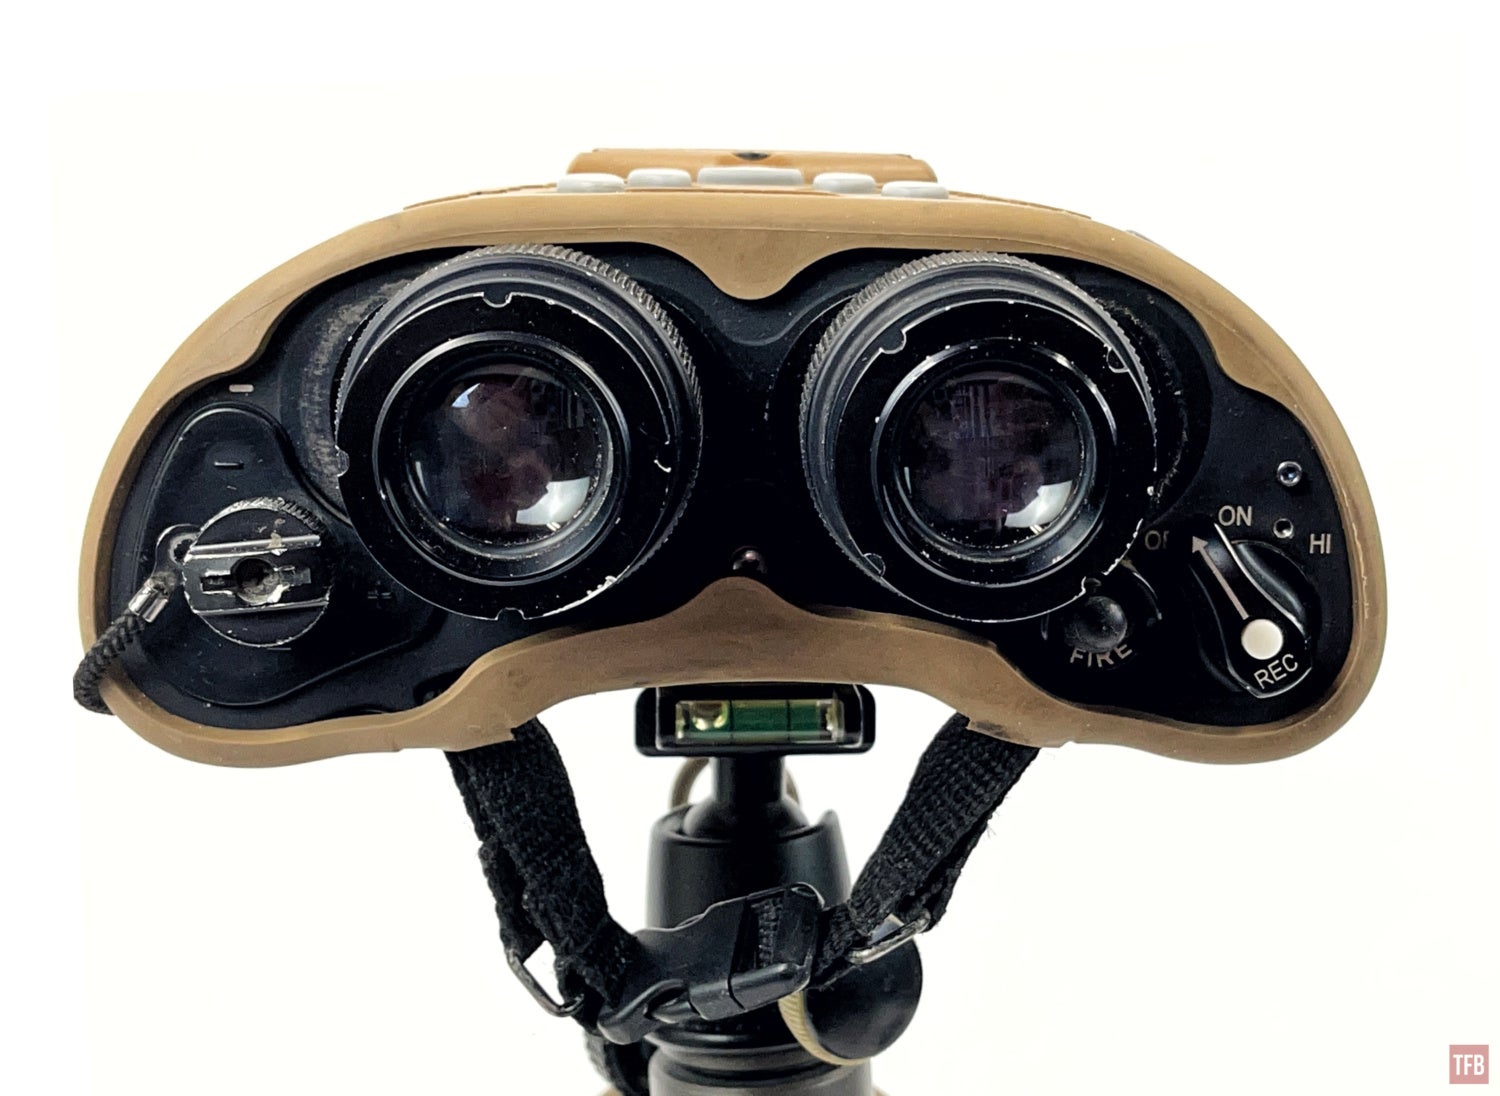
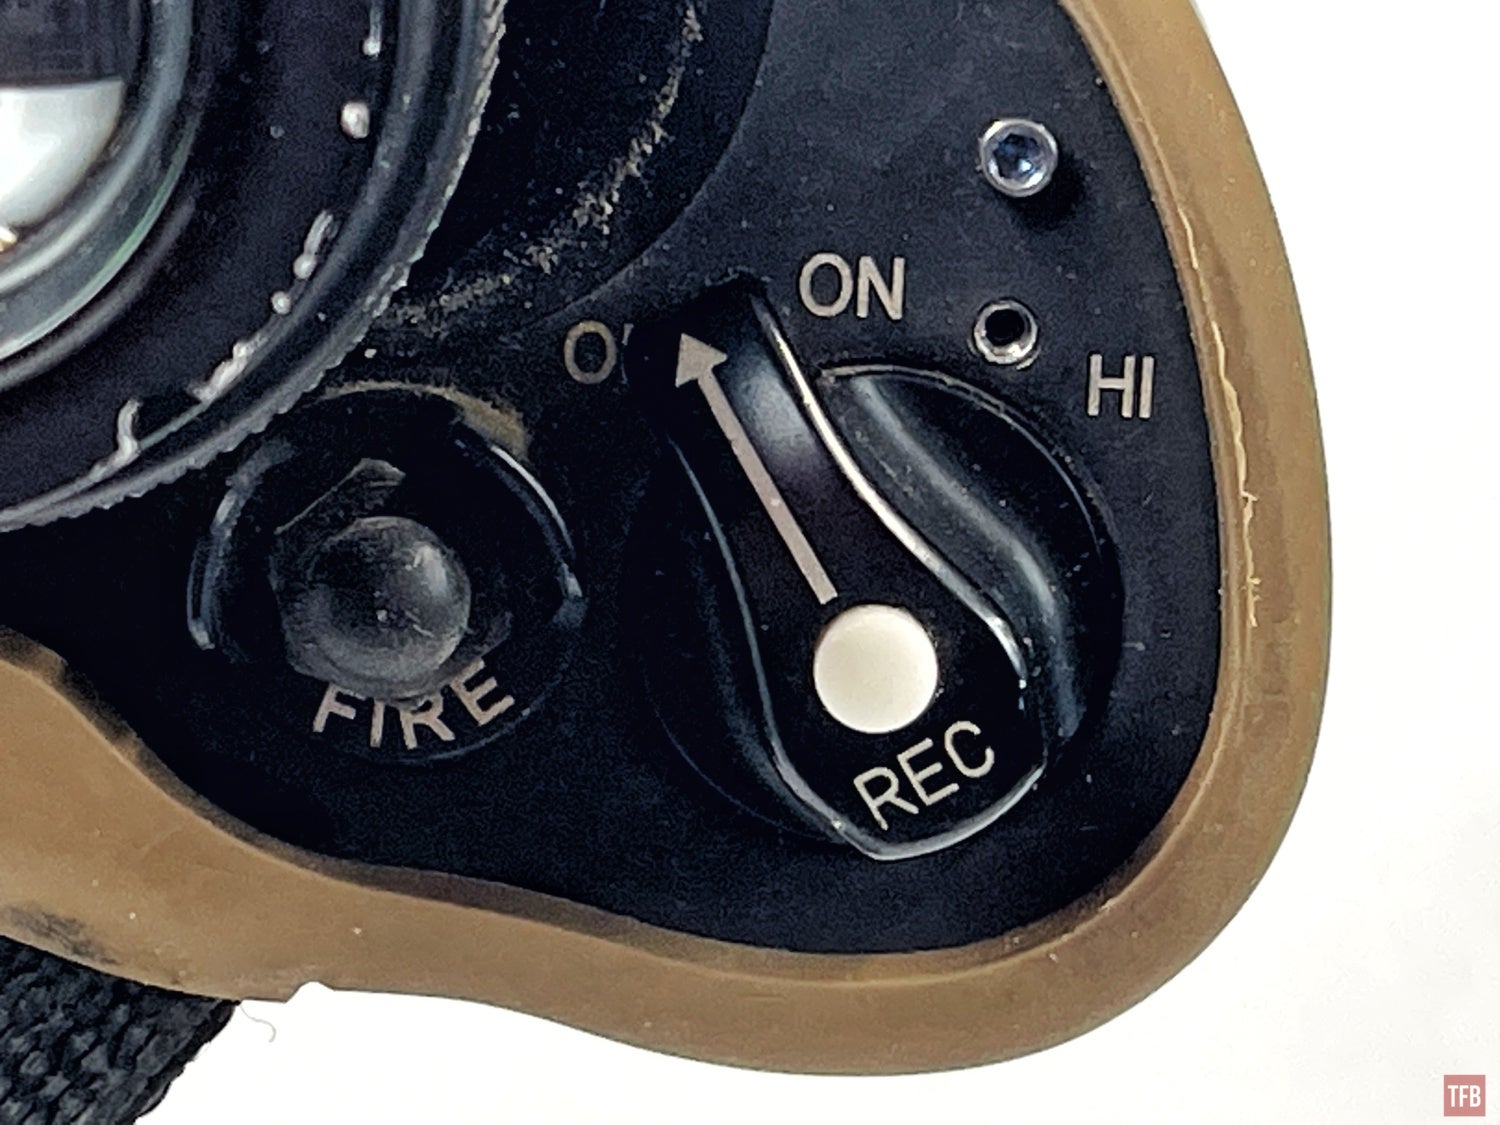
At the back of the MRTB is the battery compartment, on the left, and the power selector as well as the laser button on the right.
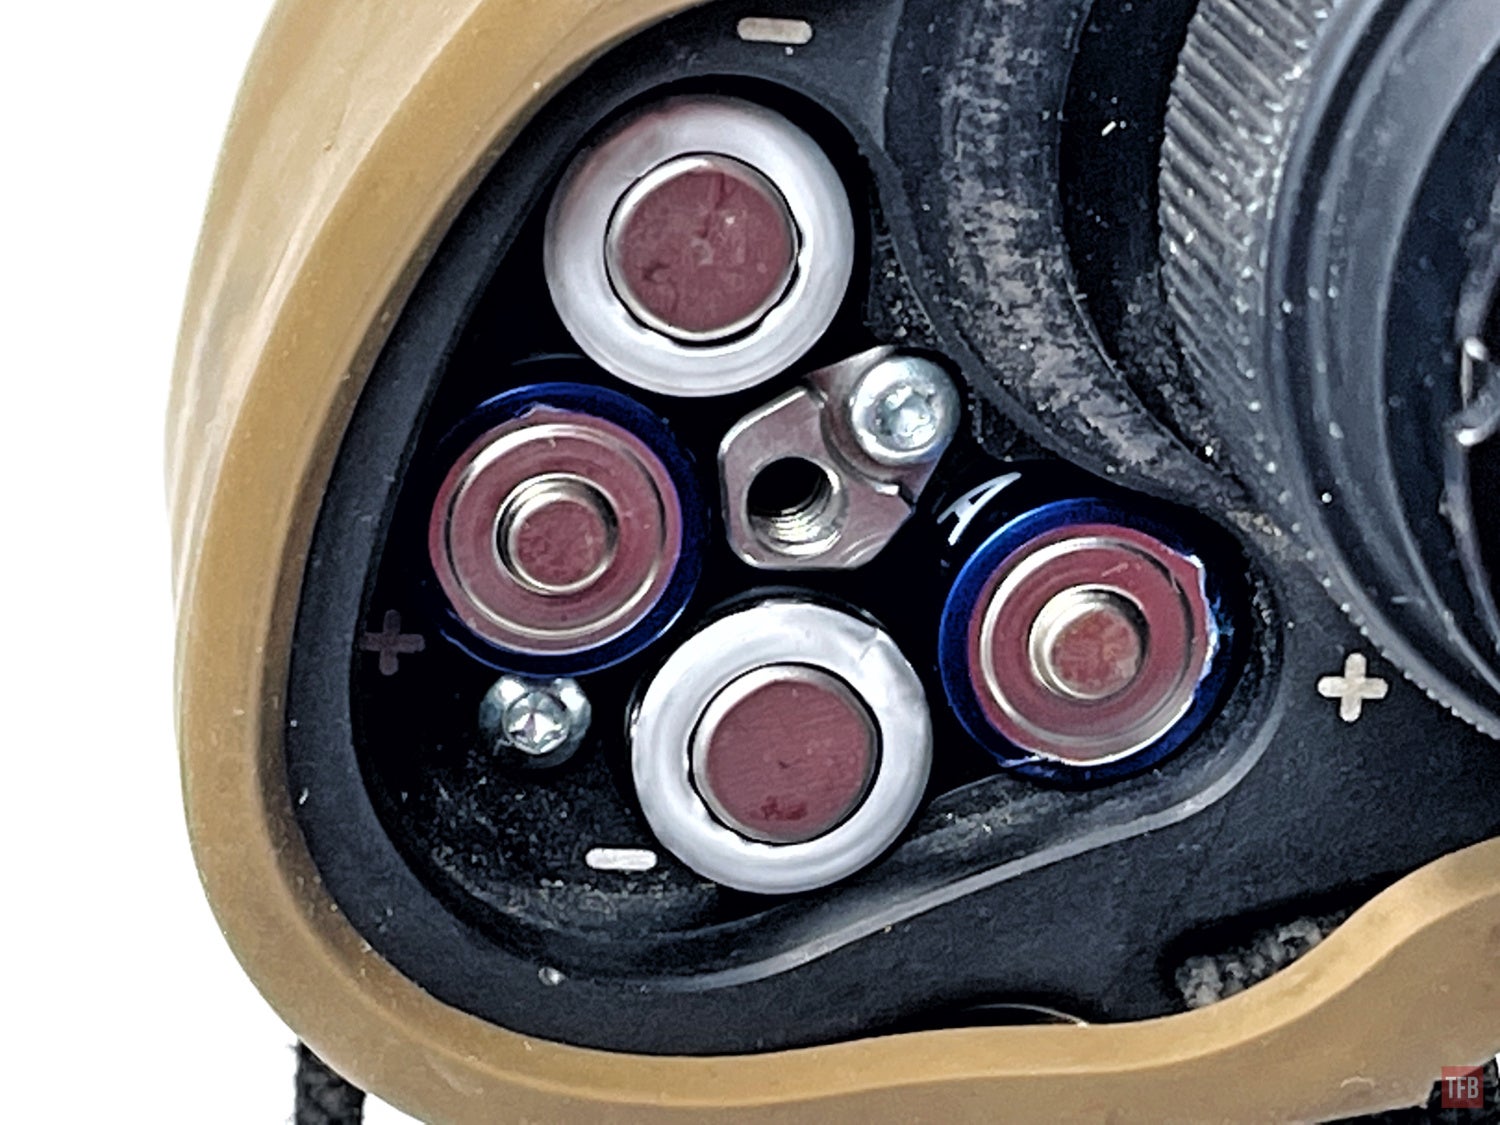
You unscrew the large knob and the entire battery cap comes off. Exposing the four AA batteries that power the MRTB.
4x lithium AA will power the MRTB for 7 hours.
On the right-hand side, your right-hand thumb can operate the switch and buttons. Rotate the switch clockwise to turn the MRTB on. This will also select the laser for eye-safe levels. Throw the switch one more option to HI and you can now use the full-power laser. The partially shrouded button to the left that says “FIRE” is for firing the IR laser designator. This is to help point out objects of interest to others on your team that have night vision. The small white button on the power switch is for taking a snapshot of the image the MRTB produces.
Here is the MRTB next to some other thermal bi-oculars.
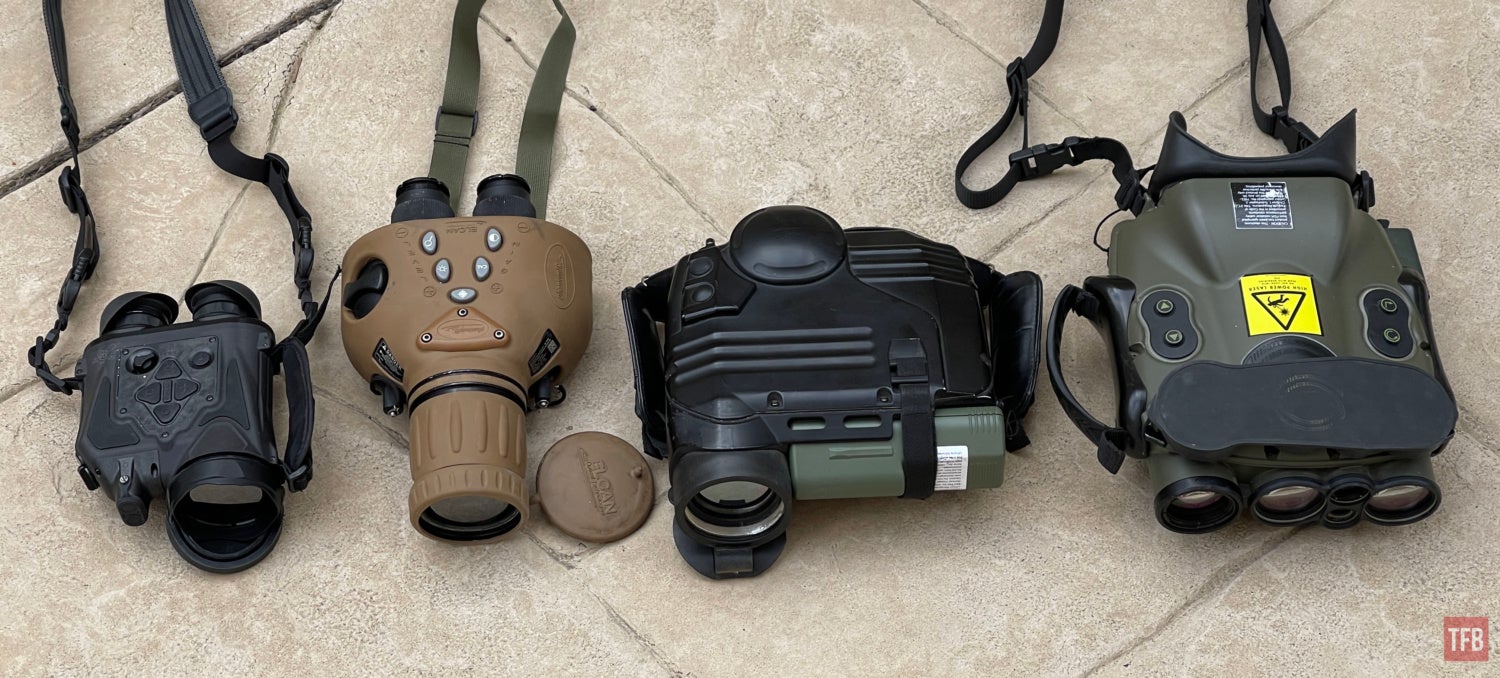
L-R: UTB, MRTB, Sophie LR, JIM LR
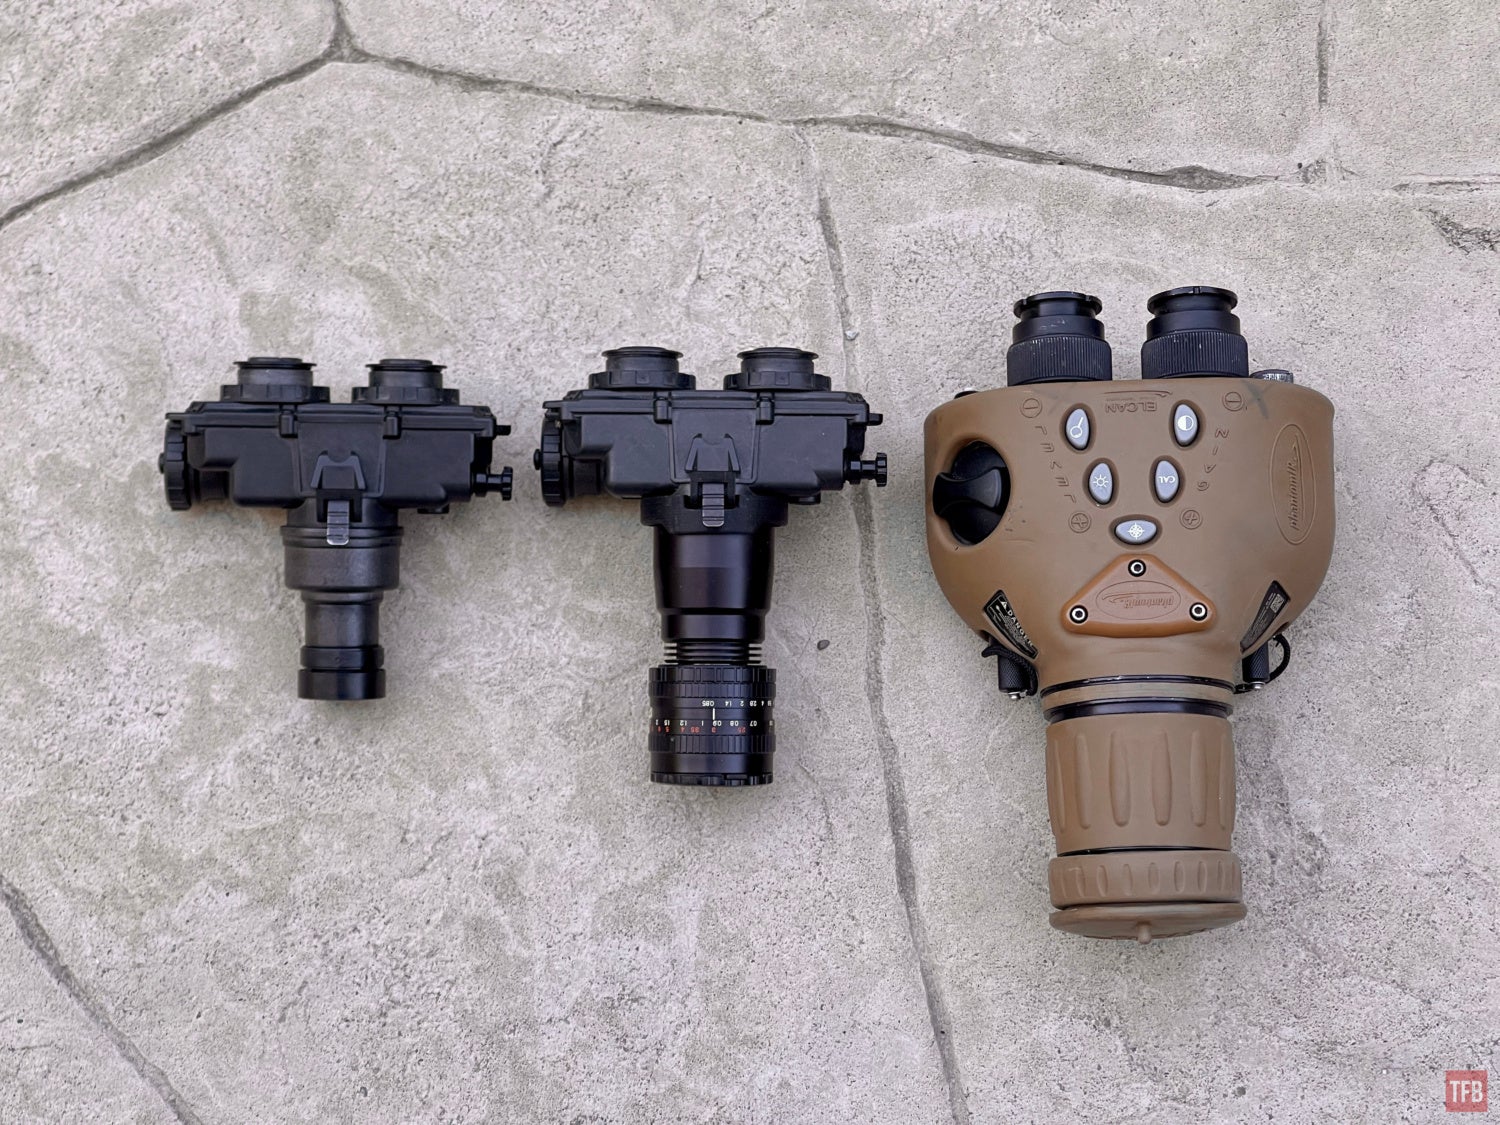
UTB next to the more recognizable PVS-7 night vision bi-ocular. The PVS-7 in the middle has a cascade tub so it is longer than a normal PVS-7.
The MRTB is a bit big and a bit hefty at 3.5 lbs. The trapezoid-like shape is fine for holding but I have to really reach over to press the buttons on the top of the unit.
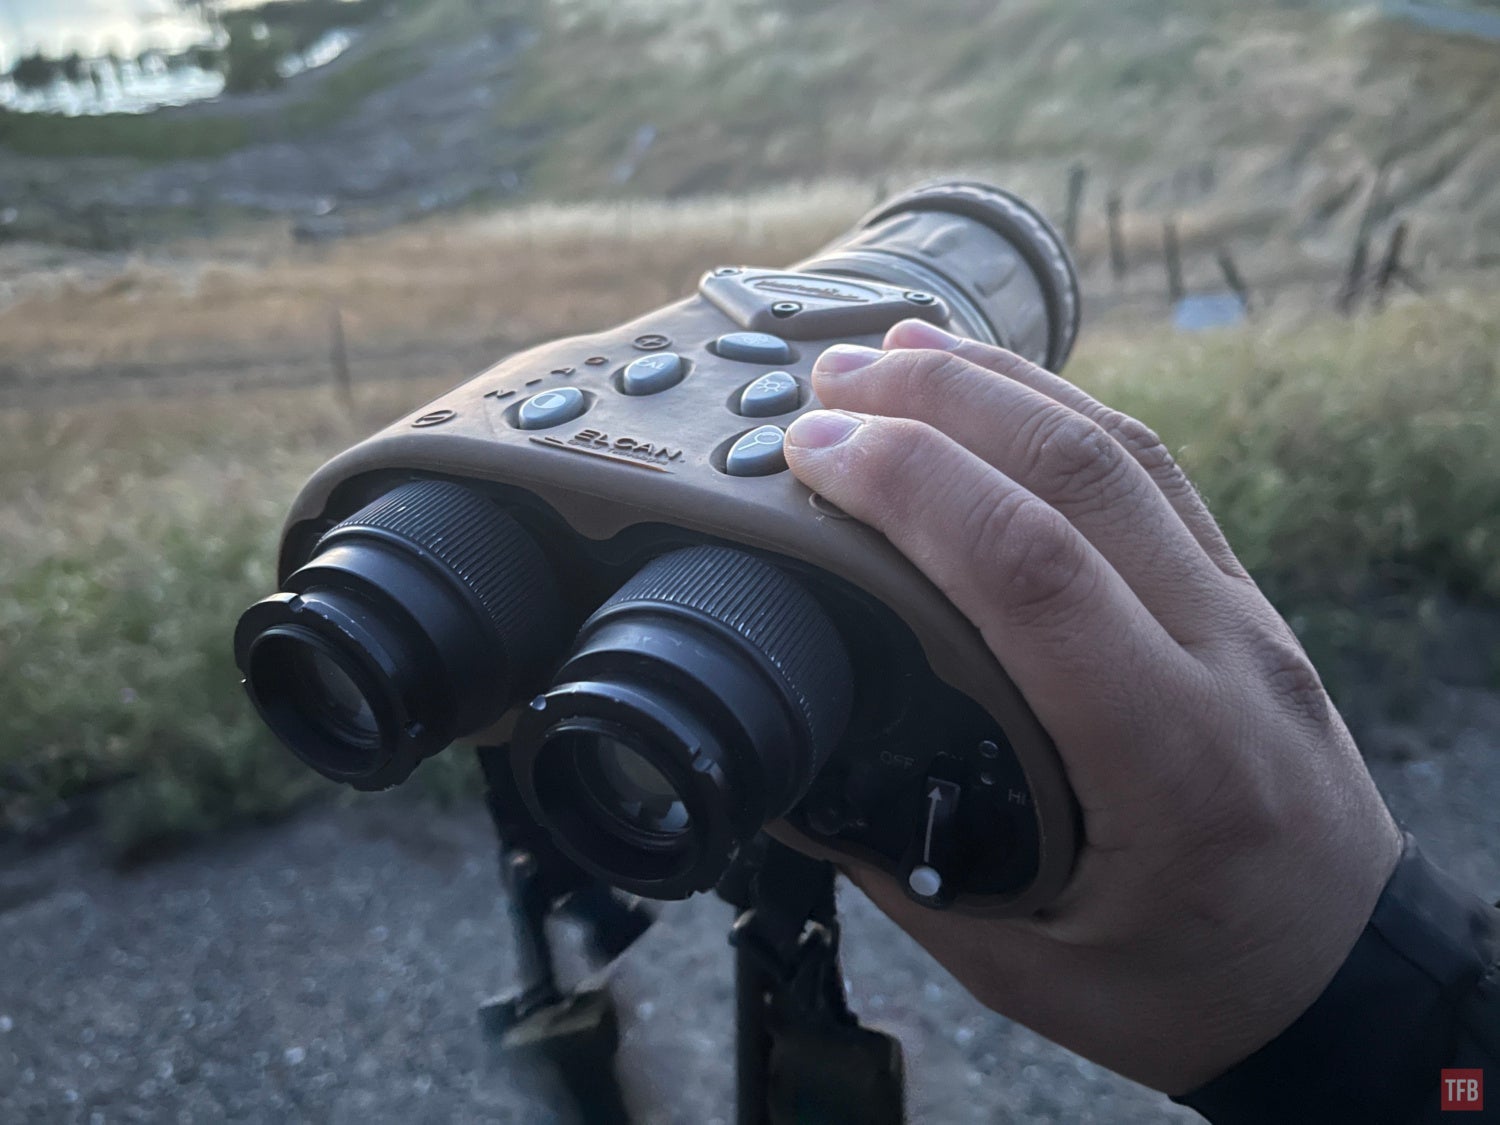
I prefer the UTB controls. The focus adjustment is underneath where my thumb is and I can access all the controls on top. Not the case with the MRTB. I have to spin the objective like a camera lens and the friction is higher than I would like.
Using the MRTB
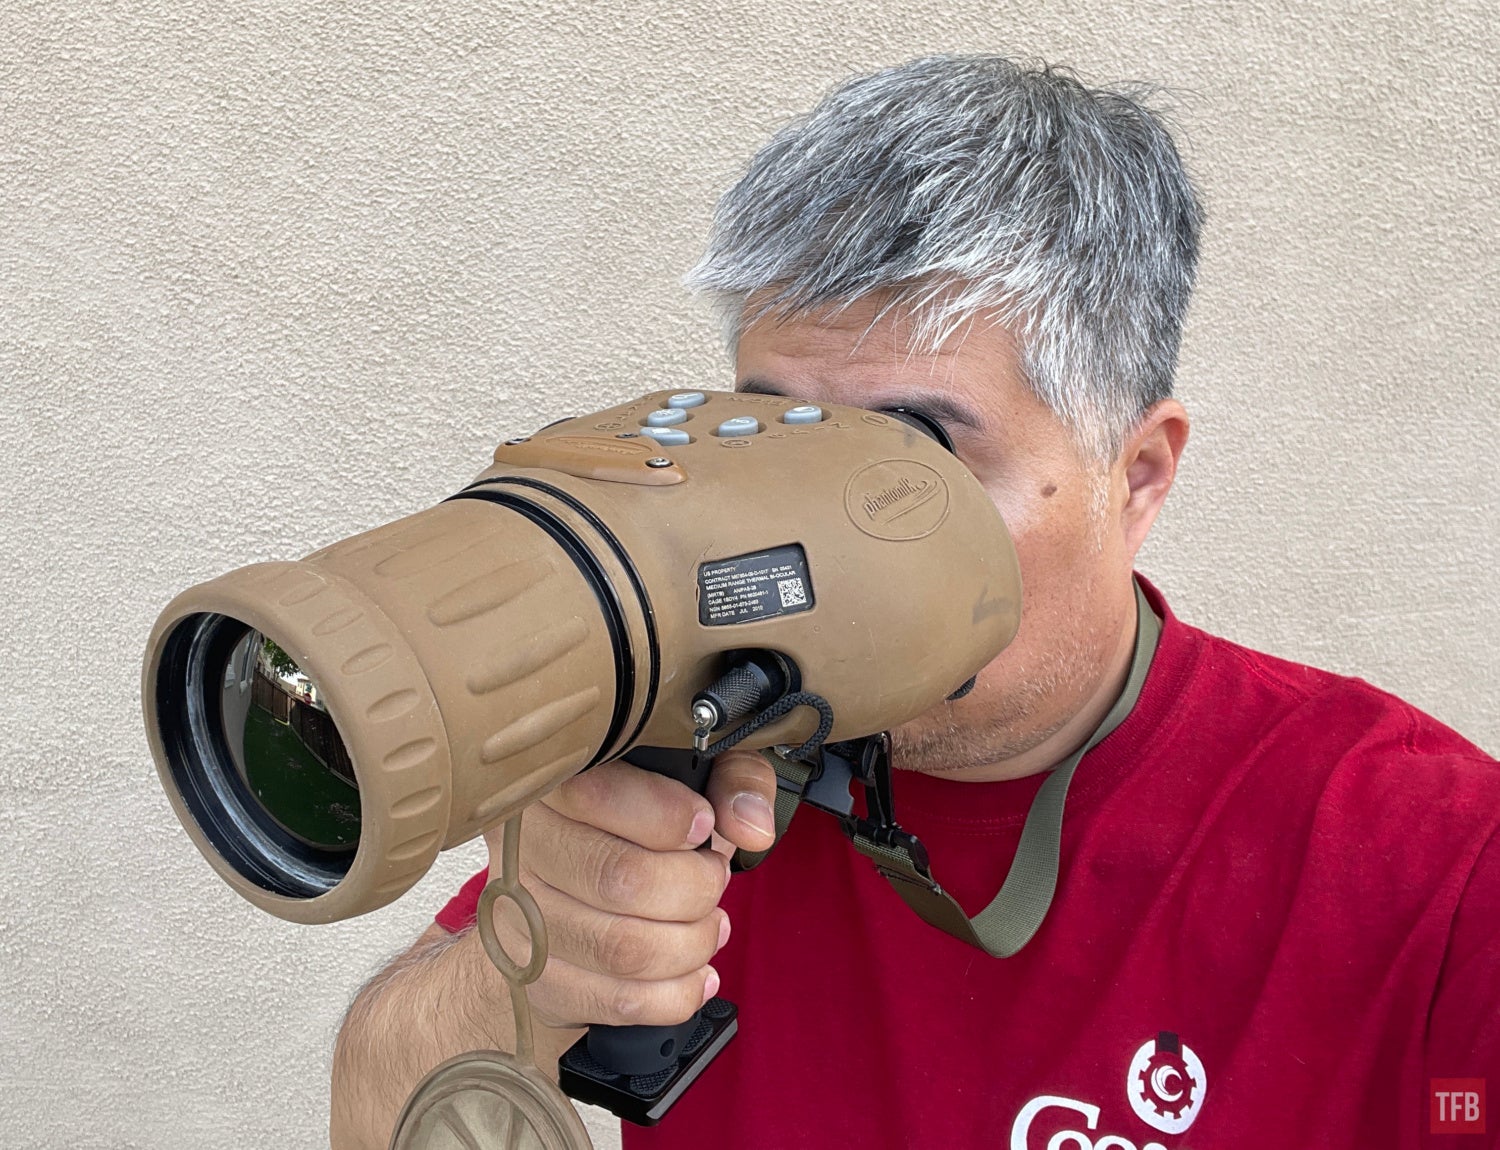
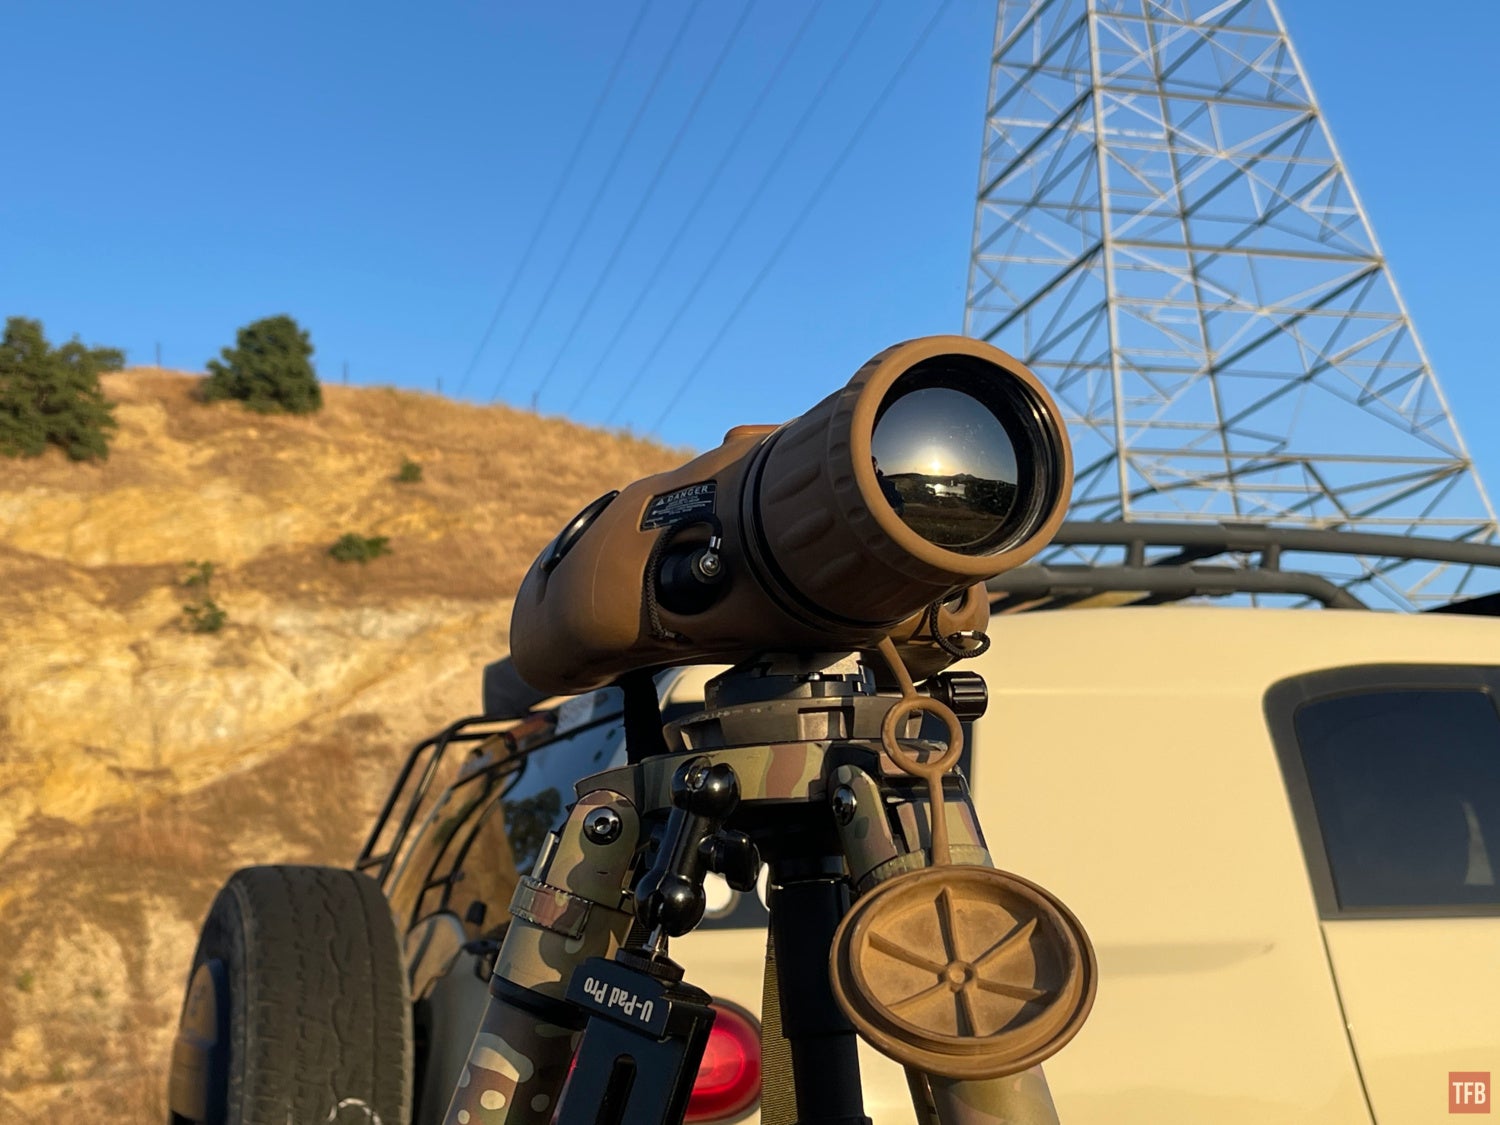
To help take photos, I mounted the pistol grip from the InfiRay T2 Pro onto the tripod hole under the MRTB. But to mount it to my tripod, I mounted an Arca plate on the bottom.
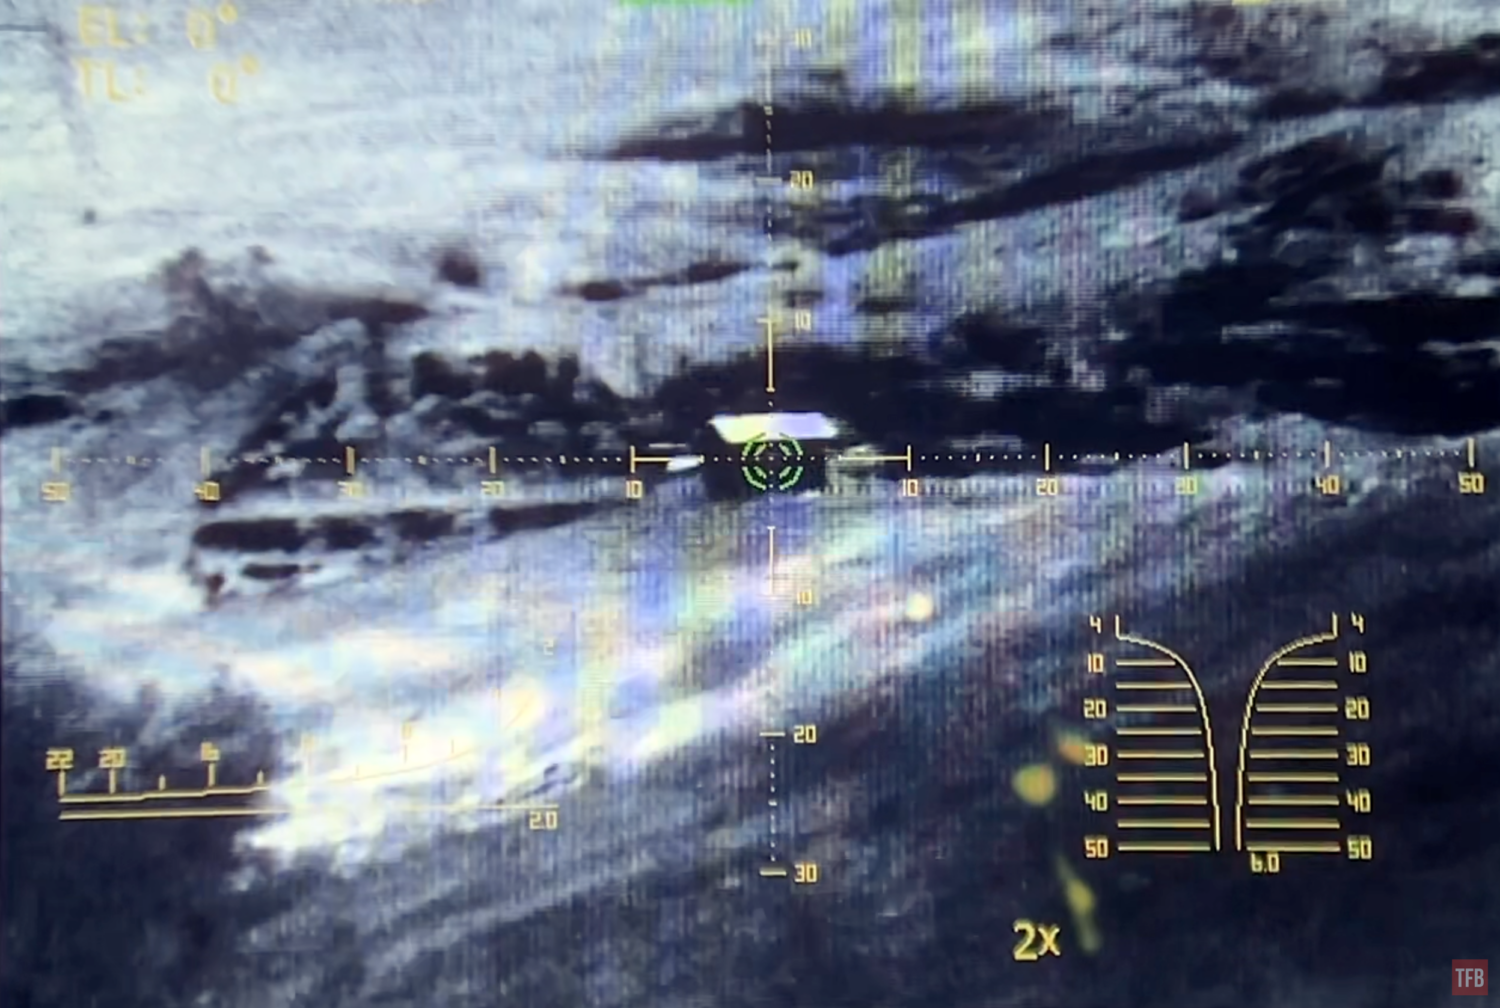
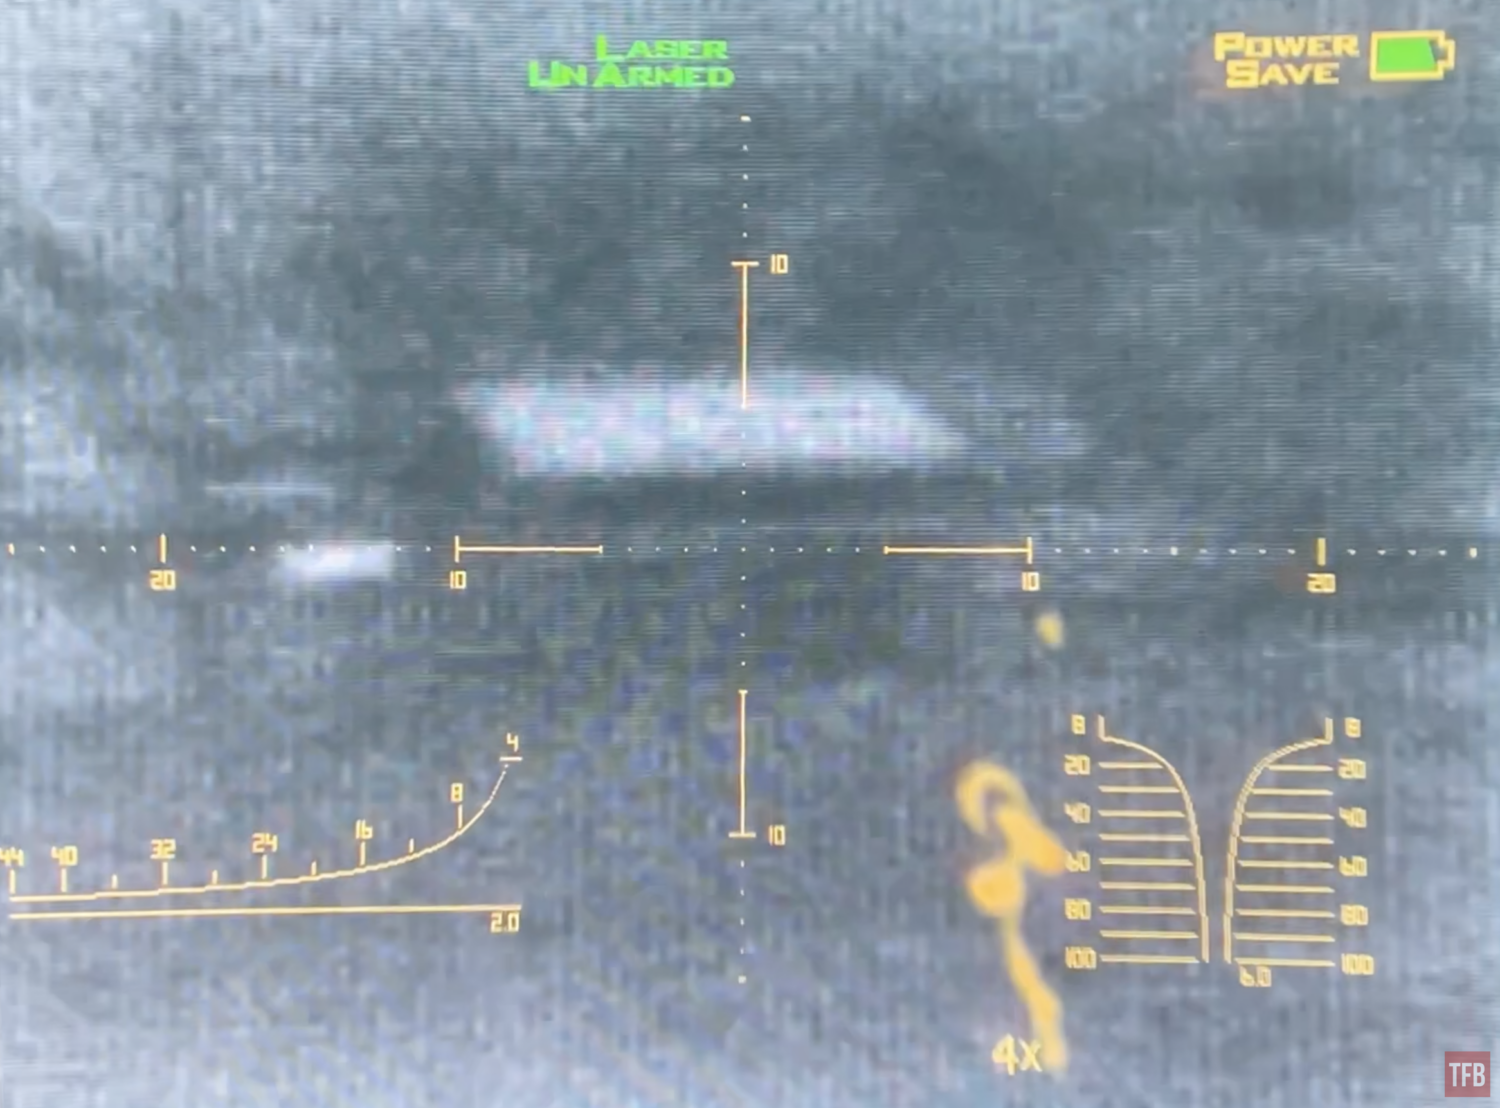
The PAS-28 only has two palettes: white hot and black hot. There are three different reticle options. A simple crosshair, mil-reticle and stadiametric which includes the mil reticle. The stadiametric range reticle on the bottom left is for measuring the height of a soldier. The reticle on the right is for measuring vehicle length. The screenshots below were taken with an iPhone filming through the eyepiece. The thermal image looks better than this to the naked eye.
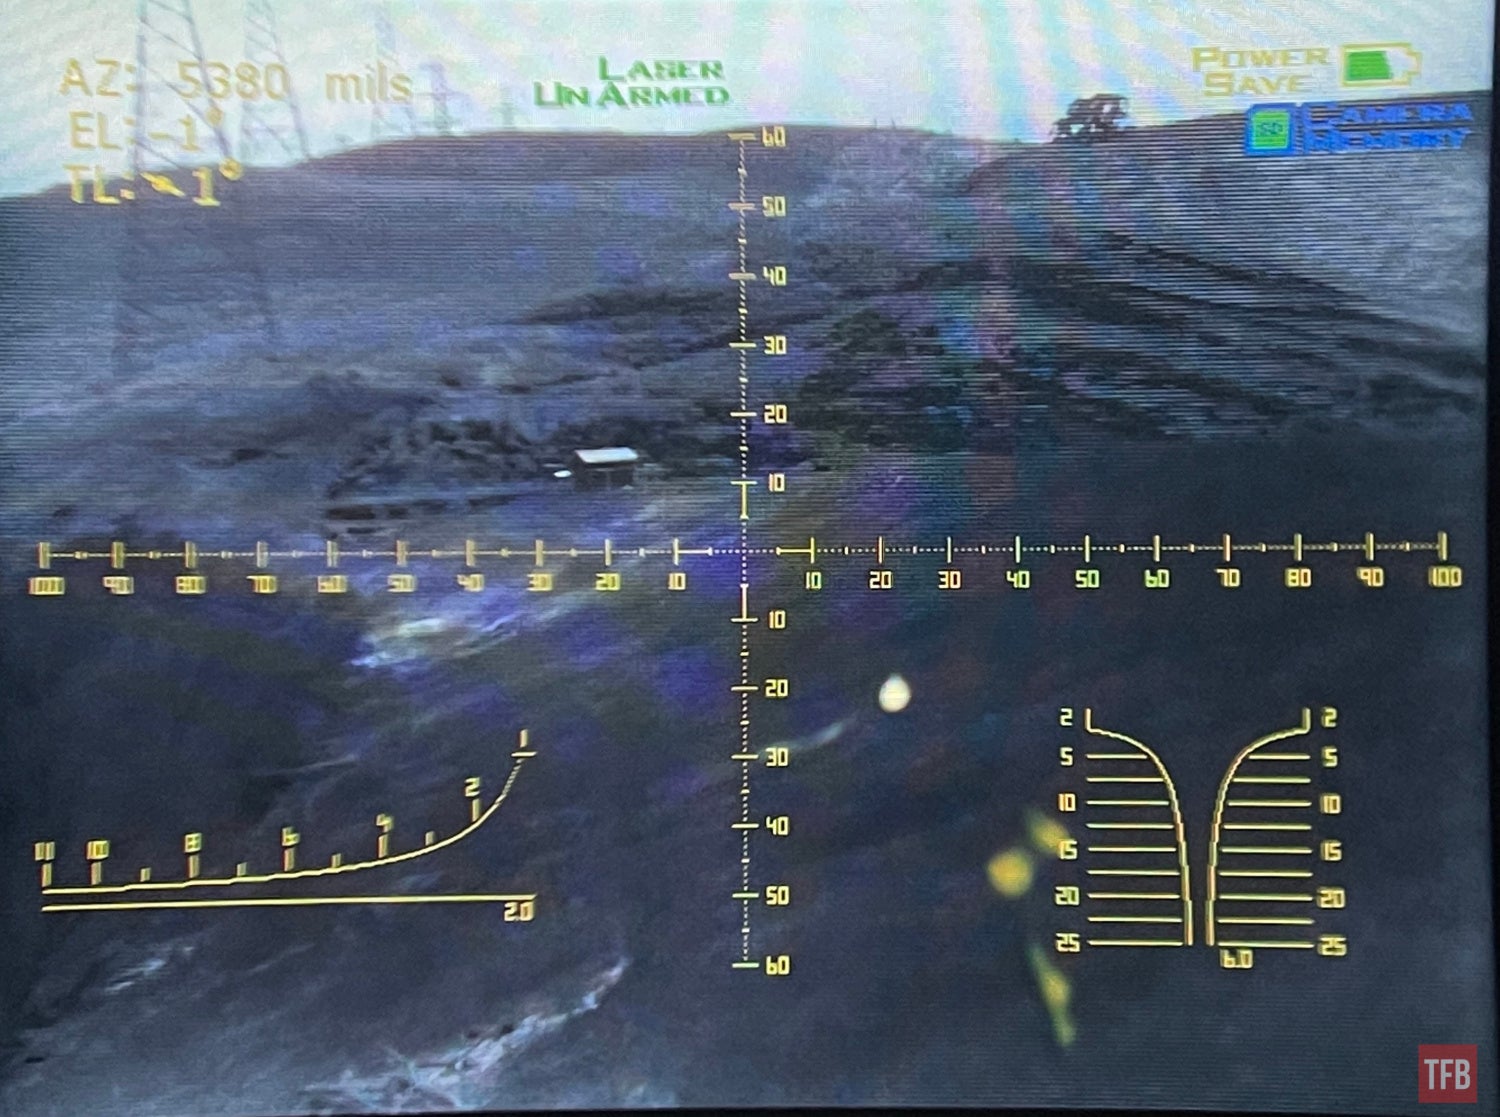
Black hot. The shed is 530 yards away.
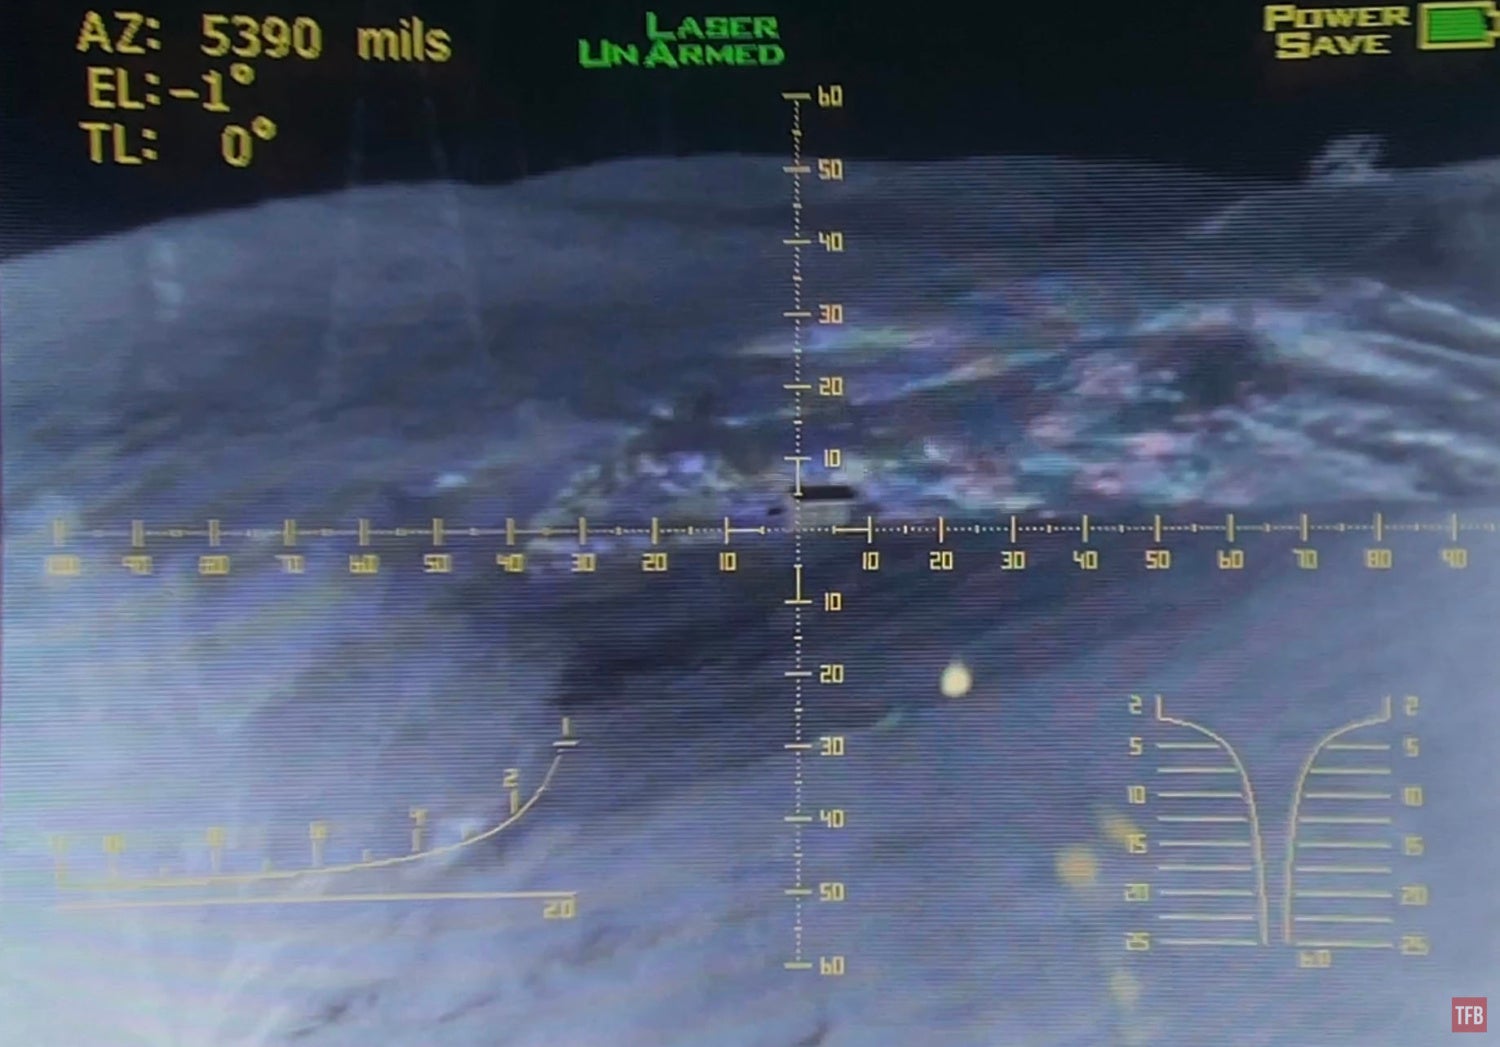
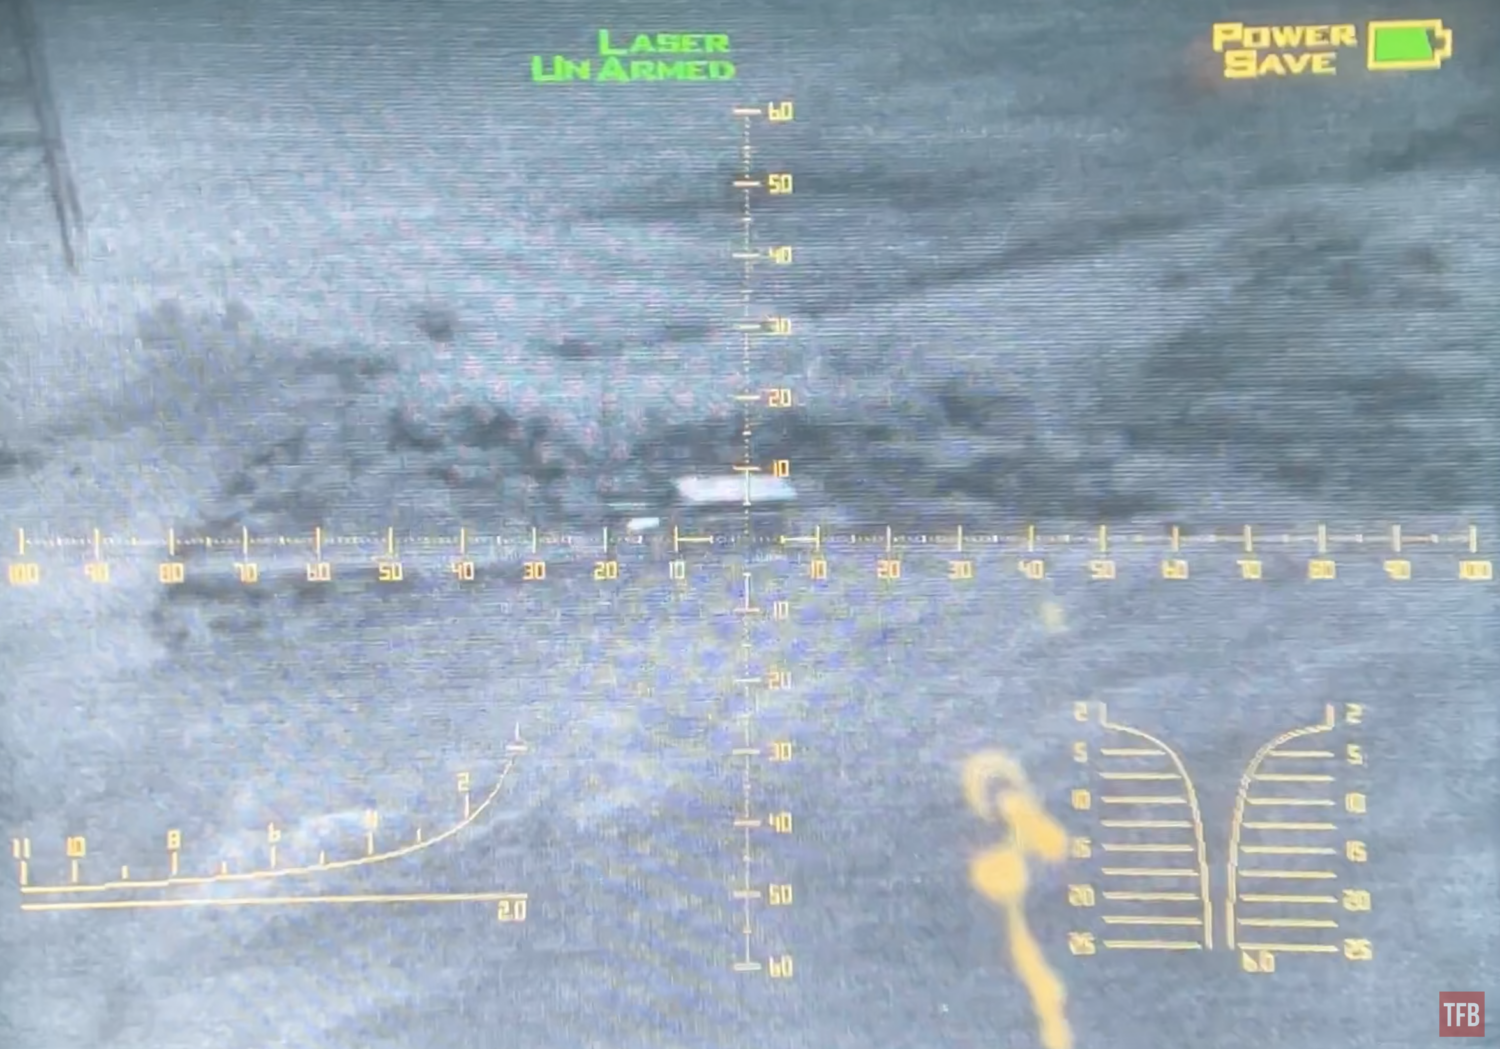
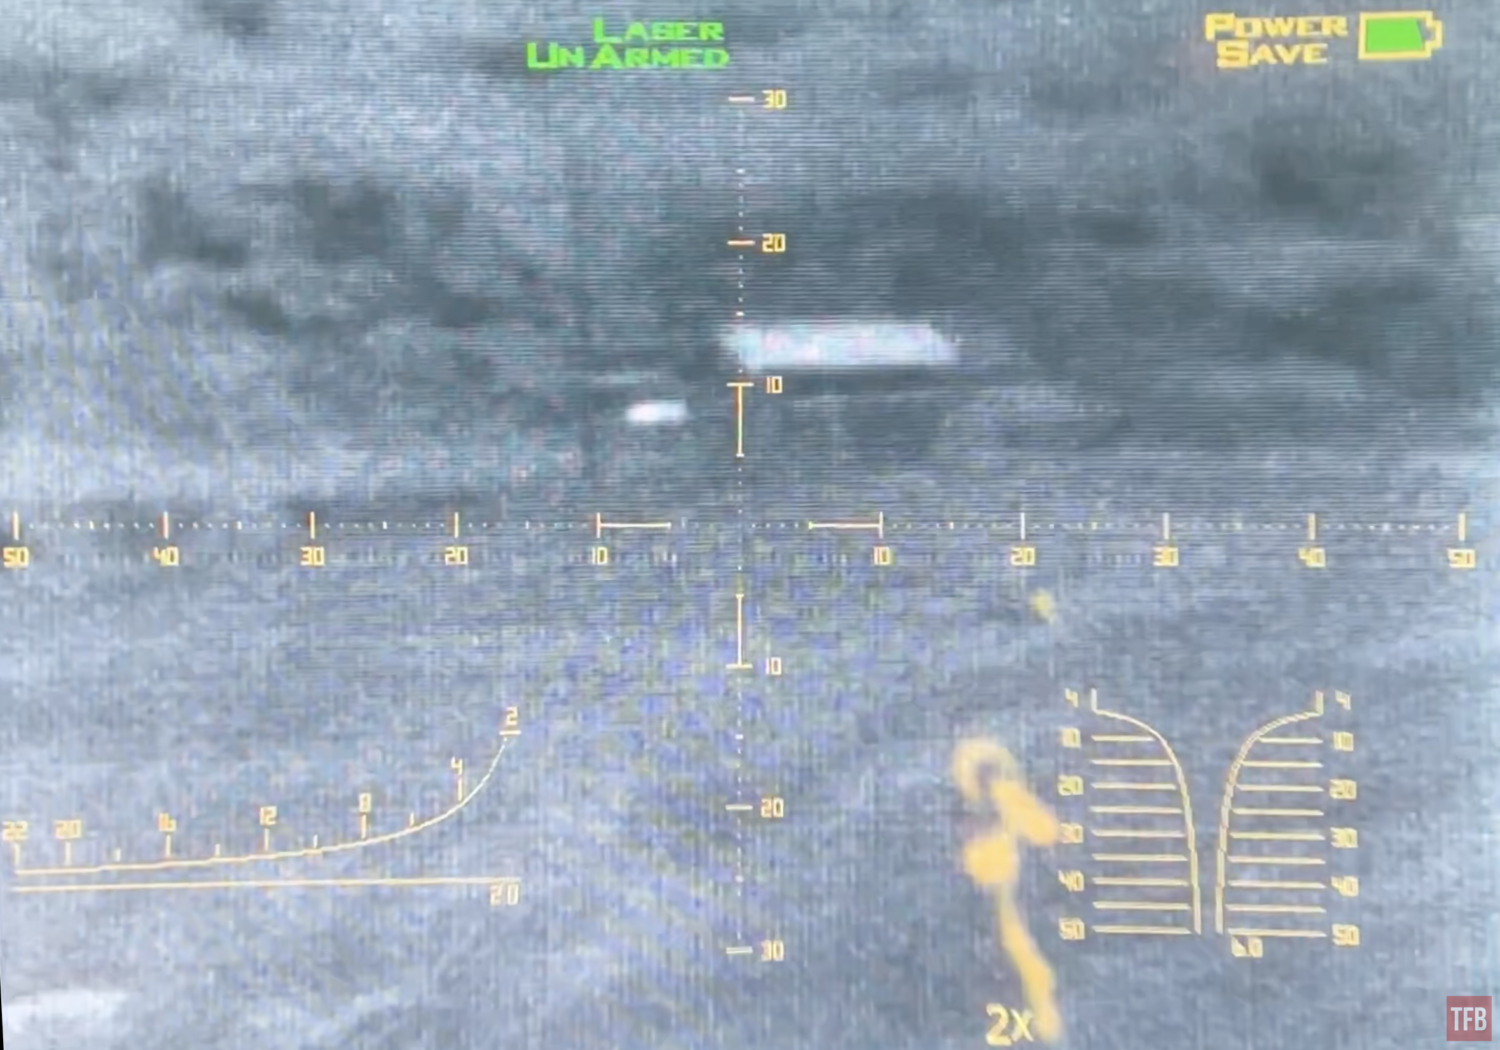
2x digital zoom. The reticle changes size for the magnification level.
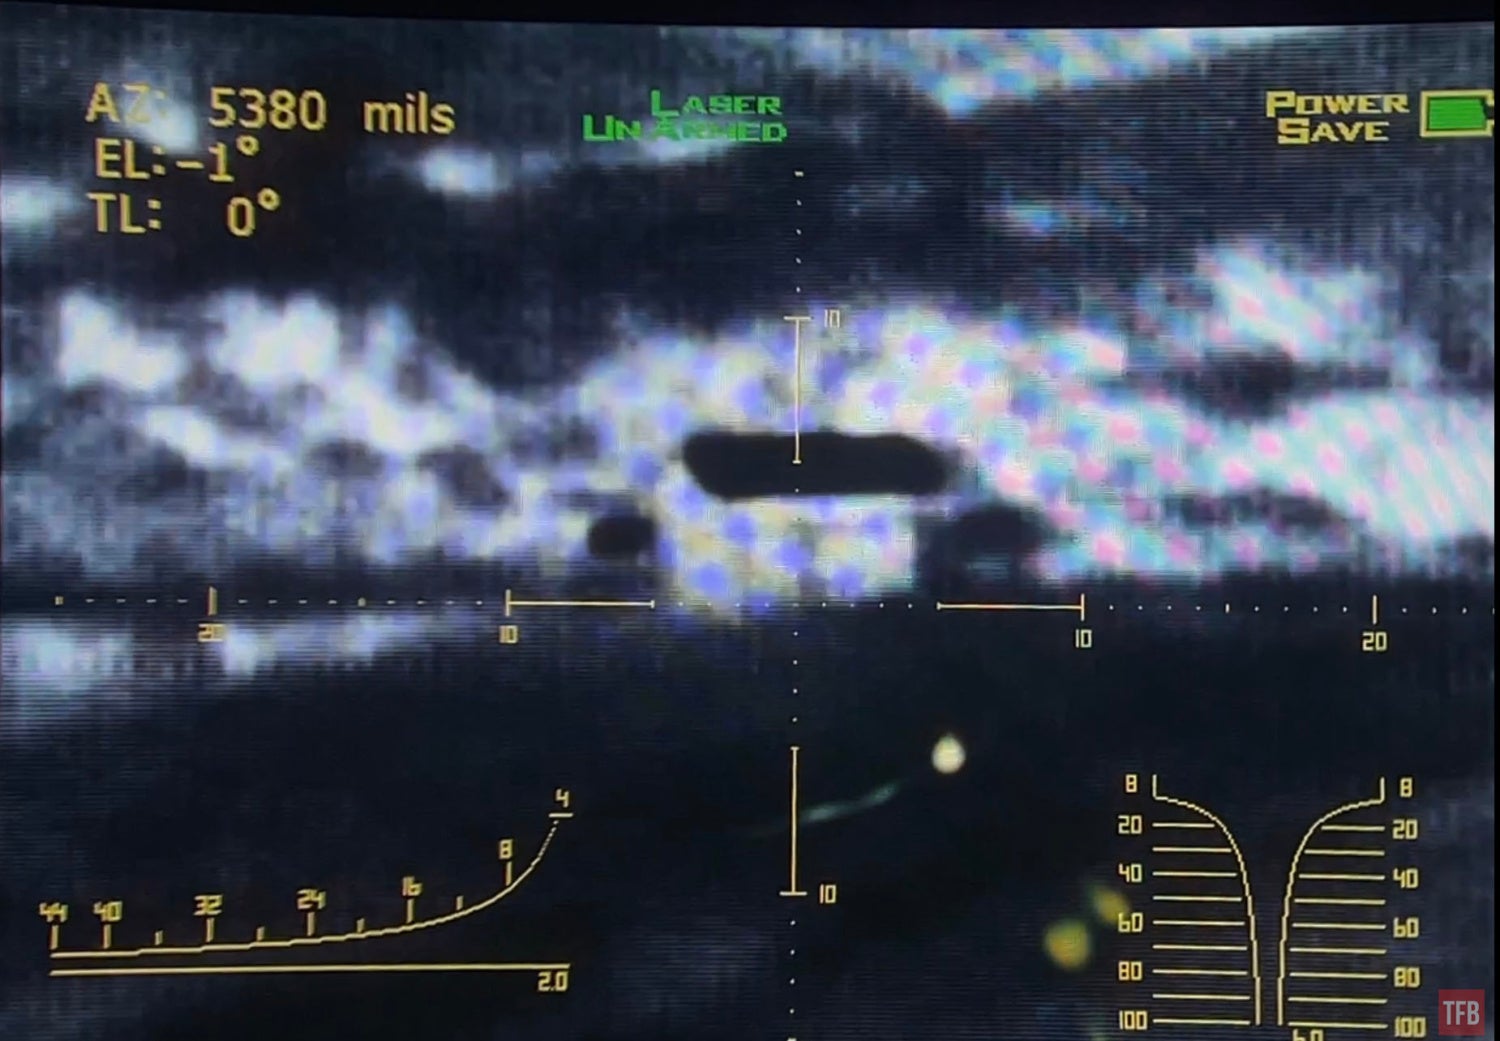
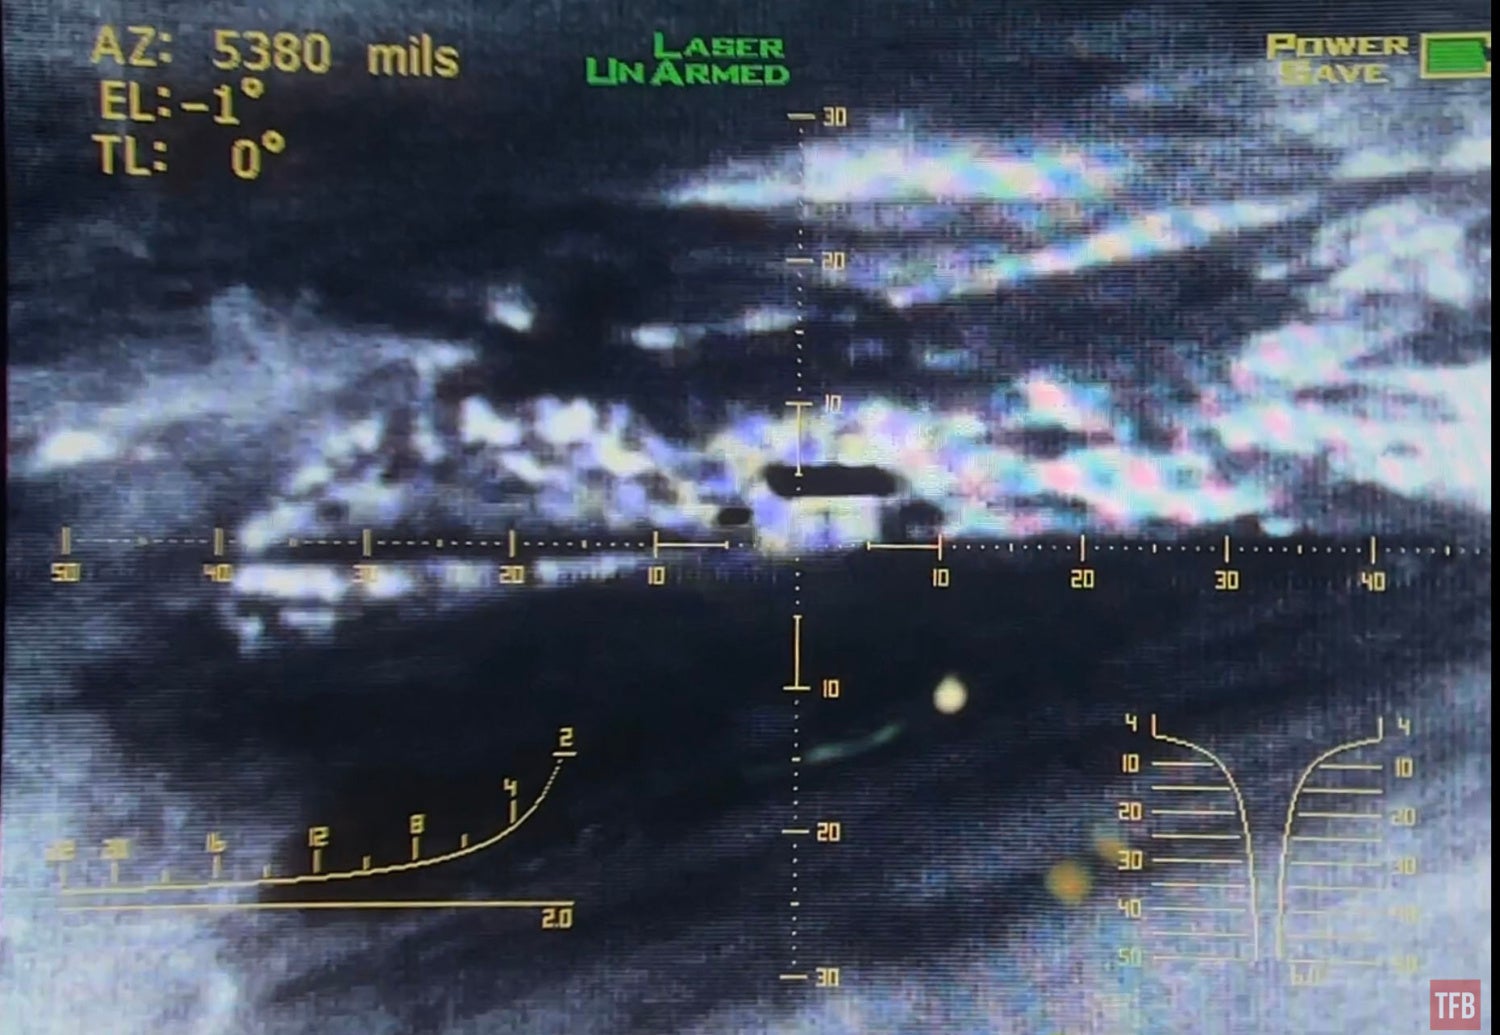
4x digital zoom. Look at the reticle, it changed again.
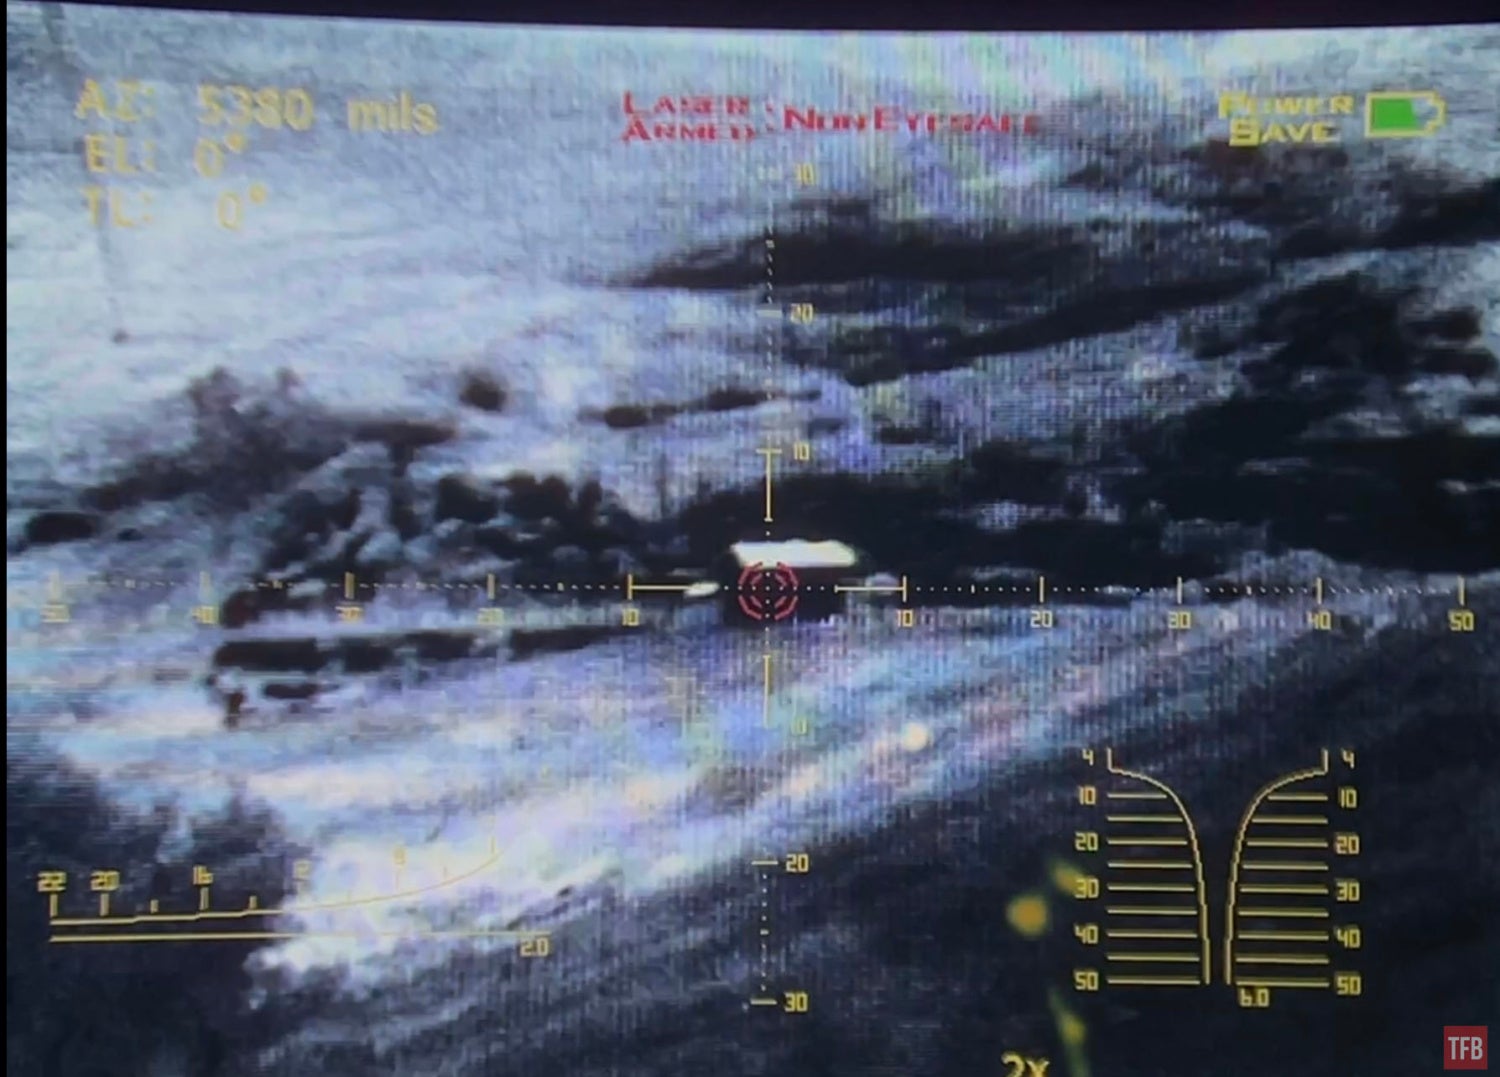
When you enable the aiming laser, the laser is zeroed parallel at the factory so what you point the thermal at, the laser will point at it just a couple inches off from the center. The onscreen reticle shows you a concentric pair of circles that the laser is on. If you are in the eye-safe mode, the laser reticle is yellow.
When you select the full-power laser, there is text on top that the laser’s armed and NON-Eye Safe. Also, the reticle is red when the laser is fired.
Final Thoughts On The PAS-28 MRTB
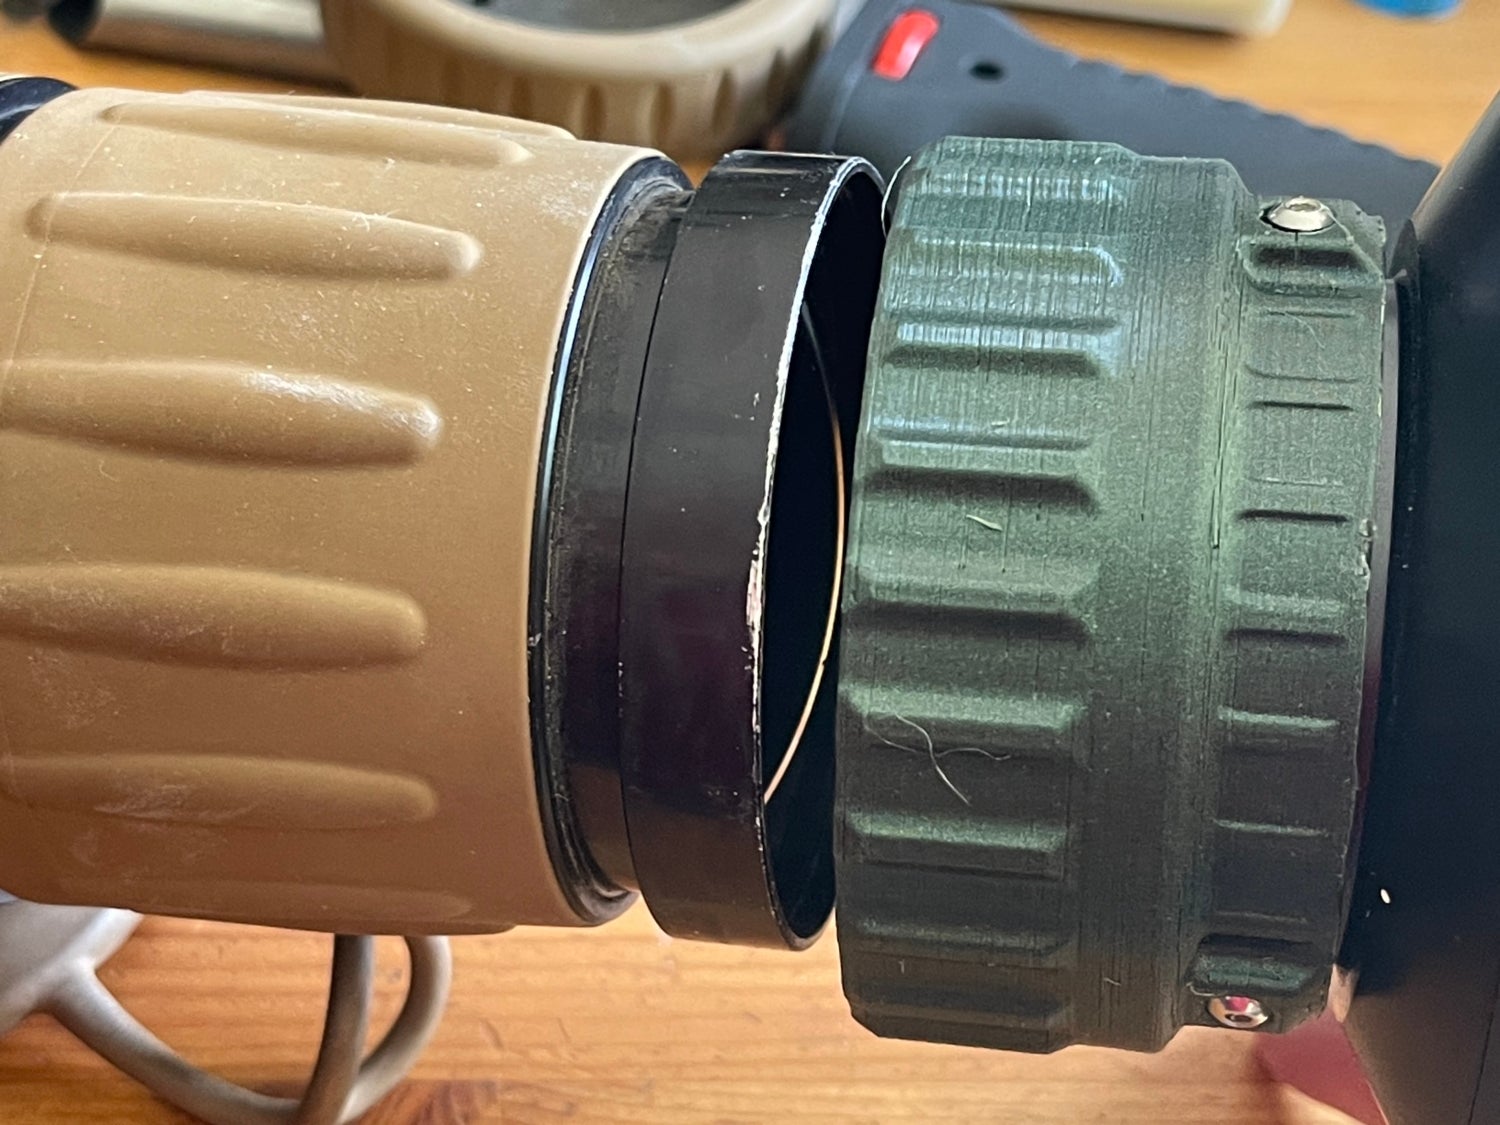
For the second market price, the PAS-28 MRTB is a decent unit. It is rather old at over a decade old but the thermal image is decent and it has a decent amount of magnification. Here is what the MRTB looks like when I boost its performance with my FLIR 2x afocal magnifier.
Base magnification with 2x magnifier.
2x digital magnification with 2x magnifier.
4x digital magnification with 2x magnifier.
The MRTB retails for around $20k over ten years ago. They seem to be slowly being released in DRMO or some similar retirement system of the military. So you can find them for a lot cheaper. I am trying to find the video out cable for one of these so I can record the actual thermal image and show its performance better than using an iPhone looking through the eyepiece.
I also hope my friend Thomas will be willing to help me redesign and print the 2x magnifier coupler. I have an idea of how it can be tweaked so it will still work with the UTB but also grab onto the front of the MRTB.
Edit: The seller who I got the MRTB from finally got the video out cables so I bought one. As I predicted, the damage is only in the OLED displays and not the thermal image. Here is a test video I made capturing the analog video with a USB capture card and my Samsung Tablet.