 Your Privacy Choices
Due to the fingerprint requirement for National Firearms Act (NFA) applications, some people have sought the services of law enforcement, while others look to do it for themselves. Just to clarify, you can fingerprint yourself when applying to the ATF to make a Short Barreled Rifle or Shotgun (SBR/SBS) and for suppressors. When using your local sheriff’s office, you can probably expect to pay anywhere from $5 to $15 (my department charges $10), so if you’d like to save a few bucks, especially when you plan to submit multiple applications, doing your own fingerprints is a solid solution.
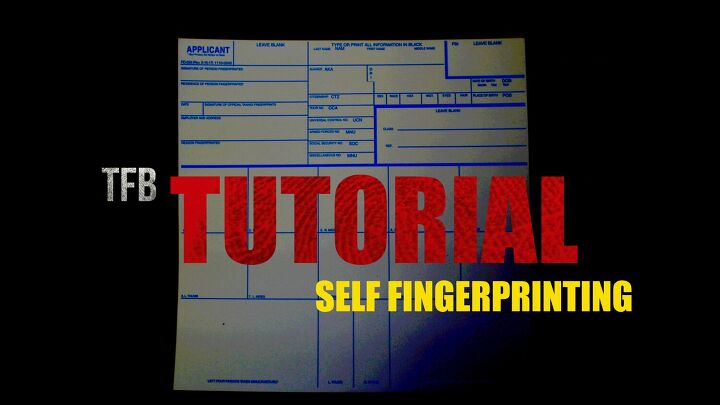
HOW TO FINGERPRINT YOURSELF FOR THE NFA
The ATF refers to the directions on the back of the fingerprint card, which states to roll the prints. However, it’s not known exactly how picky they are when it comes to rolling your own prints. As a police officer, I was trained to roll each finger in its designated box to get the maximum amount of information recorded. However, as law-abiding citizens that just want to enjoy our rights, the fingerprint requirement is seen as invasive. I’ve not heard if anyone has been denied for failing to present full, wide fingerprints, but it would feel less invasive to provide the bare minimum required.
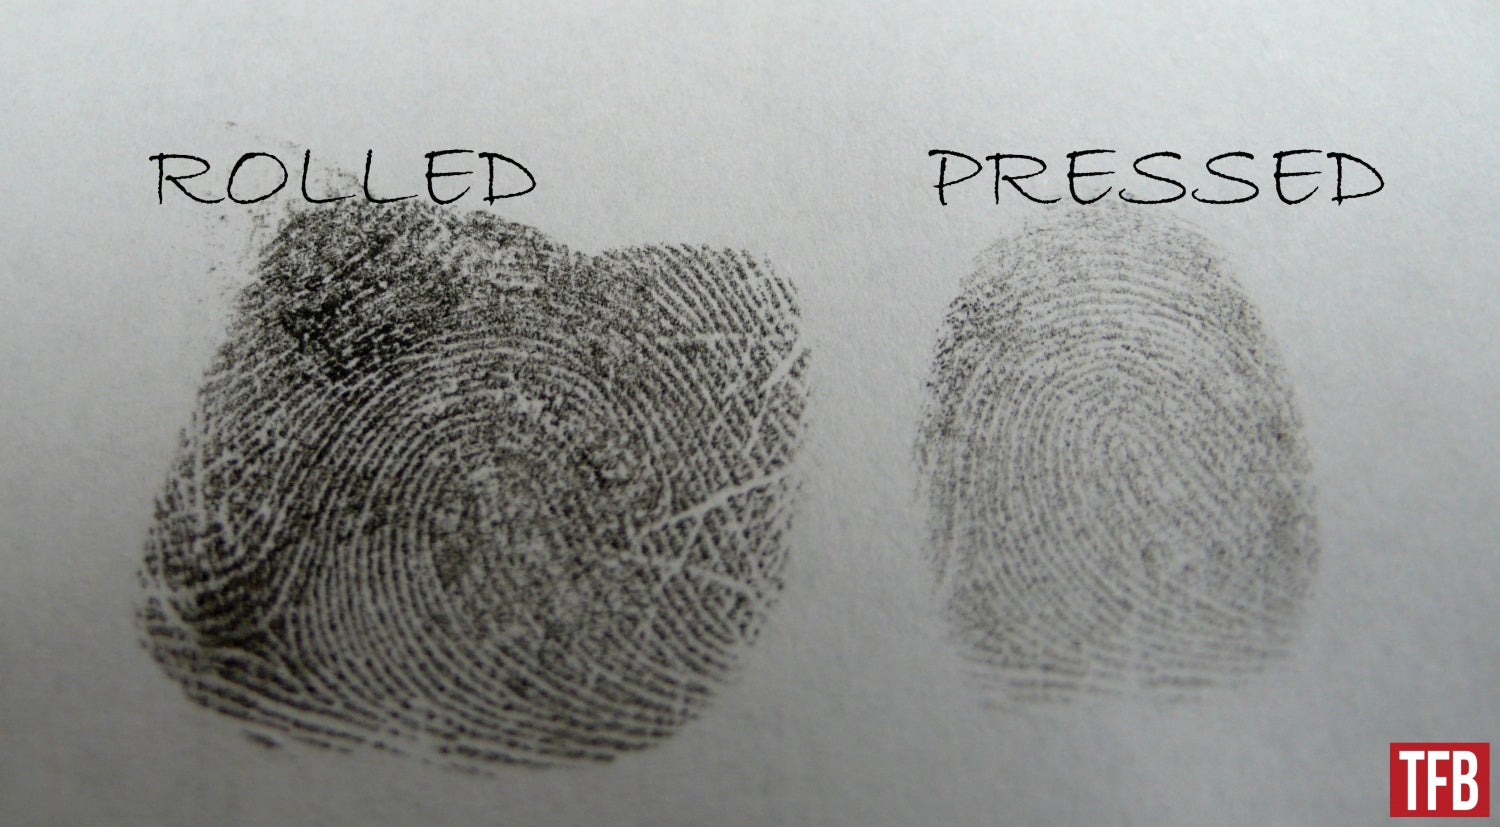
Below, I will show how to roll your own prints for the full effect as I was trained, but I leave it up to you to decide how much of your fingerprints you’ll provide in your NFA application process. If you’d like to learn more about the whole NFA application, you can read my Form 1 experience, which I based off of Pete’s epic Form 1 Tutorial. You can also get free fingerprint cards from the ATF HERE.
STEP 1
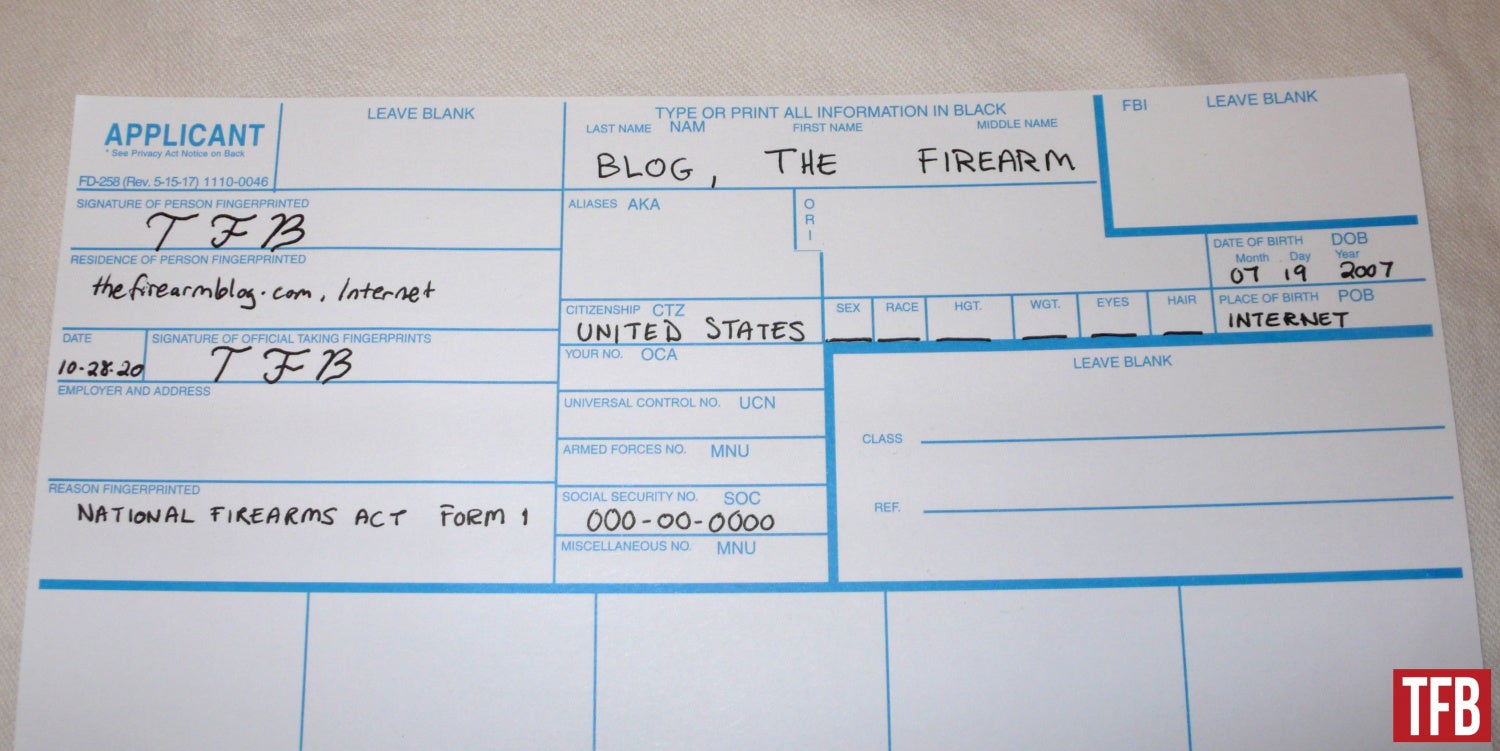
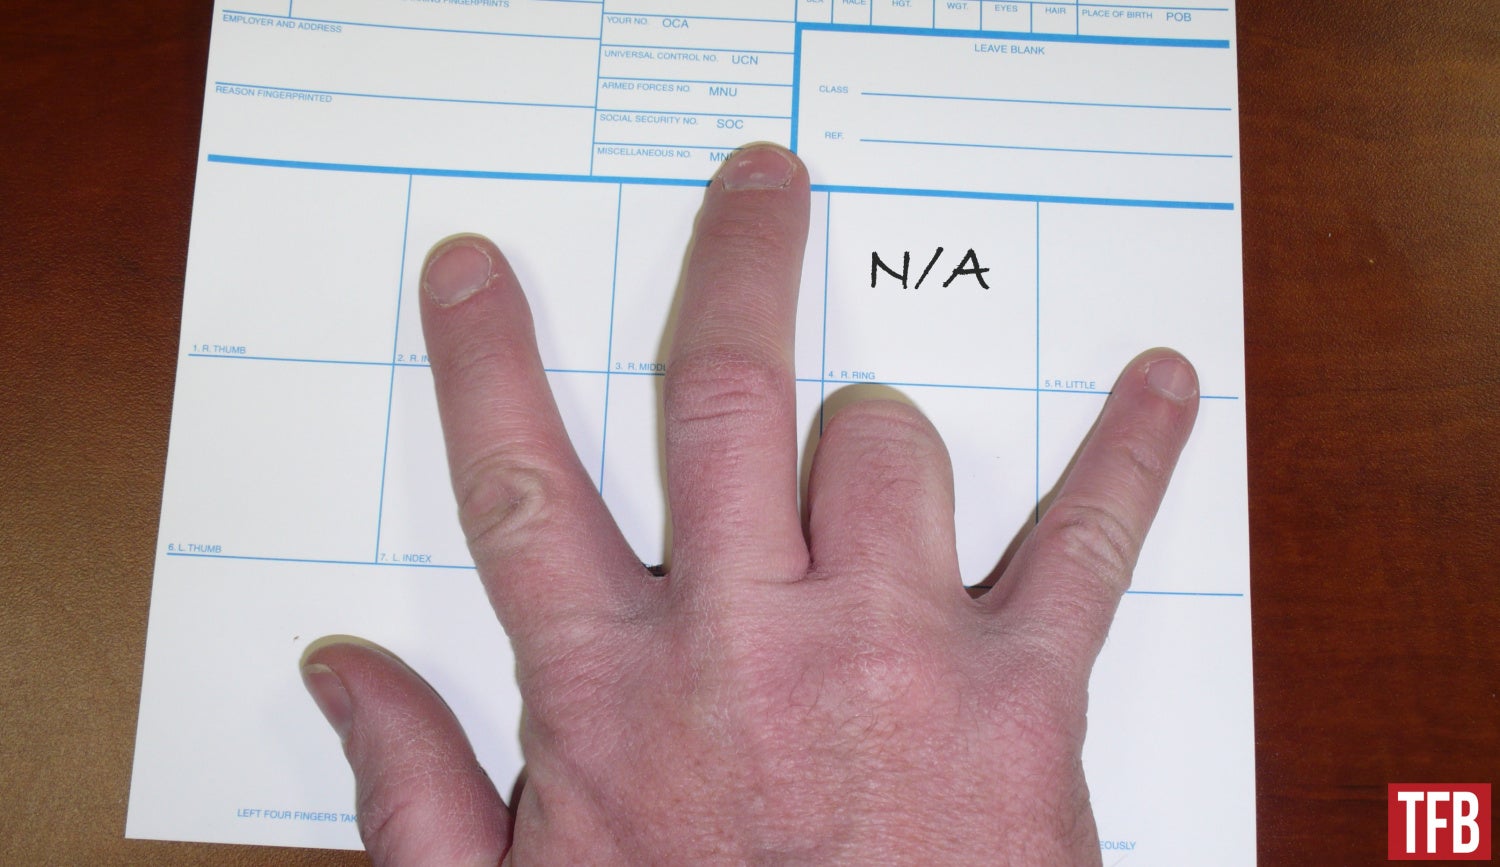
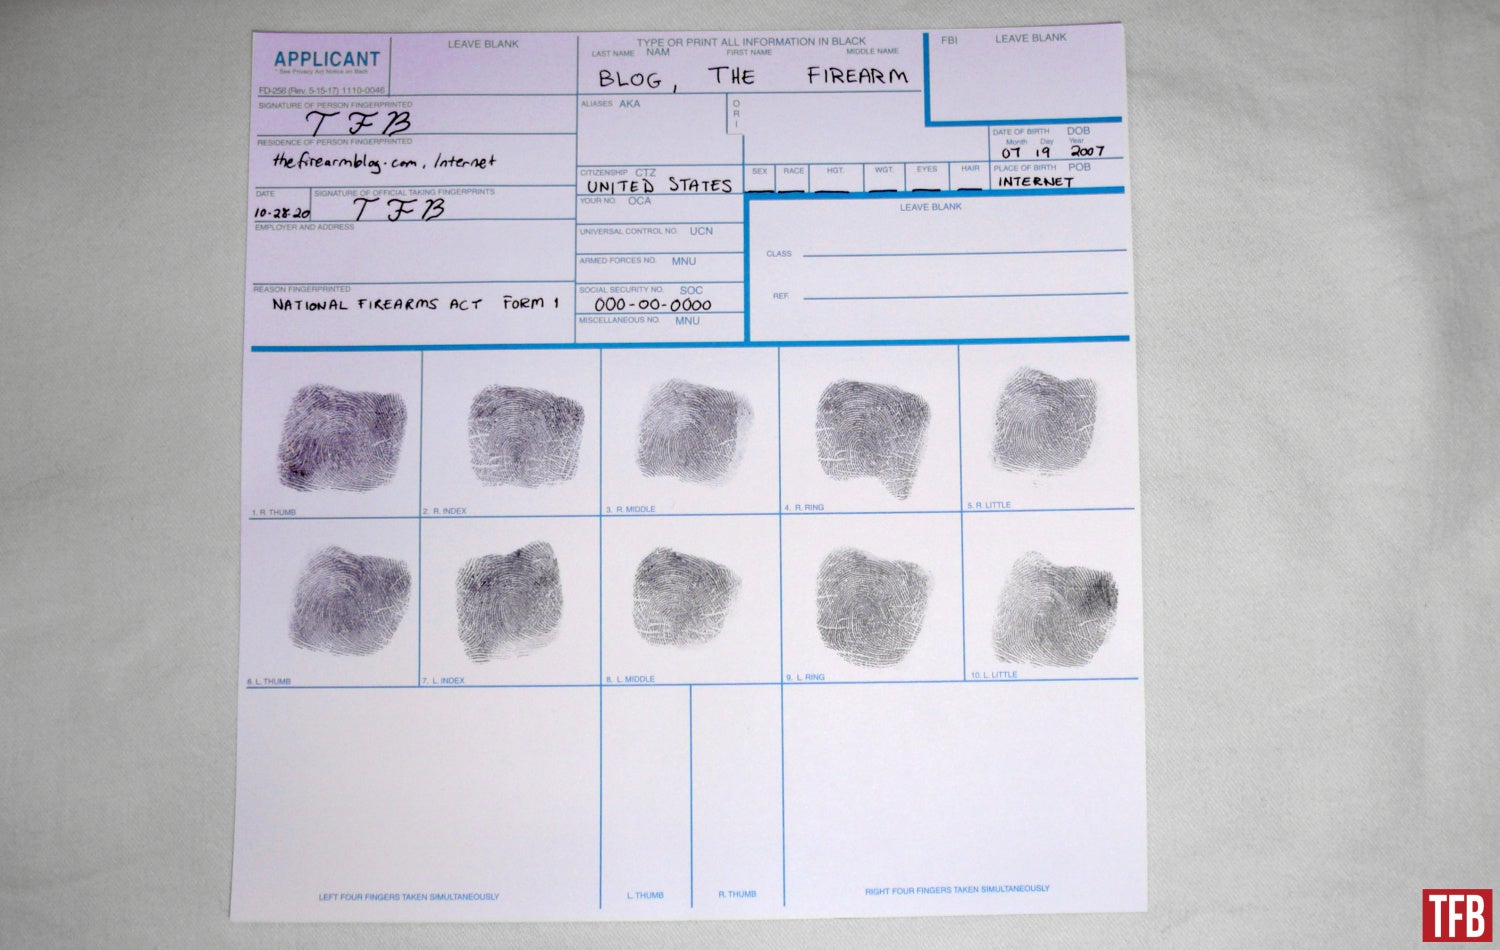
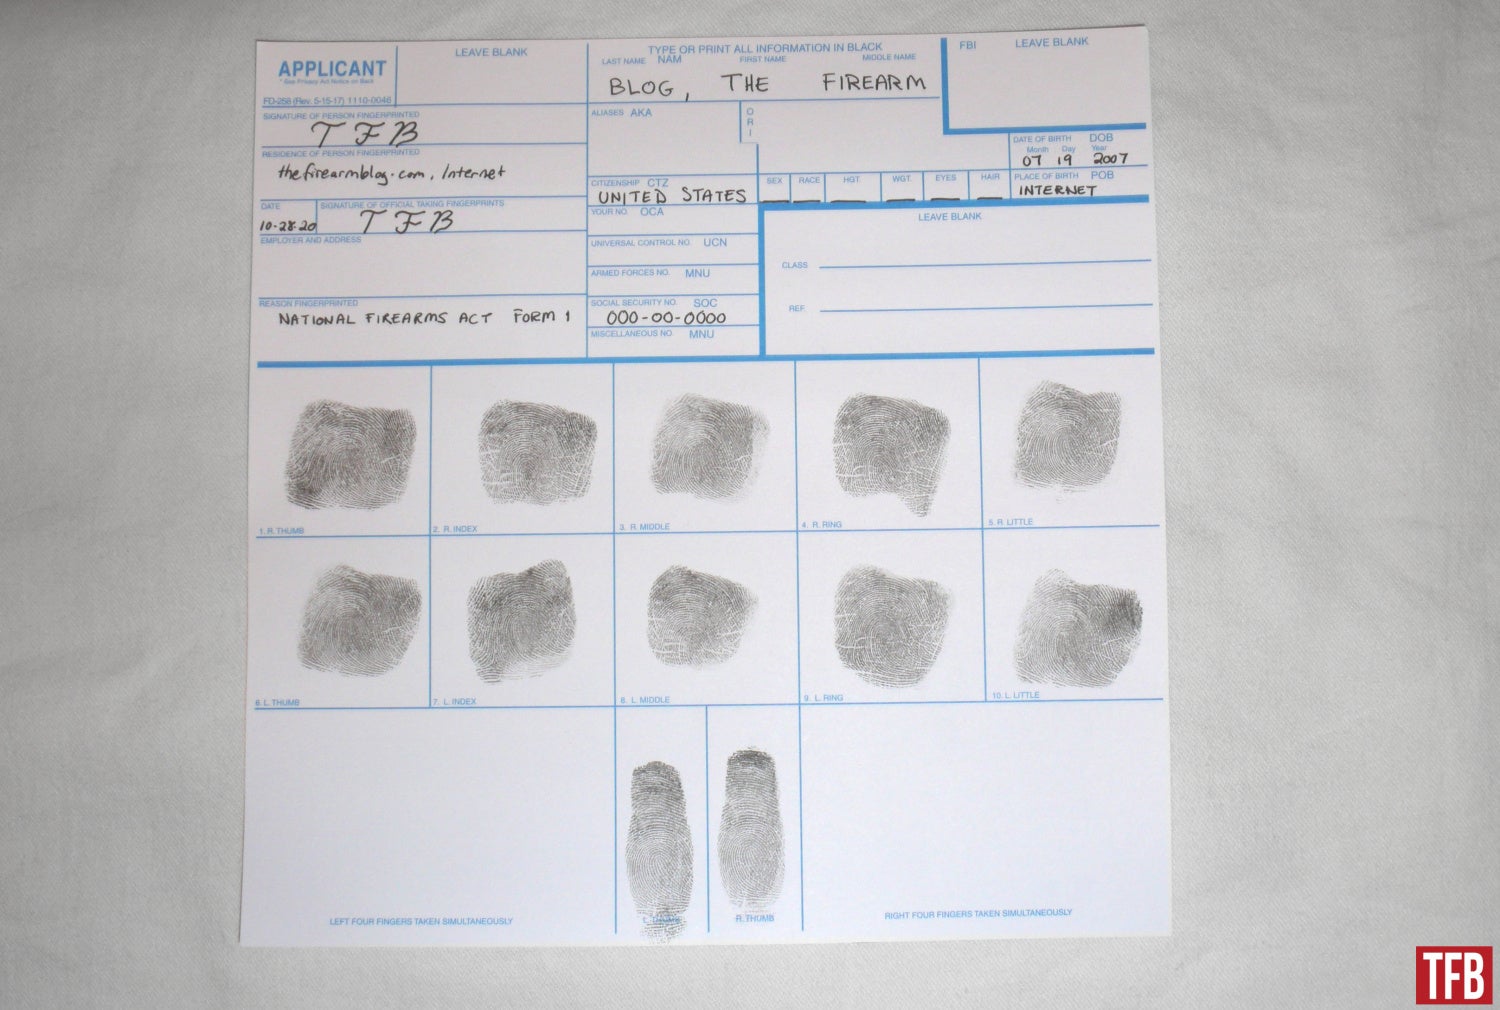
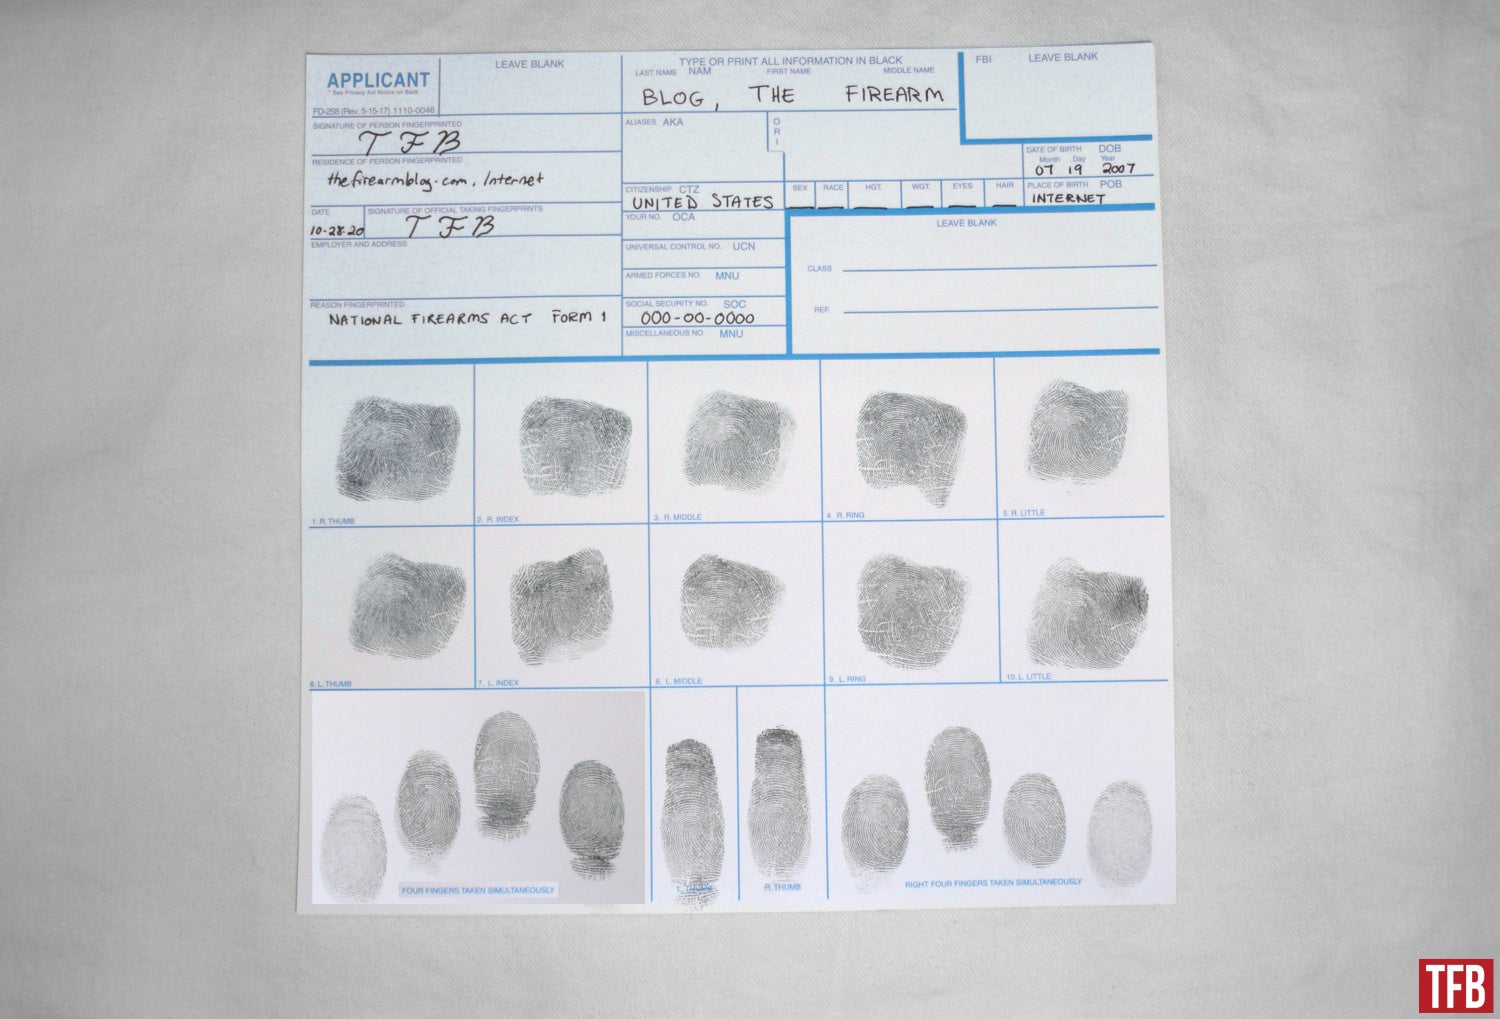
Fill out as much information on the APPLICANT (FD-258) fingerprint card as you can, using a pen is fine, just make sure it’s legible. It’s best to do this step first, that way you don’t smudge the prints later. I signed both the “person being fingerprinted” and “official taking fingerprints” lines when I submitted my fingerprints for my SBS application. NOTE: If you’re missing a finger, write “N/A” (not applicable) in the space below that applies to that finger.
STEP 2
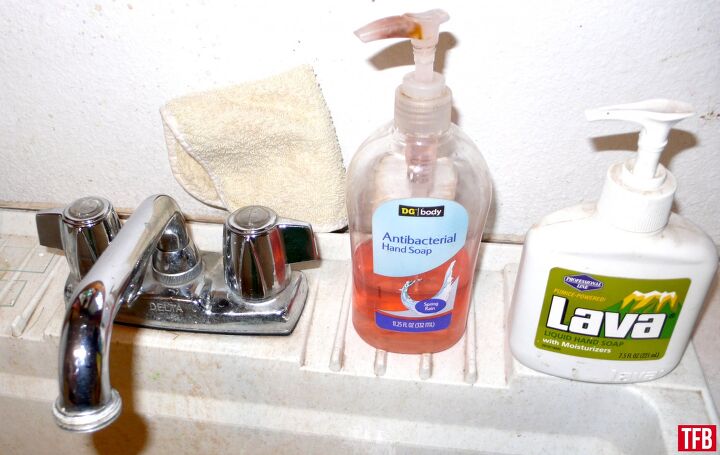
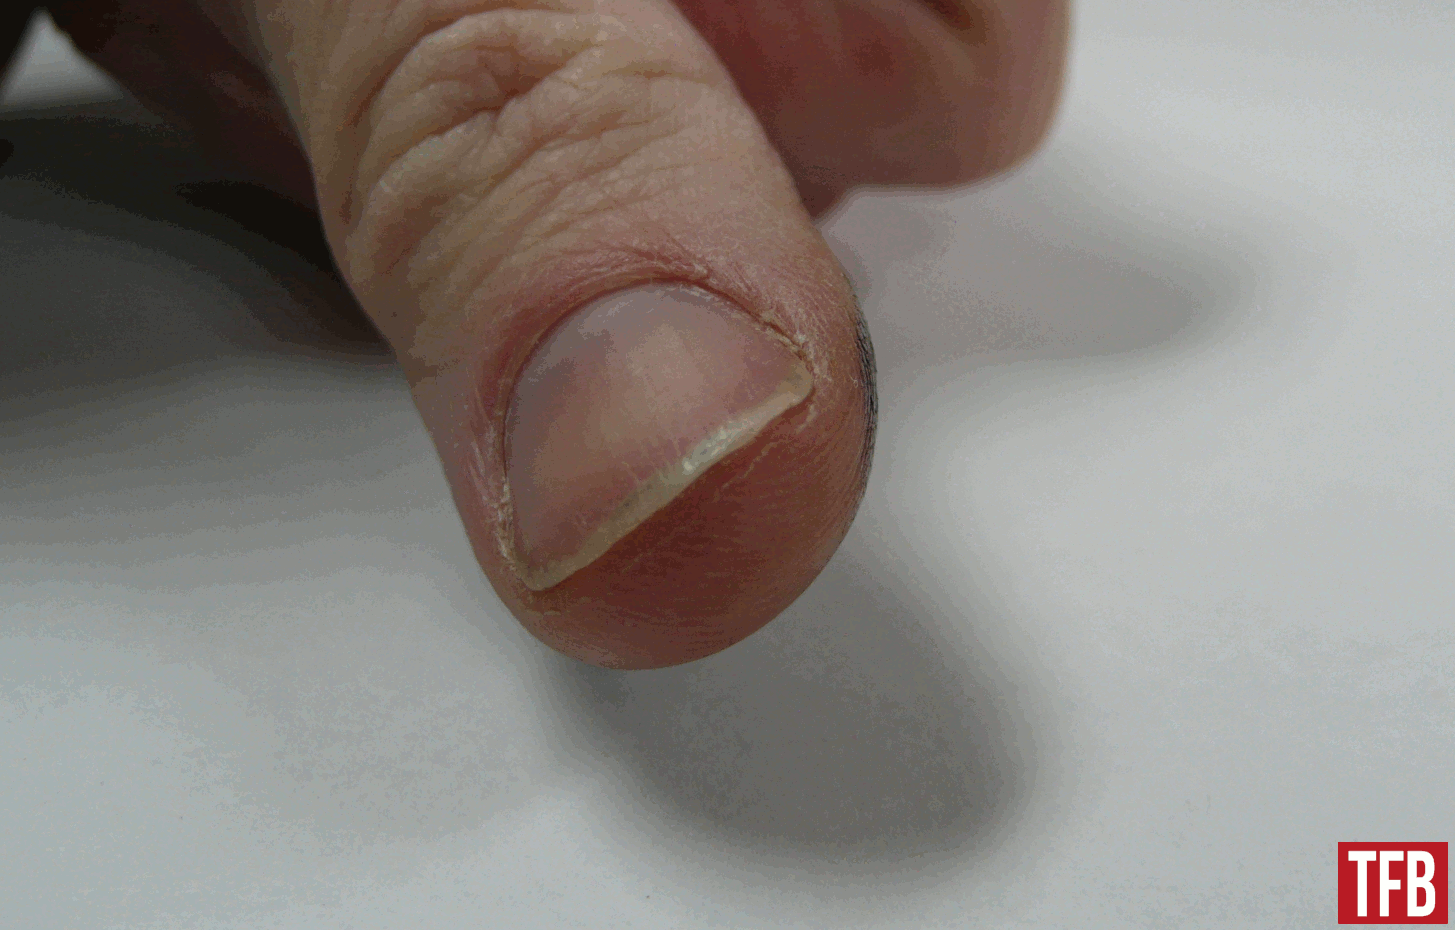
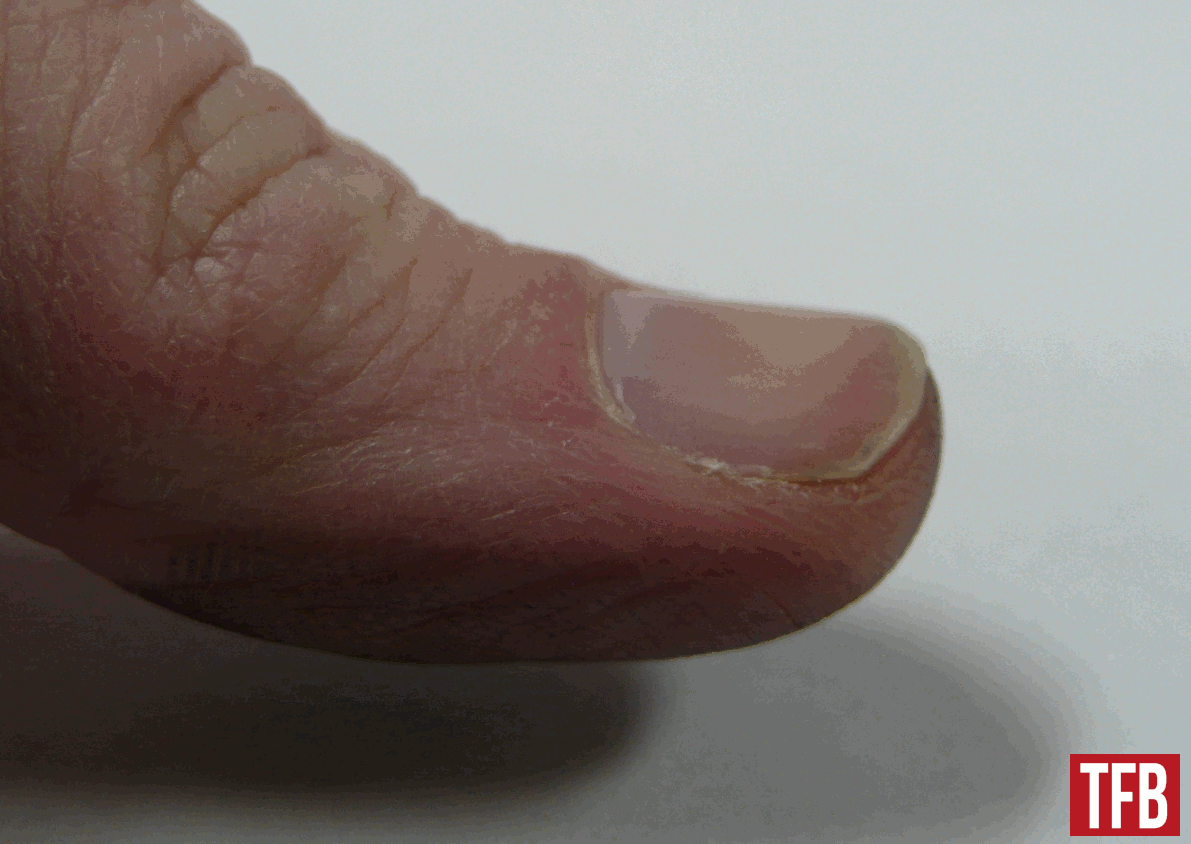
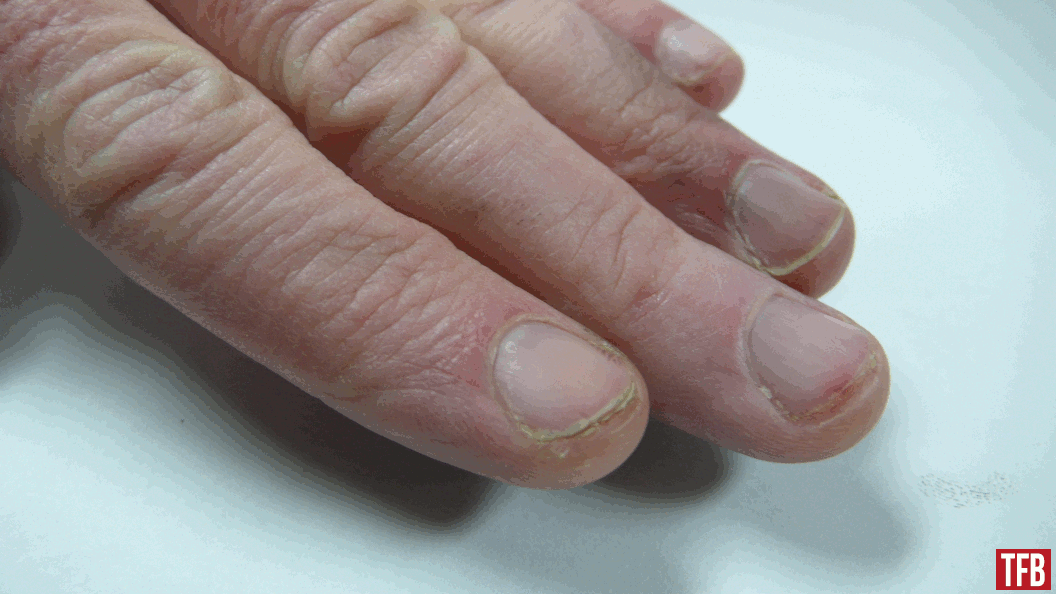
Thinking ahead. You won’t want to have to make a mess getting cleaned up after your fingers are inky, so make sure you have your hand soap ready by the sink, with no closed doors in the way. If soap and water don’t cut it, maybe have some gritty soap on hand, but hand soap worked just fine for the ink pad I bought. Also, if you have dry and cracked hands, you may want to use some hand lotion and moisturize (yes, you just read that on one of the manliest blogs on the internet). Dry and cracked fingers lead to terrible fingerprints and could either lead to you having to do them over, or have your application rejected outright.
STEP 3
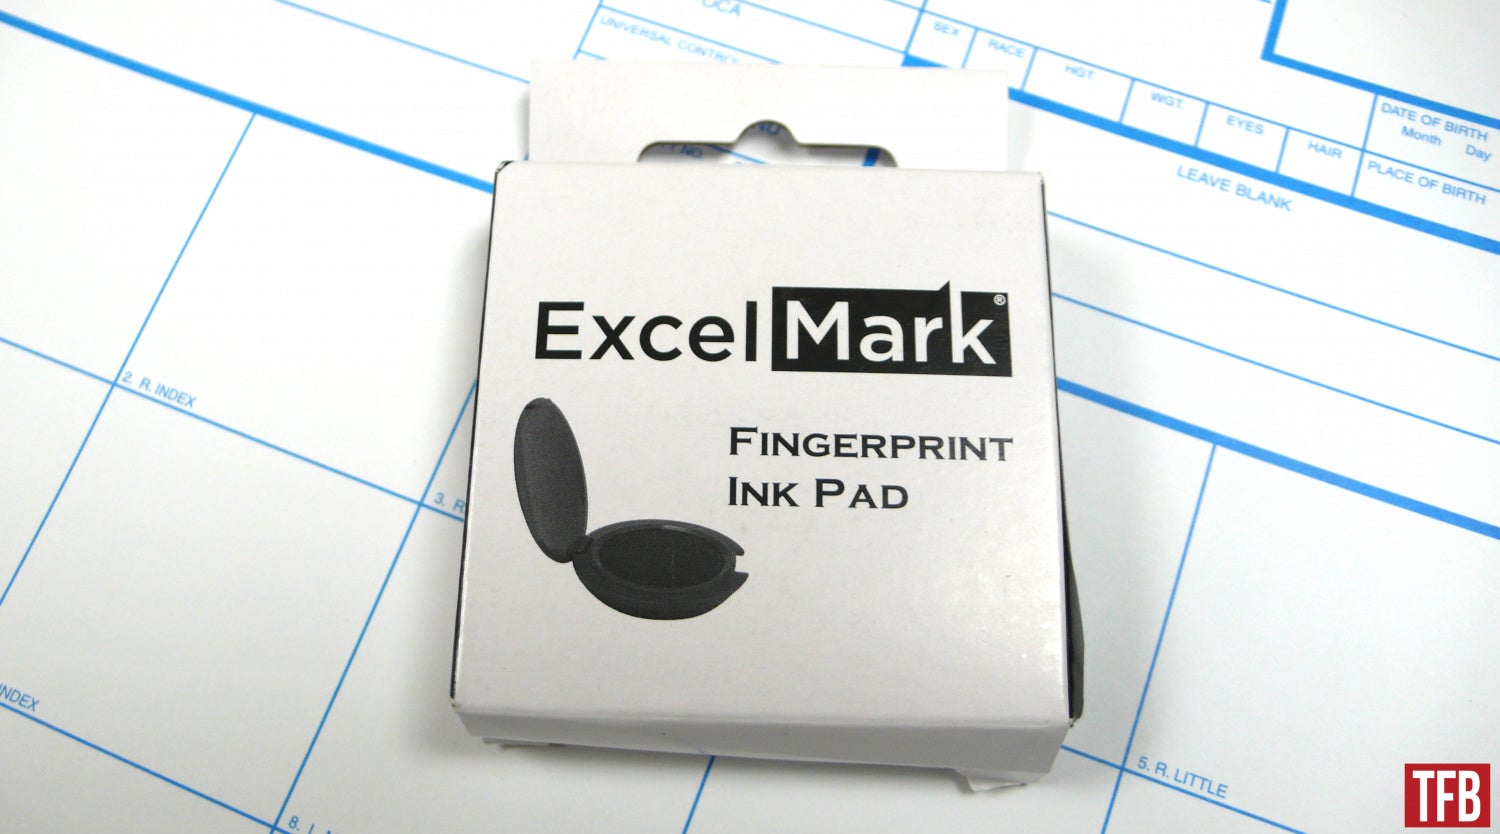
I obtained a $6 ink pad from Amazon.com. Whichever pad you go with, just try a simple test on a piece of paper to see how it comes out. When using the roll method, you’ll need to do the motion twice; once on the ink pad, then again on the paper. Try rolling your finger from the extreme right side to the opposite side. If it looks good, then you’re ready. It helps to have your ink pad and target paper close to the edge of a table to give your hand more room to rotate. You could also probably tape the unused back side of the fingerprint card to the table for a bit more stability.
STEP 4
Once you’re satisfied with your test print (see Step 2 if not), start with the large, top left box that says “right thumb.” Roll your right thumb on the ink pad, then onto the official box. The fingerprint portion of the card should be completed as though it were a book, from left to right, top to bottom. Continue with each individual finger box until each is done.
STEP 5
The bottom two middle boxes are for your thumbs. This box is elongated so that you can roll your fingerprint from the middle joint to the tip of your thumb. Since they’re small, I recommend doing those next.
STEP 6
Now move your attention to the remaining two side boxes on the bottom of the card. You’ll need to press your four left fingers (no thumbs) straight down onto the ink pad, then straight up (no rolling required), then use the same motion on the large bottom-left box. Repeat the same process on the right side.
STEP 7
After your thumbprints are rolled, you’re free to clean up. Leave the fingerprint card out in the open in a safe place to make sure the ink dries. Then mail it to the ATF with your control number printout from your confirmation email if using a Form 1.
If you’ve rolled your own fingerprints for NFA applications, let us know if you’ve had any rejections or requests to redo your prints. If you’ve only pressed your prints rather than rolled them, were they accepted without question?