 Your Privacy Choices

About 8 years and 5 months ago our former Editor-In-Chief, Steve Johnson, posted about Tacticool Cameras. It was a photo of a Nikon camera equipped with a Tactical Solutions NightStalker II night vision adapter. My friend Sun of Franklin Armory lent me his and then I acquired a slightly different version. Let’s take a look at this military night vision observation device designed for reconnaissance purposes.
NightStalker II – Night Vision For Your Camera
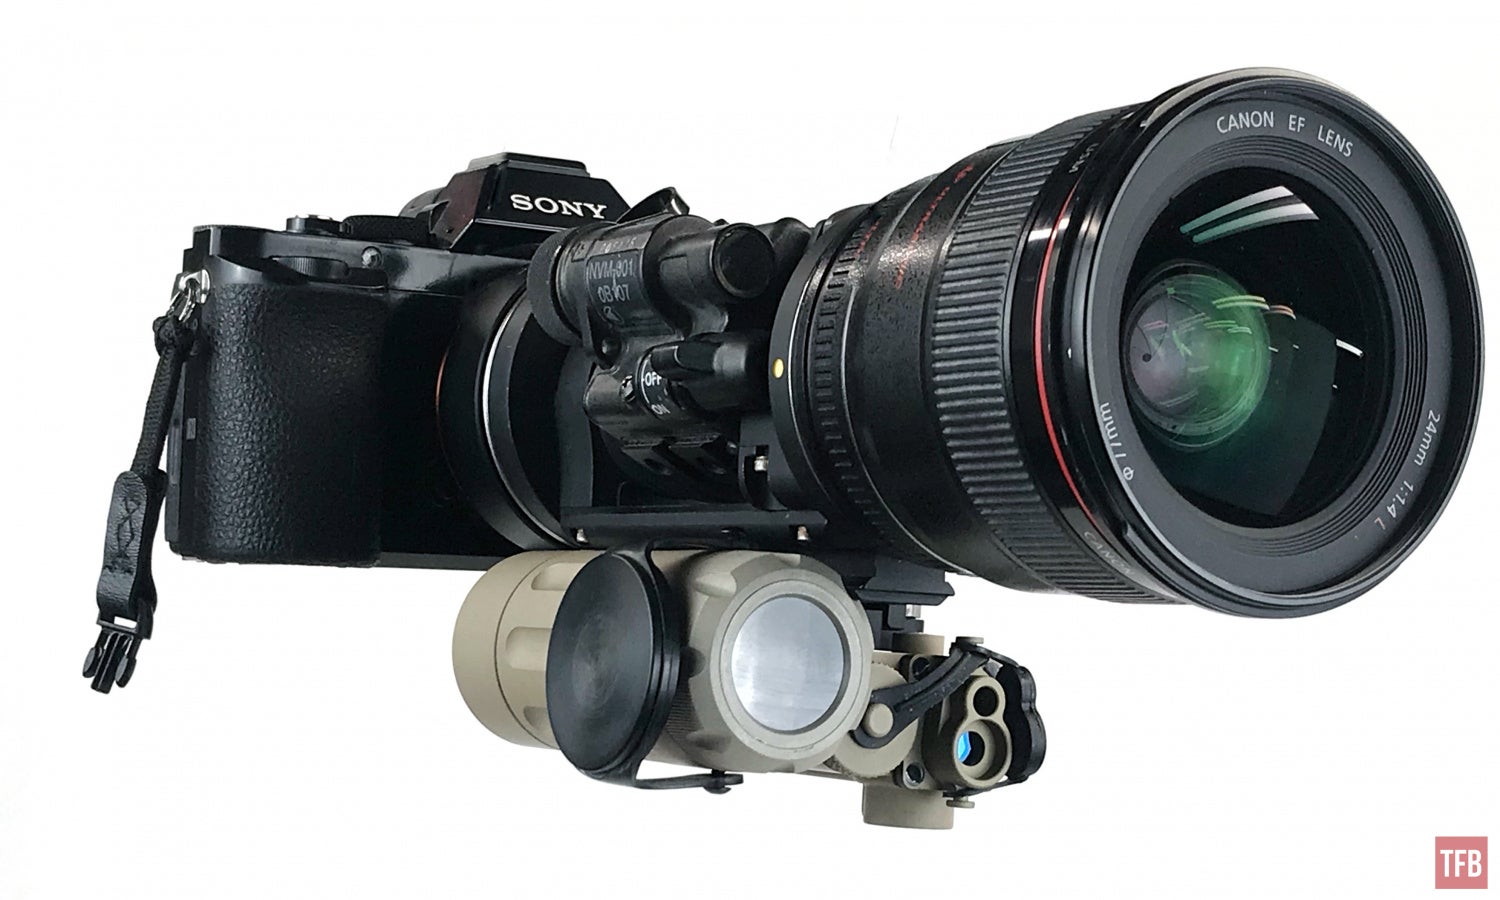
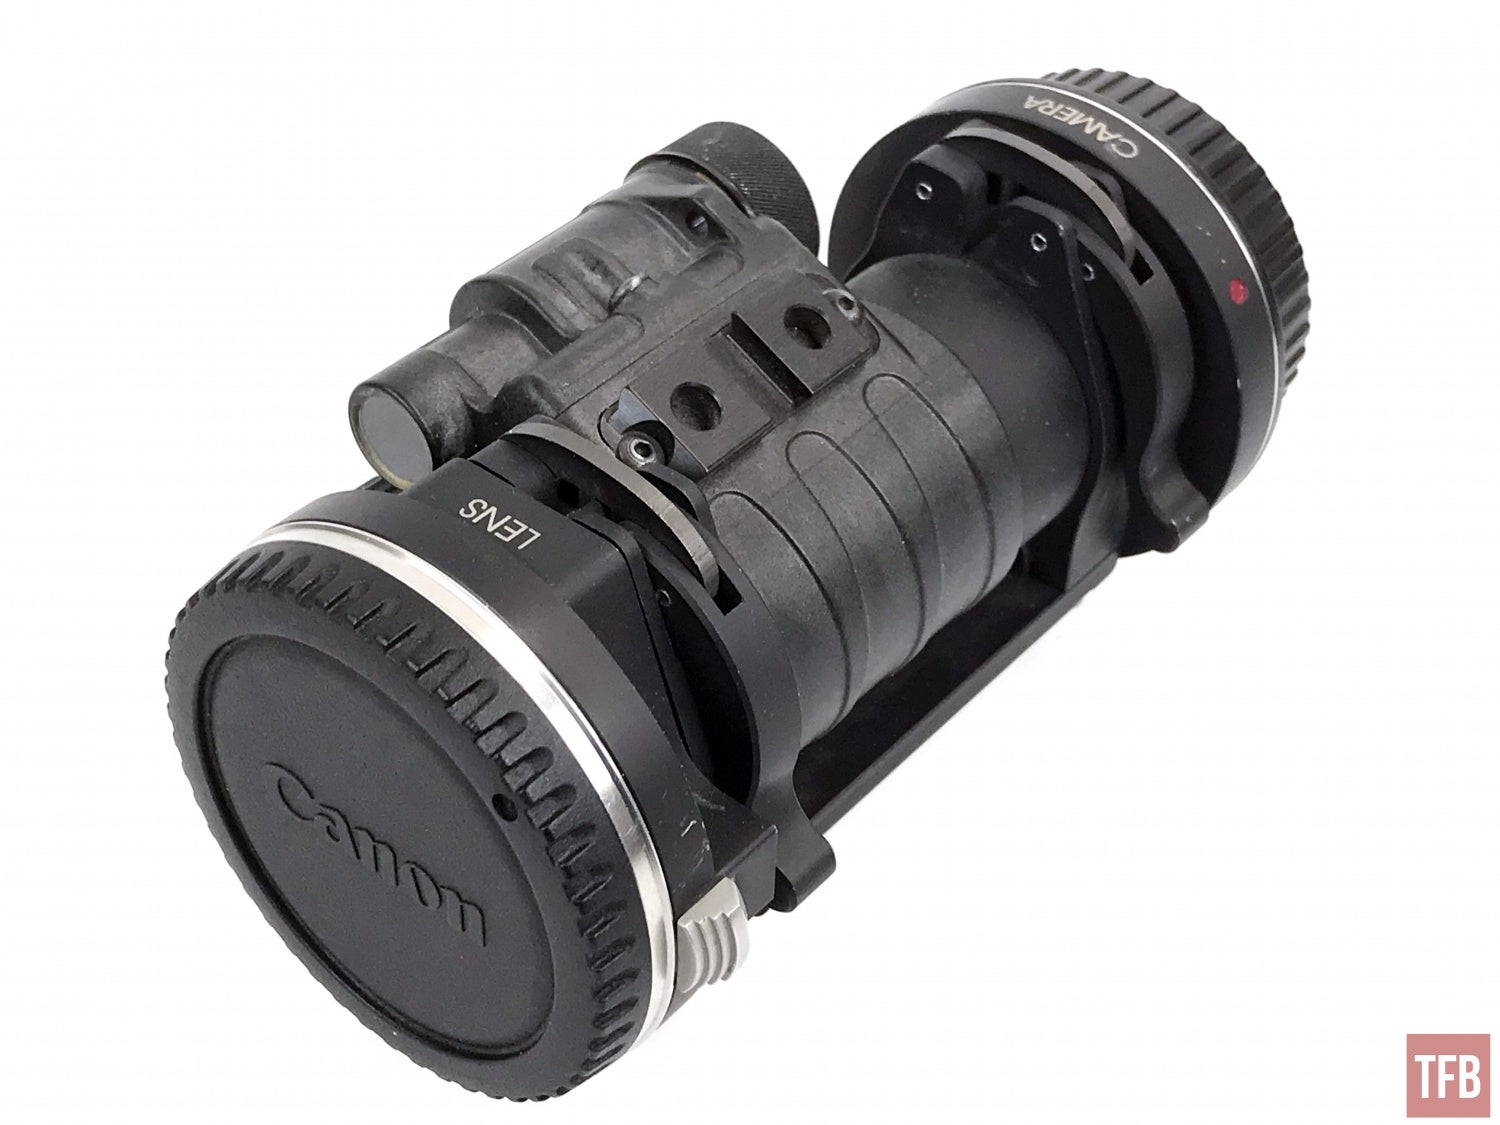
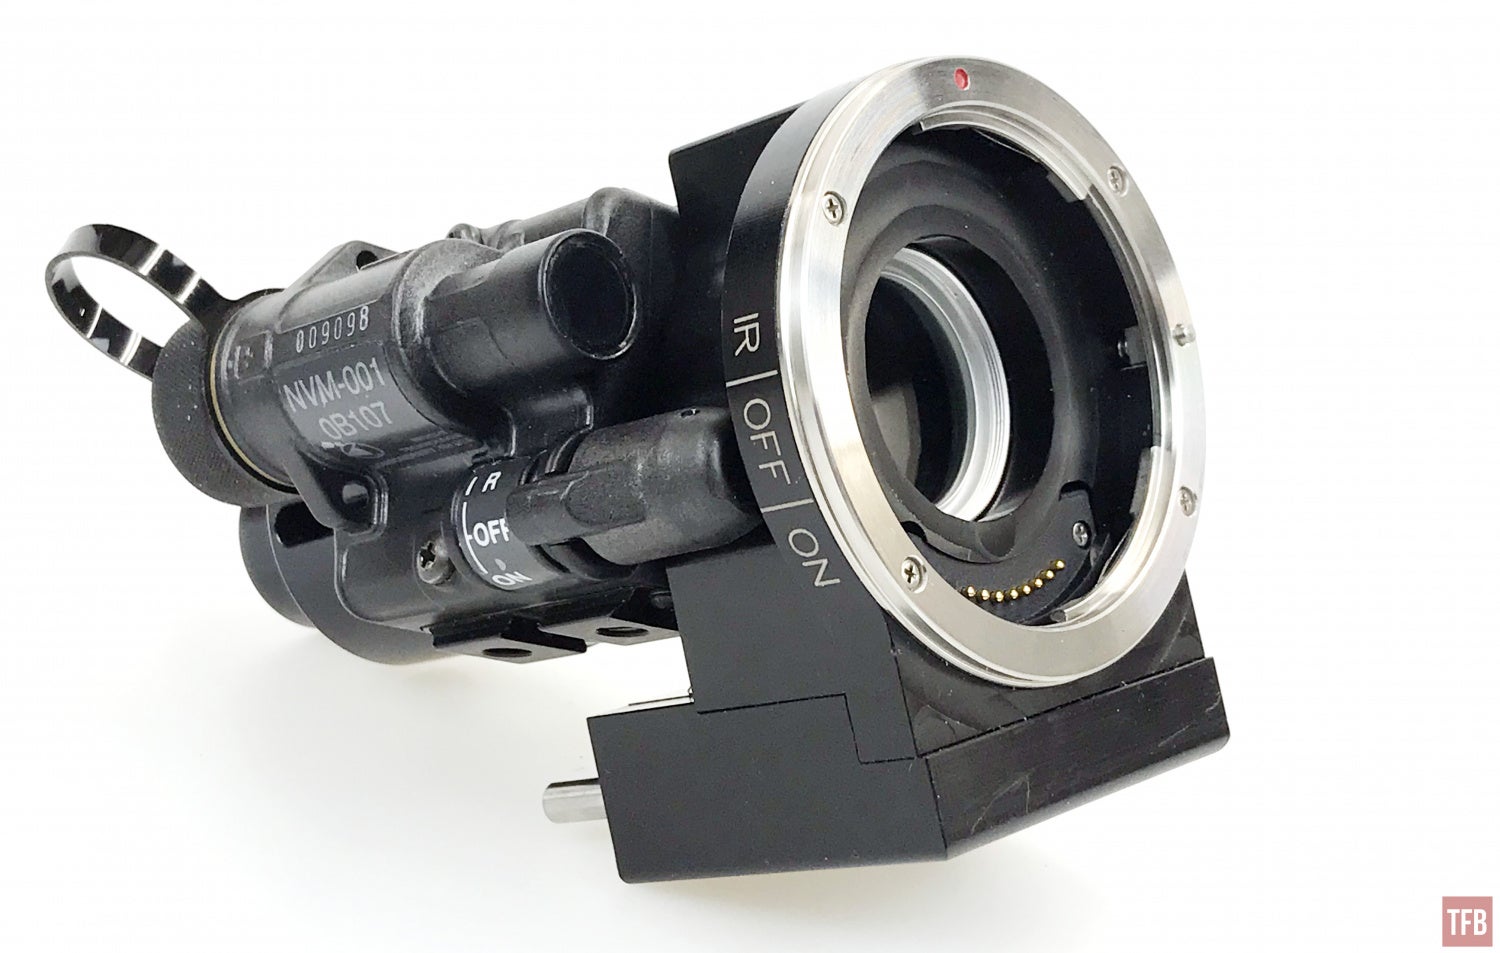
The photo that Steve posted 8 years ago was of a NightStalker II mounted onto a Nikon DSLR. The NightStalker II currently in my hands is for Canon cameras. I do not have a Canon DSLR but I do have a Sony A7S mirrorless camera. I was able to mount the NightStalker II onto an adapter that allows Canon lenses to be used on my Sony.
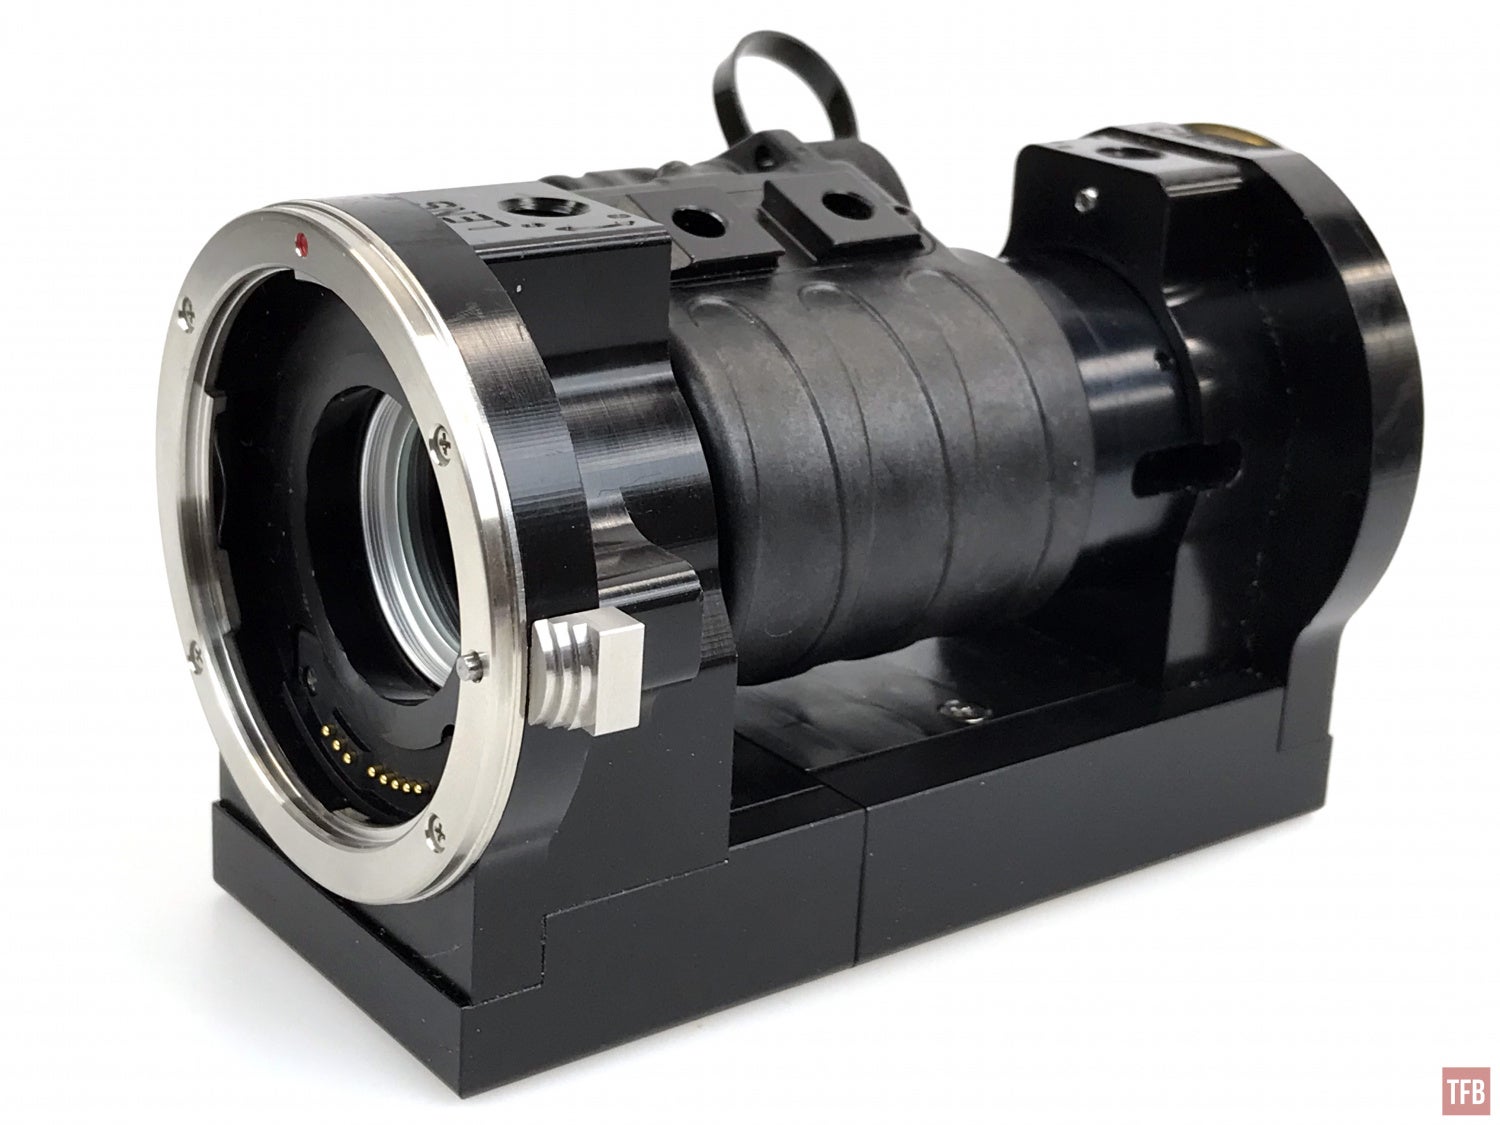
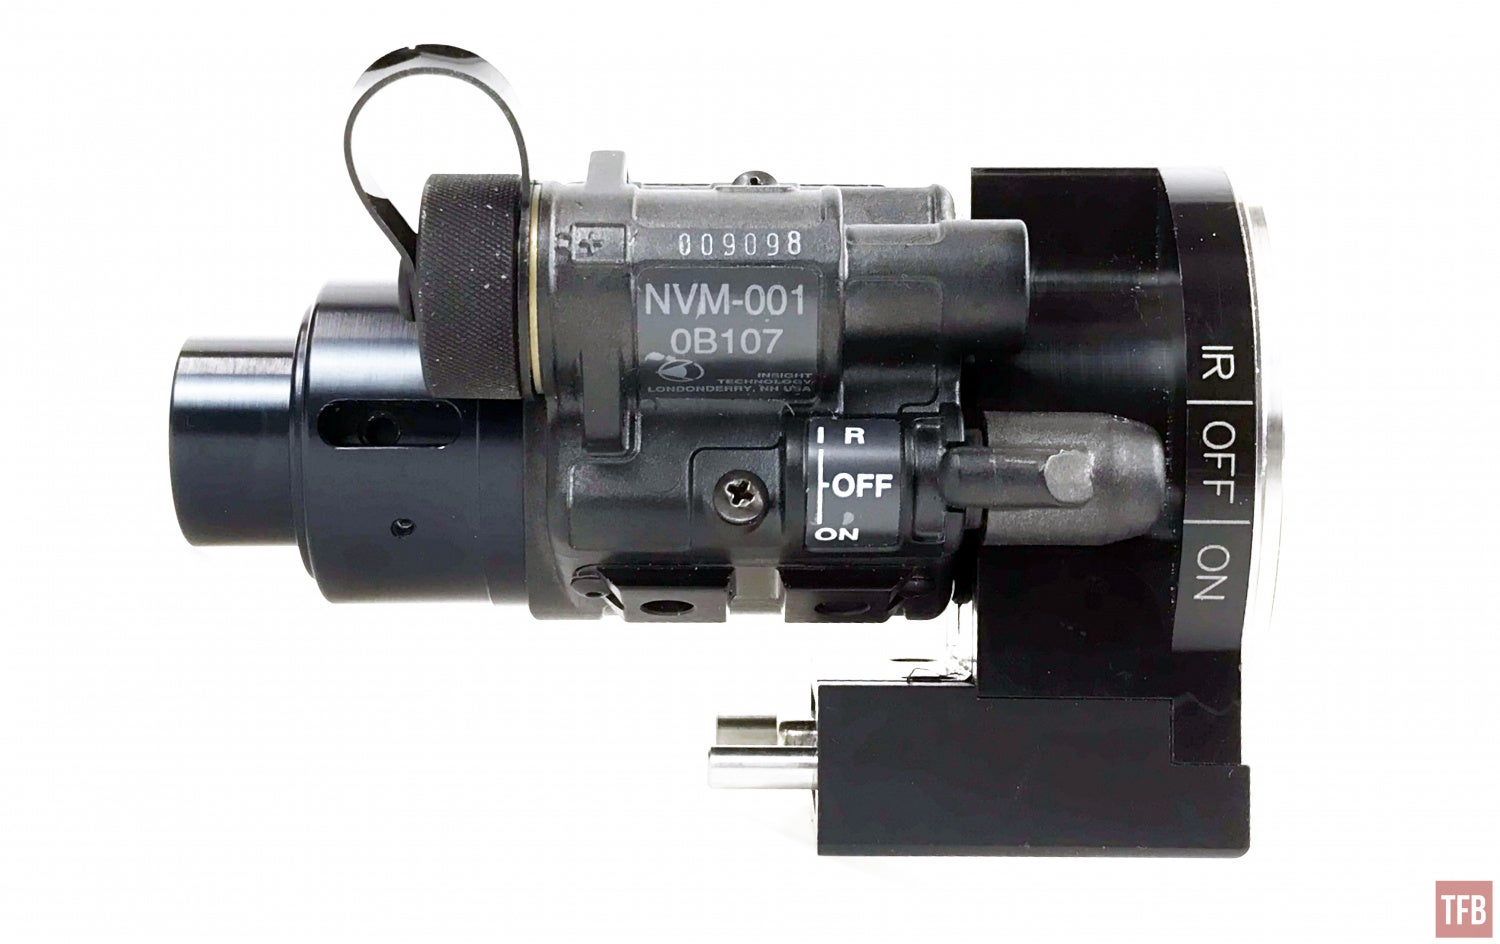
At the heart of the NightStalker system is an Insight MUM-14.
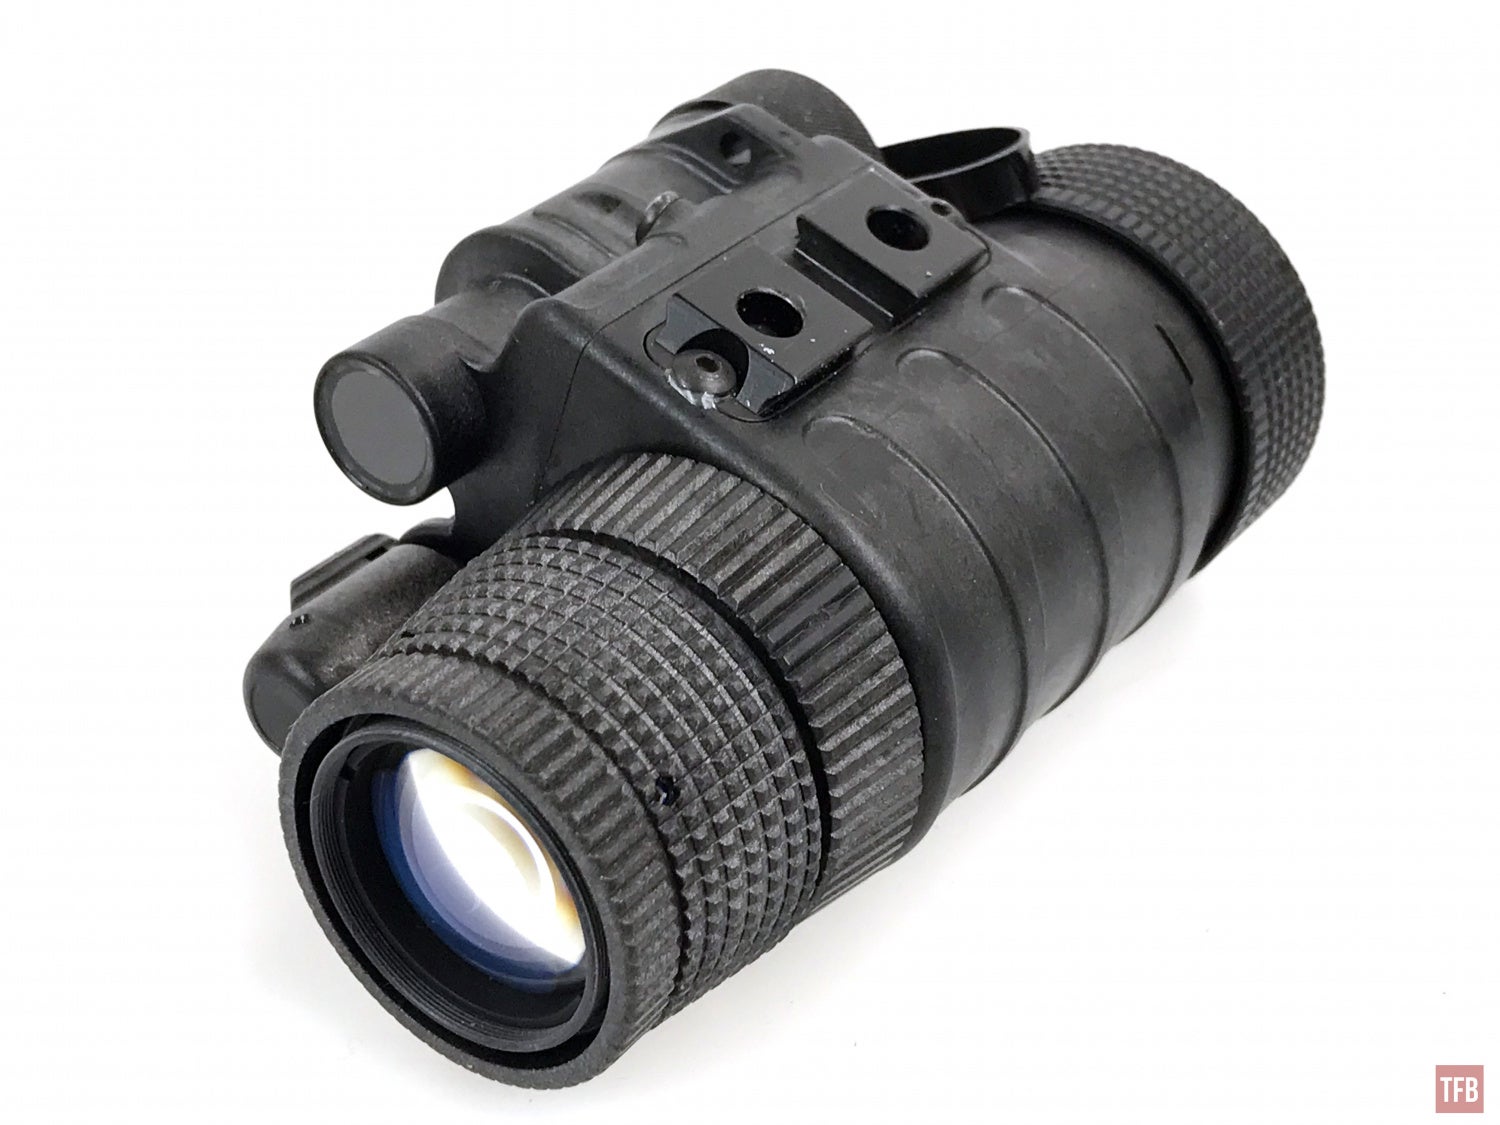
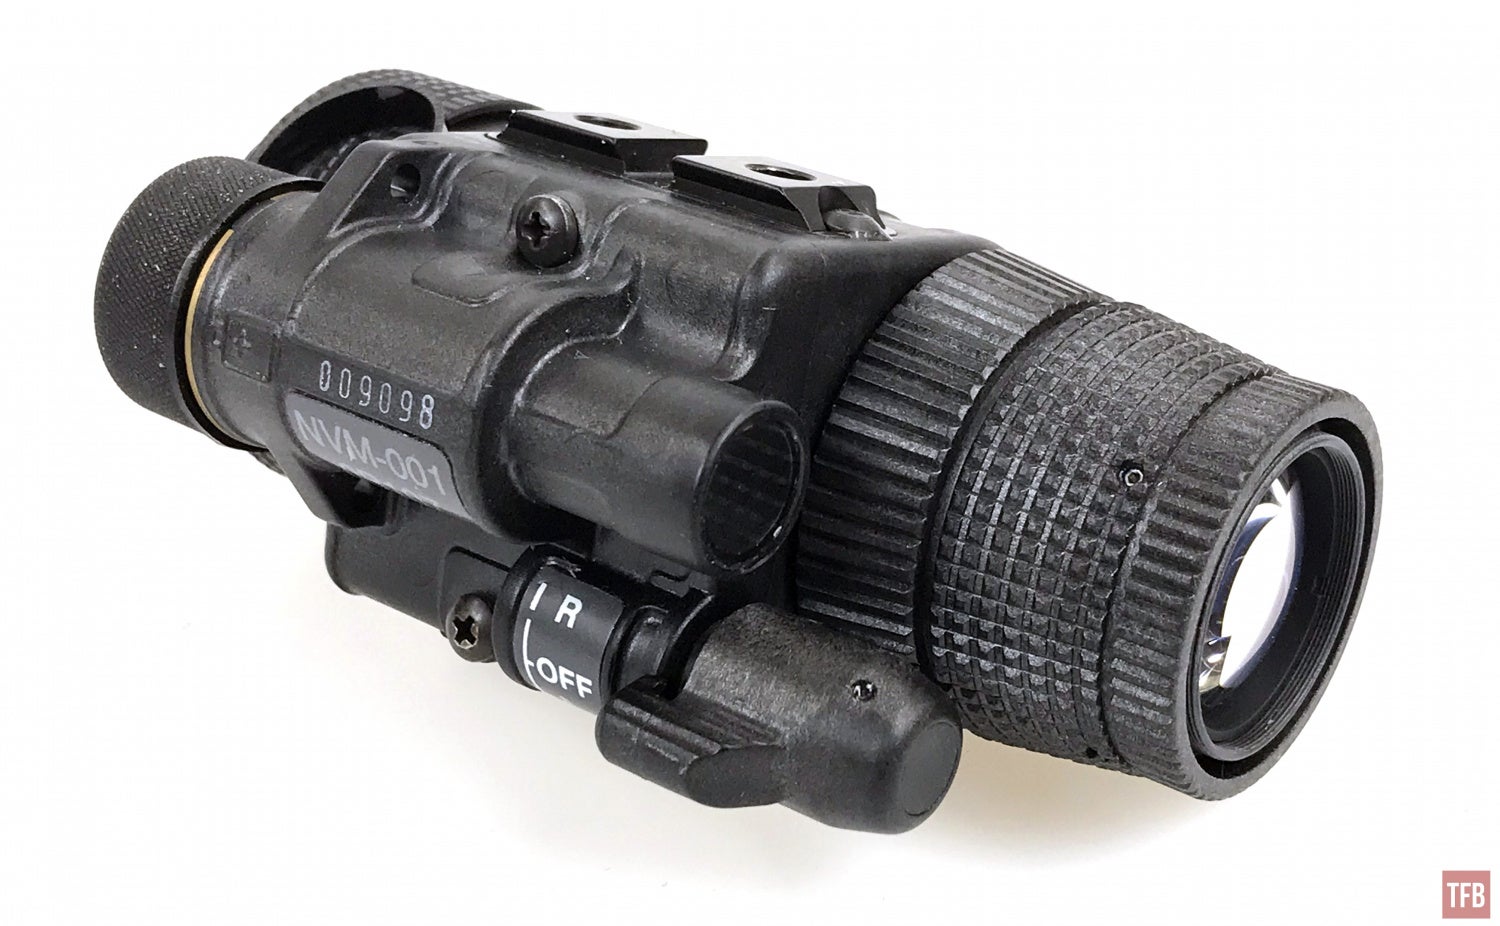
The MUM-14 is an alternative monocular to the PVS-14. It is not as popular and does not offer much that the PVS-14 can’t already do. It does have a proprietary “MUM-14 Rail” interface for attaching to accessories like a bridge or J-Arm for mounting it to a helmet. However, this does not come into play with the NightStalker II.
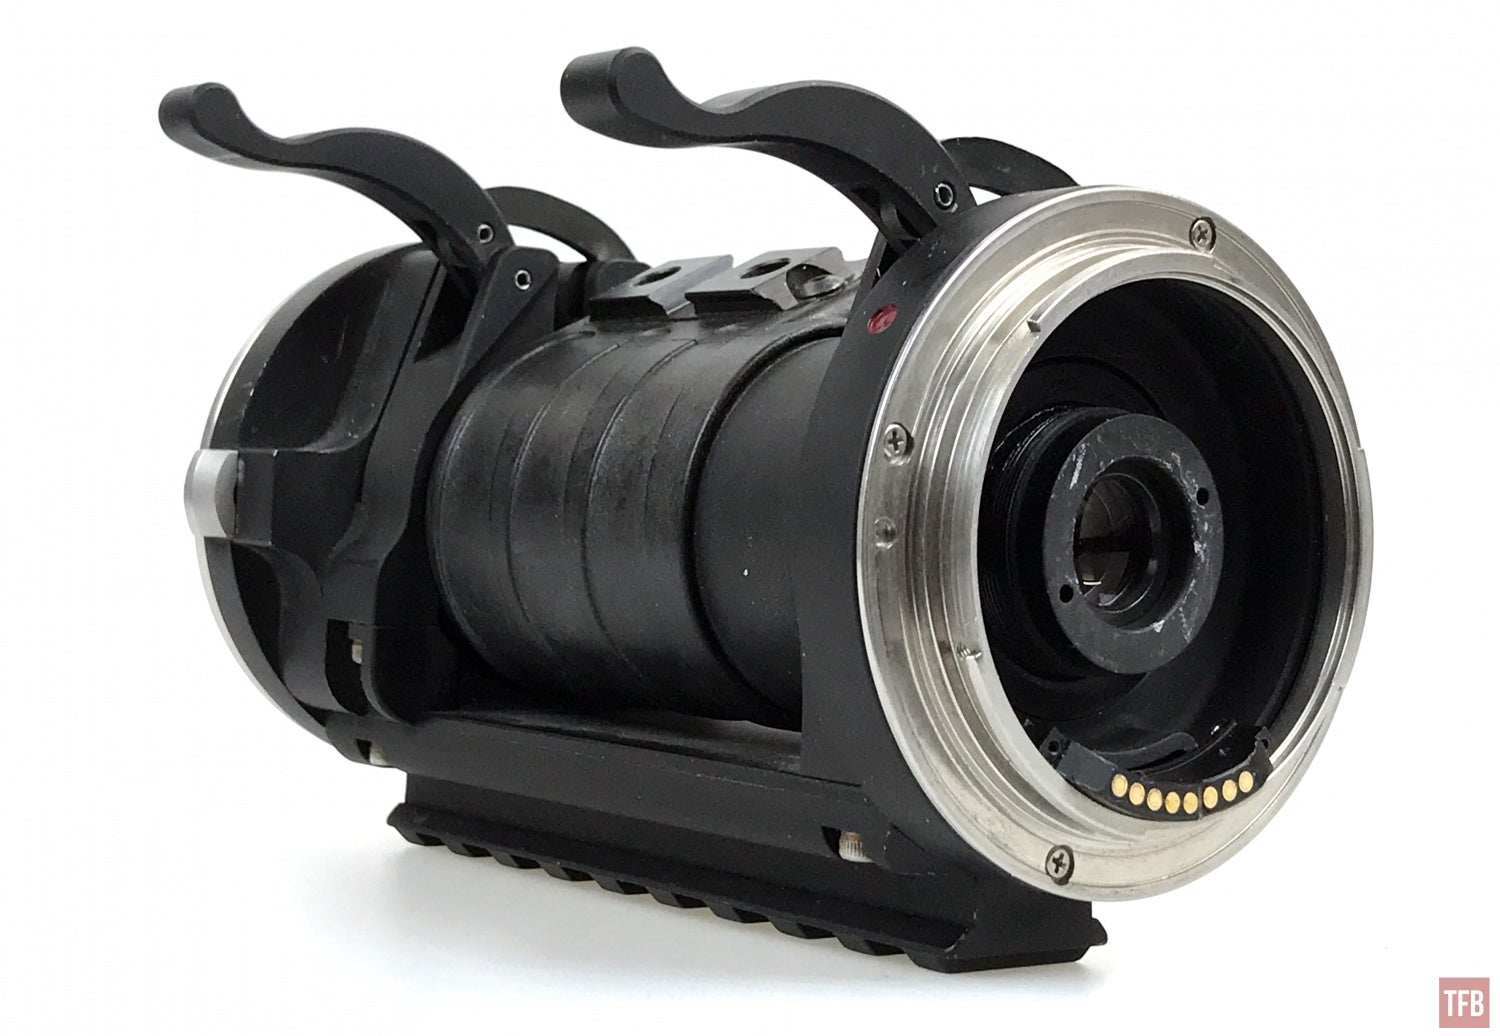
In order to use the NightStalker II, you have to remove the objective lens and rear eyepiece. Then replace them with a special rear lens and filter for the front.
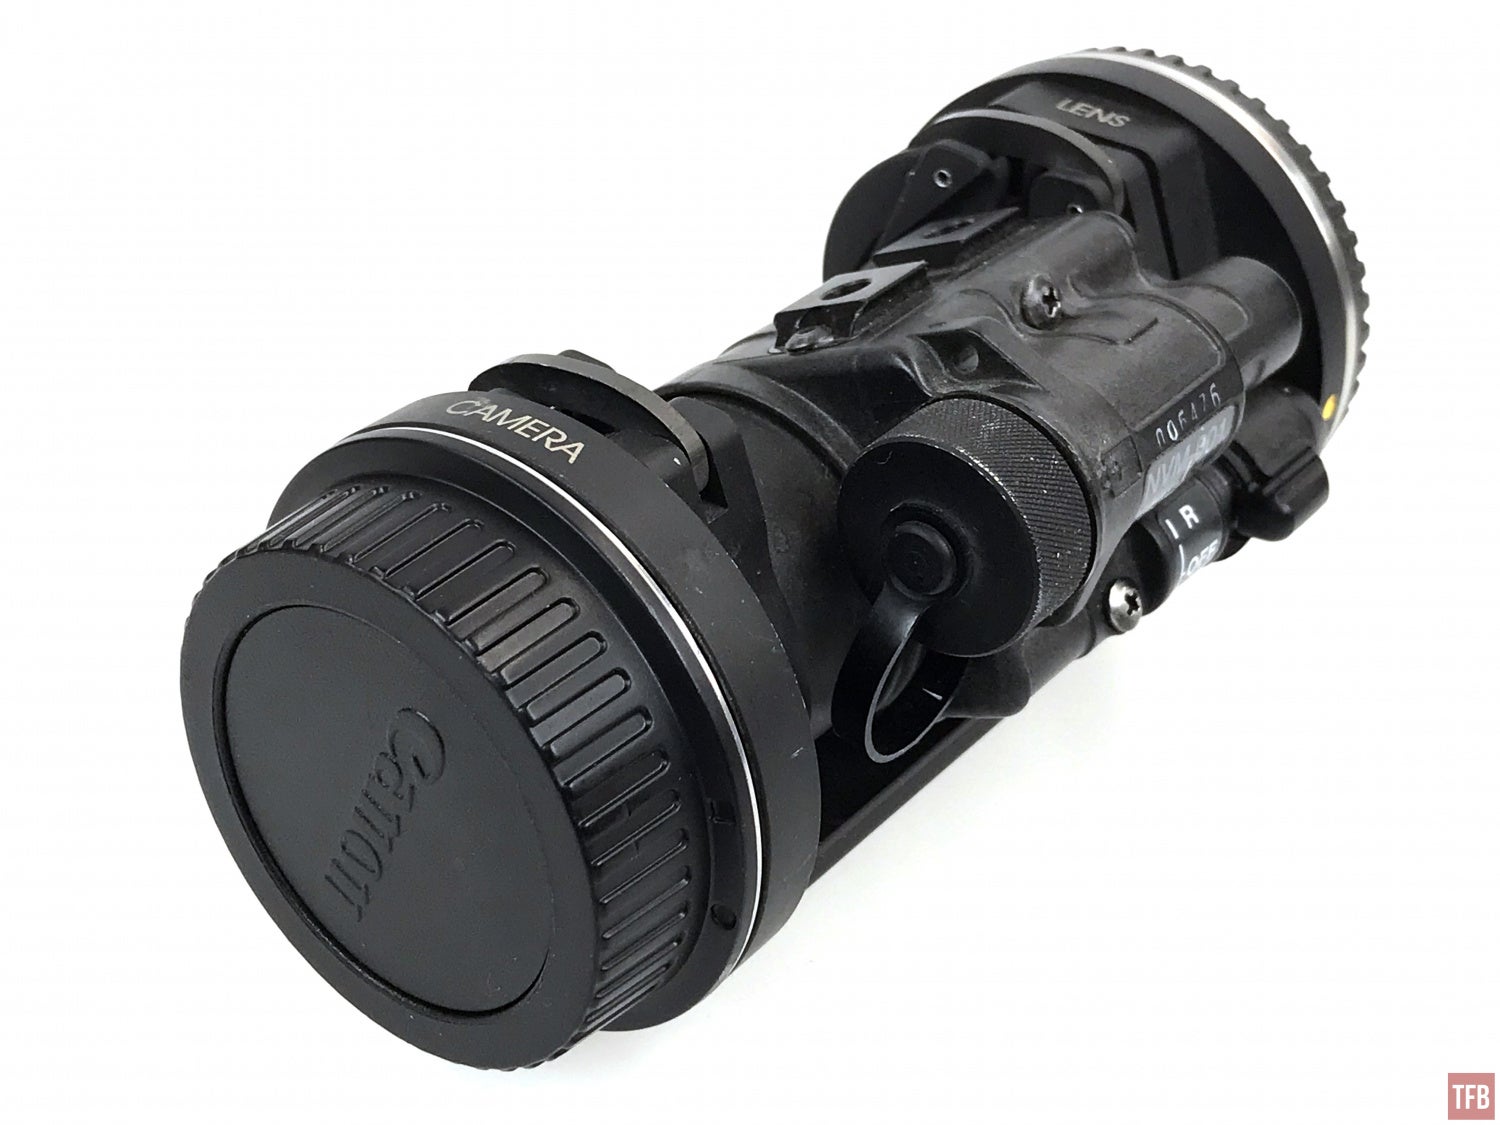
My friend’s NightStalker was made by a company called Tactical Solutions, LLC in Logandale, Nevada. It is not the same Tactical Solutions (TacSol) that makes upgrades and barrels for the Ruger 10/22. They are not the same company and are not affiliated with one another. As far as I can tell, the Nevada one is out of business.
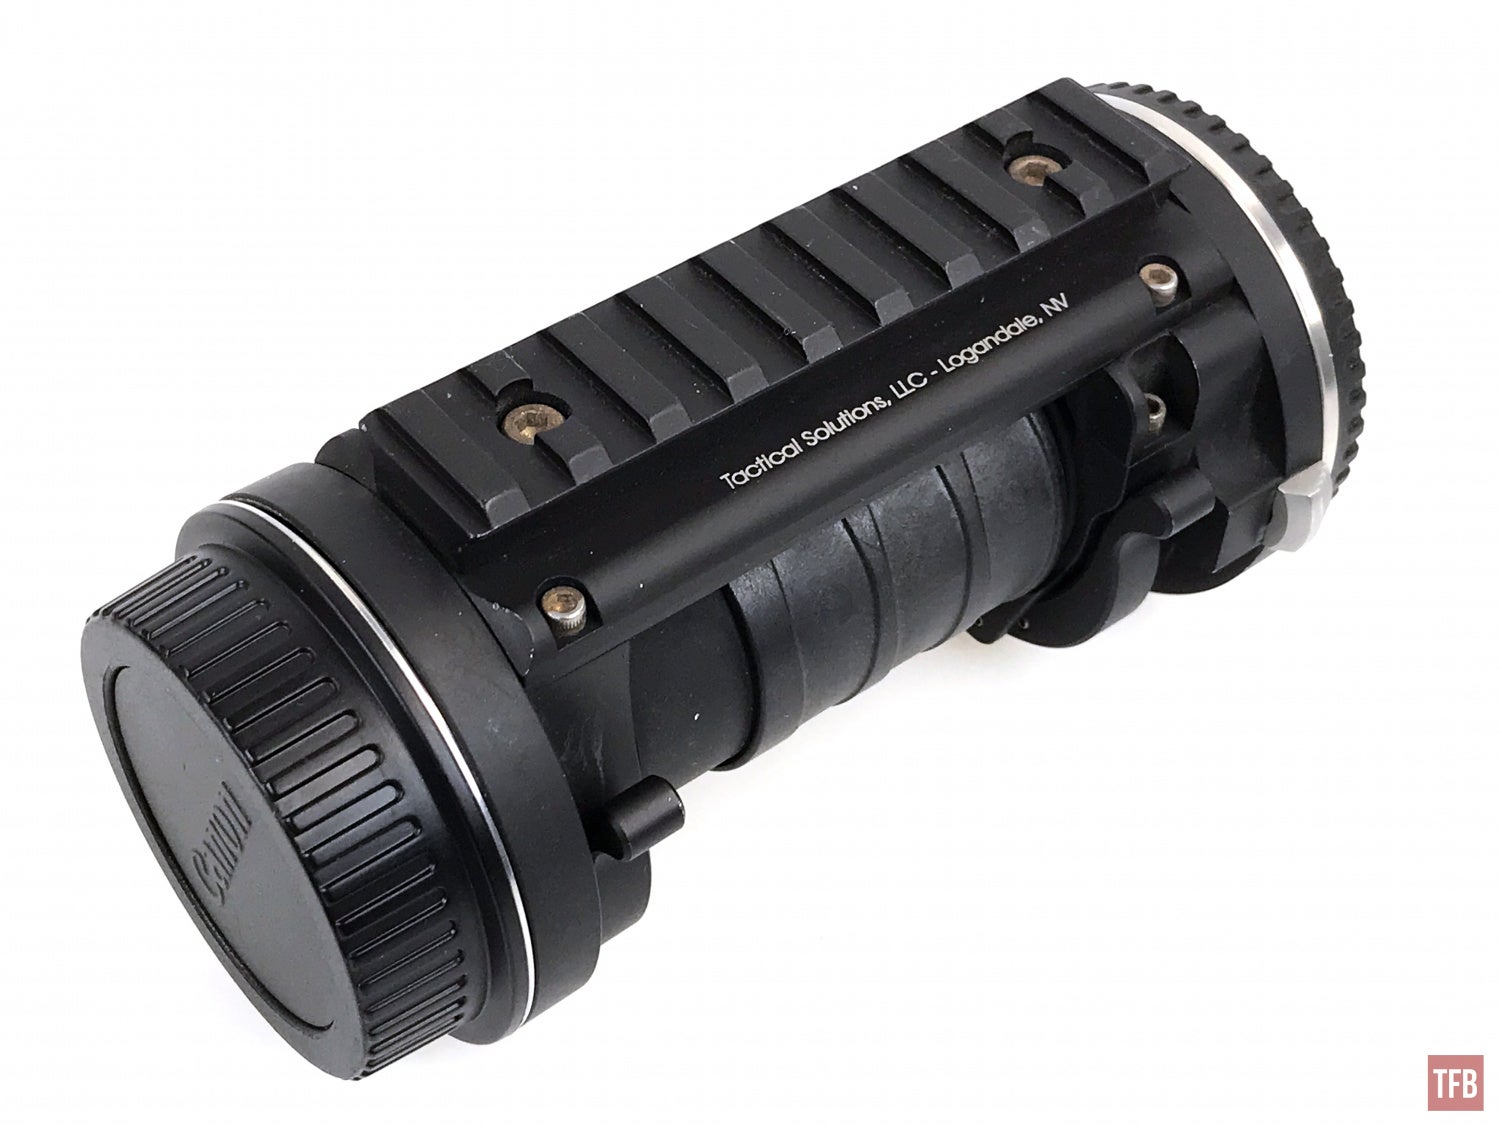
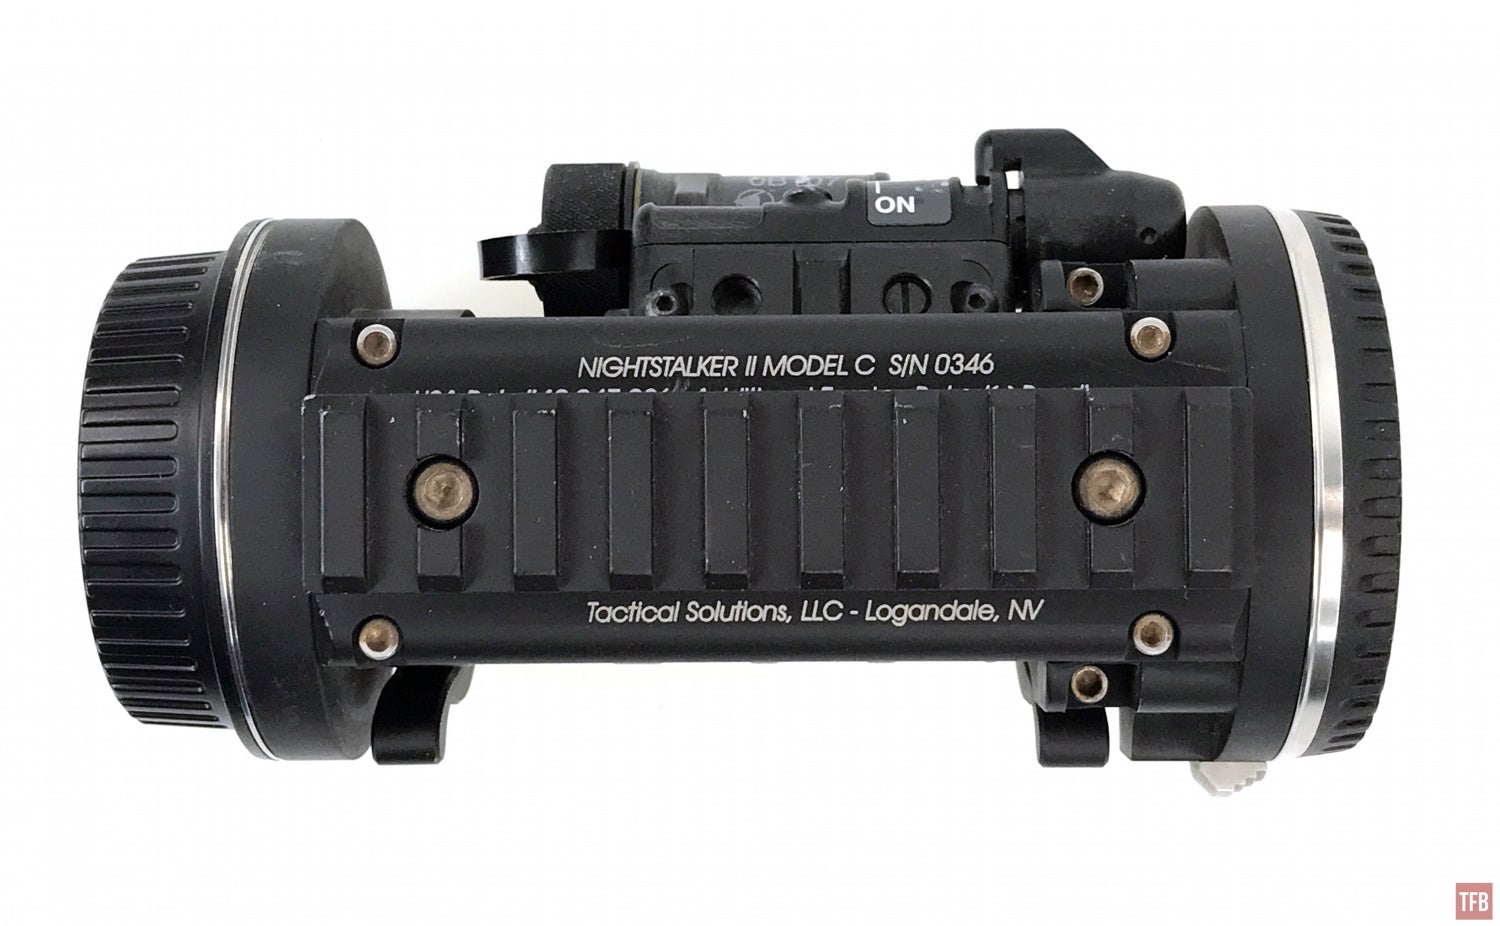
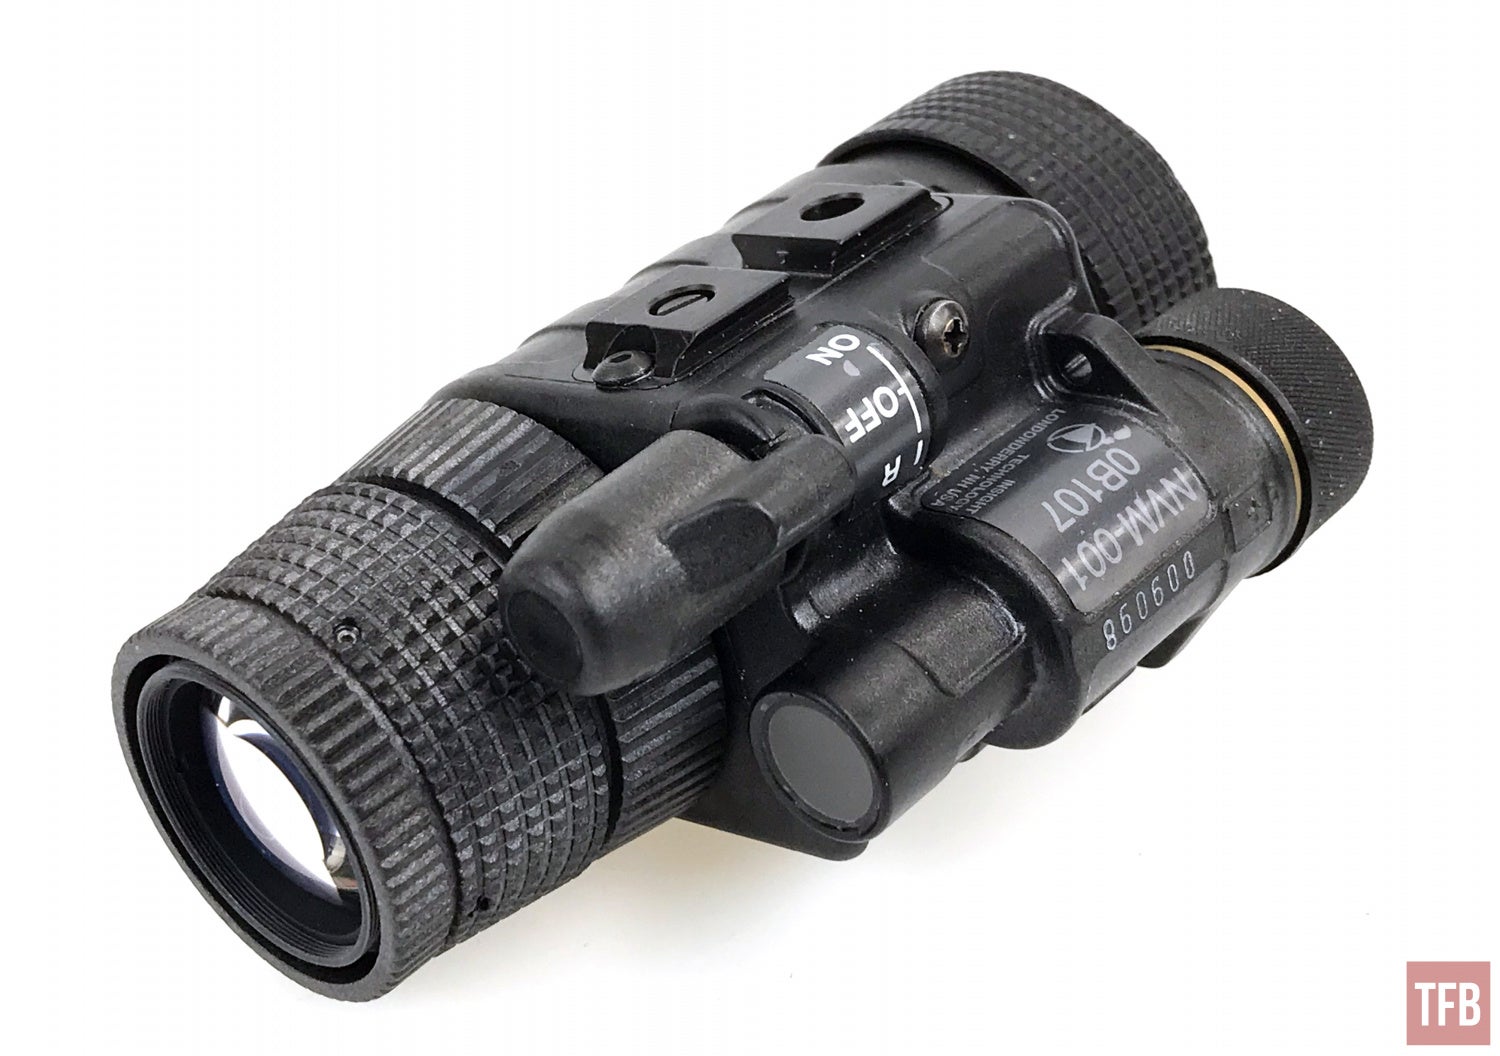
As you can see, the bottom of the NightStalker has a Picatinny rail for attaching accessories like IR lasers and illuminators. Unfortunately, my friend does not have a manual for his NightStalker II so we are not sure why there are compression levers on both ends of the housing. At first, I thought it was for removing the housing from the MUM-14 but that is not the case. The housing is bolted to the Picatinny rail bridge which defeats the purpose of having rapid release latches.
A NightStalker Of A Different Shape
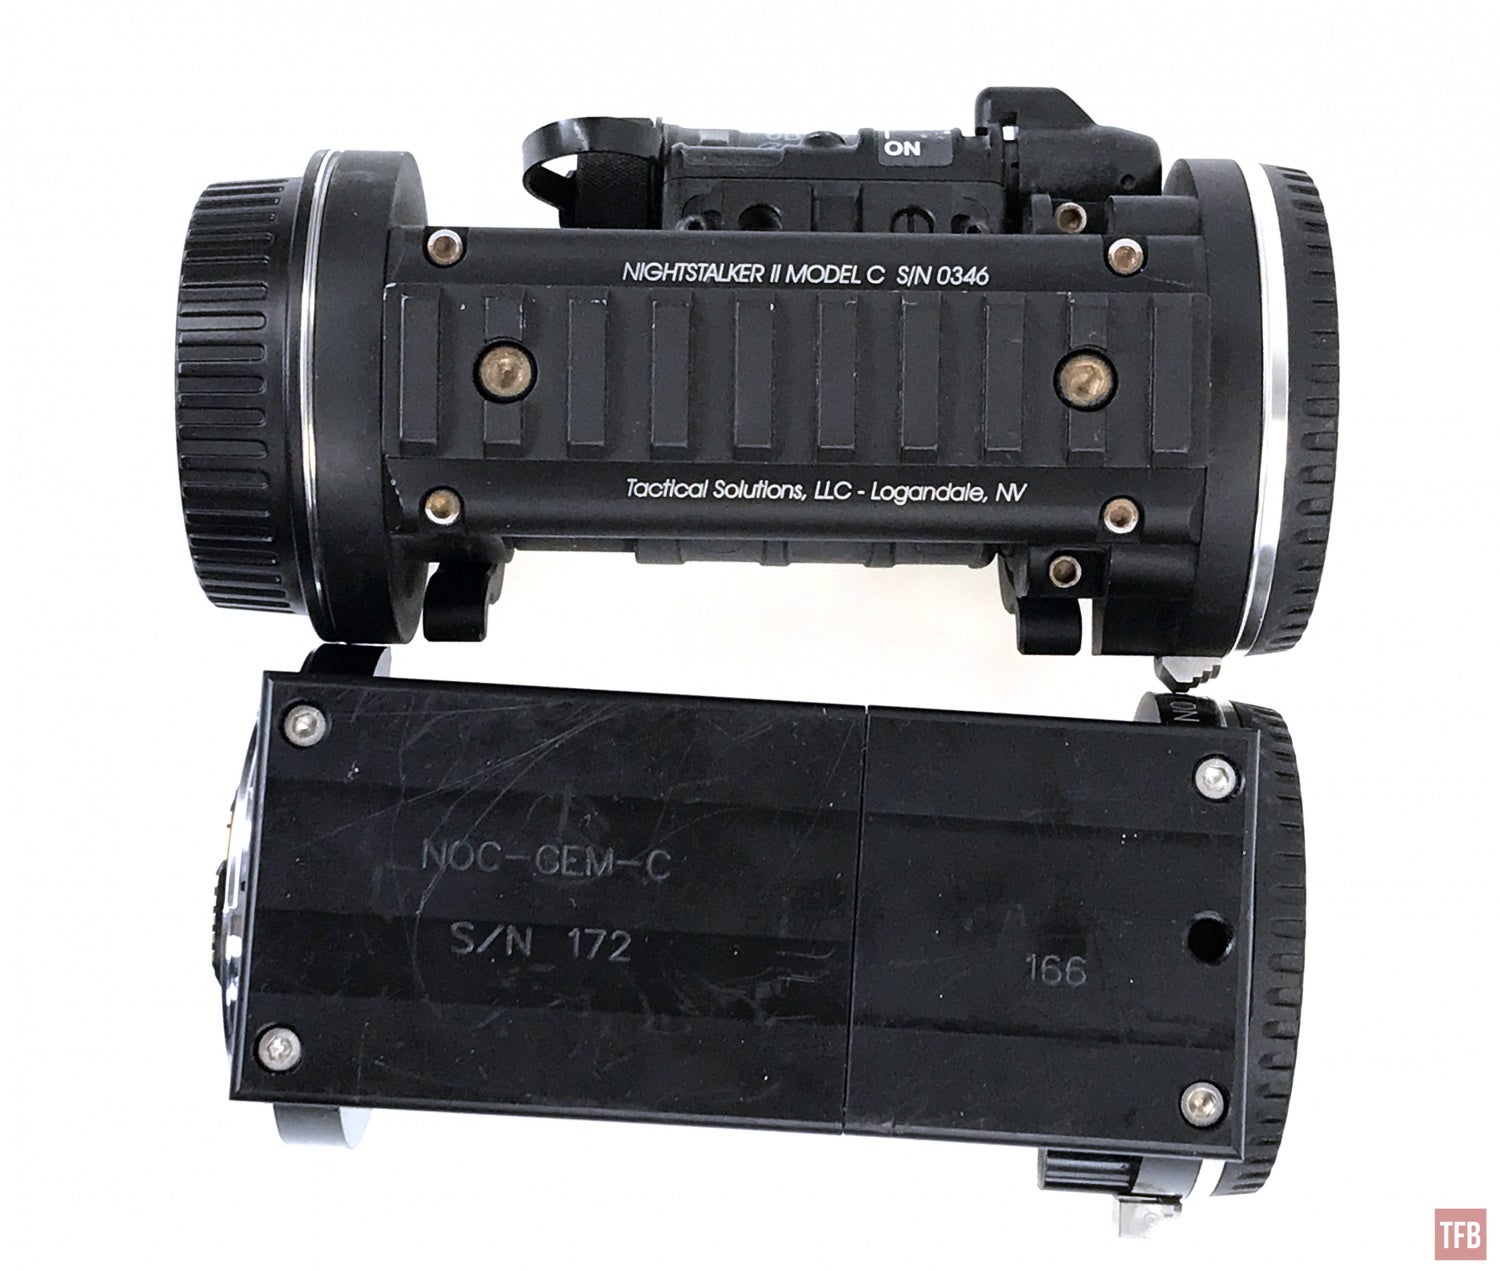
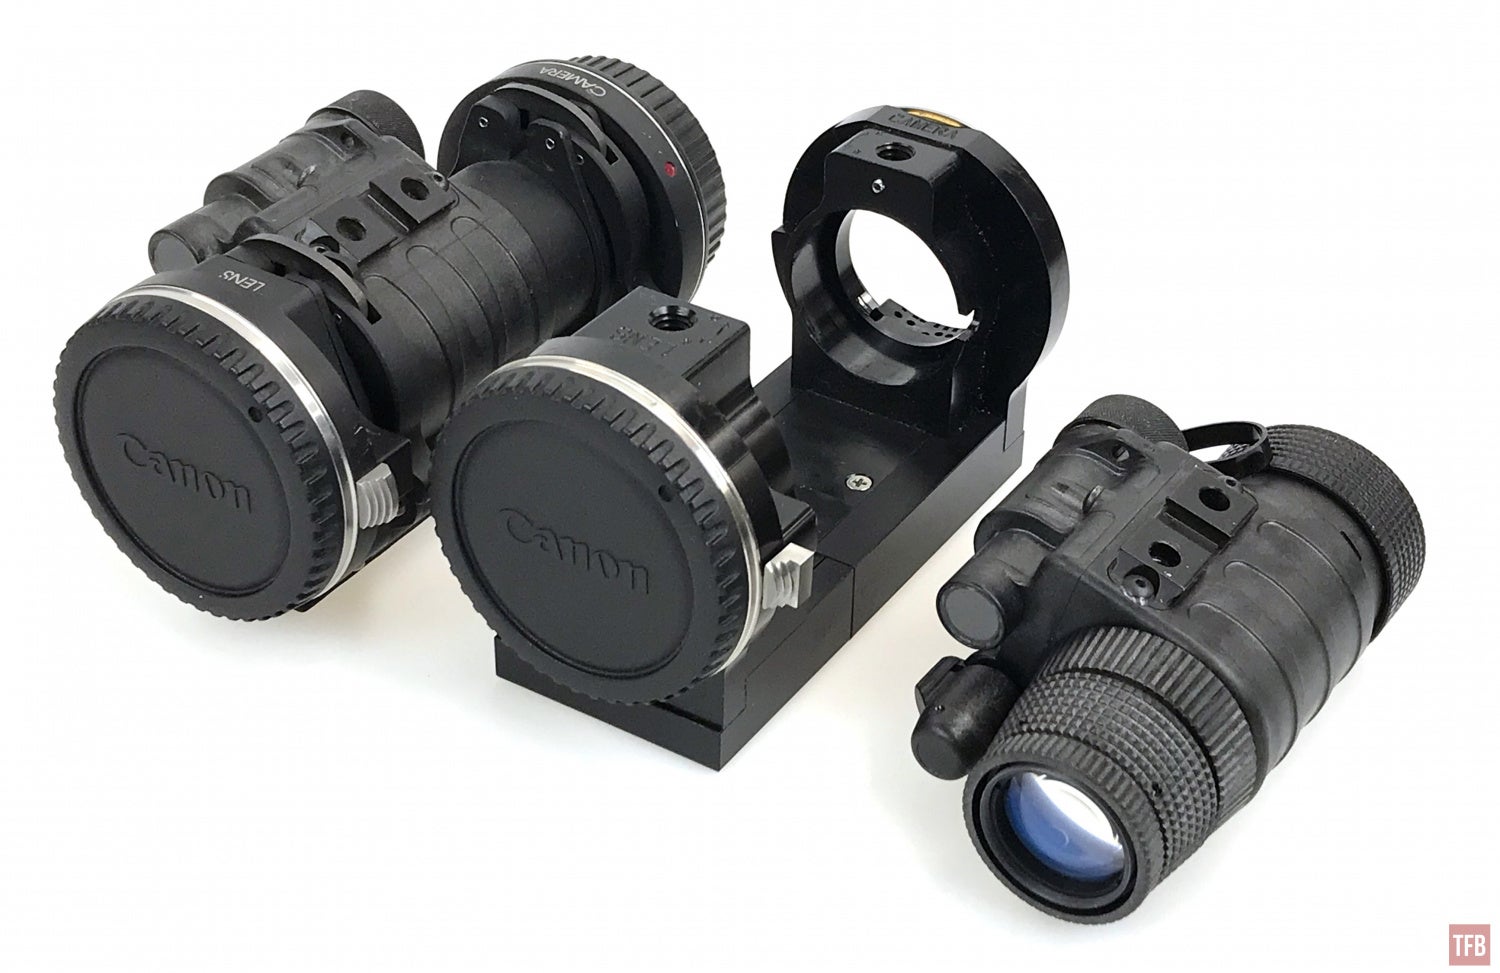
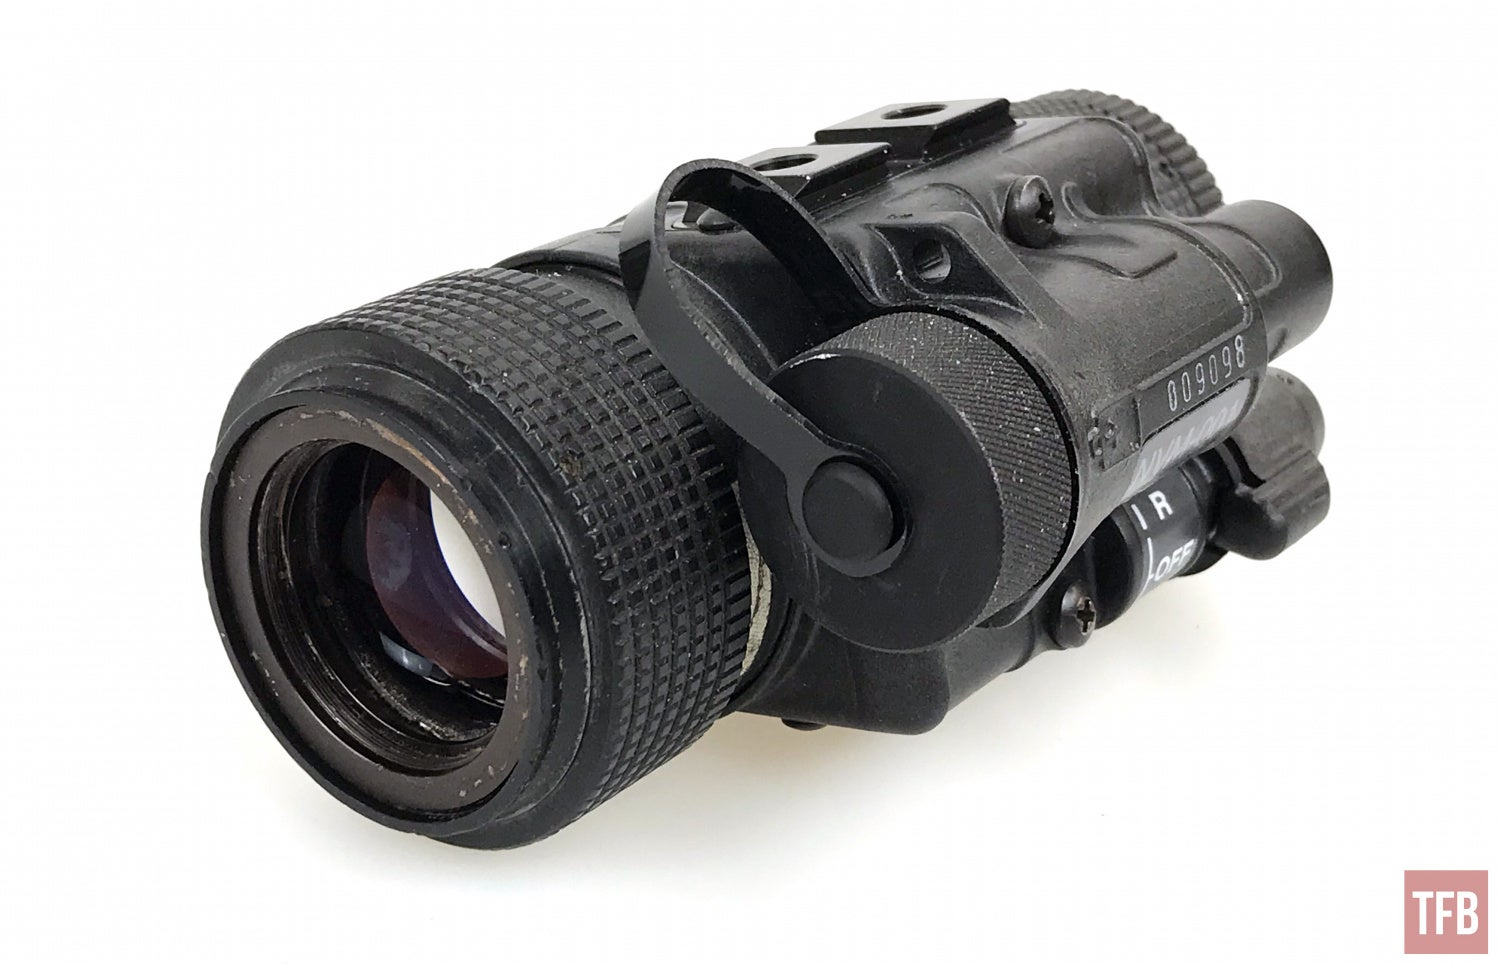
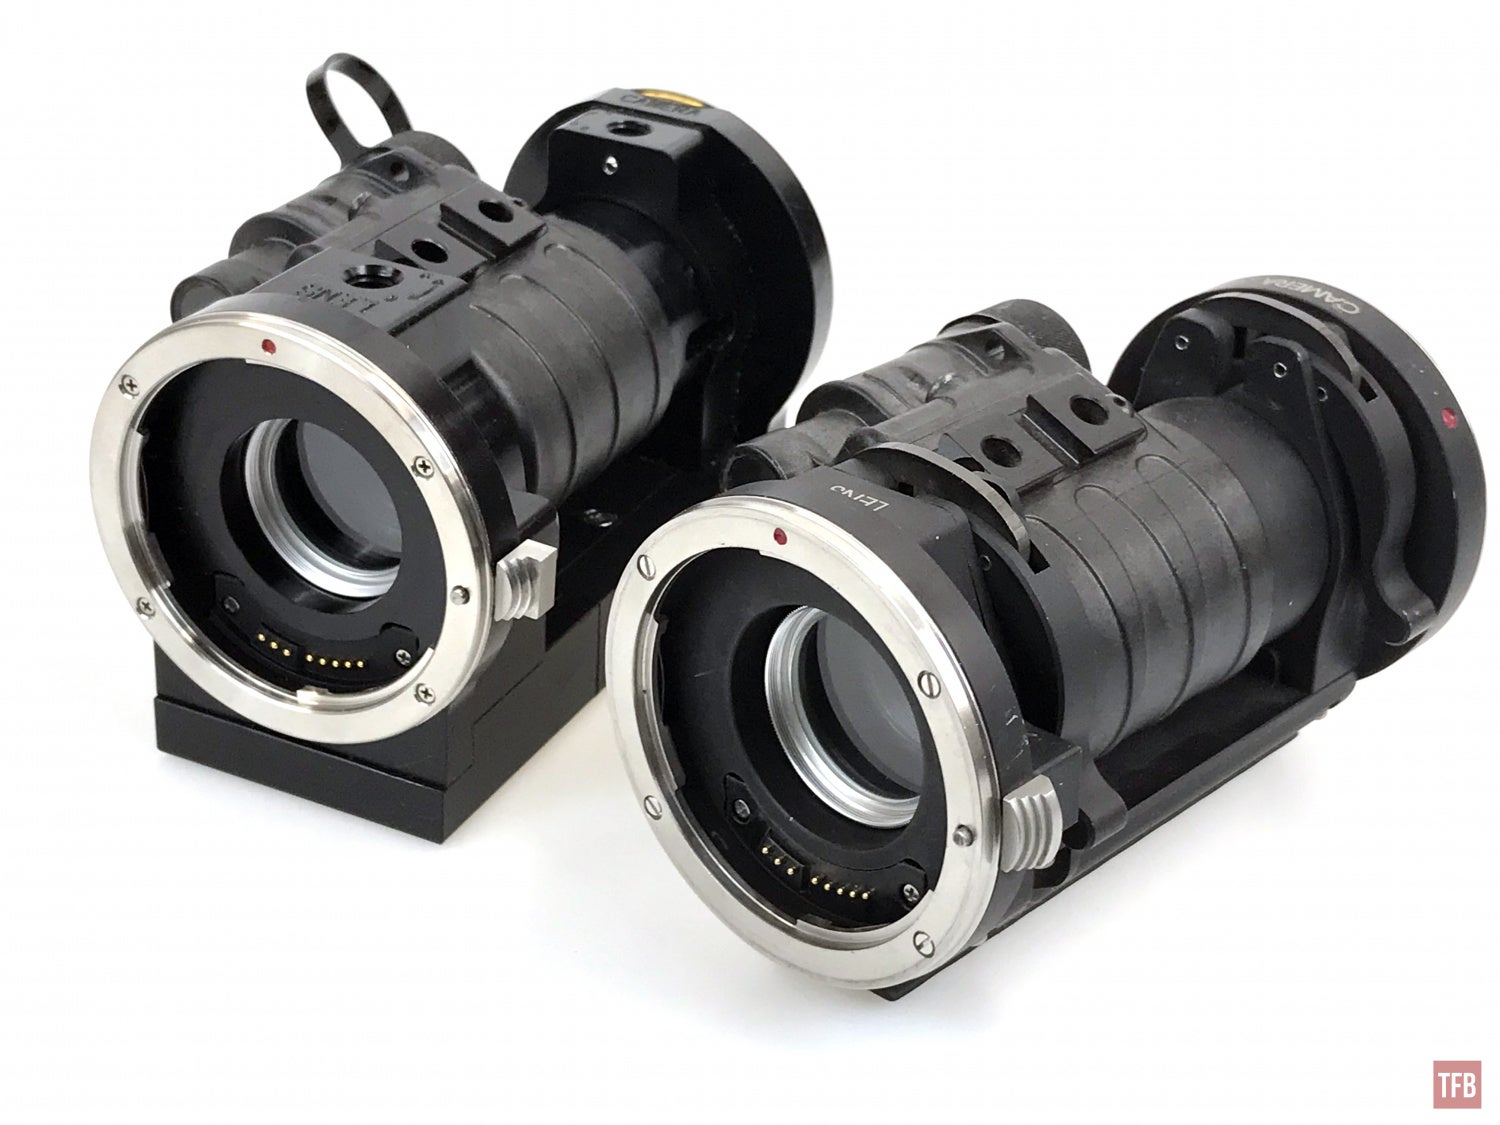
When I borrowed the NightStalker II, I remembered that another friend has something similar. I called him up and sure enough he has one as well. If you see the photos above, this is different than the Tactical Solutions version. First of all, this version is simpler looking. It almost looks like a prototype in comparison. The two halves can be separated without the use of tools.
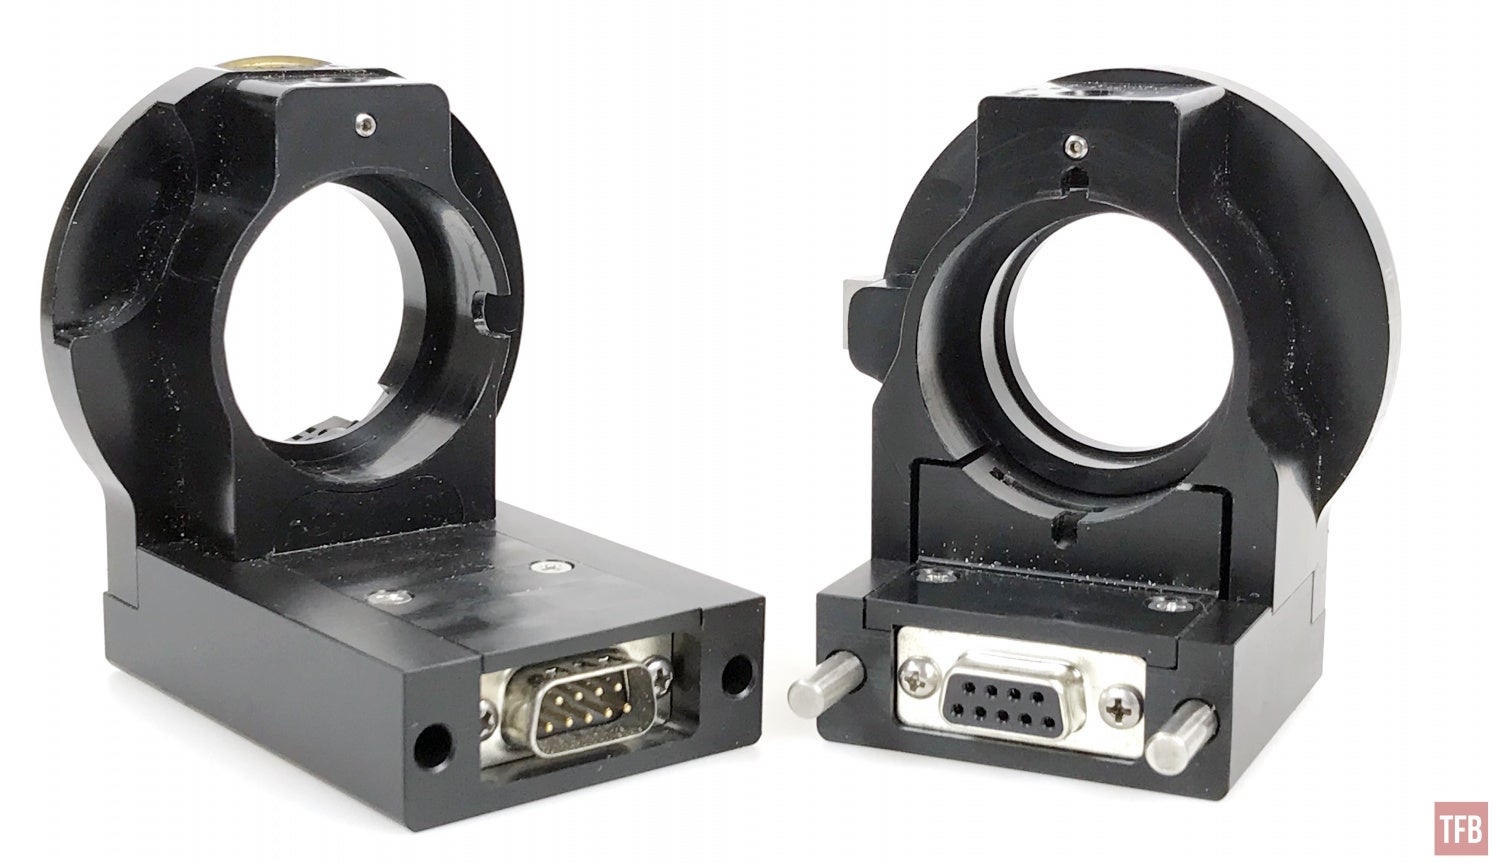
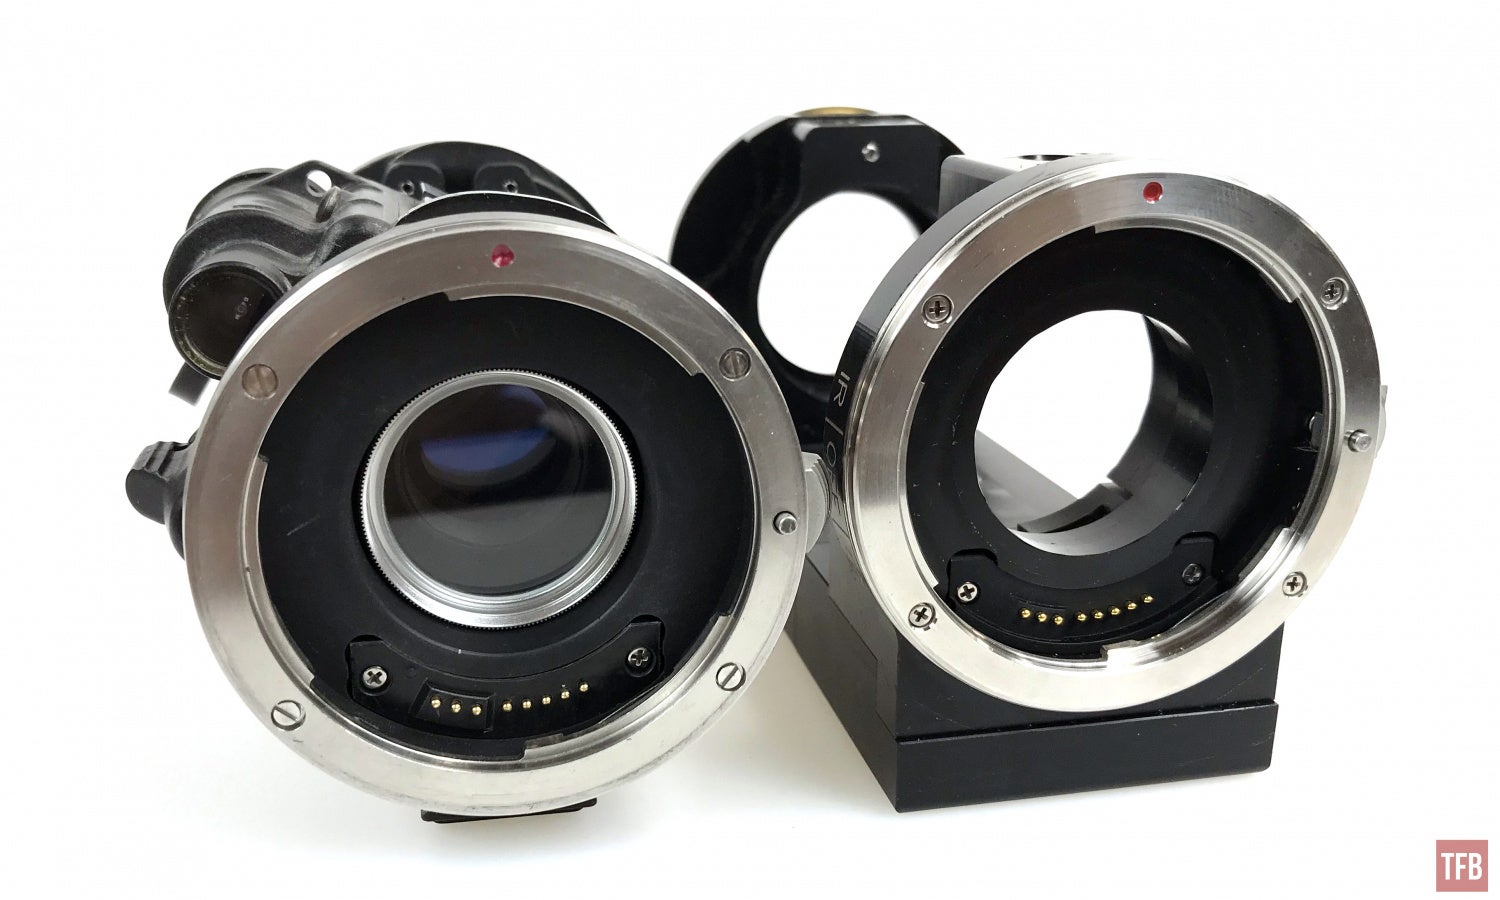
Because of this we can get a better look at the special lens used for the rear of the MUM-14.
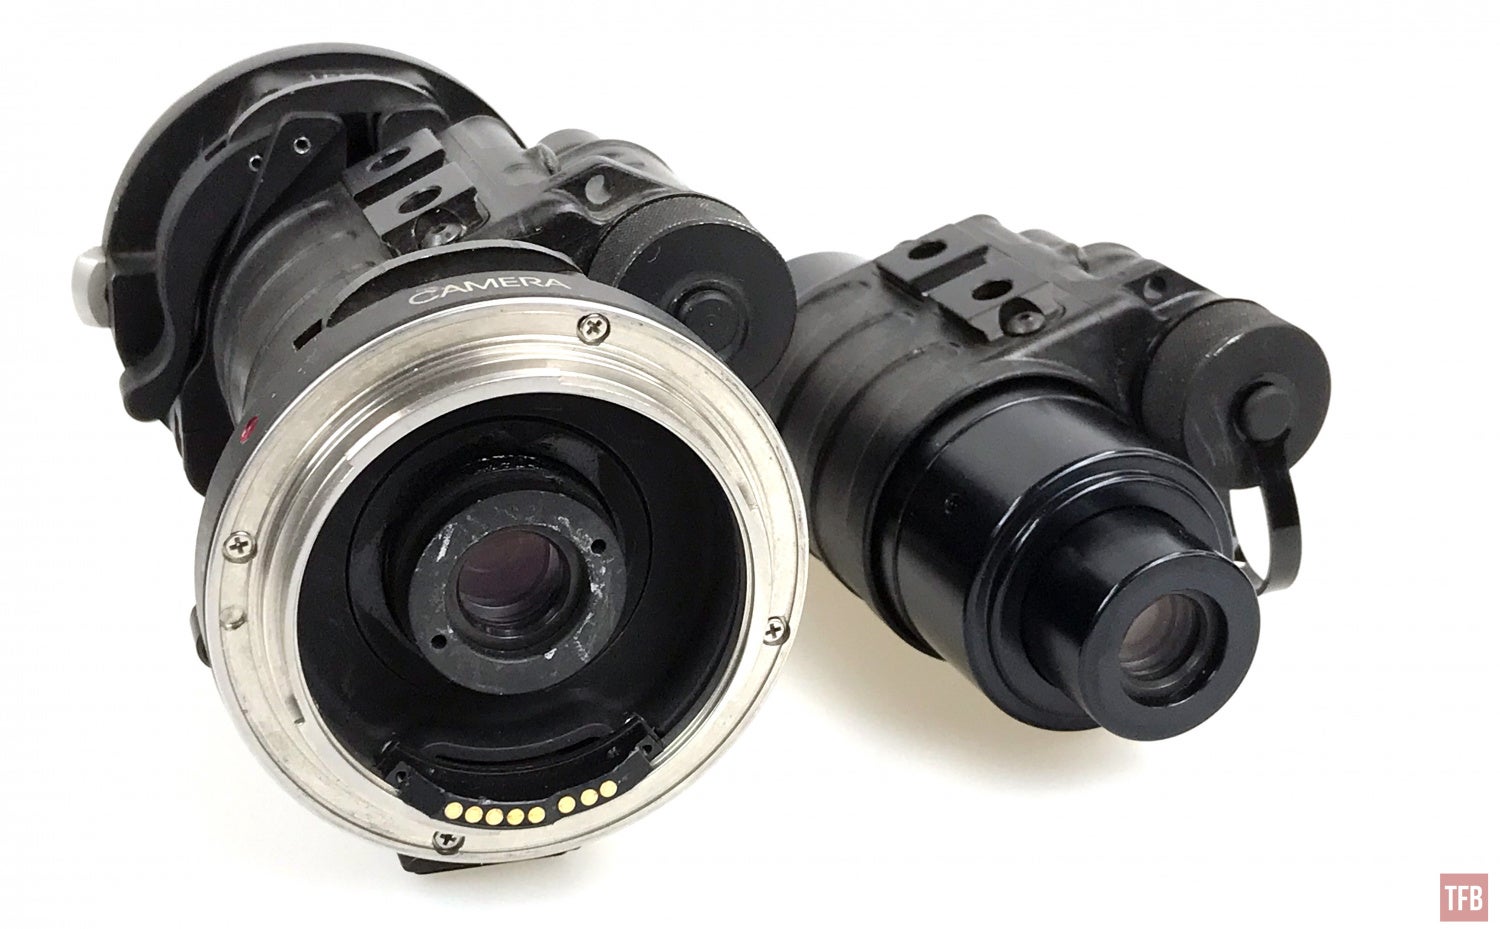
I believe the rear eyepiece has been swapped out to make it easier for the intensified image to hit the camera sensor.
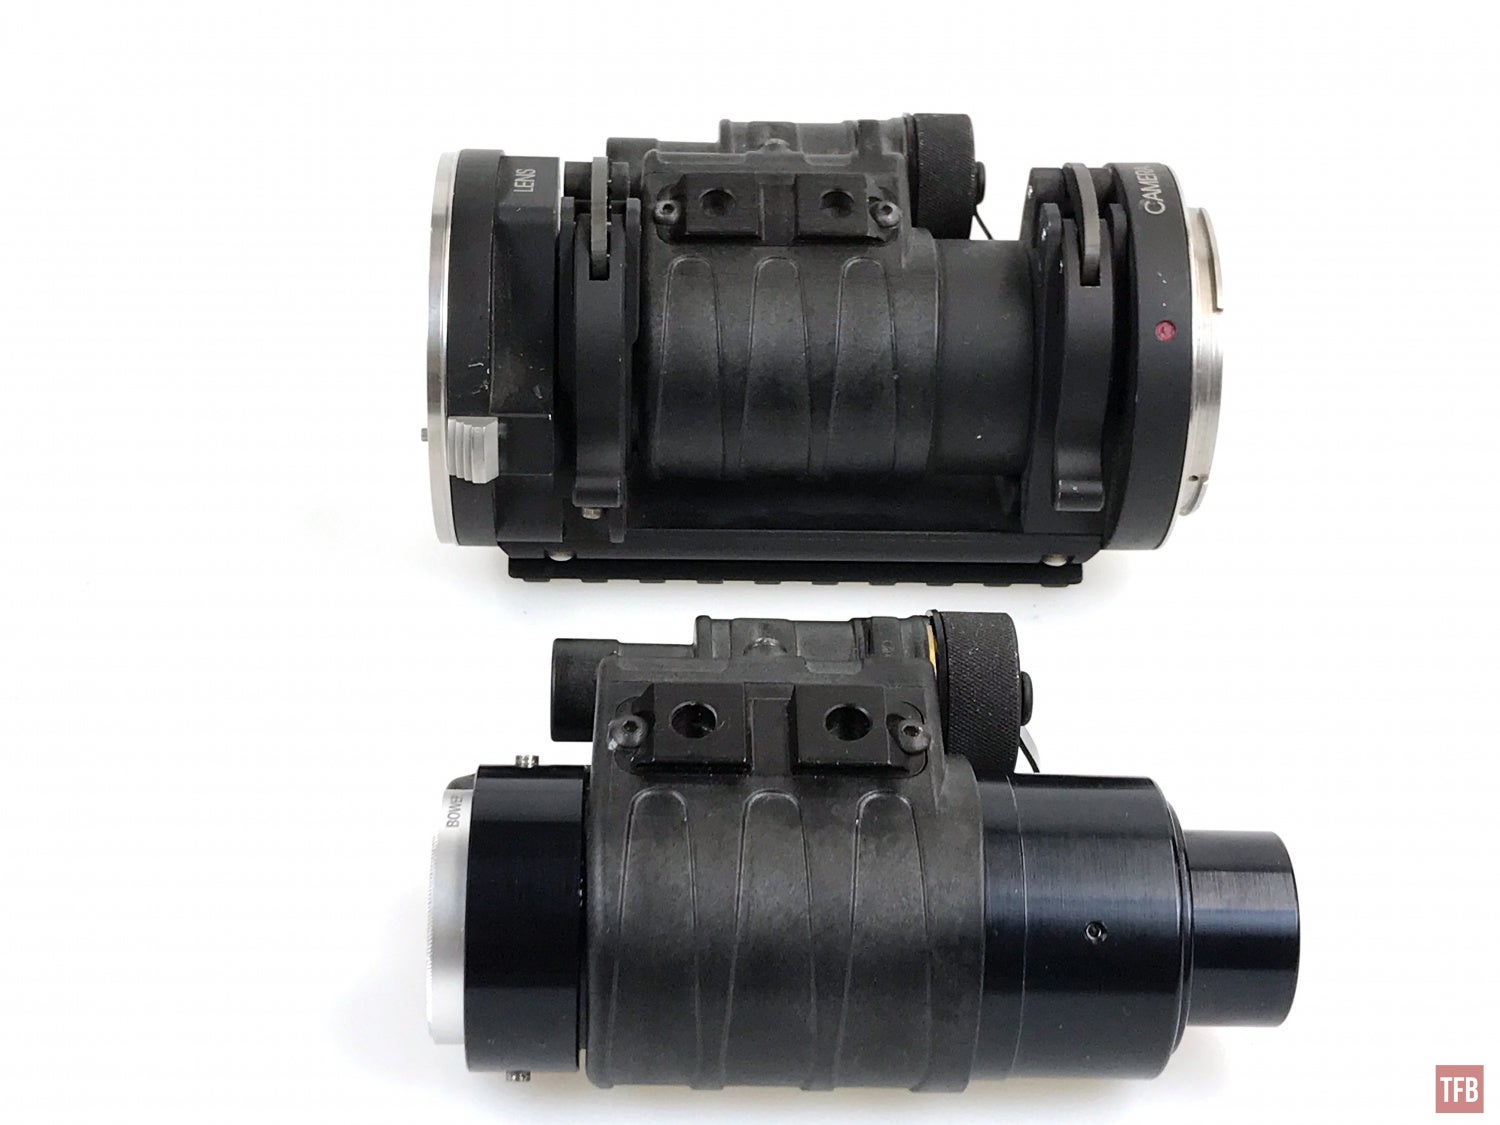
At the front of the MUM-14 is a Bower 30.5mm UV filter. 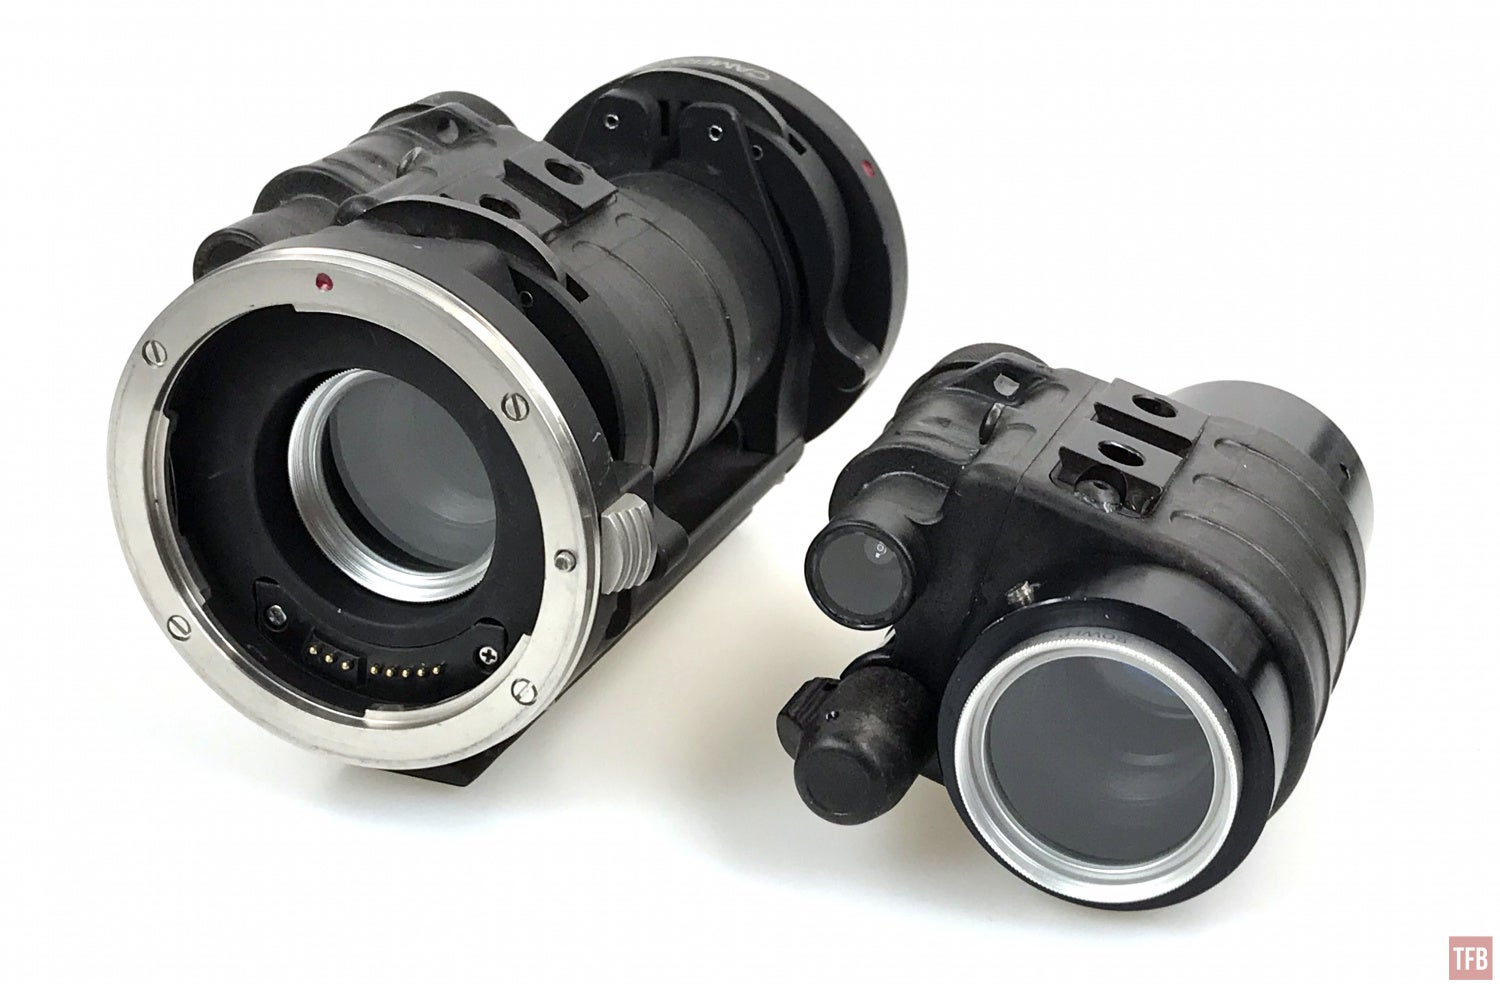
The bigger and bulkier version of the NightStalker II looks just like the one made by Sensors Unlimited. They call it the GEM-III Night Vision Device.

Photo by Sensors Unlimited
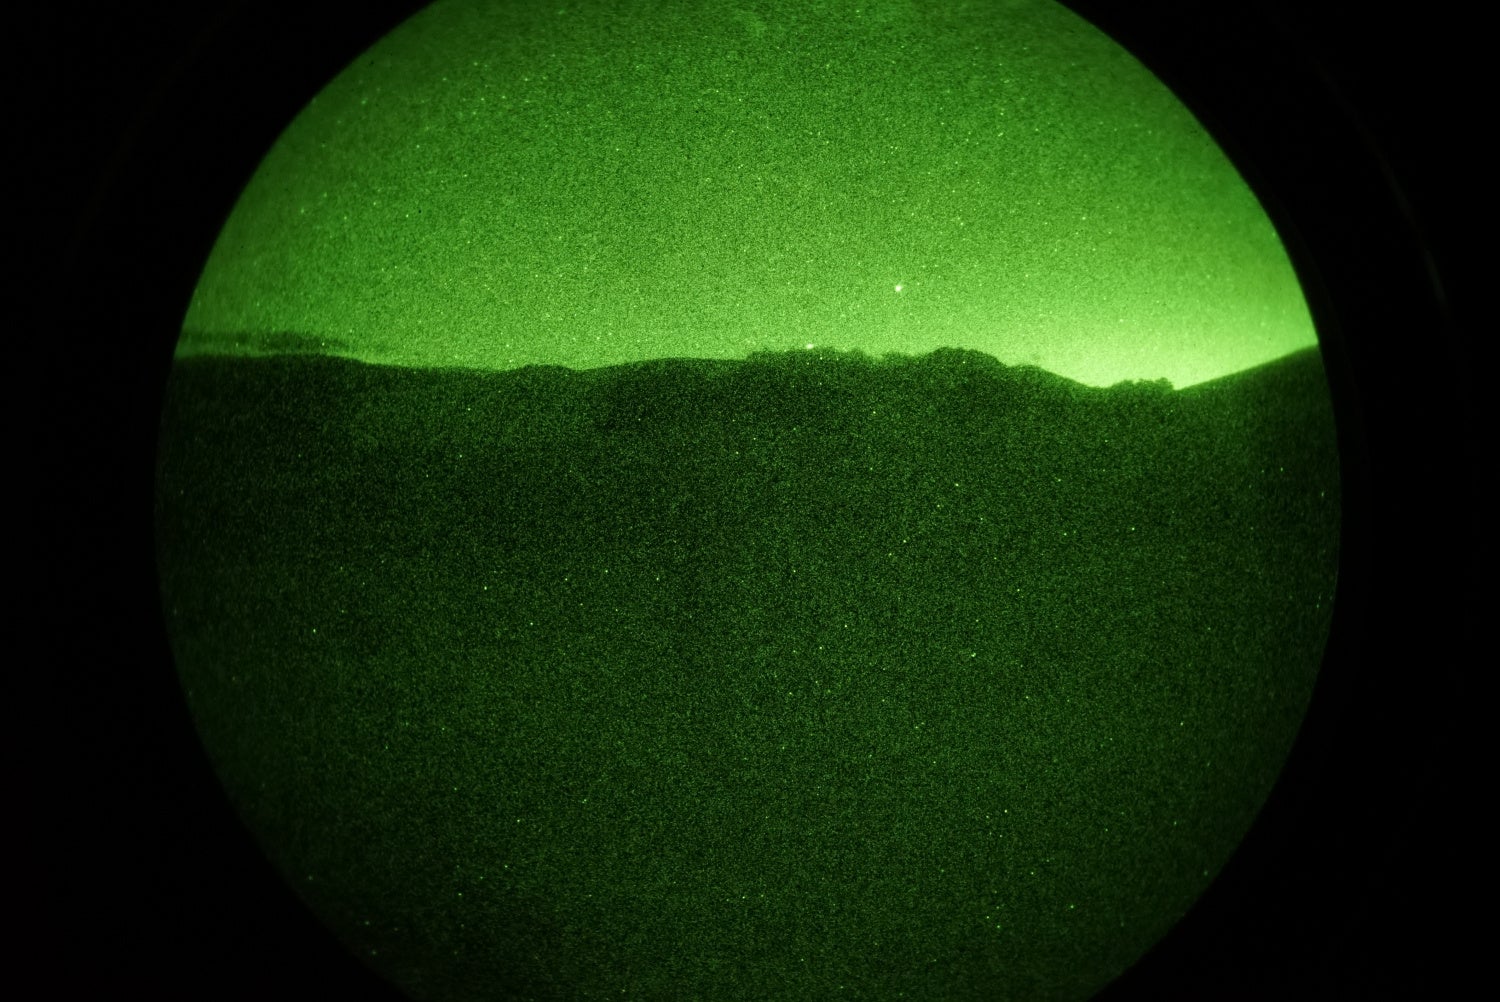
Photographing With Night Vision
The biggest benefit to using a DSLR to capture night vision images is the control you have with a DSLR. Below are some examples of how the image improves by adjusting the settings in the camera.
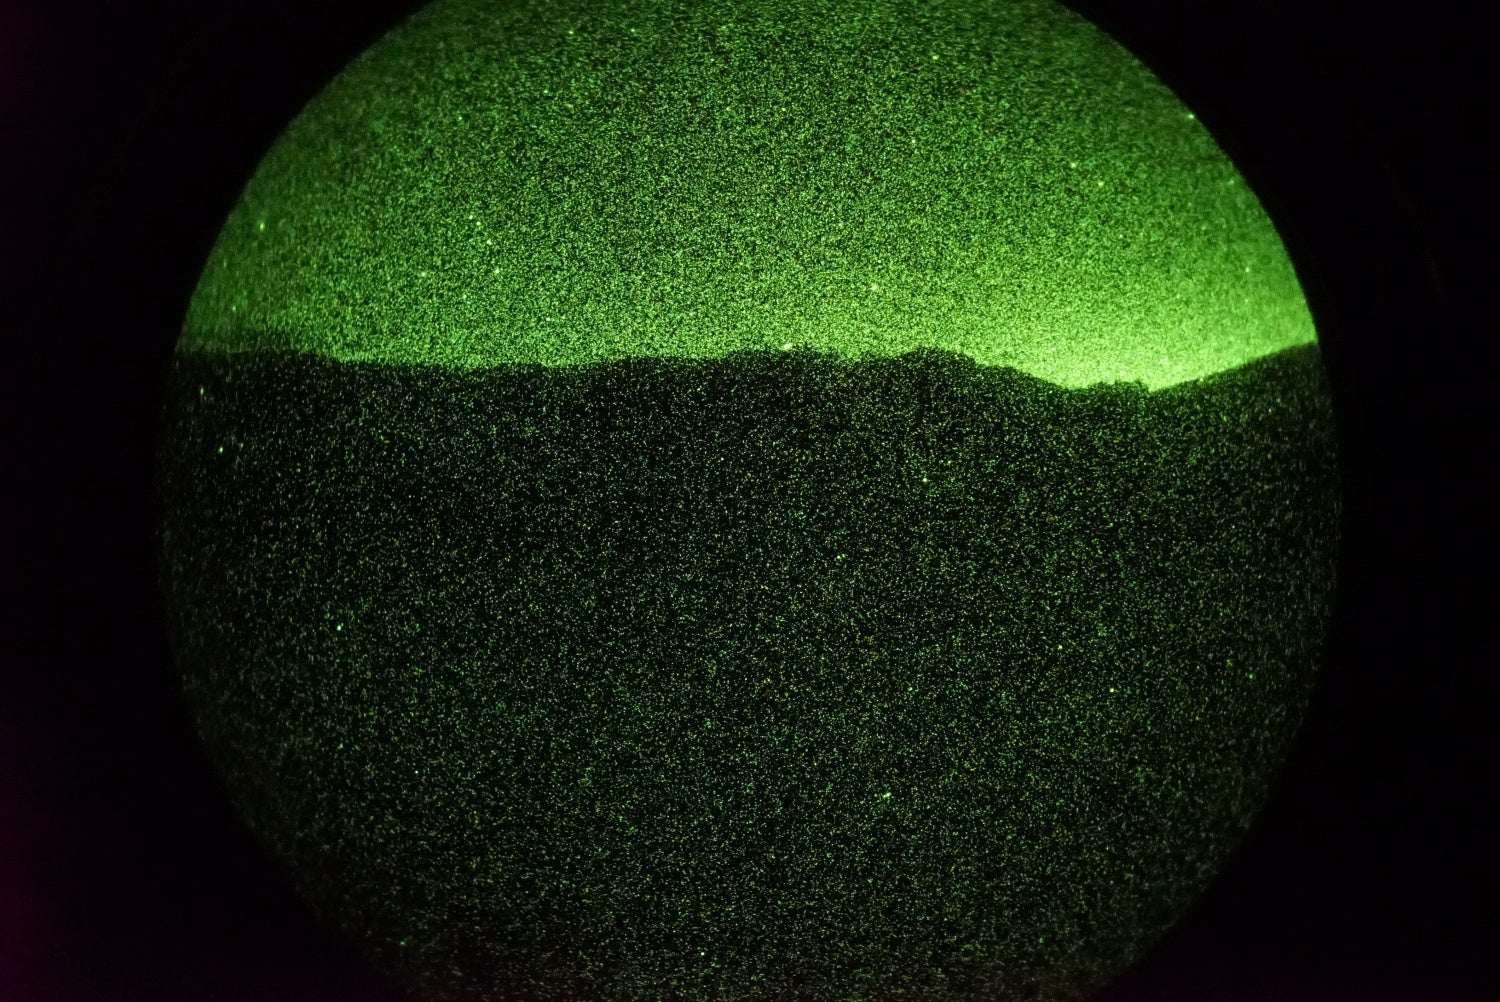
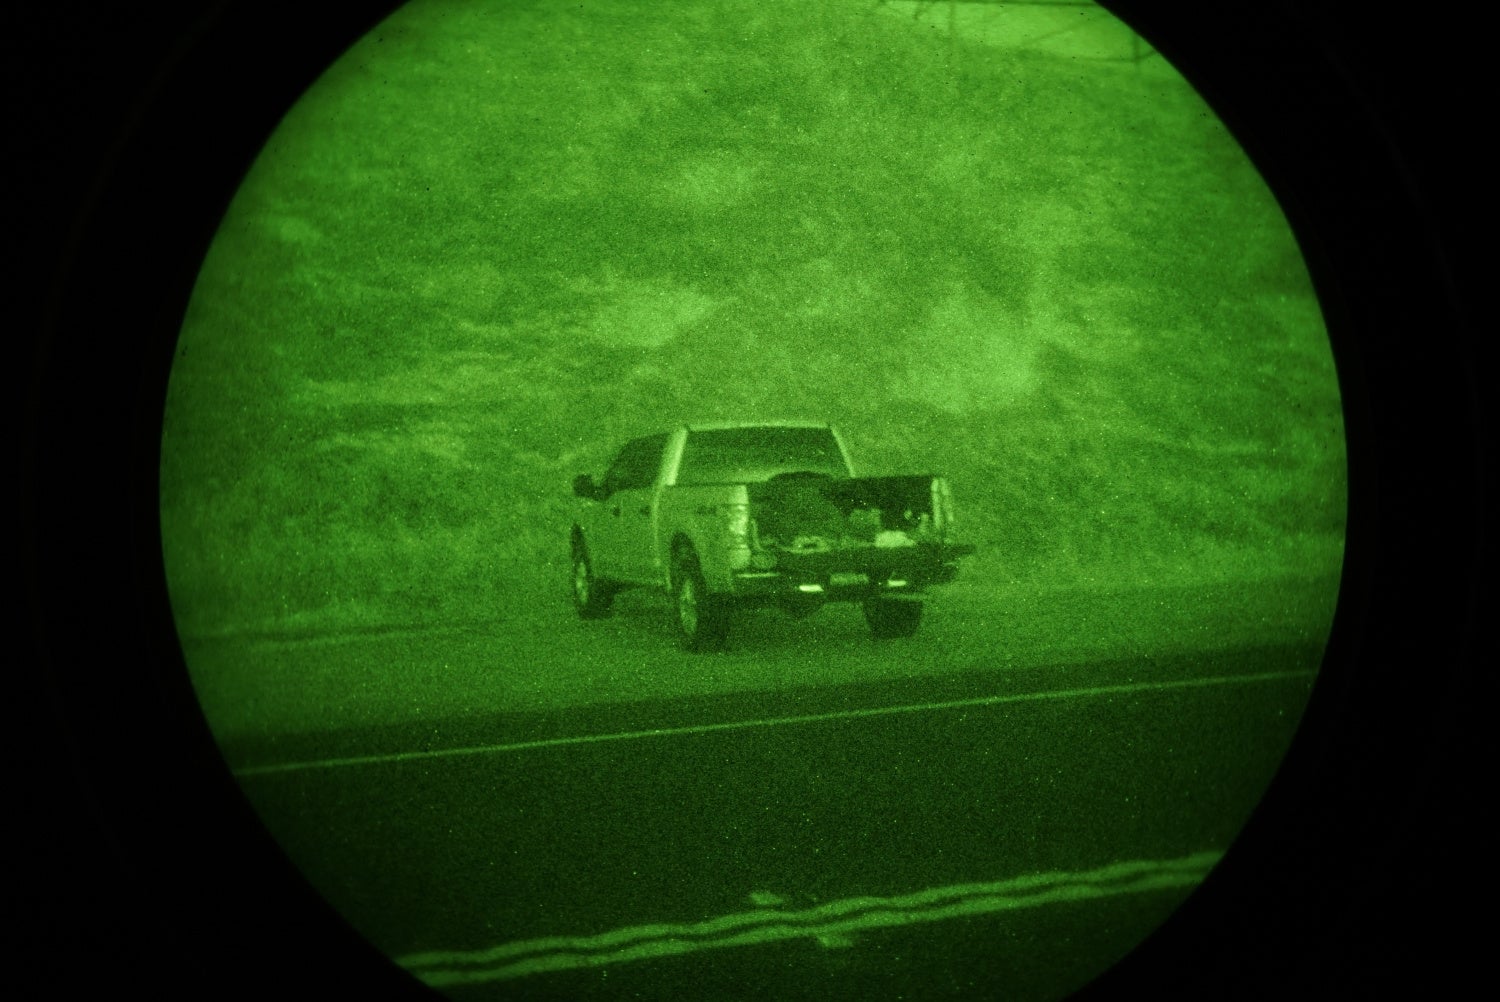
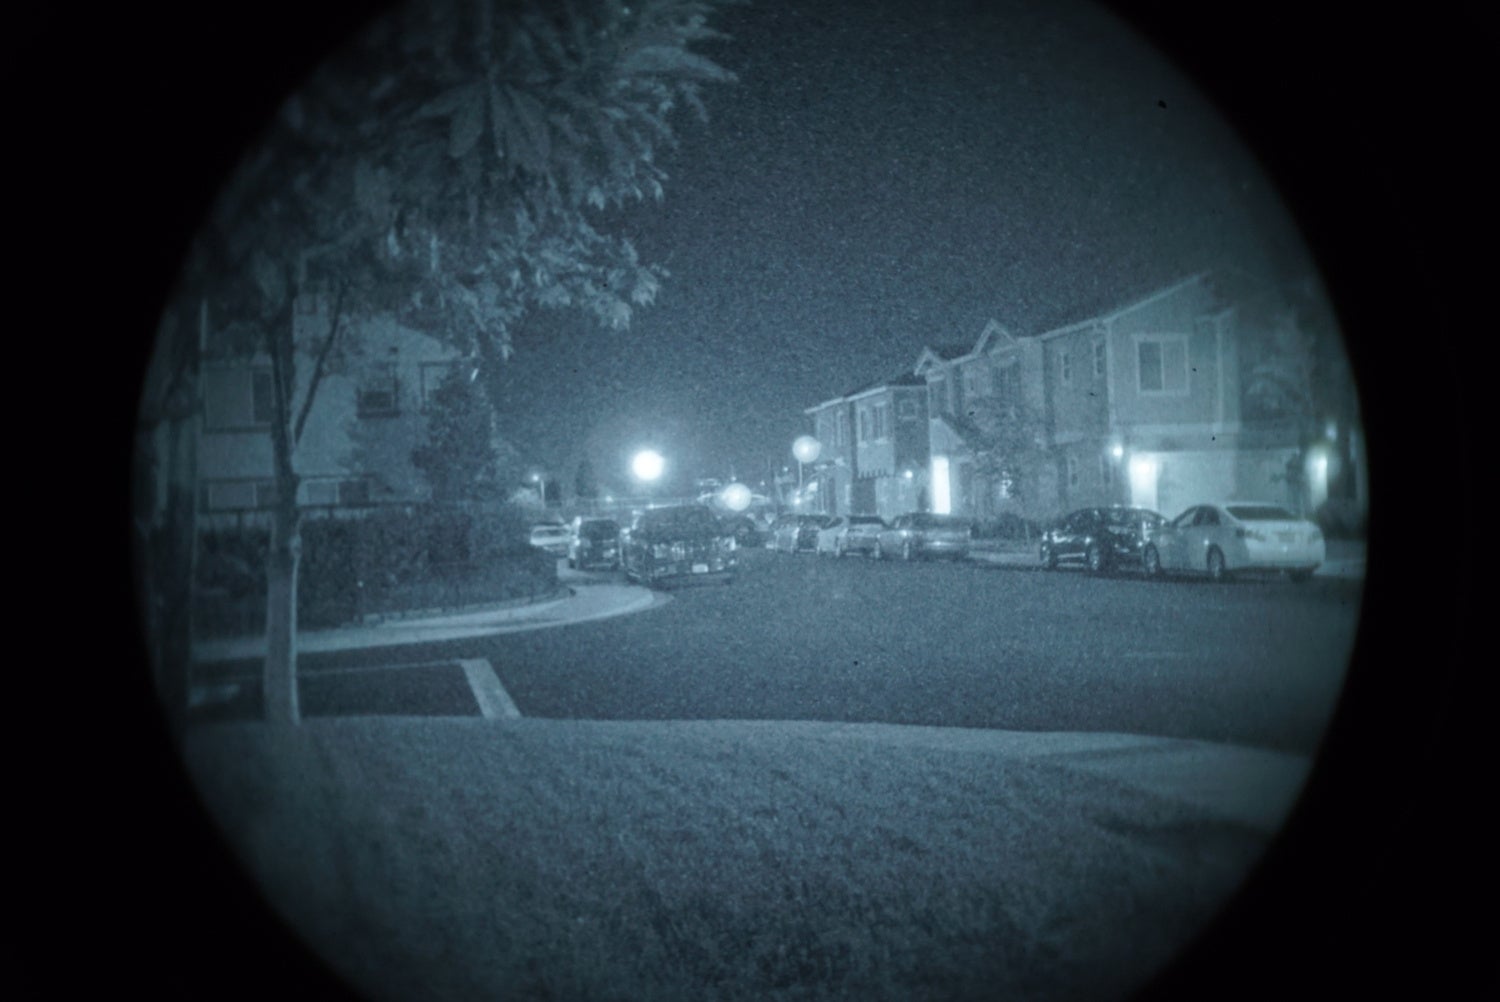
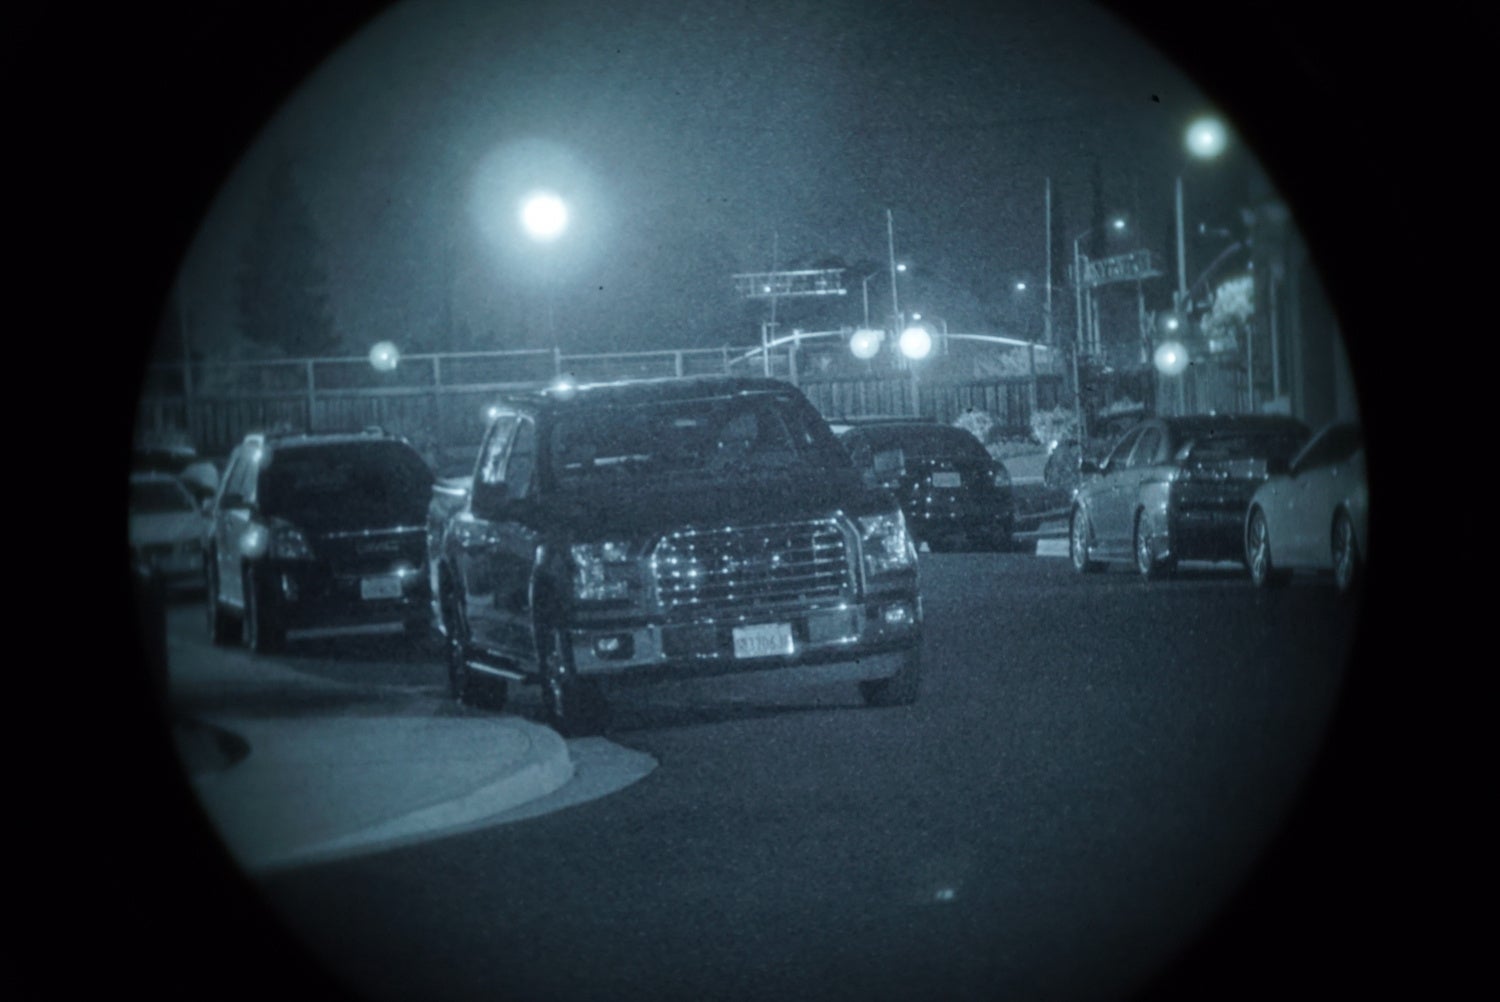
High ISO and fast shutter speed make for a noisy image
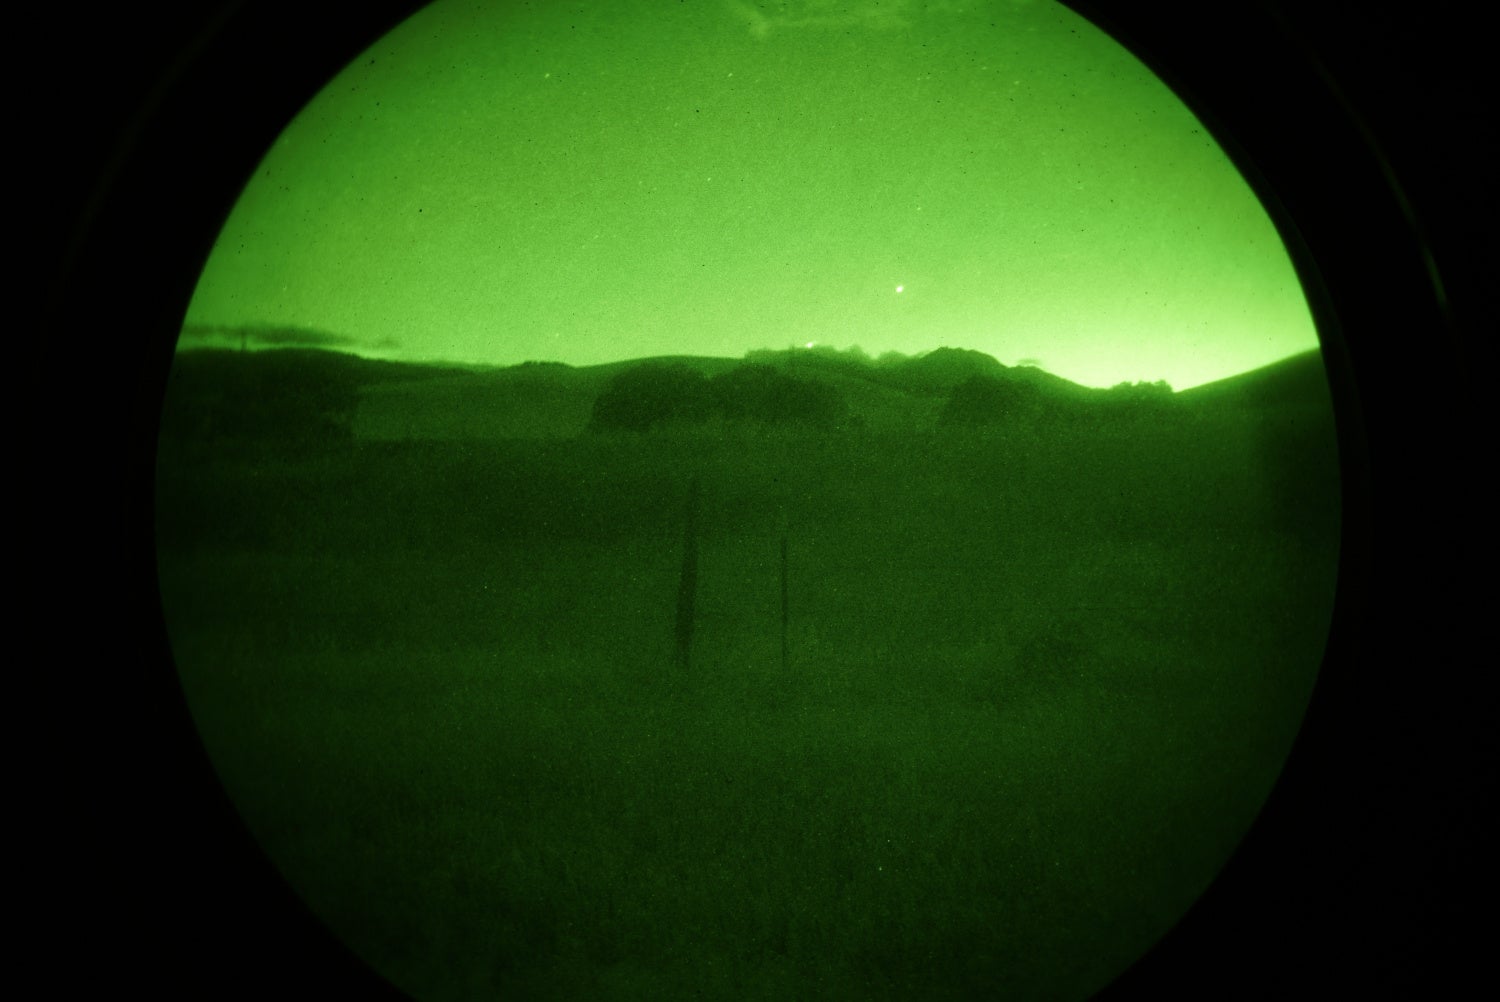
If I set the shutter speed slower the random photon strikes, the stuff that looks like image noise, is averaged out and is not as prominent. You can actually see detail in the bottom image.
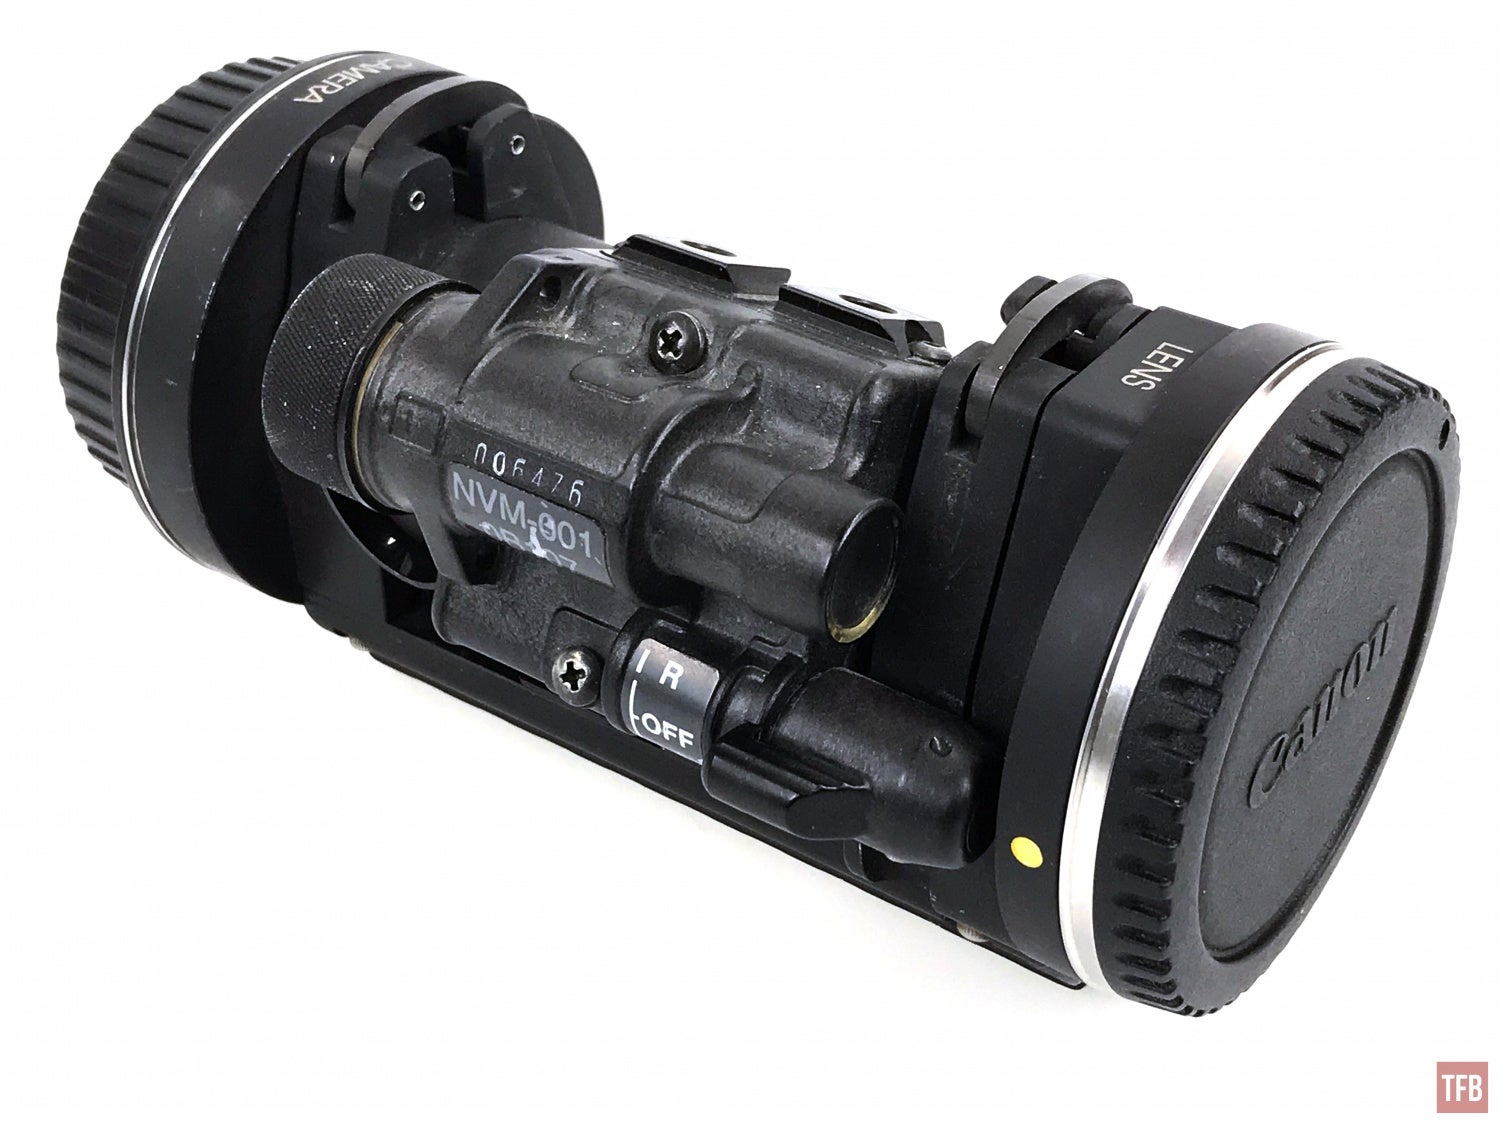
There are drawbacks to this setup. It is awfully bulky. See photo below.
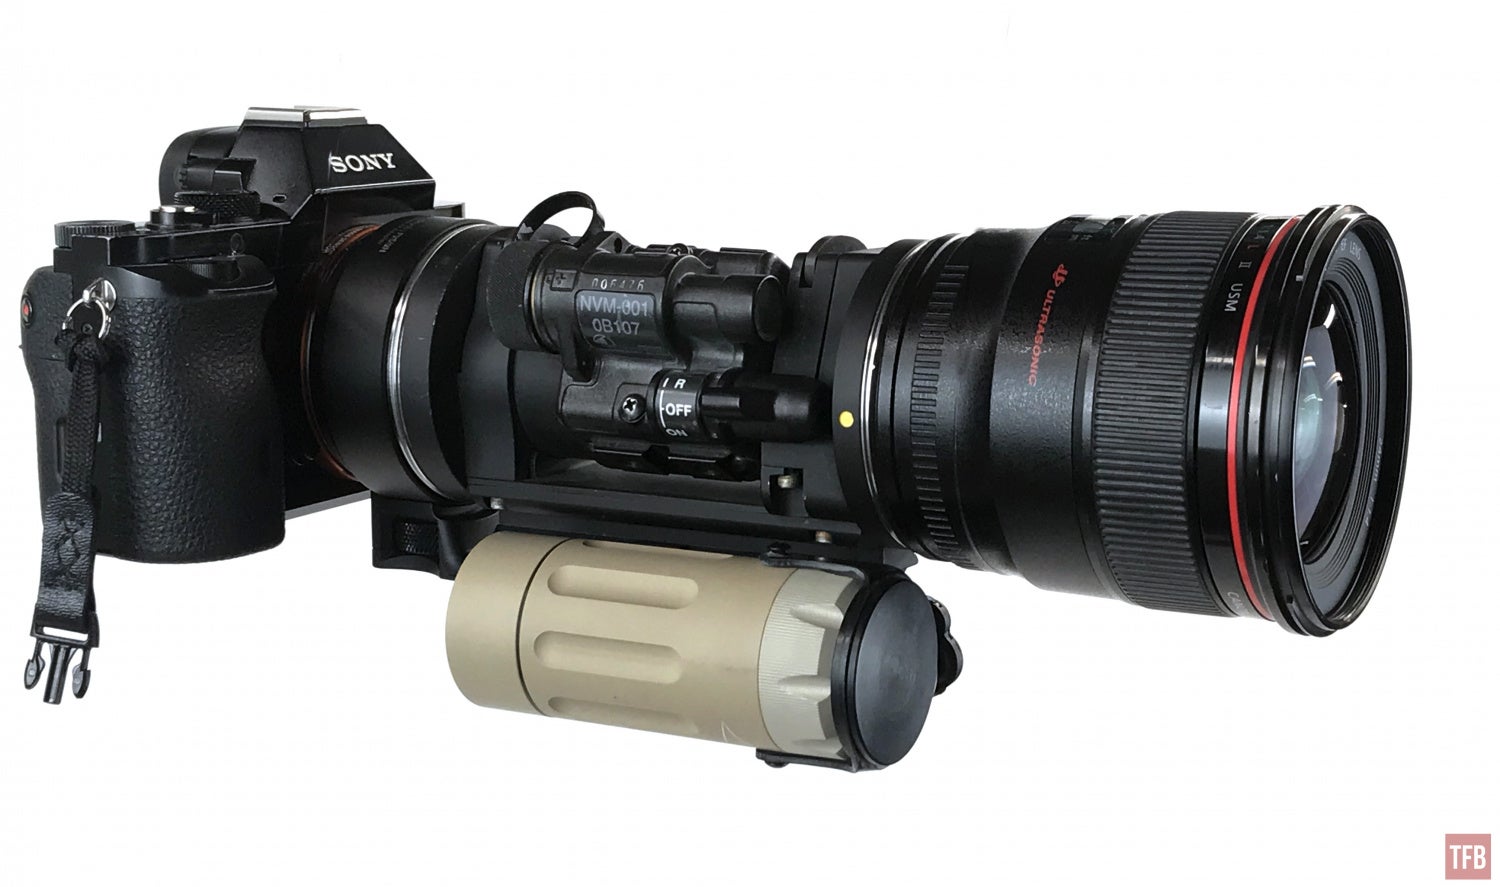
The other major drawback is the fact that the camera lenses are not that bright. You need a very fast lens: 1.8f/s or better. If you use a standard kit lens of 3.5f/s then you need more light to enter the lens so you have to take longer exposure shots. On the other hand, you can use telephoto lenses and zoom in to get more detail of objects further away. I put one of my L3 Filmless white phosphor tubes into my NightStalker II to see if it made a difference. The benefits were marginal. I used a 24-105mm lens to get some optical zoom.
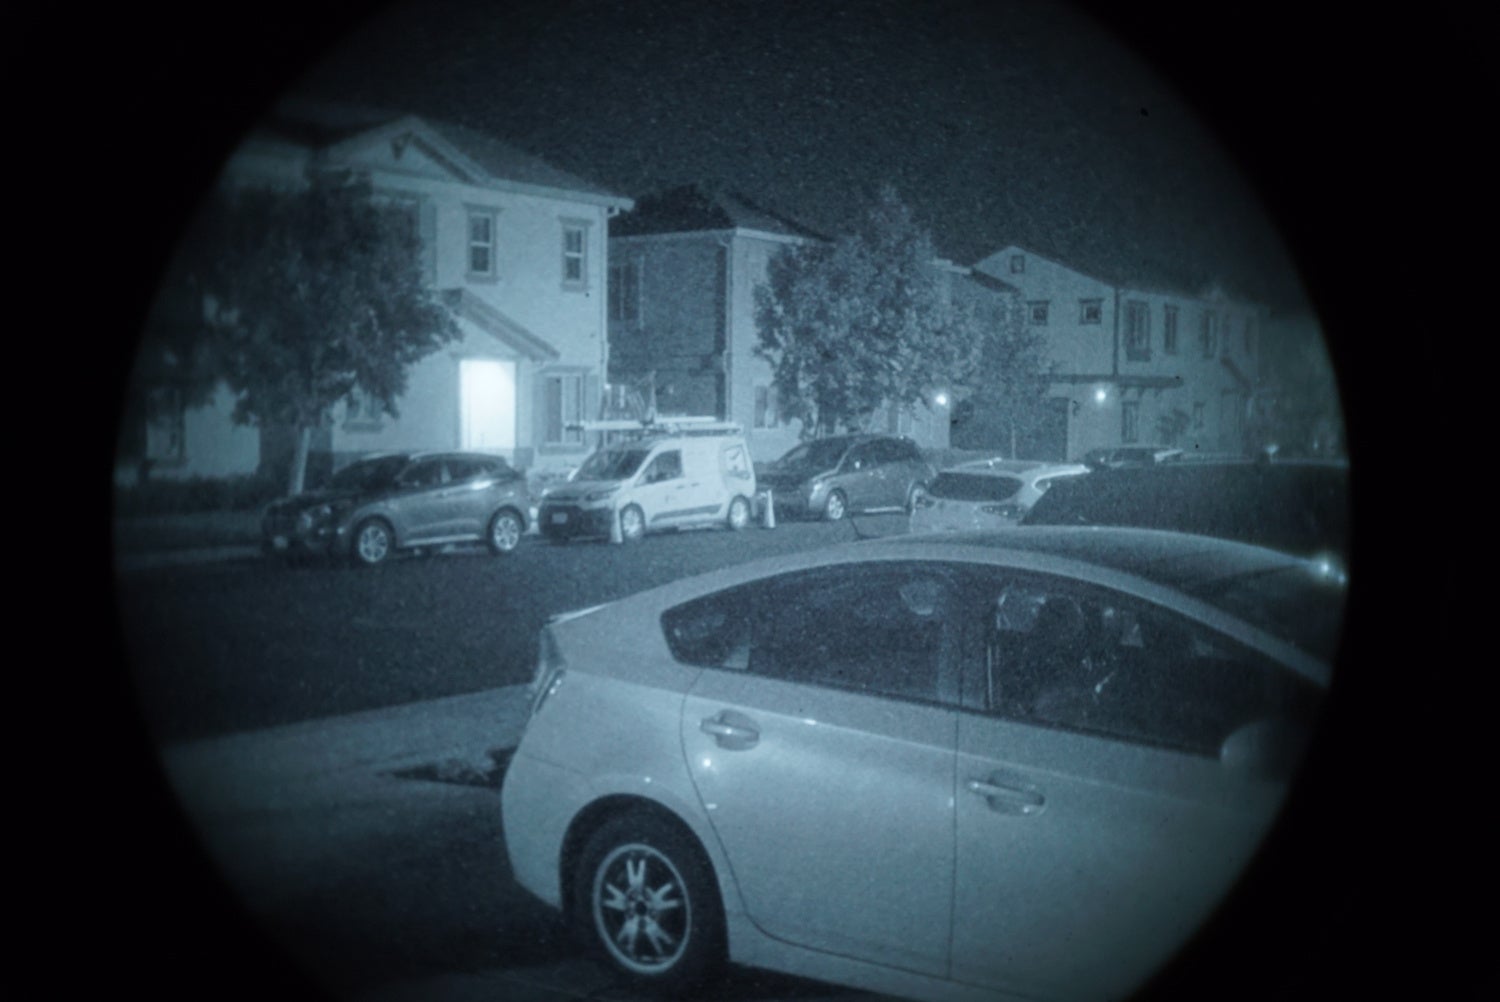
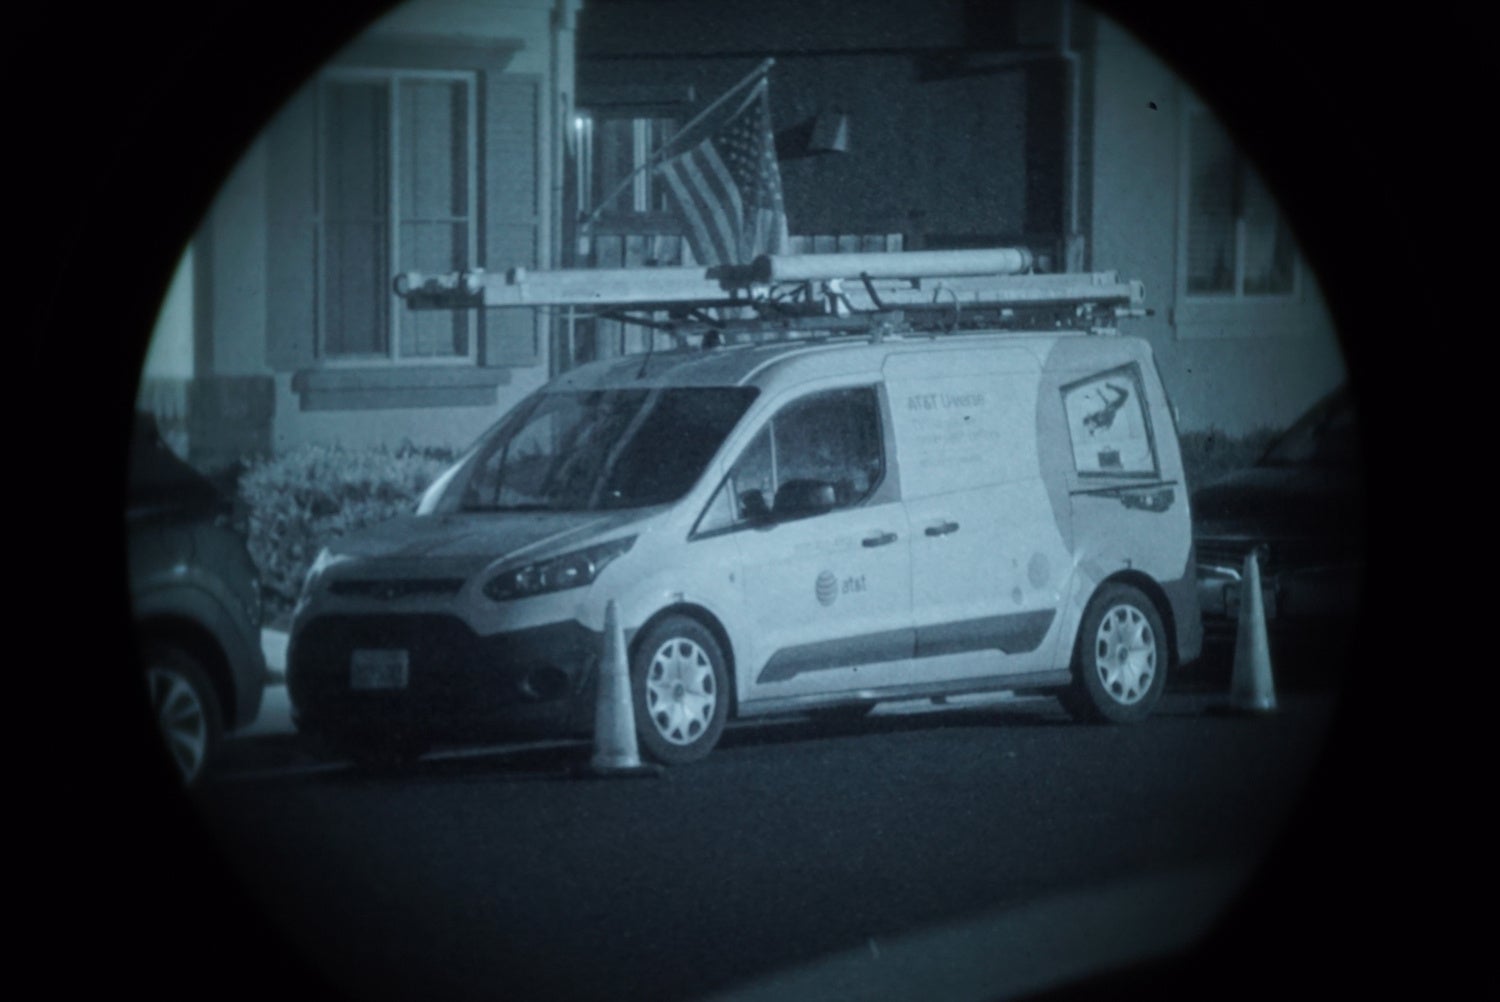
This is the one saving grace for the NightStalker II system. However the low light requires you to either take a long exposure or increase the ISO sensitivity but at the compromise of noise.
Final Thoughts On The NightStalker II
For general night photography and taking videos, I found it to be much easier and faster to simply use my iPhone. You can get cheap digiscoping adapters to help line up the smartphone camera lens with the eyepiece of your night vision device of choice.
I had high hopes that using the incredible raw power of the Sony A7S high ISO with low noise could result in some great photos and videos but I was wrong. I was still hindered by the lens mounted in front of the NightStalker II. I do not want to spend hundreds to thousands of dollars trying out different Canon camera lenses just to try and find one that might work. The issue is this whole system is clunky and cumbersome. The Sony A7S takes color night photography photos just fine on its own and this NightStalker system seems to make the image worse. There are some simple snap-on magnifiers that you can get for a PVS-14 to give you quick and easy optical zoom for your night vision device. Pair that with an iPhone and you have a very compact setup that will give you better images much faster. The NightStalker II is an interesting point in the world of night vision but I feel there are better options out there now.