 Your Privacy Choices
I attended Practical Urban Carbine (PUC) with Sentinel Concepts in Alliance, Ohio. Steve Fisher, the owner of Sentinel Concepts, brought an incredible depth of knowledge to the course. After realizing many in his carbine courses had minimal understanding of their carbines past 50-100 yards, Steve developed PUC. The US Census Bureau showed 80% of the US population lived in Urban Areas. An urban area was defined as a densely populated environment within an area encompassing 200-300 yards. As carbines are commonly used as a defensive tool, focusing on 50 yards and in makes little sense when the weapon is far more capable and urban areas expand past those distances. Local buildings were discussed that provided shots up to 300 yards, along with parking lots and outside venues we frequent on a regular basis.
Requirements
PUC is a mid-level course. Students are expected to have good fundamentals and familiarity with their gear. The purpose of the course is not a precision course, but to better understand the capabilities and grouping of your chosen zero at various distances. Good fundamentals allow students to best utilize and benefit from the content of this course.
Gear
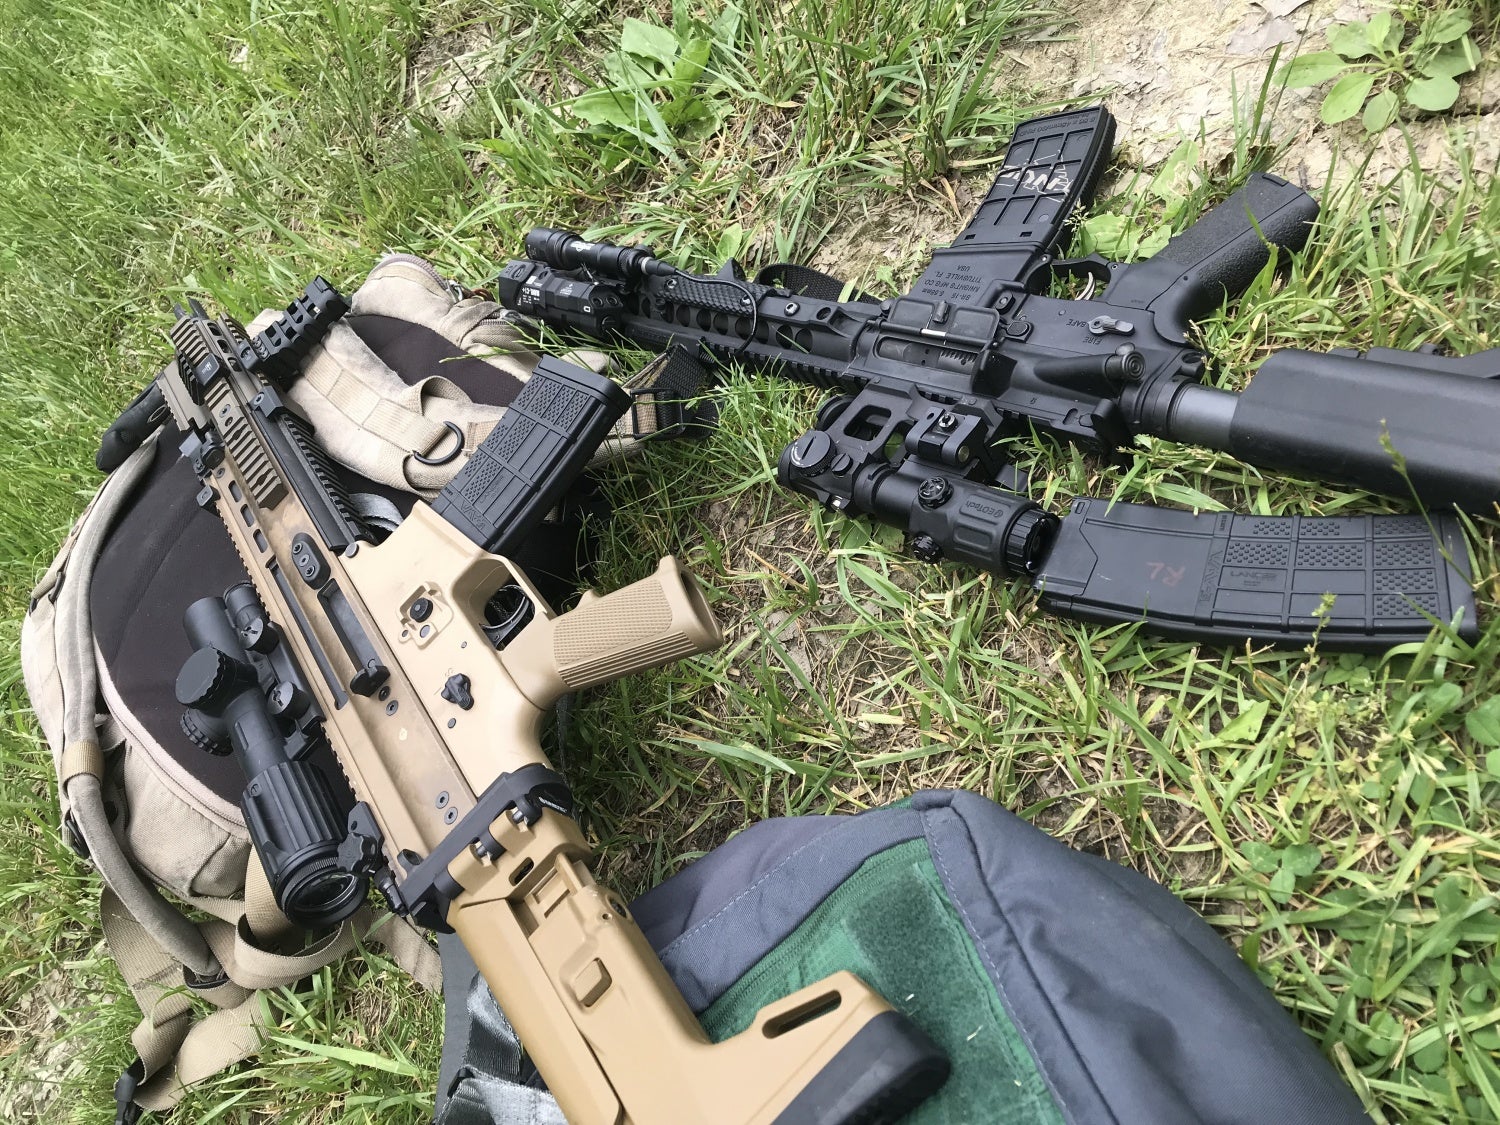
The packing list suggests bringing a primary and backup rifle if possible. I brought a Scar 16 with a Trijicon VCOG to get more experience with a low power variable optic (LPVO). My other rifle was an SR15 with an Aimpoint T2 and Eotech G33 magnifier. As I primarily use the SR15, I wanted to stretch out and improve my effectiveness with a red dot at greater distances. Both ran well, but there are some necessary changes. I talked more in depth about the rifles I took in this article.
Ammo
Ammunition is a major component of the course and something I previously had not fully understood. My previous mindset was to simply zero with the ammunition I use regularly. However, the packing list says to bring 300 rounds of match and 500 rounds of ball. Zeroing with match better refines your zero. I recommend following the instructions and bringing match ammo to get the most out of the course.
Medical
While Sentinel Concepts provides a safety conscious course, part of the packing list requires a tourniquet and an IFAK. Shooting is an inherently dangerous activity and these are tools that should always be readily available. Emergency plans were addressed during the safety briefs to ensure everyone knew proper procedure in case of an injury.
Rifle Light
A quality weapon light is also important for this course. The night shooting portion was informative and eye opening even to those very accustomed to shooting after dark.
TD1
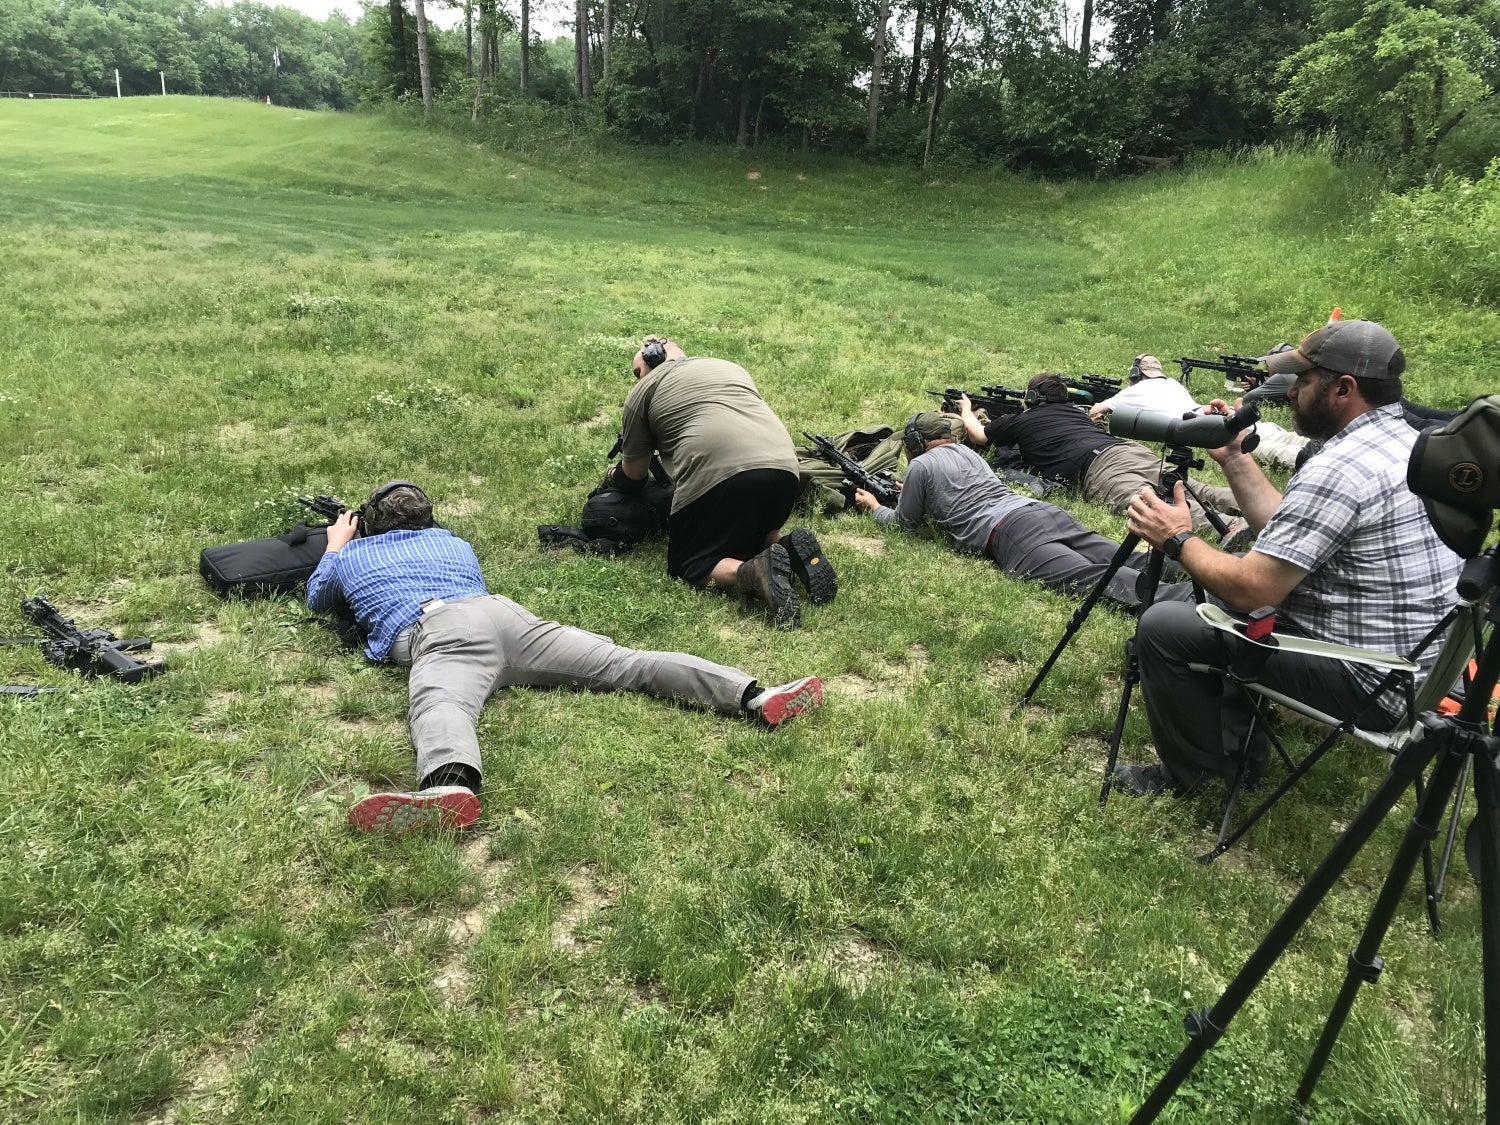
Day one began with a safety brief and initial briefing. After the briefing, we lined up at the 50 and began zeroing. Steve offered input on his preferred zeros for various setups but was open to allowing students to test zeroes of their choosing. Numerous strings of fire were conducted throughout the day at 50, 100, 200 and 300 yards. It was beneficial to not only get a tight zero group, but also see where the rifle impacted at the various distances. This data can be collected on your own, but the small tips and coaching made a substantial difference in perfecting zeros.
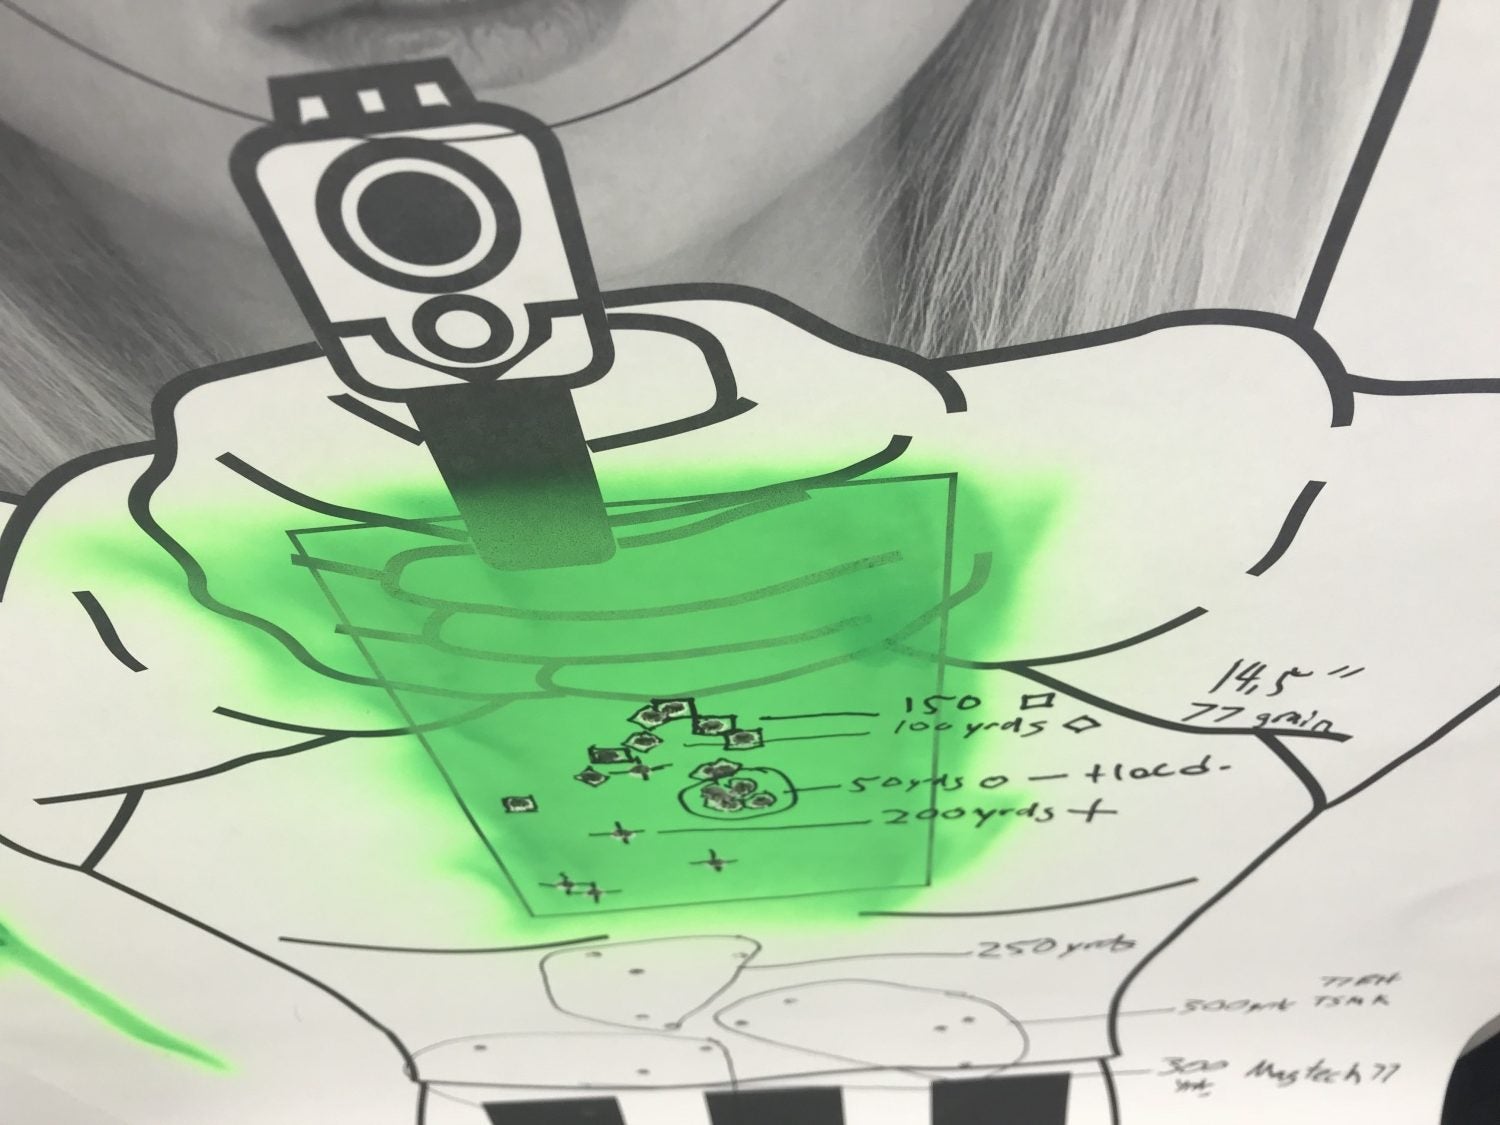
Looking at various targets allowed us not only to see our shot grouping based on zero and distance, but to see results from other students with different ammunition and barrel lengths.
Day one is spent perfecting an absolute zero. This zero is obtained using bags and bipods, ensuring the most stable position possible. Without this perfected, moving back to further distances on 2/3 size steel targets and making consistent hits is difficult.
TD2
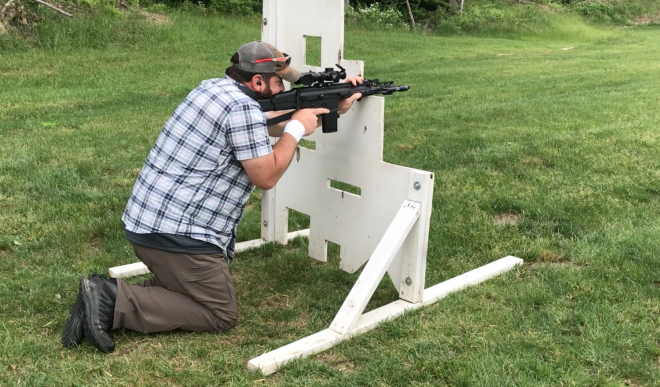
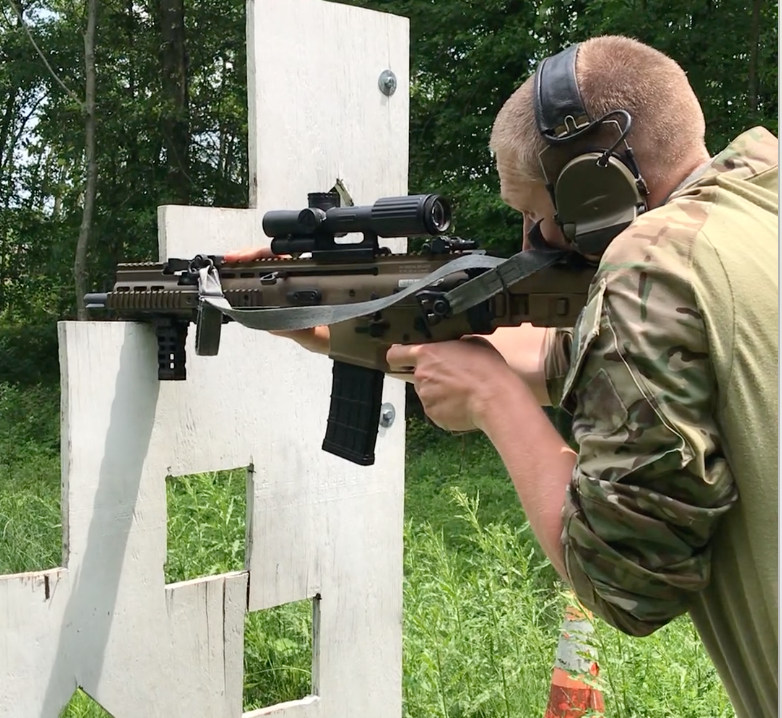
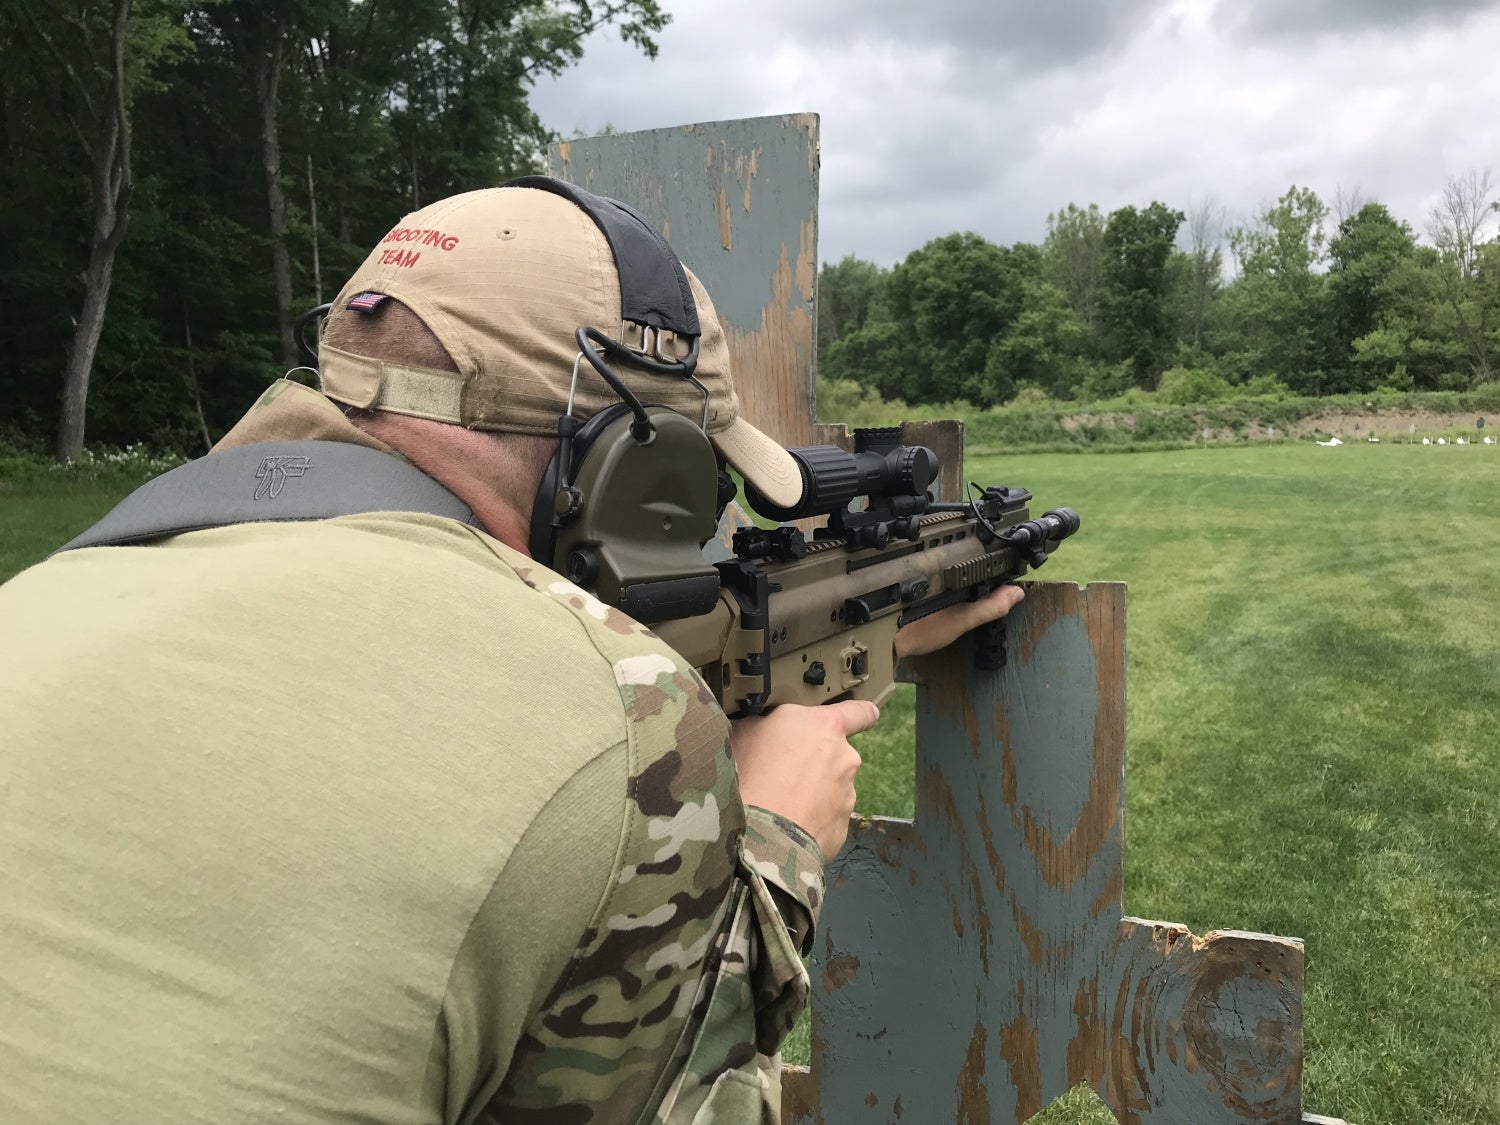
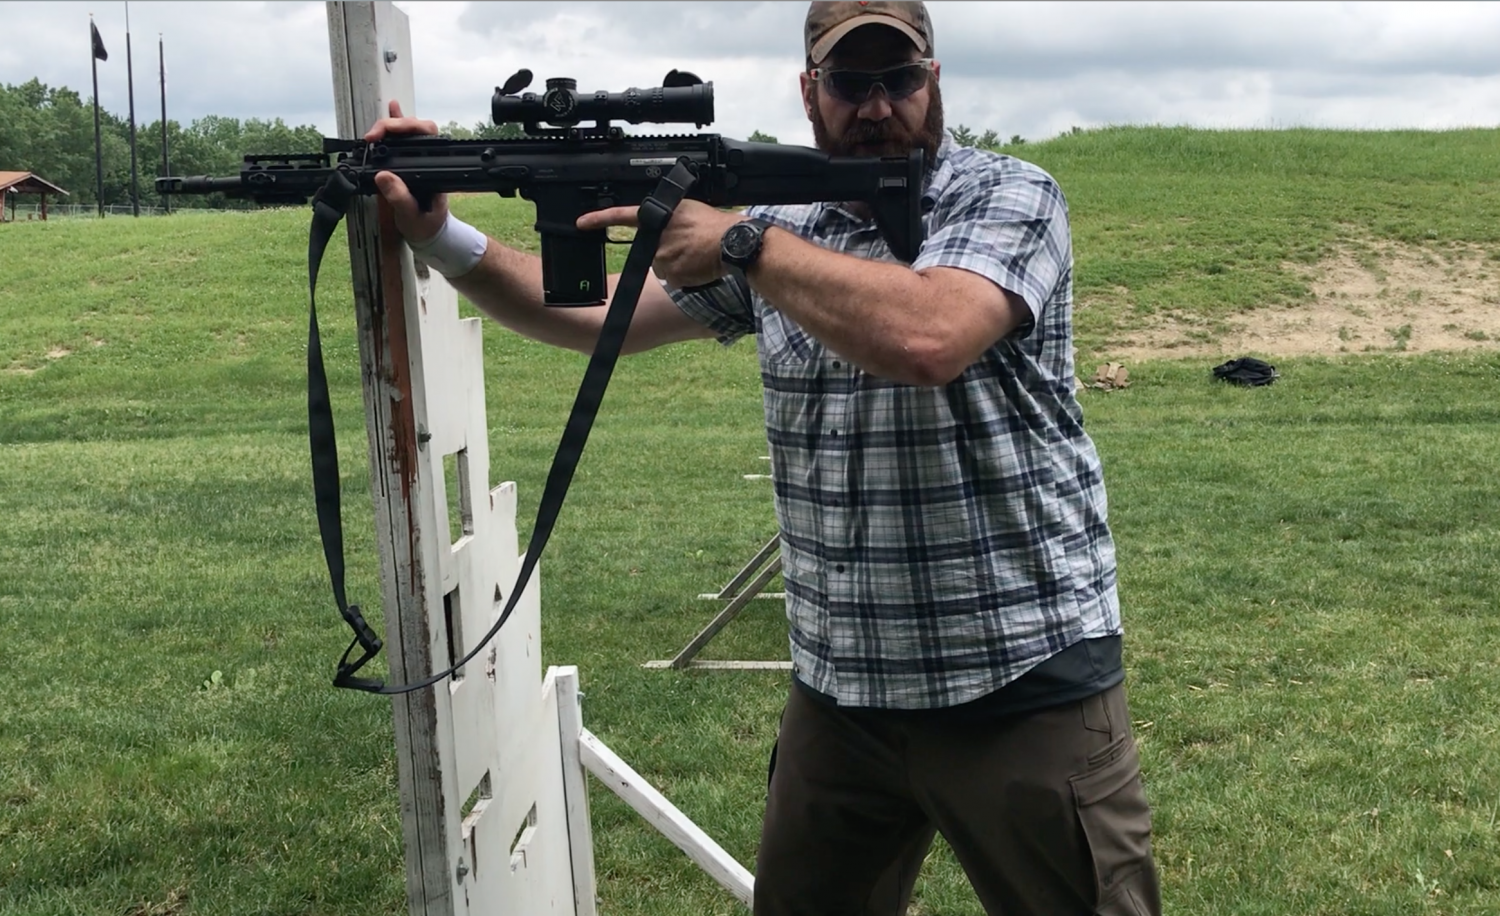
Day two transitioned to practical zeros. Practical zeros removed the bags and forced more of an impromptu shooting position with less support. Initially we worked at 100 yards with various kneeling positions. Then we added barriers and applied the positions to various heights while also changing fire control hands to maximize use of cover.

The barriers worked well for practicing various shooting positions.
Low Light
Using the barricade we looked at switchology on our lights to prep for the upcoming low light shoot. A little before dark we had a classroom portion on light use, answering gear related questions and addressing practical engagement distances after dark. Steve recommended rifle lights have at least 1000 lumens. Having a magnified optic helped with target ID, but without enough light or at too great of a distance it is not possible to make a responsible shot with proper threat ID unless the actions of the unknown have proven them to be a threat by shooting at innocent parties.
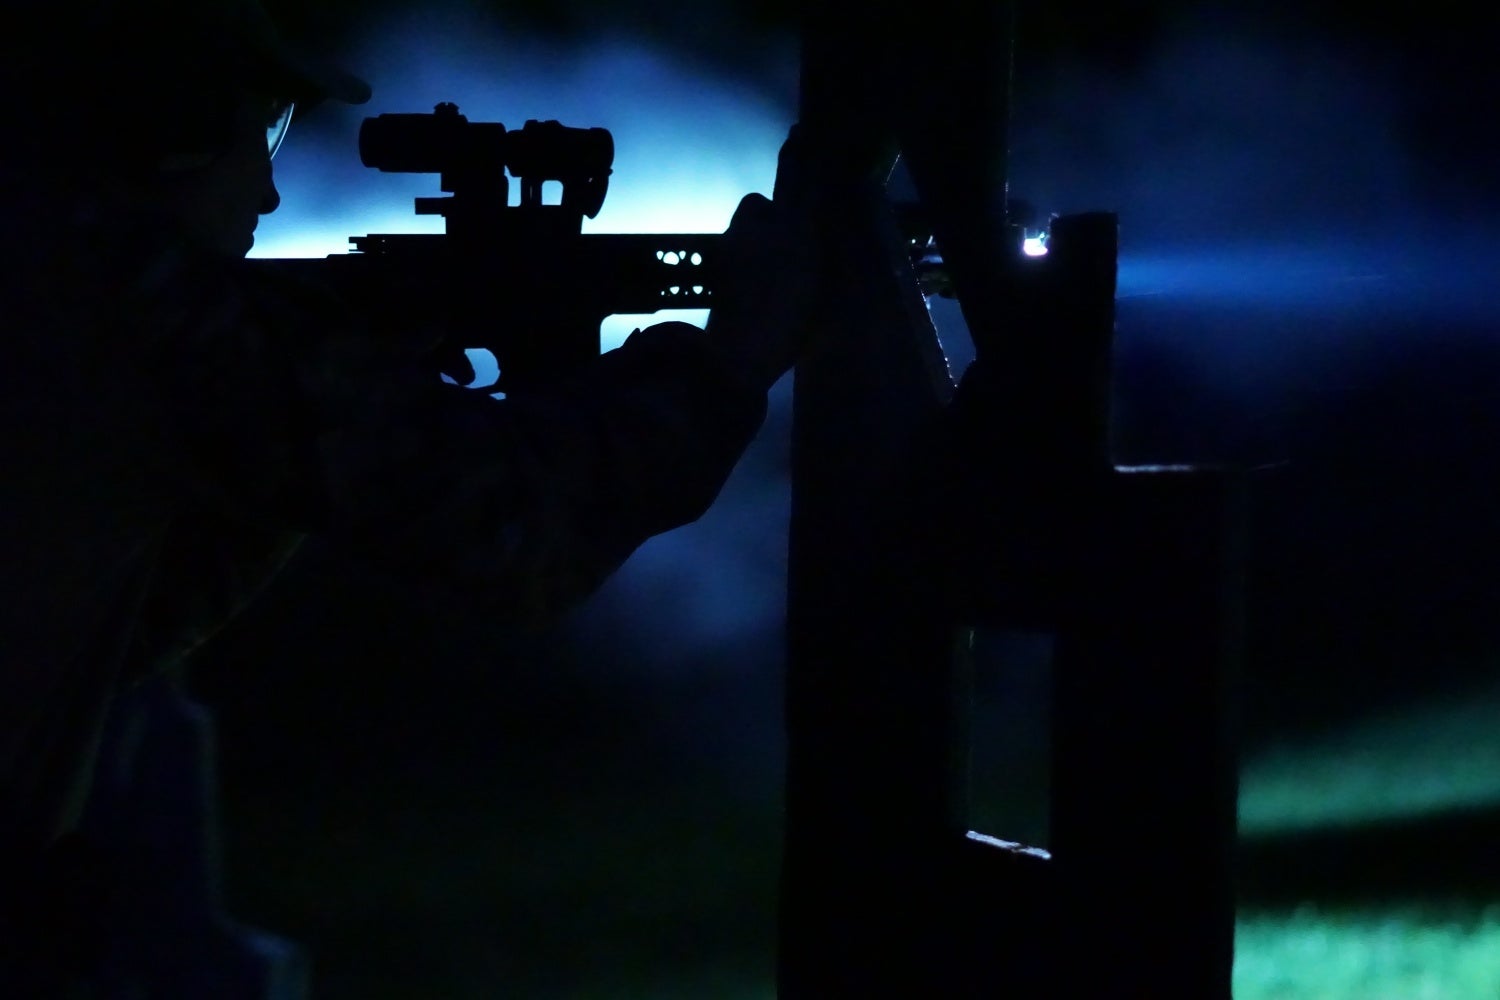
Low magnification and a quality light helped significantly when shooting at longer ranges during low light.
After the discussion we began low light shooting off the barricade. A major takeaway I had from the night shoot was the importance of timing and order of operations. Steve wanted shooters to take a good shot within 2-2.5 seconds of the light turning on. This was done at 100 yards and was doable but focusing on order of operations decreased the amount of time needed to make the shot. Next we moved back to see how far we were able to see the steel targets in order to engage based on our setup and the capabilities of our lights. Steve and another student were using the new Surefire Scout DF and it provided a longer distance for proper target ID than any of the other lights present.
TD3
The final day was spent shooting off barricades from 200-300 yards. Day 3 focused on practicing the techniques we learned to understand what “right” feels like. I was getting close to where I wanted, but with a small positioning tip from Steve I was consistently hitting at 300 with half the split times I shot previously.
Before I used an ADM tall mount with my T2 without a magnifier. The Knight’s Skyscraper mount provided a 2.33” mount and the use of a magnifier. Having a magnifier improved my effectiveness at distance. There were multiple red dots at the beginning of class, and many added magnifiers during the course in order to make accurate shots at distance. Magnification does not automatically make you a better shooter but it did allow me to see my target and in turn make better hits.
Equipment Lessons
Since this course I purchased 2 Scout DFs.
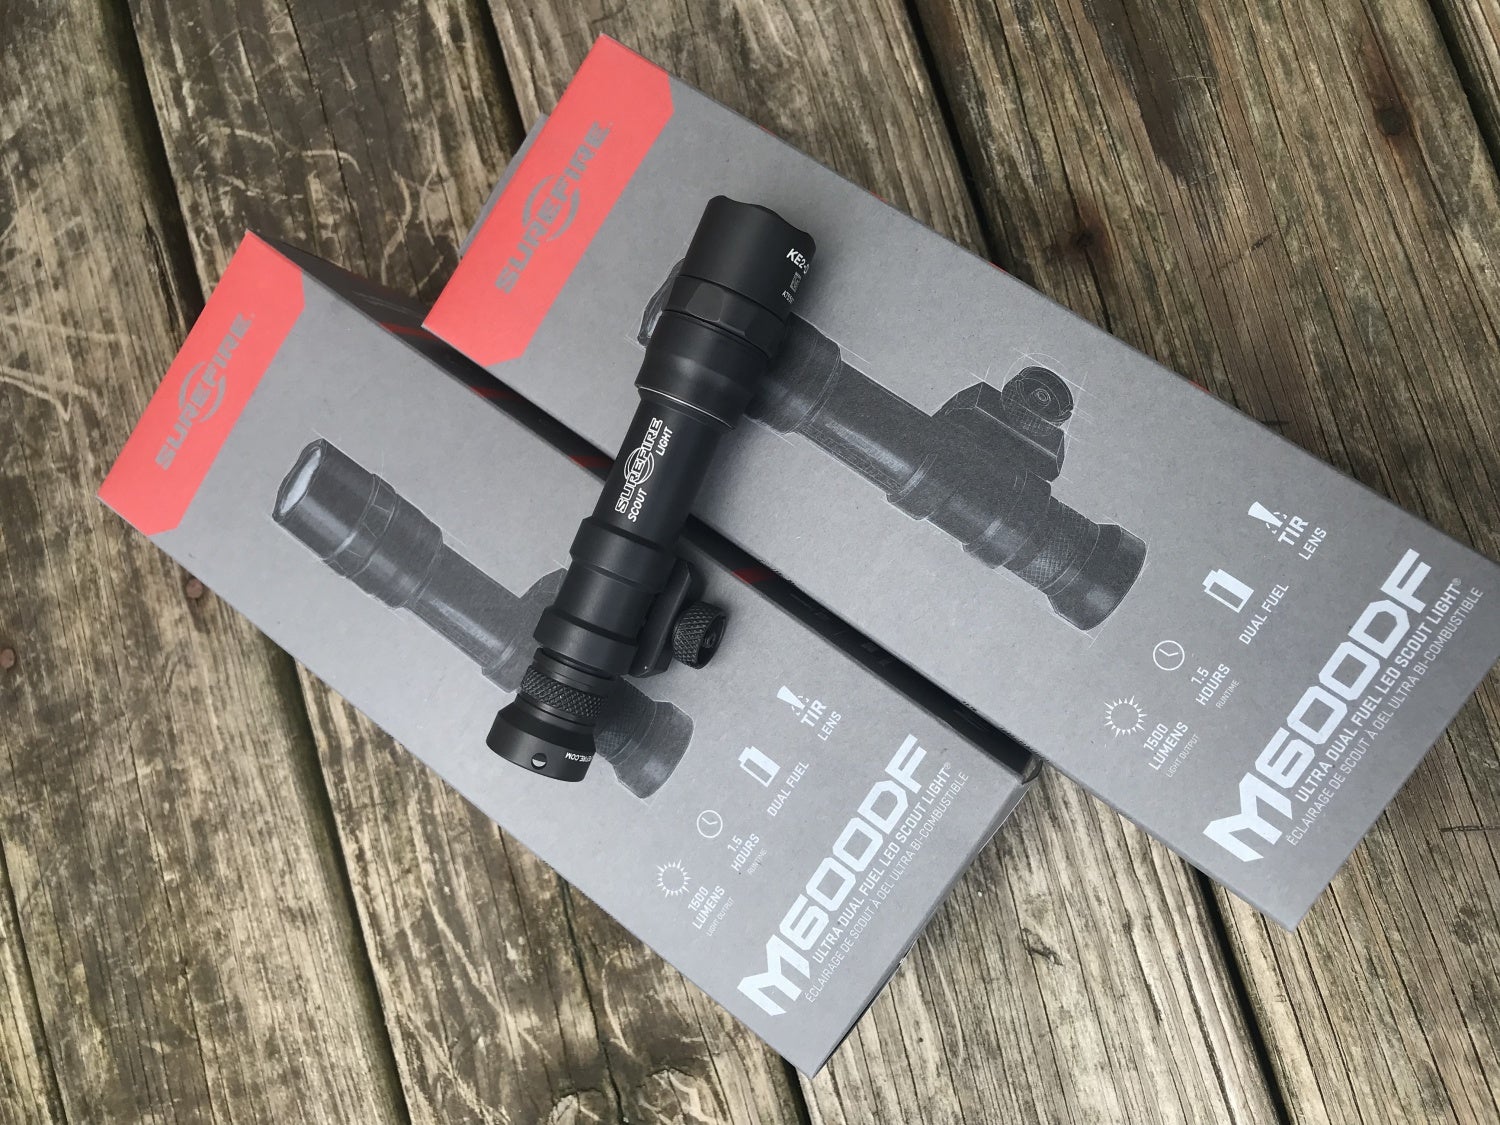
The Surefire M600DF definitely extended capabilities at distance over my M600U in the dark.
While I was able to make consistent hits on steel at 300 yards with my VCOG, the eye relief and reticle were substantially better on the Kahles 1-6x scopes.
When using the Skyscraper mount in prone, it was uncomfortable after extended use and I was not able to get as stable of a shooting position. However, prone shooting is not the primary use for that rifle and I consider it a worthy trade.
Steve brought a Scar 17 to demonstrate how the same techniques were effective with higher calibers.
The instruction was beneficial and Steve was able to work individually with each student to succeed at their own level. This is why classes are limited to 10 students. Getting quality training is important and Practical Urban Carbine is full of information that will help you become more effective at distance.