 Your Privacy Choices
Welcome everyone to the TFB Armorer’s Bench! As mentioned in the little blurb, this series will focus on a lot of home armorer and gunsmith activities. In this article sponsored by Wheeler, Tipton, Caldwell, and Frankford Arsenal, I decided it would be fun to briefly touch on firearm finishes (specifically bluing this time) and how the process works at a glance. Personally, this is something I thoroughly enjoyed while going to school for gunsmithing. There is something about turning a pretty boring chunk of steel into a polished and beautifully blued work of art. There is definitely more than just bluing out there. Allow me to narrow it down and hopefully elaborate!
TFB Armorer’s Bench: Firearm Bluing Types & Processes
Welcome to our recurring series of Armorer’s Bench which is made possible and brought to you by Wheeler, Tipton, Caldwell, and Frankford Arsenal who are our sponsors. Here, we at TFB hope to inform, entertain, and even inspire any would-be gunsmith or armorer out there. Ideally, with the information I provide and with the help of our sponsors, you can have some useful knowledge pertaining to the conservation and improvement of firearms technology while at the same time sharing experiences and teaching each other new tips and tricks along the way in the comments. Digging deep into what it is to be an armorer or gunsmith has significance but what is important is what those people do to show they’ve earned that title. I am happy to share my experiences and knowledge and hope it is informative!
Make your personal safety a priority:
- Practice proper gun safety. Always make sure before the firearm hits your bench that it is unloaded and safe to be handled.
- Wear the proper safety equipment. The main one would be safety glasses (decent ones) since parts are often under spring tension and you may work with high RPM tools. Other honorable mentions would be latex gloves or a respirator when working with potentially harmful solvents and oils. Also hearing protection when working with loud machinery or test-firing firearms.
- Modifications, alterations, and customizations will void your firearm’s warranty 9.5 times out of 10. Please take that into consideration before attempting any at-home gunsmithing.
- If you are unsure about proper safety practices, disassembly procedures, or warranty standards, stop, put down the tools, and consult a competent gunsmith.
Note of Safety: Firearm Bluing Types & Processes
It should be a given but I feel it should be mentioned for the more reckless out there. Working with some of the following processes can cause extreme harm. Always work in well-ventilated areas and wear proper safety equipment for the job. This can include but is not limited to:
- Safety Glasses
- Gloves – Type Dependent
- Apron
- Respirator
Firearm Finish Preparation: Firearm Bluing Types & Processes
Preparation for each of the following processes varies a great deal and can affect the end result. That being said, without having separate articles on each specific finish, I can only skim the surface of each of these finishing types and their accompanying processes. Most begin with prepping the material in terms of cosmetic adjustment to the metal itself. This may mean rust removal, scratch removal, sandblasting/bead blasting, or polishing. Some finishing processes require a high polish and some require a matte material to start with. From there it will usually be degreased.
Degreasing is the process of removing oils from the metal and rendering it “clean” so that nothing on the surface of the metal can affect the end result of whatever finishing process is used. I would argue that degreasing is an entirely necessary tedious process. Leaving your workpiece dirty can cause all sorts of finish distortions and even mess up the chemical solutions used in these processes.
Hot Bluing/Hot Salt Bluing: Firearm Bluing Types & Processes
Hot Salt Bluing is a very common and fairly industrial process that involves the use of molten salts to produce a sort of controlled rusting situation. To those of you who may not know, bluing at a chemical level is technically rust. Think of it as rust frozen in time and aiding in the prevention of deeper rust forming with proper maintenance.
Note: Parts destined for the hot bluing tank should be suspended in solution. This can be done with normal steel wire and some wooden dowels. For extra small parts you can use a tea defuser or parts net of some sort but just make sure the material it is made of can withstand the heat and that they are properly degreased.
After initial preparations, hot salt bluing usually is a five or six-step process. First, your workpiece is placed into a hot degreasing tank to ensure that any particulates or oils that you may have missed are washed away. After degreasing, it moves to a hot rinse tank which generally is distilled water. Just after rinsing the workpiece is usually scrubbed and wiped down with degreased materials before going back into the degreasing tank. After being pulled out and rinsed once more it is placed into a bath/tank of molten bluing salts.
Note: When working with firearm parts like a barrel, for example, make sure to place the barrel at an angle and slowly submerge it in a way that allows the air to leave and not get trapped. Also, ensure that it is pointed away from you or anyone else because hot salts can shoot out if you are careless.

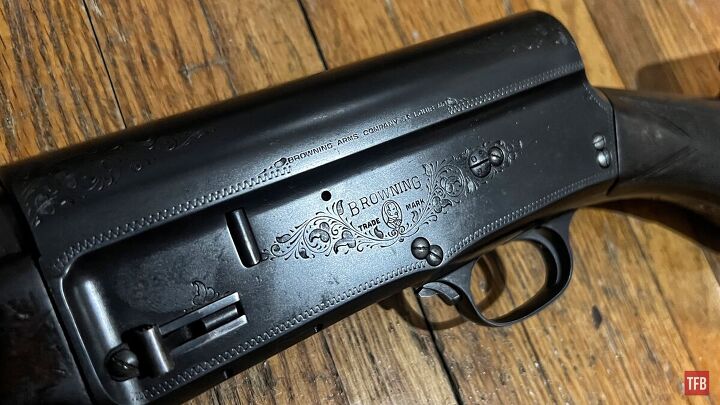
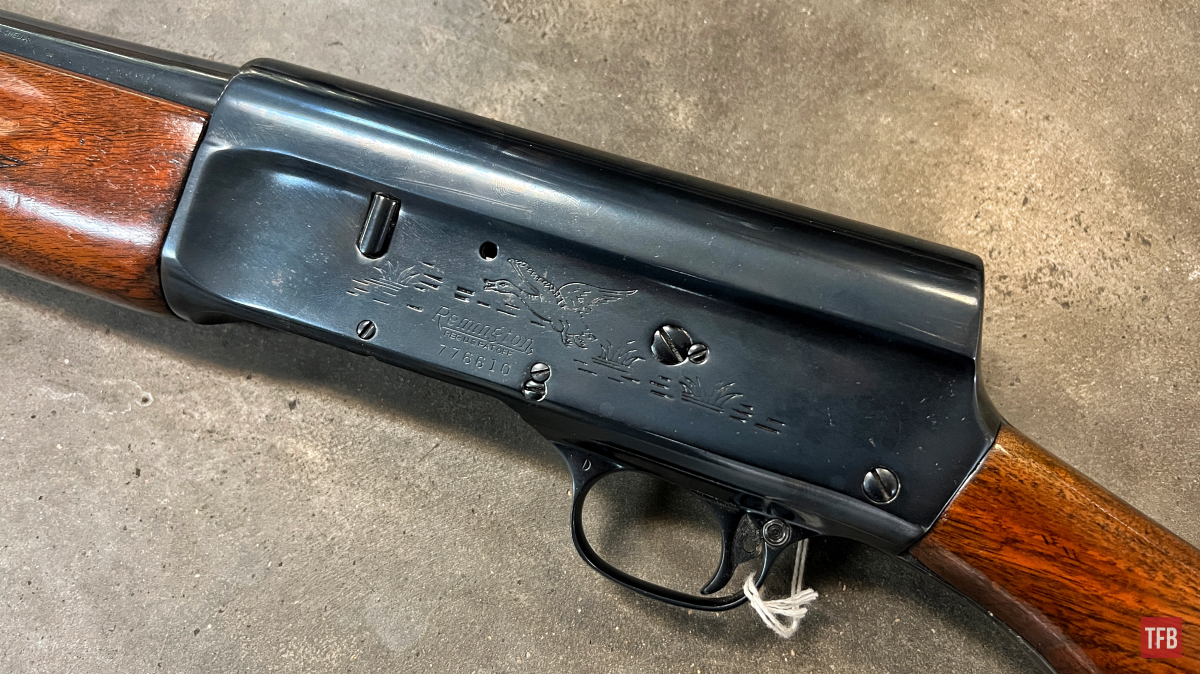
Hot salt blued Auto 5 from my time at Pine Tech
The molten bluing salts are usually around 300 degrees and they are boiling. It can be a very dangerous situation if you are not careful. After an appropriate amount of time for the size of your parts, they can be removed from the molten salts. Take care to make sure the molten salts fall out of air gap parts by taking them out at an angle to drain. These EXTREMELY HOT parts are then placed into a hot water bath or rinsed. It is important that this water is hot in order to ease the shock placed on the parts. Same as before, barrels and other air gap parts should be placed at an angle in order to prevent or misdirect hot solution spraying out or splashing.
After the parts are rinsed they should very quickly be submerged into oil of some sort. Water displacing oil to be safe. These should be suspended in the oil and left for a good day or so to ensure the chemical reactions in place become stable. After around a day of resting in oil, the parts can be removed, wiped down, and oiled by hand. The following days or weeks can be particularly stressful since it takes time for the metal to be more rust-resistant so be sure to oil frequently and do not expose the parts to humidity or rapid changes in temperature for that amount of time. Be patient and it will be worth it in the end.

Hot salt bluing is an incredibly beautiful process and its end results really pop with a high polish. It is however dangerous and tedious. The setup is expensive and usually requires a more industrial or shop-focused mindset. That being said, even though it is a very procedural and somewhat easy process to get down, it is not my recommendation for anyone to do this at home.
Rust Bluing: Firearm Bluing Types & Processes
Rust bluing or slow-rust bluing as it is sometimes referred to is the process of controlling rust over an extended period of time with the use of wipe-on chemicals/acids, steam, or boiling water. Rust bluing is one of the oldest methods of bluing and is still widely used today by home gunsmiths as it is arguably easier and cheaper than hot salt bluing.
Slow rust bluing has a similar preparation as hot salt bluing but it is well, slower. Existing rust needs to be removed and this can be done by boiling a workpiece in water for a short amount of time. This brings the rust to the surface and softens it. Using a carding wheel or some very fine steel wool (make sure to degrease it!!!) you can card off (lightly brush) the rust. From here the original finish of a firearm does not need to be removed unless you are going for a different look altogether. Most of the time you are trying to restore something to its former glory.
With a workpiece prepped and degreased, you may plug a barrel using some patches, wooden plugs, or not at all. I’ve never found it necessary to plug a barrel because if it rusts from the slow rust blue it will be submerged in oil and later cleaned and shot. Any present rust in the bore will not have time to worsen and it will end up being brushed or shot out. After the workpiece is properly prepared, it can now begin to have applications of rust bluing solution. Make sure to wear gloves and use a swab, cotton ball, or rag with very light non-overlapping applications on your workpiece until it is completely covered. Rust blue solution can be bought at many online gunsmithing sites and there are many different types for slight differences known by certain manufacturers or regions.
Note: Tipton makes a few well-put-together sets of swabs but more importantly they make excellent applicator swabs that work great for this process.
After your parts or workpiece have a thin (almost dry) coating of rust blue solution on them they can be put in a boiling water tank, hot box/steam box or even steam tube. It is sort of up to the user’s preference because they all accomplish the same goal; introducing heat and humidity to the metal to insight a reaction between the rust blue solution and metal. All of this combined creates a thin layer of rust after repeated coats and time in a humid area.
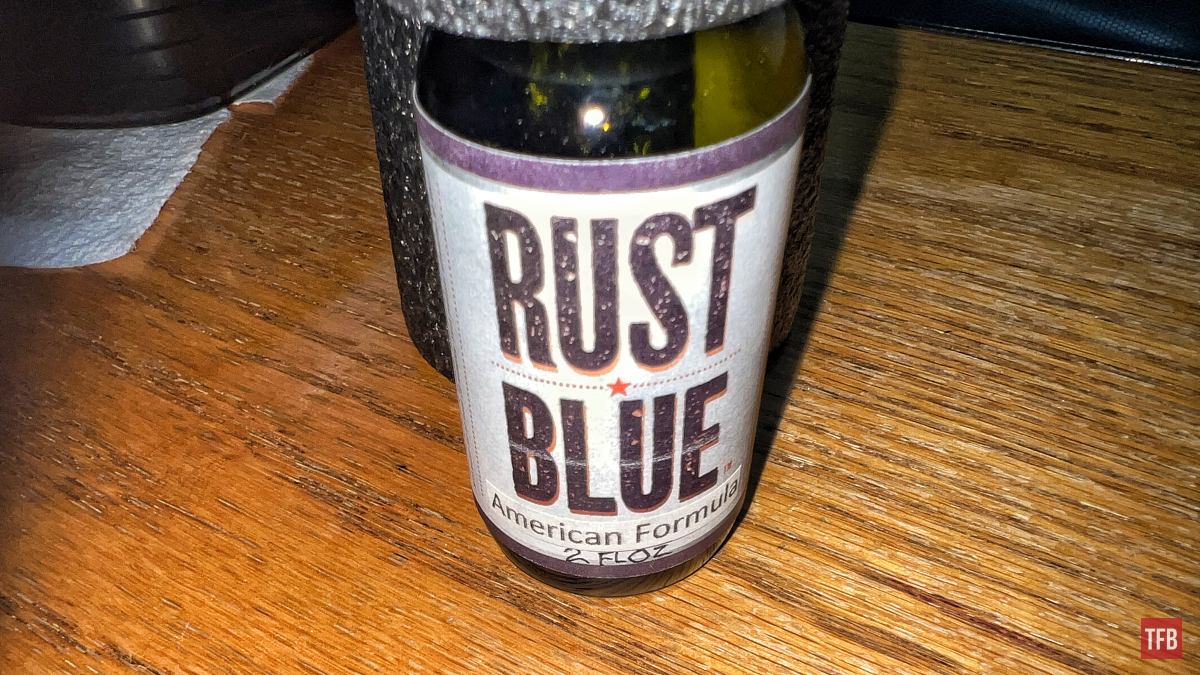
Rust Blue Solution
Note: I have seen all sorts of ways of making gun parts rust through the years. I have witnessed lightbulbs under a pot of water in homemade cabinets, I have seen them boiled on a stove, I have seen them hung from a bathroom shower curtain rack with the shower steam going, and many more but those are the more odd ones. While at gunsmithing school we used a boiling tank of water, it felt uneven and a little haphazard. I personally have used a homemade steam tube apparatus that I found here. Depending on the method of humidity being introduced to the parts, the times can range from 30 minutes to 5 hours of rusting. Be very careful to not leave something in for too long or pits can quickly pop up.
Once the parts have successfully rusted to a satisfactory layer of orange rust fuzz they can be boiled or steamed in order for that rust to convert and move to the surface and be a soft and removable layer of rust. Once removed from the source of humidity it can then be carded with that degreased steel wool or a carding wheel (looks like a wire wheel but the bristles are very fine and soft). That layer of rust will be removed with very light pressure and underneath will be signs of bluing.

The process of coating, rusting, boiling/steaming, and carding can be repeated until you achieve your desired color. Once satisfied, make sure to submerge the fresh rust-blued parts in a water-displacing oil for a day or two just like the hot salt blue. Keep an eye on it for a while after and maintain it with coats of oil.
End of Part One: Firearm Bluing Types & Processes
In conclusion, I would like to say that I am no expert in these practices. I am pretty familiar with most because I have done most. I will cover charcoal bluing, flame bluing, and cold bluing next time around. Originally I was planning on covering all sorts of finishing types but the bluing alone made this an extremely long article so I ended up chopping it in half and will conclude next time! Hopefully, sometime soon we can go over some more non-bluing finishes. If you folks have any tips, tricks, or fun bluing stories please share in the comments below!
As always, thank you for reading TFB! Be safe out there, have fun while shooting, and we will see you next time for the TFB Armorer’s Bench brought to you by Wheeler, Tipton, Caldwell, and Frankford Arsenal! Also, let us know what you think in the comments below! We always appreciate your feedback.

Caldwell Pro Range Glasses, Clear

The Caldwell® Pro Range Glasses feature a stylish wrap-around design and are a great choice for all shooters. They feature an adjustable nose piece and temples for all day comfort. The scratch resistant lens meets ANSI Z87.1 standards and offers 99.9% UV protection.
Tipton POWER SWABS – PISTOL CLEANING KIT, 500 COUNT
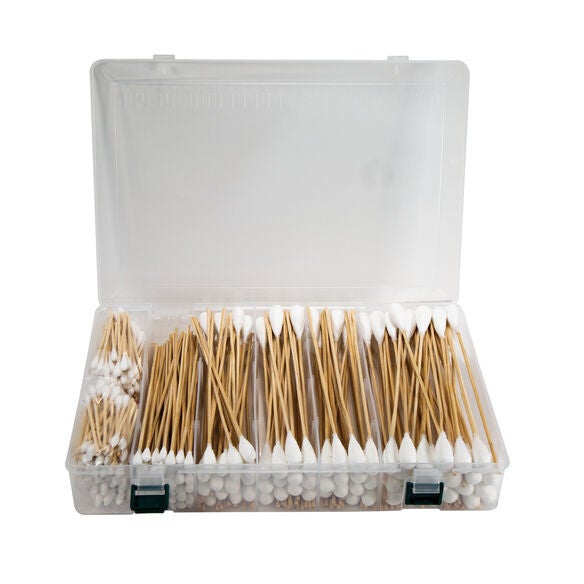
Tipton’s new Power Swabs are an essential part of your cleaning kit. They’re disposable, fast, and easy to use, plus they provide no-mess cleaning with all your favorite solvents and oils. They also fit lands and grooves better than a patch for maximum cleaning.
Wheeler Universal Bench Block
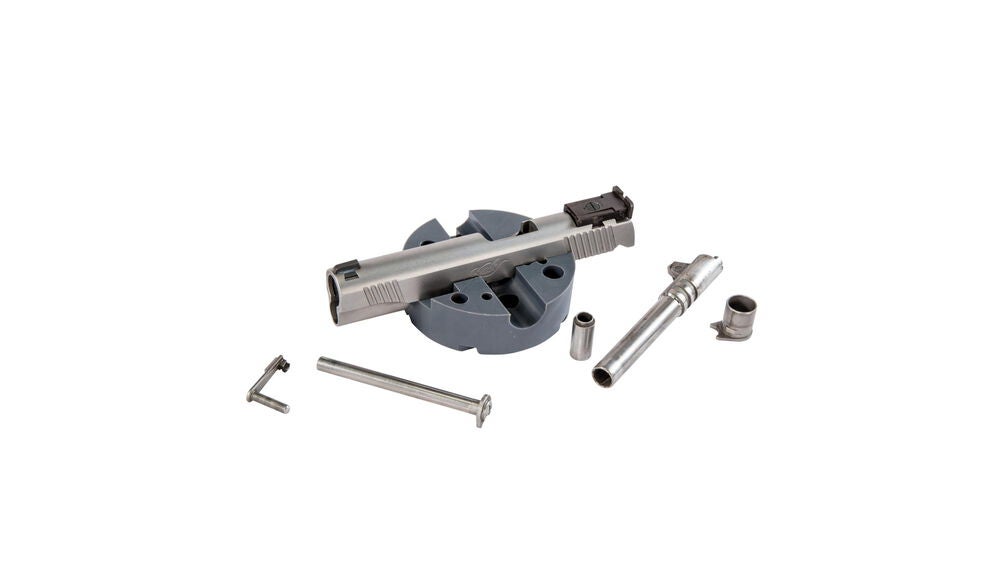
Made of non-marring urethane, the Universal Pistol Bench Block is perfect for use on M1911 pistols as well as other firearms such as 10/22s.
Tipton CLEAN AND OIL BRUSH
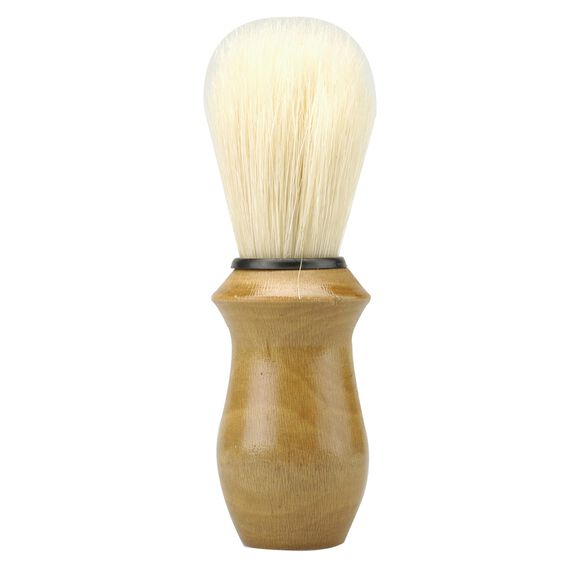 Fine natural bristle cleaning and oil application brush. Contains hundreds of soft 1-3/4″ bristles for cleaning and carrying oil and preservatives to the exterior of your guns, and the hard-to-reach areas like under vent ribs.
Frankford Arsenal Stainless Steel Dial Caliper
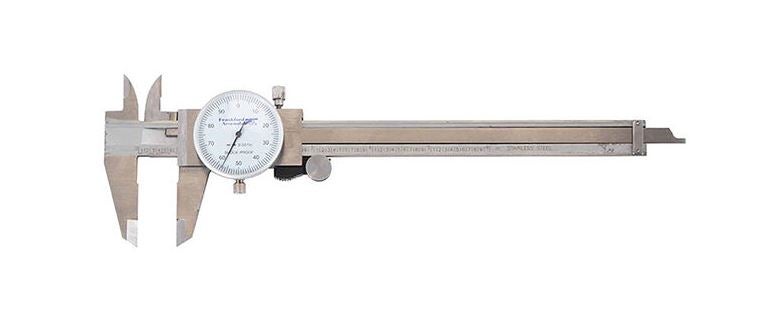
Reloading ammunition requires attention to many critical cartridge dimensions, including case length, neck and base diameters, overall length, primer pocket depth, etc. Verifying these dimensions is quick and convenient with the Frankford Arsenal® Stainless Steel Calipers. These calipers are accurate to within .001″. The calipers allow you to measure inside and outside diameters, plus depths. You will find them useful for many measuring tasks on and off the reloading bench. Packaged in a convenient and protective case.
Tipton SHOOTERS SWABS
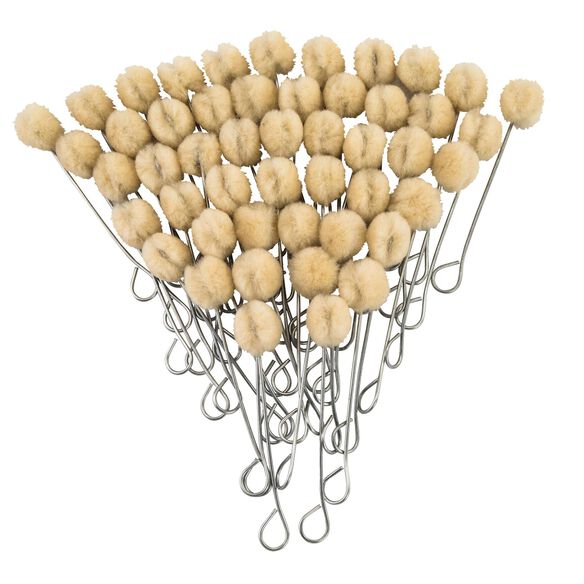
Wire-handled swabs are perfect for applications of lubes and preservatives. They also work well with solvents to scrub out recesses in receivers, bolt bodies and other hard-to-reach areas. Dozens of uses. 4” long.