 Your Privacy Choices
Welcome everyone to the TFB Armorer’s Bench! As mentioned in the little blurb, this series will focus on a lot of home armorer and gunsmith activities. In this article sponsored by Wheeler, Tipton, Caldwell, and Frankford Arsenal, I decided to go over general bench setup tips and tricks. There is not really a 100% necessary thing to have on an armorer’s bench besides having the bench itself. Nonetheless, I have doodled down some of my personal quick tips on a good bench setup. Let’s jump into General Bench Setup – Quick Tips!
TFB Armorer’s Bench: General Bench Setup
Welcome to our recurring series of Armorer’s Bench which is made possible and brought to you by Wheeler, Tipton, Caldwell, and Frankford Arsenal who are our sponsors. Here, we at TFB hope to inform, entertain, and even inspire any would-be gunsmith or armorer out there. Ideally, with the information I provide and with the help of our sponsors, you can have some useful knowledge pertaining to the conservation and improvement of firearms technology while at the same time sharing experiences and teaching each other new tips and tricks along the way in the comments. Digging deep into what it is to be an armorer or gunsmith has significance but what is important is what those people do to show they’ve earned that title. I am happy to share my experiences and knowledge and hope it is informative!
Make your personal safety a priority:
- Practice proper gun safety. Always make sure before the firearm hits your bench that it is unloaded and safe to be handled.
- Wear the proper safety equipment. The main one would be safety glasses (decent ones) since parts are often under spring tension and you may work with high RPM tools. Other honorable mentions would be latex gloves or a respirator when working with potentially harmful solvents and oils. Also hearing protection when working with loud machinery or test-firing firearms.
- Modifications, alterations, and customizations will void your firearm’s warranty 9.5 times out of 10. Please take that into consideration before attempting any at-home gunsmithing.
- If you are unsure about proper safety practices, disassembly procedures, or warranty standards, stop, put down the tools, and consult a competent gunsmith.
A Quick List of Tips: General Bench Setup
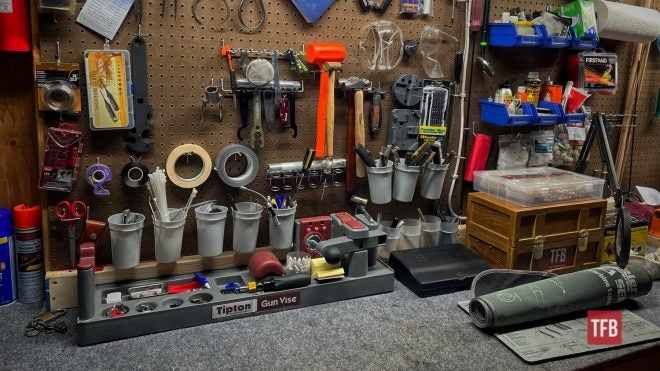
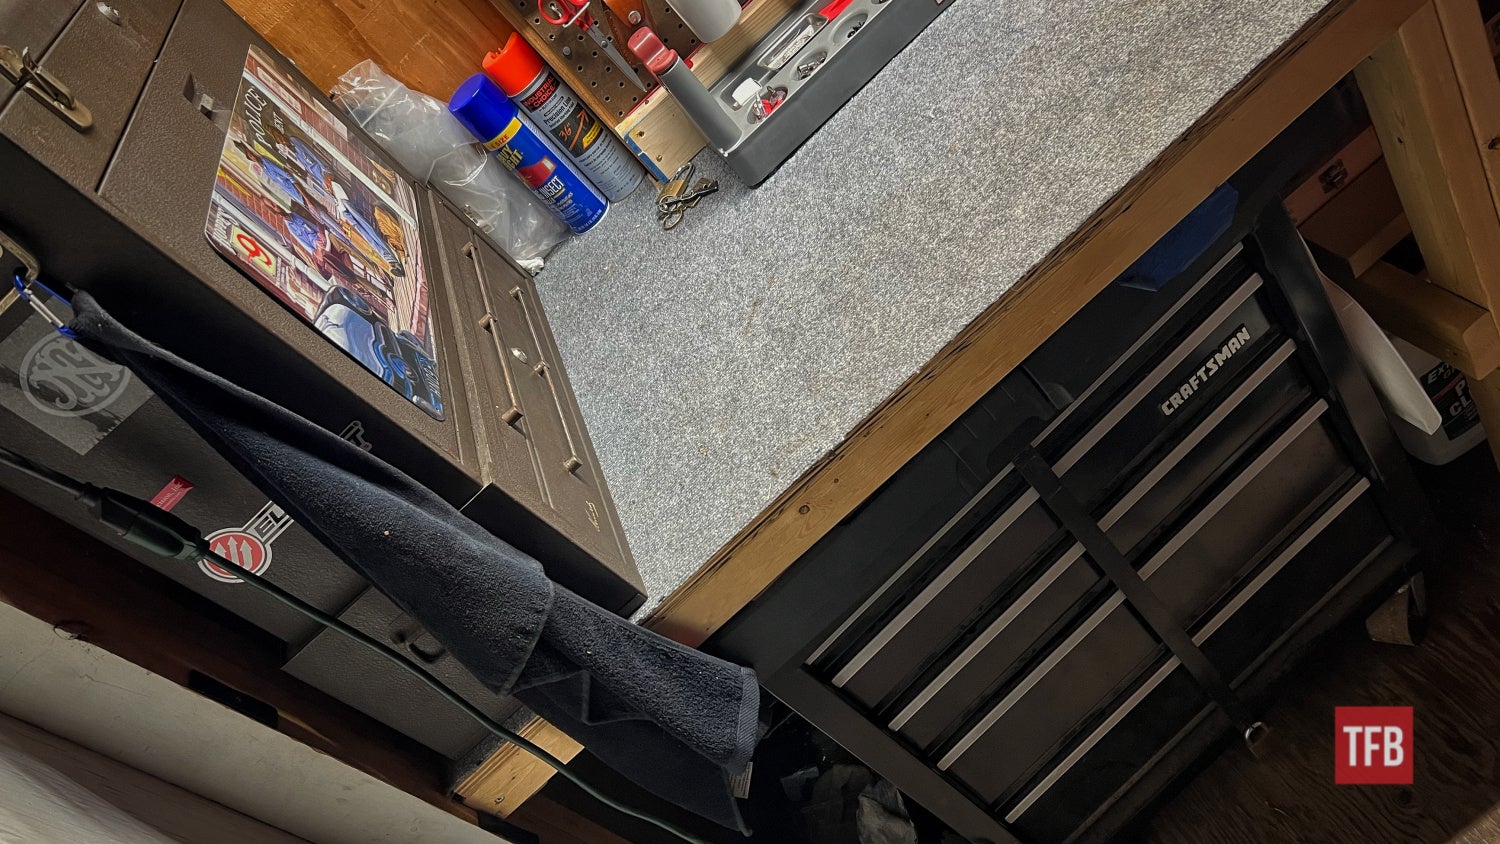
Now this list is a quick personal put-together set of bullet points. I purposely tried to avoid tools in general although if you wanted a decent start on a tool list, make sure to check out my article on 10 Essential Home Armorer/Gunsmith Tools. All bench setup begins with…well a bench. When planning to set up a bench, it is a good idea to make it longer and wider than you think you will need. Workbenches have a way of taking on multiple projects and space being taken up. Also, make sure it is built tough. Tough like, hit it with a sledgehammer tough. All sorts of gunsmithing-related roughhousing and hammering go down on an armorer’s bench.
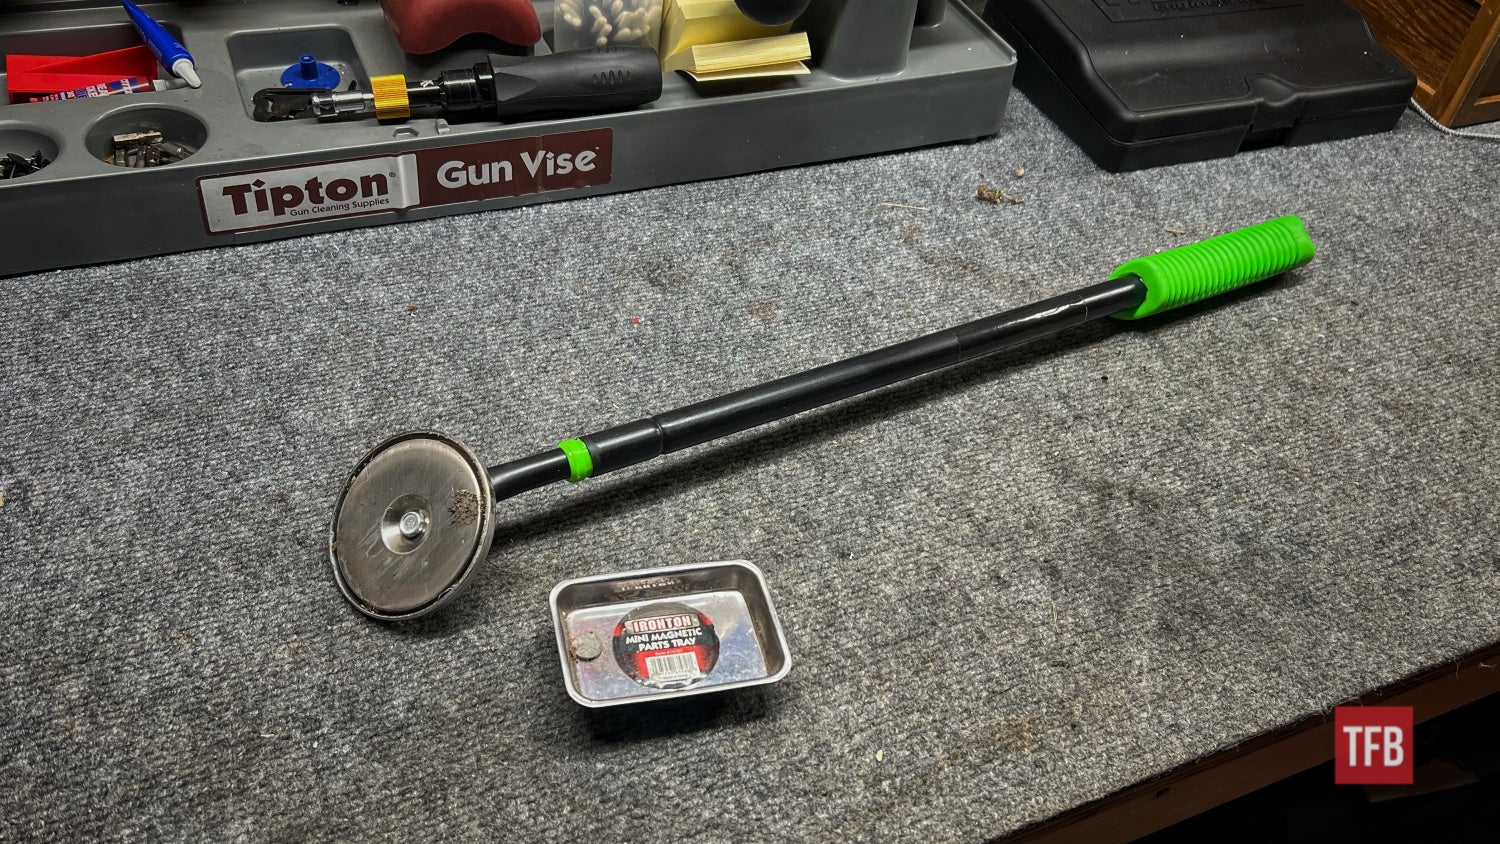
Magnets: Pretty generic, I know, but when it comes to small metal parts magnetic parts trays and parts finders can be an excellent stress preventative and time saver!
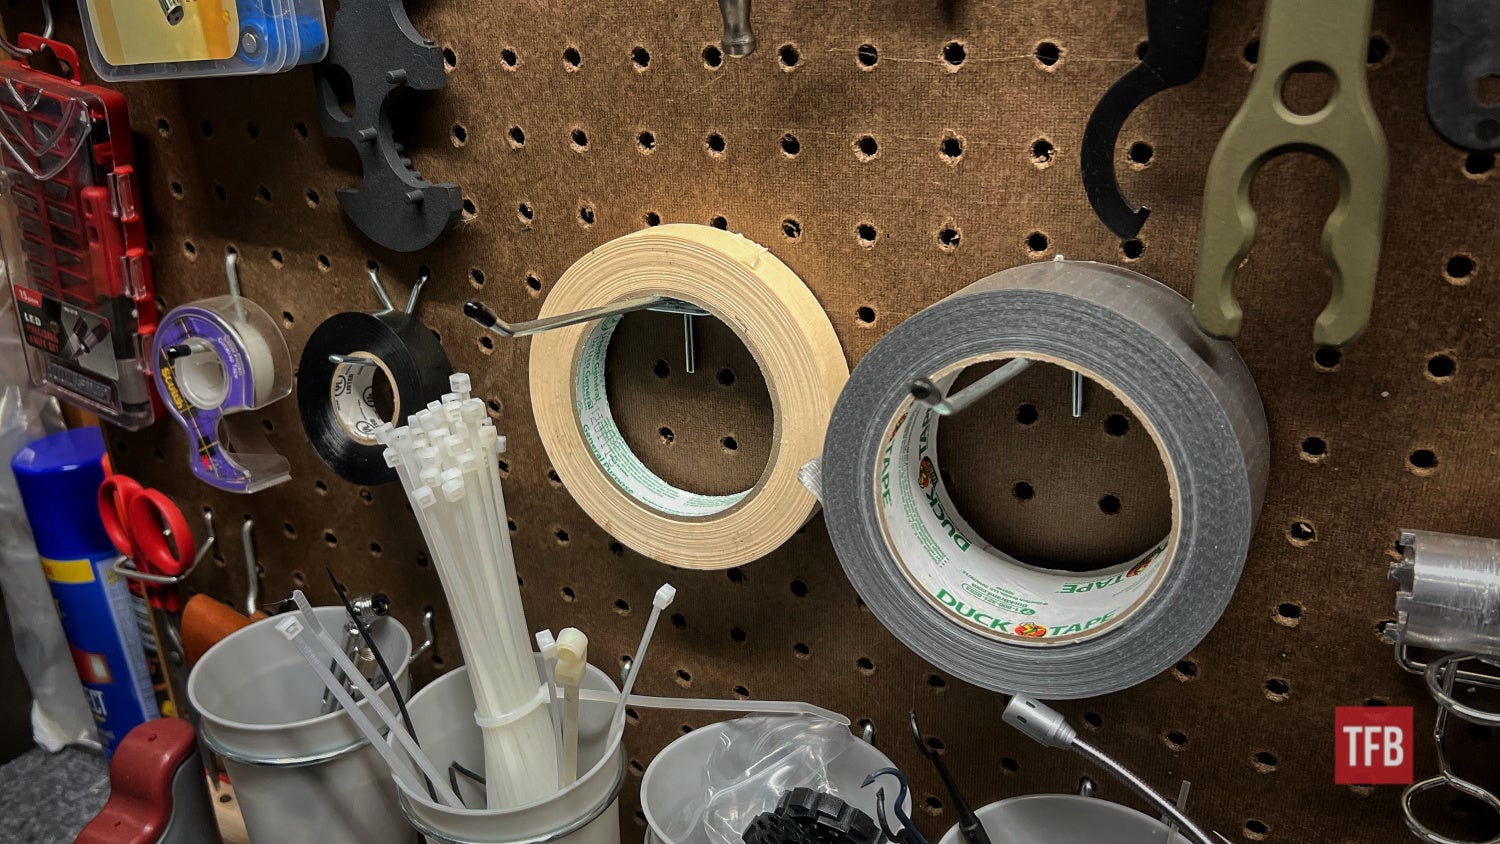
Tape: Tape is one of those small tricks I took away from gunsmithing school. We had a lot of project guns and school guns that had been taken apart thousands of times and this made the pins walk out with the help of gravity itself. Even though this will not happen with most stuff that hits your bench, a good inventory of different tapes can be a lifesaver. I have encountered a loose pin inside of a gun that needed to be taped over for proper installation and punched out and removed with some compressed air when the time came.
Bookshelf: If I ever preached anything it is that knowledge will always help you in the end. Books are everything and they often house more detailed information or missing information that you can’t find out on the Internet or YouTube. Have a bookshelf up and out of the way. Force yourself to have that reminder that there are books there to help with issues if need be. Let it serve as encouragement and enrichment for future projects.
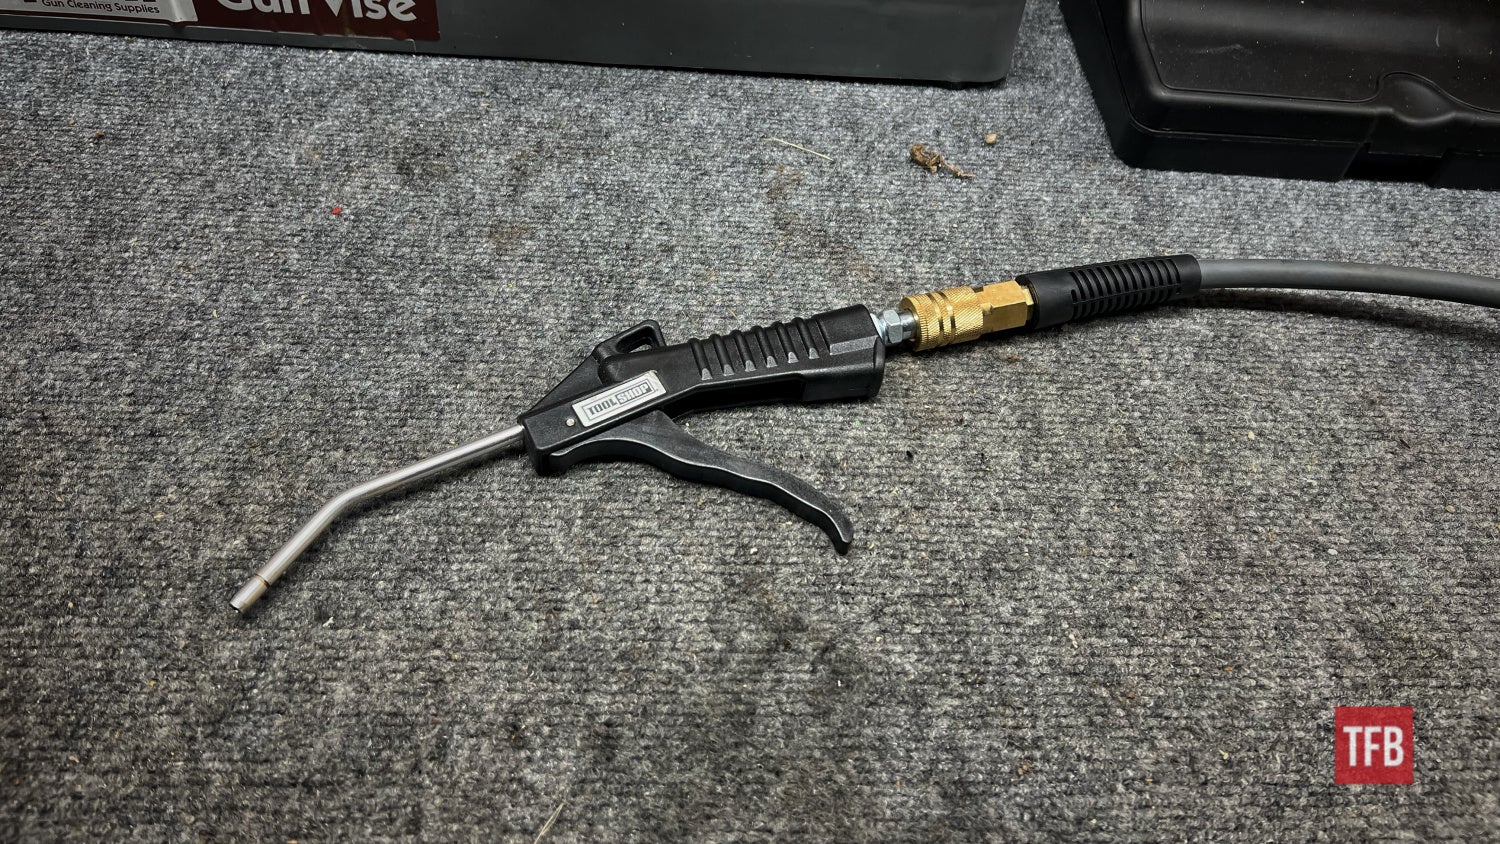
Compressed Air: Since I just brought it up I figured this should be the next bullet point. I never thought having compressed air on/at my workbench would be entirely utilized but I have found that I feel naked when I am without it. Its uses are pretty self-explanatory but the real perk is being able to blast excess oil off of gun parts or assist in the cleaning of a gun by removing built-up crud or fouling in hard-to-reach places. It has been an extremely handy addition to my bench.
NOTE: Wear safety glasses when working with compressed air. Things have a tendency of blowing back at you.
Oli/Solvent Tray: This bench setup tip comes courtesy of Rusty S. He and I both use trays for cleaning and lubricating gun parts. He mentioned he uses a 3’x2’ tray with a raised lip from an auto parts store. My bench is more small-scale in comparison to his so I use a generic paint tray. That way if I dunk something in solvent, I can let it dry or drain by setting it on the incline portion of the tray.
Maneuverable Lighting: Pretty self-explanatory but aside from having a well-lit area, it is helpful to have maneuverable lighting in order to change the contrast of light on a gun or its parts while working on them. This enables you to more easily find imperfections, damage, or general dirtiness.
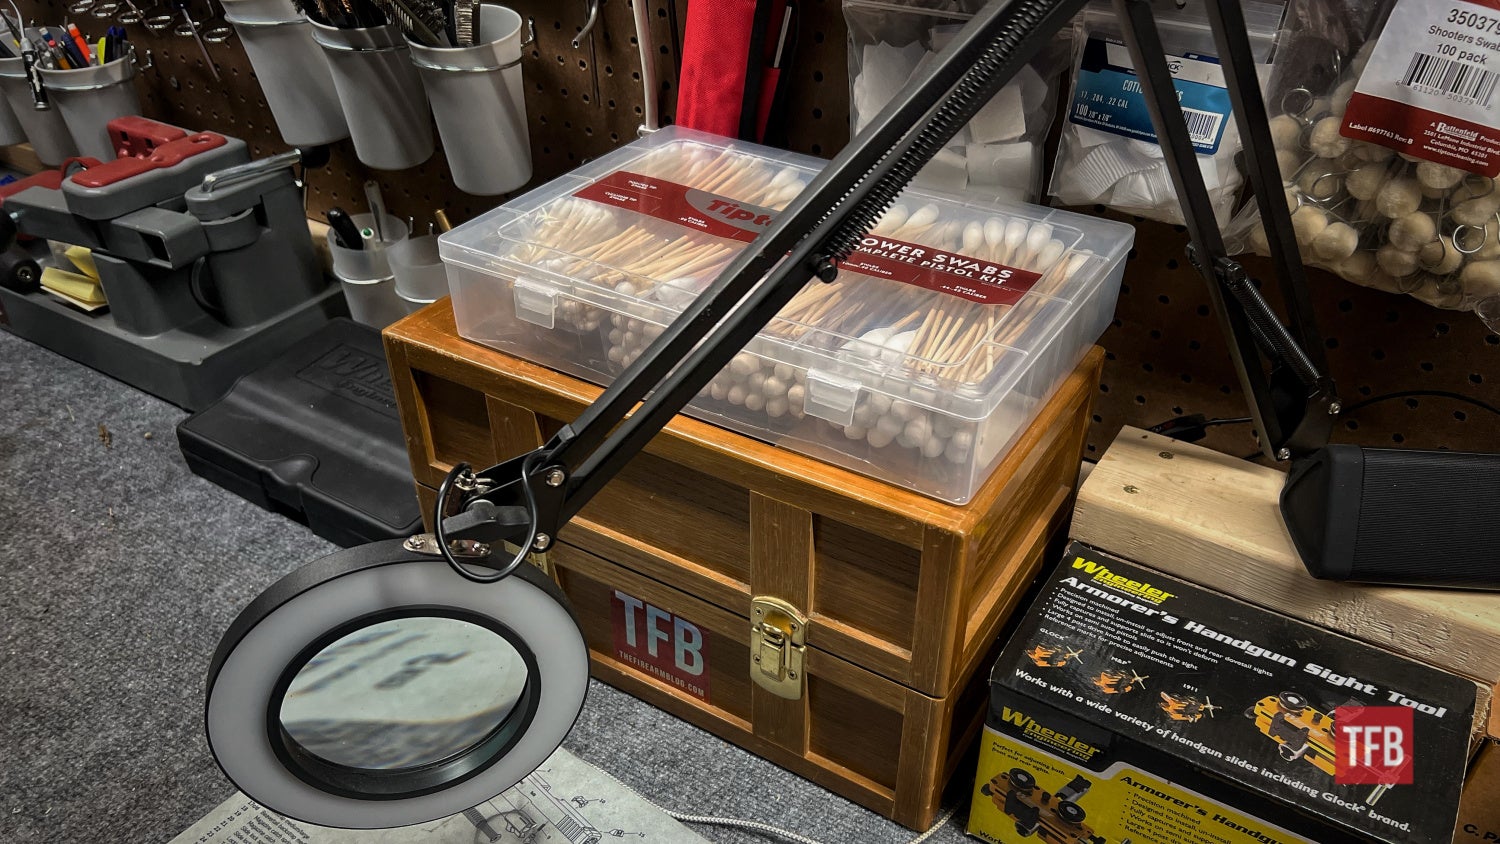
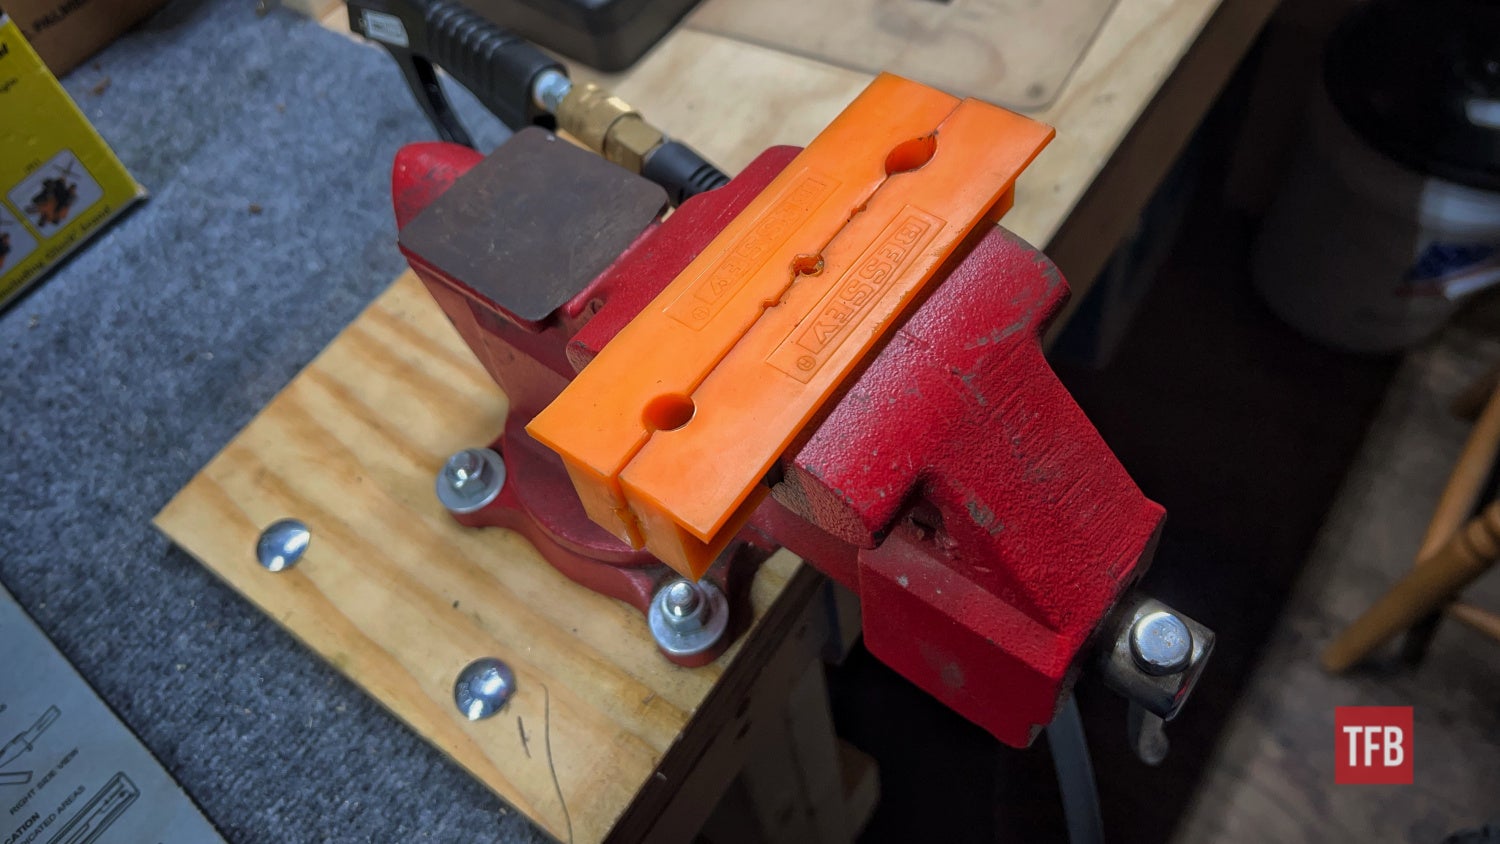
Vise: Some may call it a tool but I feel like it is an exception. The vise does not need to be a literal old school vise but that I what I have in mind. Any sort of work holding device is essential because it frees up a hand to do a better job at working on whatever project you are working on. If you do not have one of Tipton’s gun vises, I highly recommend checking them out otherwise a regular old vice just needs a pair of rubber, aluminum, wood, or felt jaws depending on the situation. I stick with rubber or felt for most jobs.
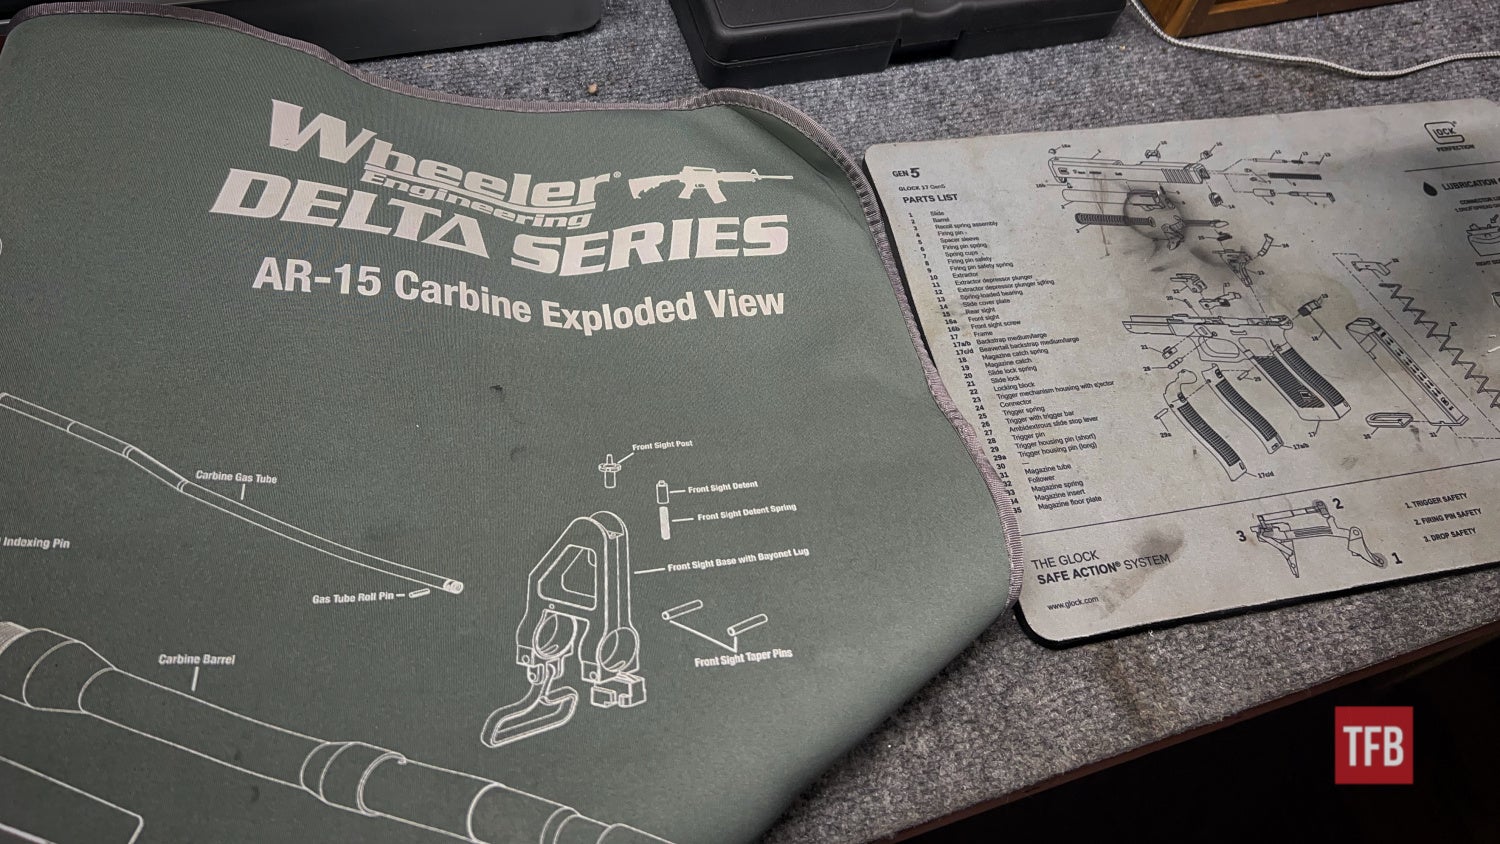
Covered Surface: The bench itself (thinking of a regular wooden workbench) should usually be coated in some sense to help protect it and extend its longevity. Mike R mentioned to me that he uses MDF material and clear Krylon to seal it. I personally use some carpeting or have used a workshop mat for a soft and absorbent cover.
Soft Surfaces: Sort of leading in from that last one, the surface of the bench should either be soft-ish or have some mats on hand in order to cushion more delicate workpieces and ideally prevent any marring and further work fixing the mess.
Efficiency of Storage: This makes it so you have as clean and clear of a space as possible. Clutter and disorganization are the enemies here. If you need a tool you should be able to know right where it is and furthermore it shouldn’t be in a place that is in the way. A small or tucked away toolbox or chest is a good start. Doug E had mentioned that he has a toolbox that is portable and houses his essential tools. That way not only are they out of the way and organized but also can be used almost anywhere. A pegboard backer at your bench is fantastic and a mainstay for benches but it is not a must. I highly recommend it for more ease of space though!
Conclusion: General Bench Setup
Like I had mentioned early on, this bench setup list is a fluid one. My priorities may be different than the next person’s but this list is a good baseline. The first step is building a sturdy bench with enough space for multiple projects at once. The rest is dealer’s choice. If you guys have any questions or tips and tricks yourselves make sure to talk about it with one another in the comments below. Stay safe out there and see you next time!
As always, thank you for reading TFB! Be safe out there, have fun while shooting, and we will see you next time for the TFB Armorer’s Bench brought to you by Wheeler, Tipton, Caldwell, and Frankford Arsenal! Also, let us know what you think in the comments below! We always appreciate your feedback.

Pro Range Glasses, Clear

The Caldwell® Pro Range Glasses feature a stylish wrap-around design and are a great choice for all shooters. They feature an adjustable nose piece and temples for all day comfort. The scratch resistant lens meets ANSI Z87.1 standards and offers 99.9% UV protection.
Hammer and Punch Set, Plastic Case

The Wheeler® Hammer and Punch Set includes a polymer/brass combination hammer, eight precision brass punches, four steel punches and two plastic punches. It comes in a handy molded case. It makes for a great tool for driving pins or drifting sights at the shooting range, or on your gunsmithing bench.
Frankford Arsenal Stainless Steel Dial Caliper
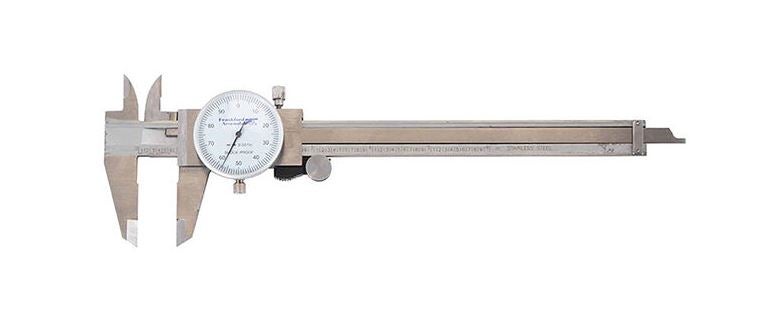
Reloading ammunition requires attention to many critical cartridge dimensions, including case length, neck and base diameters, overall length, primer pocket depth, etc. Verifying these dimensions is quick and convenient with the Frankford Arsenal® Stainless Steel Calipers. These calipers are accurate to within .001″. The calipers allow you to measure inside and outside diameters, plus depths. You will find them useful for many measuring tasks on and off the reloading bench. Packaged in a convenient and protective case.
Universal Bench Block
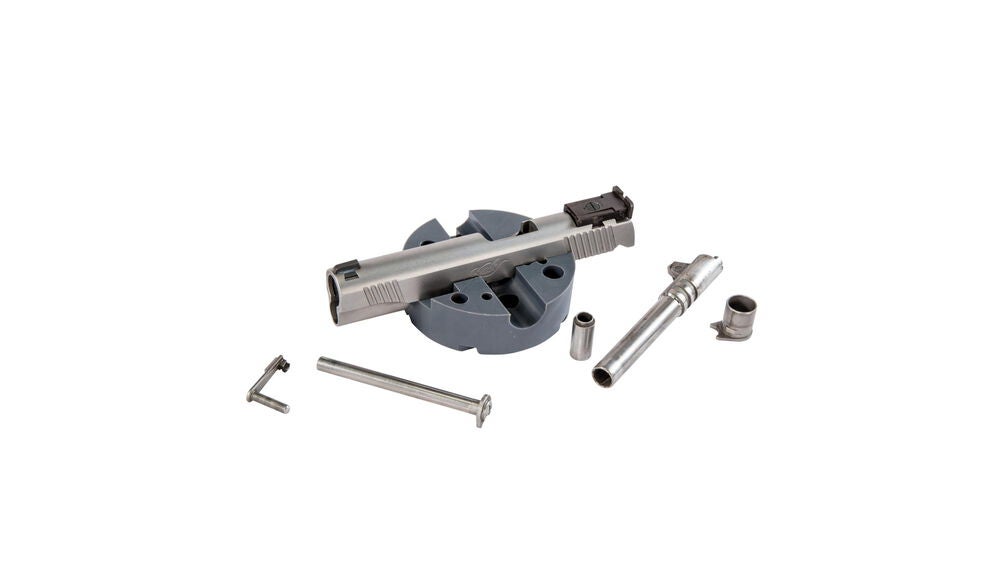
Made of non-marring urethane, the Universal Pistol Bench Block is perfect for use on M1911 pistols as well as other firearms such as 10/22s.
POWER SWABS – PISTOL CLEANING KIT, 500 COUNT
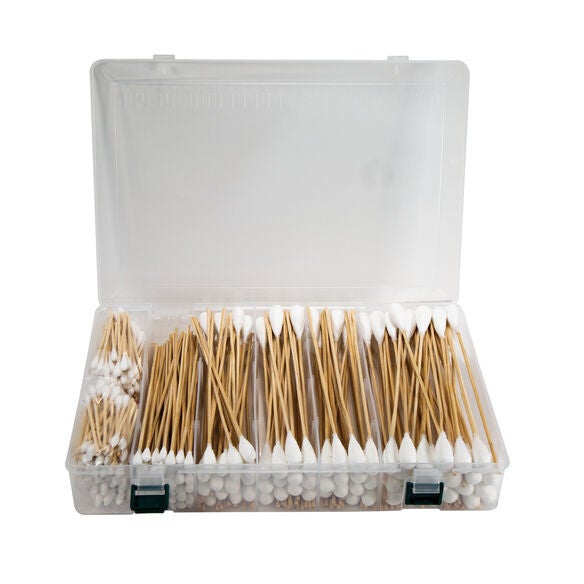
Tipton’s new Power Swabs are an essential part of your cleaning kit. They’re disposable, fast, and easy to use, plus they provide no-mess cleaning with all your favorite solvents and oils. They also fit lands and grooves better than a patch for maximum cleaning.
Tipton ULTRA GUN VISE
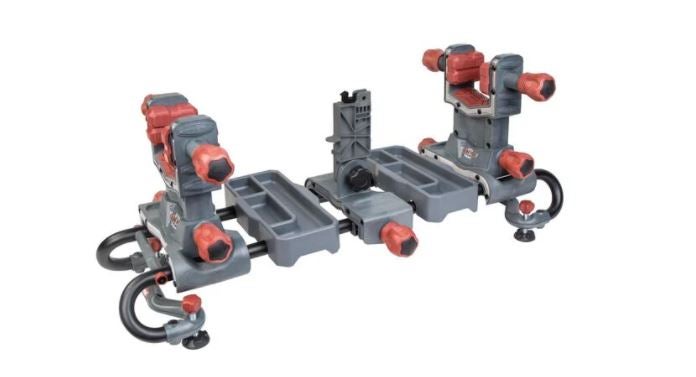
The Tipton® Ultra Gun Vise features a completely modular interchangeable design to allow virtually any shape firearm or crossbow to be cleaned and worked on with ease. The ball and socket articulating clamp pads allow for the pads to adapt to any surface. The dual clamp technology rigidly holds any firearm shape in place, while the rigid steel tube frame structure allows for complete access to your firearm or crossbow. The front and rear clamps are both height and length adjustable, and feature fast-turn knobs allowing for quick clamping. The solvent-resistant accessory and tool trays are movable and removable to stand up to even the toughest jobs.