 Your Privacy Choices
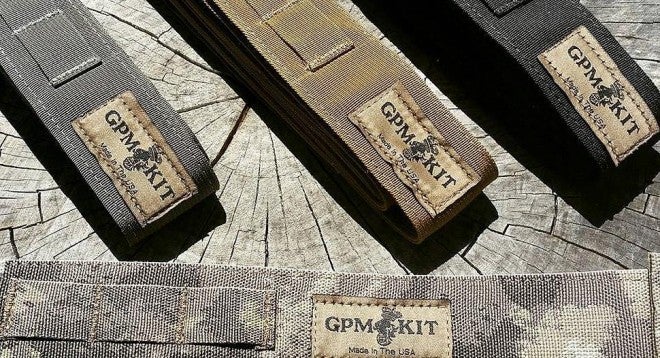
A New Kind of Belt
This year has been the “year of the belts” for me. I have had four belts for review this year, starting with the Lenwood Leather Belt, which has become my daily go to.
One of the Cadre from GORUCK, Patrick Moltrup, has spent a decent amount of time down range, and like I would assume about nearly everyone stuck in that environment, started working on creating a better piece of kit to solve a personal pain point. A pain point that is shared by a number of others.
Pretty much any belt you buy these days is going to have some sort of buckle apparatus to perform the closure operation, the “cobra” style being the new hotness. Prior to that it (and when I was playing over there) it was the “wilderness instructor” style belt (you know, the one with the metal hard point so you hook in, or rappel, or whatever). There have been large side squeeze buckles, heel bar buckles, heel bar buckles with a roller, jam levers… The list goes on. What they all share is that they are another piece of hardware, generally centered on the body, and they provide a place to provide tension for cinching up the belt material (whatever that may be), as well as a potential point of failure.
Construction and Operation
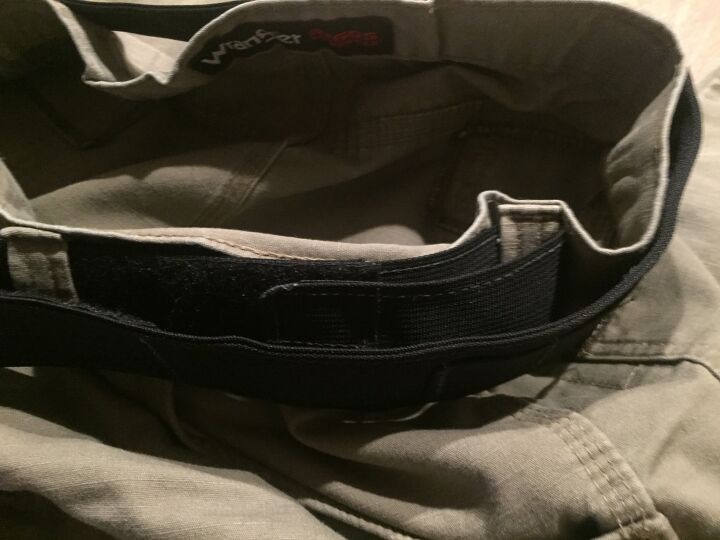
So what is different about the GPM Kit Belt? Well, for one, no buckle. And at first glance, no real way to anchor it aside from some hook and look fastener which appears to be in the wrong places. Appears, I said…
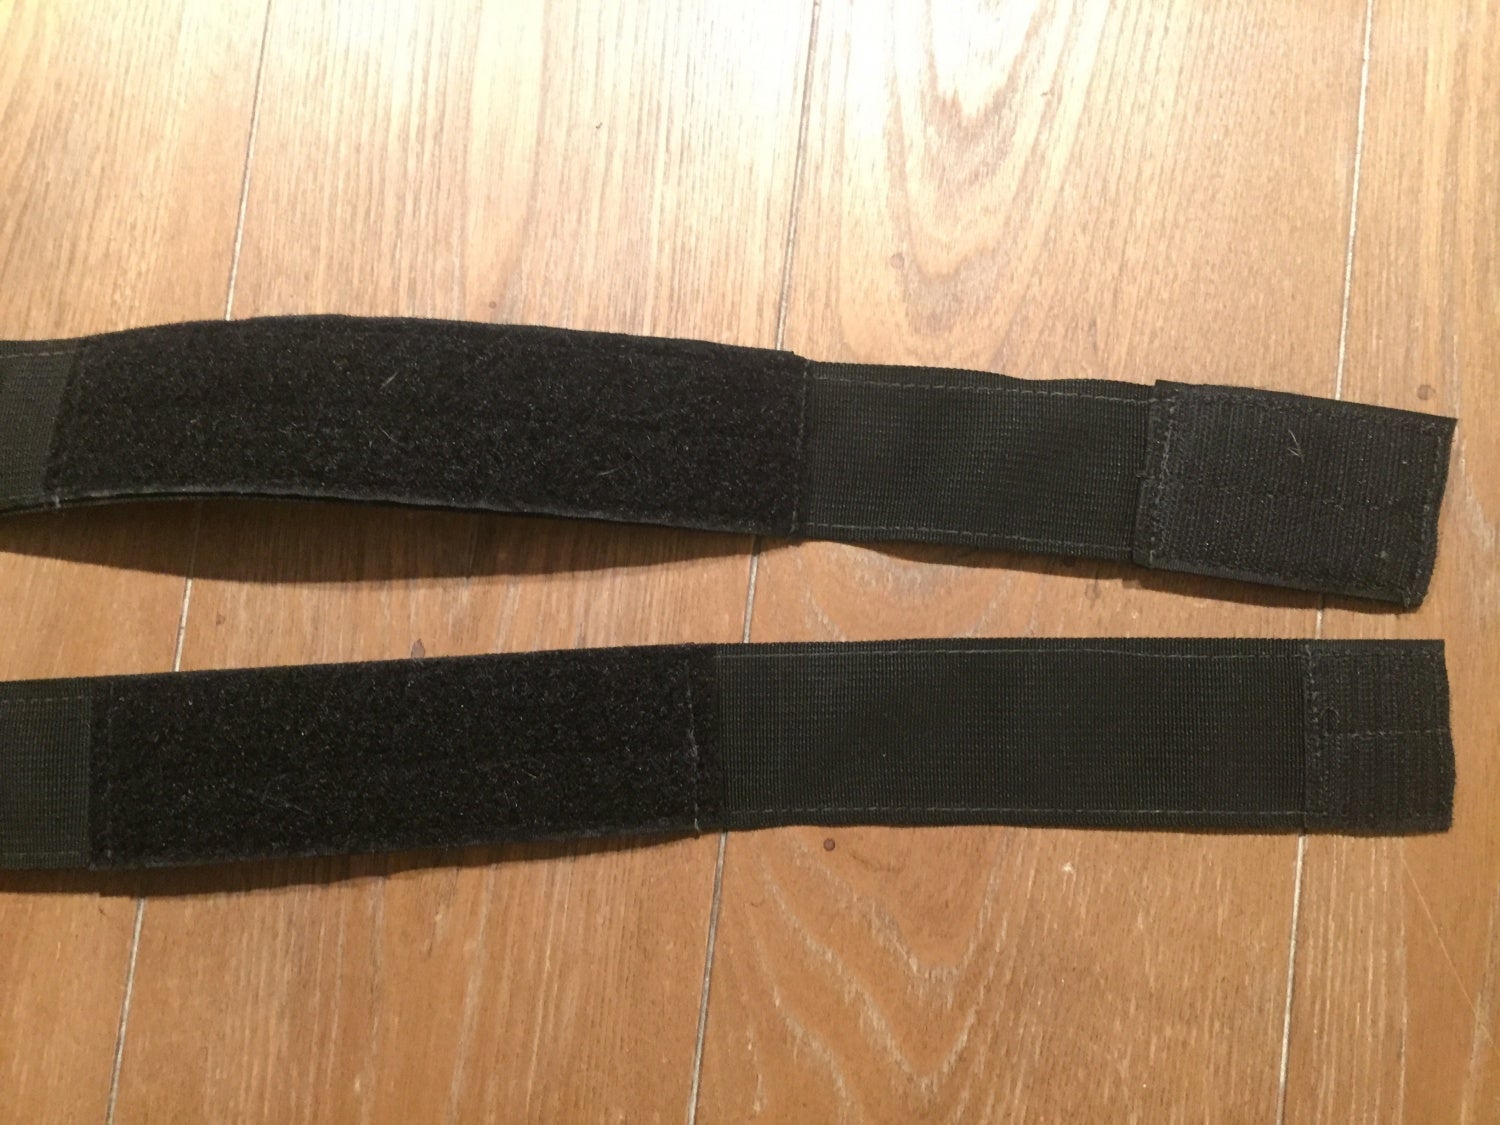
This is the entire anchoring system of the GPM Kit
There are two different models depending on your needs (or wants). The Outdoor Applications Belt is a narrower version that will work well with most belt loop sizes. The Combat Applications Belt is designed for the more “tactical” crowd, whether that need is professional, or amateur, and is a bit wider, requiring that your belt loops are a bit larger. Strangely enough, military BDUs fit this requirement. The Combat Applications version also has a couple of short runs of PALS webbing so you can attach a magazine pouch (or other small thingy), and these will end up seated on your sides.
PALS Webbing
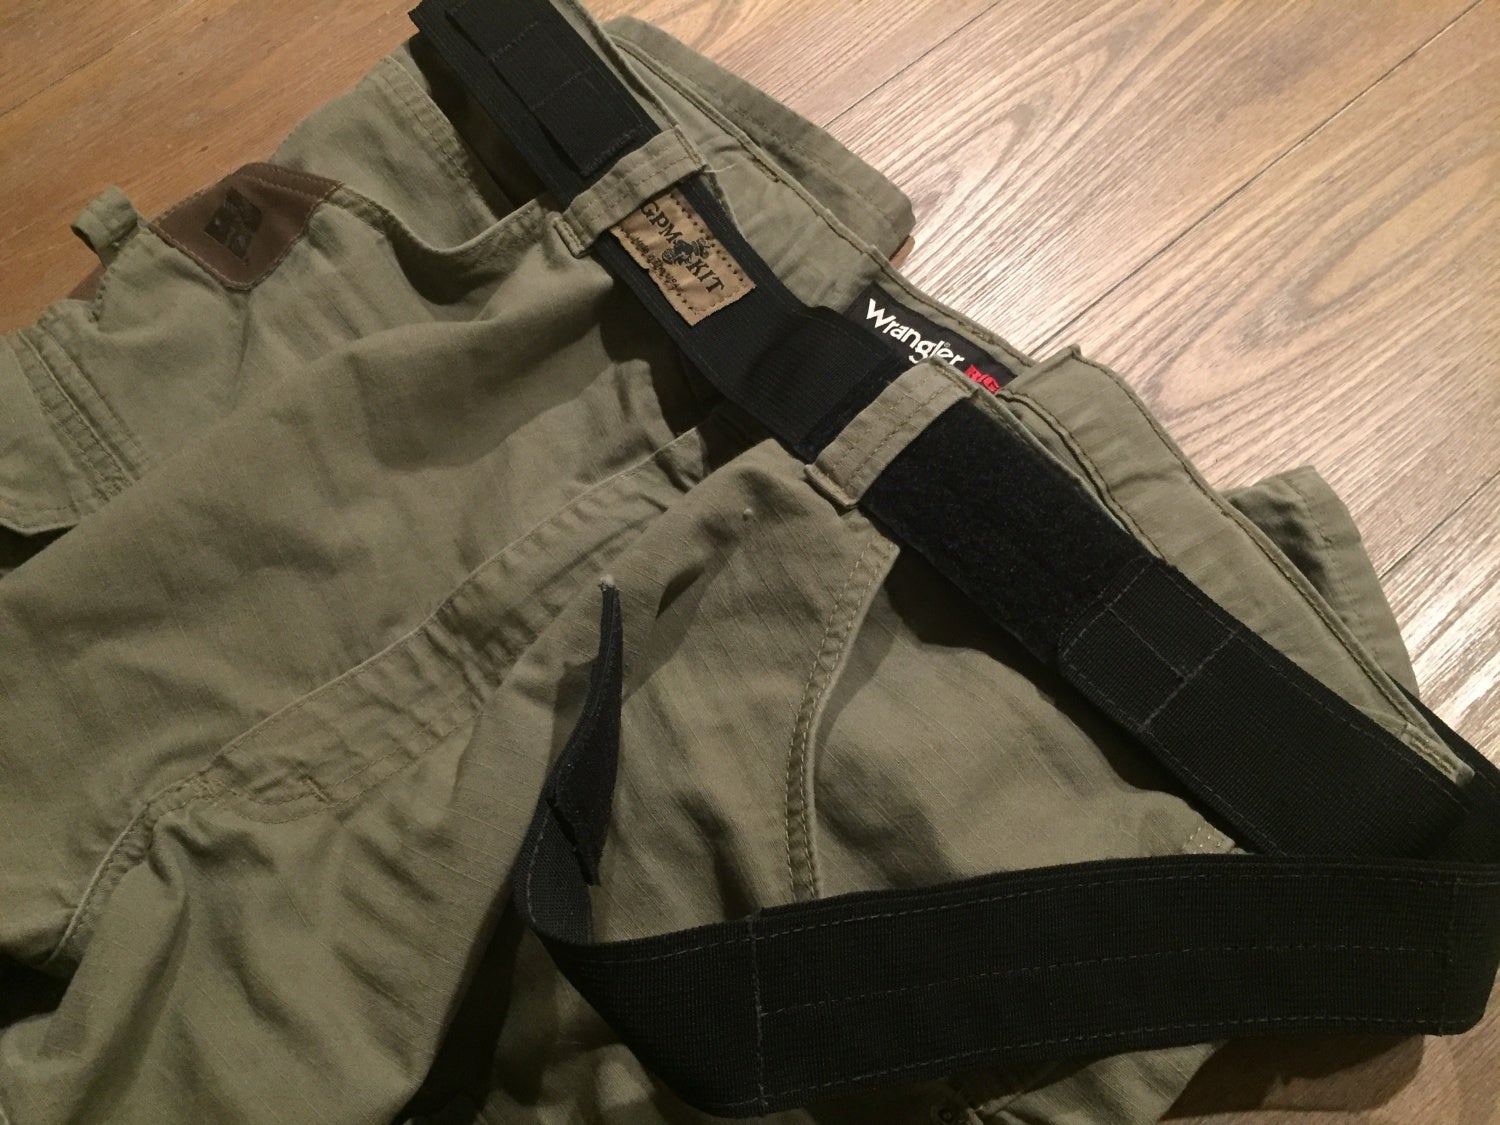
Normally you weave a belt by picking the appropriate side and running the tapered end of the belt through the loops successively around your waist until you reach the other side and then run it through the buckle (or attach the other connector end if it is too fat to fit through a belt loop—I’m looking at you Cobra buckle). The GPM starts on your left hip and runs forward (clockwise around your body). Starting on the second belt loop (or third depending on how your pants are constructed) you run the leading edge of the belt forward toward your centerline until you clear the loop fastener. Then you fold the belt over the original belt loop and bring it forward around your front, feeding it through the belt loops as you go. At a certain point you will overlap the initial anchor and will be reaching the end of the belt. Here is where it gets interesting. It will cross again over your centerline and the very next belt loop you will tuck over (rather than under) and fold the end back. You can then anchor the end on the terminal hook and loop field, and this is where you can get the final adjustment range (of about six inches). I would recommend skipping the belt loop to the immediate left of your centerline for a reason I will detail later.
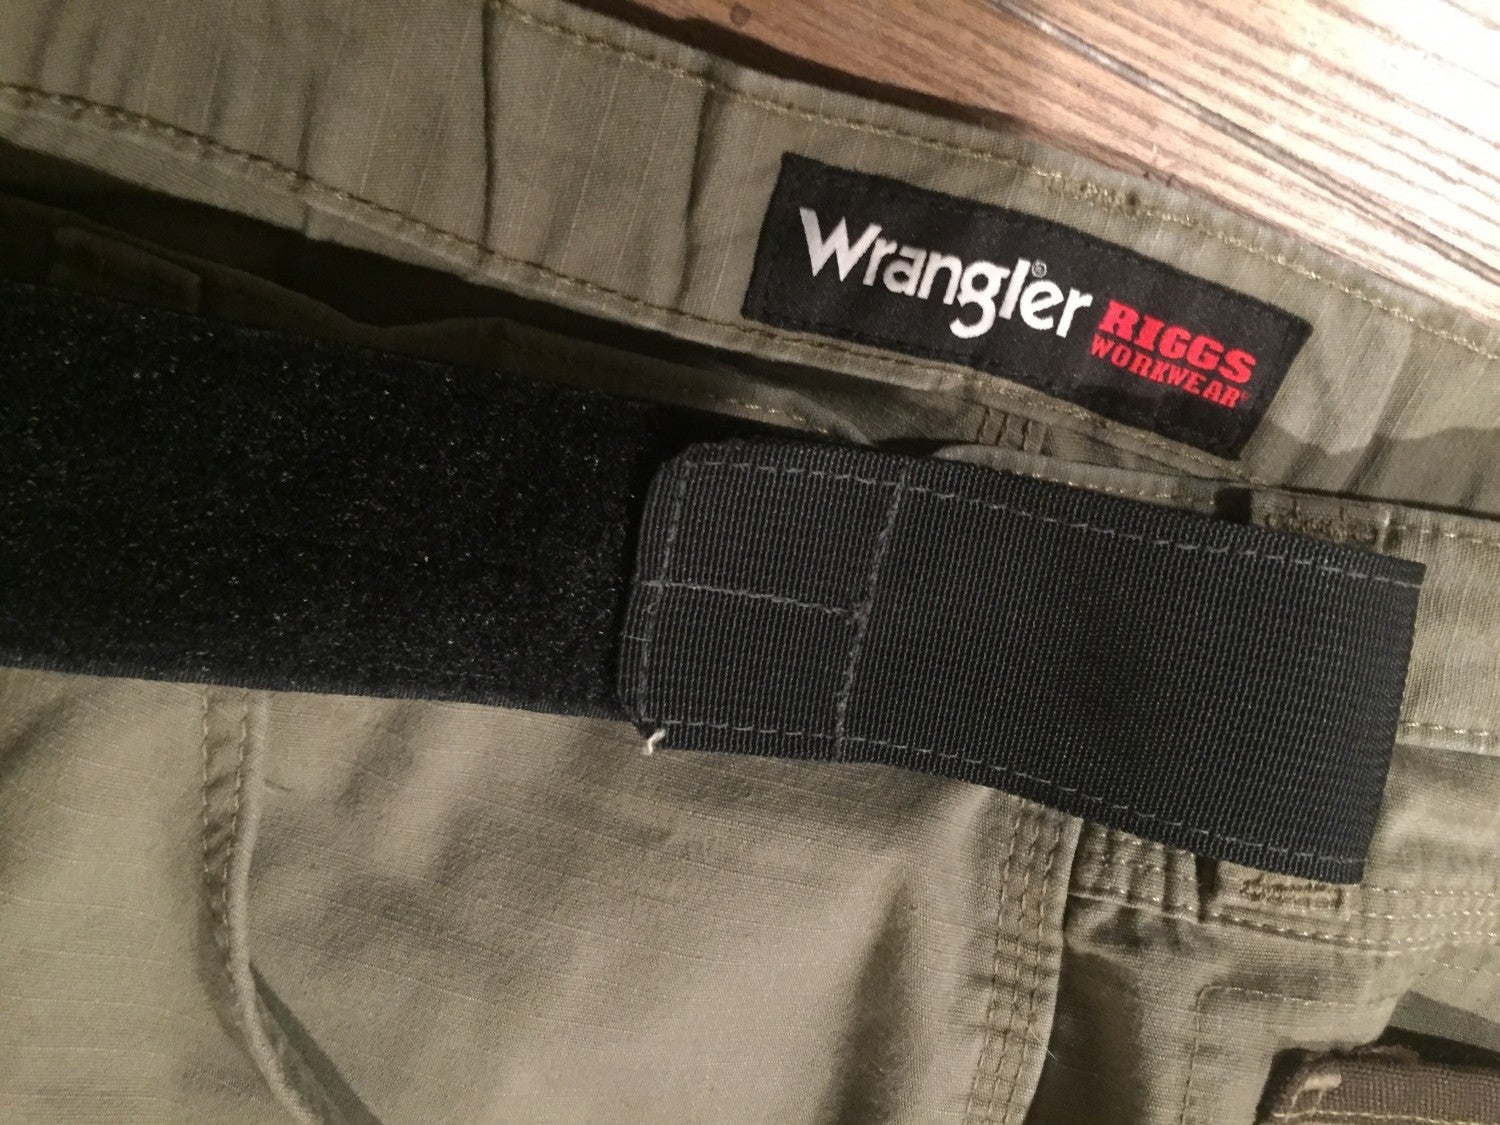
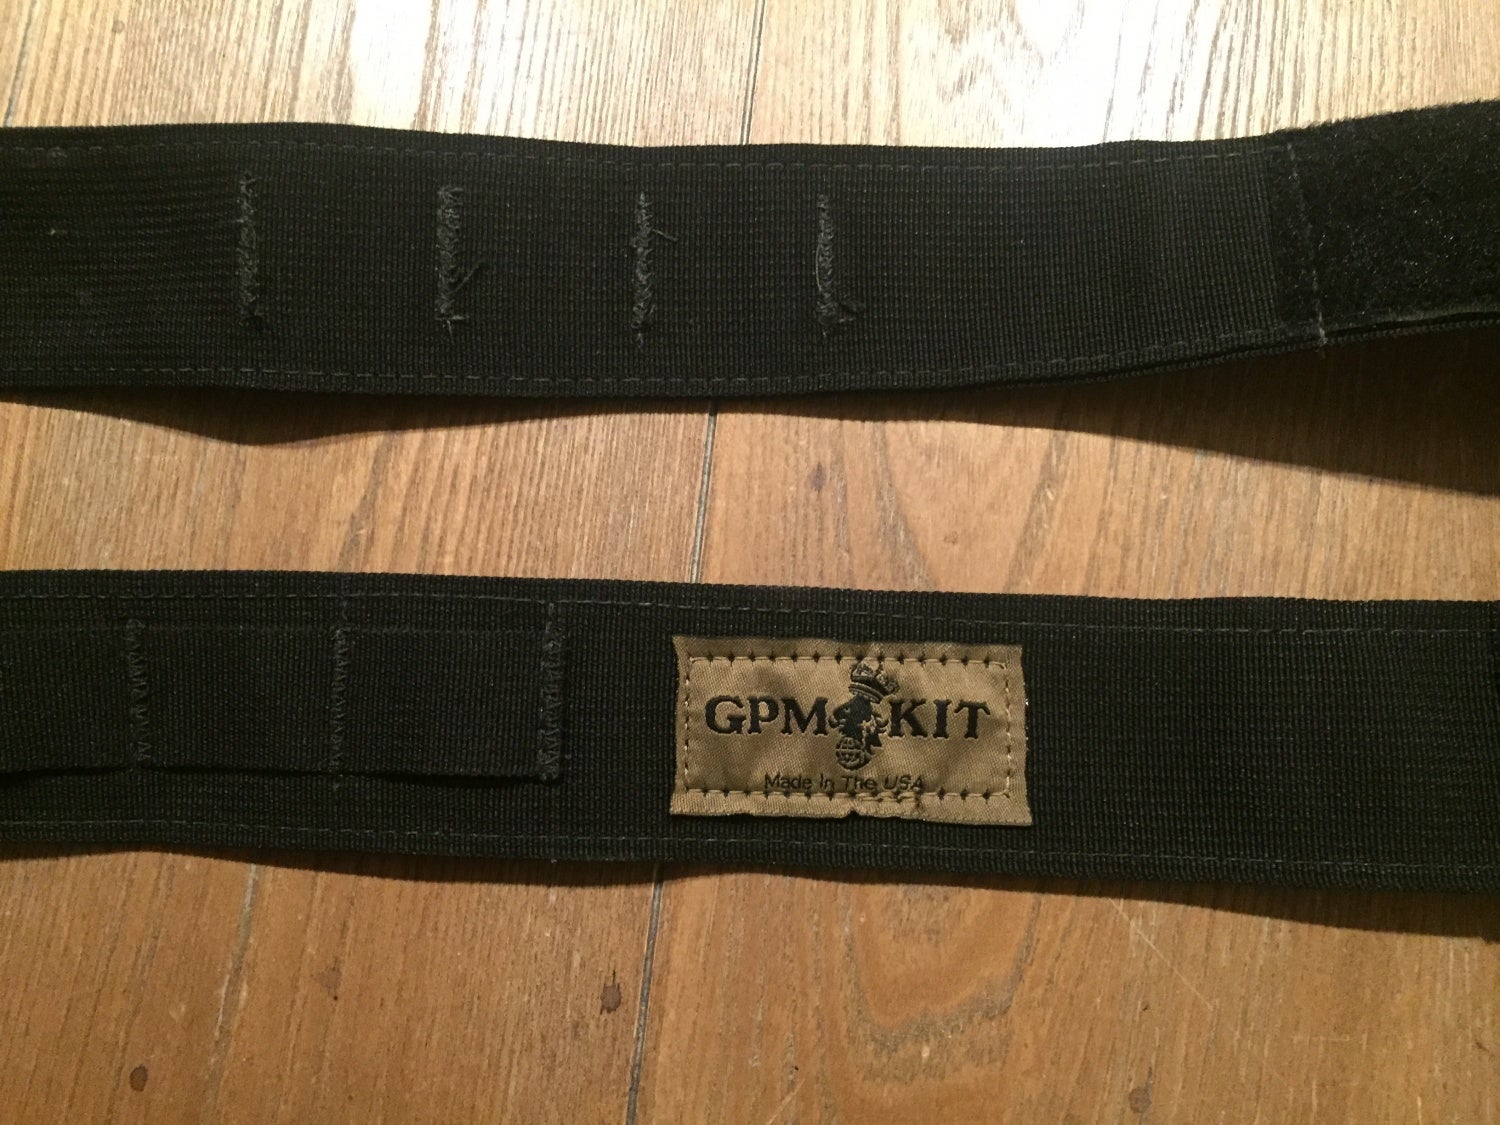
The initial side anchor.
The belt loop on the left is one that I decided to leave unengaged to make it easier for pants to come off. Without doing this I found the pants were TOO well anchored… 🙂
Here is a video for those of you that need a visual:
Observations
Once you have practiced putting it on a few times, it definitely becomes a lot easier and it starts making more sense.
I bought one of each type of belt for myself. The Combat Applications Belt is to wear during 3-Gun (which is hopefully as close to a stressful shooting environment as I will ever see again), and the Outdoor Applications Belt is for backpacking and rucking which I try and do every week.
The two belts I bought came from the first run, and I have two small really “nitpicky” complaints about them. The first is that the terminal end of the belt has no taper. A taper would make it so much easier to feed through the belt loops. That problem is easily solved with a webbing knife. My other complaint is that the edges of the hook and loop fastener are the same as the width of the belt. So I found, when I wore the belt with an untucked shirt, and didn’t have an exact perfect overlay on the closure, that the corner of the fastener rubbed on my skin, just above the waistline of my pants. I noticed this on a day hike and, after five miles or so, it was a little annoying. I solved it by trimming it to a rounded corner with a small set of scissors on my Leatherman.
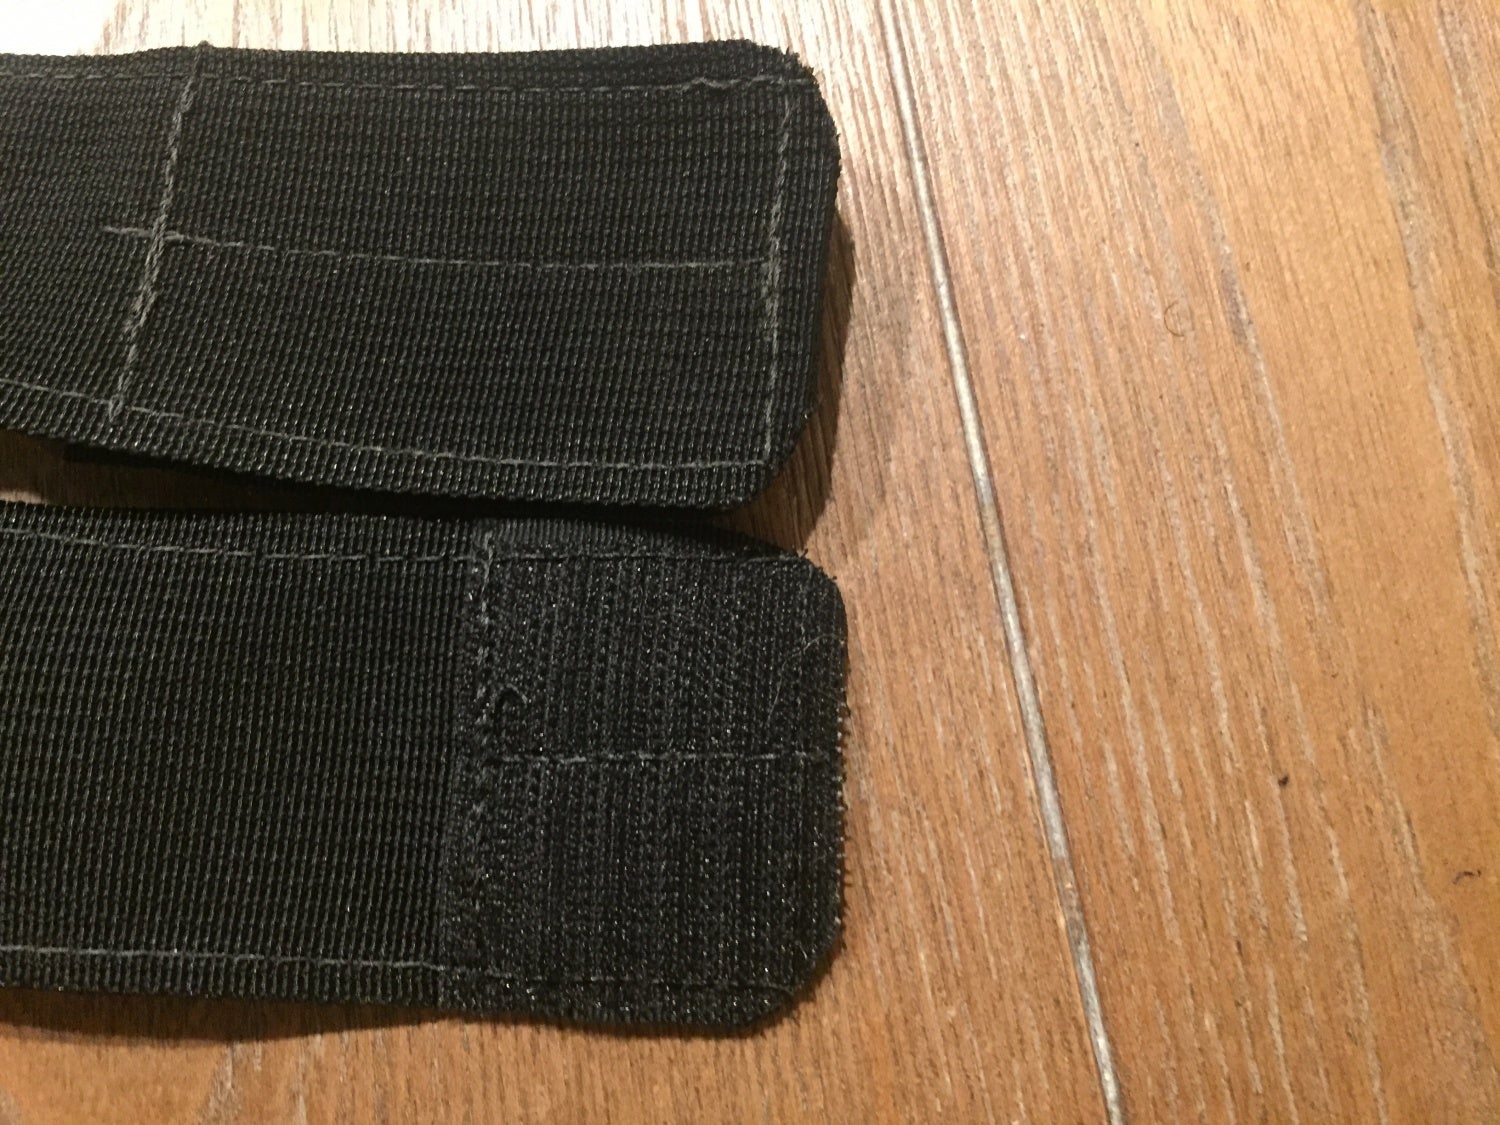
Rounded corner modification.
Other than those two things the belts performed great. They held up my pants and stayed firmly cinched. I have noticed in the past that some of the webbing based belts tend to work a little loose over the course of a day (I’m looking at you 5.11).
How the belt looks in the front. I loosened it up a bit to give some indication of the weave. It should end up a bit tighter than this.
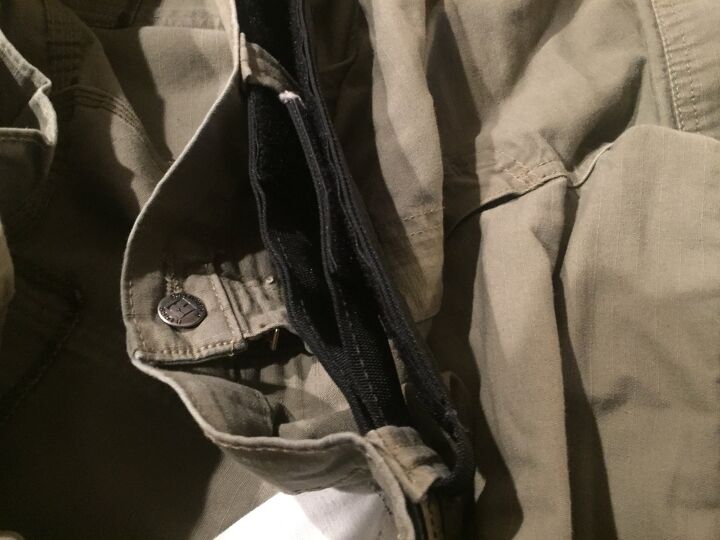
Okay, now the question I’m sure some of you may be having. Dropping “trou” (for whatever reason). Let’s say you ate a huge burrito at Chipotle for lunch, and your afternoon of running around dropping tangos and training to bring freedom to the masses in the hot sun has your brain relay a message to your gut that the extra guac was a bad idea. With a normal belt you quickly unclip the buckle (if it is that type) or you unthread through the heel bar, allowing you to efficiently drop pants and conduct business. With the GPM kit it is not quite as efficient (until you get the hang of it). Years of “muscle memory” need to be overcome, and you need to release the hook and loop terminal end and pull it free from the last belt loop. You can then loosen the belt, undo the pants closure, and slide the pants down as normal.
Terminal end undone.
One benefit of the above (which initially seems like a pain in the you-know-what) is that if you are wearing a holster (or anything with some weight) the belt does not unthread itself and dump said object awkwardly on the ground next to you—it stays pretty well in line with the waist of the pants. There may, or may not, have been an awkward incident during my executive protection days involving a bathroom stall, a sidearm that pulled my belt free from my pants, and a sudden clattering noise accompanied by cursing.
Conclusion
Personally I think this is a great belt for it’s intended applications. It is never going to replace the dress belt on my suit, and is not generally going to be my “day-to-day” belt. But I do wear it pretty consistently for 3-Gun (since it plays nice with my Blade-Tech Competition Gun Belt), and the Outdoor Application belt is great for my weekend hikes and rucks. Both especially so after making my small mods, which I had no problem doing on a $50 belt. After chatting with Patrick, it seems as if he is already making some tweaks around the “issues” I had (and let’s be clear, they are not really show stoppers).
I definitely appreciate not having a front buckle when doing any sort of prone work, and the belt works GREAT with a pack that has a hip belt. If you are in a job that requires you to wear armor, plate carriers or a battle/duty belt, or are operating in a more kinetic environment, this belt would make a pretty useful change to your uniform.
If you are interested you can find out more on the website at: http://www.gpmkit.com/. You can also get current information on the Facebook page: https://www.facebook.com/GPMKit/