 Your Privacy Choices

Hello and welcome to another edition of The Rimfire Report! This ongoing series is about the rimfire firearm world and its many types of firearms, shooting sports, ammunition, and history! I am back at the helm filling in for Luke C for this week. Last week Luke covered his first impressions of the new Ruger Super Wrangler Revolver. Today we are doing a little story time. This will sort of be a hybrid of Rimfire Report and Armorer’s Bench. Let’s talk about fixing my dad’s Marlin Model 60.
More Rimfire Report @ TFB:
- The Rimfire Report: First Impressions from the New Ruger Super Wrangler
- The Rimfire Report: The Ranger Model 103-8 – A Blast From The Past
- The Rimfire Report: Italy’s Chiappa Little Badger 22LR Survival Rifle
- The Rimfire Report: Project Appleseed – Affordable Marksmanship
- The Rimfire Report: The XRT Drop-In 10/22 Trigger from Tactical Solutions
Little Background: Fixing My Dad’s Marlin Model 60
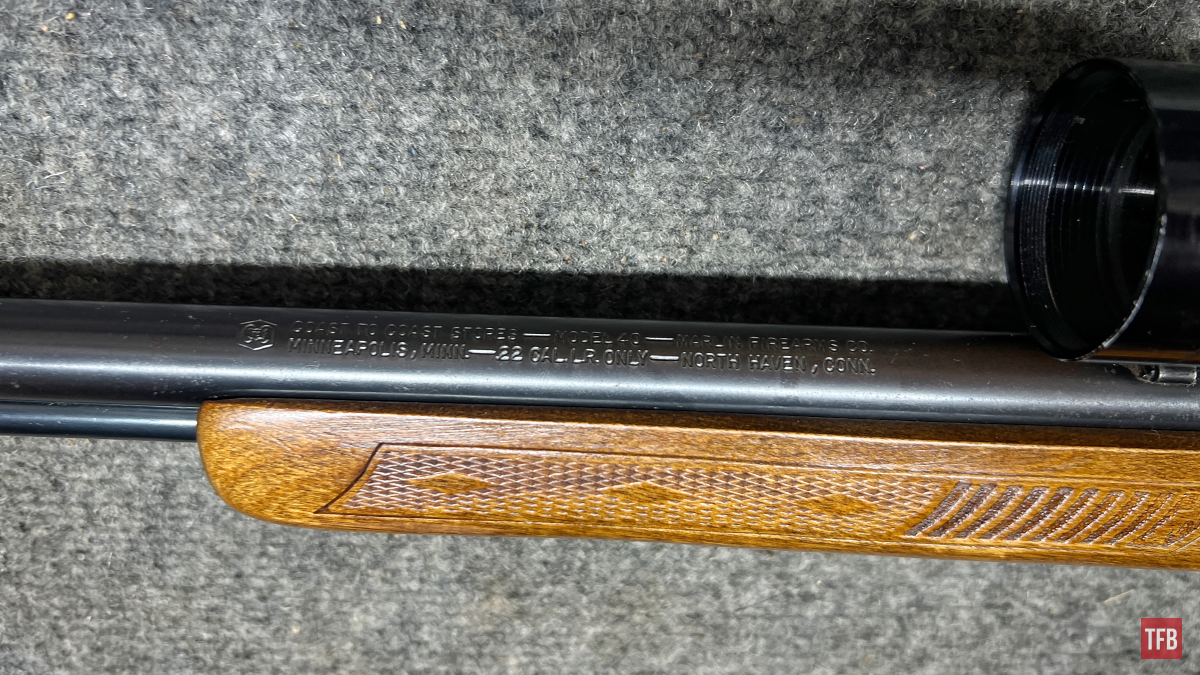
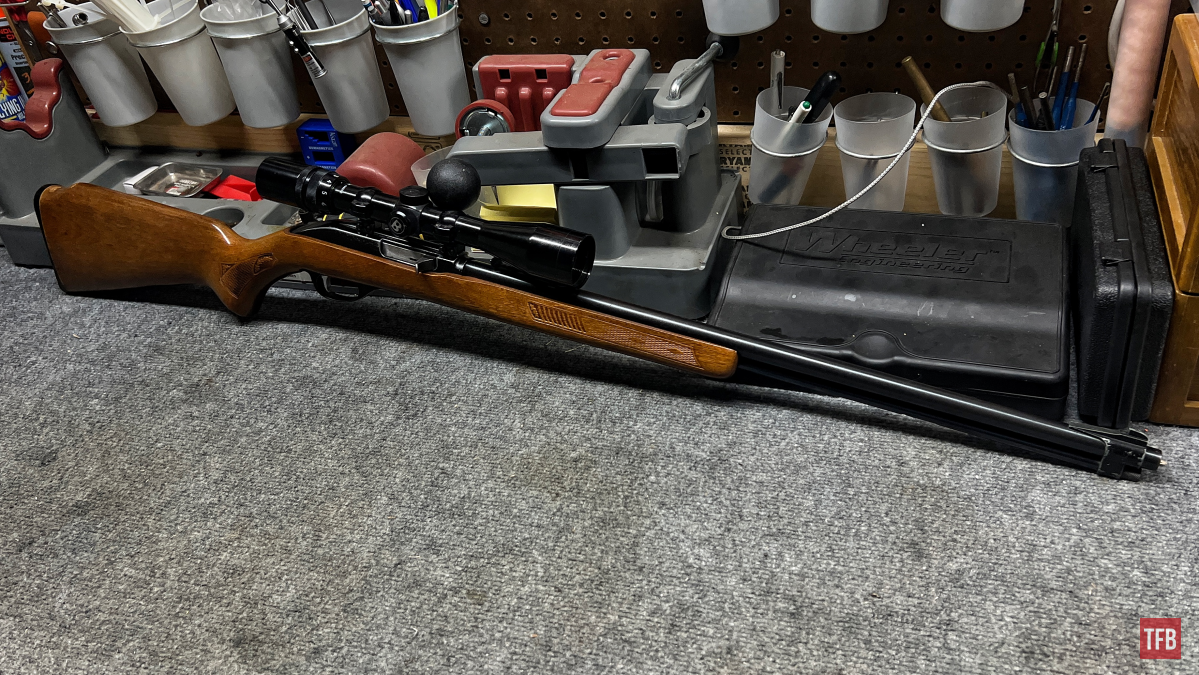
Those of you who tune in to Armorer’s Bench from time to time probably already know that I attended gunsmithing college for four years and have worked professionally with firearms for almost 10 years. Toward the end of my schooling, I can remember my father saying something like “So when are you gonna fix my 22”. Of course, his explanation of the symptoms was just as vague as any person who brings me stuff to fix. This was the same Marlin Model 60 that I learned to shoot with when I was little. Full disclosure: his 22 is a Coast to Coast Model 40. Coast to Coast was a hardware store chain that sold firearms. Like many back in the day, this was a licensed copy of a good-selling gun.
The Issues: Fixing My Dad’s Marlin Model 60
It has been a long while but to my memory, my father’s explanation was something along the lines of “it jams”. What he meant to say is it jams as a result of a failure to eject. It would not always jam up and this was nothing new. Even when I was younger I remember it being a little finicky. Now, to me, at this point, I had very little “in the wild” experience so I thought it was a broken ejector. When you are fresh from gunsmithing school you automatically assume things are broken. Once I peered inside I saw that the ejector was intact but things were extremely dirty. So it was just dirty, right?
Under The Hood: Fixing My Dad’s Marlin Model 60
When I went through and cleaned everything up, I saw nothing wrong. There were mounds and puddles of liquid lead and carbon as I cleaned. I remember scraping off heaps of the stuff from the inside of the receiver. It was a wonder that this thing was able to properly chamber anything without the out-of-battery safety interlocks taking over. I took every piece apart. I soaked both the parts and myself in the solvent over the course of an hour. I scrubbed everything until it was spotless. I know for a fact that it had never seen a deep clean since it was purchased in the mid-1970s. I remember how much I shot it as a kid. Add that to the amount my father did for 30ish years and that is how dirty it was on the inside.

Obviously years later
When I put everything in the action assembly back together, I noticed something very strange. The ejector that I had previously inspected was missing. It was obvious because the ejector is a small overhanding nub on the feed throat. I found it under a pile of lead and carbon. It had seemingly been holding itself on by a mix of a tail of metal still attached and a lead-based glue. It is a wonder that it was able to function at all for as long as that may have been broken.
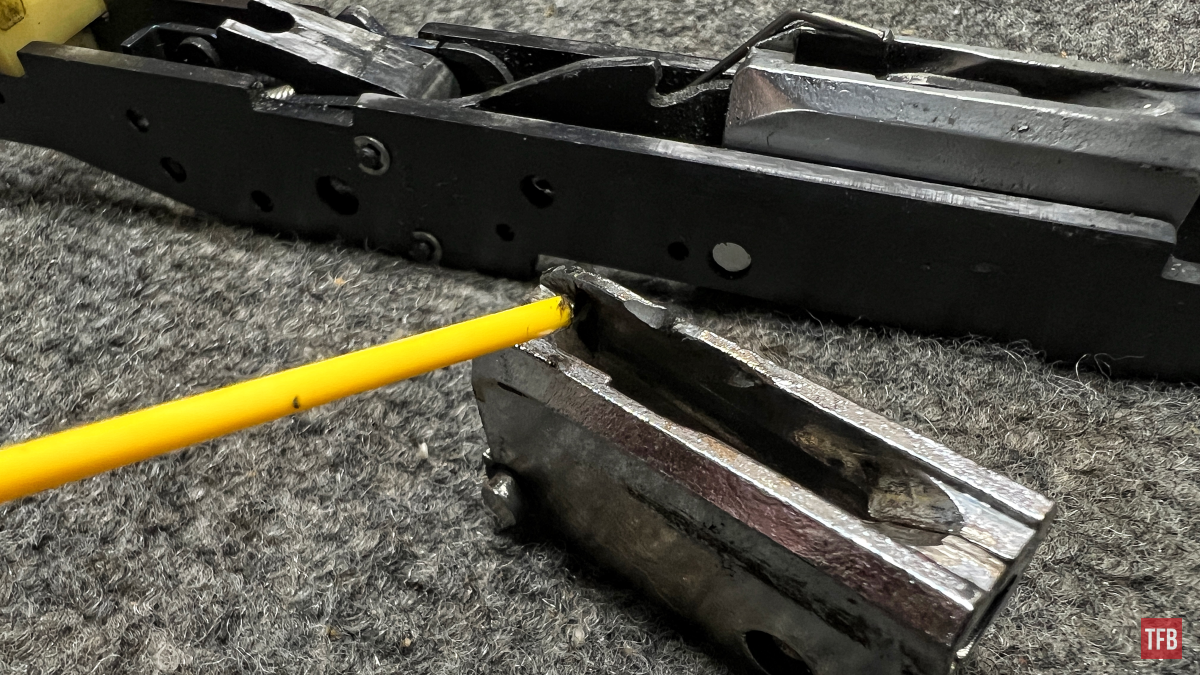
The old-school ejector glued back on
The Solution: Fixing My Dad’s Marlin Model 60
So what was my solution? Find a new old part. Shouldn’t be hard right? Wrong. They stopped making that style of feed throat by the mid-1980s for the same reason. They were cast pieces of junk that could not hold up. So, on the new old part front, I was out of luck. My next step was looking into what they replaced it with and the solution is sort of silly in that it works and it probably should not.

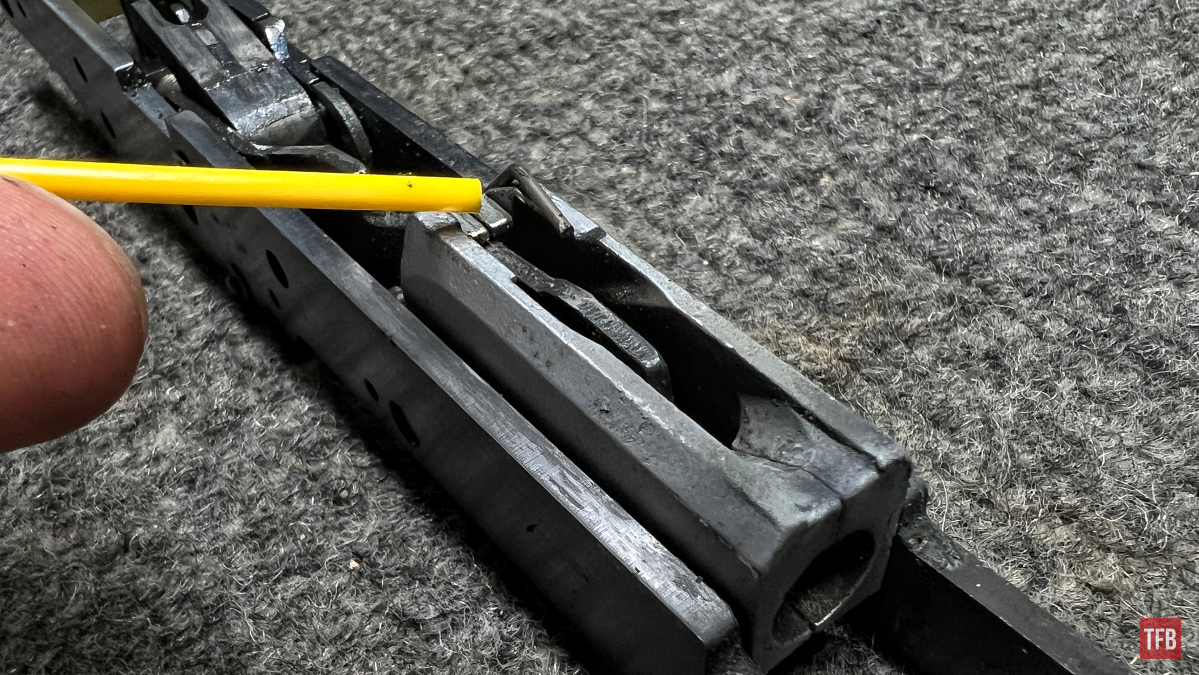
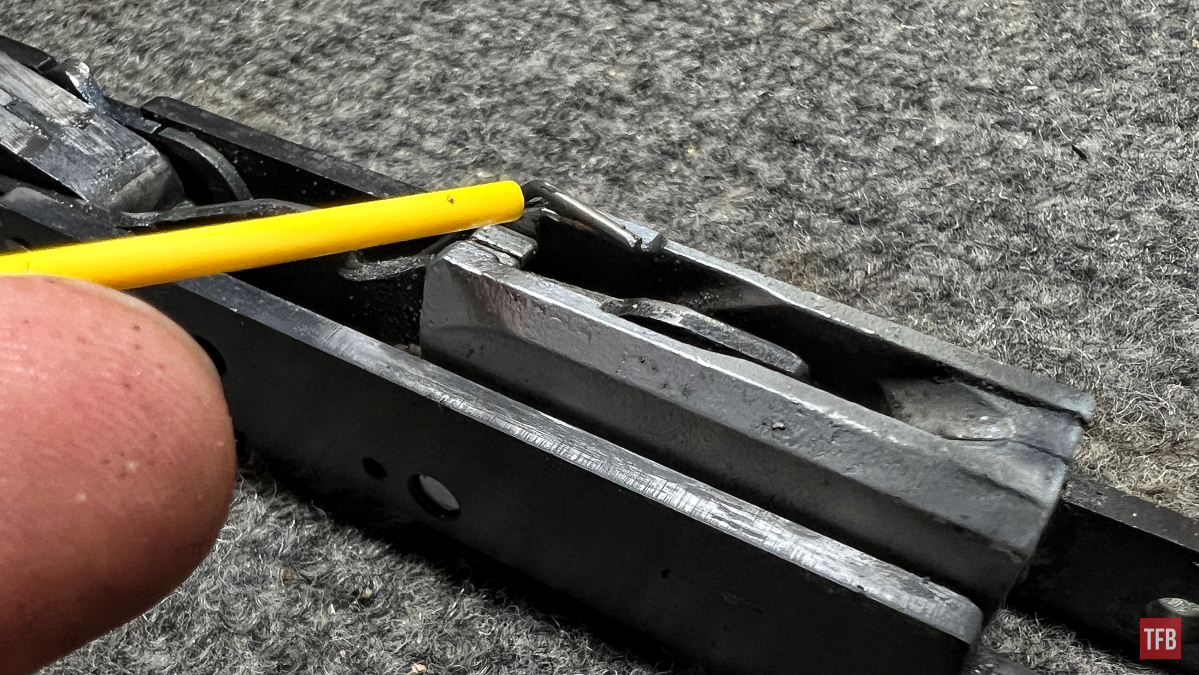
Newer Marlin Model 60 Rifles will have a one-piece solid feed throat
More recently manufactured Marlin Model 60 rifles have a feed throat that has a small groove carved in where the fixed ejector would have been. The groove is parallel with the receiver (in other words it points to the chamber). In this groove lays the tail of a spring which the engineer who designed it gave two jobs for increased efficiency. One tail provides tension to the cartridge lifter while the other end sits solid in the groove and its tail end of the tail…(I don’t know how else to say that) protrudes enough to impact an extracted cartridge and fling it out of the action.
Before going ahead and buying a new feed throat, I wanted to test this form of ejector in the gun. It should be noted that I wanted to do this because some of these feed throats have a different amount of studs on the body to index with points on the assembly plates. Before I went through any effort or money buying and modifying a newer feed throat I wanted to see how well this would work.
Before anyone says this step was a waste of time I should say it took me five minutes to make and another five to install and test. The solution I came up with was to fashion a paperclip into the approximate size and shape of actual lifter/ejector springs. Of course, it did not have any spring tension, but I could orient it so that the old spring operating the lifter could still be there with my paperclip proxy ejector.
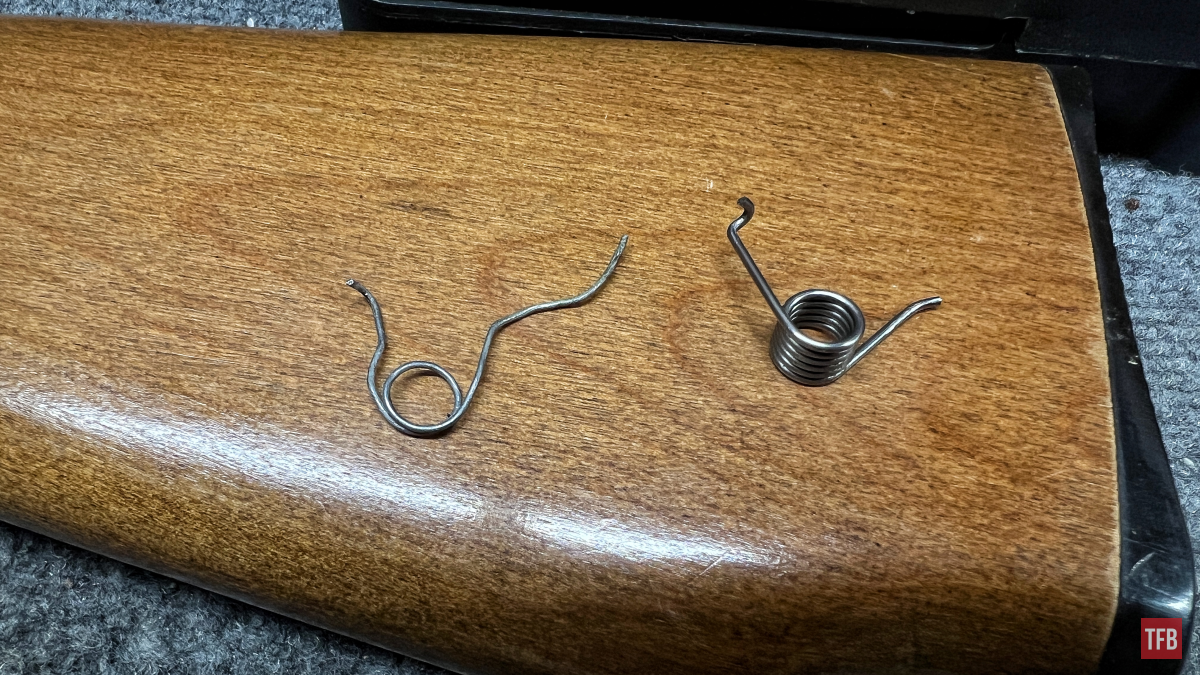
I kept my original paperclip ejector for the nostalgia
On Father’s Day that year, I gave my dad a handful of 22 shells and told him to test it out. I had only previously tried it with two or three shots to see if it would kick them out properly. The words “it works” and the smile on his face are one of those gratifying moments that I’ll keep with me forever.
Final Thoughts
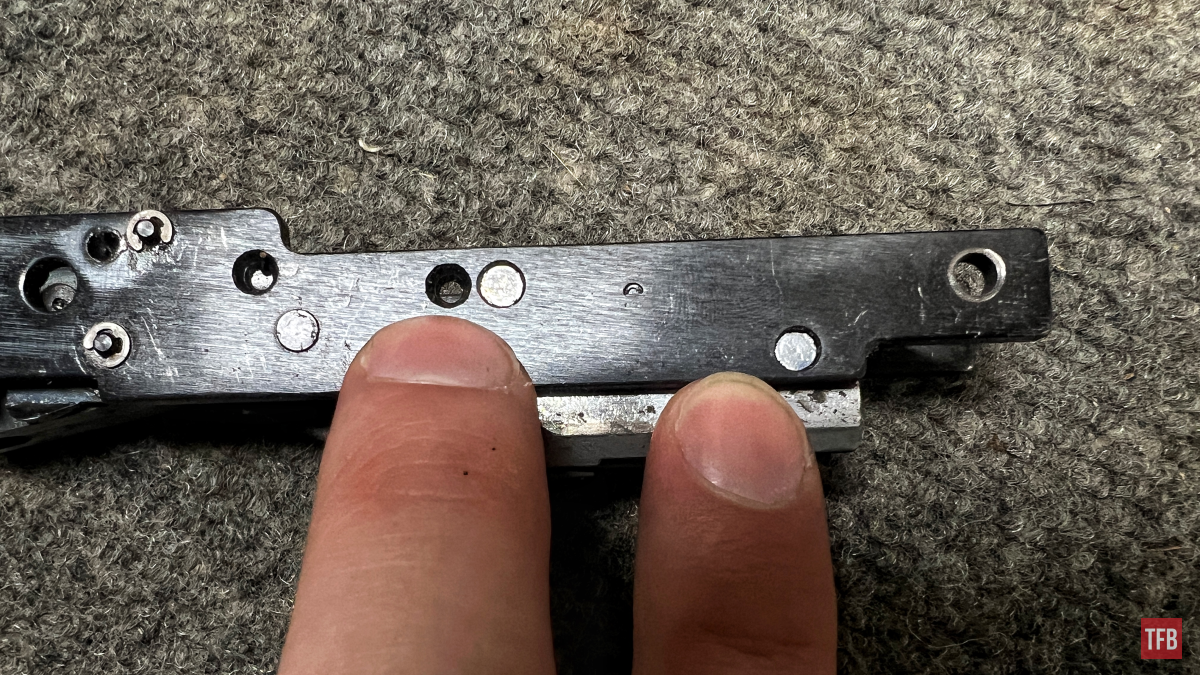
In the end, I found a transitional feed throat of sorts. My father’s Marlin’s feed throat has three studs on it in total that intersect with corresponding holes in the assembly plates. One on one side and two on the other.
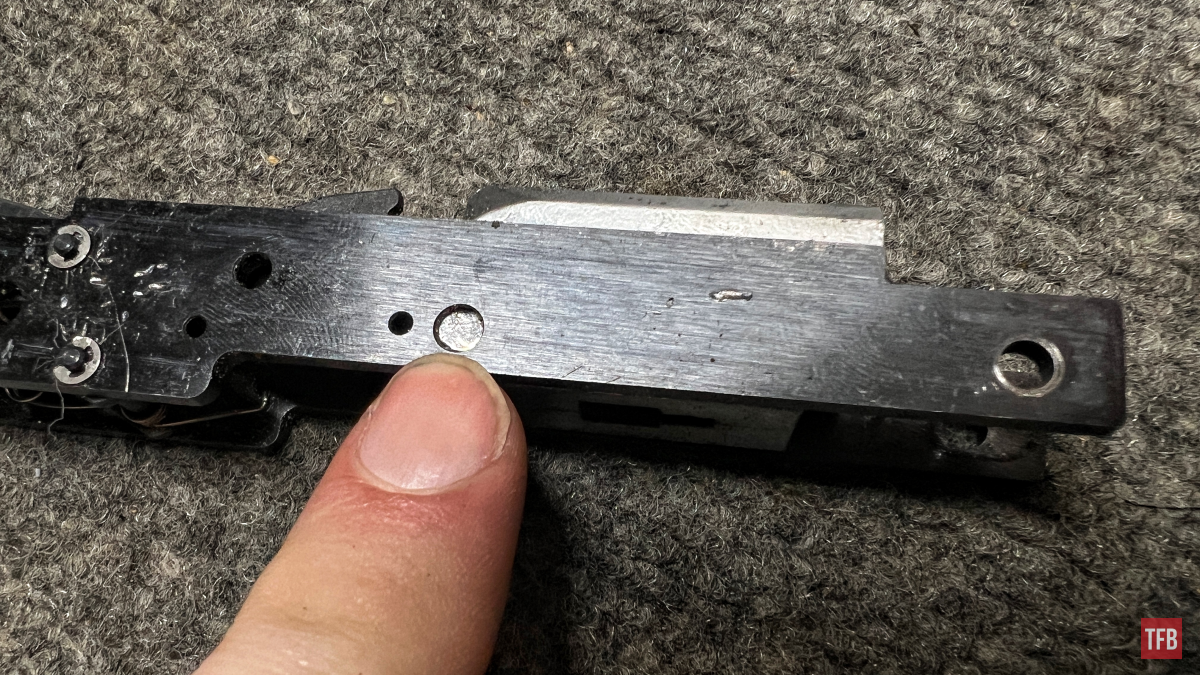
Nowadays they will have four. I was lucky enough to find a transitional sort of feed throat that had three total studs but also had the built-in cast groove for the ejector.
If someone found themselves in the same predicament they could get the four stud ones and file the right one off like I had planned to. I also purchased the lifter/ejector spring because it would take me forever to make one (I have never been much good at getting springs right quickly).
Hopefully, this was not too much of a departure, or at the very least it was a welcome temporary one from your usual program. See you folks again eventually! As always, thank you for stopping by to read The Rimfire Report and we’ll see you all next week!