 Your Privacy Choices
Last week on Friday Night Lights, we took a look at how to photograph night vision. I hope that was helpful to you. This week we take a look at an assortment of beacons but we will focus on the Steiner thermal beacon. A little caveat, while these are thermal beacons they do not work well with your run-of-the-mill LWIR thermal devices. I will explain, so keep reading.
Thermal @ TFB:
- Friday Night Lights: Does Thermal Camo Work?
- Friday Night Lights: InfiRay T2 Pro – Smartphone Thermal Sensor
- Friday Night Lights: SAFRAN JIM LR – Cooled Thermal Biocular LRF
Helmet Mounted Beacon

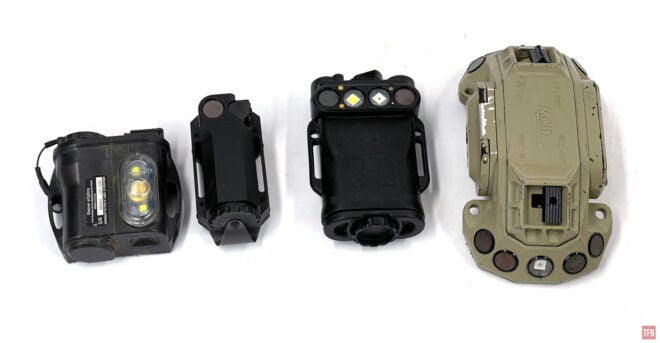
Steiner makes a Helmet Mounted Beacon (HMB) but it is not a thermal beacon. The HMB is a triple-wavelength beacon. It has emitters for VIS, NIR (850 nm), and SWIR (1550 nm). 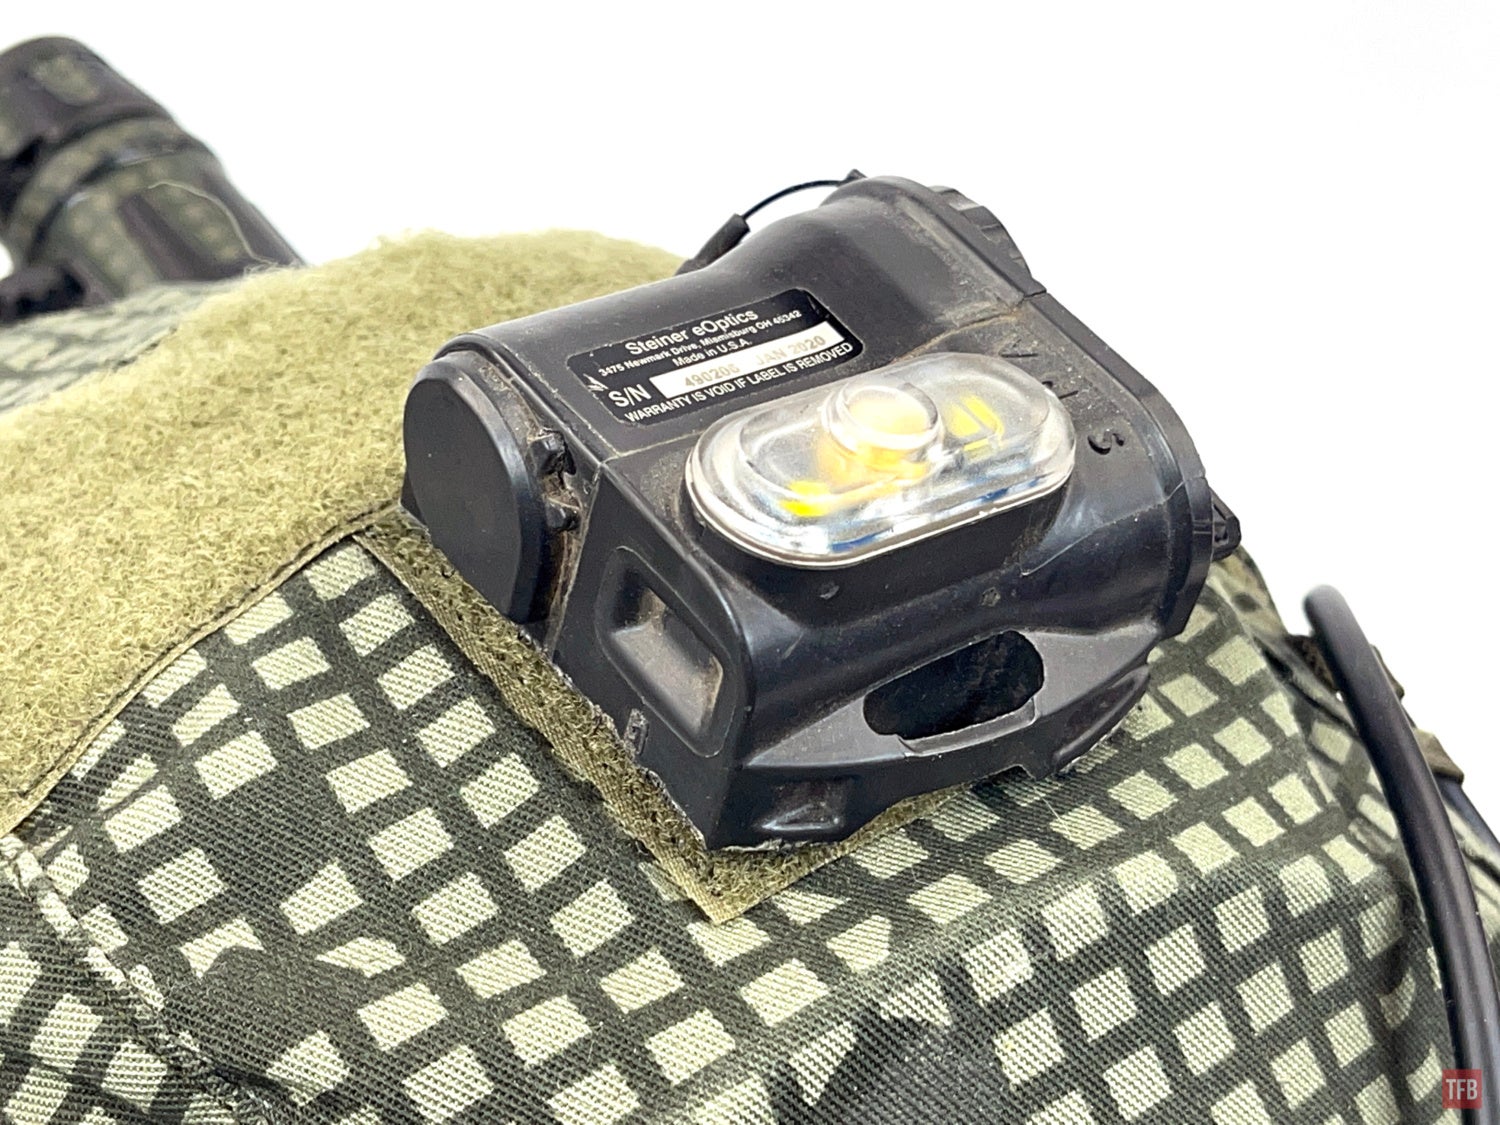
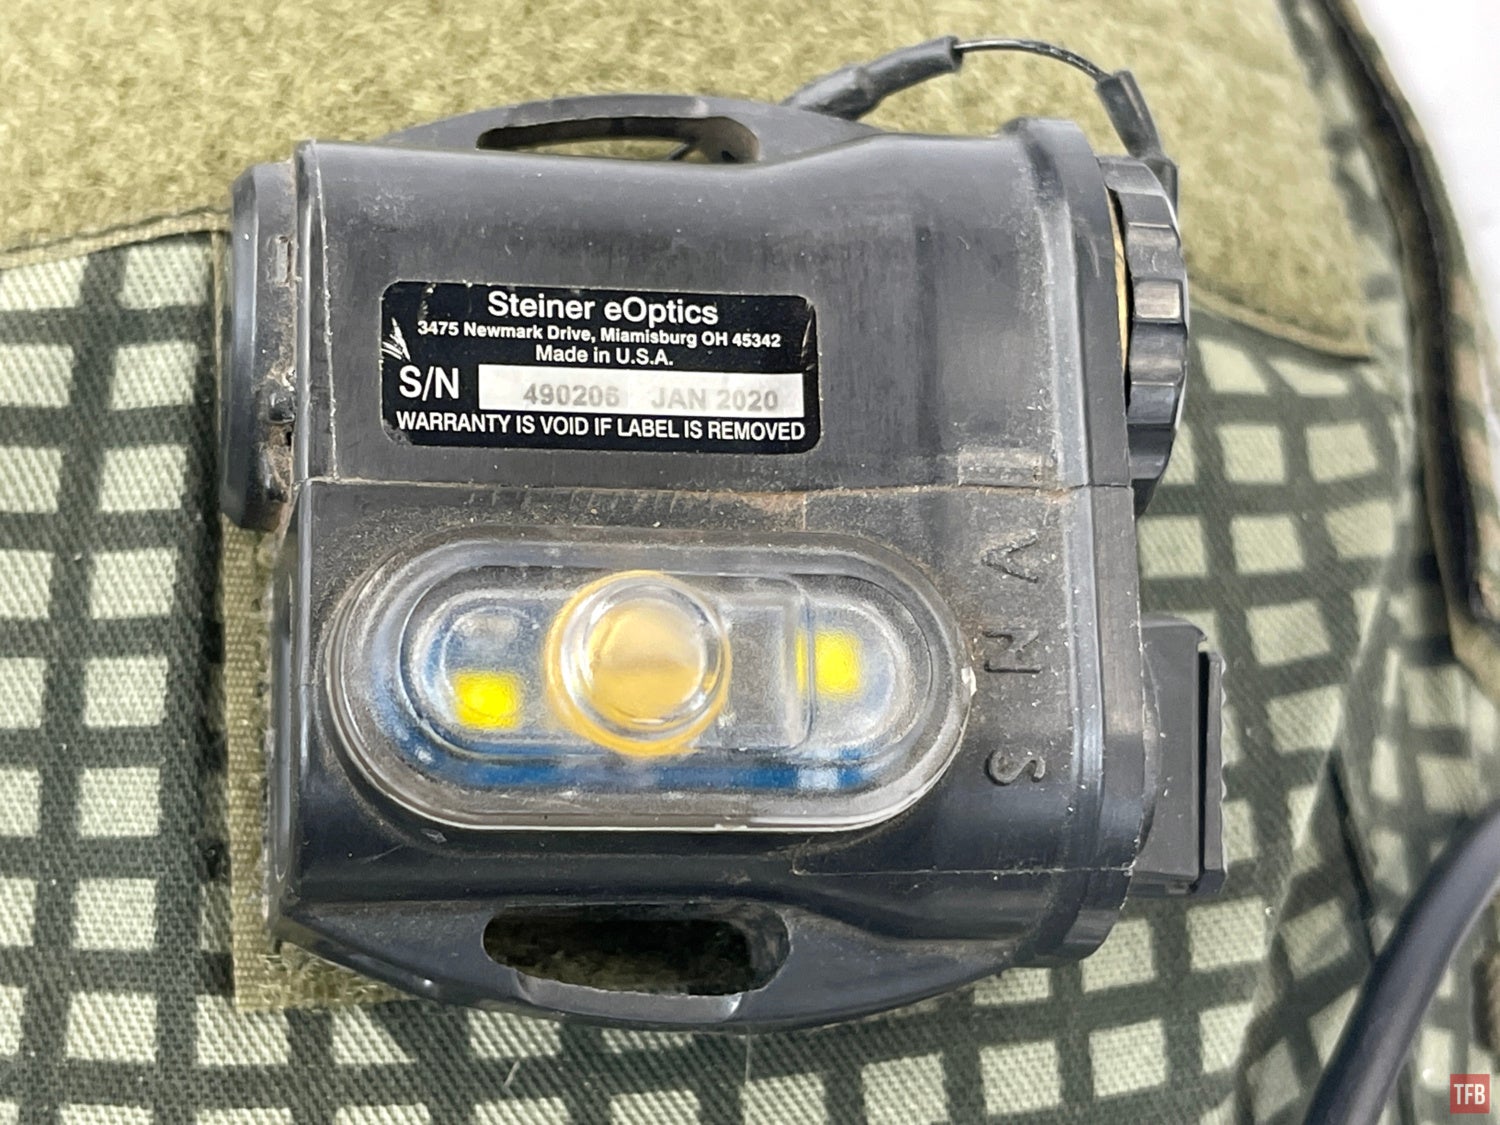
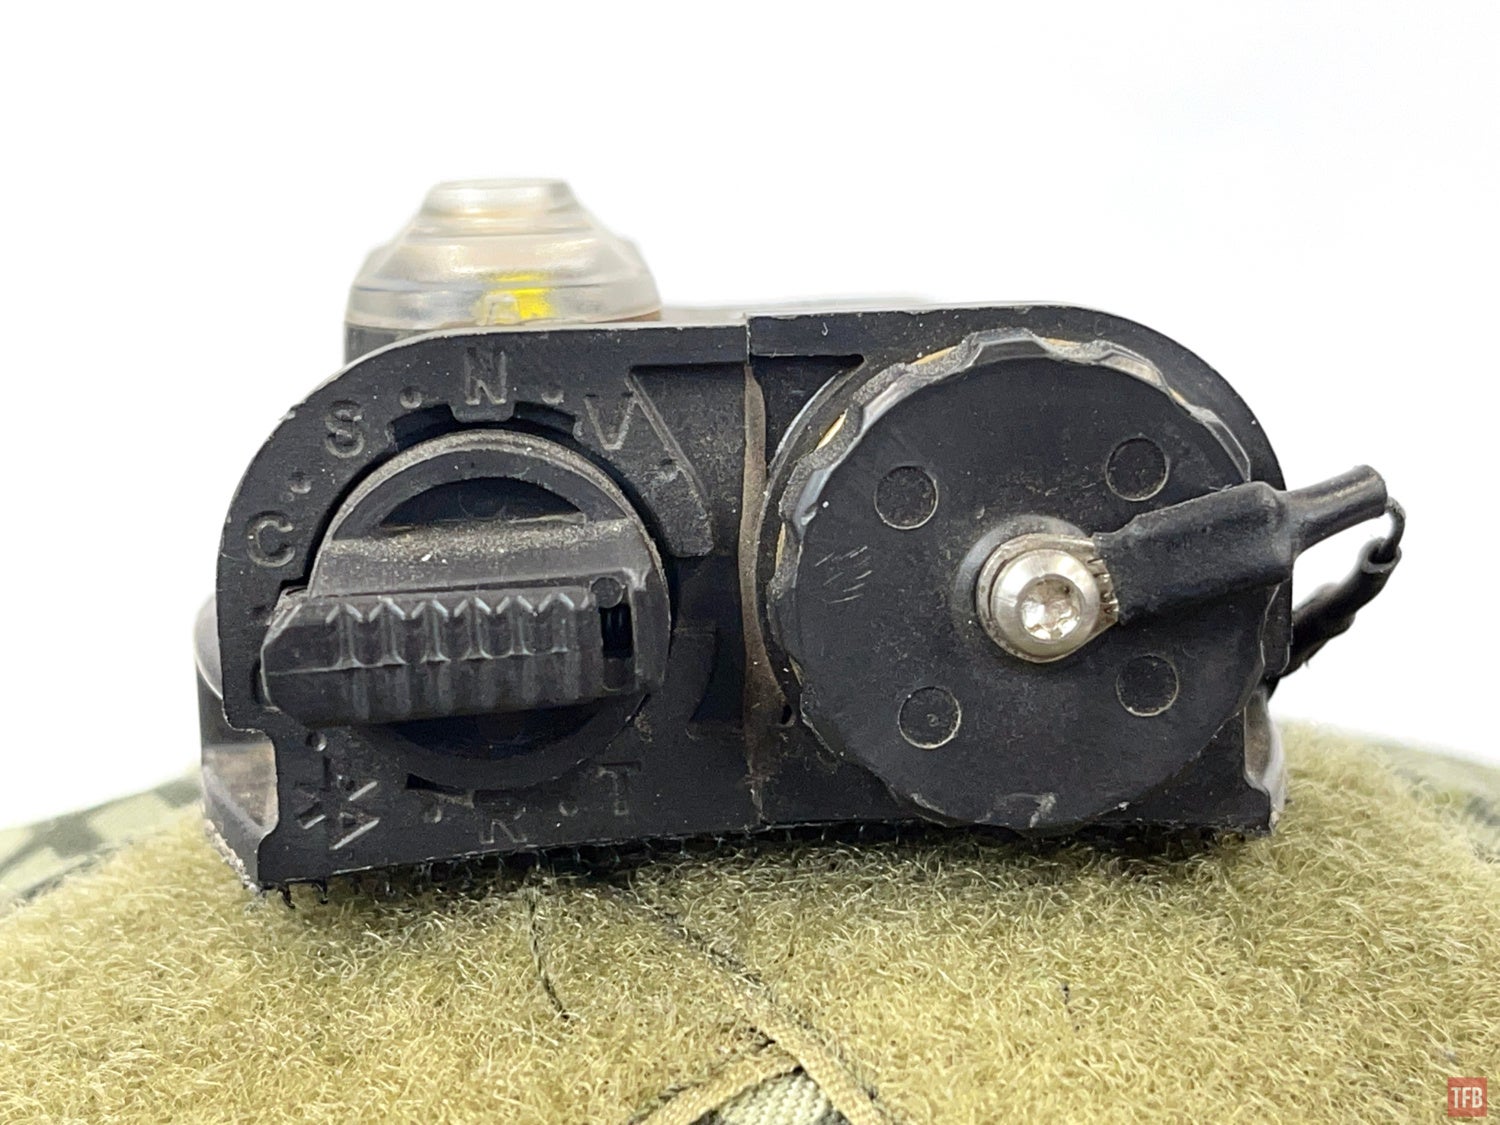
The Steiner HMB is pretty straightforward. It is powered by a single CR123 and has a rotary switch. You have to depress the sliding tab to unlock the switch so it can be rotated. The first position is SWIR. One cool feature of the HMB is that it has vibration for SWIR and NIR modes so you know it is activated without looking.
SWIR is at 1550 nm. This is far outside analog night vision. Even Photonis image intensifiers cannot see this and they can see up to 1100 nm. You can read about out-of-band in my previous article. Full spectrum digital cameras can see up to 1400 nm and they can see this SWIR beacon but it is a faint pink light. Sort of like your smartphone looking at an NIR 850nm light.
Steiner Thermal Beacon
Steiner is one of only two companies that I know that manufacture thermal beacons. However “thermal beacon” is misleading. Not all thermal is equal. Steiner’s thermal beacons operate in the MWIR wavelength, not the LWIR wavelength. MWIR is 3,000 nm – 5,000 nm while LWIR is 8,000 nm – 12,000 nm. However, I have noticed that these thermal beacons do show up a bit under LWIR devices but you have to be within 20 feet to see it. If you are further away, it is hard to see the thermal beacon under LWIR. With a MWIR cooled thermal device, you can see thermal beacons hundreds of yards away.
North Star Beacon
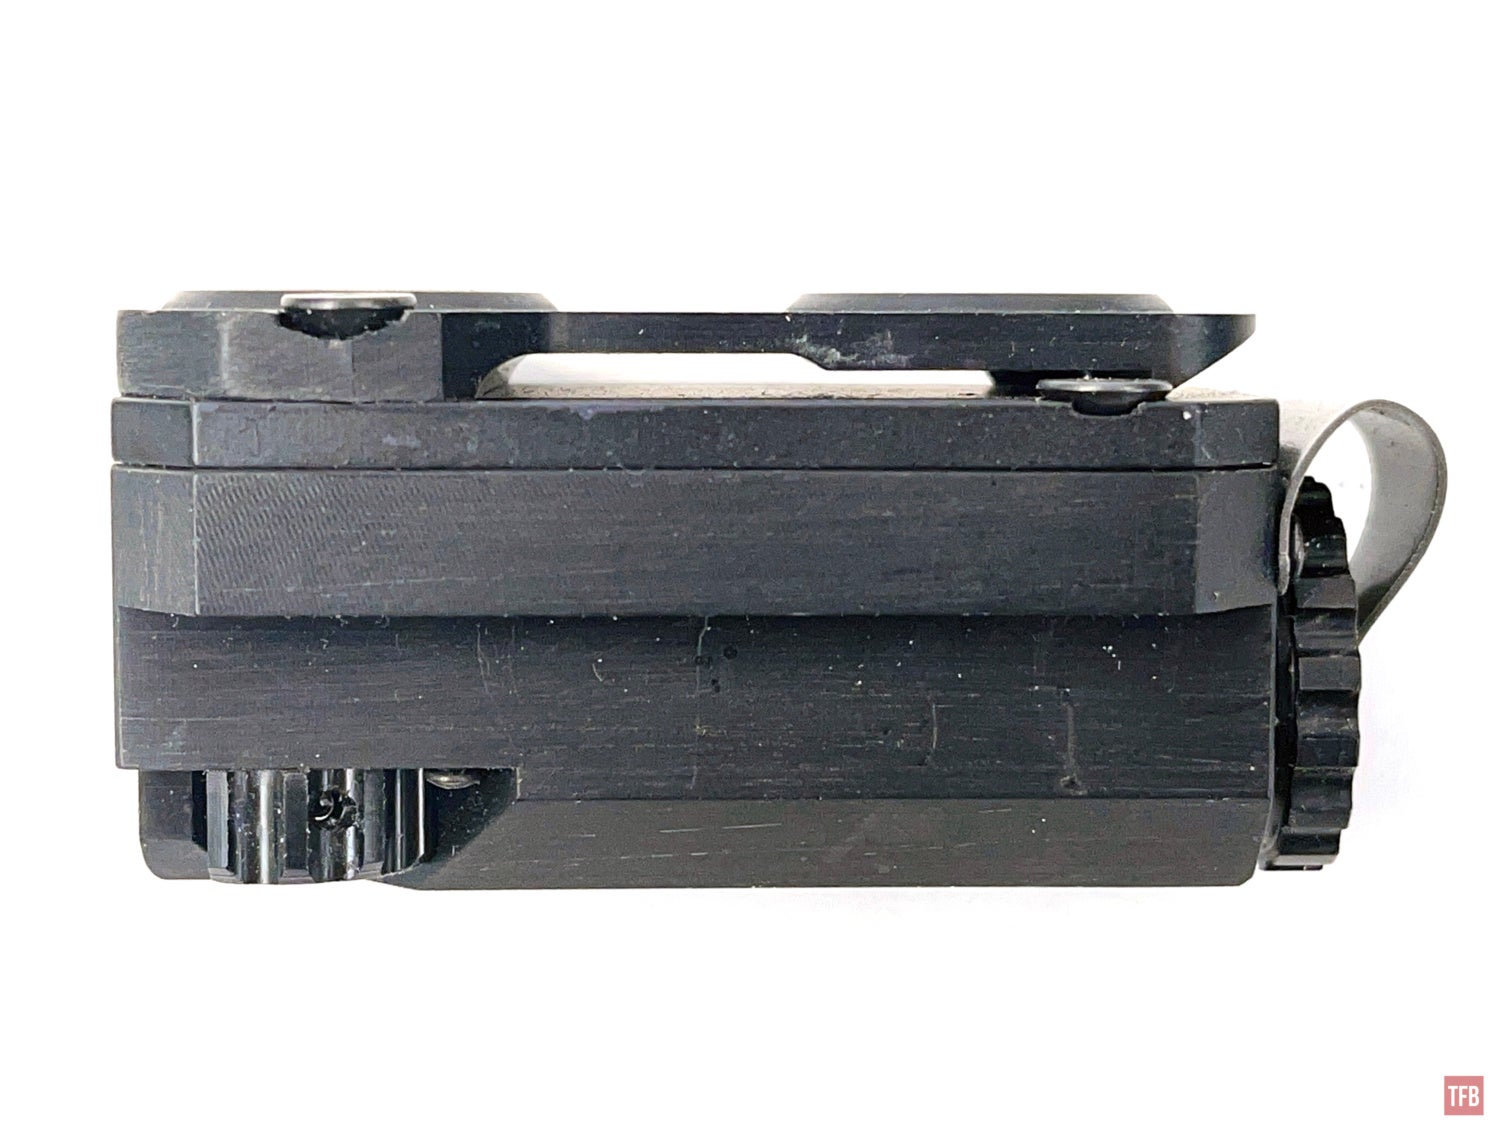
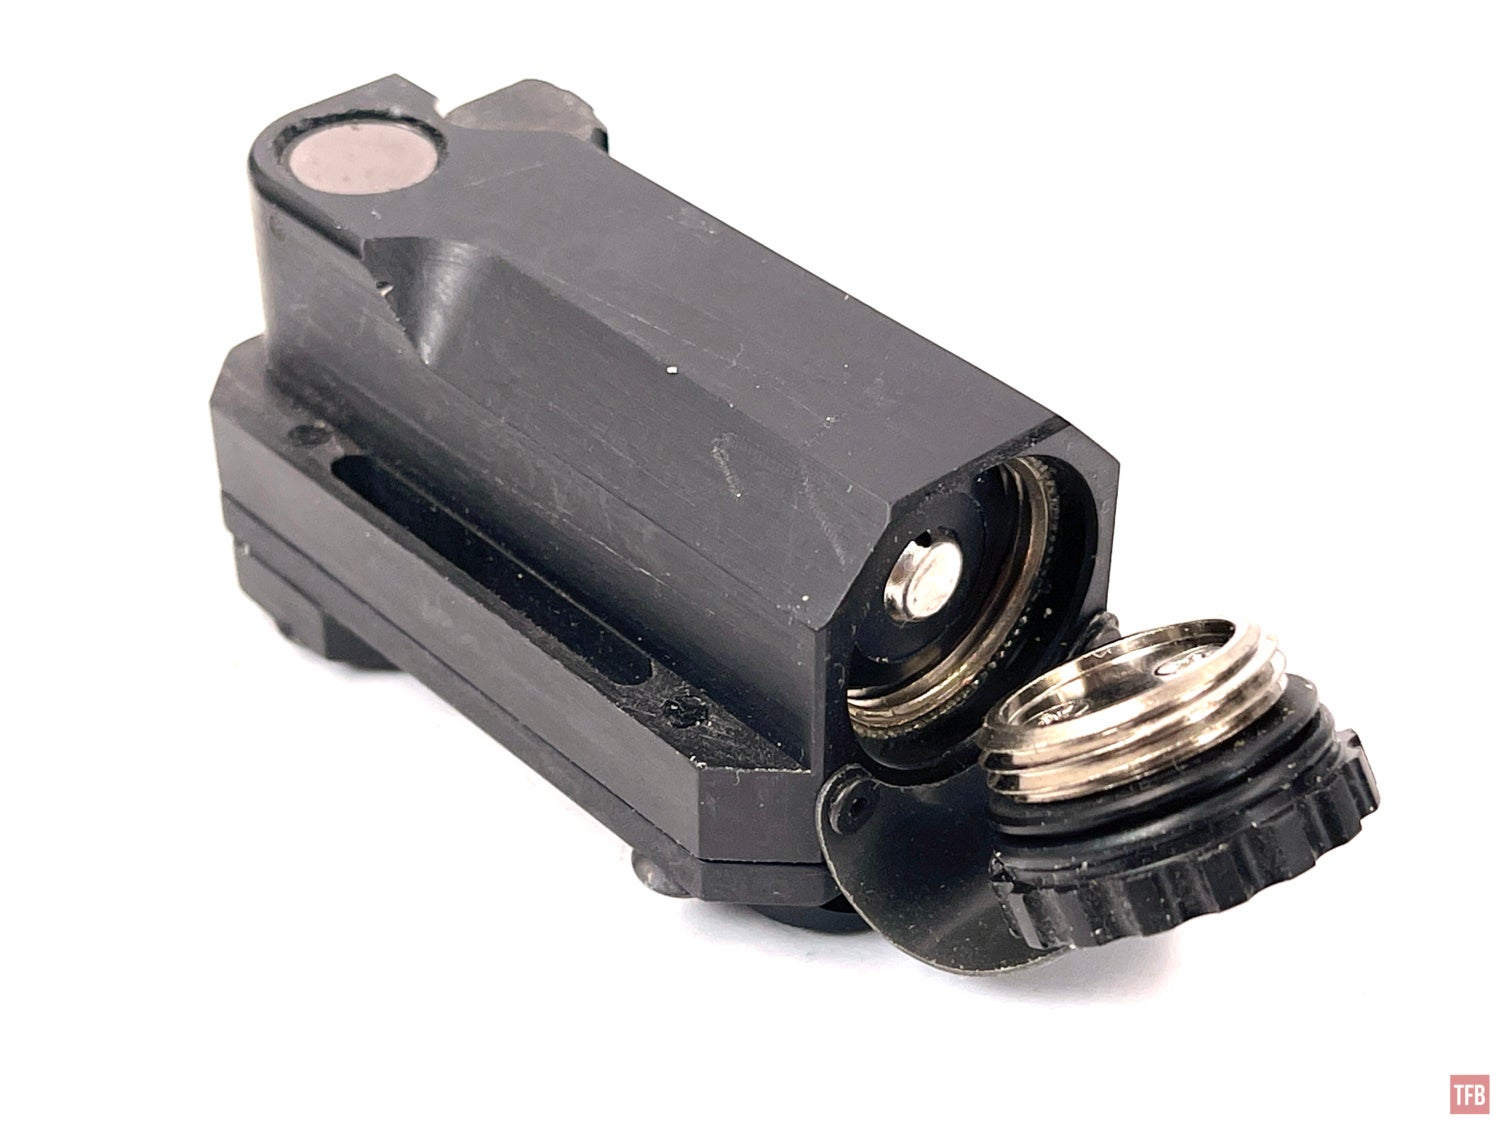
The first Steiner thermal beacon is called the North Star Beacon. It is a single-element MWIR thermal beacon. It is powered by a single CR123 and has a simple switch. Rotate it counterclockwise and a small indicator LED turns on to let you know the beacon is on. After some time it turns off and the beacon continues to strobe.

The North Star thermal beacon has a robust pocket clip that fits MOLLE/PALS webbing. Recessed into the pocket clip are two large neodymium magnets so you can attach the thermal beacon to a metal surface like a vehicle.

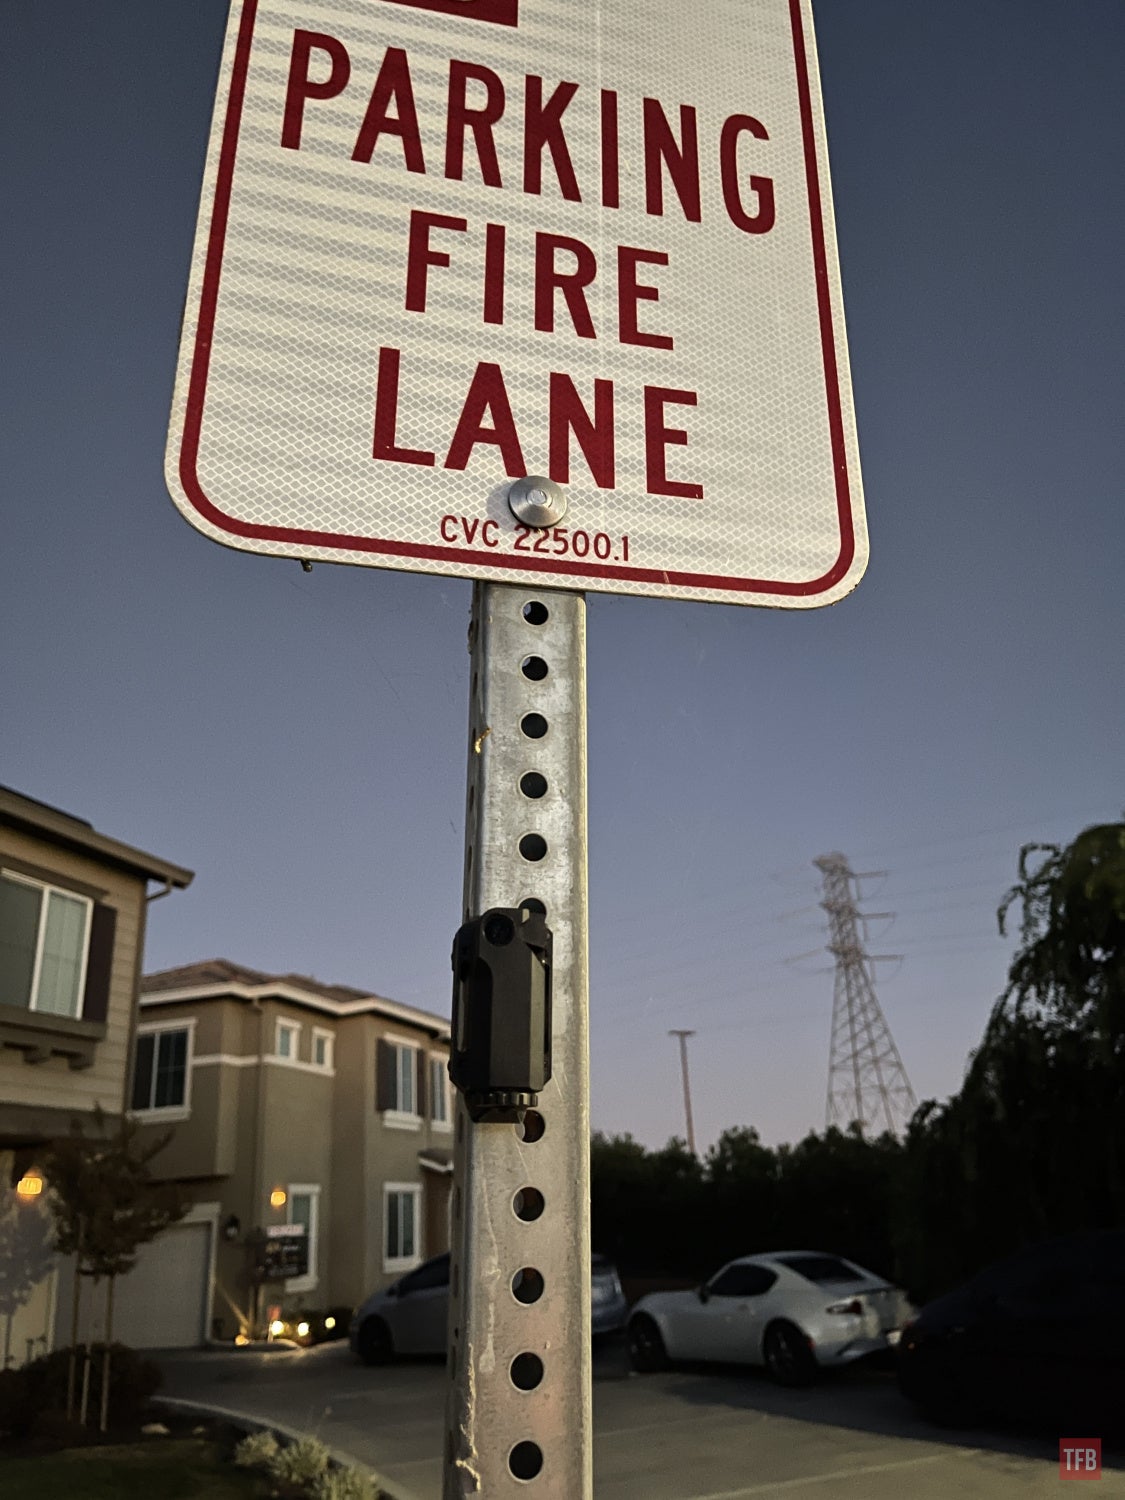
Here is a sample video of the JIM LR but I used the North Star thermal beacon in this video. I was able to see the beacon 682 yards away and the emitter lens is 11mm wide or .43 inches wide.
Nova Beacon

The Nova Beacon, like the North Star, is configurable on a manufacturer level. Steiner offers them with VIS, NIR and SWIR like the HMB or this version with VIS, NIR and MWIR. They also made a version for Photonis with emitters that operate just outside of Gallium Arsenide Gen 3 analog night vision but can be picked up by Multi Alkali Gen 2+ night vision like Photonis tubes. This Nova Beacon is a thermal beacon. It has a lot more emitters than the North Star or HMB.
The Nova Beacon has a belt clip that also fits MOLLE/PALS webbing.

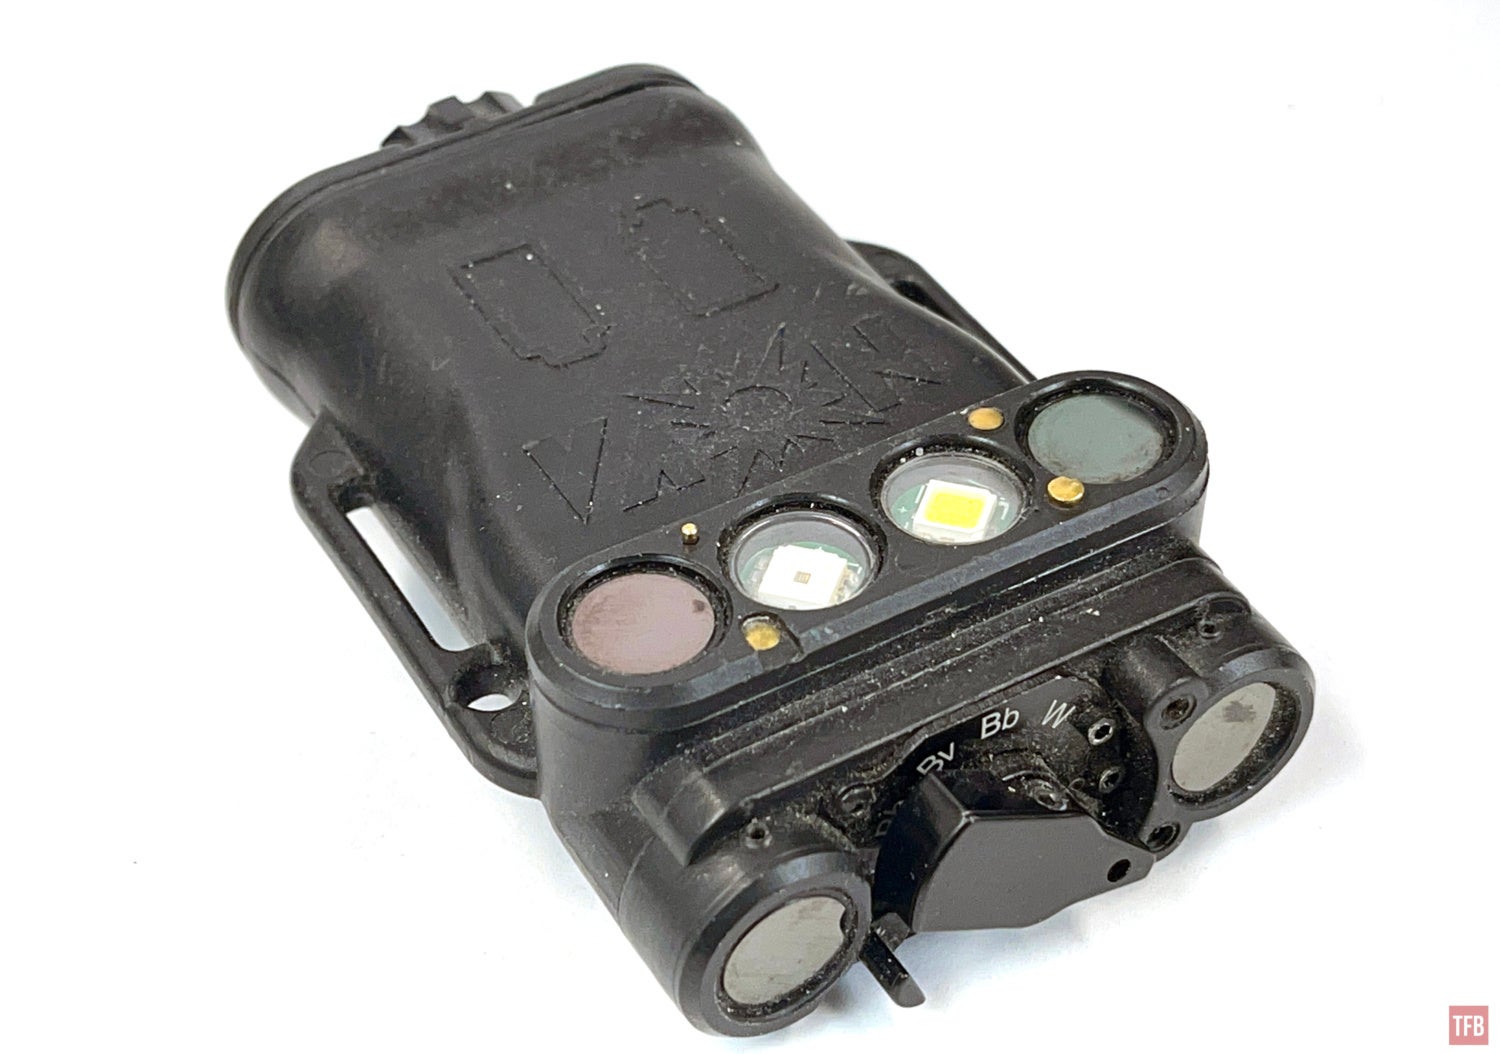
From this angle, you can see it has horizontal and vertical emitters. The front-facing horizontal emitters are MWIR on either side while the emitters in the middle are VIS and NIR (850nm). The twin vertically oriented emitters are also MWIR thermal.
The Nova thermal beacon is powered by two CR123 batteries.

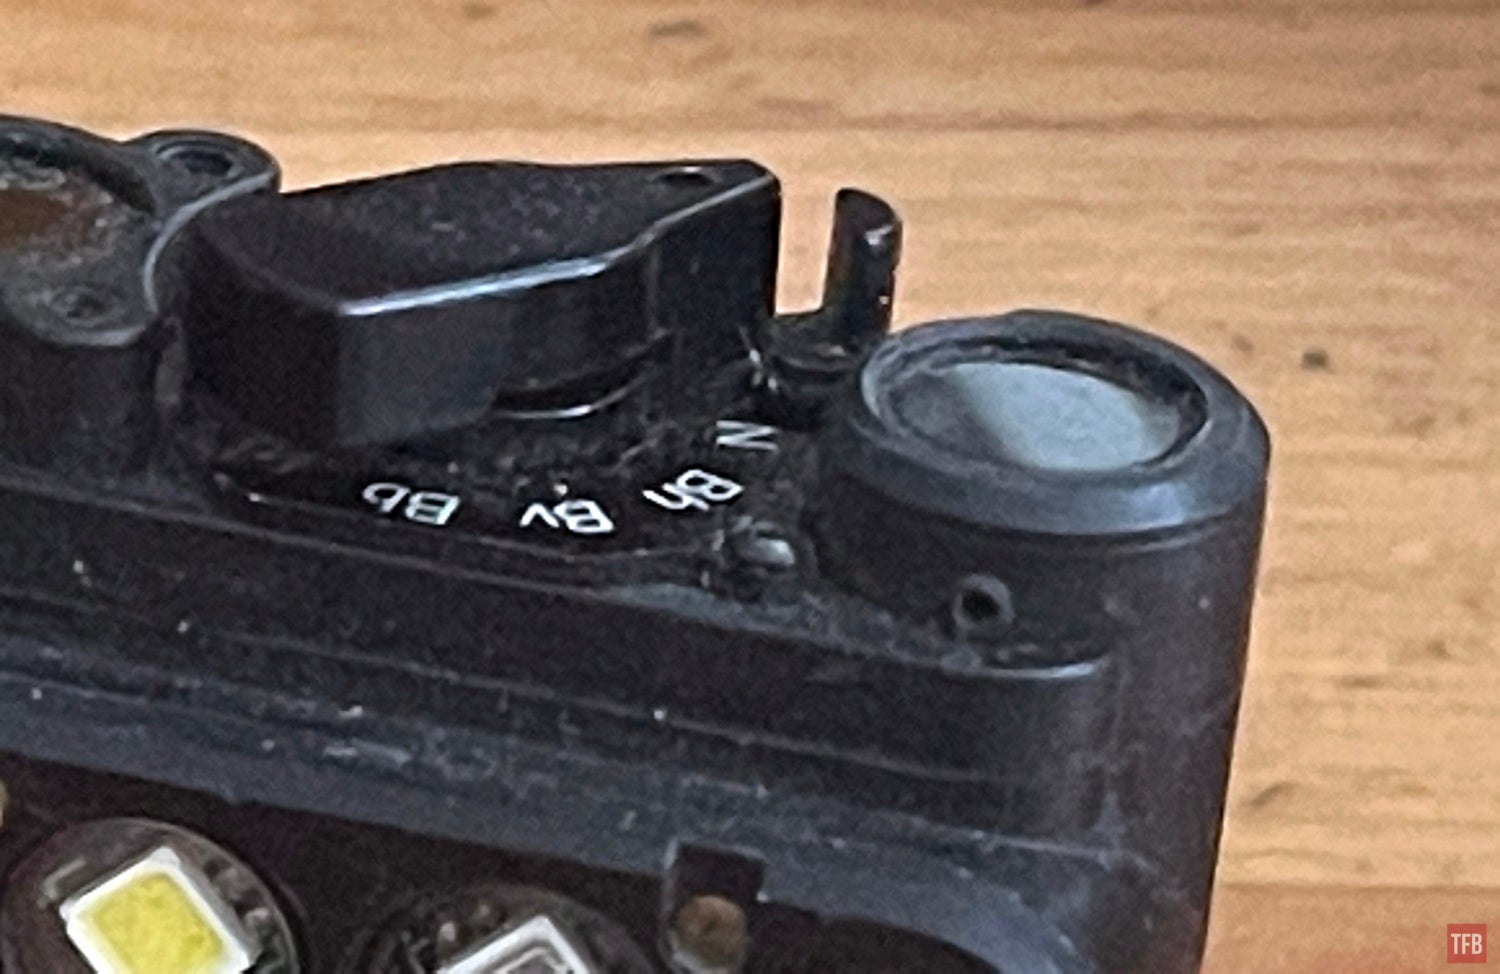
The Nova Beacon has a rotary selector switch. From this POV the 3 o’clock position is the OFF position, You rotate the switch clockwise starting with Th (Thermal Horizontal). Tv stands for (Thermal Vertical) and turns on the thermal emitters on either side of the switch. Tb (Thermal Both) means both the horizontal emitters and top emitters will simultaneously activate.
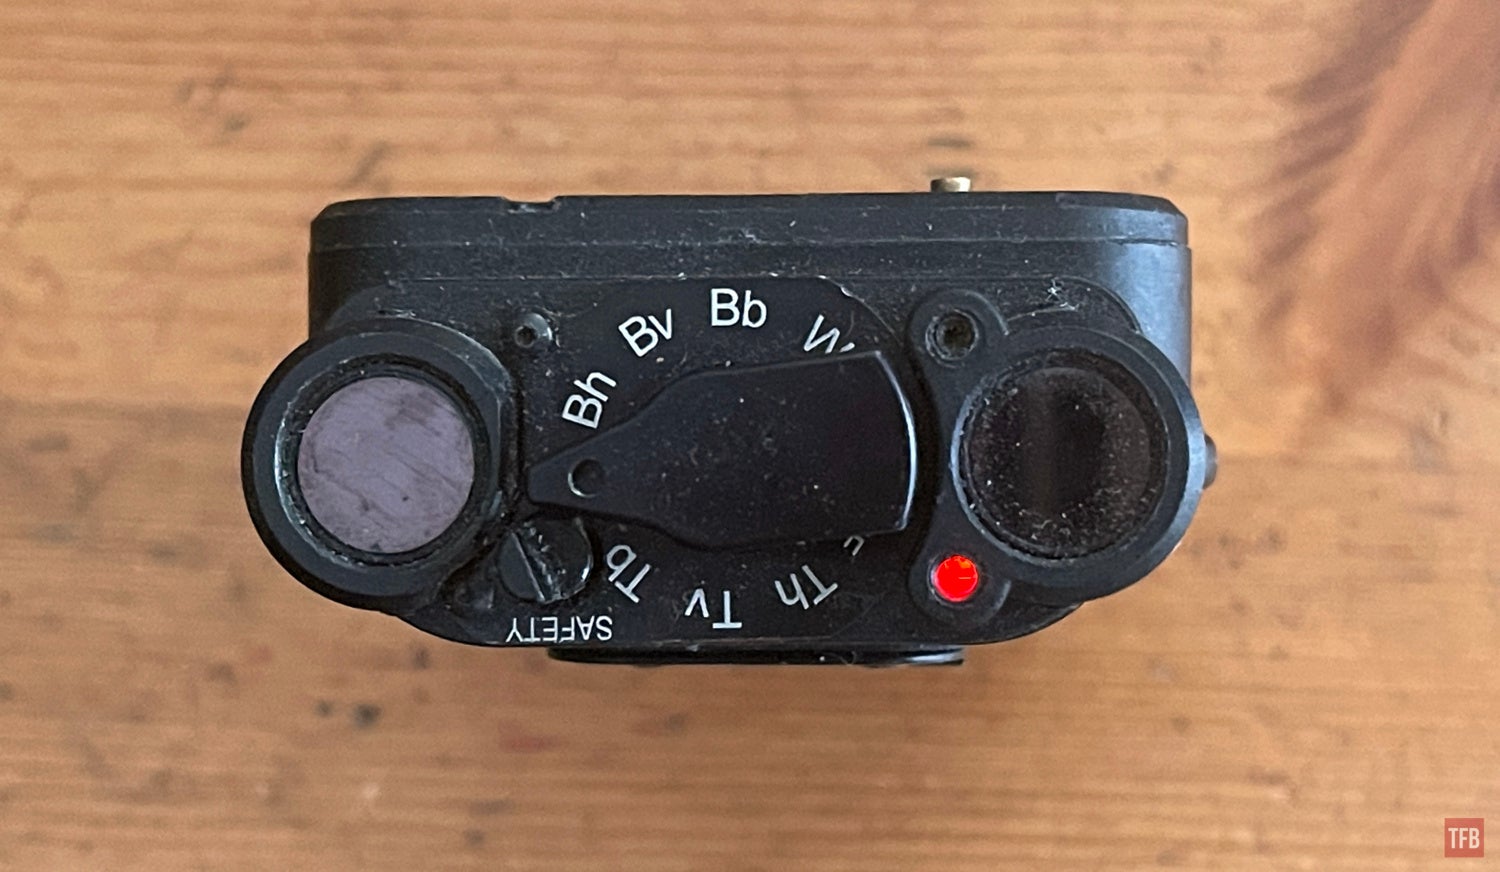
After Tb, there is a locking detent. You need to depress the detent down and the rotary switch will continue to rotate and the first position after the locking detent is the letter N for NIR. Next are Bh, Bv, and Bb. This strobes both the NIR and MWIR thermal beacons at the same time. Next is W for VIS white light strobe but you need to press the locking detent down for the switch to rotate over.
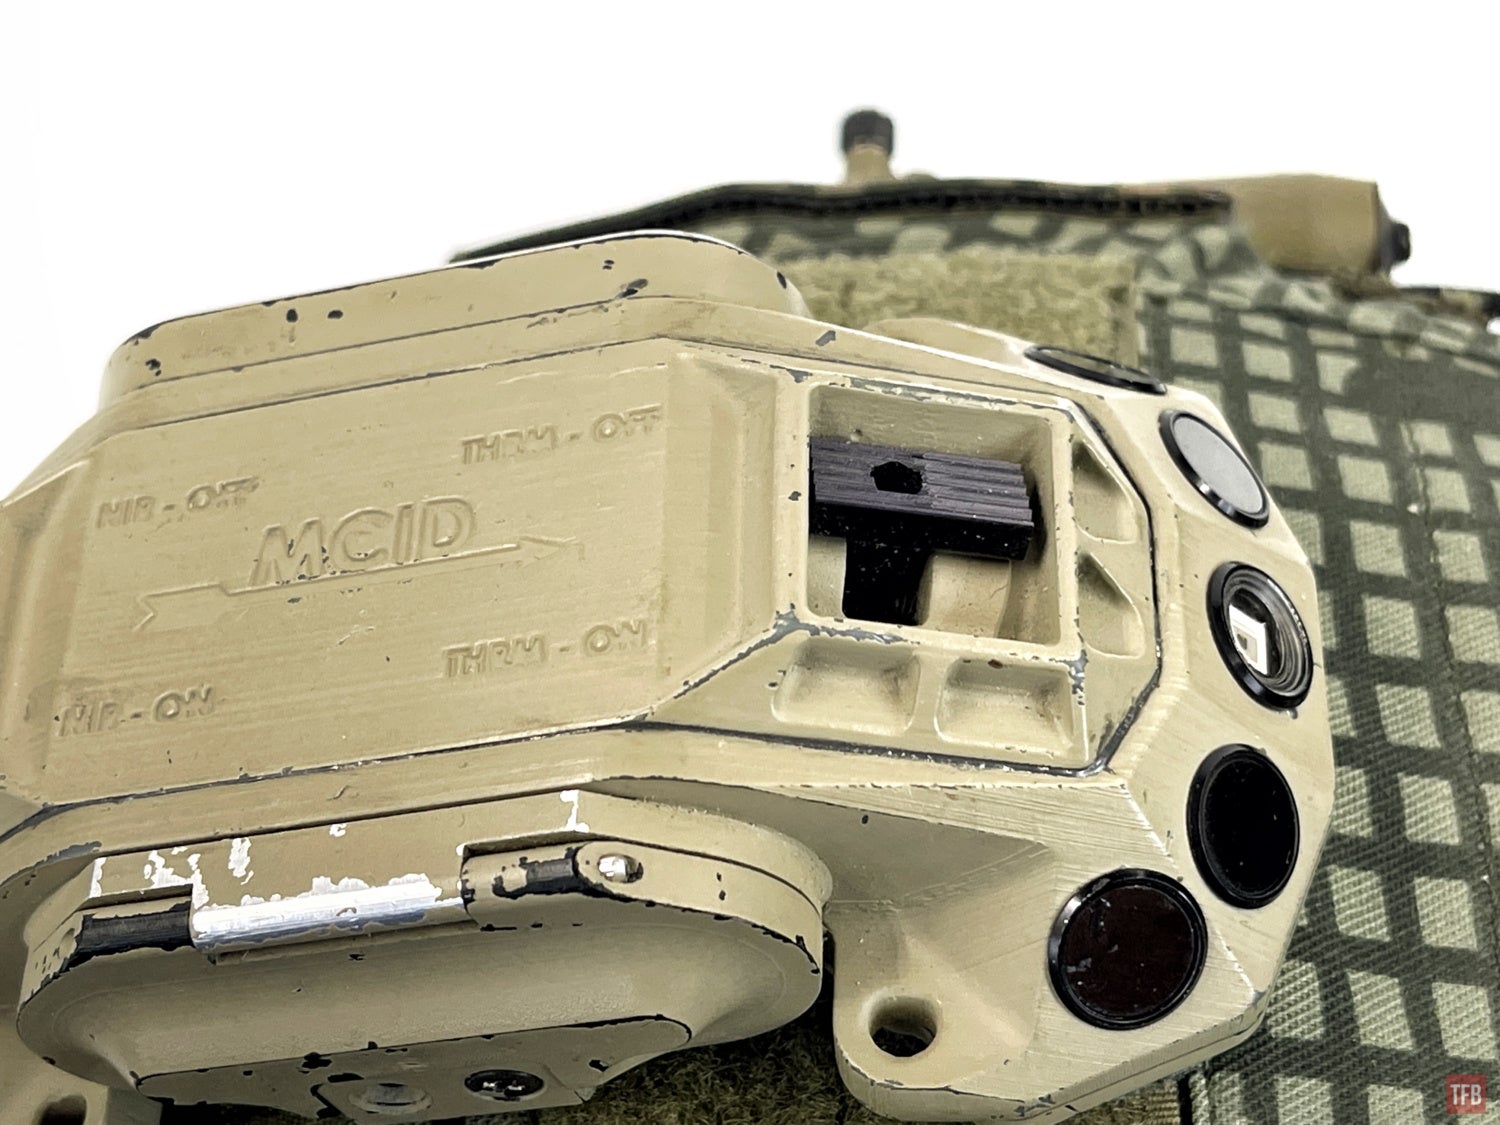
Steiner MCID Thermal Beacon
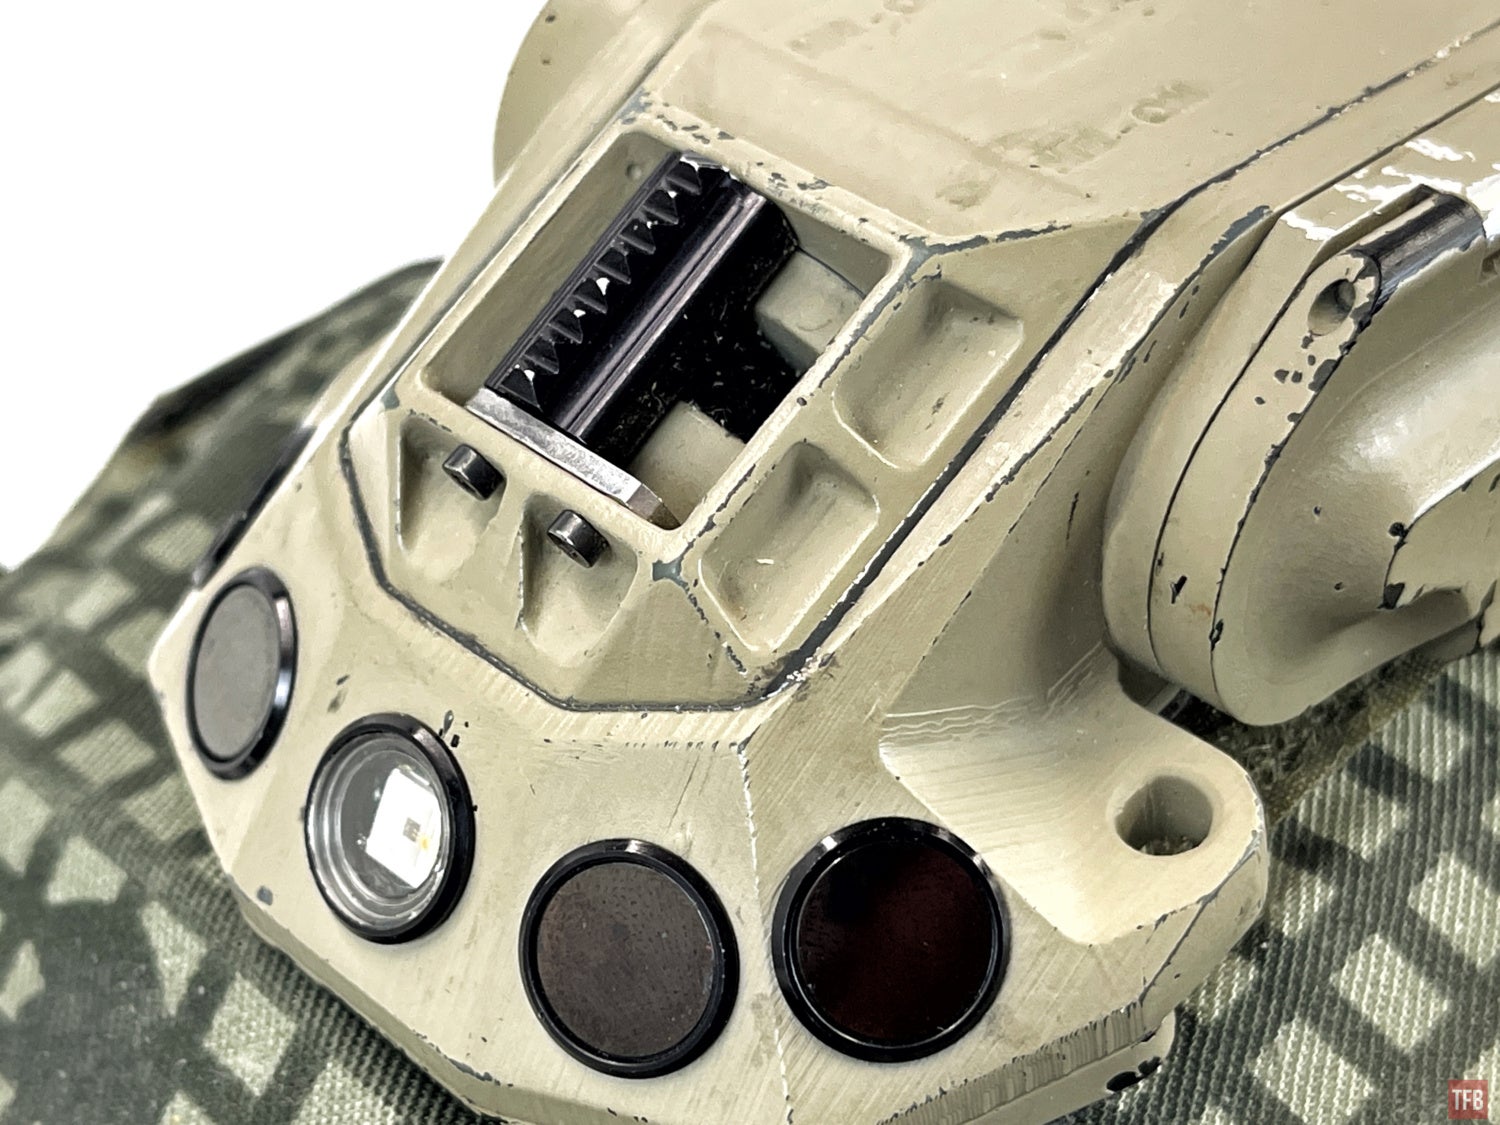
The MCID is a true helmet-mounted thermal beacon. And like the other beacons by Steiner, they offer it in a variety of different configurations. This one is NIR and MWIR. This MCID seems to be an older model and it only has twin NIR emitters, one on each end. It has eight MWIR beacons, four on each side. The MCID thermal beacon has a slight curve to it to hug the top of a ballistic helmet.
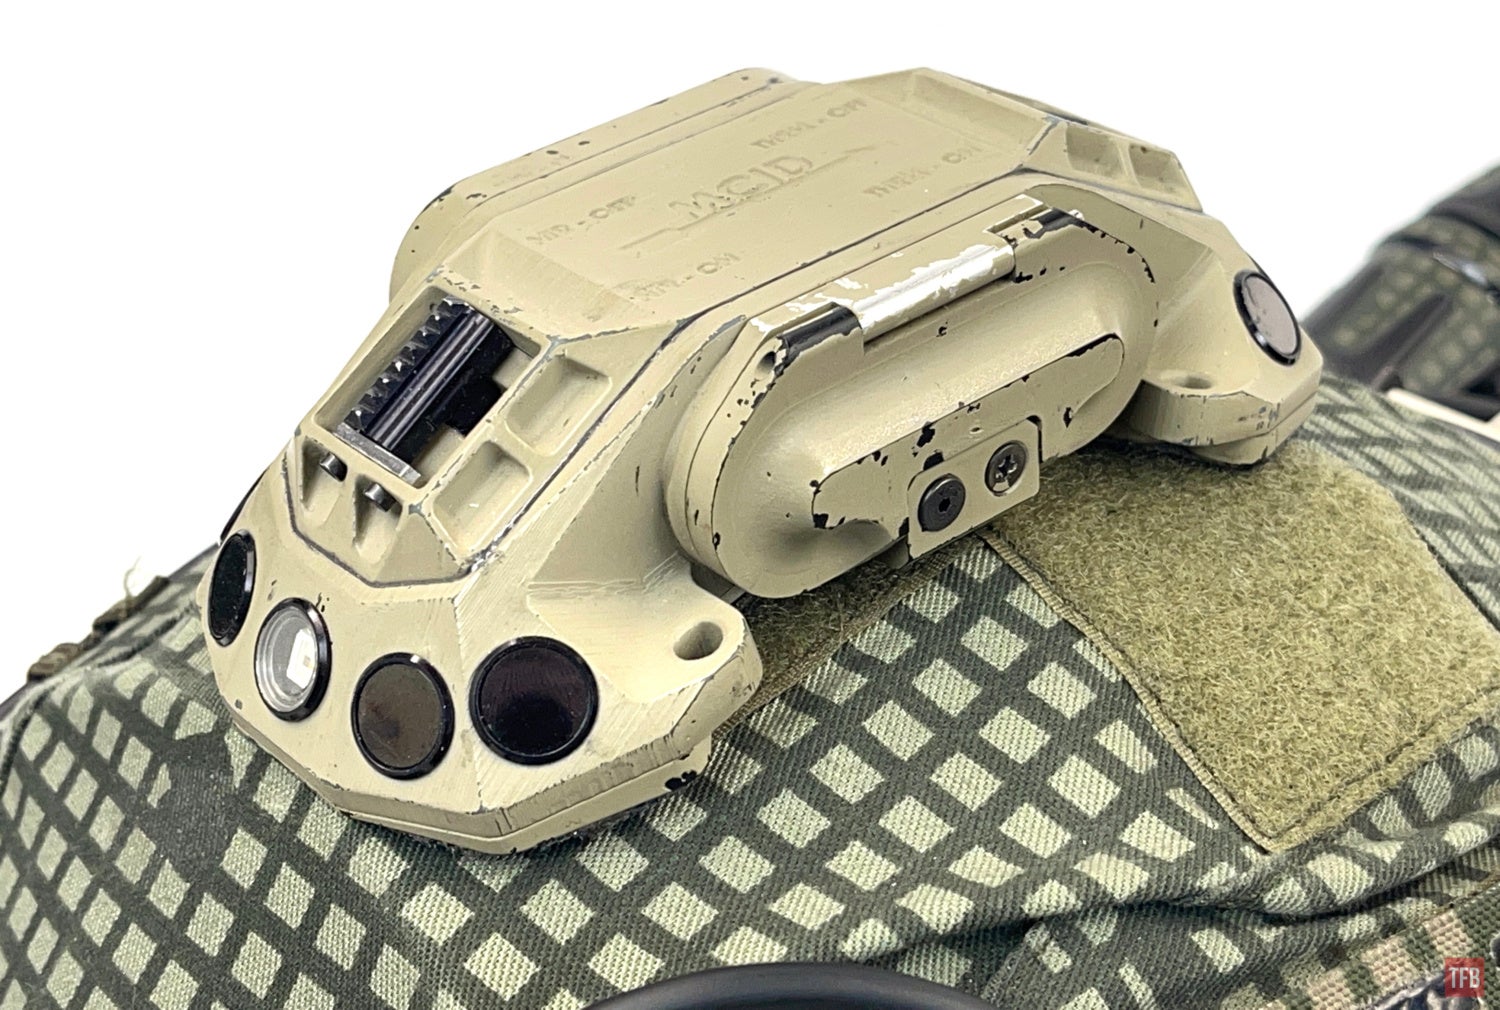

The MCID is a fairly straightforward setup. One rocker switch controls the NIR beacons while the other switch controls the MWIR thermal beacons.
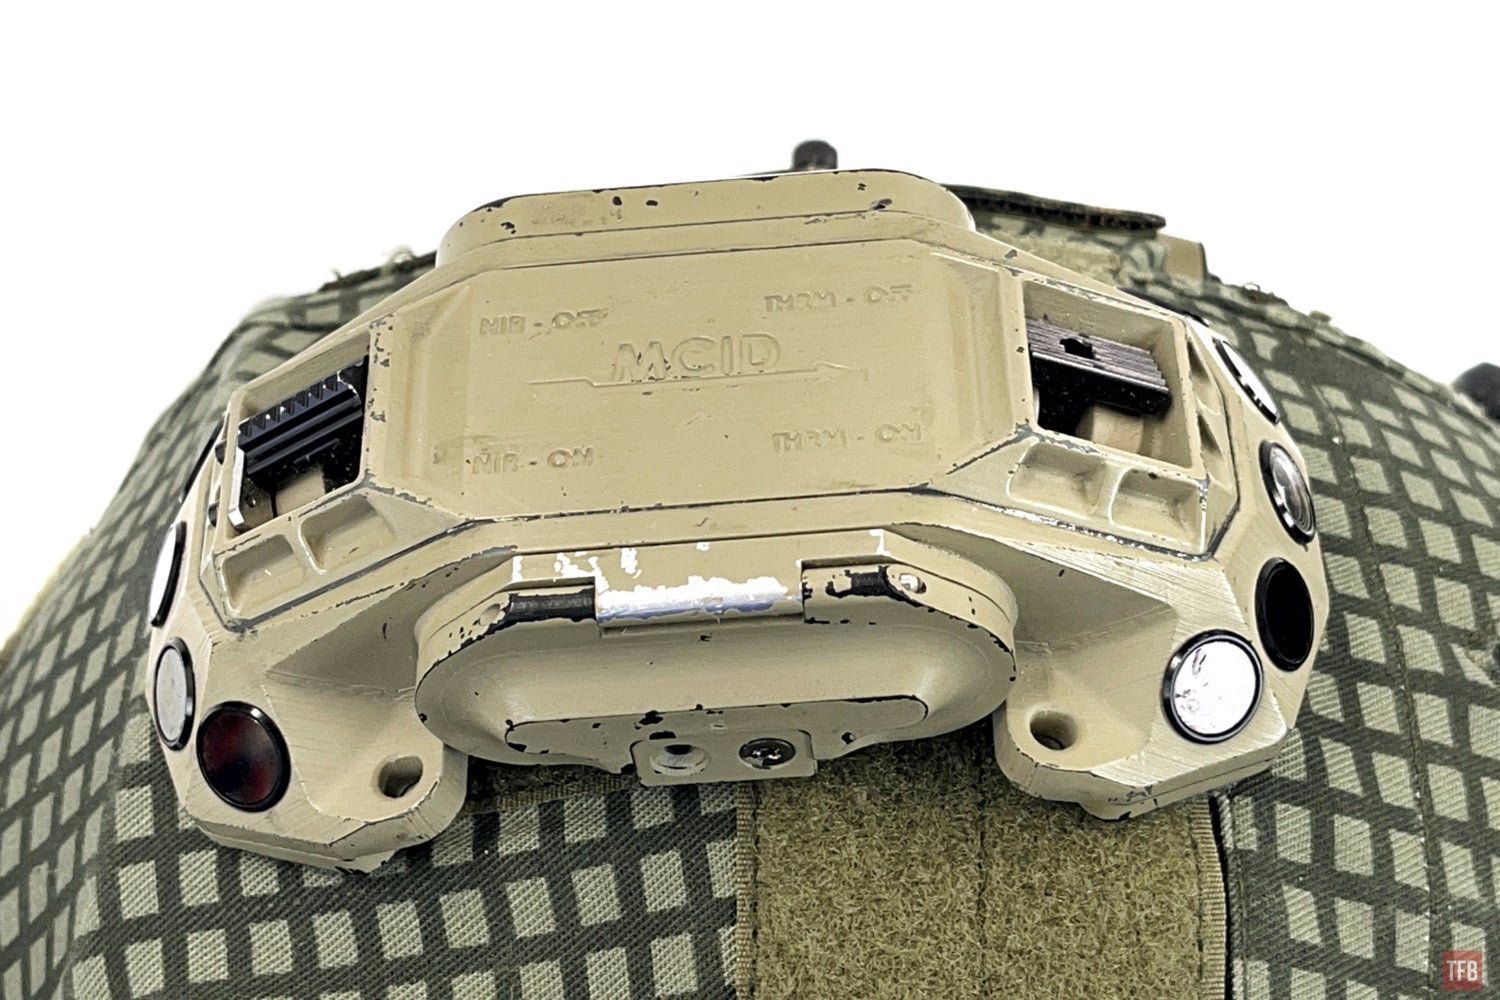
The thermal switch is simple, you rock it over to turn the device on.
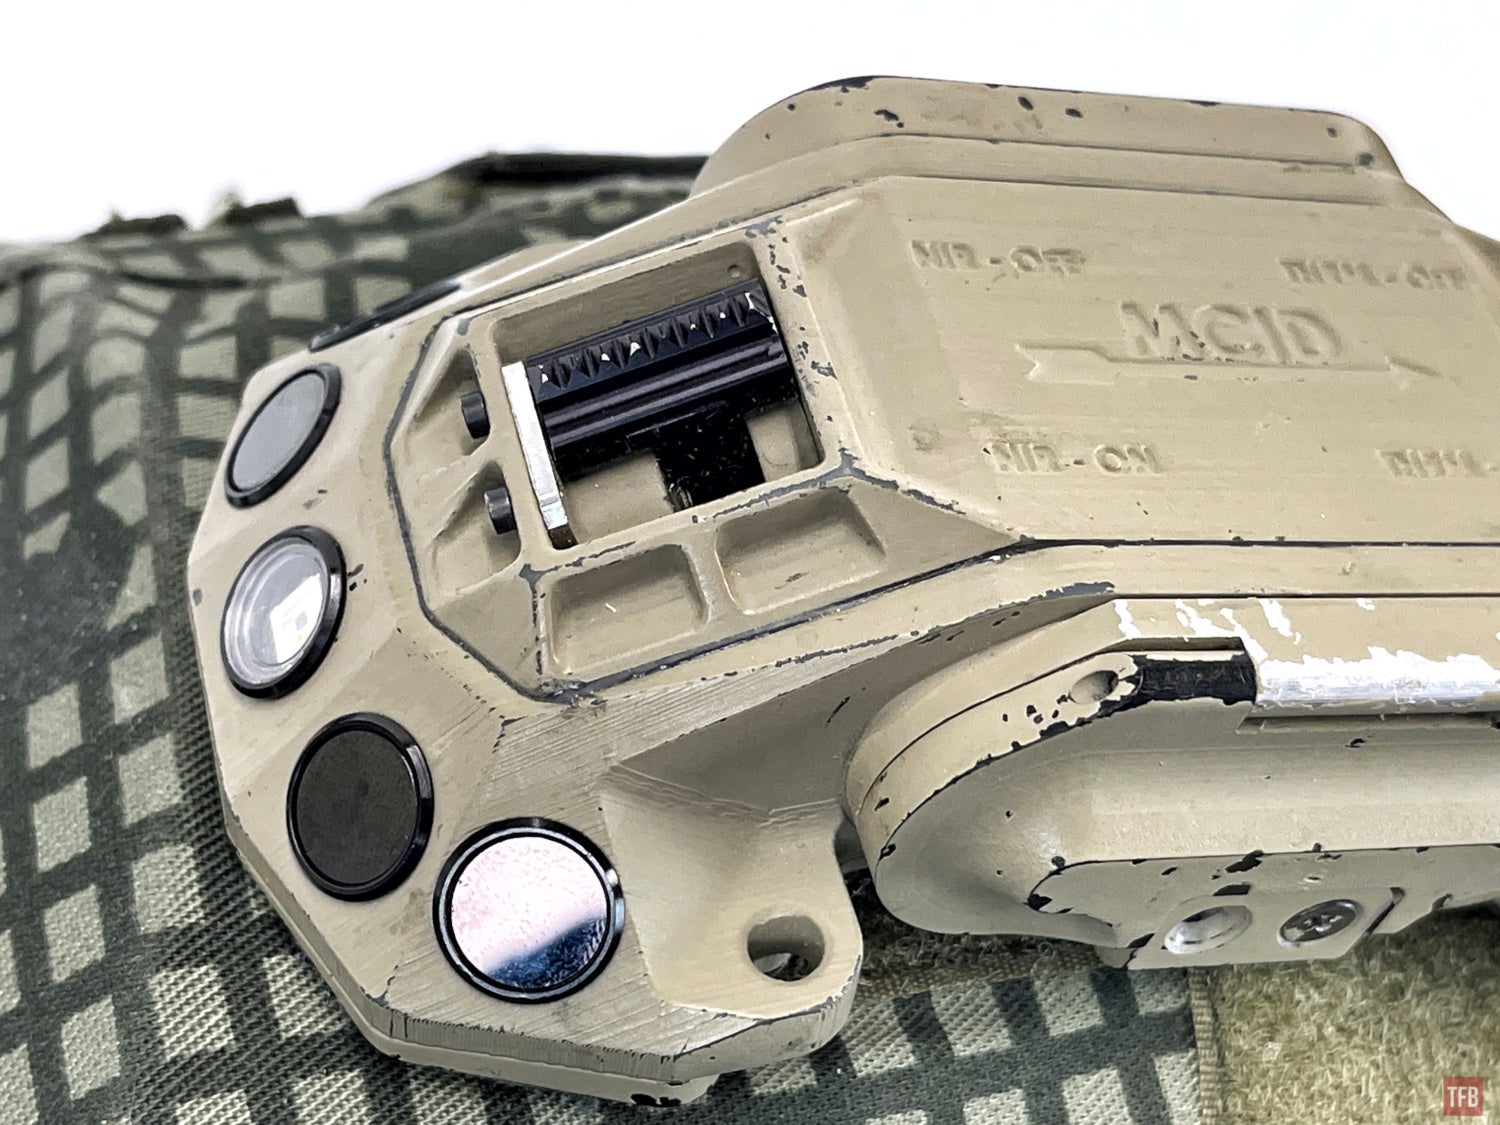

The NIR on-switch is a bit more complicated. You need to push down and then slide it over to the side.

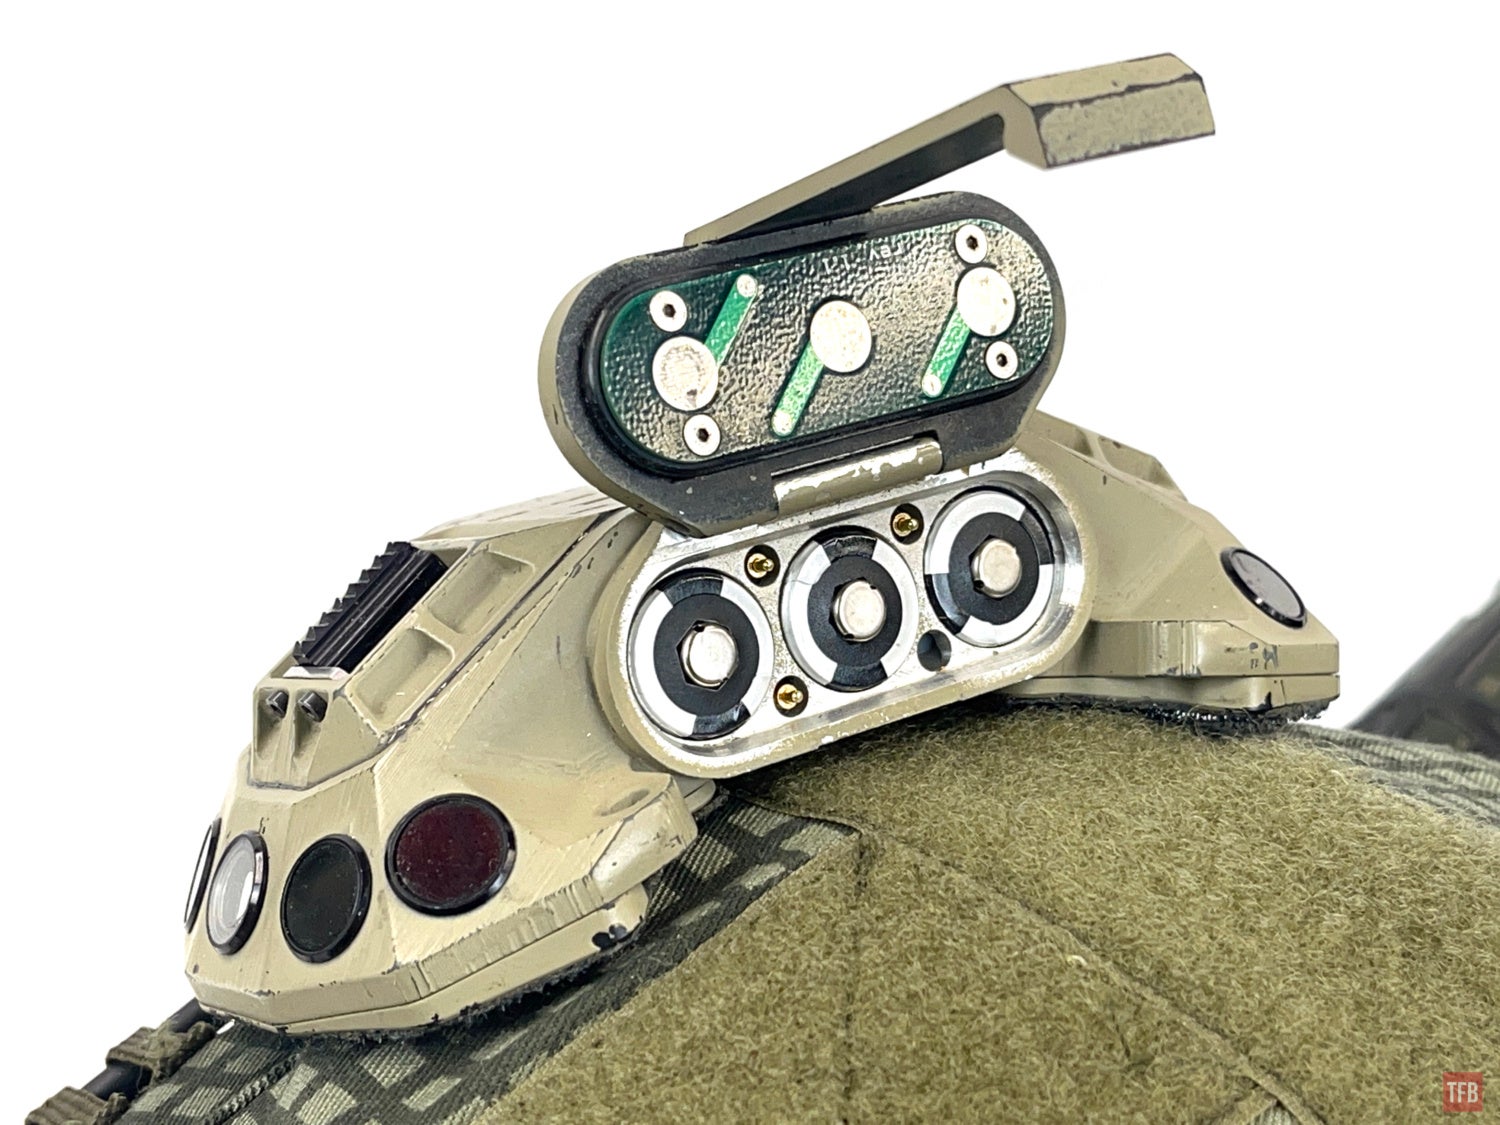
The MCID thermal beacon runs off three CR123 batteries.
Here is the MCID thermal beacon sample video. I am 138 yards away.
Final Thoughts On The Thermal Beacon
These little thermal beacons are interesting but not entirely practical for most people. They are extremely niche and only if you have a cooled thermal system operating in MWIR are they useful. Add to that they are very expensive. The North Star beacon cost $1,000 and that was on clearance. But that is nothing compared to the MWIR MCID. Retail the MCID sells for $12,000. That is a lot of money for a helmet beacon. Luckily, I only paid a fraction of that price. You can extrapolate how much the Nova and Helmet Mounted Beacon are then. Somewhere between $1k and $12k.