 Your Privacy Choices
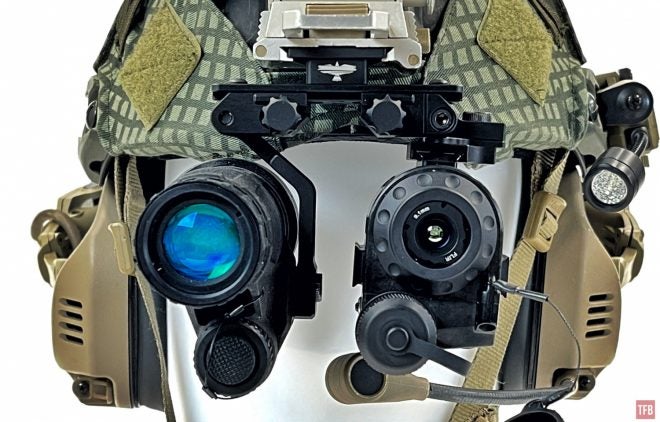
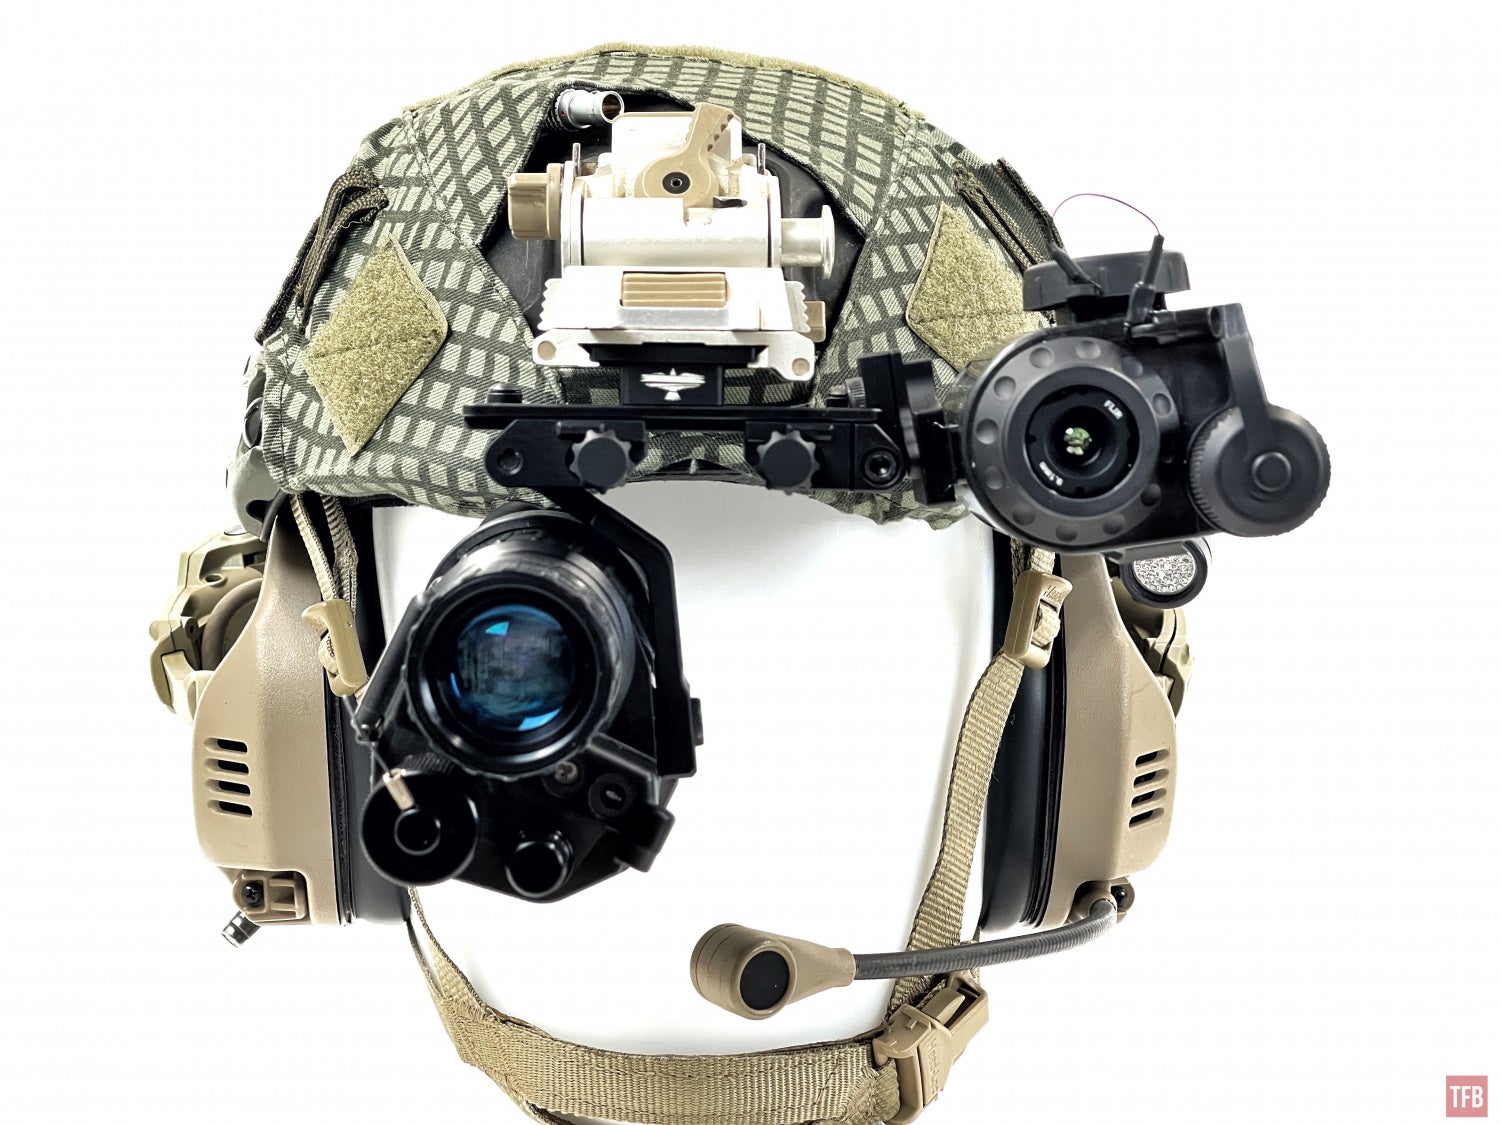
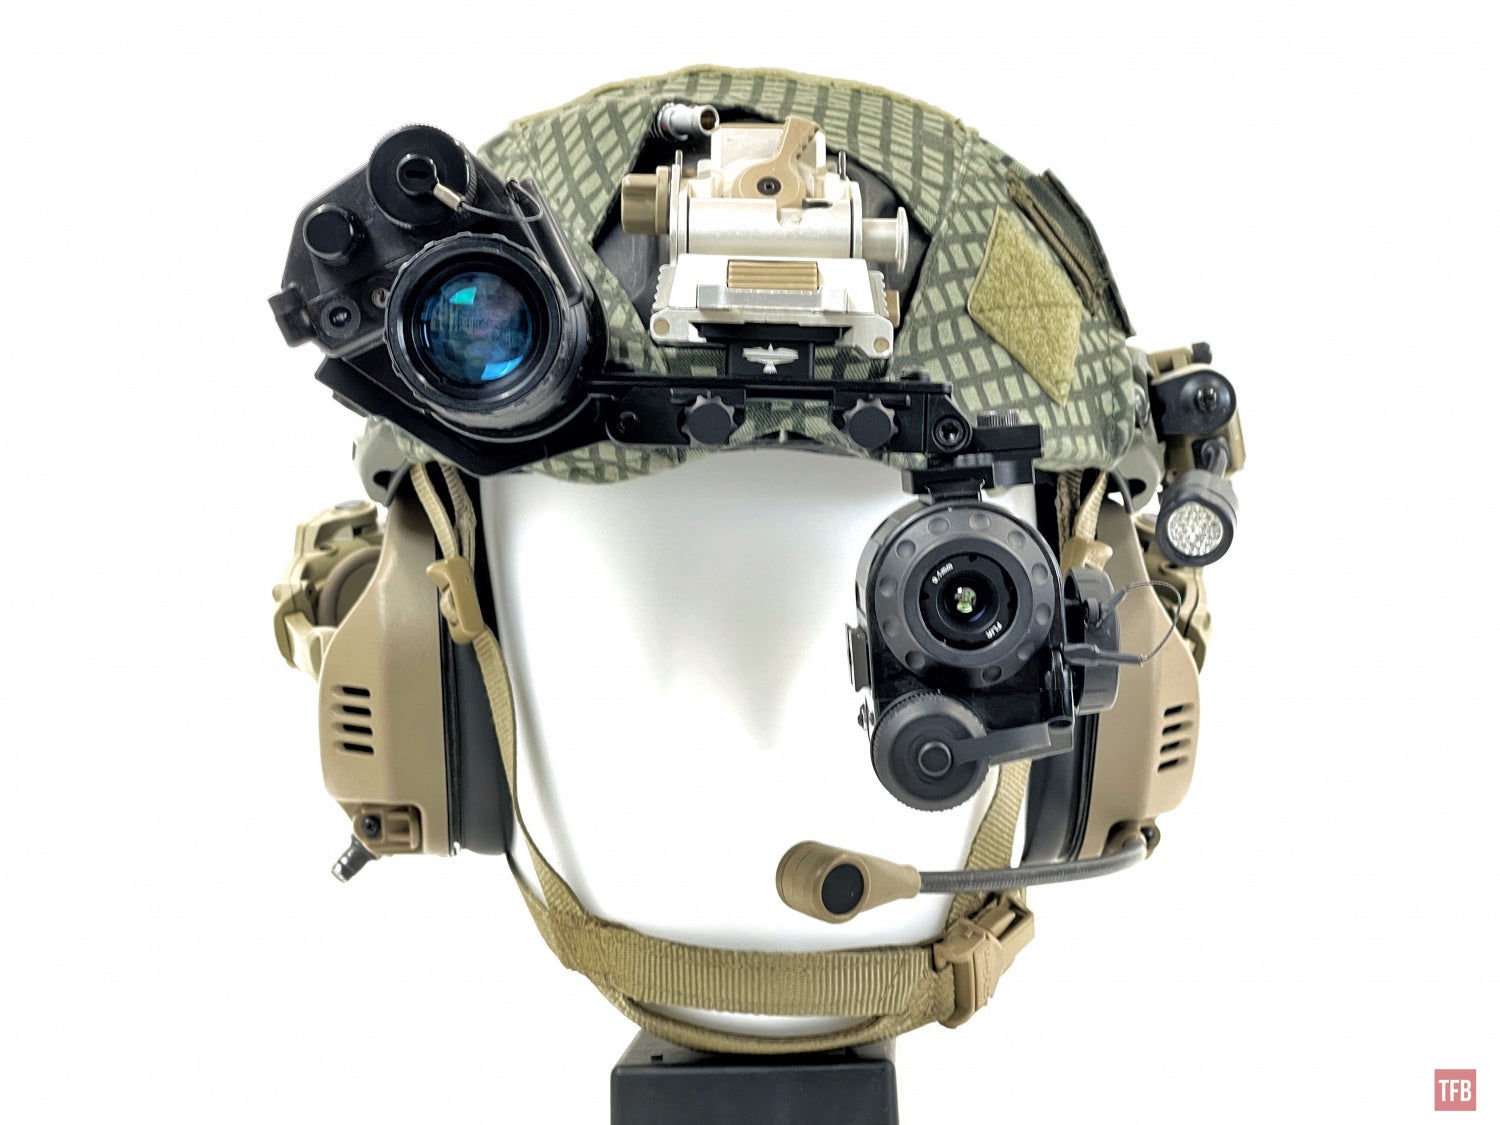
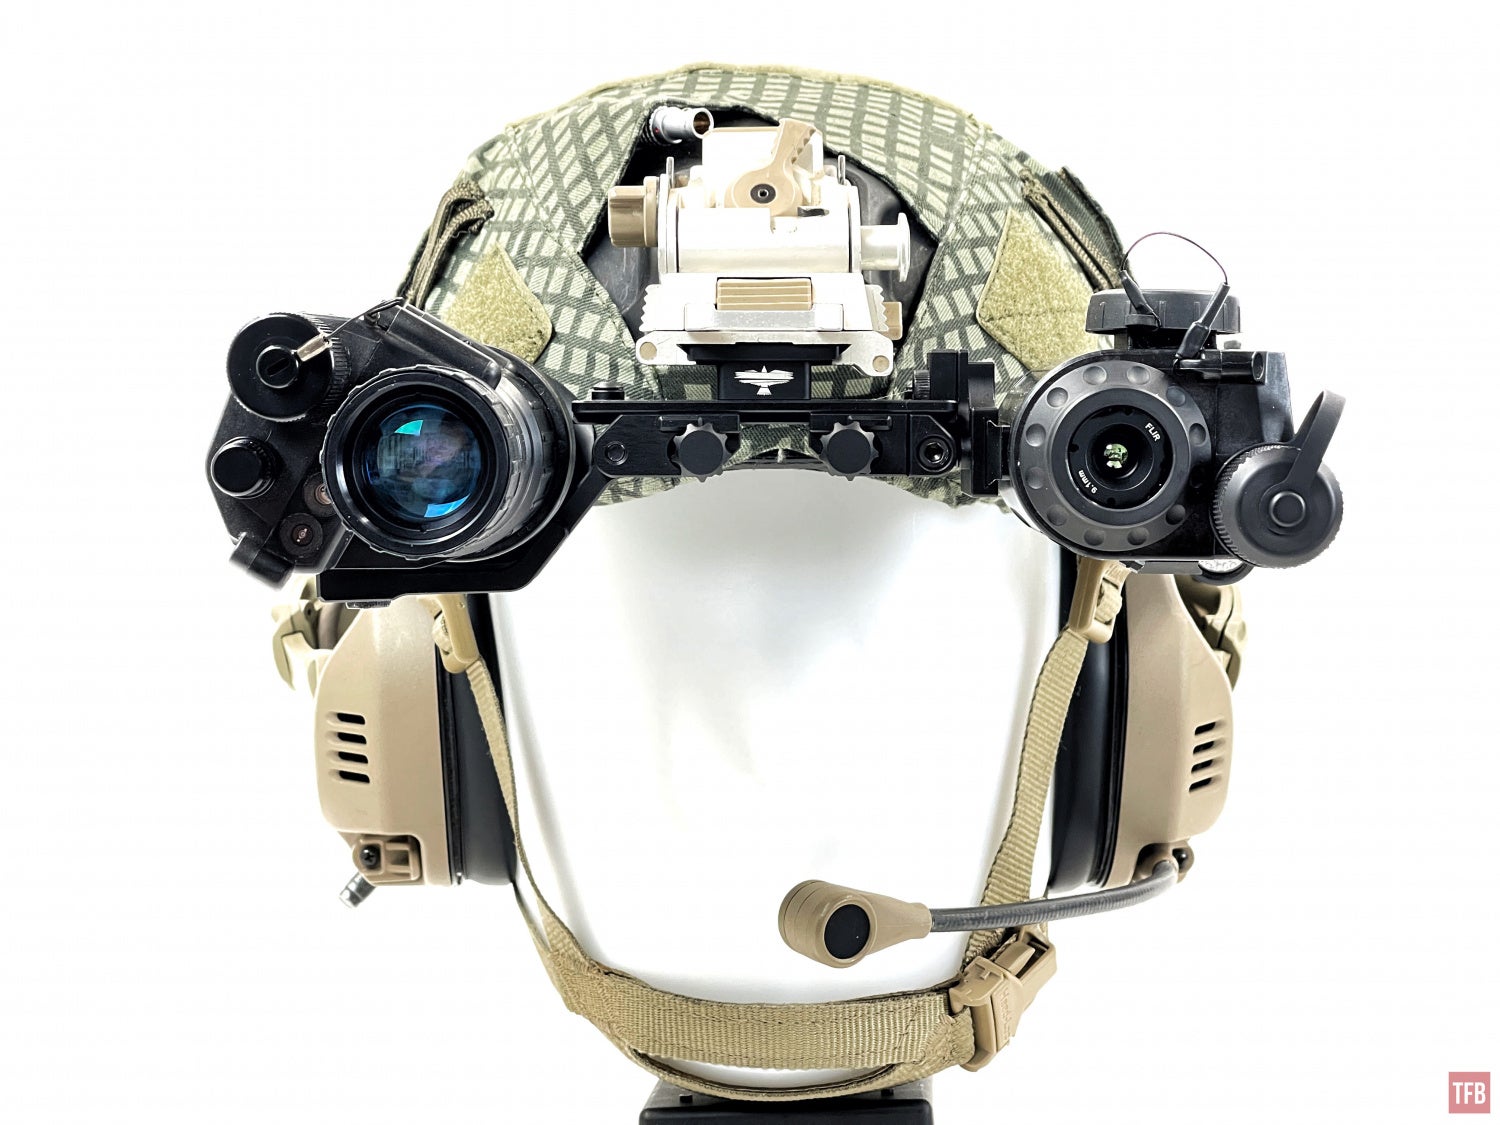
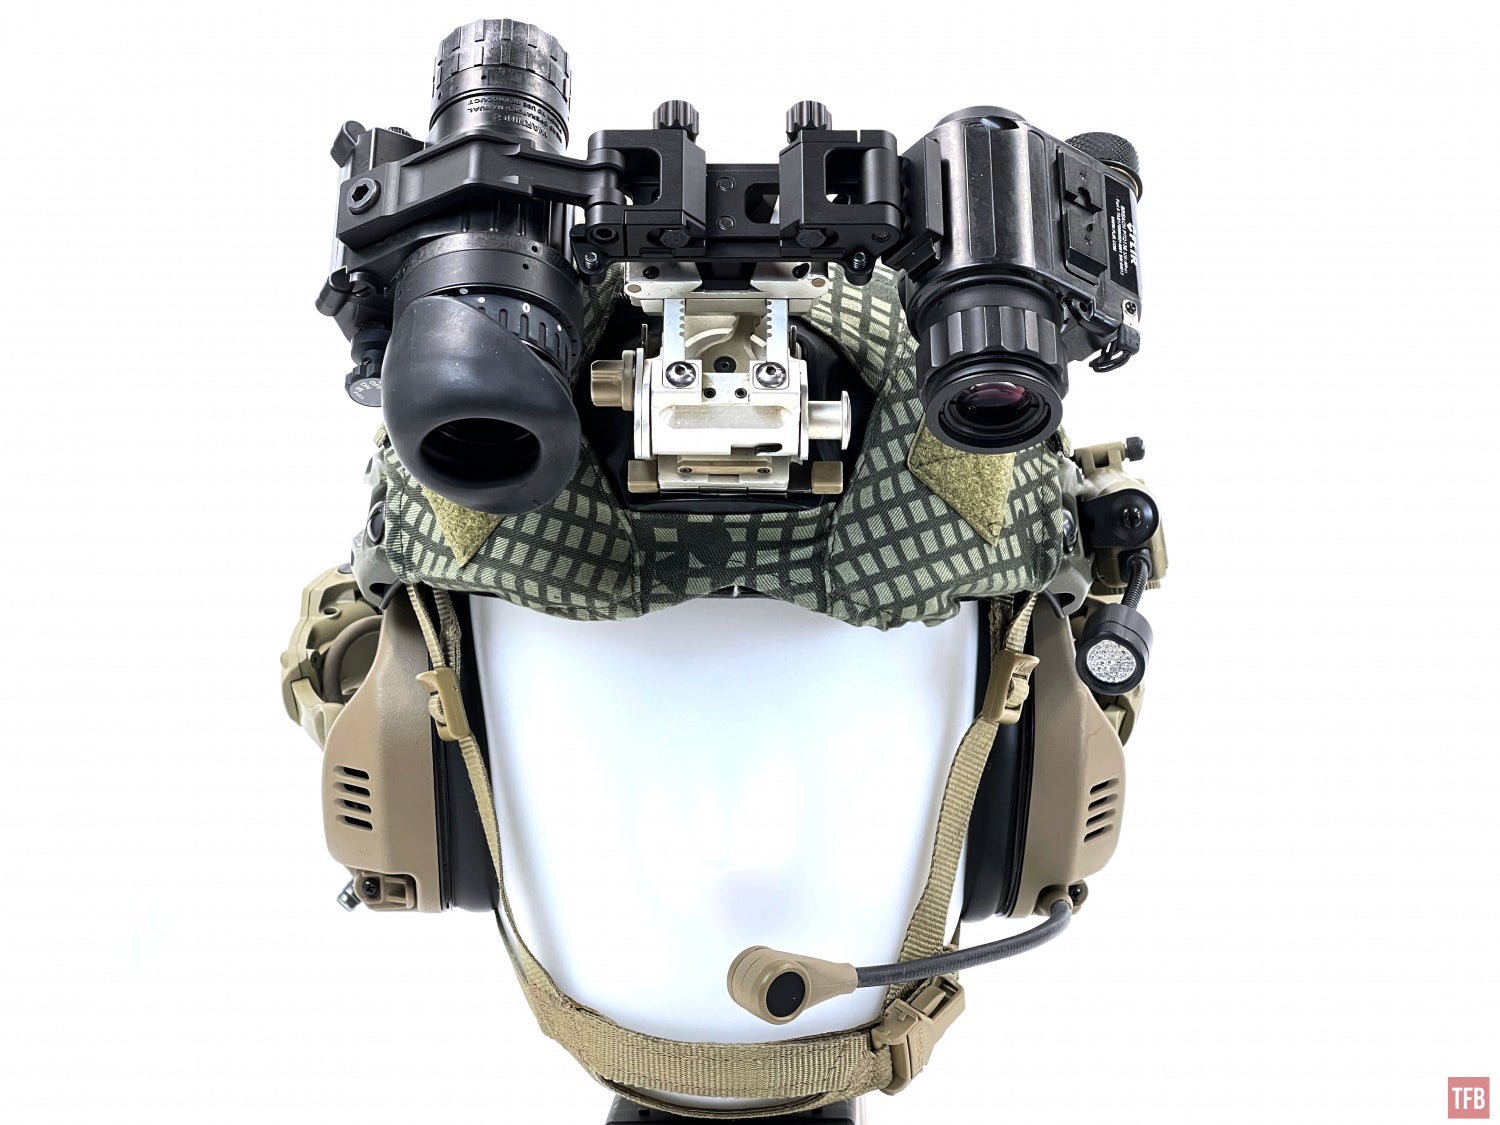
Hello reader. If this is your first time here at Friday Night Lights then Welcome! We focus this weekly column on night vision and thermal technologies. This includes night vision goggles, thermal sights and all the various accessories related to them. This week we take a look at a project I have been helping for the past year. The Rayvn Rail is a bridge to mount a PVS-14 and a FLIR BREACH onto a helmet. Let’s dive in and take a closer look.
Night Vision @ TFB:
- Friday Night Lights: Thales LUCIE – French GIGN LPNVG
- Friday Night Lights: Dual Tube Spotlight – EOTech BinoNV-C
- Friday Night Lights: PSQ-36 L3Harris Fusion Goggle System (FGS) aka Fusion Binos
Bridging A PVS-14 and FLIR BREACH
Why would you want to bridge a PVS-14 and a FLIR BREACH? This is sort of the entry level for thermal fusion. Thermal fusion is when you combine thermal with light amplification of night vision. Typically this is achieved with a COTI, a thermal device that is clipped onto the front of a night vision goggle like a PVS-14 and the thermal image is projected into the objective lens. The result is seeing thermal and night vision all in the same image. True thermal fusion is where the thermal image is projected behind the image intensifier so you get a color shift between the phosphor color of the night vision and thermal image. However, those options are expensive and have compromises such as fragility and proprietary parts.
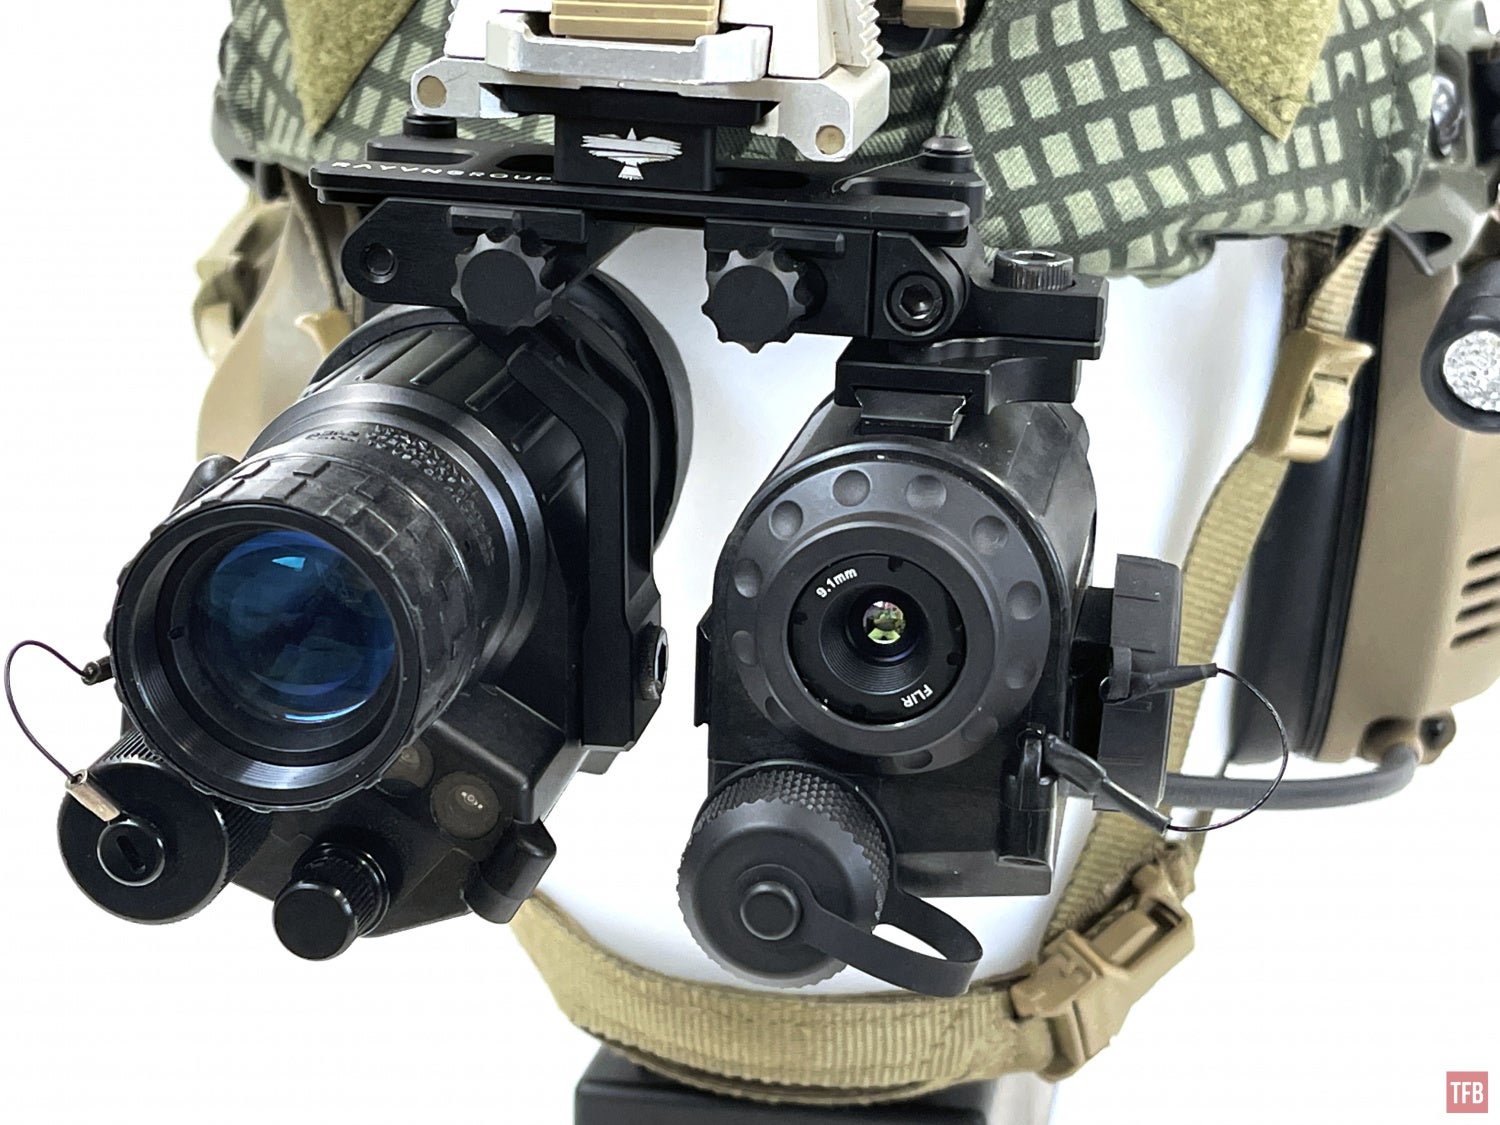
Bridging a PVS-14 with a thermal monocular can work but there are things to consider. Looking at two different images in each eye takes getting used to. The FLIR BREACH has become one of the most popular entry-level thermal monoculars. They are typically around $2,000 each. I reviewed one a while back. Click here to read up on it. One thing I did not realize until someone mentioned it was that the FLIR BREACH can adjust the image position. They call it “MARGINS”. This allows you to shift the thermal image. This is important so you can collimate the thermal image with the image produced by your PVS-14. If you do not do this, you will see double and your thermal image will not line up with the night vision image.
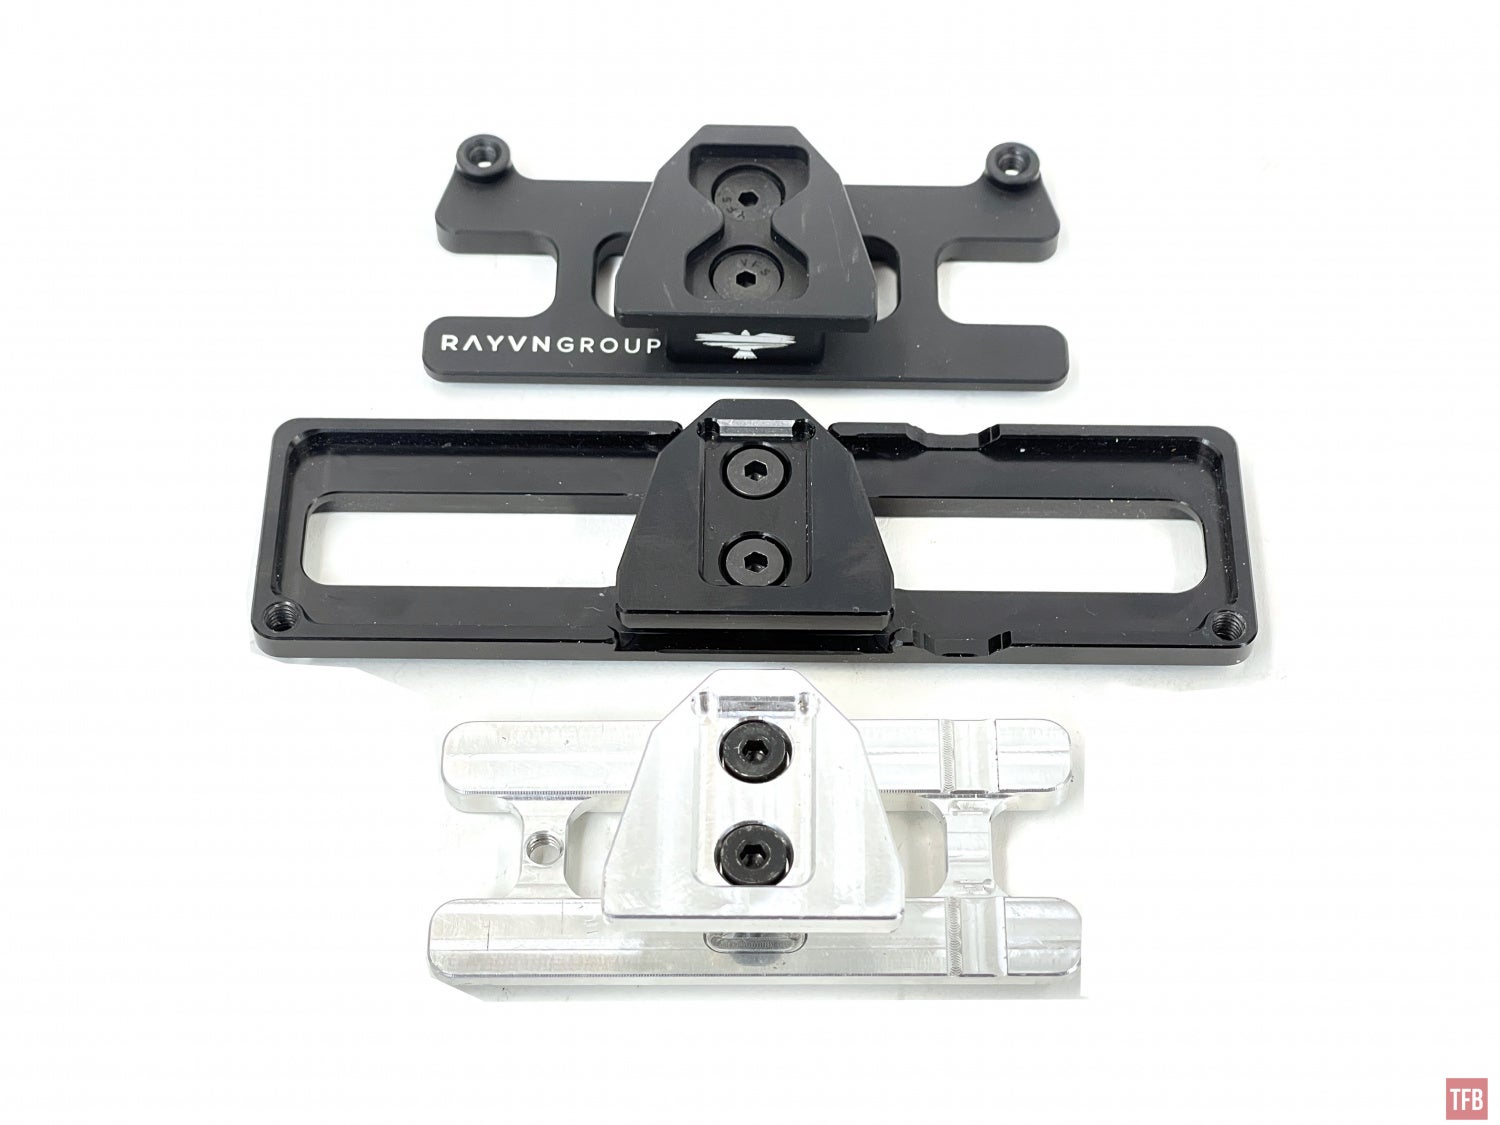
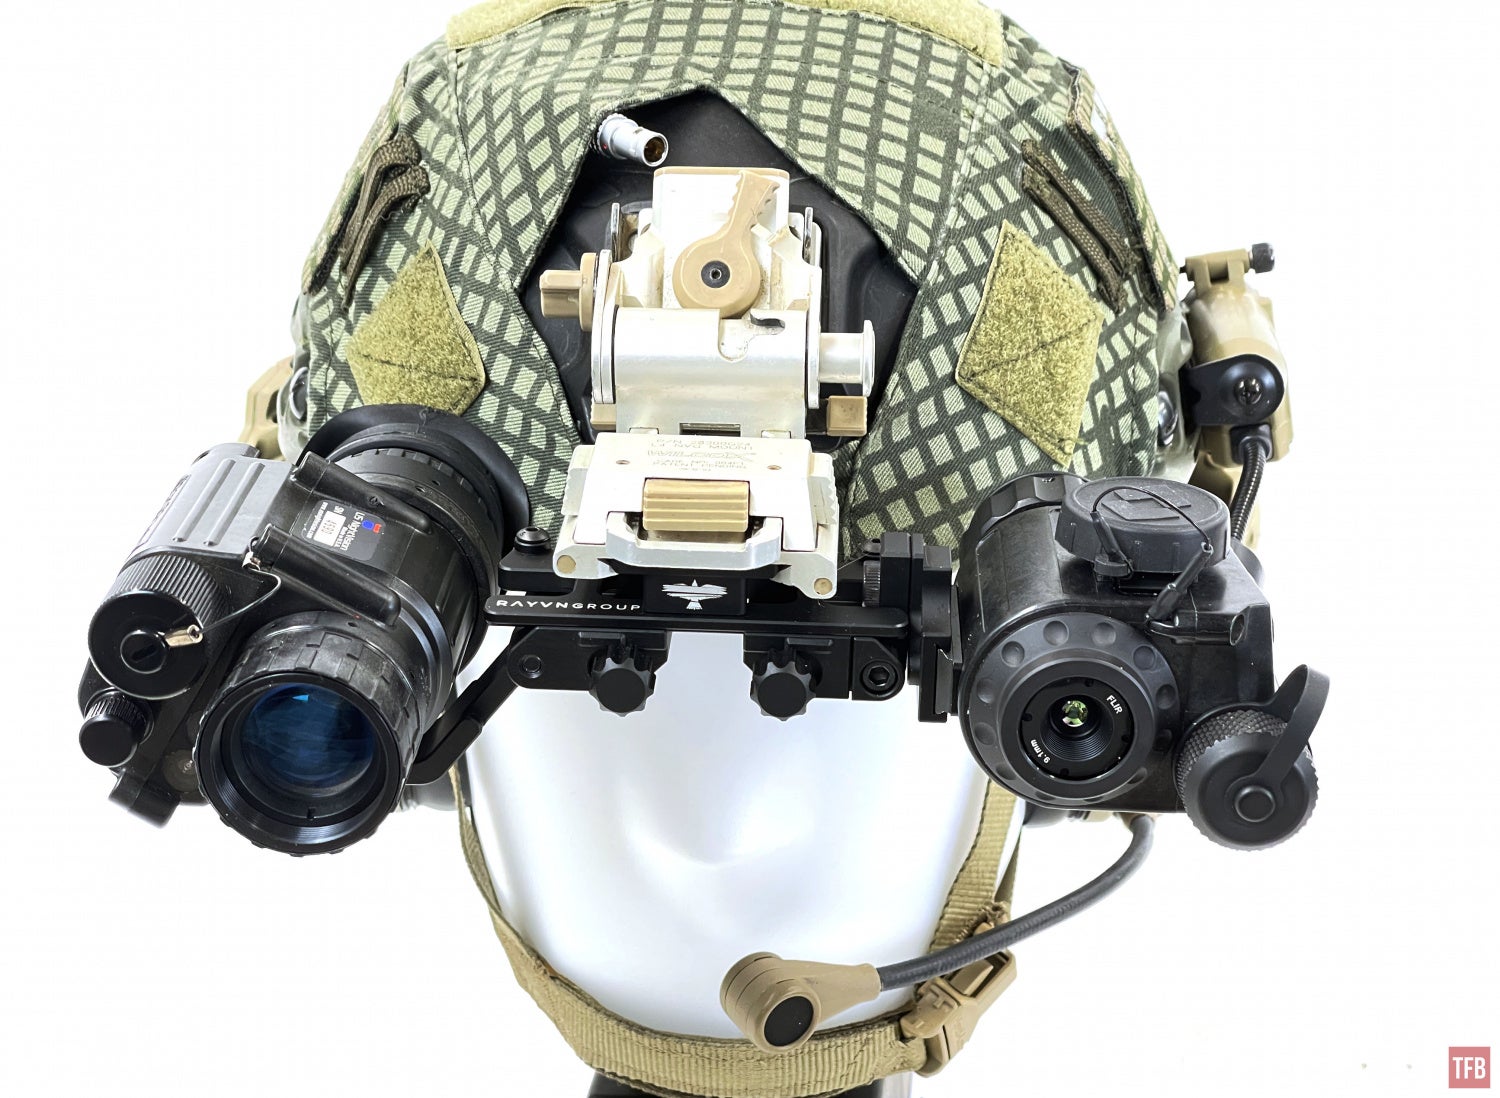
The Rayvn Rail has actually been in development for over a year. They reached out to me last August asking if I would be willing to check out their bridge and give feedback. I was under NDA since then so I was unable to post anything about it until now. Now they have their production version ready to go. You can see three evolutions of the Rayvn Rail. It has gone through many changes between these three, but these are the three I have in hand.
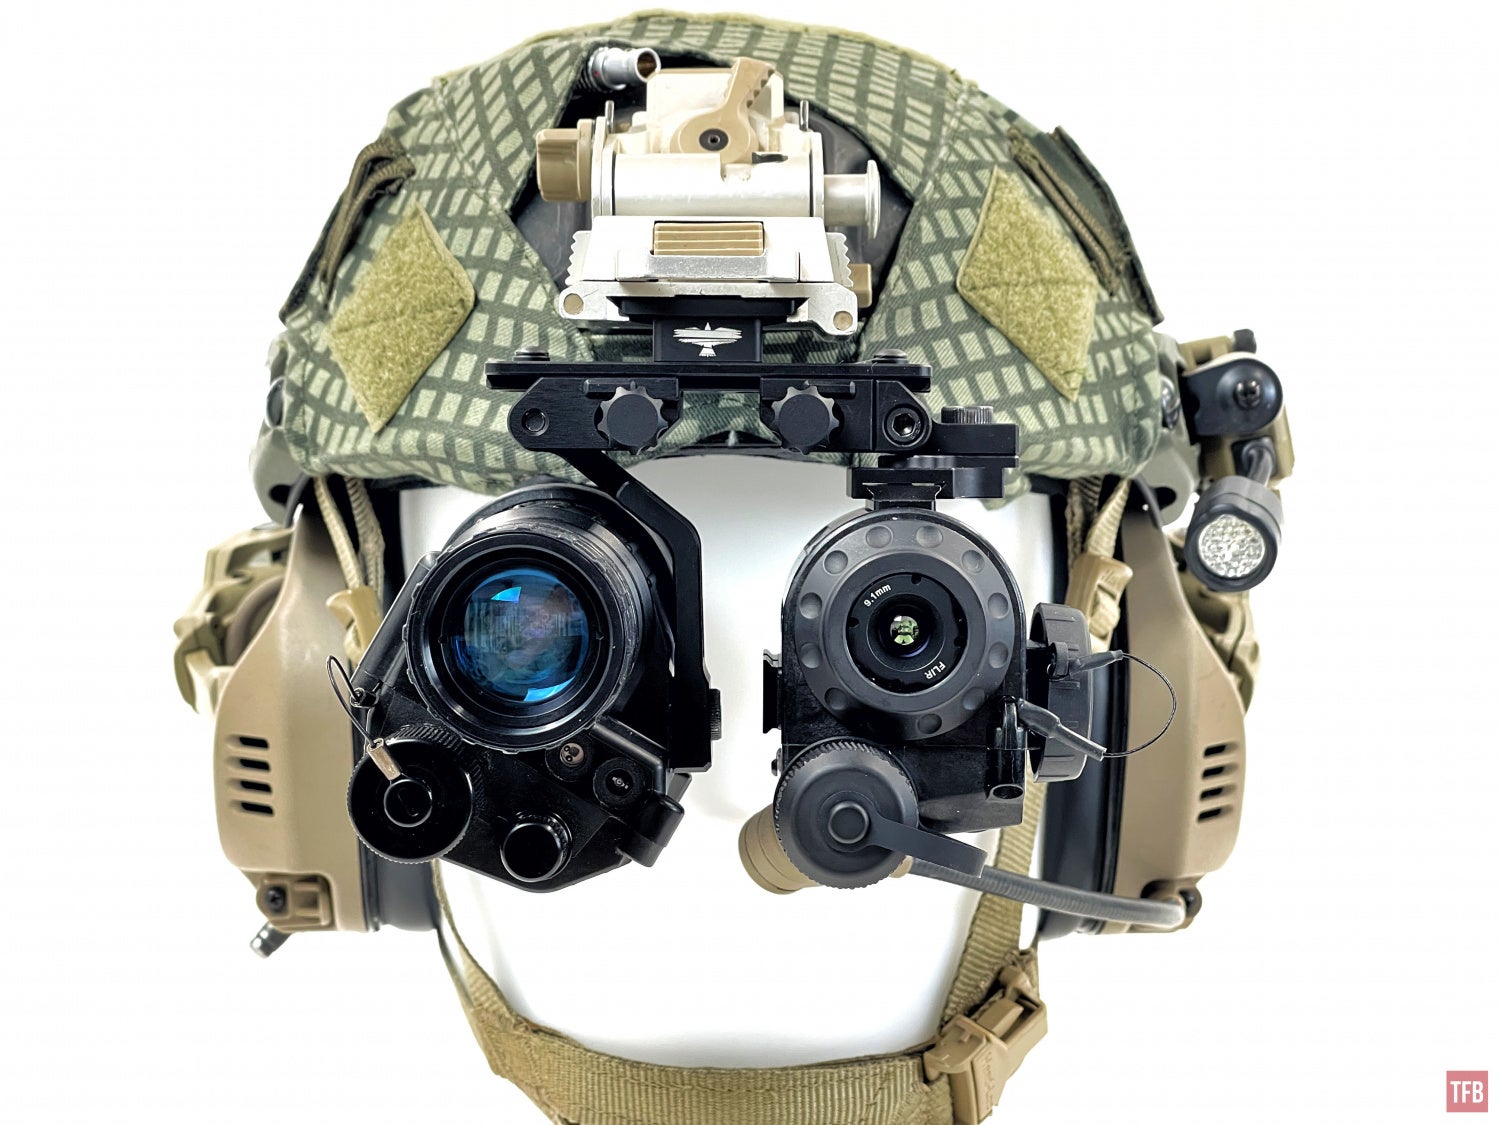
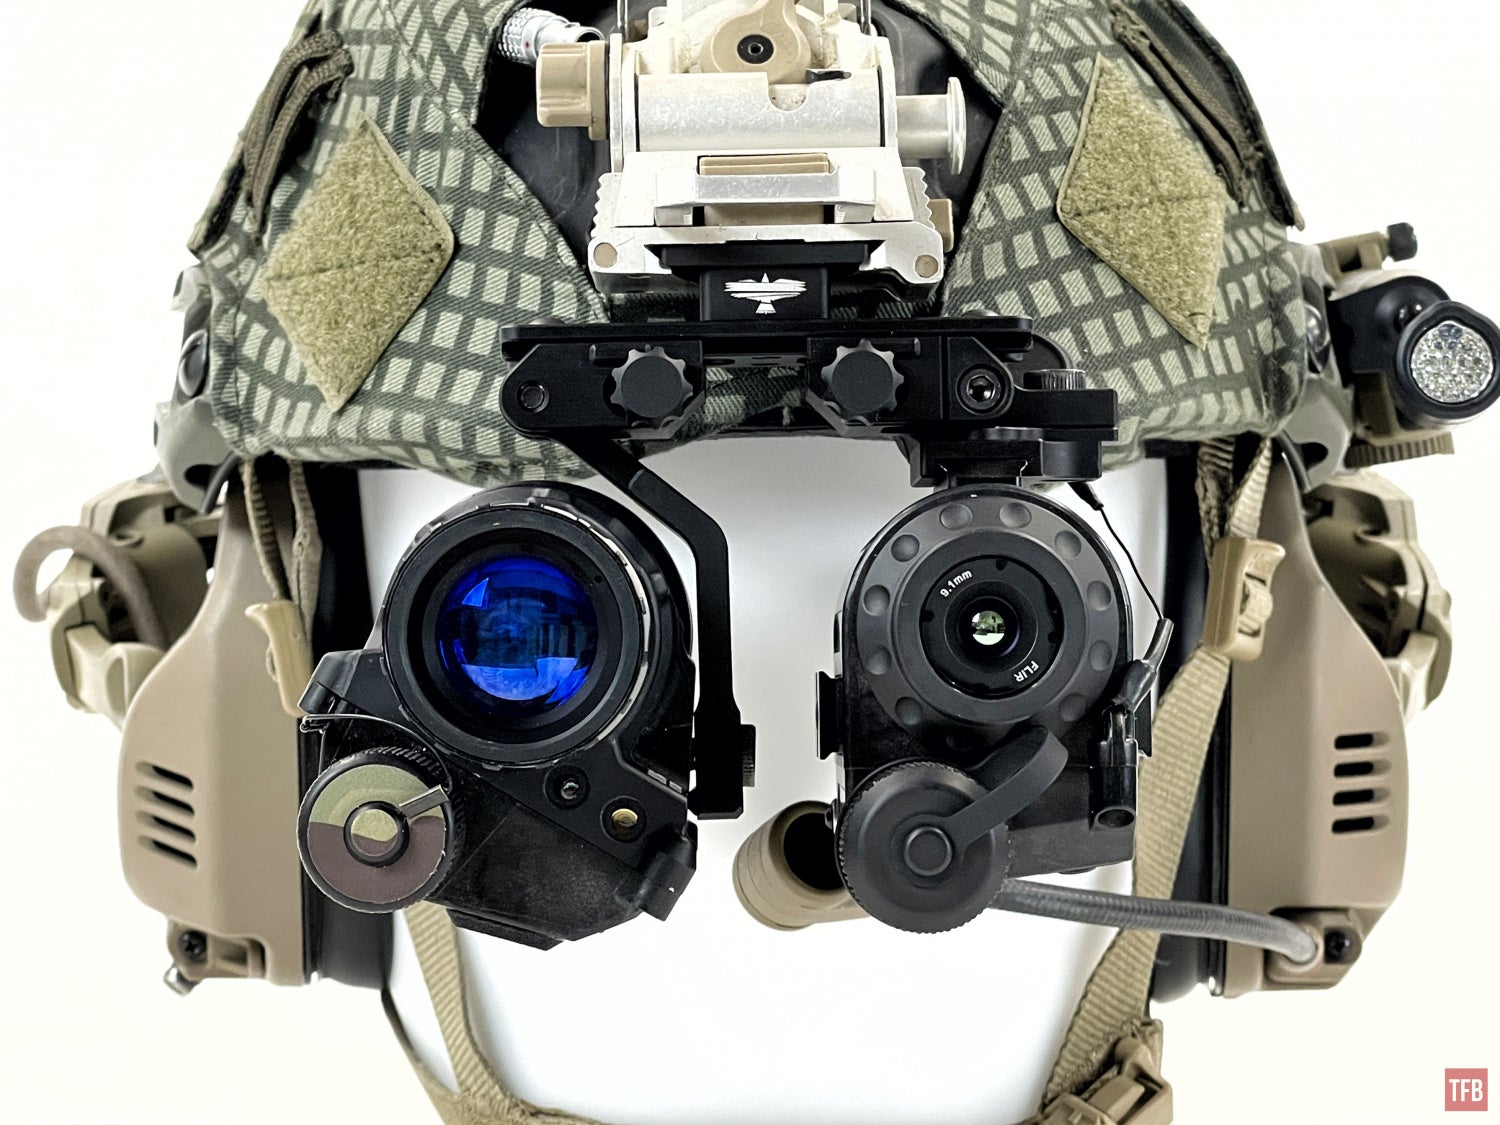
The design is rather simple. It is a rail that allows pupillary distance adjustment by sliding the pods left and right. You can also articulate the monoculars out of the way. One pod is for attaching to a typical PVS-14 and the other pod is for attaching to a FLIR BREACH.
Adjusting The Rayvn Rail
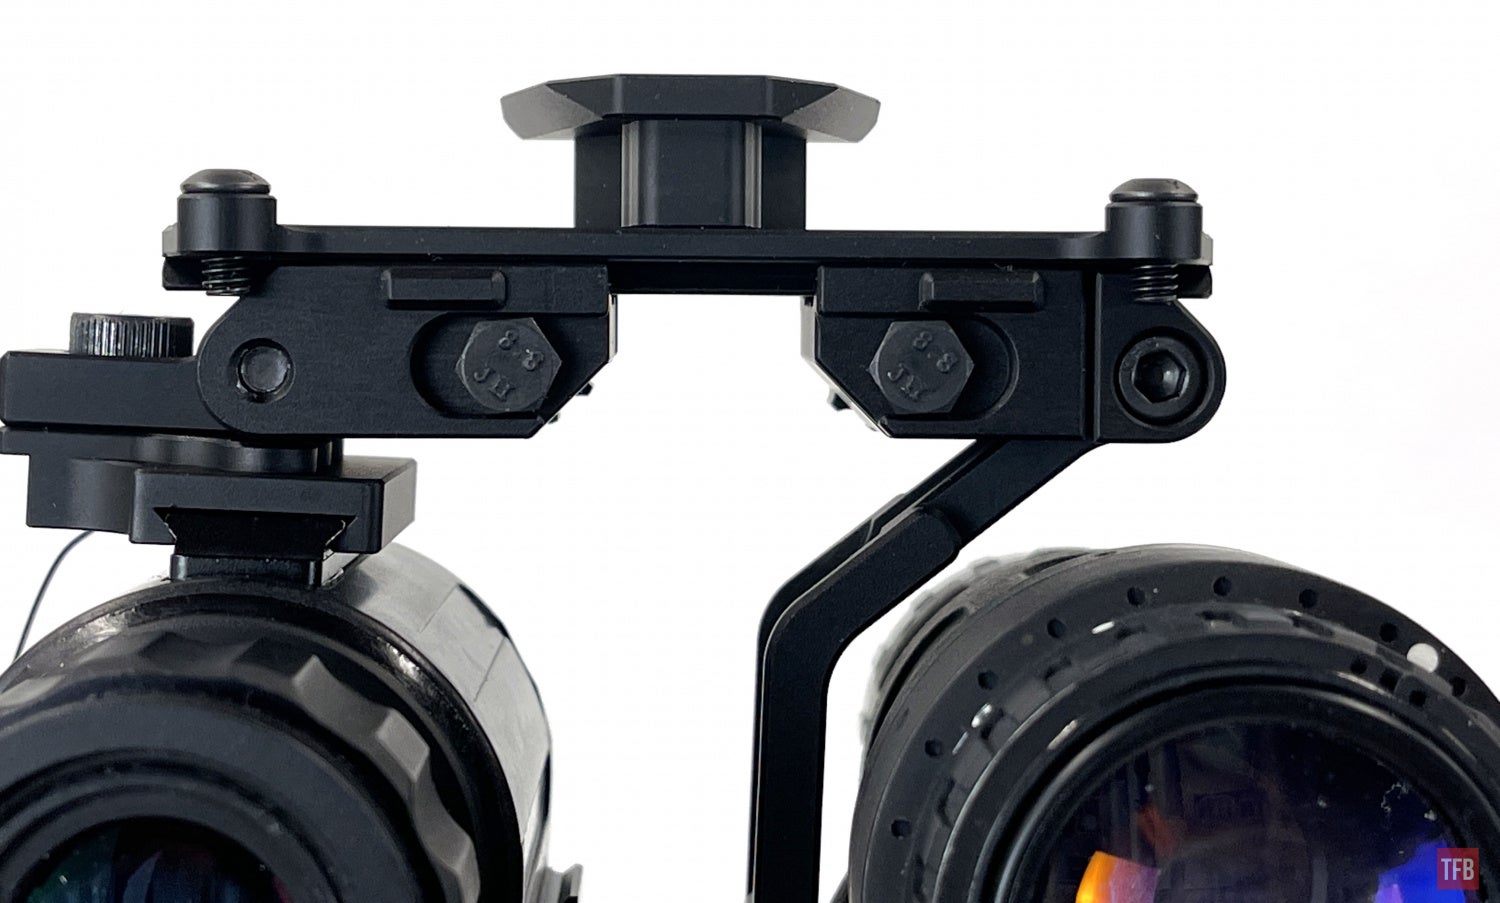
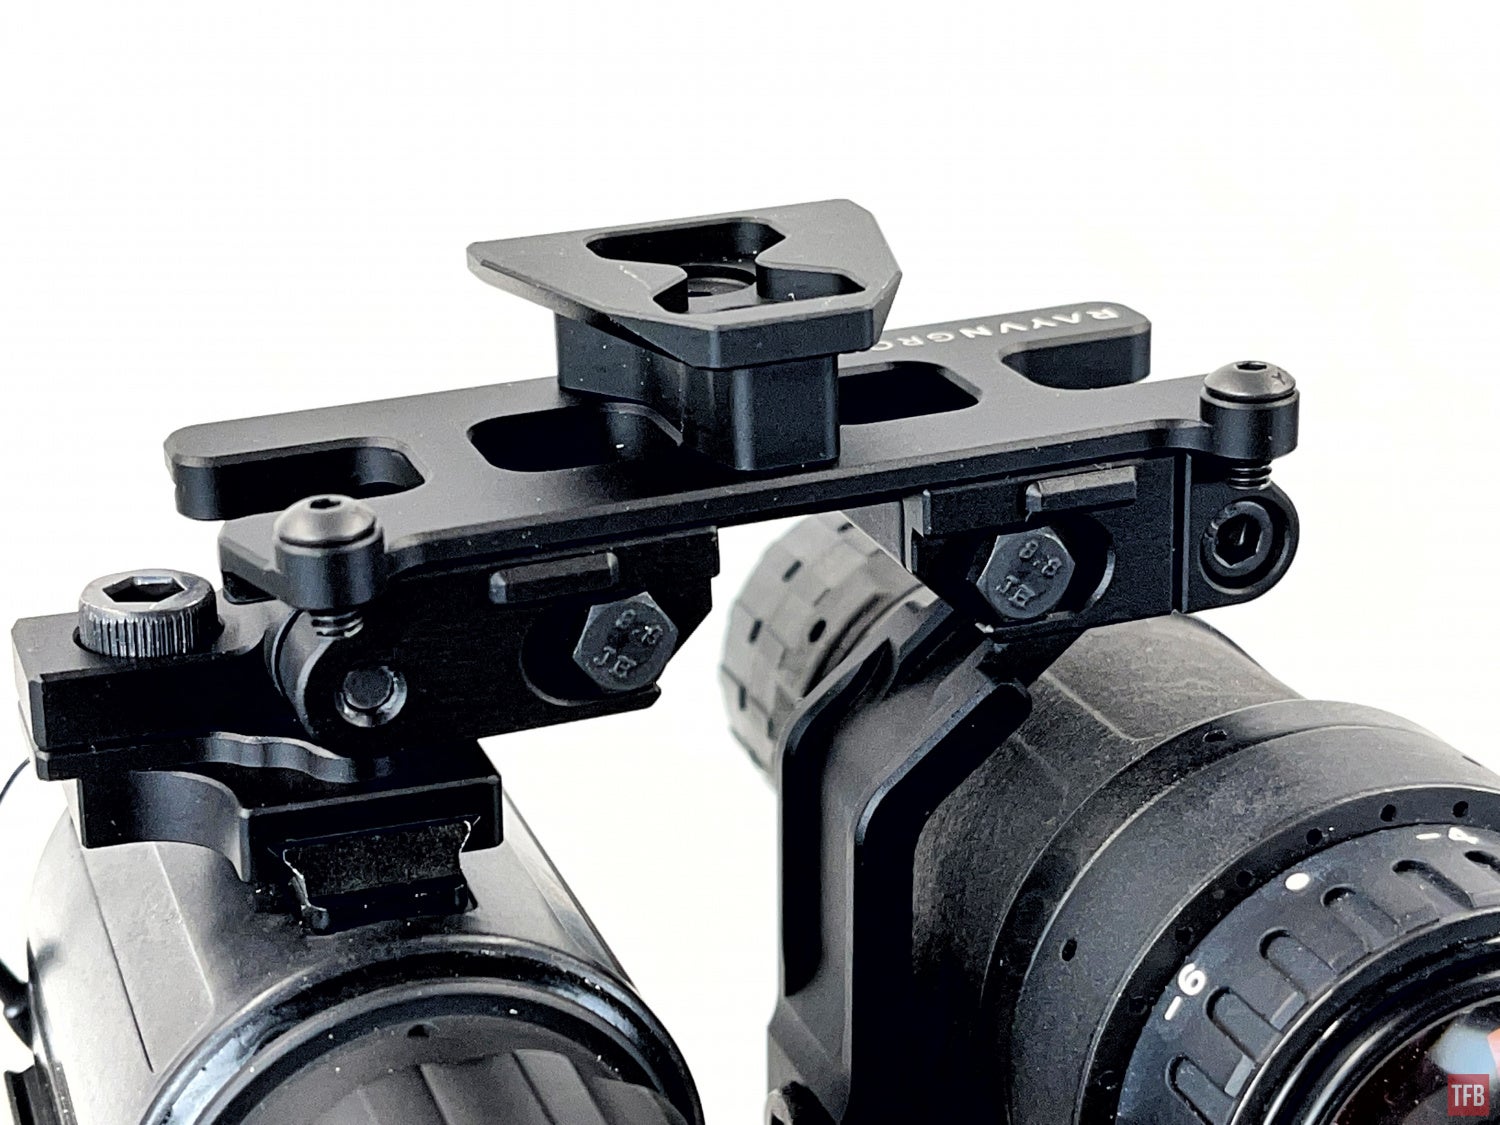
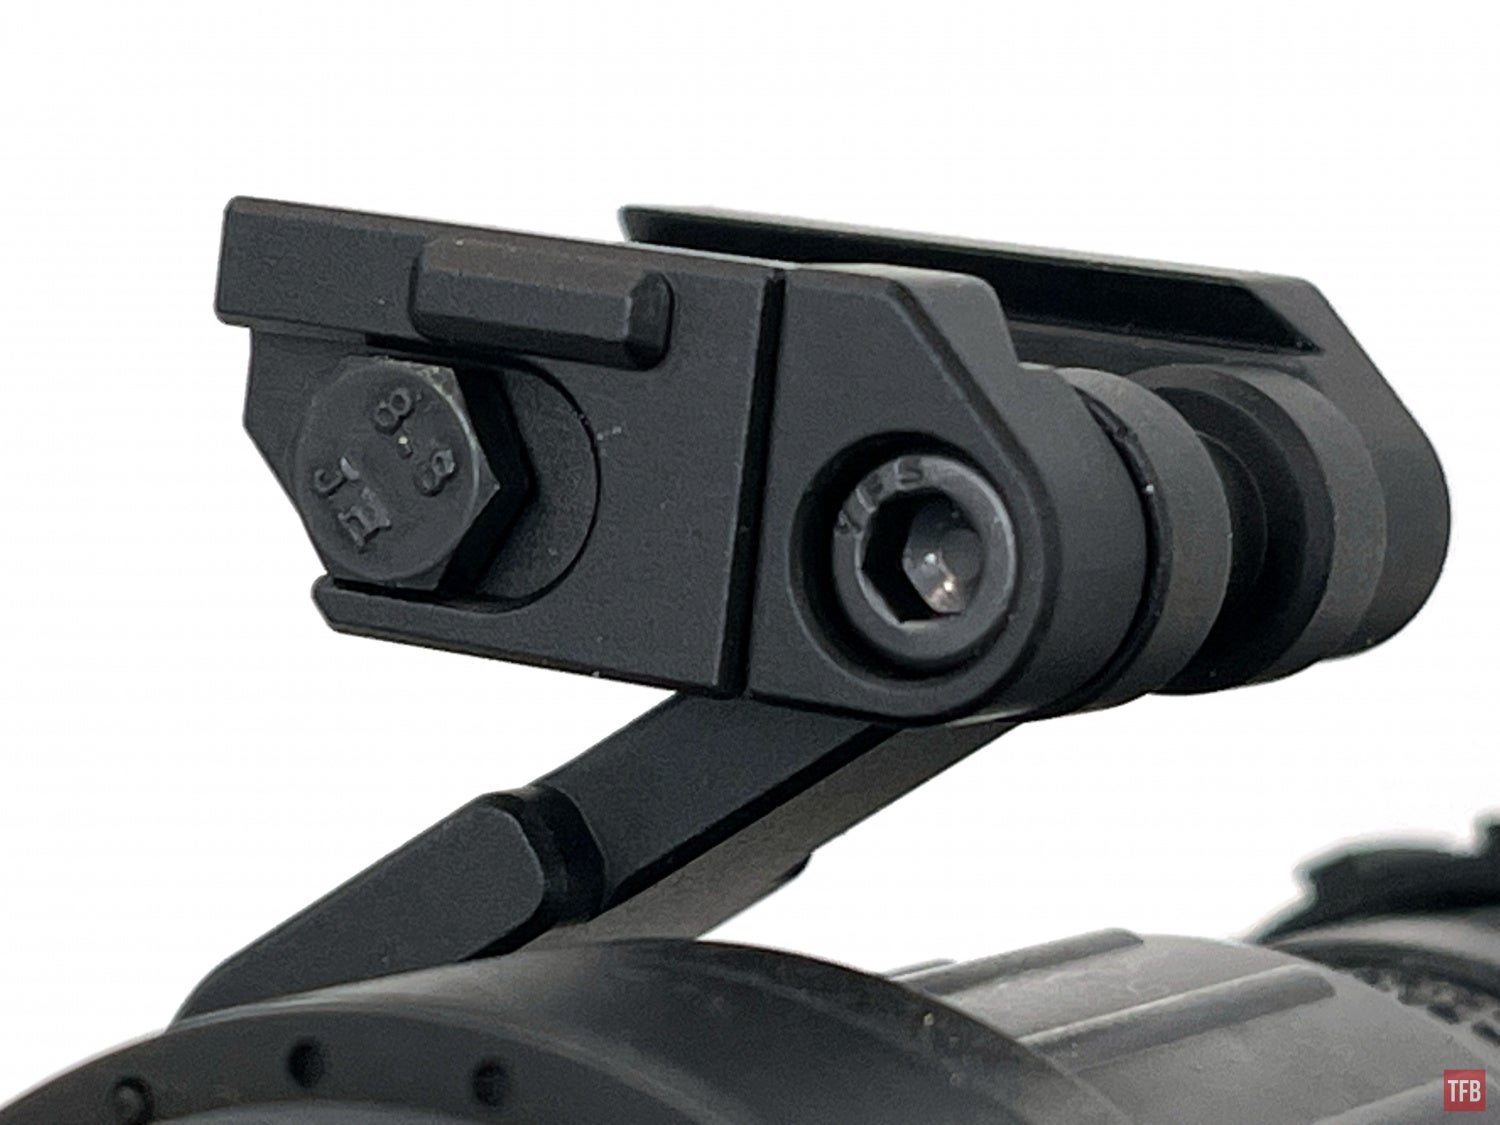
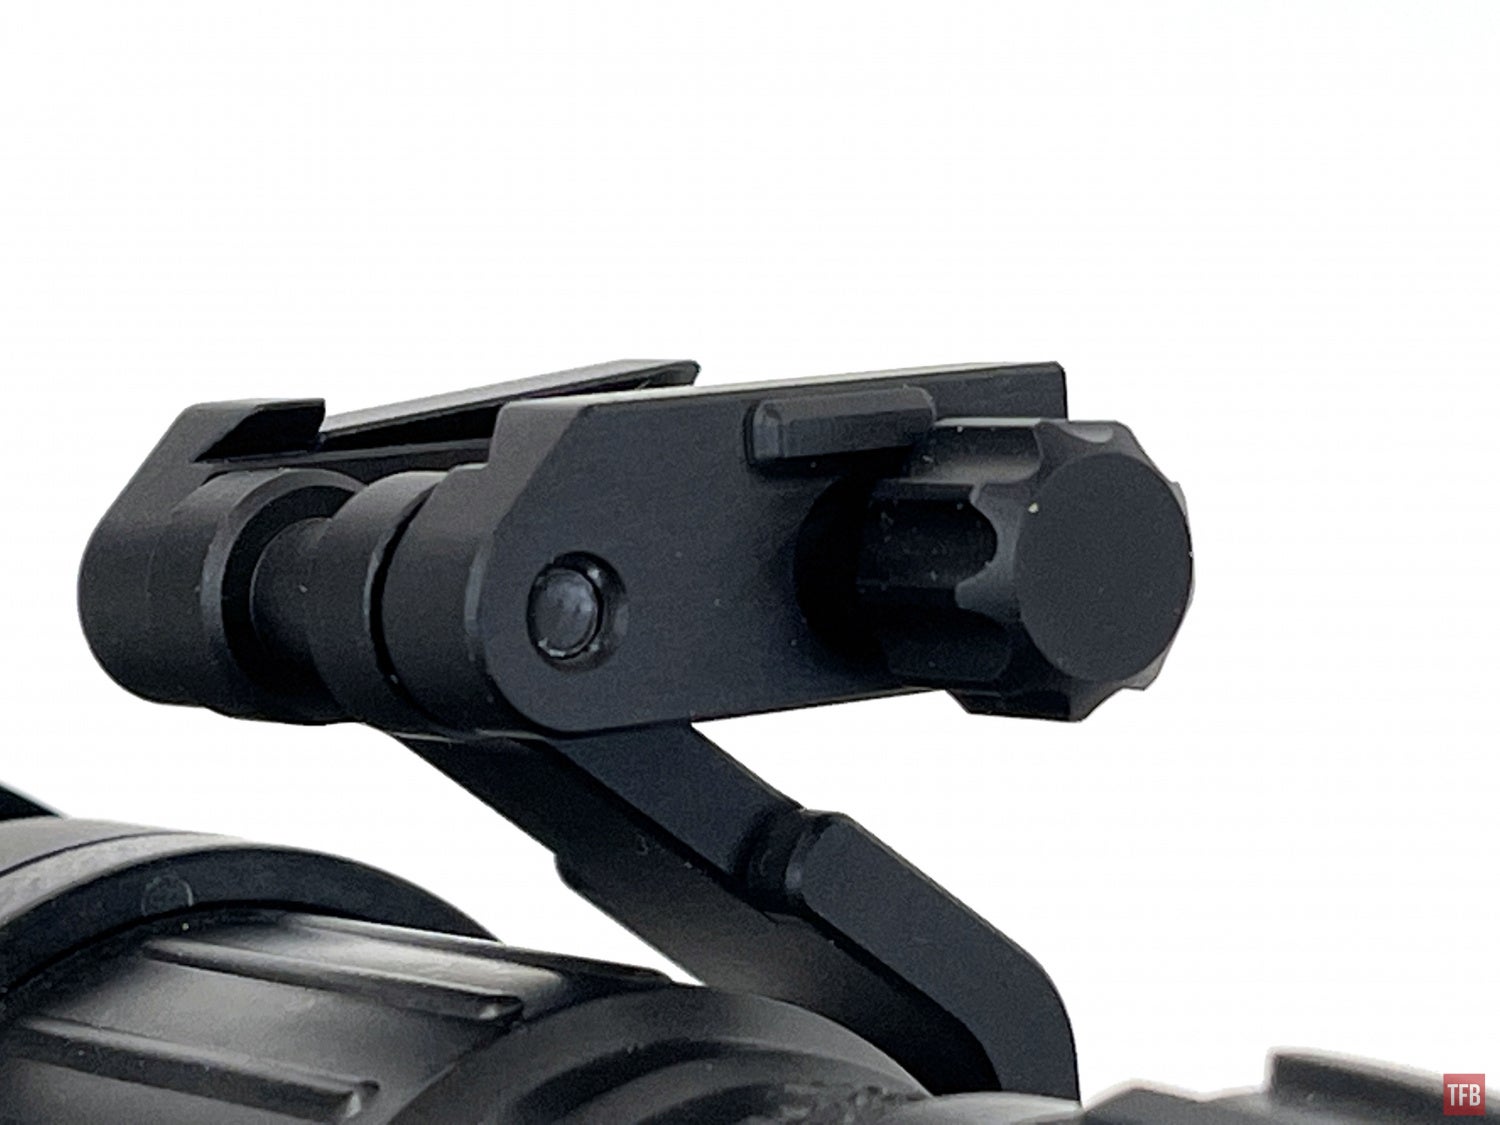
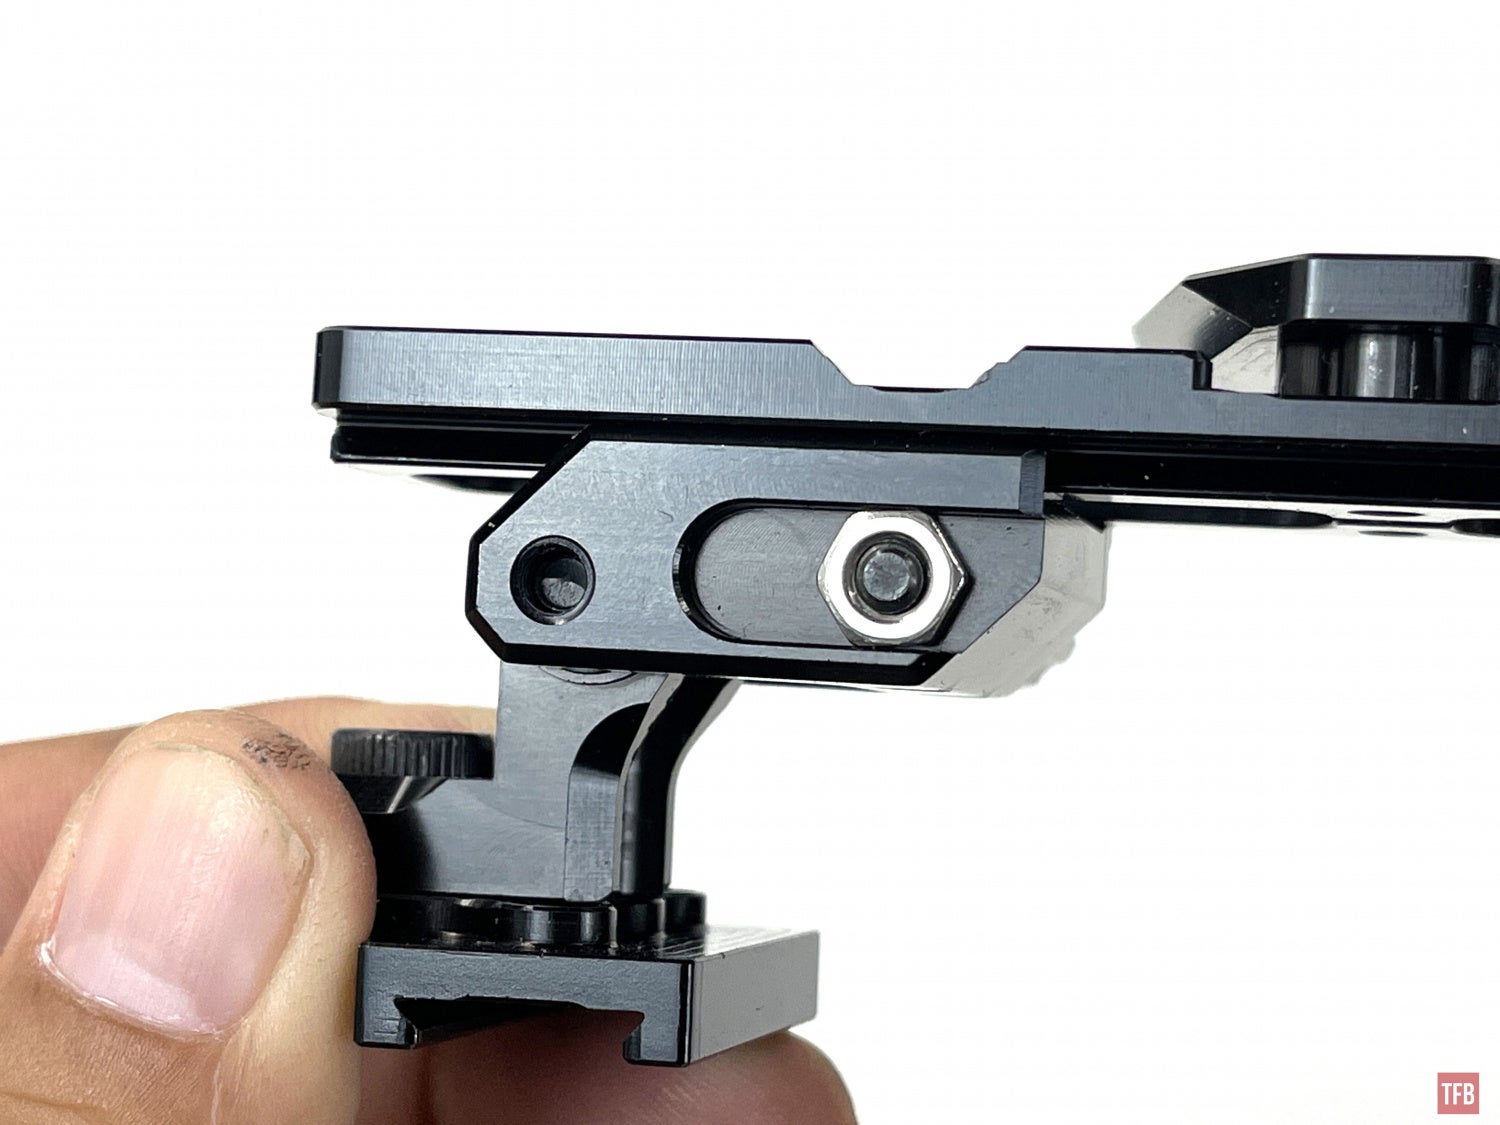
At the top of the bridge, near the rear, is a button head screw. This stops the pods from sliding off the bridge.

Look at the back of the bridge, You can see that button head screw poke through the bottom. When you try to slide the pod off the bridge, there is a small rectangular protrusion that will hit that vertical screw. Loosen the screw and you can remove the pods.
The PVS-14 arm is machined aluminum. The screw is 1/4-20.
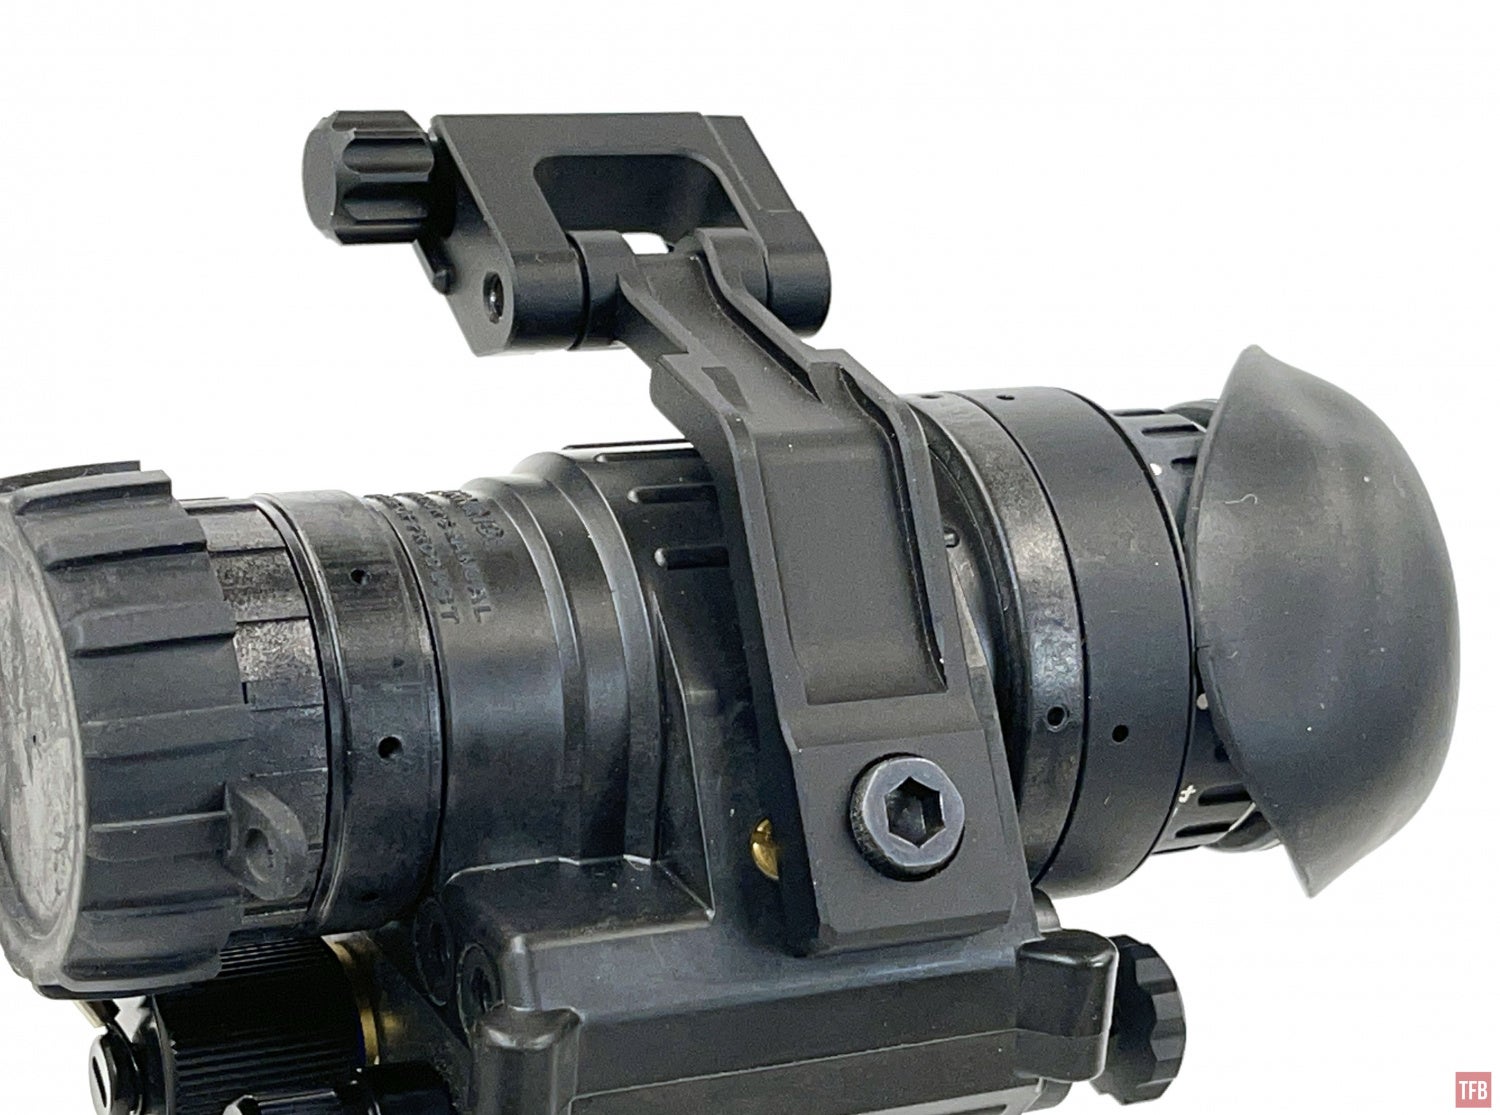
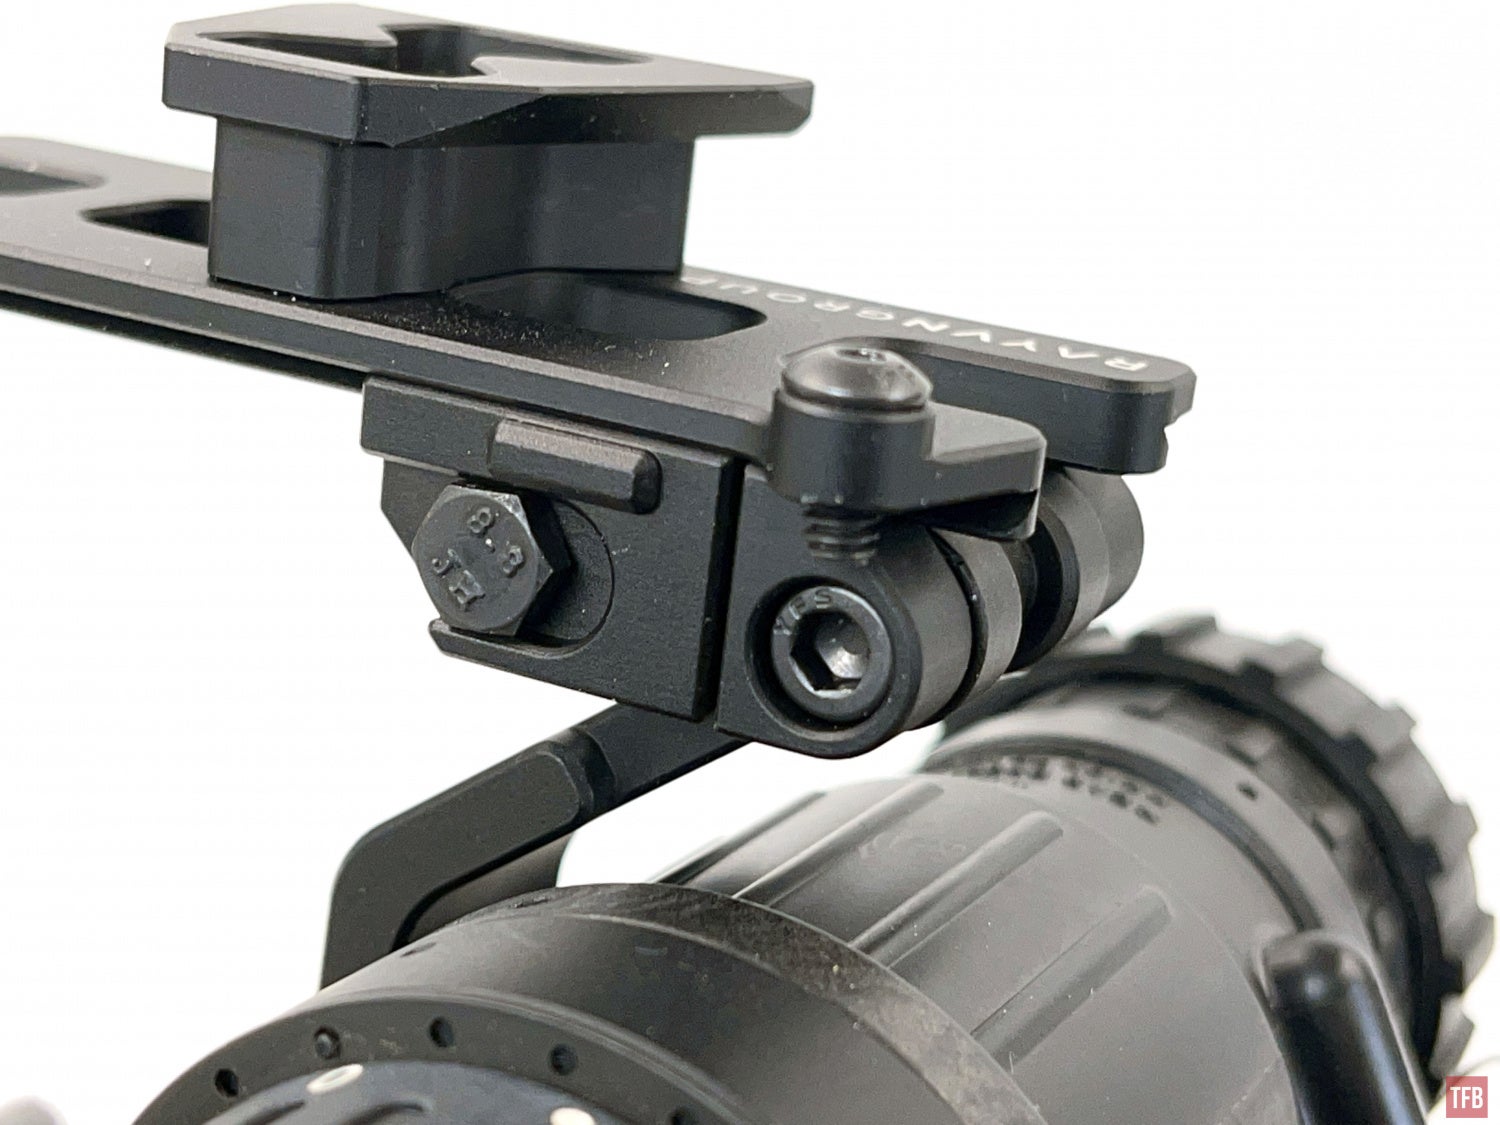
The tension of the arms can be adjusted by the user. You just need to tighten the bolt here.
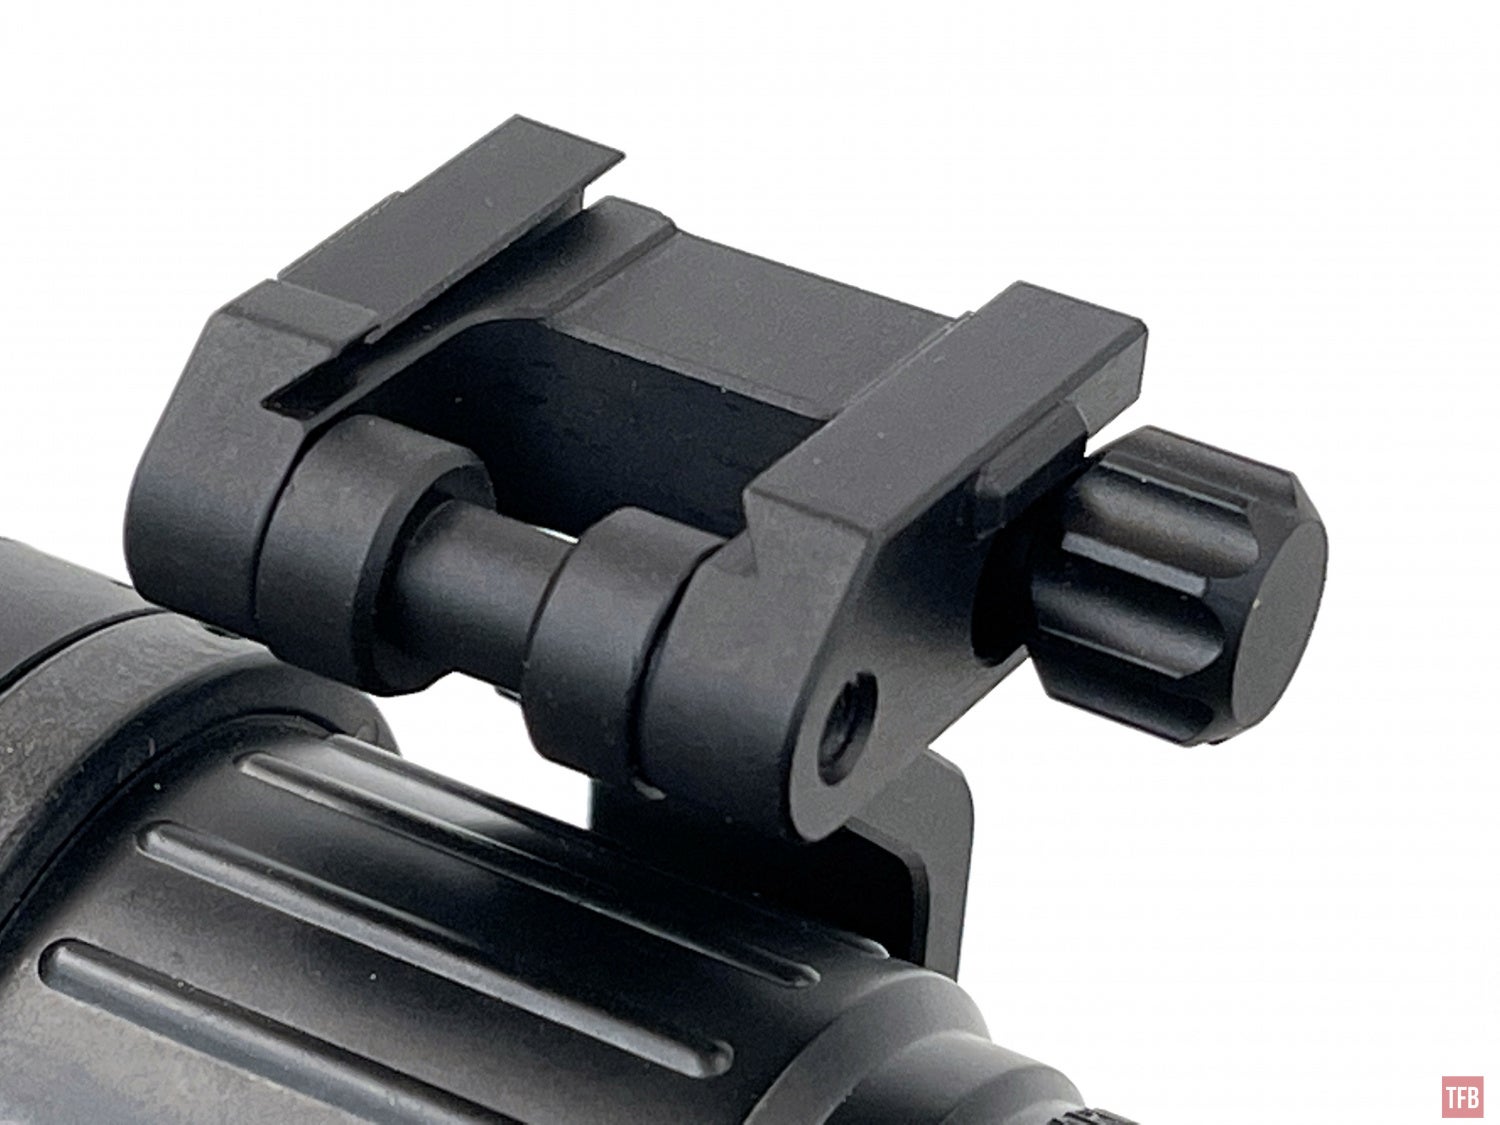
The pods slide onto a sort of inverted dovetail. They stay in place by tightening this knurled nut. So you just slide the pod to where you want and tighten that knob.
Rayvn used to use a thumb screw and a nut. This was a bit annoying cause if you loosen the screw, often the nut would fall off. See the photo below of a preproduction sample.
In order to mount the FLIR BREACH, Rayvn has a dovetail adapter. It slides onto the MUM style rail on the BREACH and two set screws hold it in place. Now you have a 1/4-20 screw hole and indentation for an anti-rotation tab.
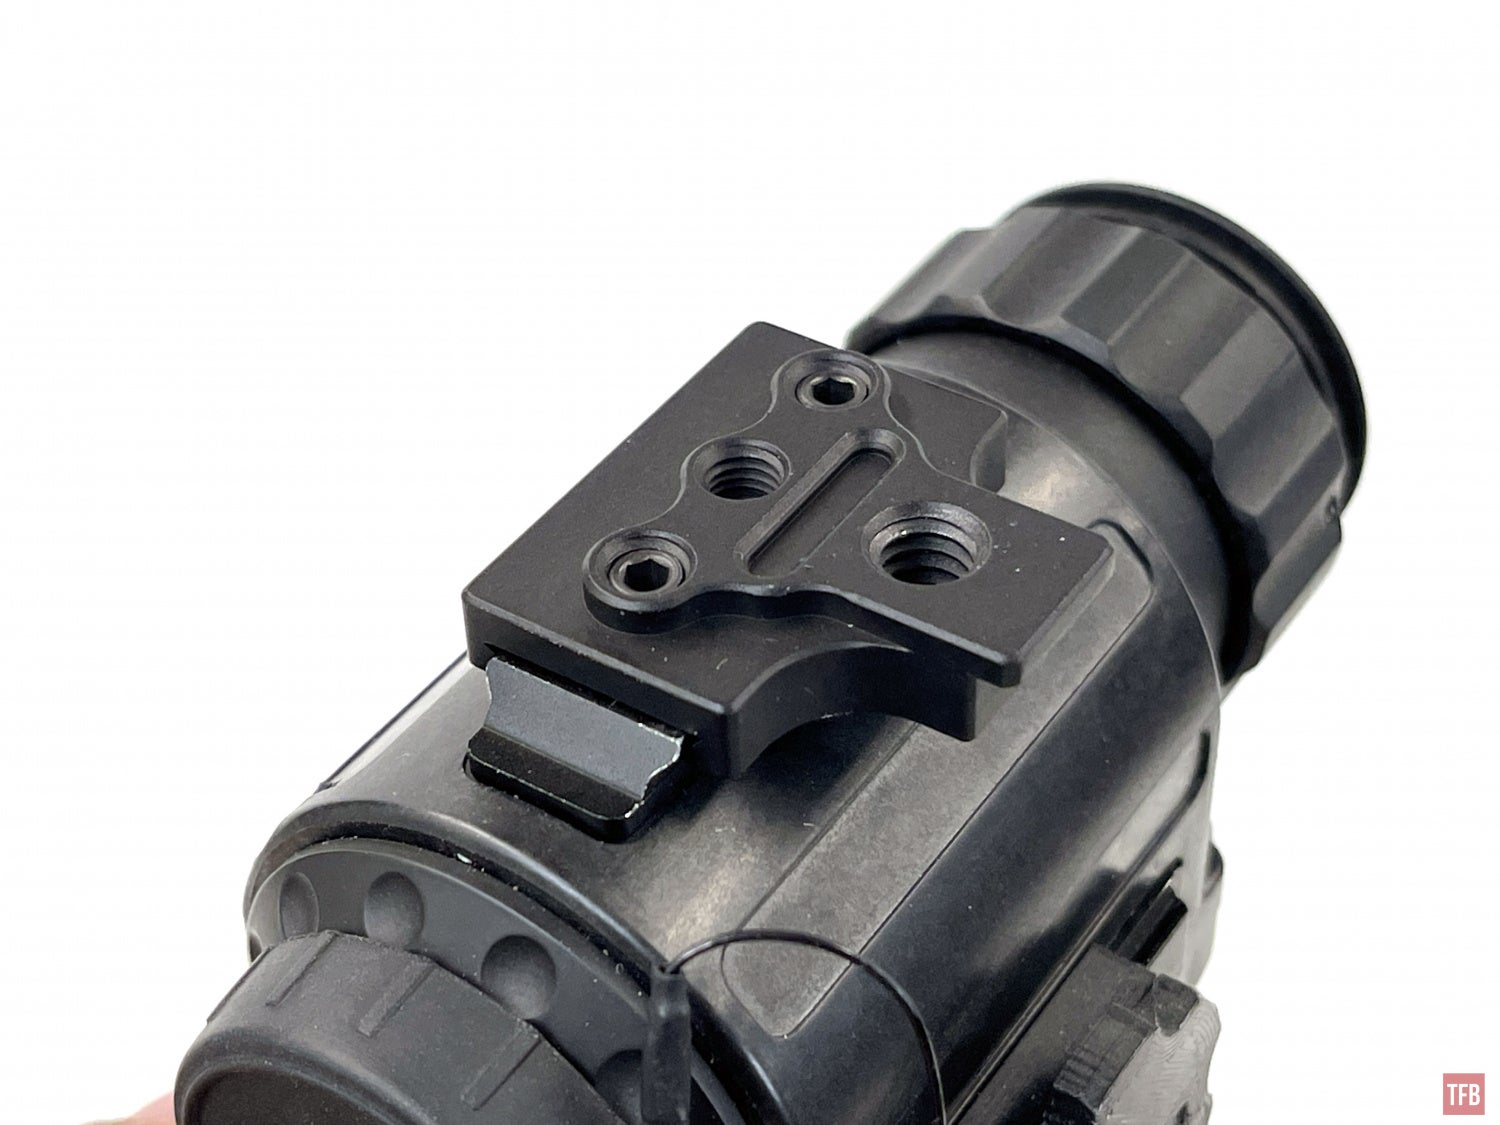
Then you bolt on the Rayvn Rail sliding adapter.
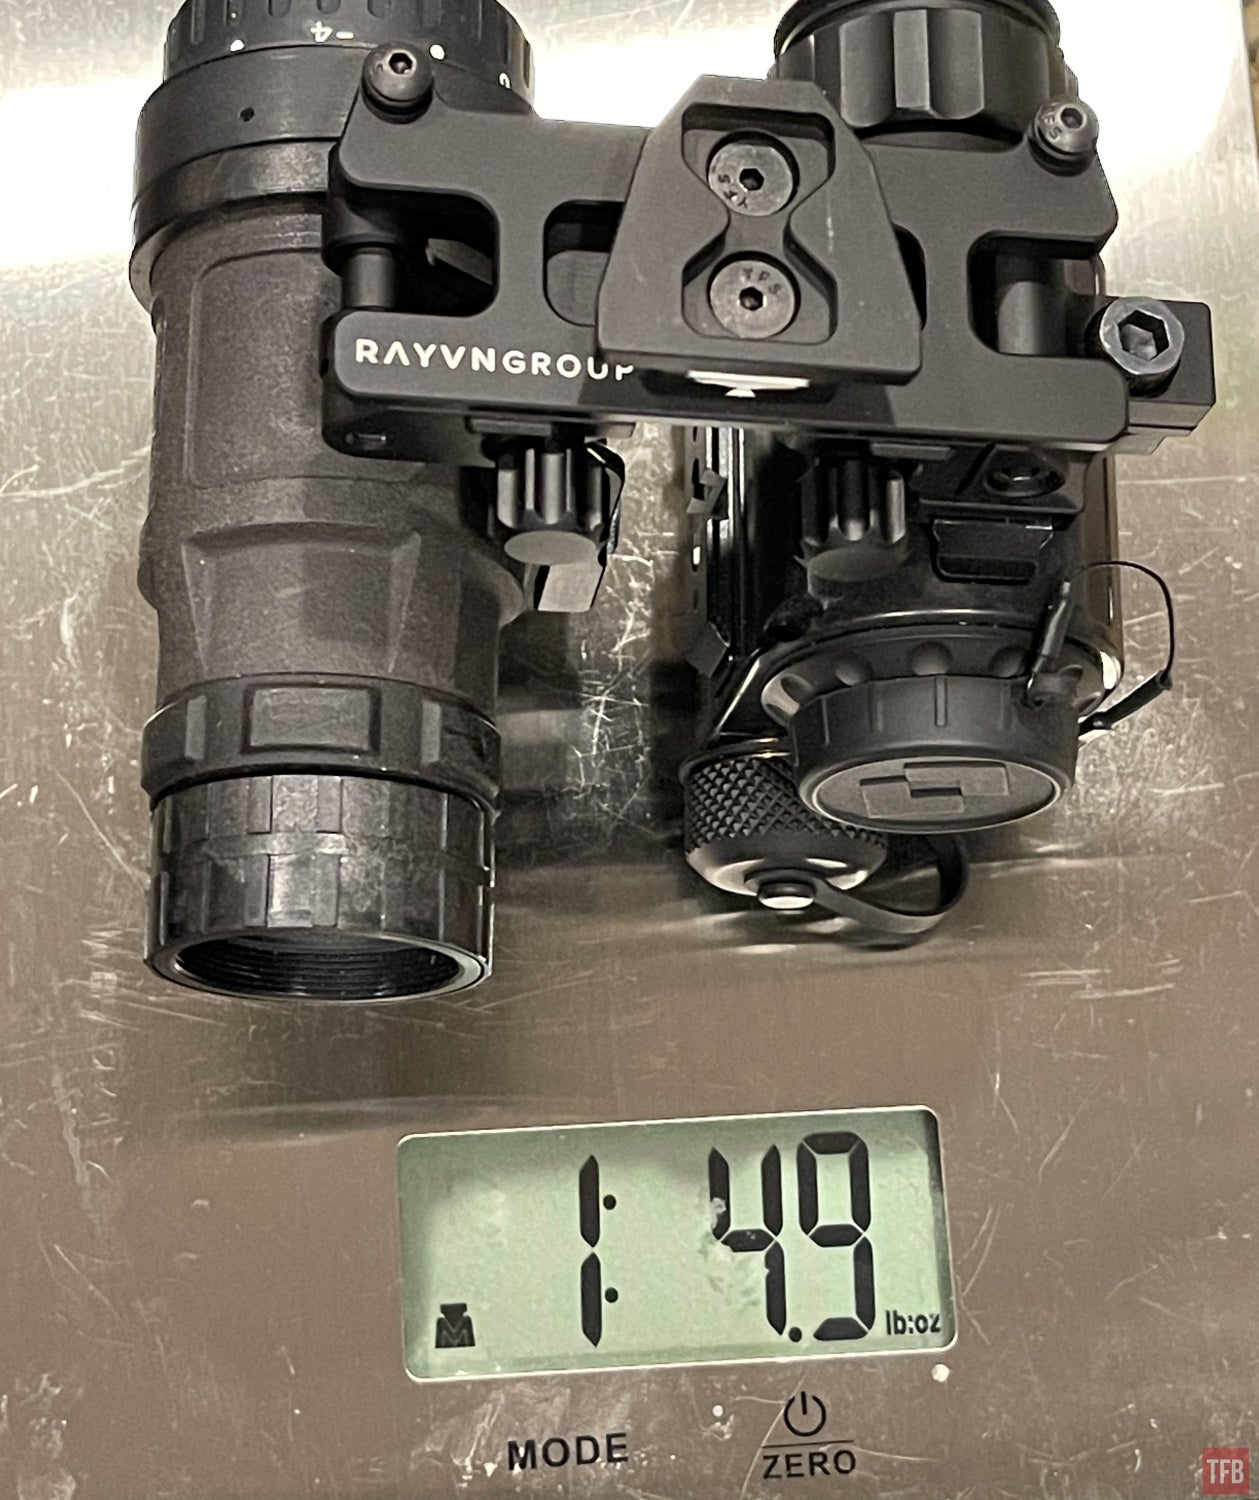
With a PVS-14 the Rayvn Rail fully built weighs 23 ounces. The one below is a little bit heavier since I am using a DEP HYPER aluminum housing for the PVS-14.
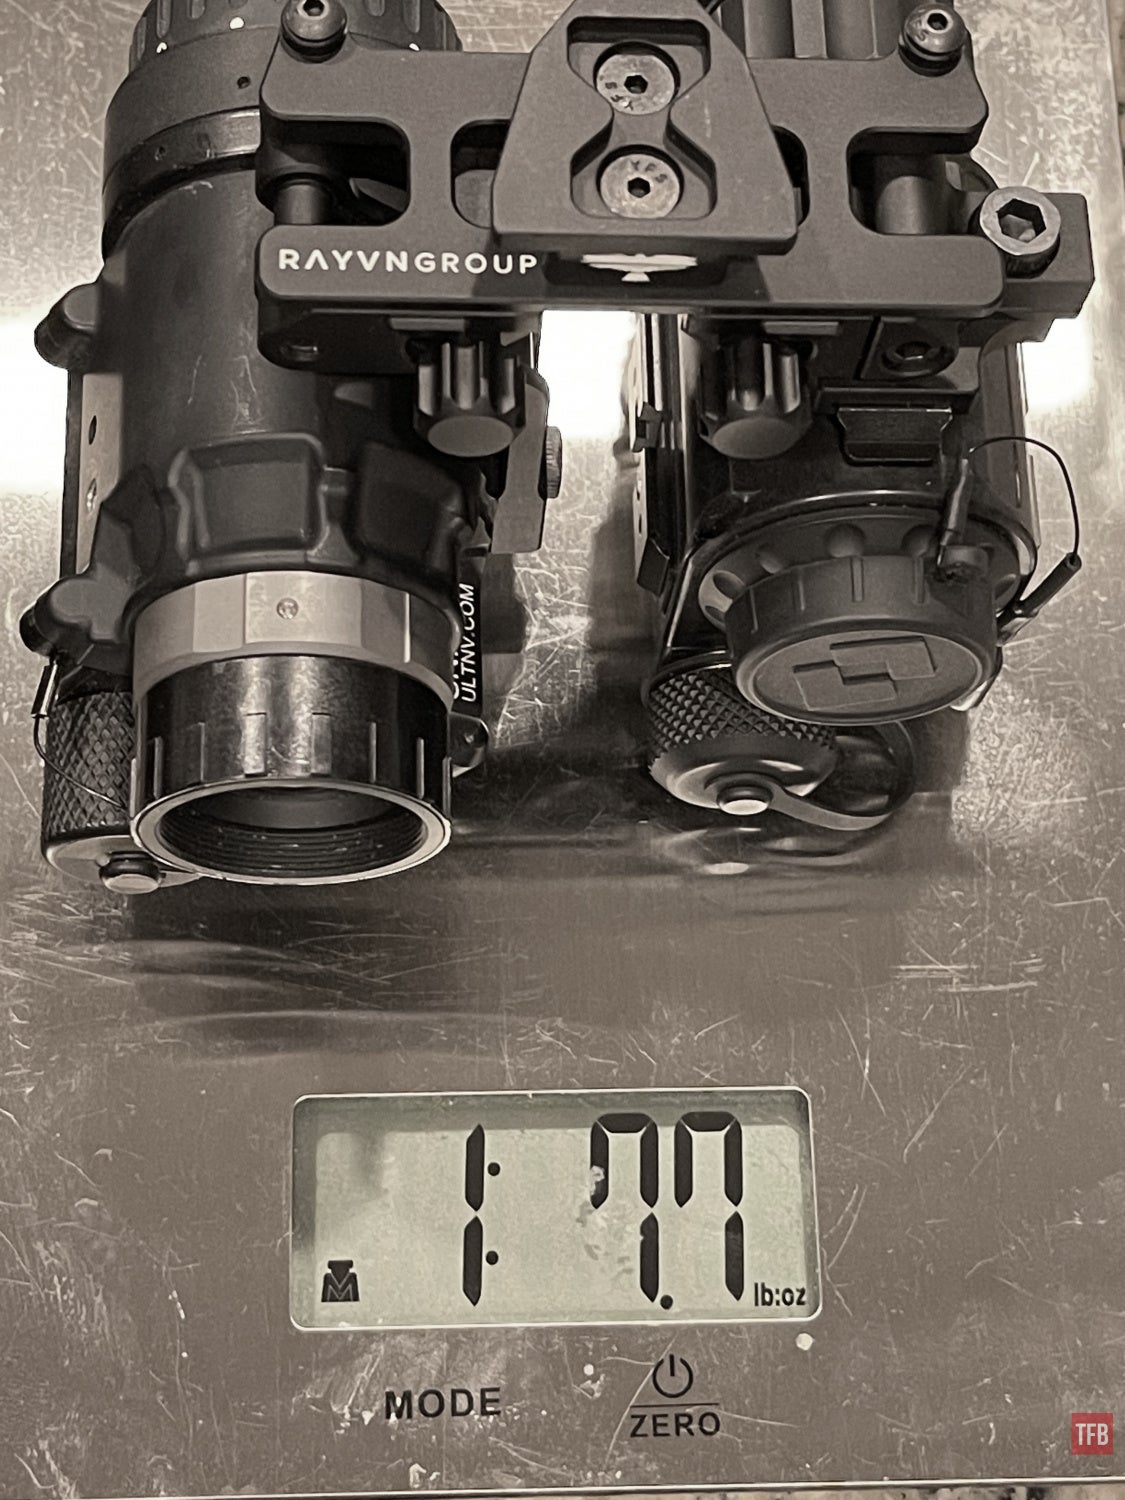
You save over 2 ounces by using a Nocturn Tanto.
Final Thoughts On The Rayvn Rail
The big question I am sure you are asking is “How much will it be?”. I was told they will retail for $350 for a complete bridge. That includes adapters for a PVS-14 and FLIR BREACH. PVS-14 and BREACH are sold separately.
One thing to note is that this is designed for PVS-14s. It worked well with the Nocturn Tanto but I found the arm did not sit flush with my DEP HYPER housing. A minor issue. This is not Rayvn’s fault as the Hyper housing is not common at all and has different dimensions than a typical PVS-14 housing.
DEP HYPER housing on Rayvn Bridge
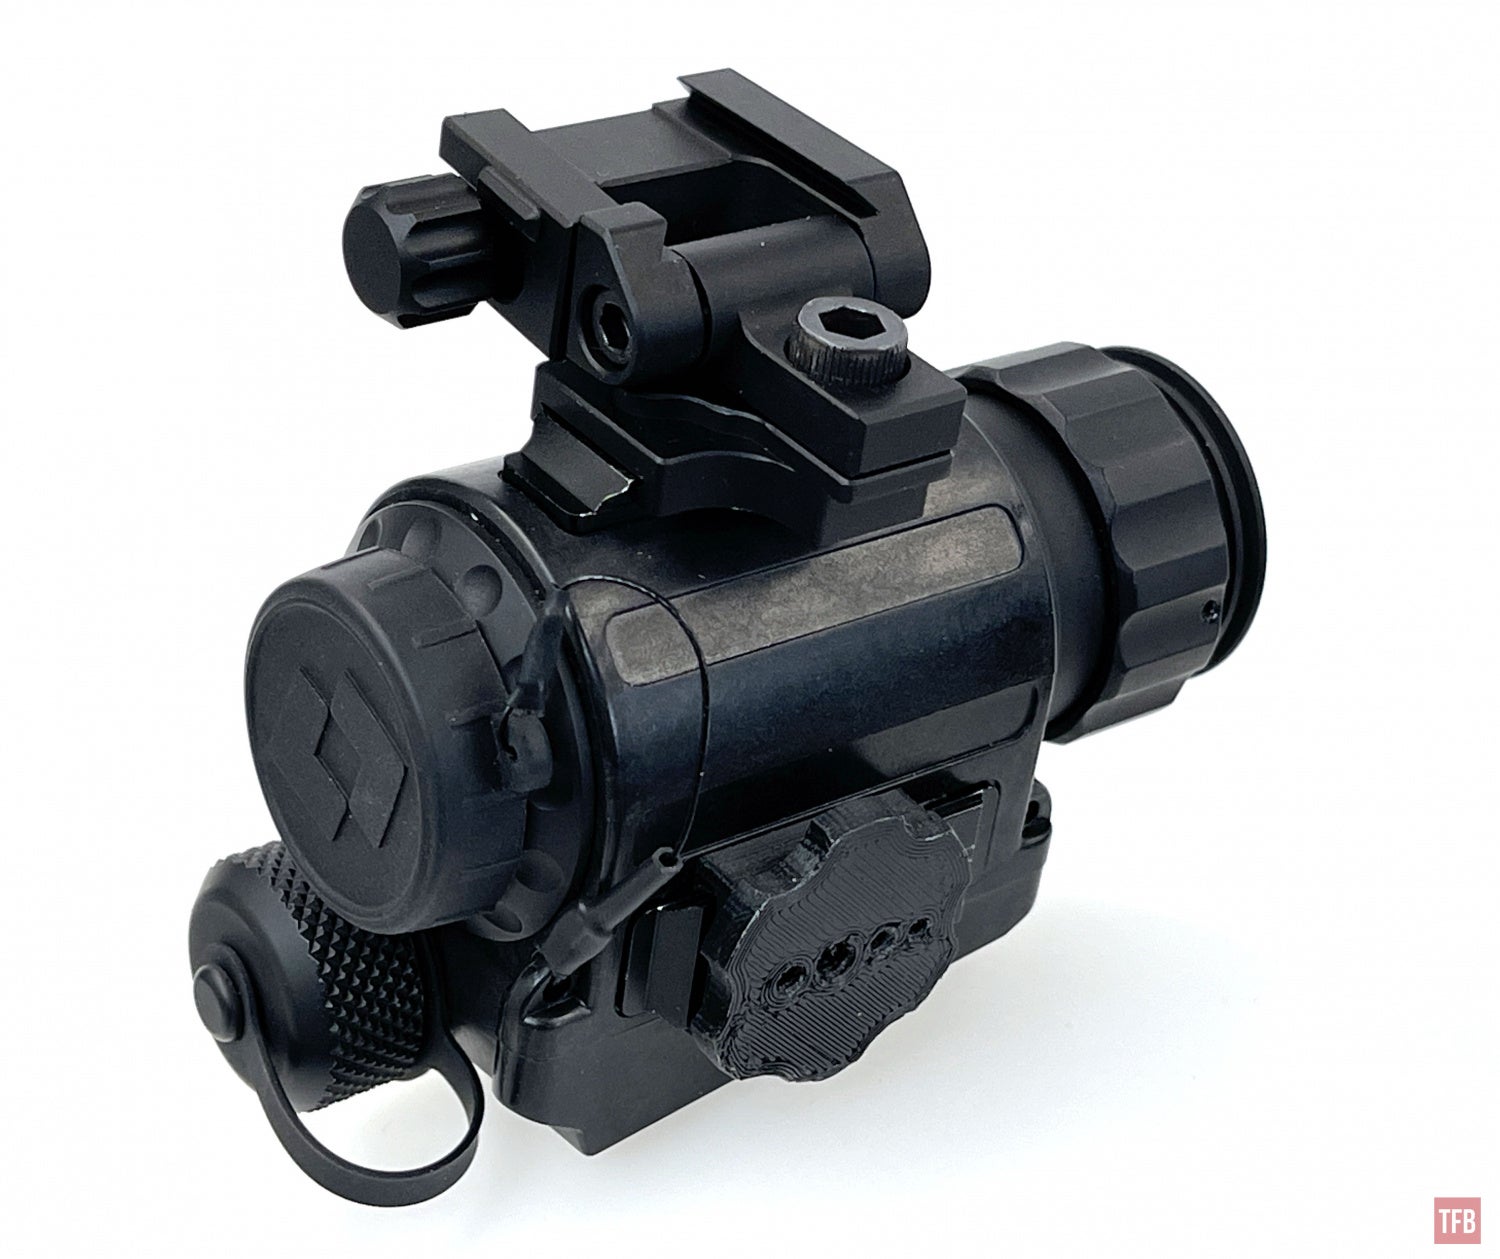
If you do bridge a FLIR BREACH, I highly recommend getting or printing this lens cap holder.

It is that knurled-looking disc on the side of the BREACH
You can see the lens cap stored on the side of the BREACH using the 3D printed lens cap holder.

You can pre-order the Rayvn Rail off their website.