 Your Privacy Choices
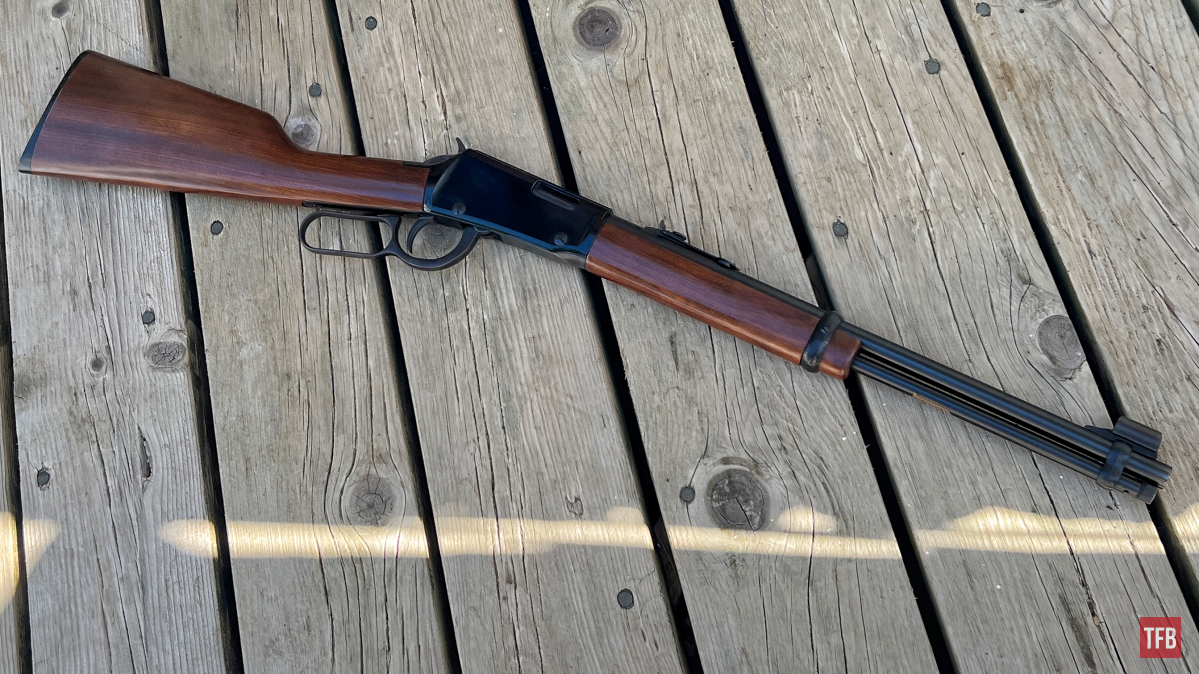
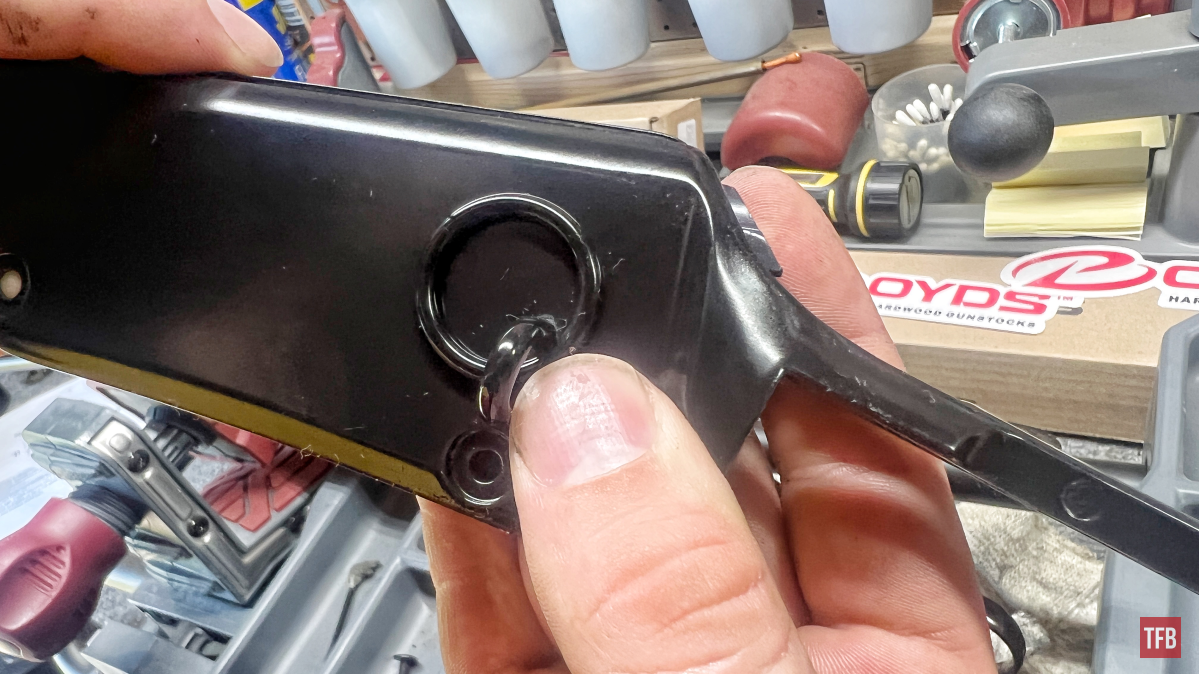
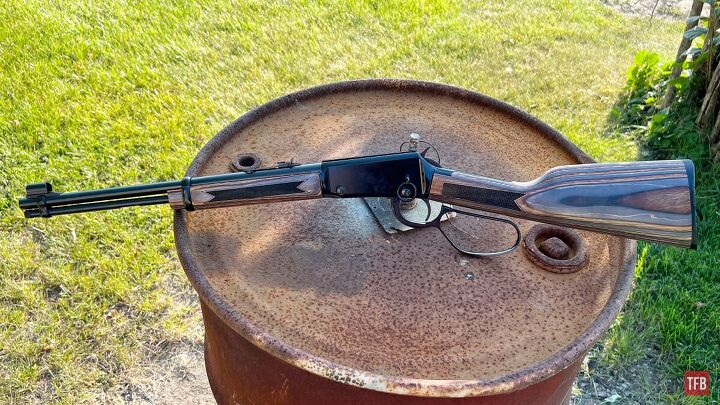
Welcome everyone to the TFB Armorer’s Bench! As mentioned in the little blurb below, this series will focus on a lot of home armorer and gunsmith activities. In this article, I decided to show the installation process of a large loop on a Henry 22 that made it to my bench. Now, full disclosure, this is my Henry from when I was a kid and I felt it was time for some upgrades because, well, I can. This is Henry’s youth model 22 lever action and during this process, I was also detailing switching out the stock and handguard for a Boyd’s Gunstock review over at AllOutdoor.com which is yet to hit the internet. In this article, I swap out the old lever for a large loop offered on Henry’s website as well as a new receiver cover that has a saddle ring in it just for the fun of it. That receiver cover is also found on Henry’s website. Let’s dive right into this Henry Large Loop Installation!
Other Henry Repeating Arms Reading on TFB
- TFB Review: Henry Lever Action Axe .410 – Cutting Down Non-NFA Competition
- The Rimfire Report: A Henry AR-7 Cautionary Review
- SILENCER SATURDAY #195: Big Bore Blasting – Henry .45-70 And The Dead Air Primal
- TFB Review: Henry All-Weather Lever Action – A .45-70 To Weather The Storm
- The Rimfire Report: The Best DIY Upgrade For Your Henry AR-7
TFB Armorer’s Bench: Henry Large Loop Installation
Here, we at TFB hope to inform, entertain, and even inspire any would-be gunsmith or armorer out there. Ideally, with the information I provide and with the help of our sponsors, you can have some useful knowledge pertaining to the conservation and improvement of firearms technology while at the same time sharing experiences and teaching each other new tips and tricks along the way in the comments. Digging deep into what it is to be an armorer or gunsmith has significance but what is important is what those people do to show they’ve earned that title. I am happy to share my experiences and knowledge and hope it is informative!
Make your personal safety a priority:
- Practice proper gun safety. Always make sure before the firearm hits your bench that it is unloaded and safe to be handled.
- Wear the proper safety equipment. The main one would be safety glasses (decent ones) since parts are often under spring tension and you may work with high RPM tools. Other honorable mentions would be latex gloves or a respirator when working with potentially harmful solvents and oils. Also hearing protection when working with loud machinery or test-firing firearms.
- Modifications, alterations, and customizations will void your firearm’s warranty 9.5 times out of 10. Please take that into consideration before attempting any at-home gunsmithing.
- If you are unsure about proper safety practices, disassembly procedures, or warranty standards, stop, put down the tools, and consult a competent gunsmith.
Tools Needed: Henry Large Loop Installation
This whole process really does not require a lot of tools but there are some basics. I recommend a good screwdriver set so you have the correct size bits to match the flathead screws. A hammer with a soft side or rubber handle. A gun vice may be useful for the actual loop installation portion but as far as disassembly and reassembly go, this gun will constantly be flipped back and forth to get at side screws and pins. Have a good bench block on standby if there are any stubborn pins as well. Lastly, a magnetic parts tray is always useful as far as keeping track of parts goes.
Note: This would be a great time to do a deep clean. In this process, the guts and bolt of a Henry 22 rifle will be exposed.
Step One: Henry Large Loop Installation – Disassembly
The first thing is first! Safety. Yes, I know safety is boring and sooo mainstream but bear with me. Make sure your ammunition is stored and away from your bench. If starting out with an assembled firearm, make sure to check the chamber, magazine, and space between. Then check again. As far as PPE, I highly recommend wearing safety glasses at the very least. There are parts under spring pressure.
Step Two: Henry Large Loop Installation – Disassembly
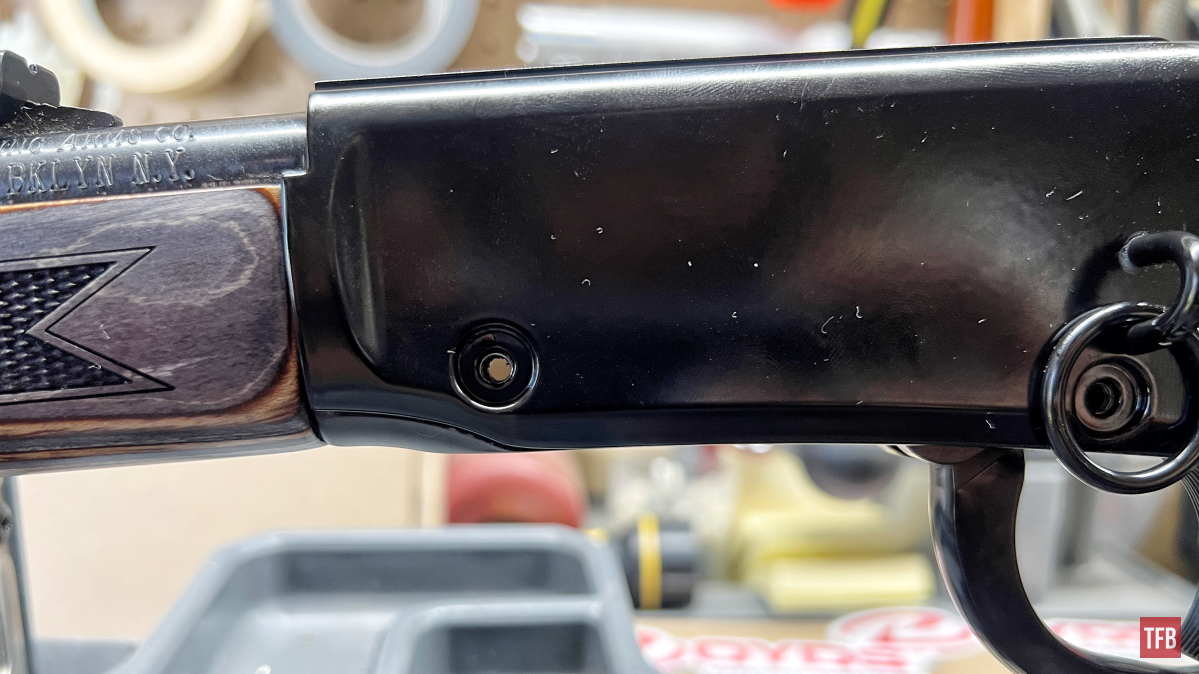
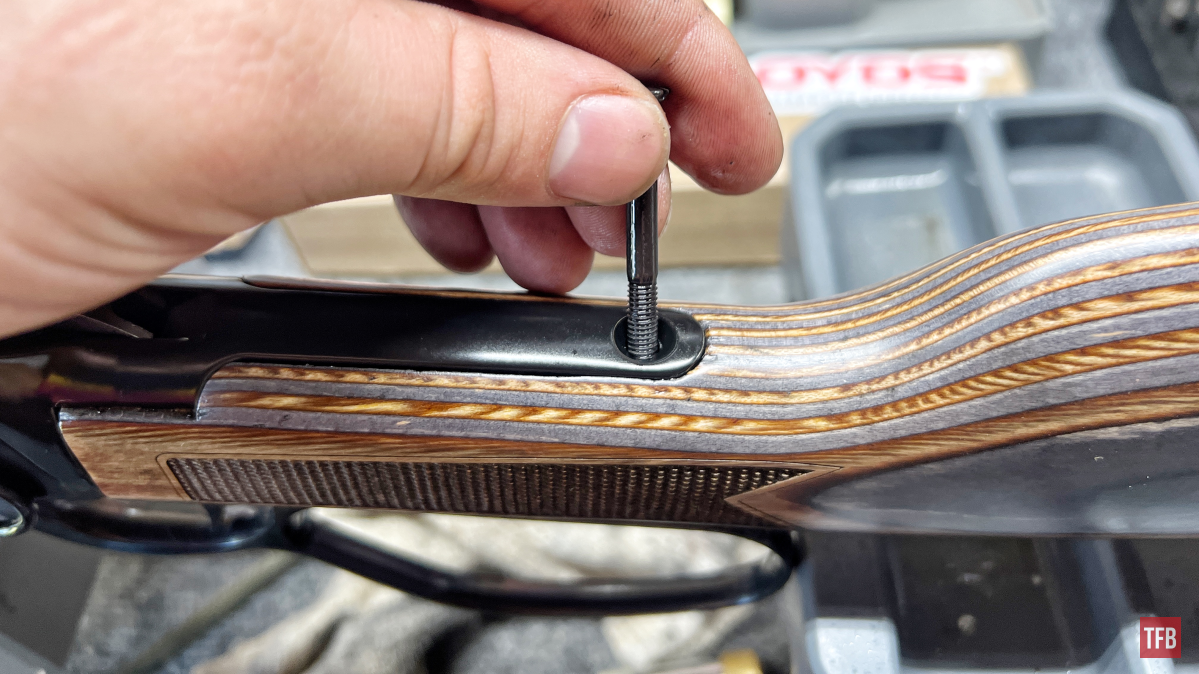
With the rifle secured in a gun vise or in a regular vise with soft jaws, begin by removing the stock screw. Make sure to use the right sized bit to avoid slipping, scuffing, and overall harming the rifle.
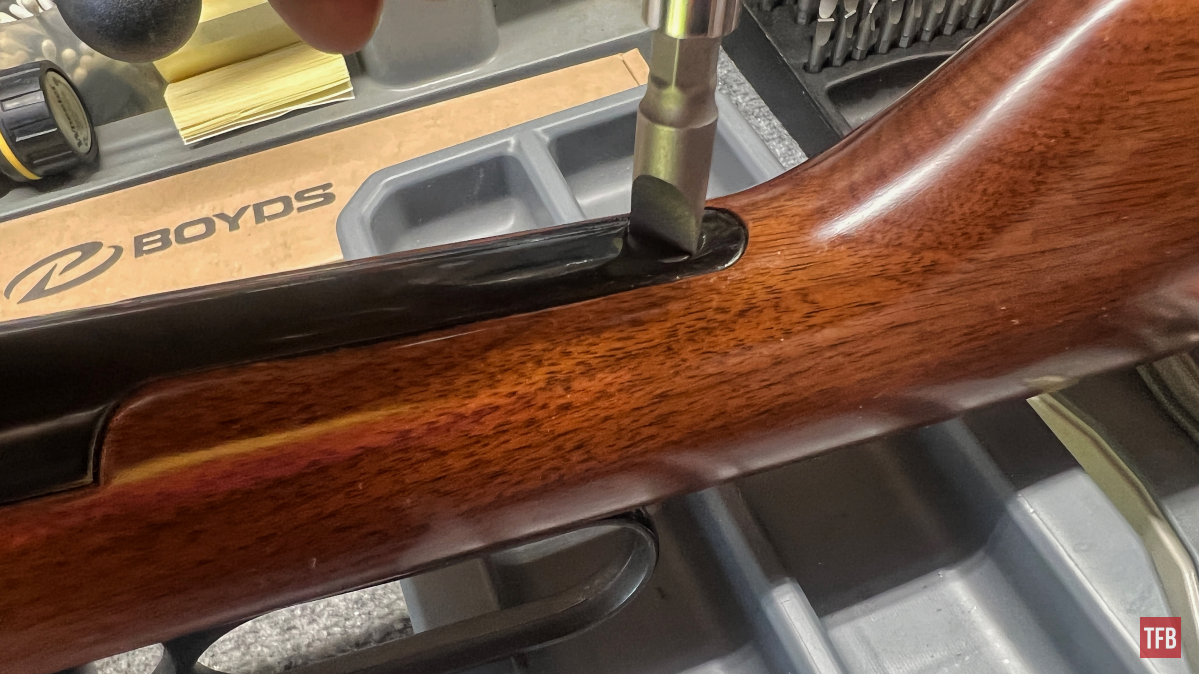
Remove the stock screw straight upwards.
The stock can be removed straight backward. If it is stuck, be careful and avoid any twisting motions. Only pull straight back. A soft hammer face or a rubber handle of a hammer can be used to gently tap on the front of the comb.
Step Three: Henry Large Loop Installation – Disassembly
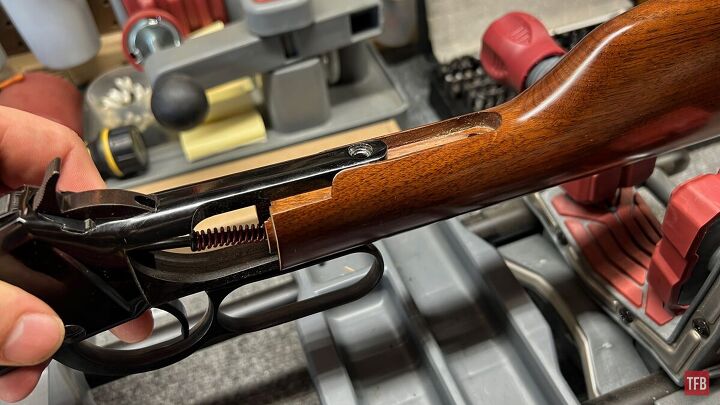
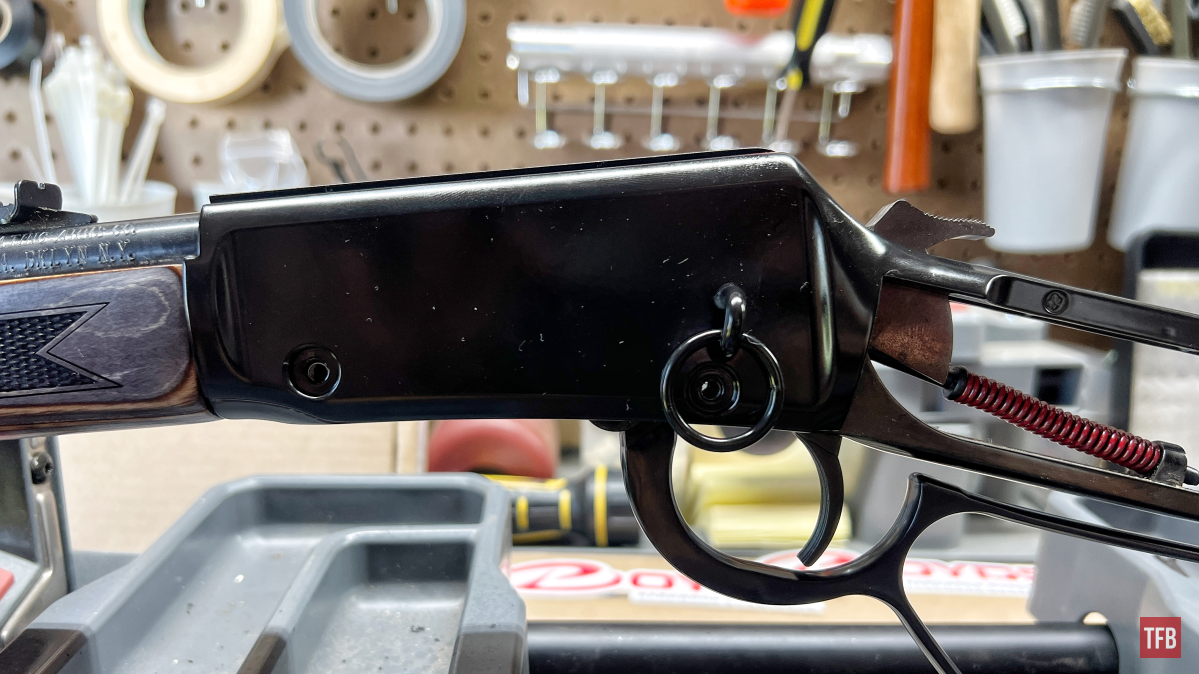
With the stock removed and placed somewhere out of harm’s way, we can now remove the four receiver cover screws. There are two screws on either side. Underneath the screws are cover screw washers that provide added grip so that the screws don’t come loose. Think of them as crush washers and a muzzle device.

These washers can be removed. I have found that if they have been tightened down to a certain extent they tend to stick to the cover. Use a needle pick of some sort to pop them loose.

Step Four: Henry Large Loop Installation – Disassembly
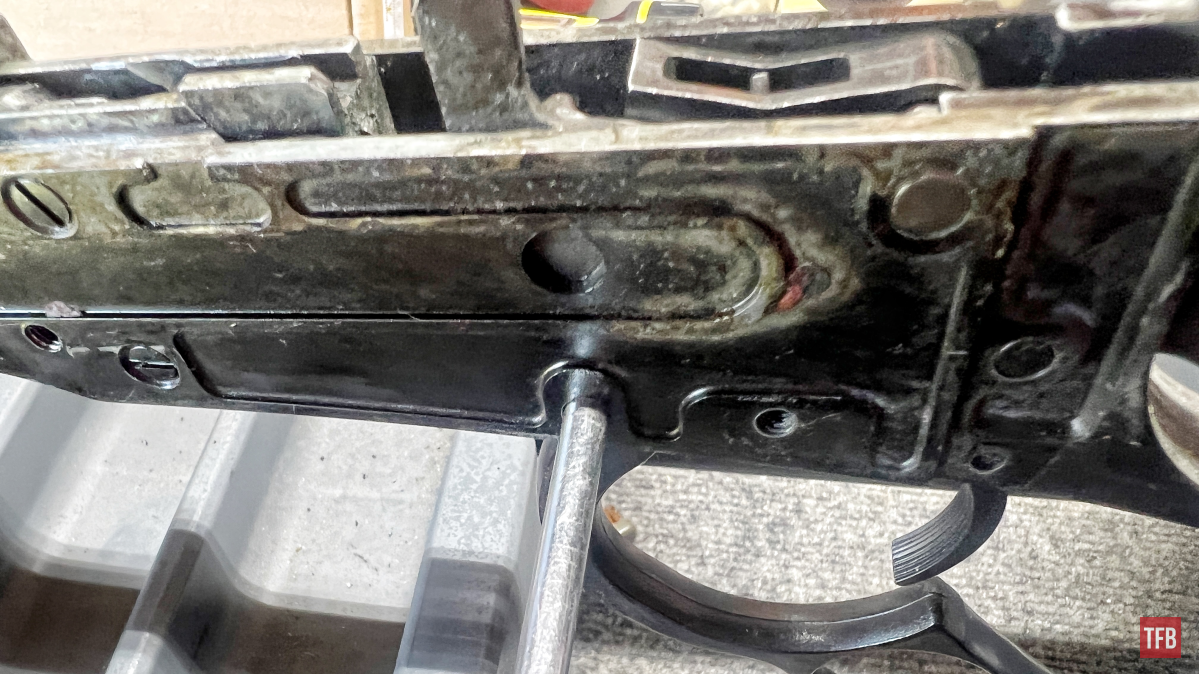
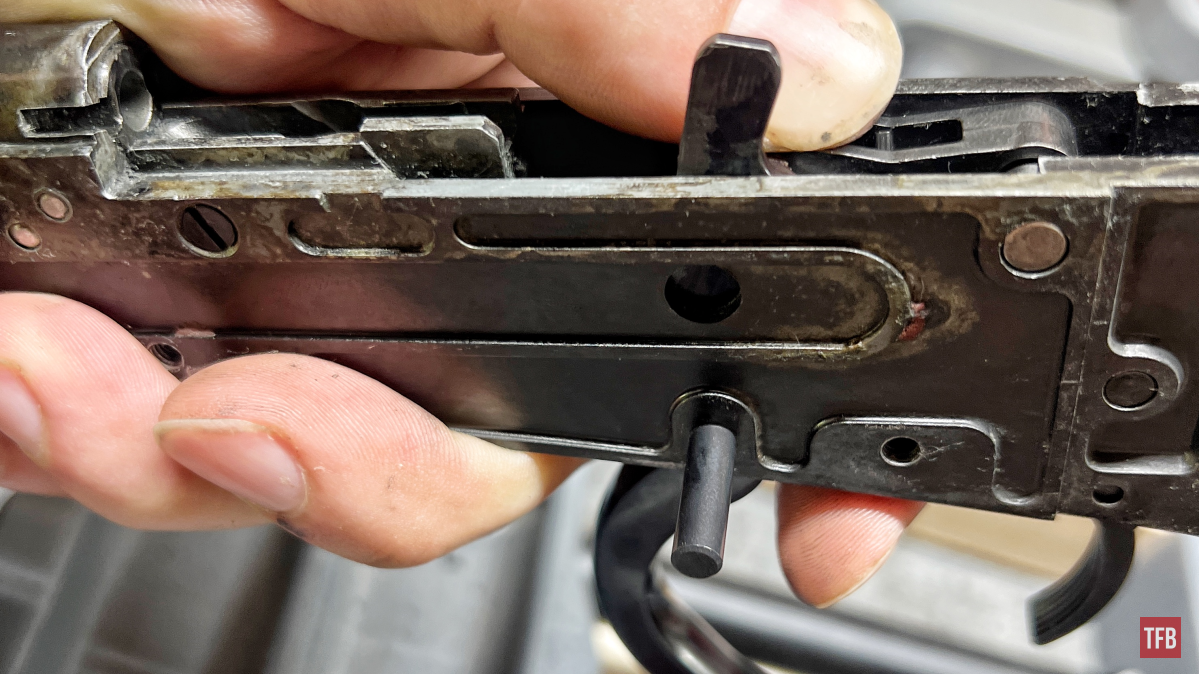
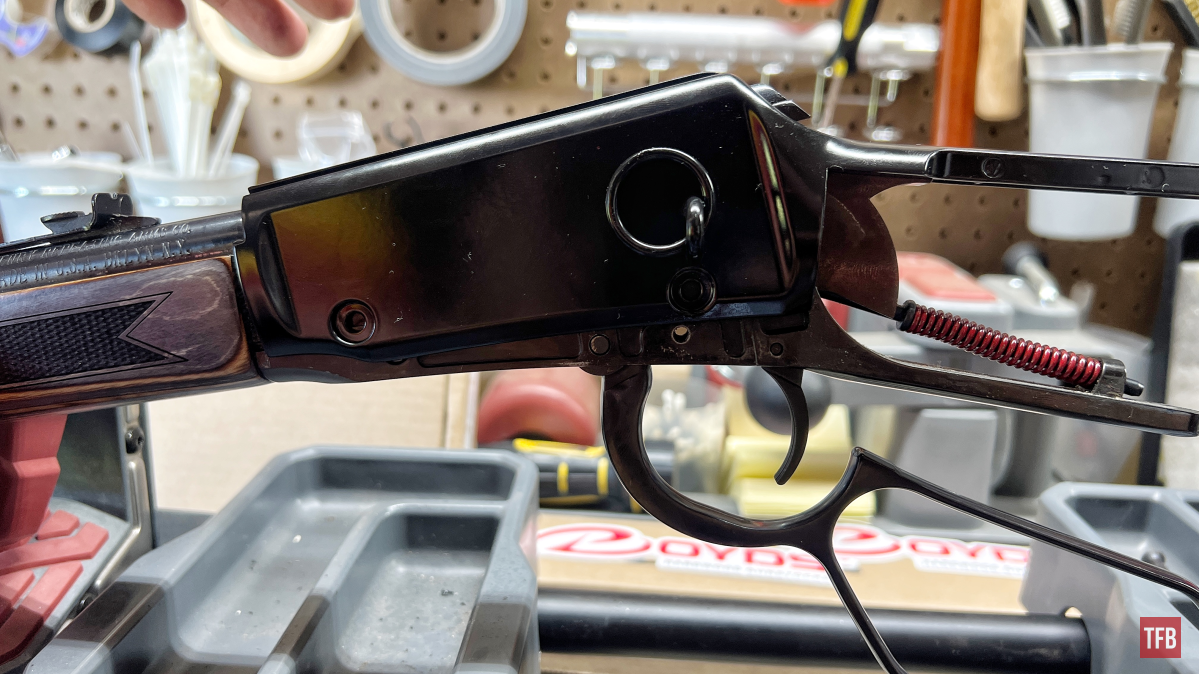
At this point, the receiver cover can be removed. In order to remove it, the hammer should be in the cocked position and the lever moved to the point pictured below. The receiver cover can be slid back and lifted upward simultaneously.
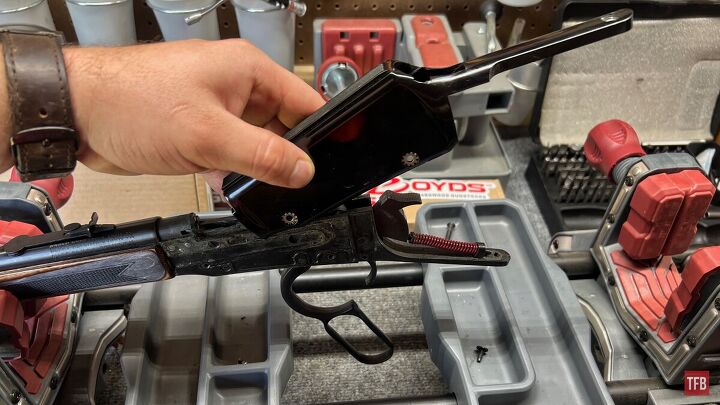
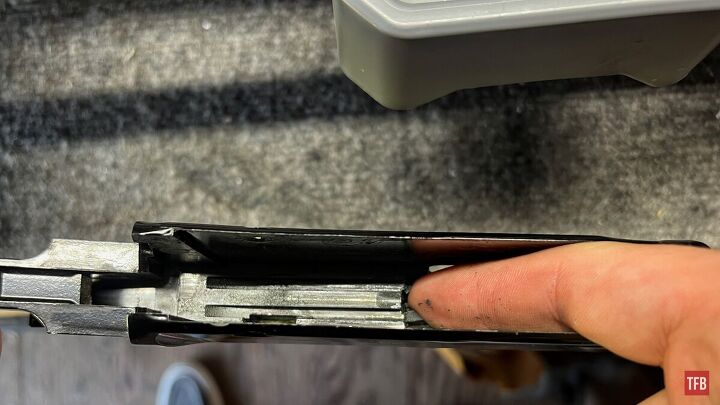
The receiver cover will contain the bolt. The bolt can be pushed out the back of the cover.
Step Five: Henry Large Loop Installation – Disassembly
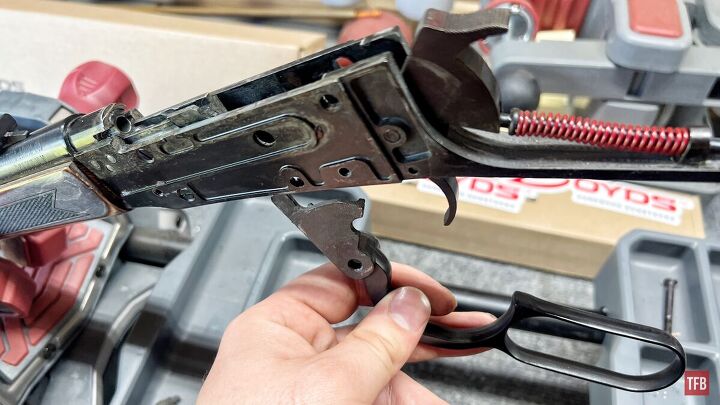
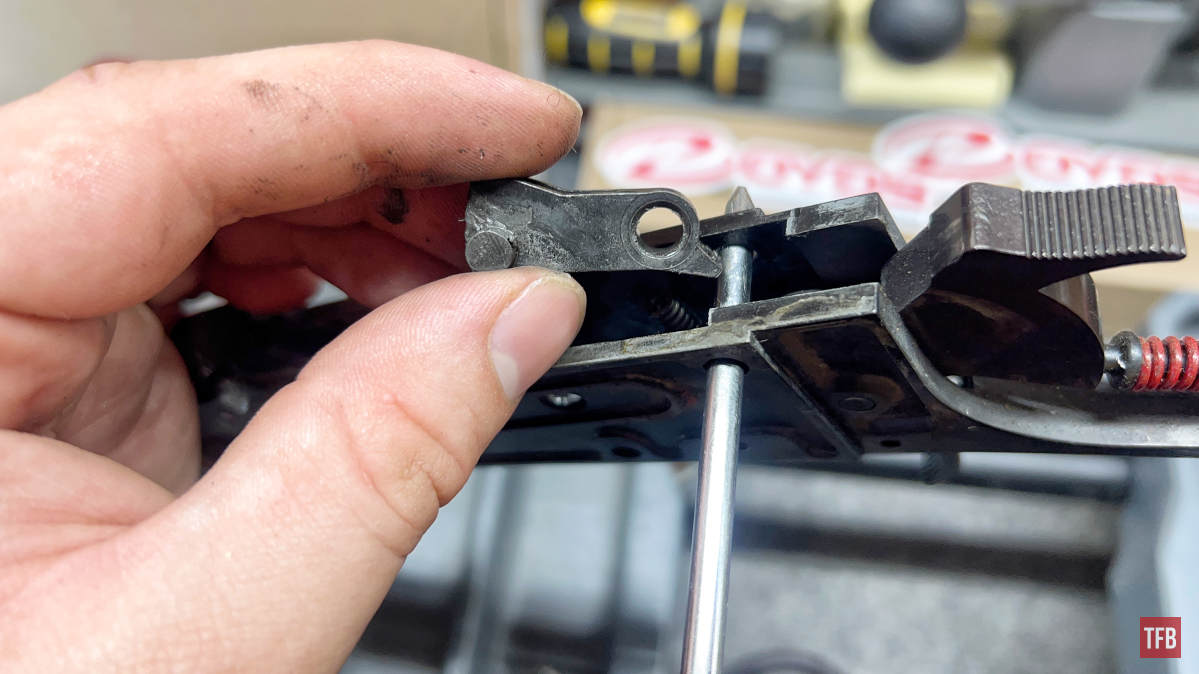
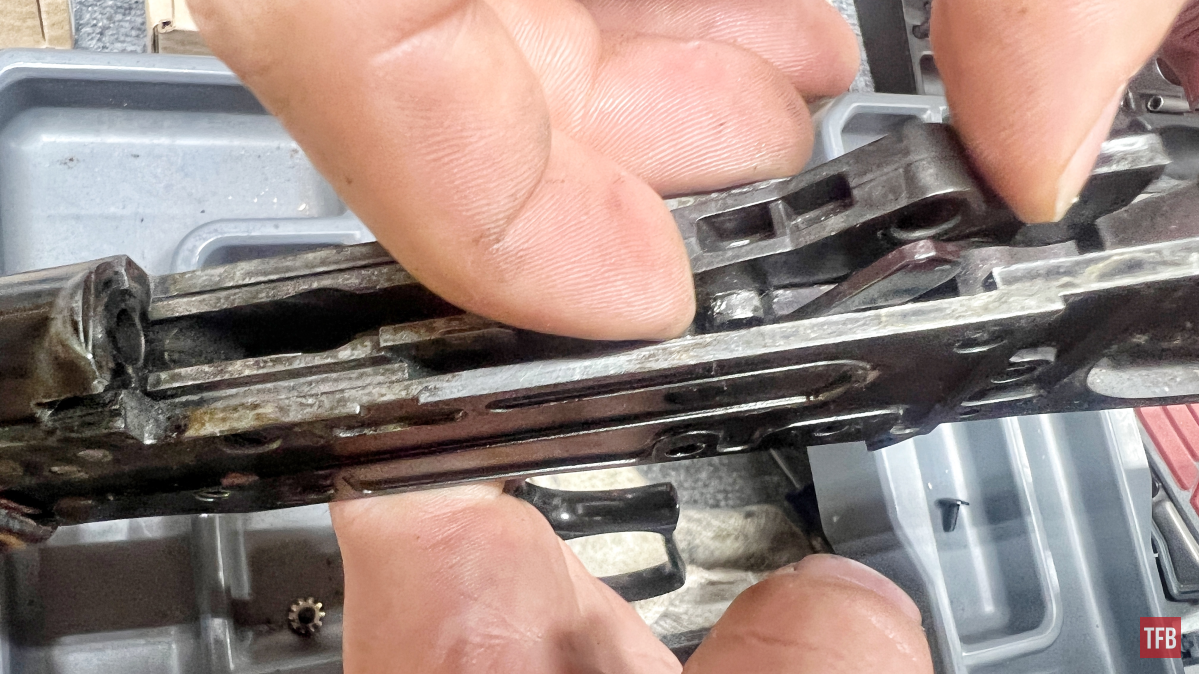
Steps five and six can be swapped either way. In hindsight, starting with step six may be a smoother disassembly process. Anyway, the pin at the end of this pick needs to be removed in order to take the lever off.
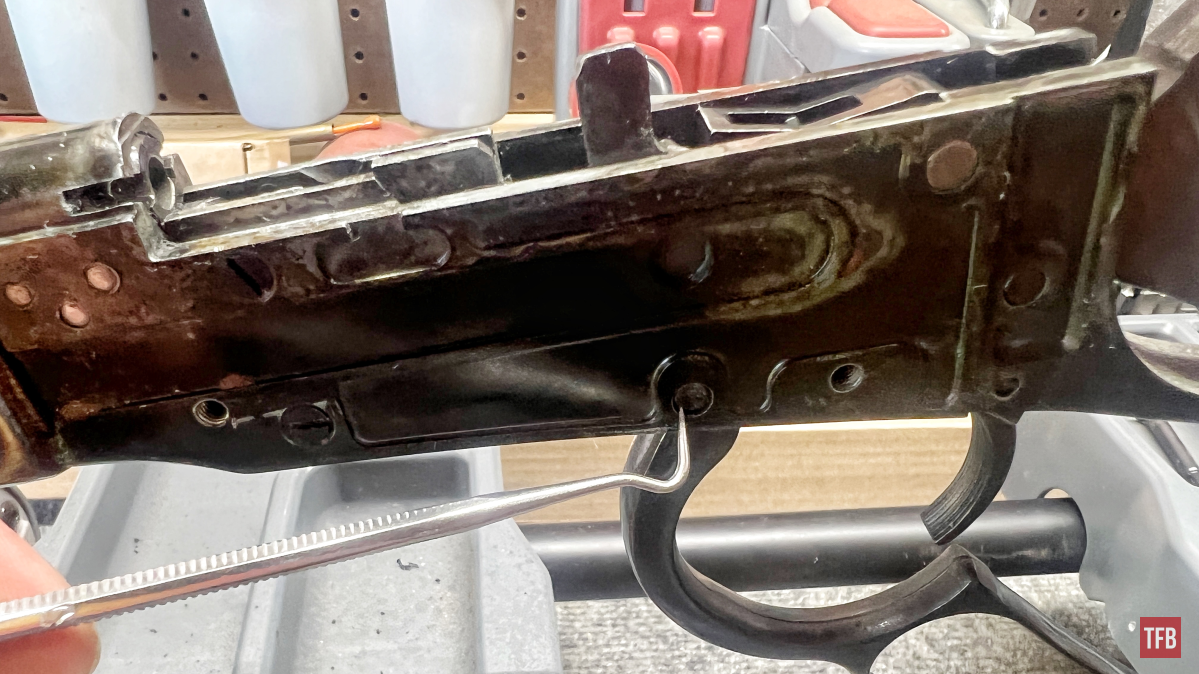
Punch out the pin. It can go either direction.
Step Six: Henry Large Loop Installation – Disassembly
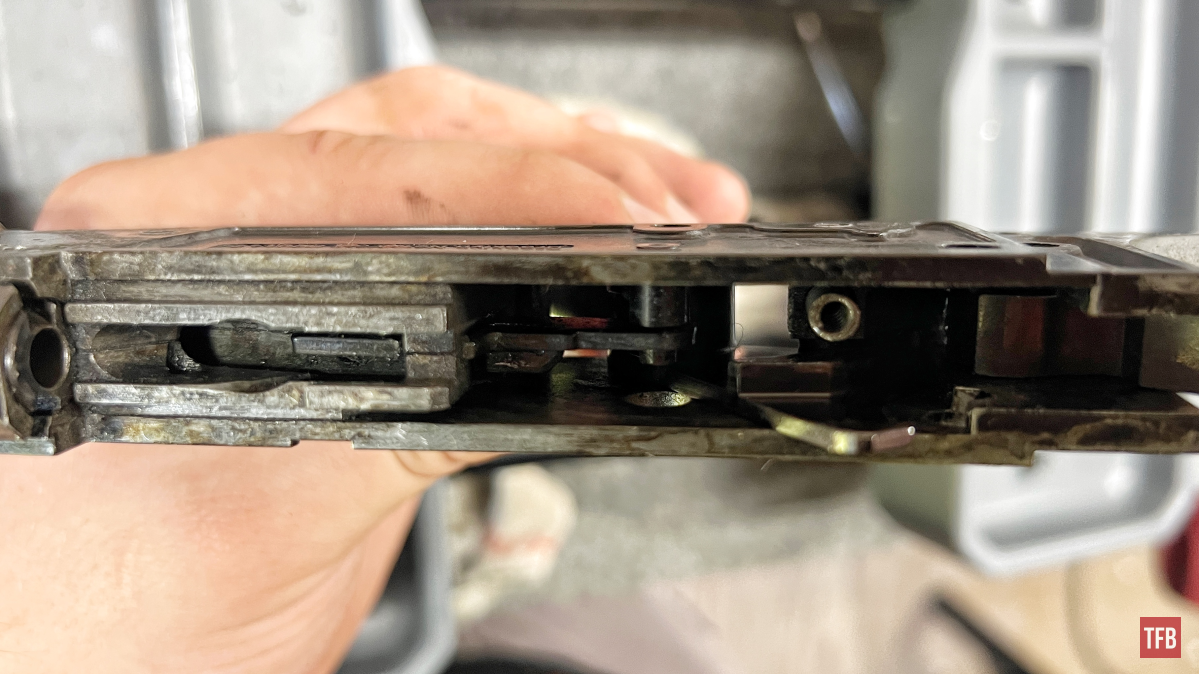
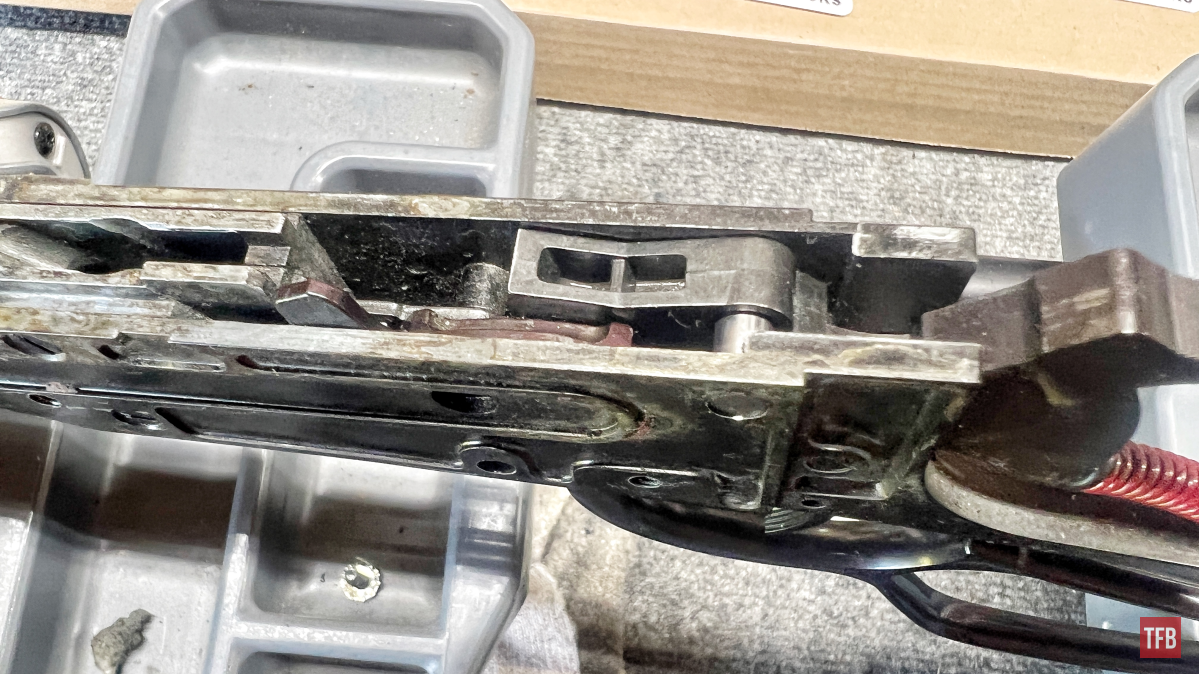
The piece pictured below is the lock bar. The lock bar is what locks the bolt in place while the lever is closed. That being said, it has a coil spring beneath it providing tension upwards. When punching out the lock bar pin, make sure to hold your hand or thumb over the lock bar to ensure it stays captured.
With the lock bar removed, the lever can be slid out the bottom. It may need to be actuated back and forth to get out of the receiver.

Step One: Henry Large Loop Installation
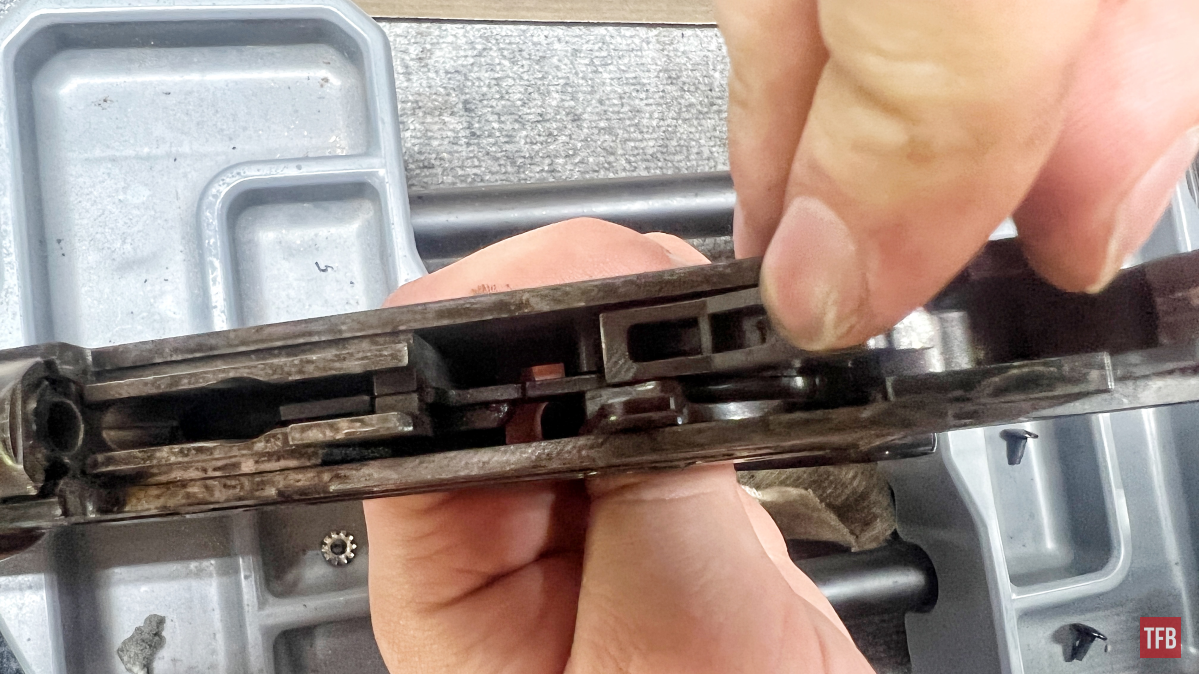
Now the installation process is admittedly tough to understand by reading. Showing it shows the minor touches, twists, and movements. The large loop lever can bow be fed up into the receiver until the hole in the lever lines up with the one in the receiver.
The large loop lever can now be fed up into the receiver until the hole in the lever lines up with the one in the receiver.

Step Two: Henry Large Loop Installation
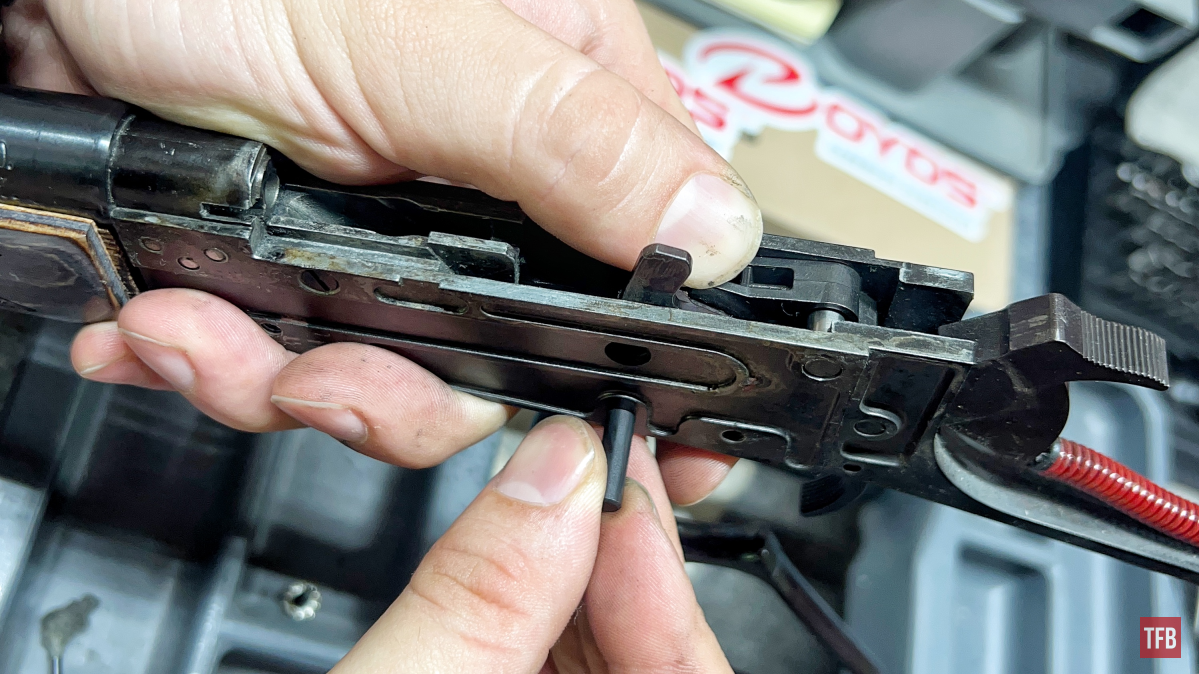
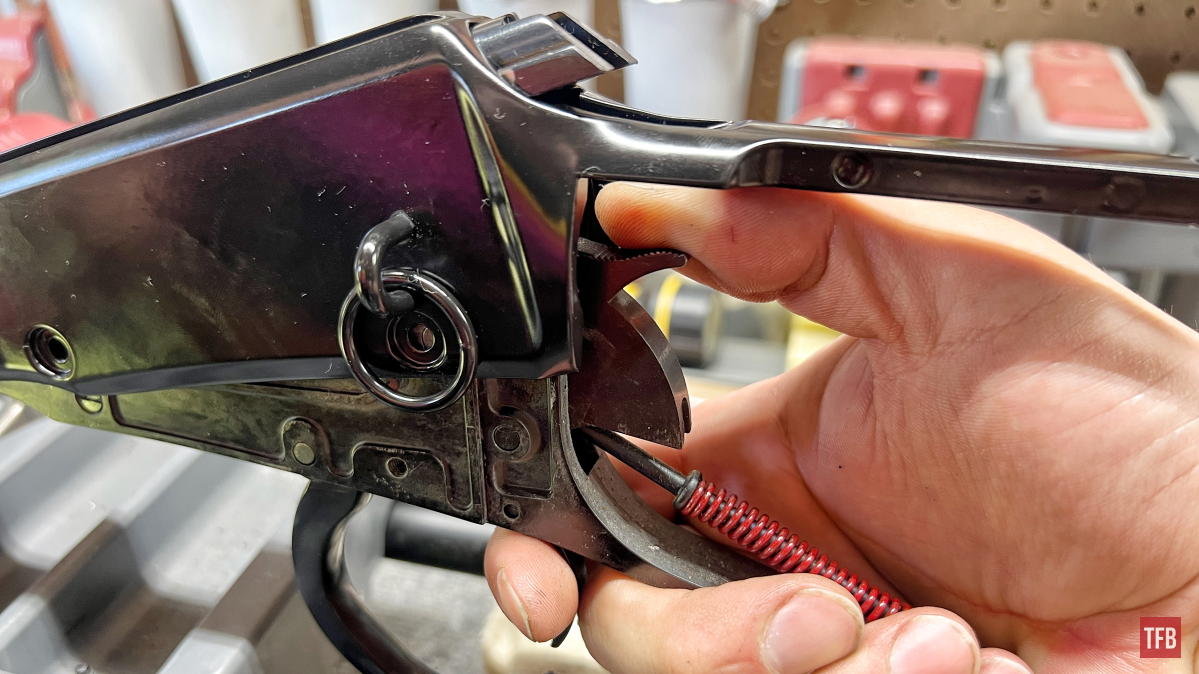
At this point, the lock bar spring and lock bar can be positioned. I held my thumb over the lock bar in order to apply pressure and line up the hole in the receiver so the lock bar pin can be inserted.
Note: The lever needs to be over the round nub on the lock bar. Either the lock bar or lever can be persuaded into place.
The end result is shown below.
Step Three: Henry Large Loop Installation
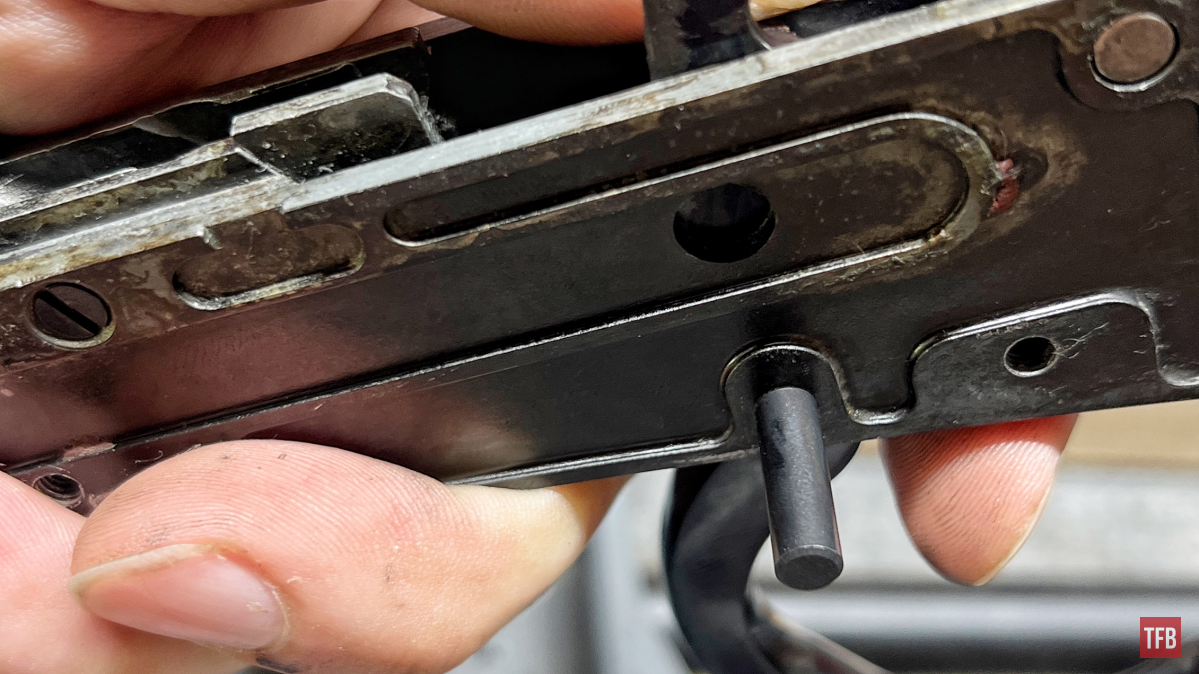
The lever and receiver holes should be lined up and the pin put back into place.
Step Four: Henry Large Loop Installation
At this point, I have very obviously gone to the saddle ring receiver cover. Insert the bolt into the rear of the cover.
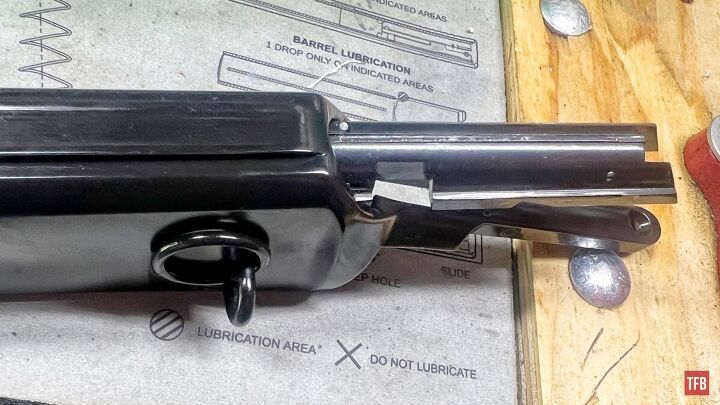
Slide the bolt in about this far. Remember, the lever will be in a halfway position when the cover is reinstalled.
Step Five: Henry Large Loop Installation
With the hammer cocked the receiver cover can be slid onto the receiver.
Make sure the lever fits into the bolt. This is a mix of going slow with the receiver cover and working the lever until it correctly engages the bolt.
Slide the cover forward and downward until the screw holes line up.
Step Six: Henry Large Loop Installation
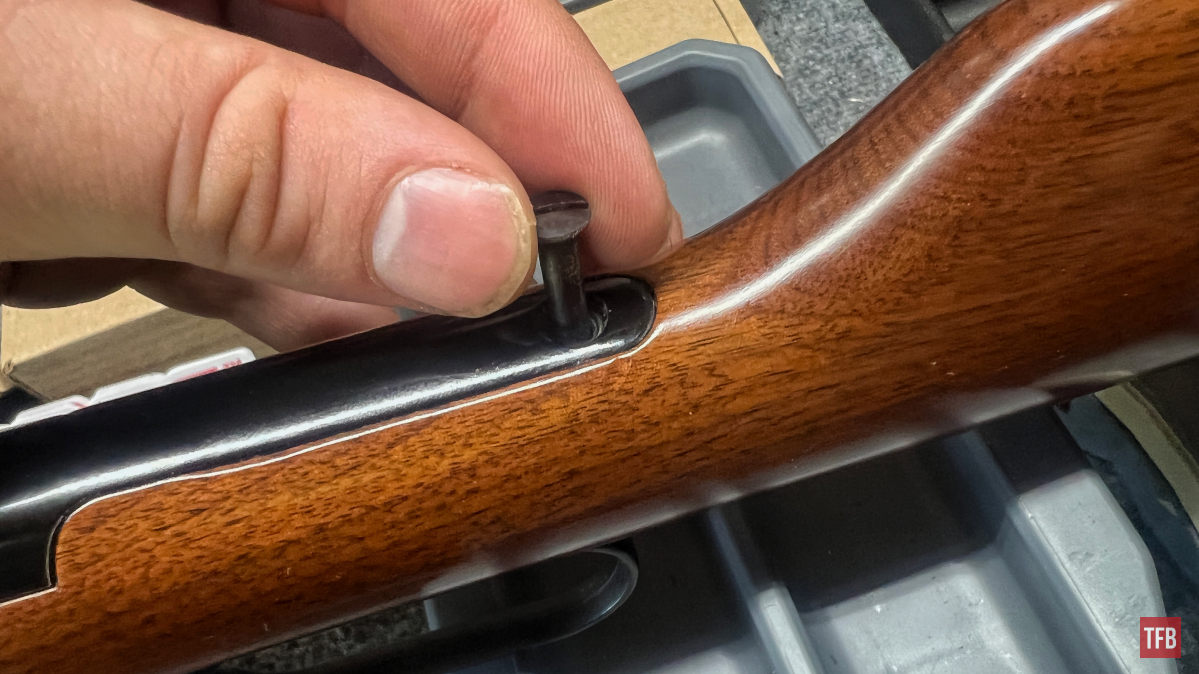
Reinstall the stock. Yes, this is a different stock. It should slide on with no issues but let us say it is a tight fit. Use the weight of the gun against it and stand it up with the butt plate on the bench and raise it all up an inch and softly drop downward in little taps to help the stock go into place. No hammering, no tools, just let the weight of the gun do the work.
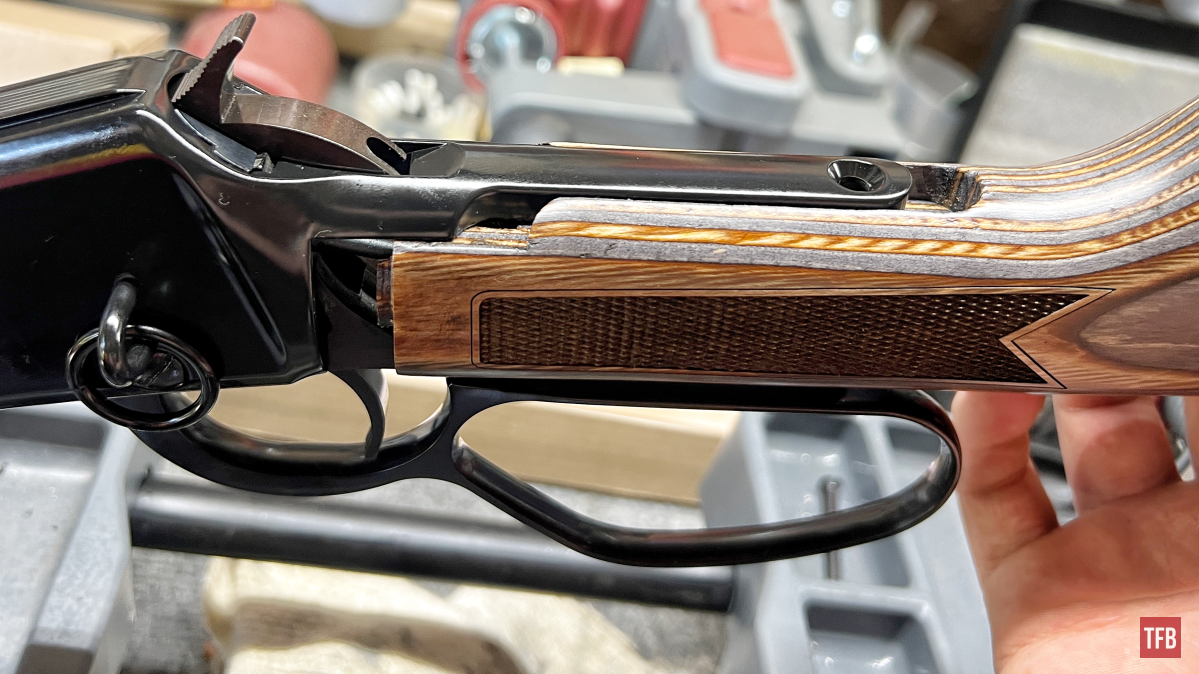
Insert the stock screw. Sometimes these can get sort of caught inside and the gentle tap of a soft hammer or hammer handle usually will help it to the threads on the other side.
Conclusion: Henry Large Loop Installation
Lots of installation and disassembly articles lately! It is not so much that ideas are running out, I have tons of stuff planned but life at the bench is so very busy. I am excited about more stuff on the way. I will see you next time! Take care and be safe out there!
As always, thank you for reading TFB! Be safe out there, have fun while shooting, and we will see you next time for the TFB Armorer’s Bench! Also, let us know what you think in the comments below! We always appreciate your feedback.