 Your Privacy Choices
This week on Wheelgun Wednesday, we will dispense some basic tips and dispel some nasty rumors about revolver cleaning and maintenance. Wheelguns sure are fun to run, but whether it’s that cap and ball smoke wagon, a speedy competition piece, your carry gun, or your high-powered hunting revolver, all must be kept clean and well-lubricated in order to function properly.
Gun Cleaning & Maintenance Articles @ TFB:
- TFB Podcast Roundup 35: Spring Cleaning Listening
- Hoppe’s New Ready Roll Portable Tool Roll Cleaning Kit
- Otis Introduces Their New AR Elite Range Box Cleaning Kit
- Infante Explain Their Ultrasonic Gun Cleaning System

Revolver Cleaning Tips
A good cleaning can certainly increase function. What you think is a garbage trigger pull could just be years of gunk, lint, and old concealed oil and/or grease on the working parts of an heirloom revolver that Grandpa left in the attic. As a gunsmith, a large portion of my work was cleaning guns for those who didn’t have the time or the wherewithal to clean their firearms, and neglected revolvers were a large portion of that work. Let’s take a look at some easy revolver care tips.
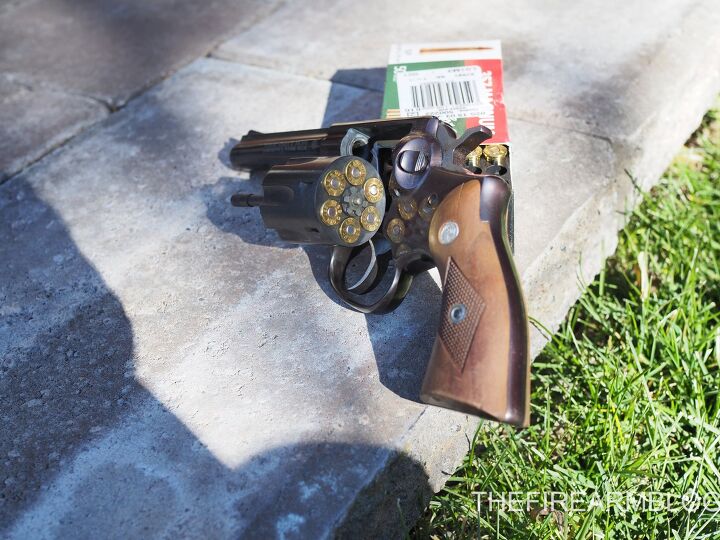
Revolver Cleaning Tip #1: Don’t just clean the barrel, clean the cylinder!
This is a mistake I’d see all the time. People would bring in their revolvers complaining about cases sticking, getting a lot of debris blowback, etc. They’d be religious about cleaning the barrel, but would not clean the chambers, cylinder, yoke/crane/ejector rod/extractor/ratchet, you get the point. This would lead to all sorts of problems. Cleaning these areas is quick and simple. Clean the chambers as you would the barrel, make sure the ejection mechanism is clean as well, and the yoke/crane and ejector rod appropriately oiled.
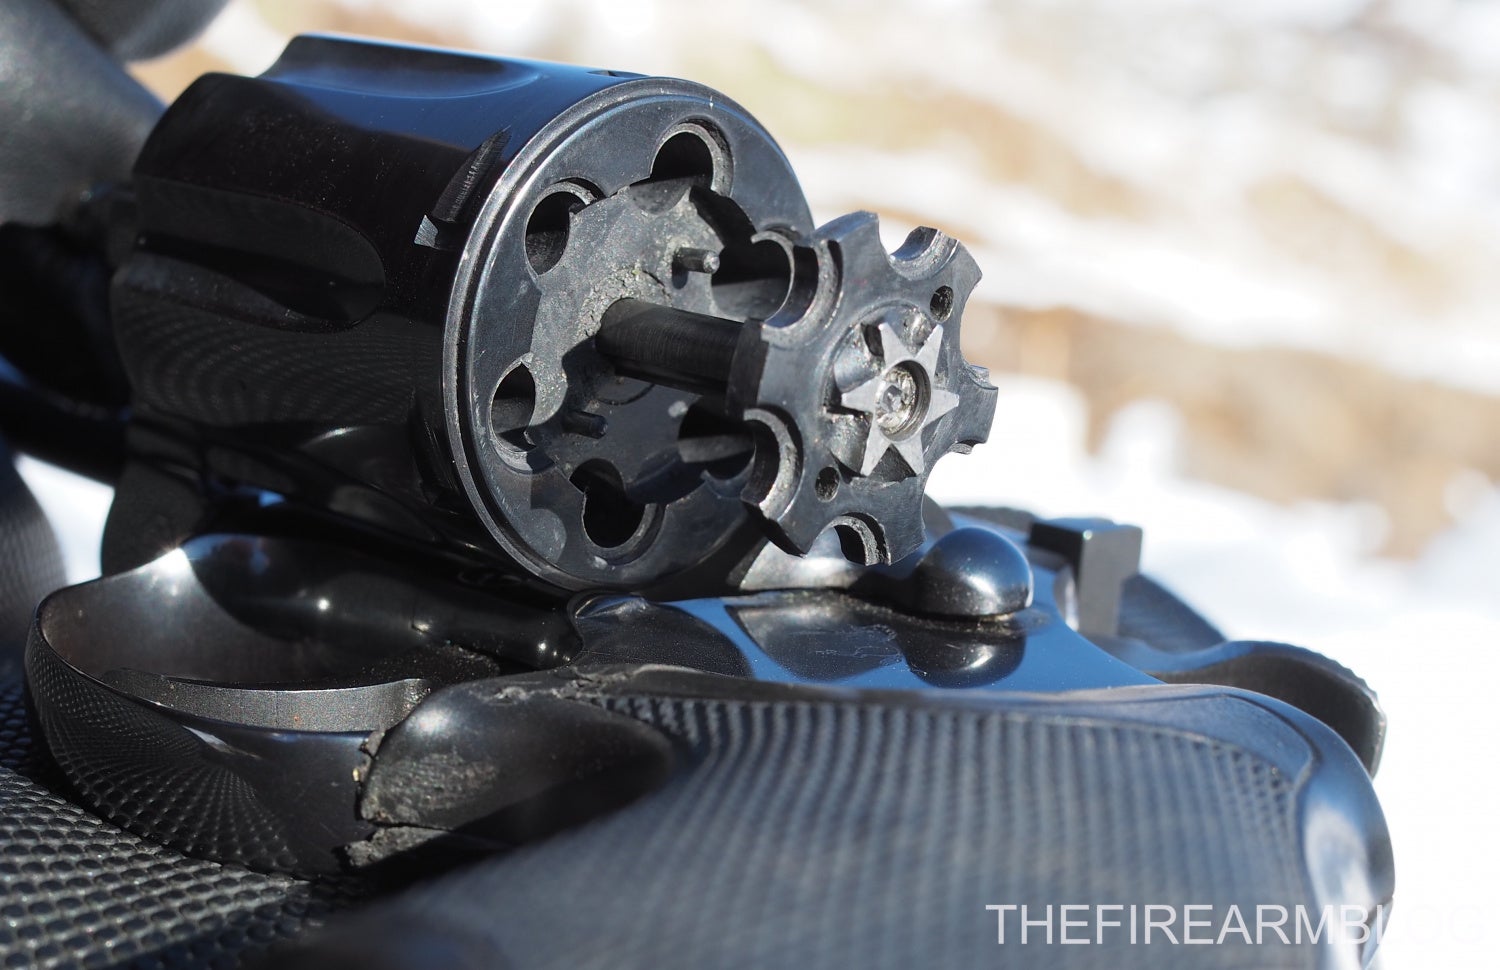
Filthy dirty cylinder. Time for a cleaning!
Check the forcing cone and rifling of the revolver while you’re at it. Cleaning the cylinder assembly also gives one a better chance to see if you have any yoke/crane misalignment going on with double actions.
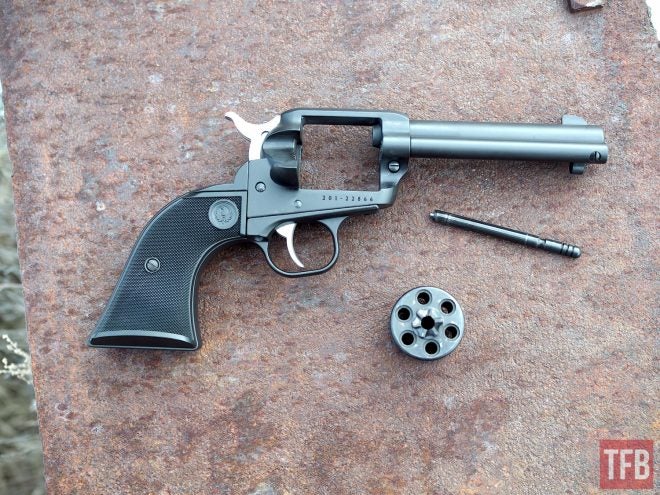
For single action revolvers, it’s an even easier endeavor if you have a removable cylinder, that is. If you don’t, you probably don’t need this basic article anyway. Don’t neglect any of the mechanical engagement surfaces on a single action cylinder, as dirty buildup here can seriously affect the performance of your revolver. As far as latch pins go, only clean, don’t oil these from the outside. Oil on the latch pin can be a vehicle for dirt and fouling to migrate to the inner working of your revolver.

Single action? Cylinder cleaning should be easy!
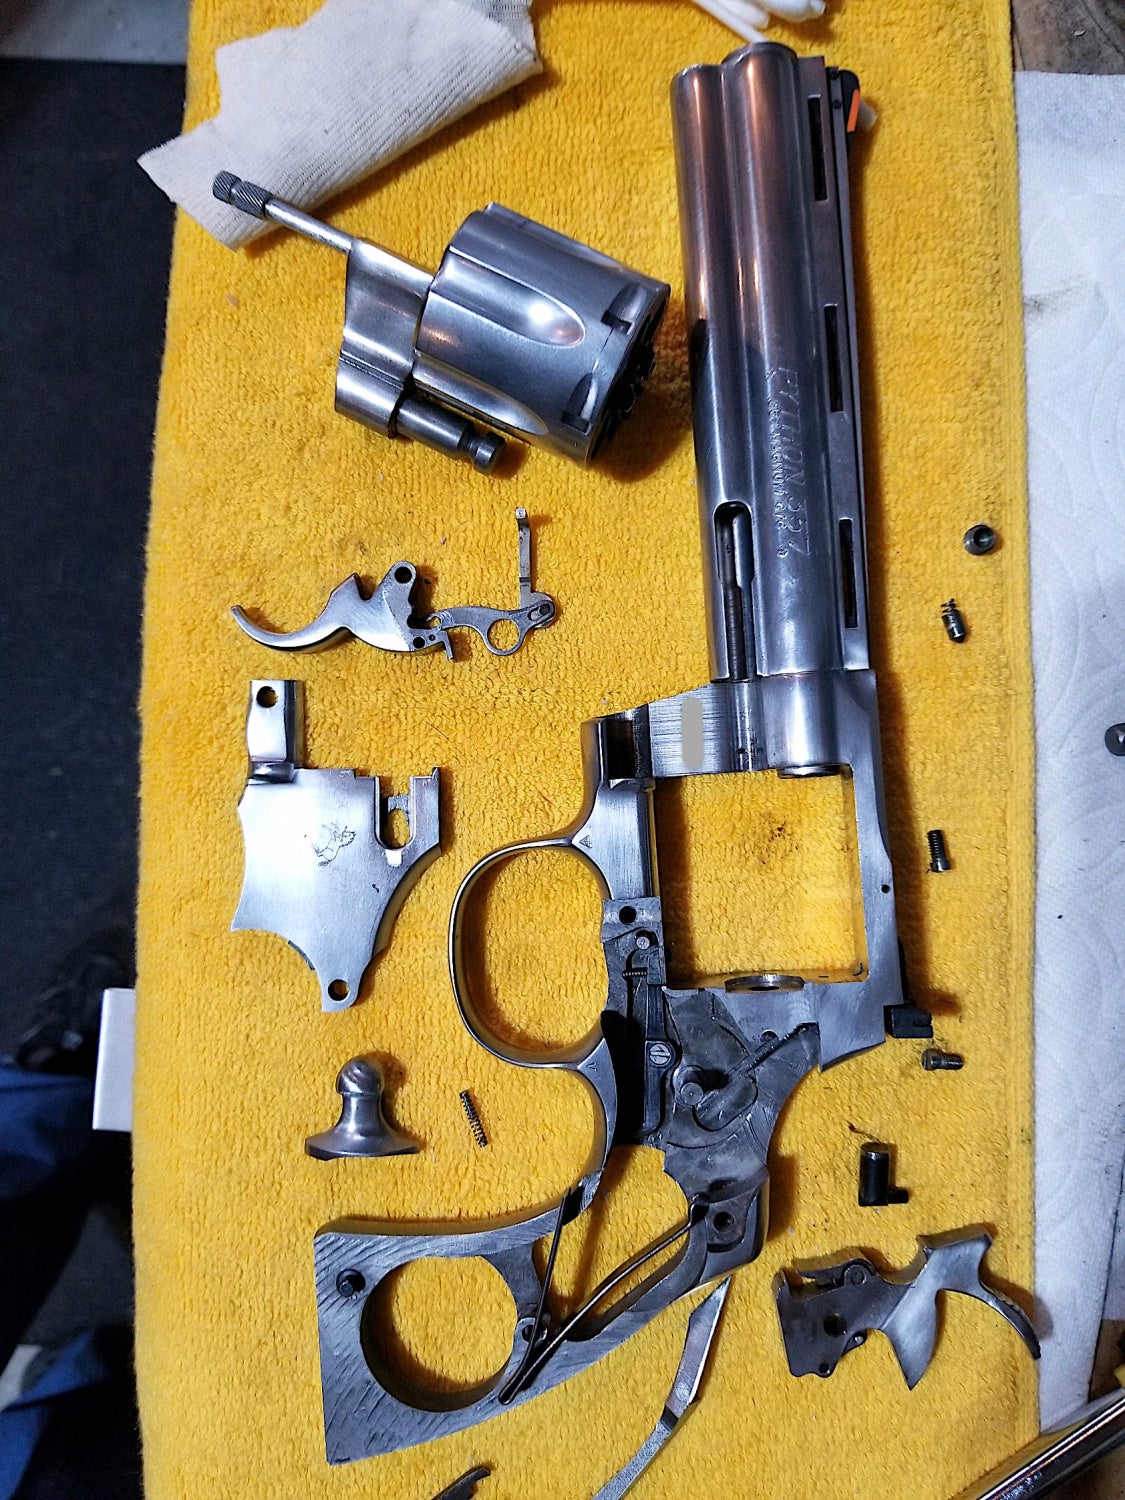
Revolver Cleaning Tip #2: Take your time and take some pictures (or video)!
Not sure which screw goes where? Take the time to take a picture at each and every step of the process if you need to. Smith time is expensive, taking a picture or a short video to help you remember what goes where is not. Before camera phones, I had templates of common revolvers in the shop where I would carefully place each piece during a repair. If you only have a few revolvers, it might be a good idea to print out some exploded parts views or get a model-specific cleaning mat with the same diagram. Also-don’t force anything. That’s how parts get broken or lost by flinging through the air. Slow and steady pressure is the way to go, and appropriately torque your screws, don’t overtighten!
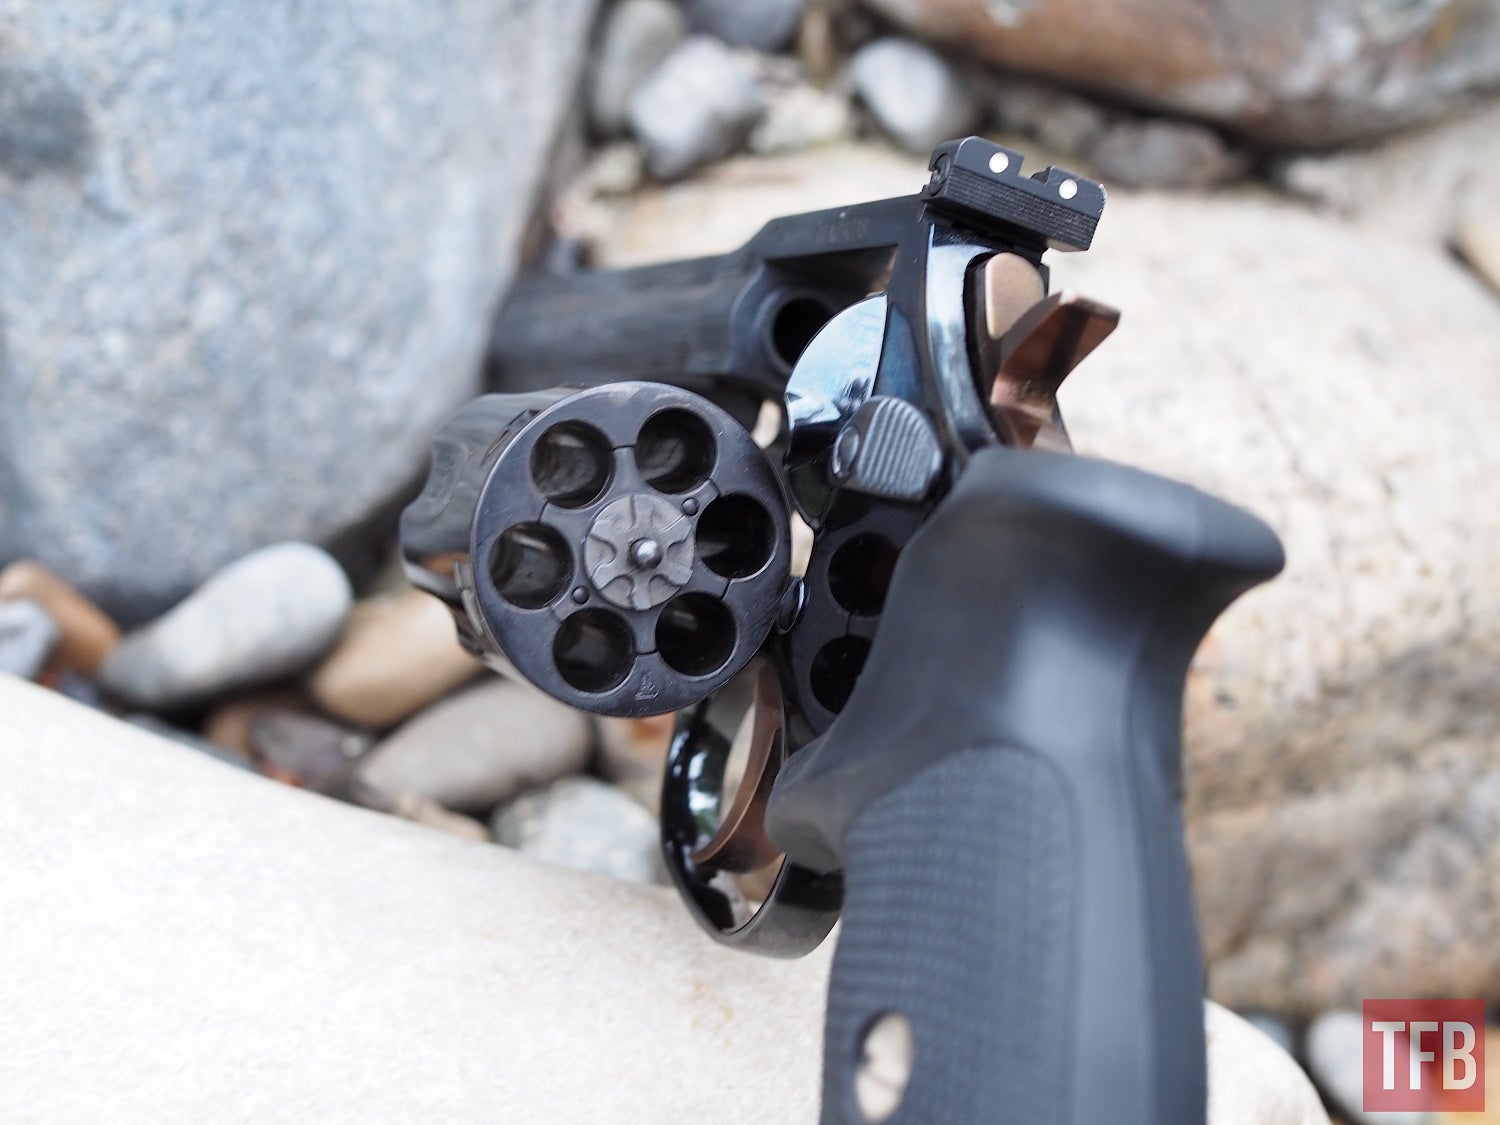
Time to clean that frame and crane!
Revolver Cleaning Tip #3: Don’t be afraid to remove the grips
Bad things can be lurking under the grips of your revolver. Long-term, this is a favorite spot for lint to migrate to, and that mainspring needs some TLC and appropriate lubrication every now and again as well. Carefully, and with the appropriate tapered screwdriver (messed up grip screws are a peeve of mine) remove the grip screws. Some revolvers have specific screws for specific holes in the grip. See tip #2. Your mainspring may not need to be removed for cleaning, but that sluggish trigger pull just might be caused by a dust bunny hanging out under your grips.
If you’ve a Ruger Double Action, no need to worry about that pesky side plate, just follow Doug E.’s great step-by-step here.
Revolver Cleaning Tip #4: Tap, don’t pry
I know there are some of you out there who absolutely won’t take off the side plate for any reason whatsoever. I’m not going to get into that debate (though I’m very much on the “right to repair” side of things). Cleaning and appropriately lubricating the inner working parts of your revolver can help in many ways.
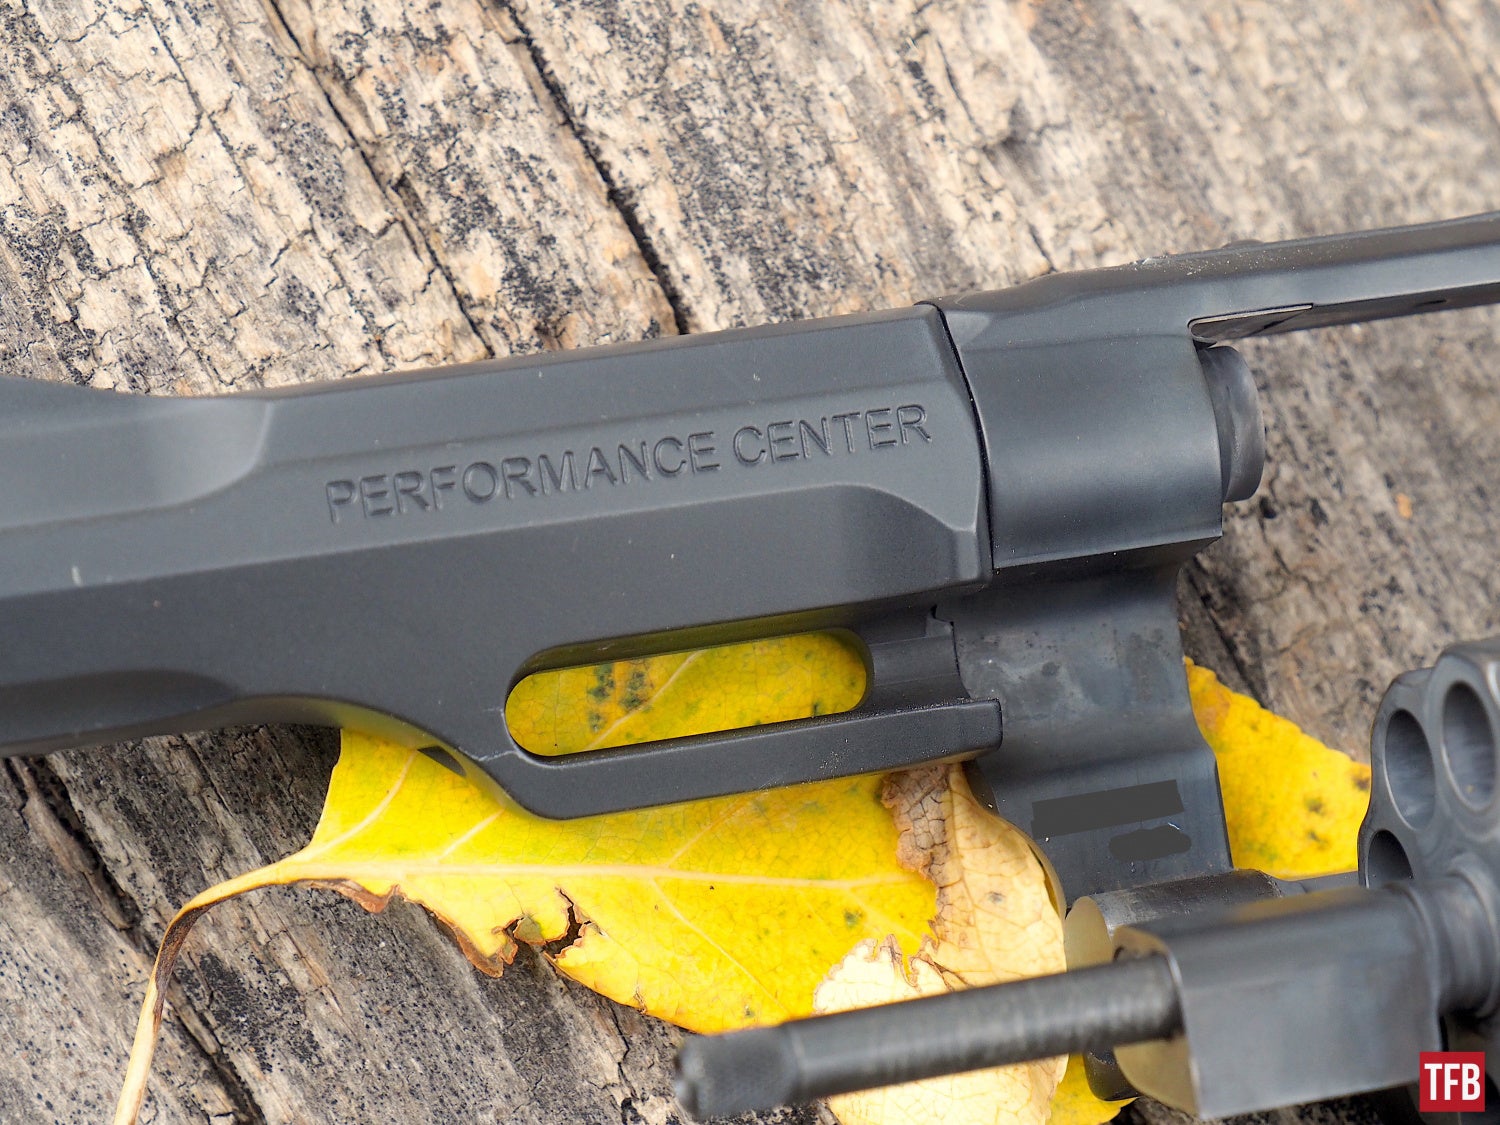
Not for the faint of heart or short of patience
If you feel comfortable removing the side plate for deep cleaning or long-term maintenance, after removing the screws with the correctly fitting bit, please gently tap the opposite side of the frame with a non-marring hammer or screwdriver handle. Unless it’s heavily rusted in place, it will budge and come off from the tapping. If it’s your first rodeo, take a picture of the insides correctly assembled. Clean and lubricate accordingly. If you don’t feel comfortable doing this, take it to a competent gunsmith.
Revolver Cleaning Tip #5: Check those screws (and pins, even the small ones)
Cleaning your revolver is a great time to take the opportunity to see if any screws, pins etc are coming loose. From the front sight all the way to the butt, check for loose screws or pins that might be walking out. A little preventive maintenance goes a long way in this area. Checking them every once in a while can make the difference between re-seating a front sight pin on your workbench, or losing the pin and the front sight in the gravel of a range bay.
Revolver Cleaning Tips
Revolver Cleaning Tip #6: Know your metal
No, I don’t mean knowing the difference between Sepultura and Testament, I mean knowing which solvents and oils work best with which metals. This is the most critical when it comes to cleaning scandium/titanium or alloy guns. Don’t use abrasive cleaners or brushes on these metals. Pay attention to areas where steel and aluminum parts touch as well, as the aluminum will wear faster.
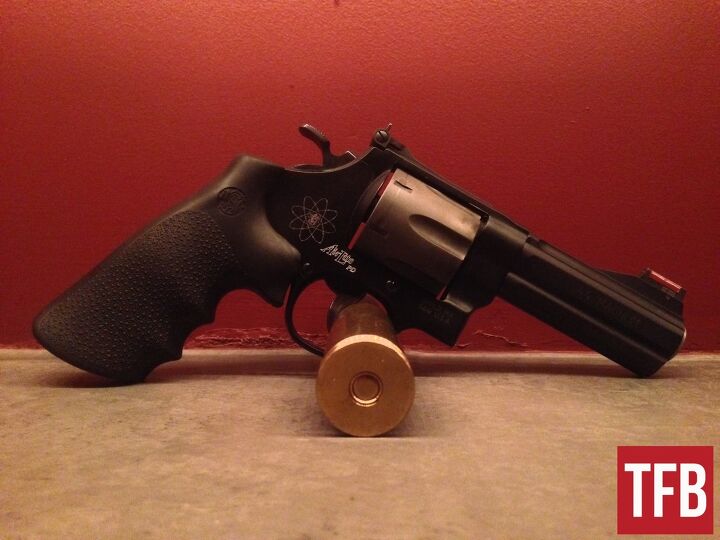
Scandium/titanium: a joy to carry, less of a joy to clean. Or shoot.

Alloy revolvers like the 340PD are easier to carry but less easy to clean vs stainless revolvers like the Model 60
That’s it for this week, hope these tips help some revolver owners out there take a little better care of their wheelguns!
Thanks to the Wheelgun Wednesday crew for chiming in with their favorite revolver cleaning tips!
We are committed to finding, researching, and recommending the best products. We earn commissions from purchases you make using the retail links in our product reviews. Learn more about how this works.