 Your Privacy Choices
Gen 1? What are you doing Nick? Yeah, I thought this might catch your attention. Today on Friday Night Lights we will look at two examples of Gen 1 night vision scopes, the Fero Z51 and Oldelft HV 5×80.
Gen 1 Night Vision @ TFB:
- FRIDAY NIGHT LIGHTS: Digital Crosshairs 1000R – $700 Digital Clip-On Night Vision
- Friday Night Lights: Understanding Night Vision Specs And Generations
- Digital Night Vision: Is It Worth While?
Gen 1 Night Vision Can Be Good?
If you recall my article about Understanding Night Vision Specs and Generations, I gave Gen 1 night vision a good tongue lashing. And while I still stand by this, there is an exception to the rule which is Gen 1 Cascade Tubes. Cascade night vision involves multiple image intensifier tubes stacked together where each subsequent tube intensifies the previous tube. Here is what Wikipedia has to say on cascade tubes.
Cascade (passive) image intensifier tubes
A photographic comparison between a first generation cascade tube and a second generation wafer tube, both using electrostatic inversion, a 25mm photocathode of the same material and the same F2.2 55mm lens. The first generation cascade tube exhibits pincushion distortion while the second generation tube is distortion corrected. All inverter type tubes, including third generation versions, suffer some distortion.Although originally experimented with by the Germans in World War Two, it was not until the 1950s that the U.S. began conducting early experiments using multiple tubes in a “cascade”, by coupling the output of an inverting tube to the input of another tube, which allowed for increased amplification of the object light being viewed. These experiments worked far better than expected and night vision devices based on these tubes were able to pick up faint starlight and produce a usable image. However, the size of these tubes, at 17 in (43 cm) long and 3.5 in (8.9 cm) in diameter, were too large to be suitable for military use. Known as “cascade” tubes, they provided the capability to produce the first truly passive night vision scopes. With the advent of fiber optic bundles in the 1960s, it was possible to connect smaller tubes together, which allowed for the first true Starlight scopes to be developed in 1964. Many of these tubes were used in the AN/PVS-2 rifle scope, which saw use in Vietnam.
An alternative to the cascade tube explored in the mid 20th century involves optical feedback, with the output of the tube fed back into the input. This scheme has not been used in rifle scopes, but it has been used successfully in lab applications where larger image intensifier assemblies are acceptable.[1]
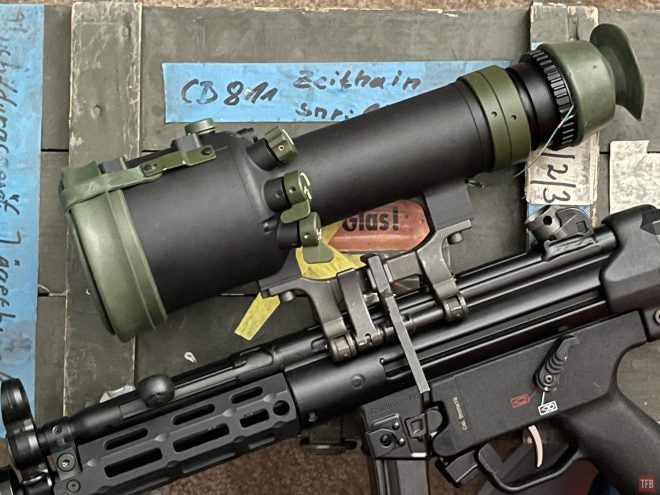
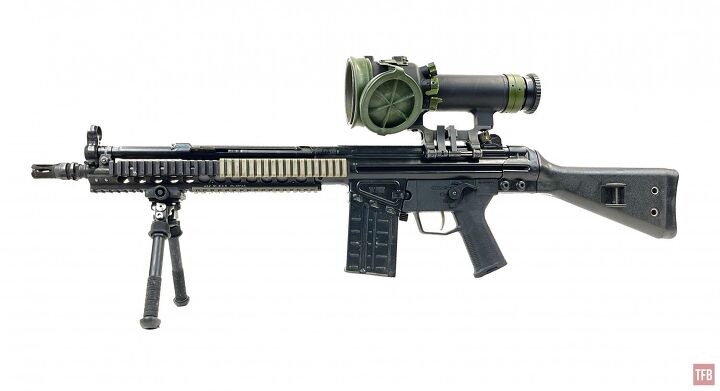
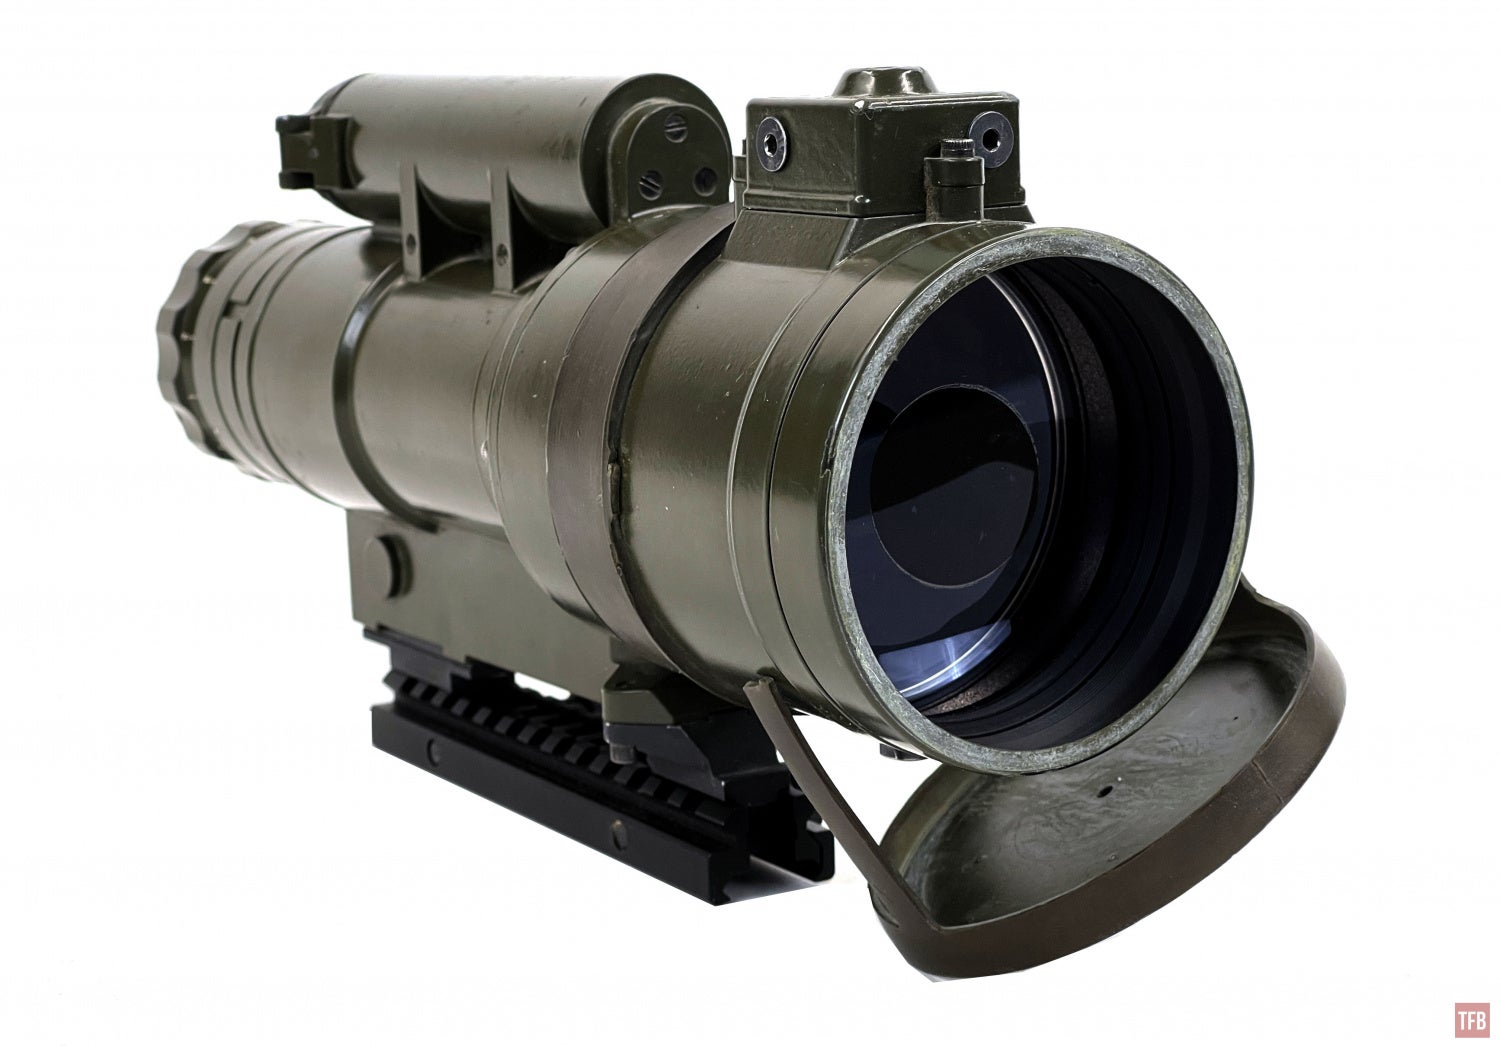
Fero Z51 Night Vision Scope
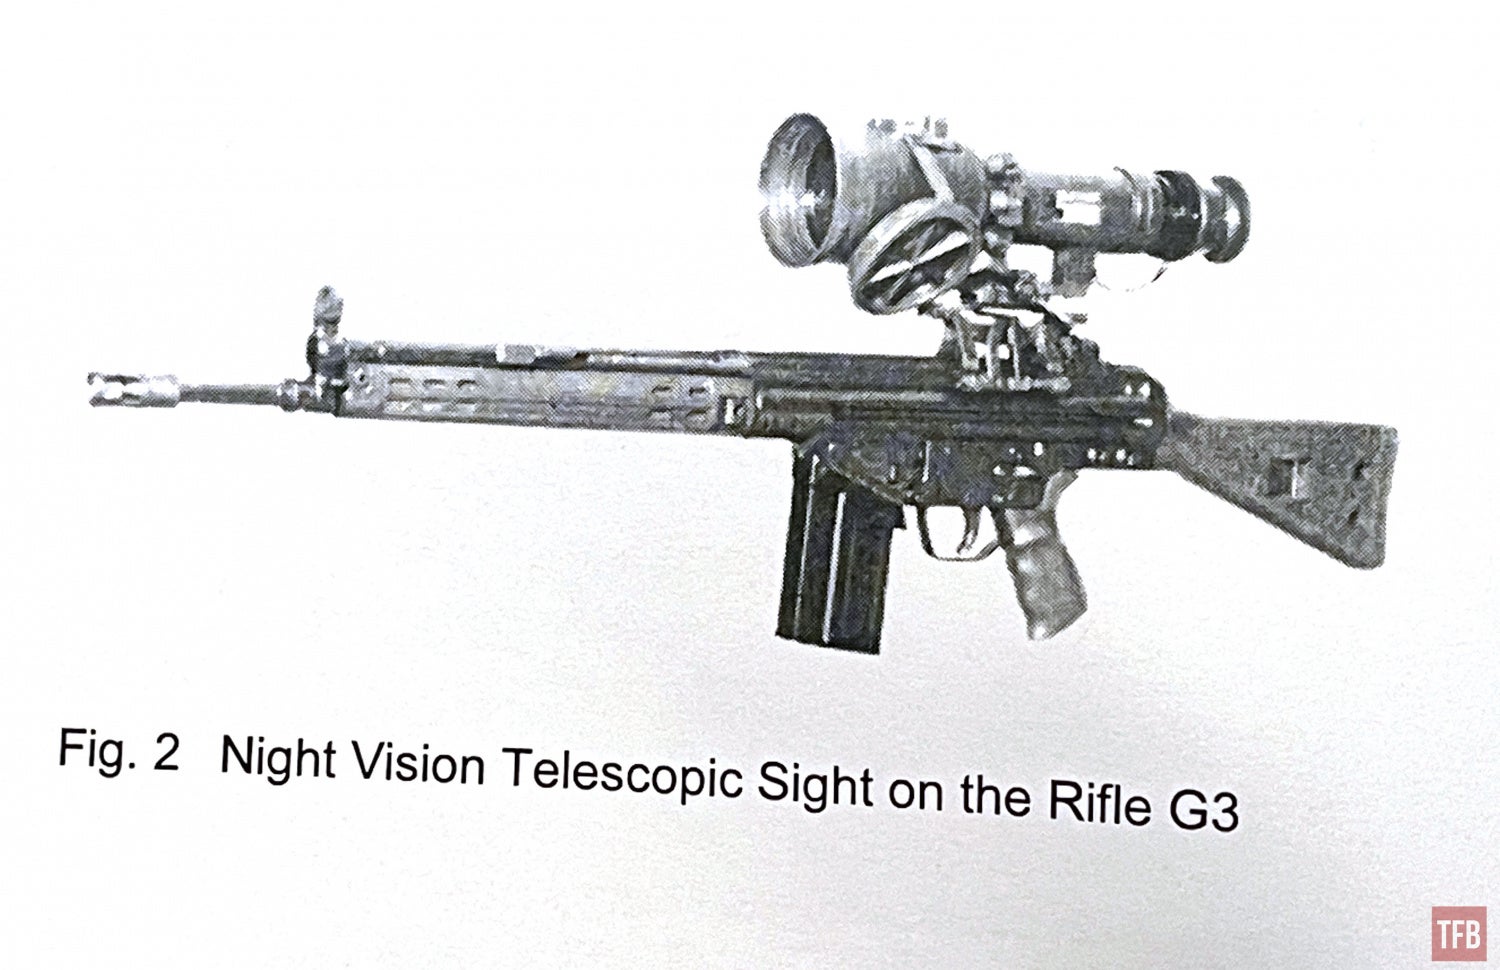
The Fero Z51 was also called the Zeiss Orion80. I believe Fero was a division of Hensoldt which is part of Zeiss. Over the past year, I have been going down an H&K roller lock addiction and looking for inexpensive accessories to check out. I came across the Fero Z51 on HKParts.com and it was sold in “non-working condition”. I only paid $299.95 last September, but right now they are asking $499.95. For $300 I don’t mind buying an oversized paper weight. It would look cool for photos at the bare minimum.
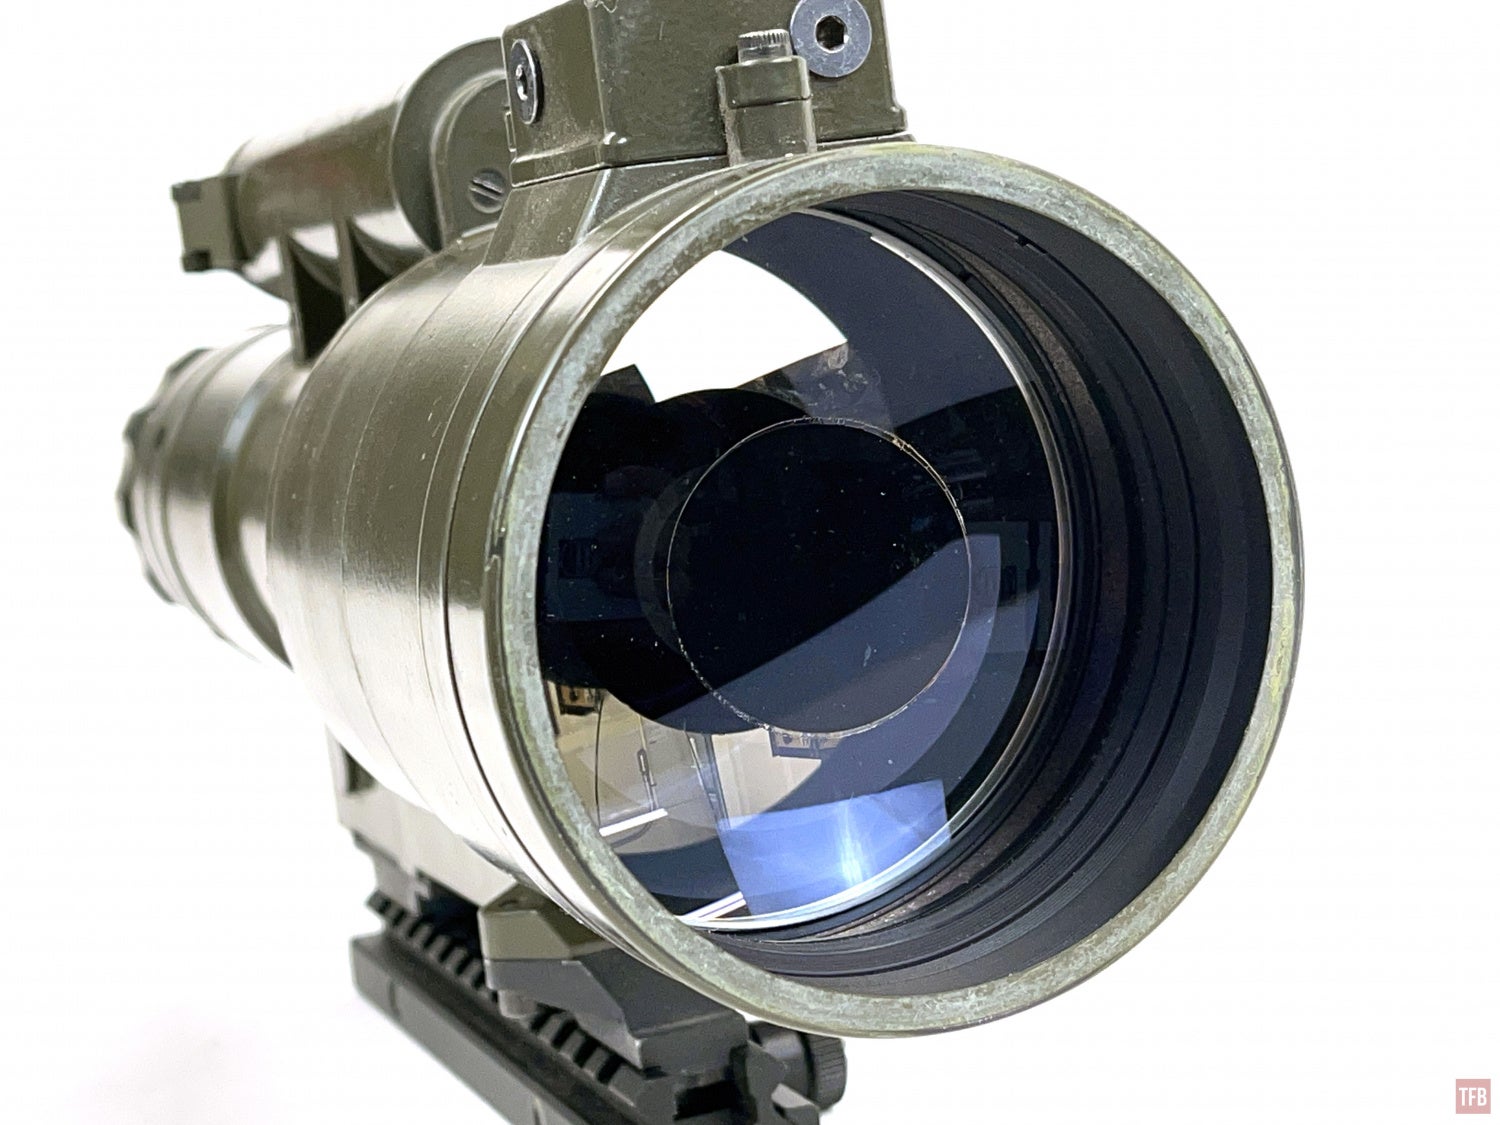
To my surprise, the Fero Z51 looked brand new and possibly unused. So I popped in two C-Cell batteries and it fired right up! You can see the objective lens of the Fero Z51 below. It is a catadioptric lens aka mirror lens. This helps keep the length shorter even though it is almost 12″ long without the eyecup.
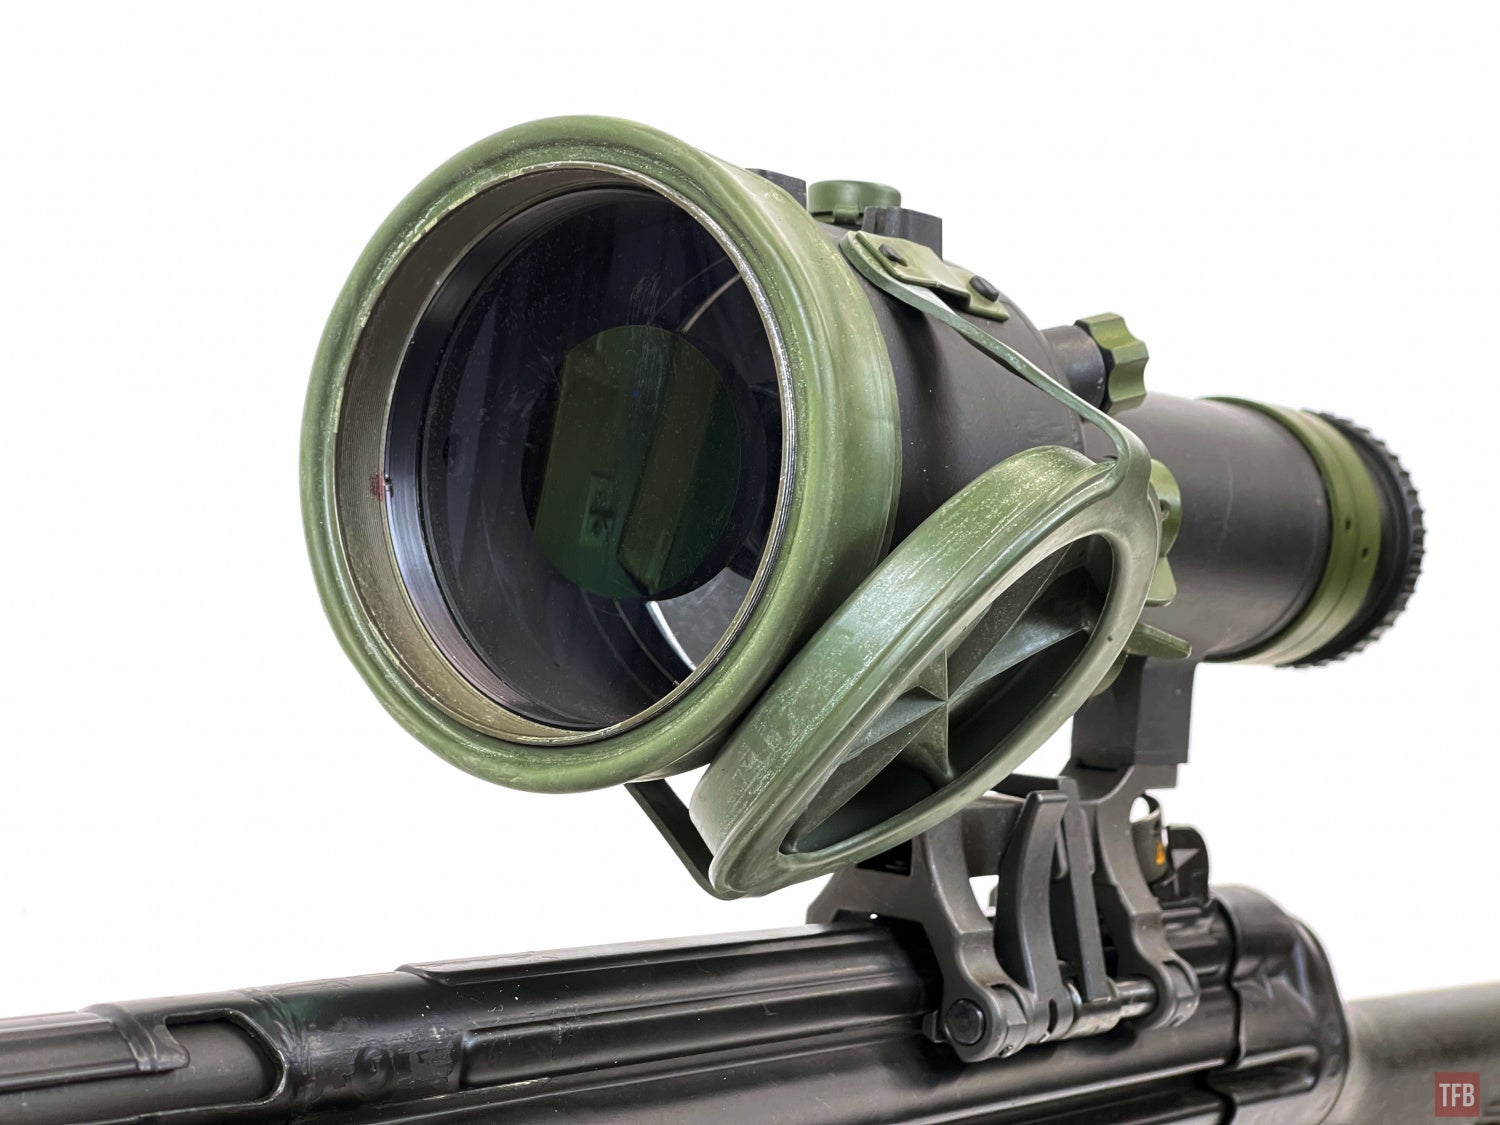
This Fero Z51 came with a lens cap that also acts as a day filter for zeroing in the daytime.
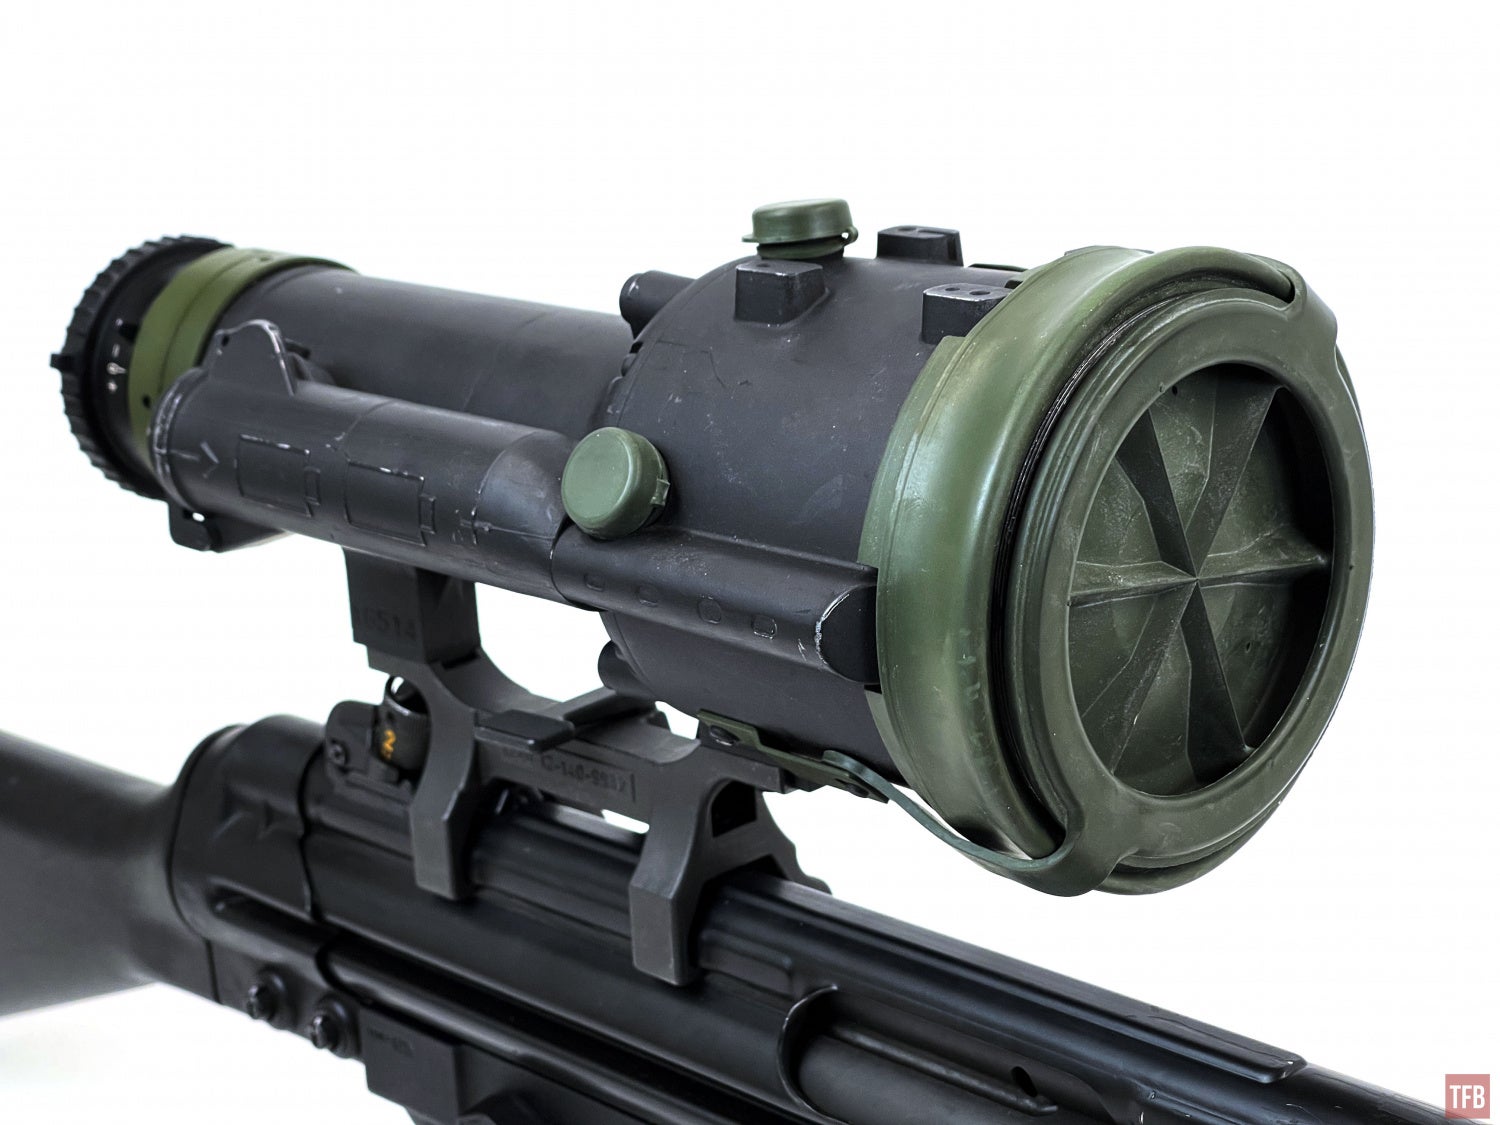
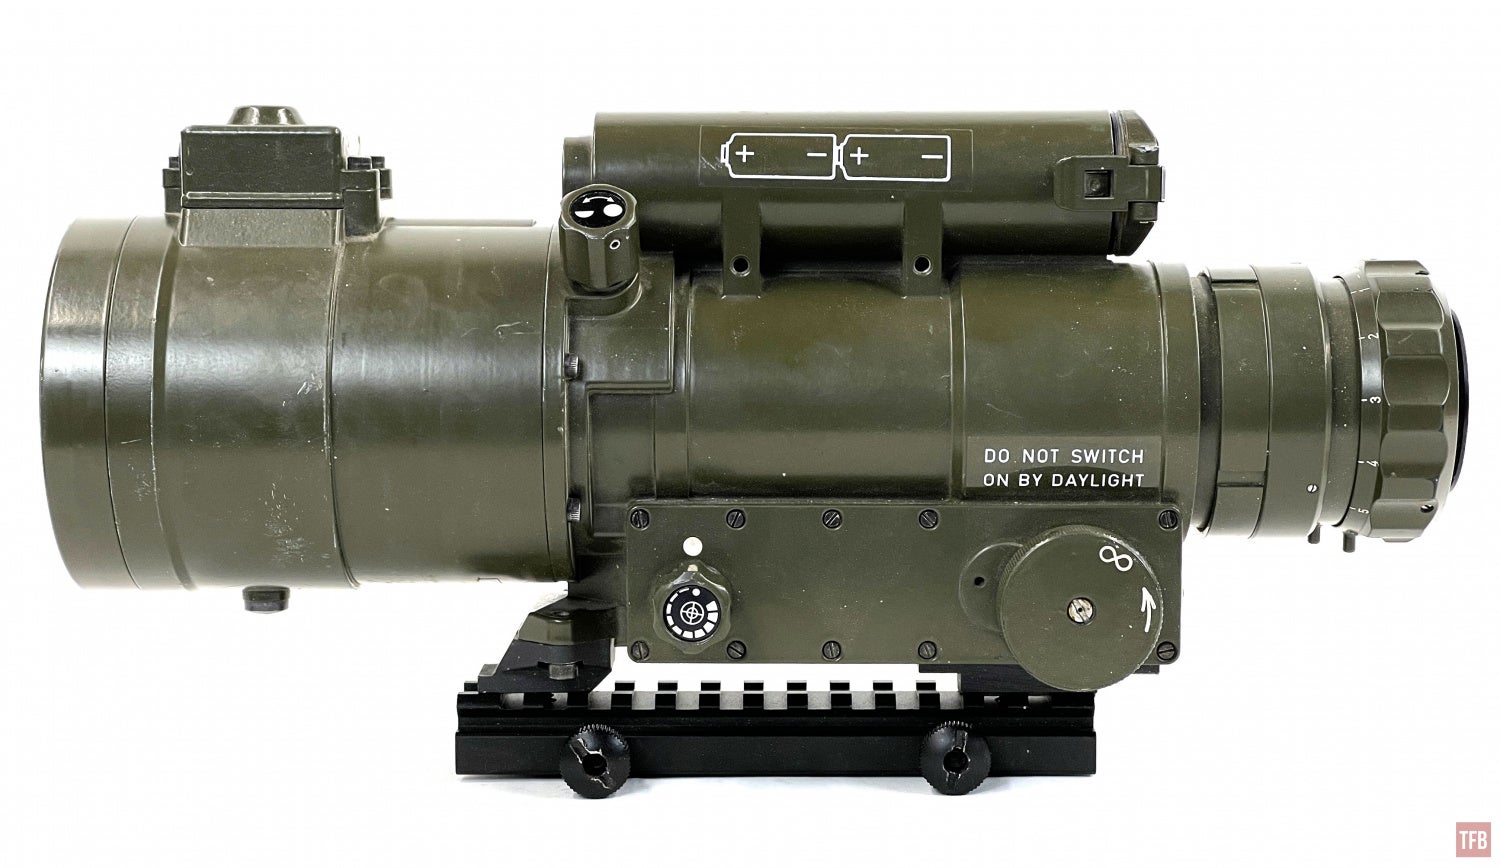
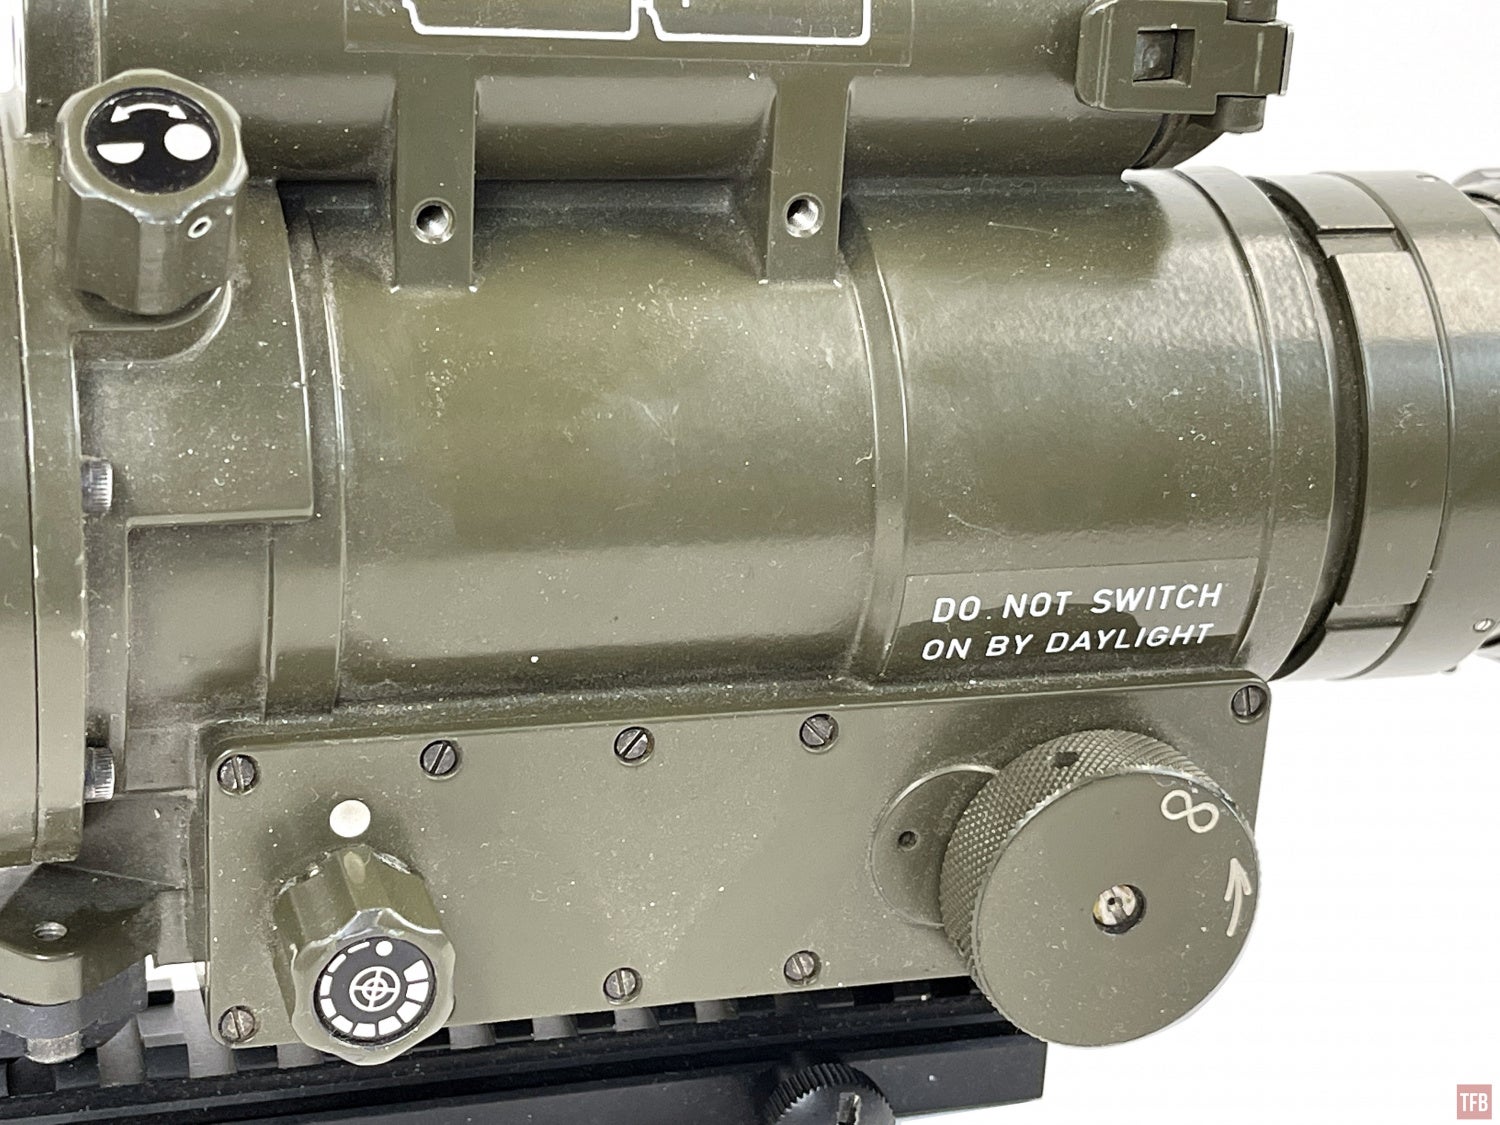
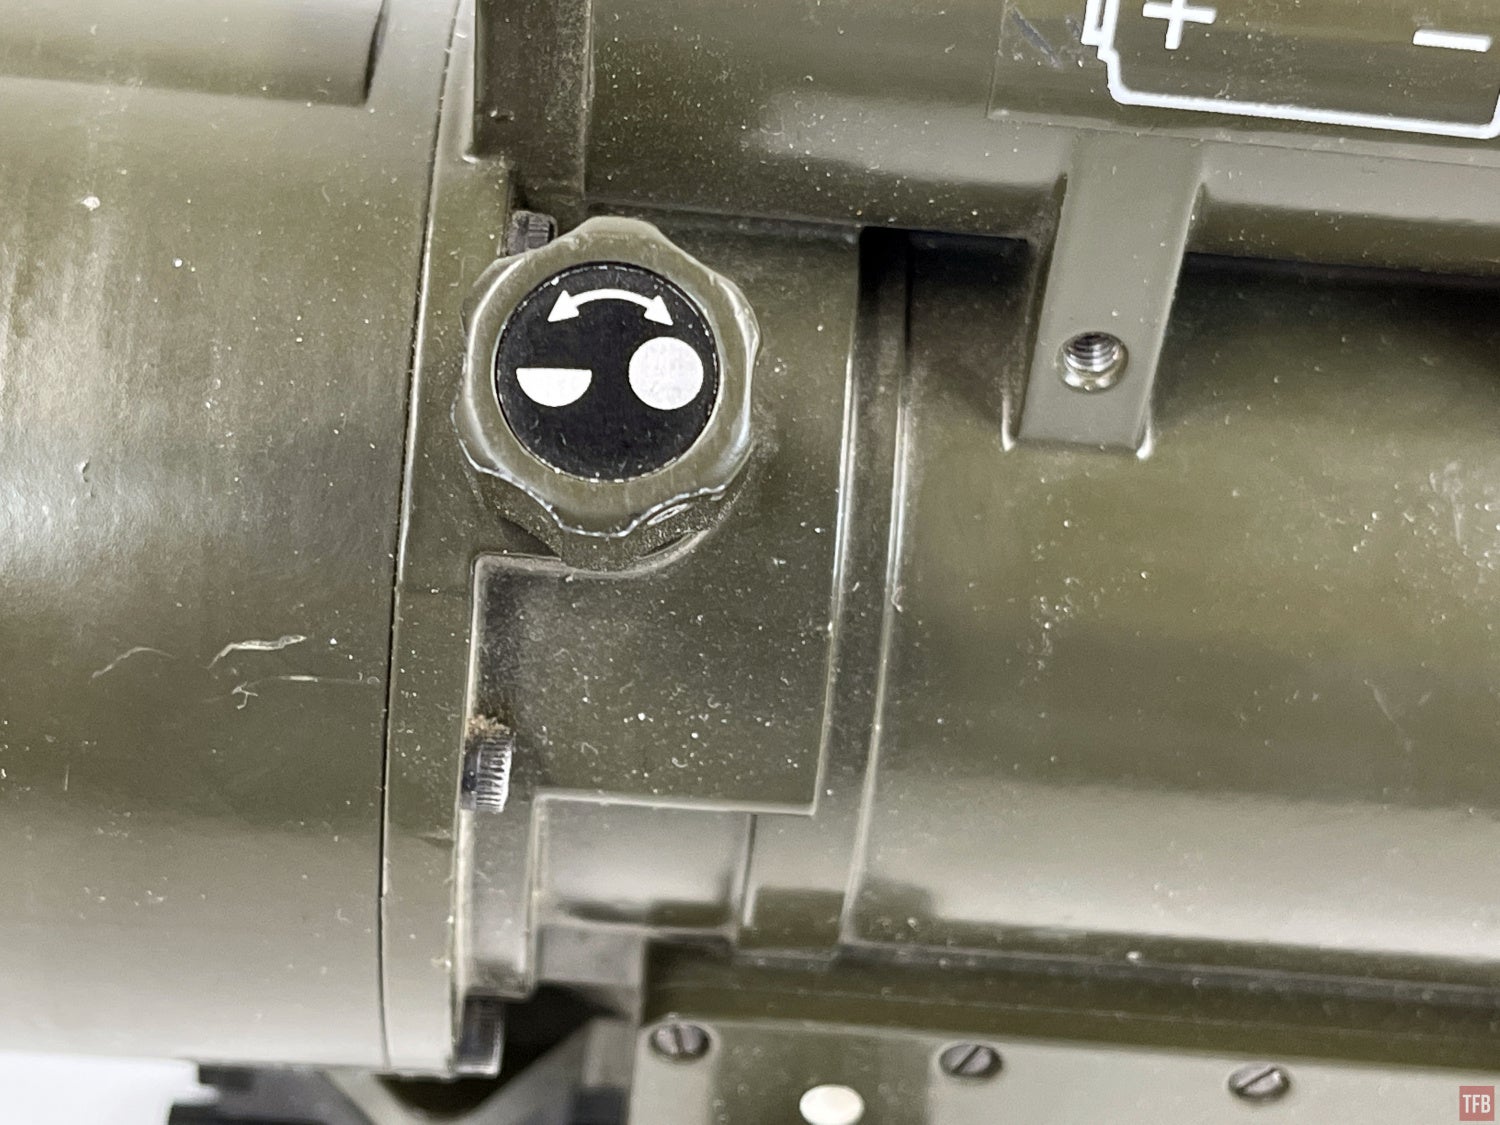
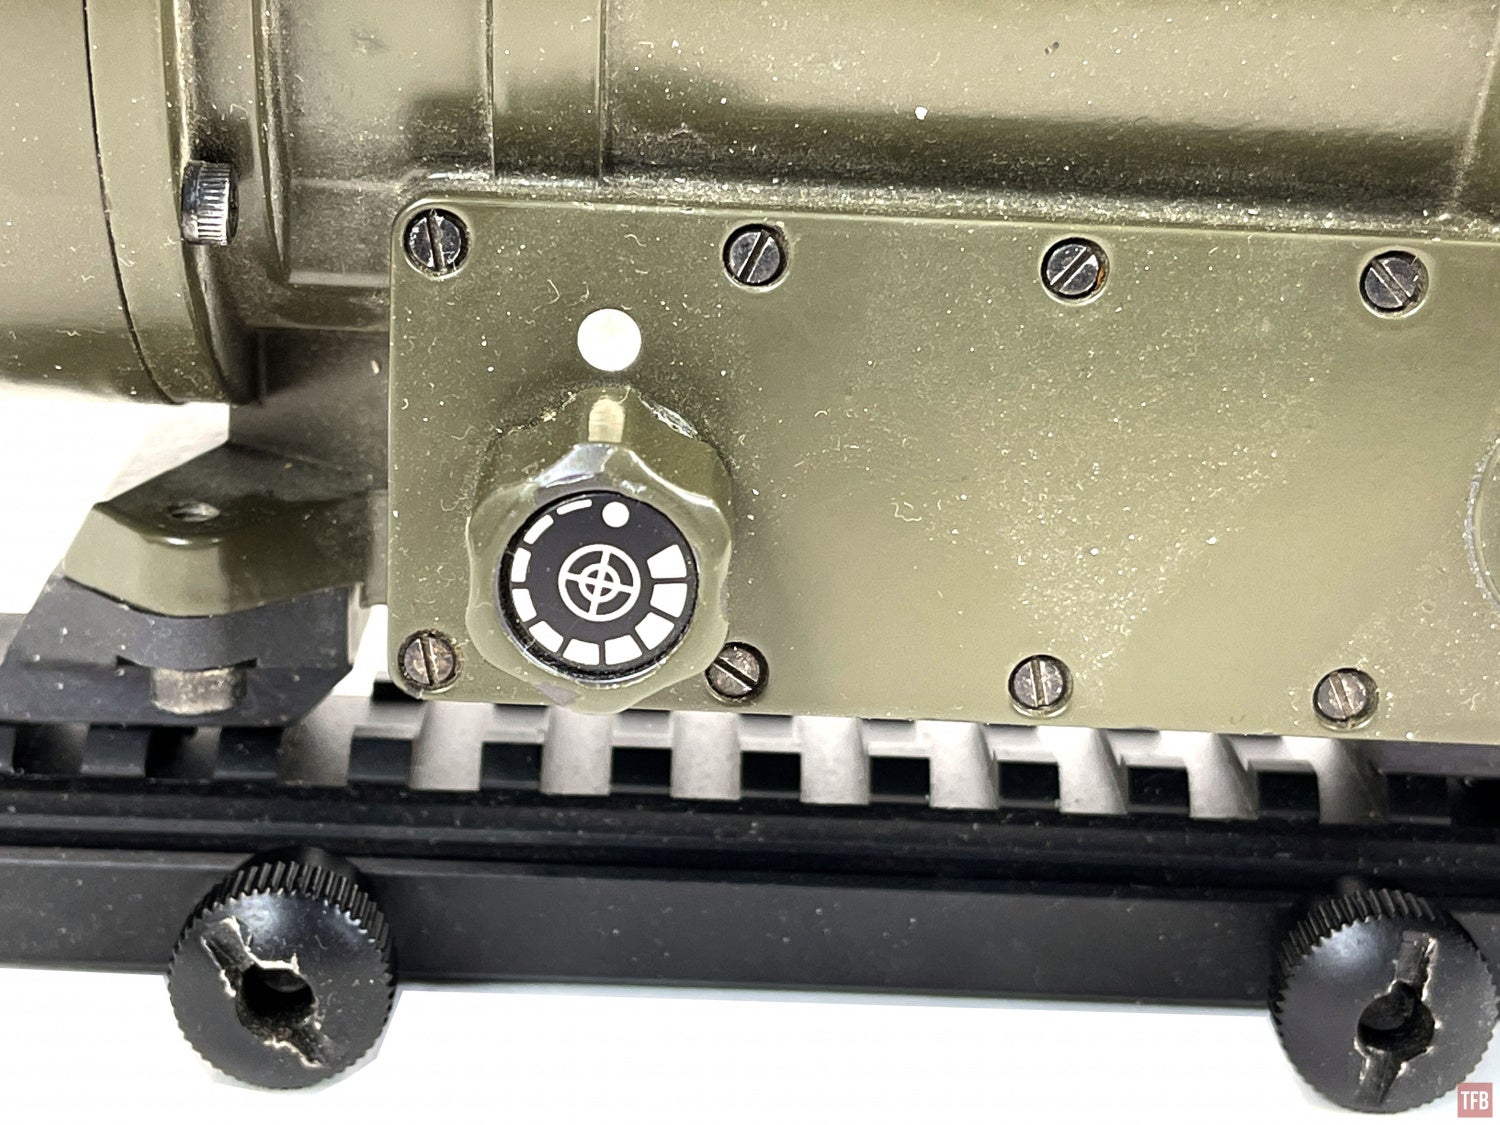
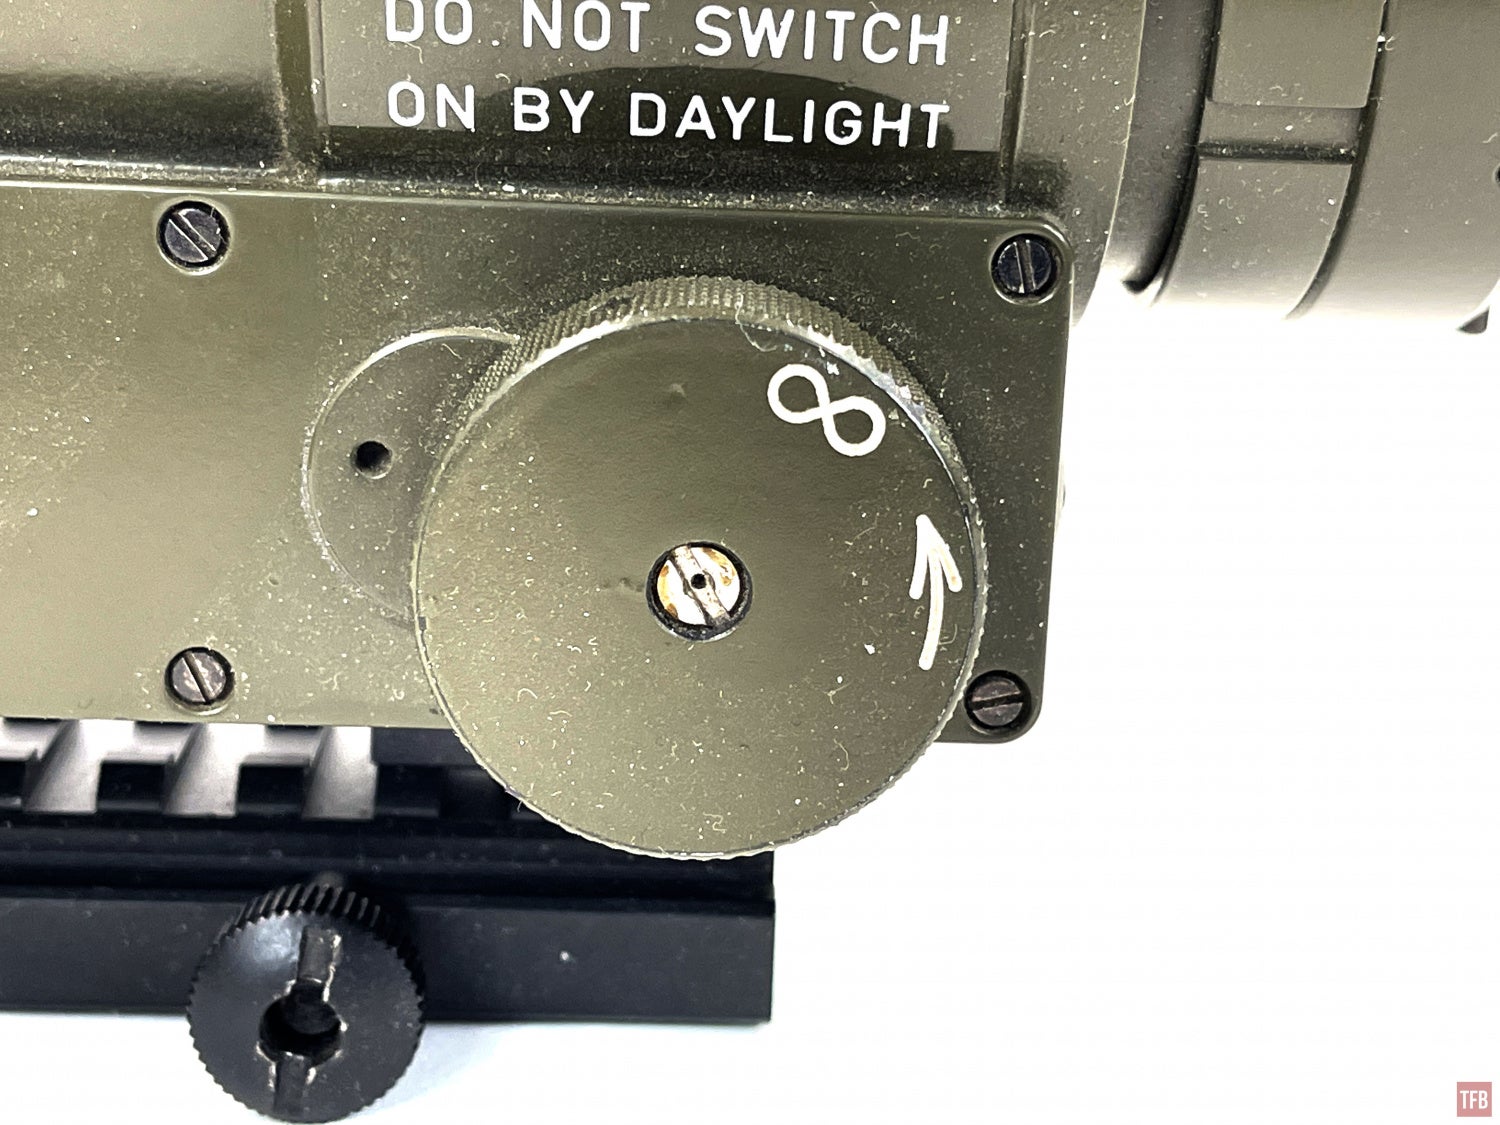
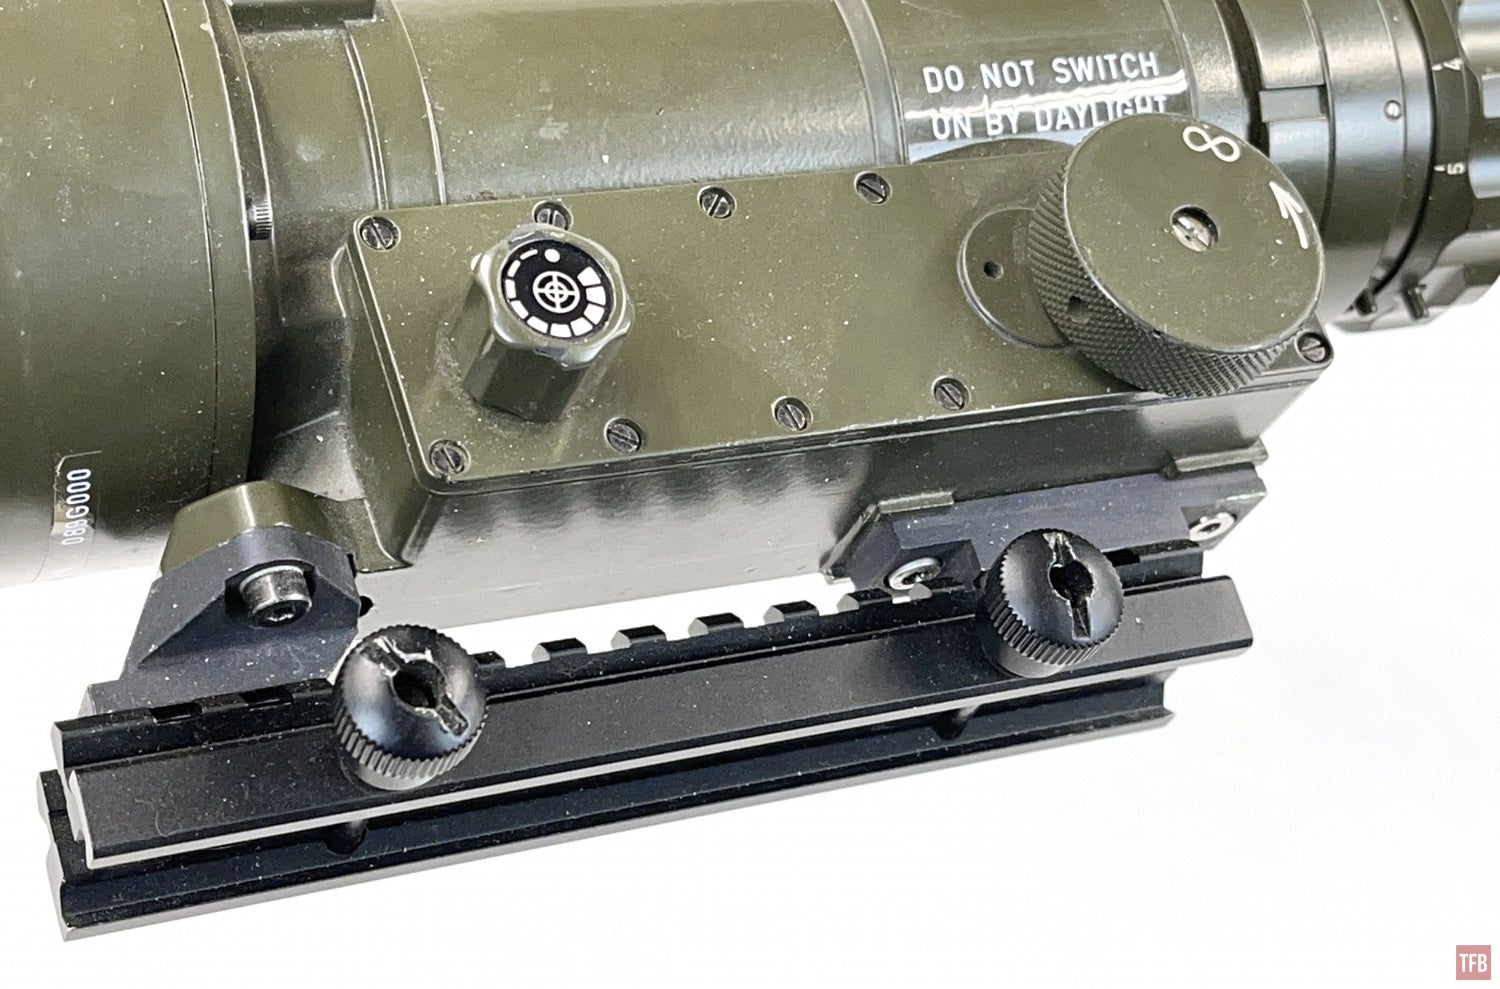
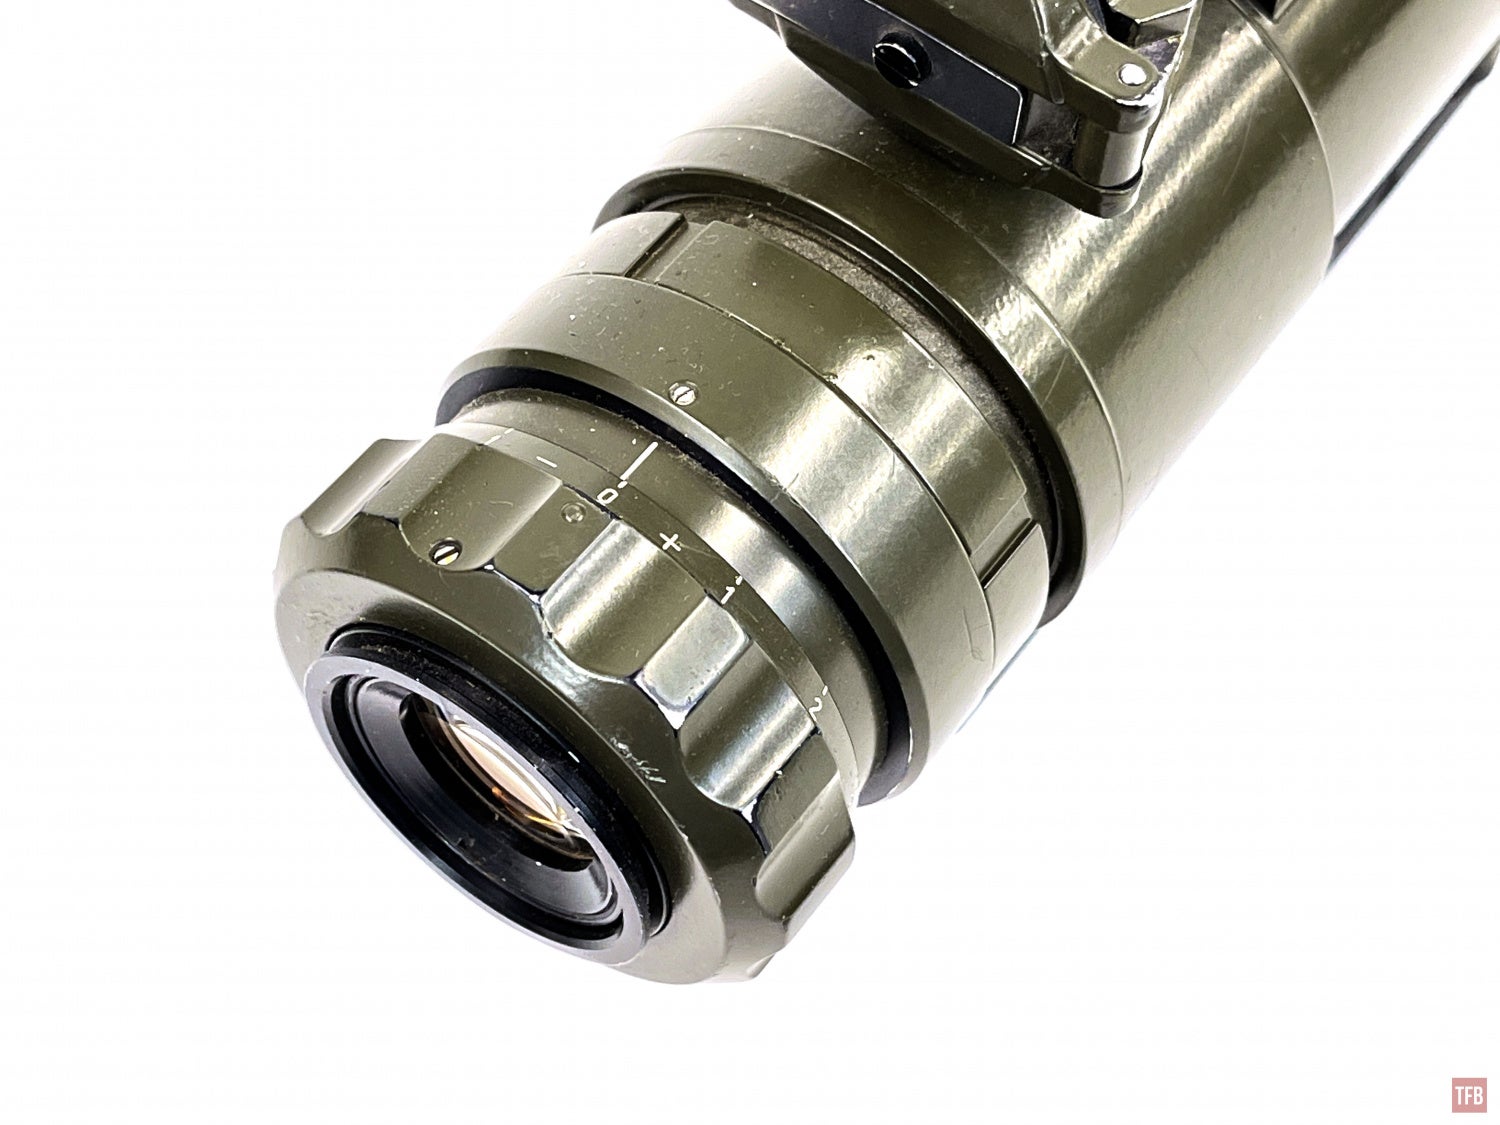
The Fero Z51 is a rather simple night vision scope. It has three knobs on the left side behind the objective lens. Normally these knobs are oriented vertically. From left to right: objective focus 20M – infinity, power switch/shade, reticle switch.
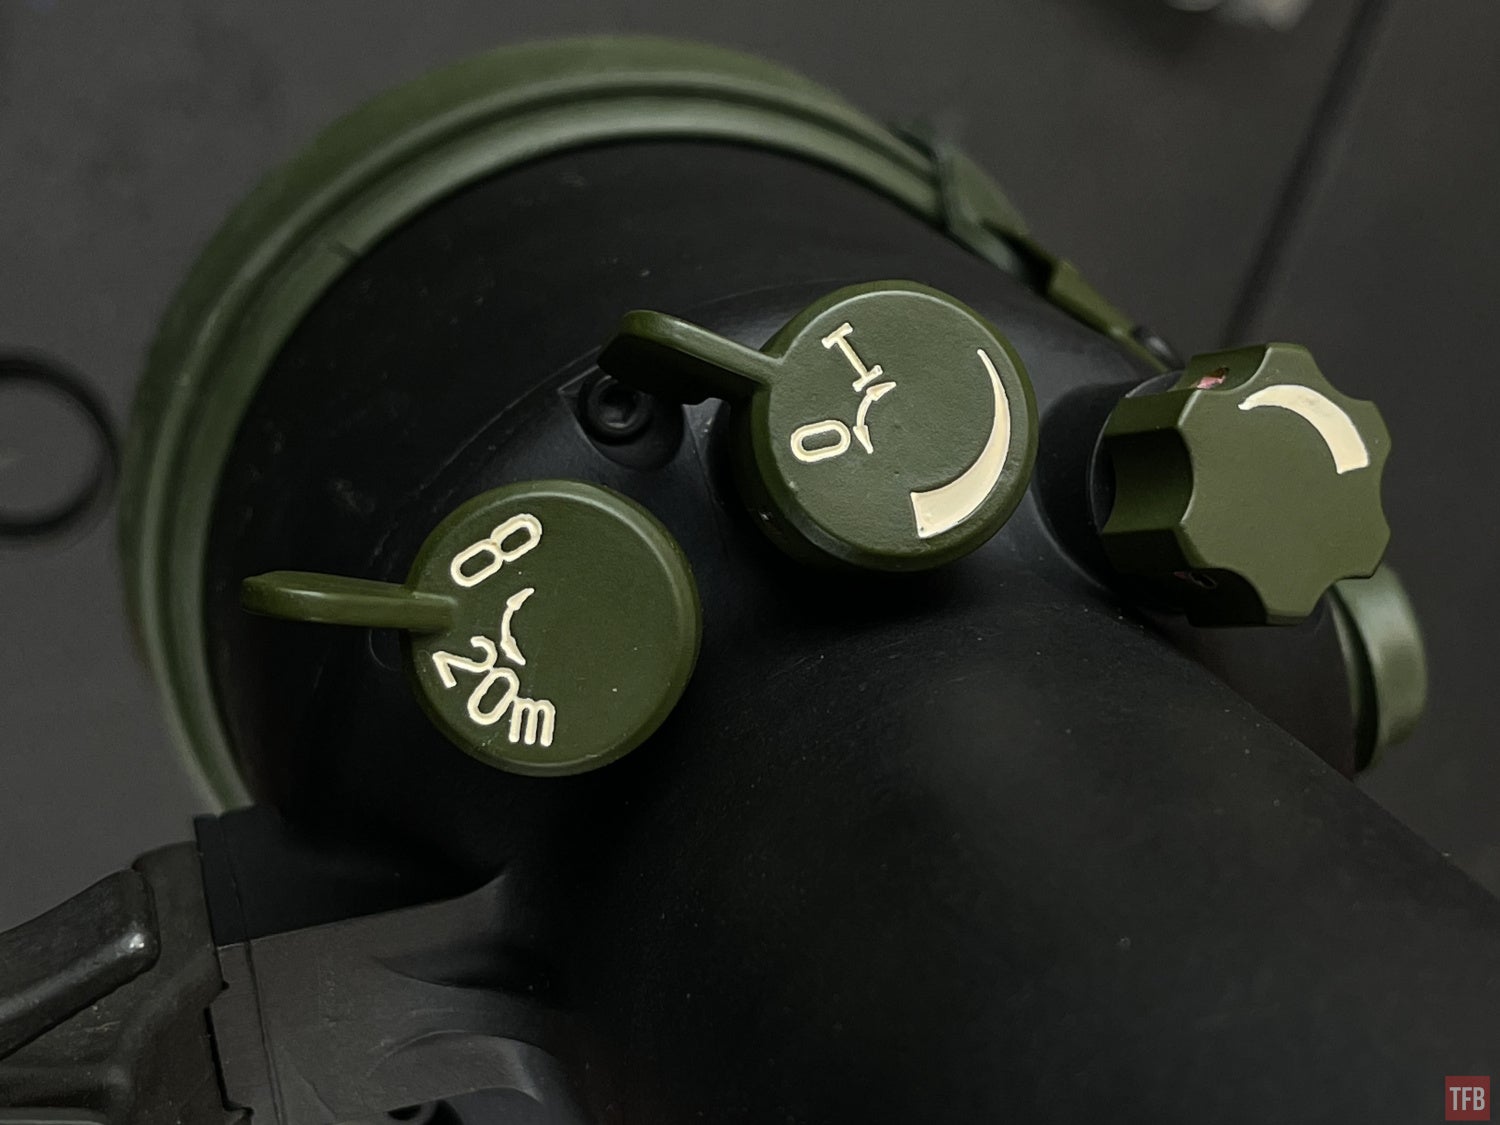
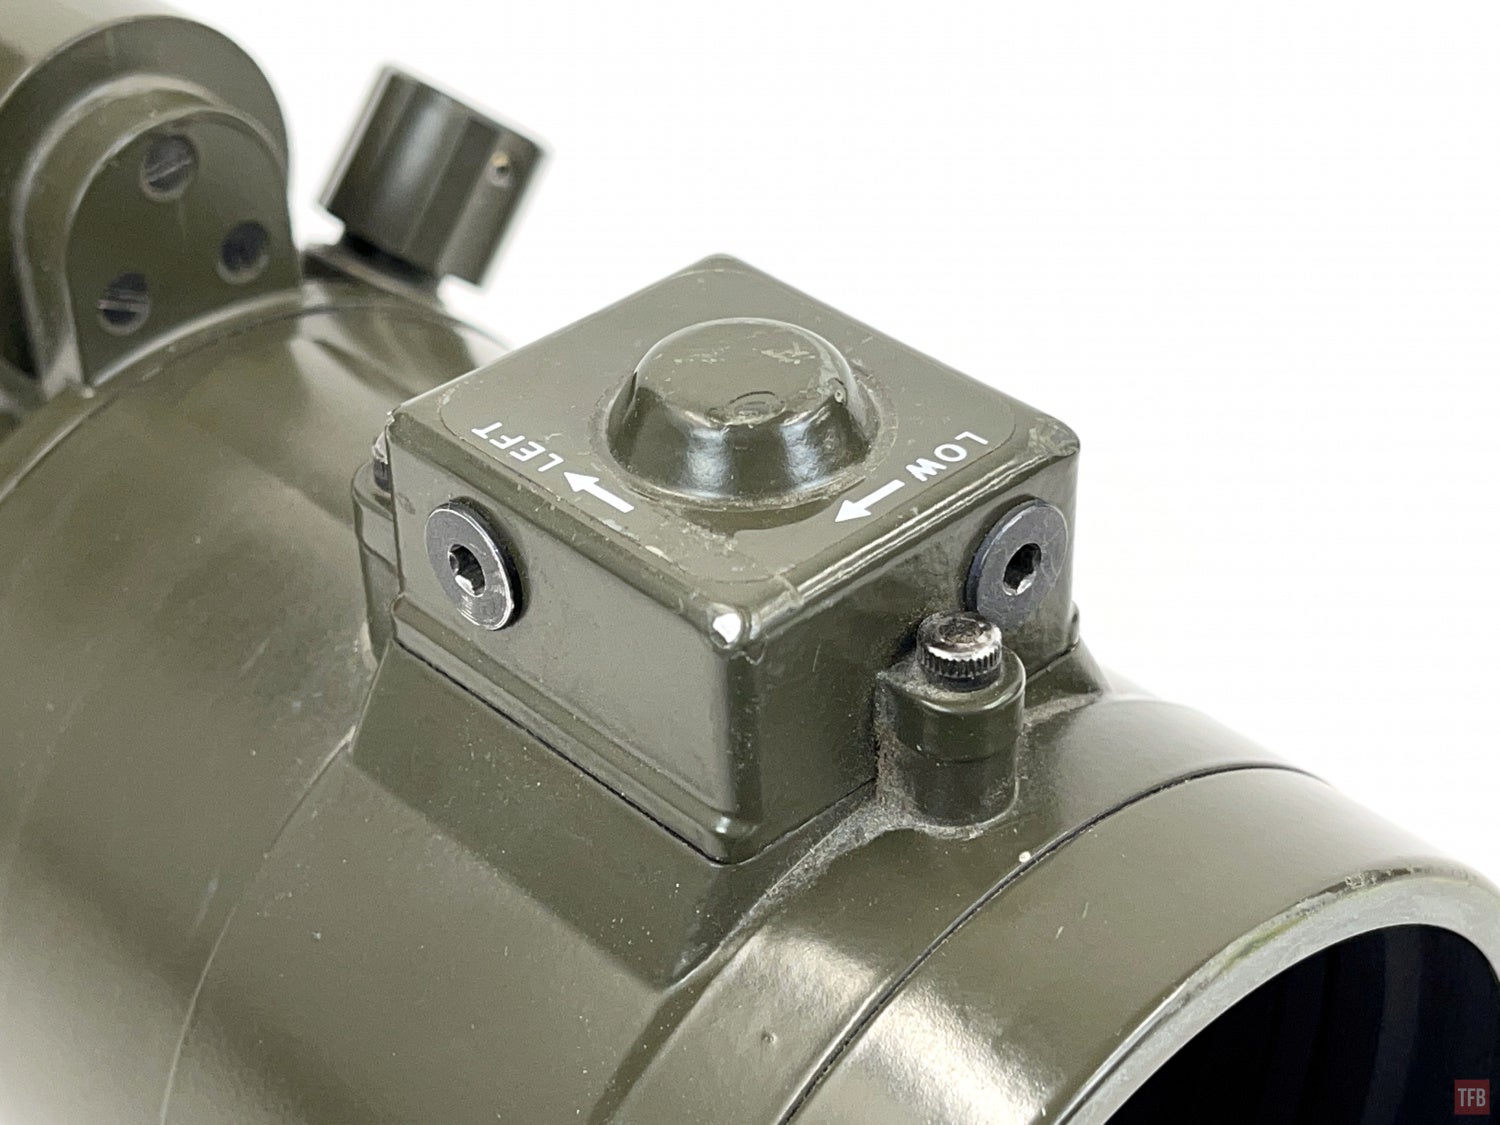
One strange thing about the Fero Z51 is that the elevation and windage adjustments are backwards. Windage is adjusted on top of the scope. The elevation is on the right side of the Fero Z51.
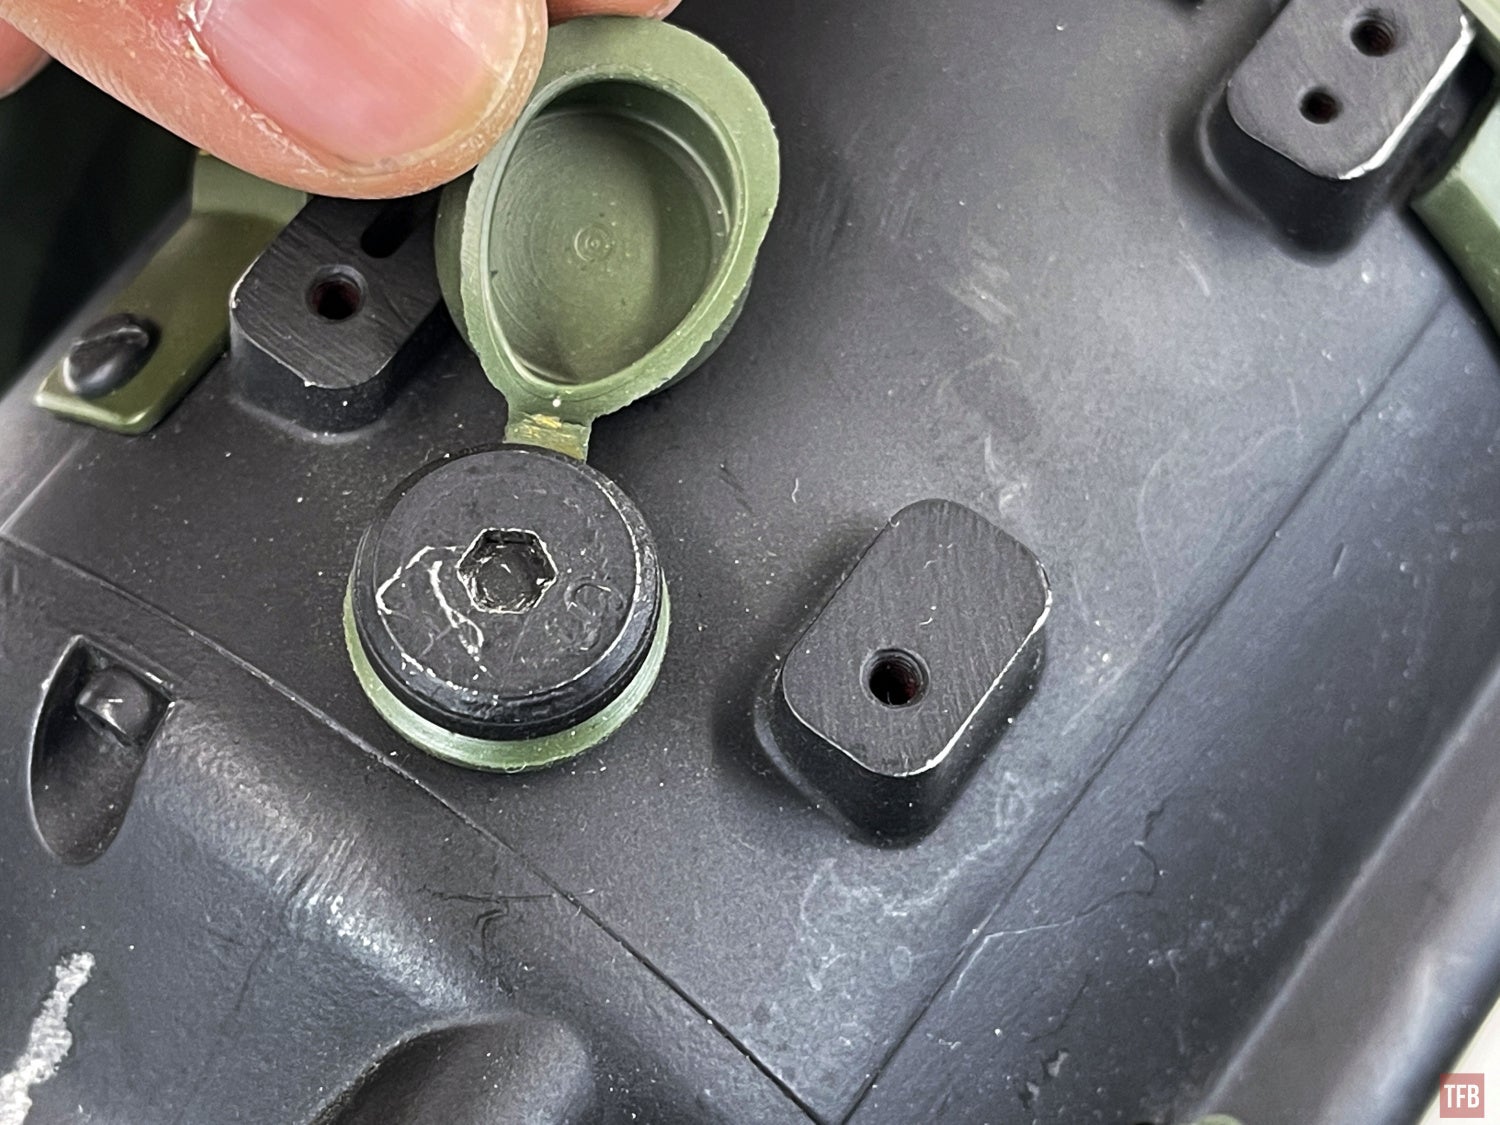
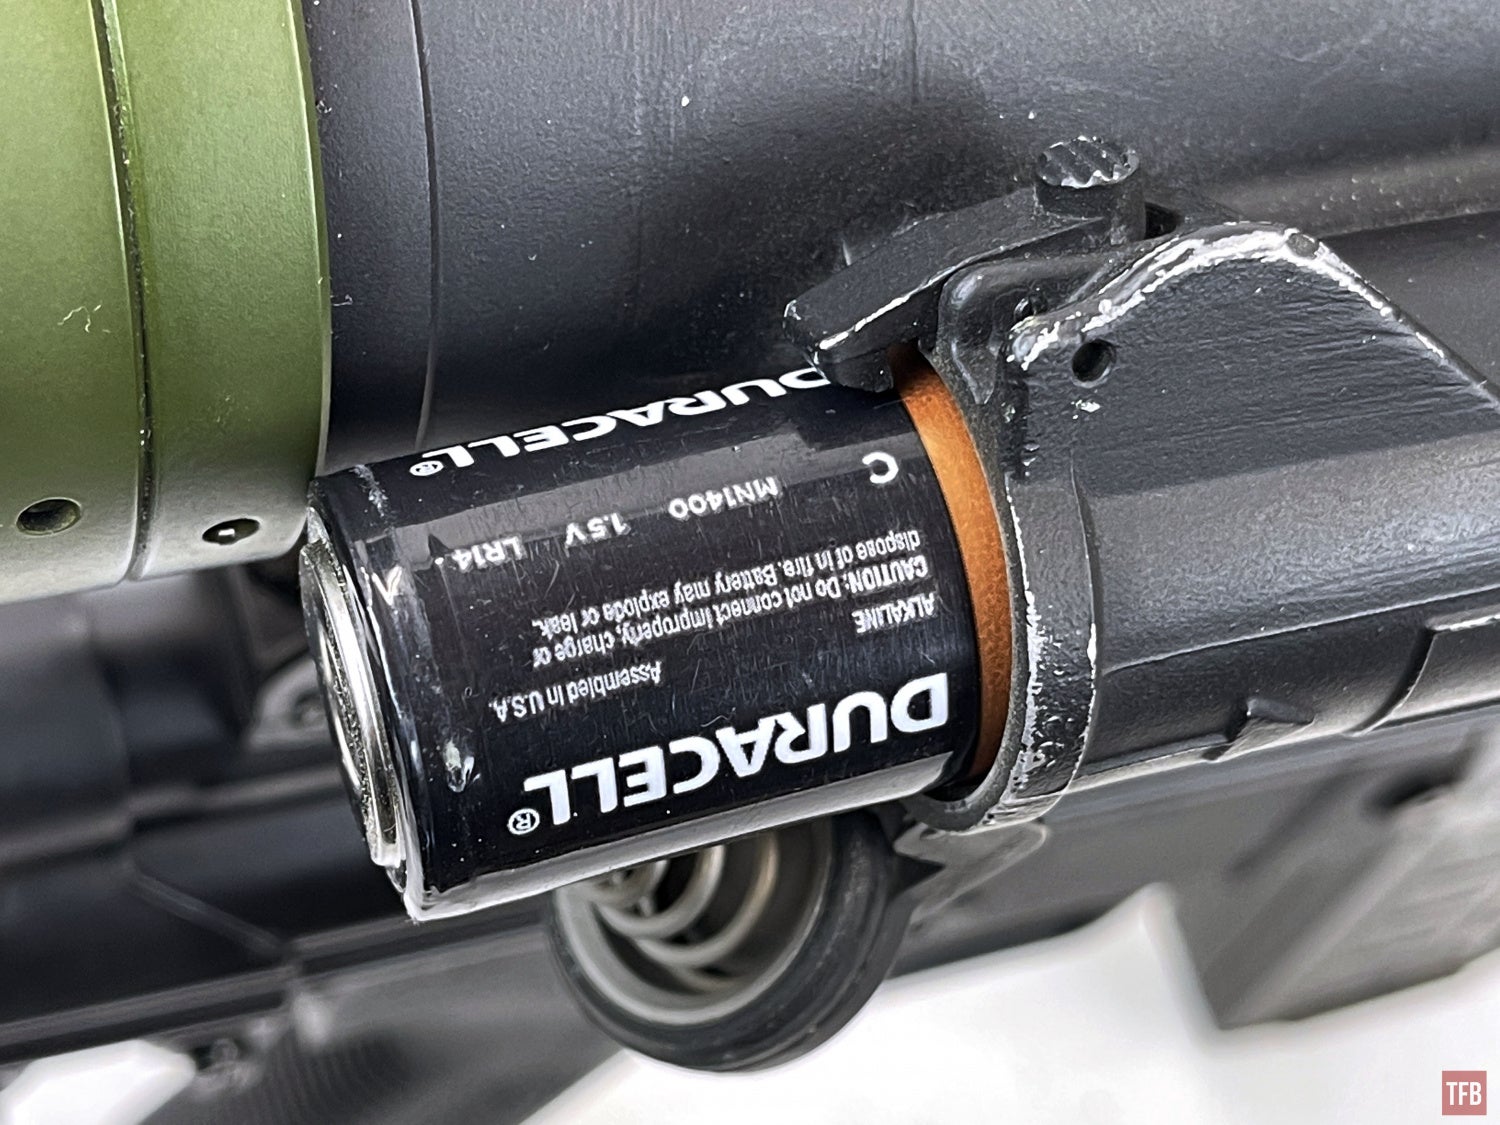
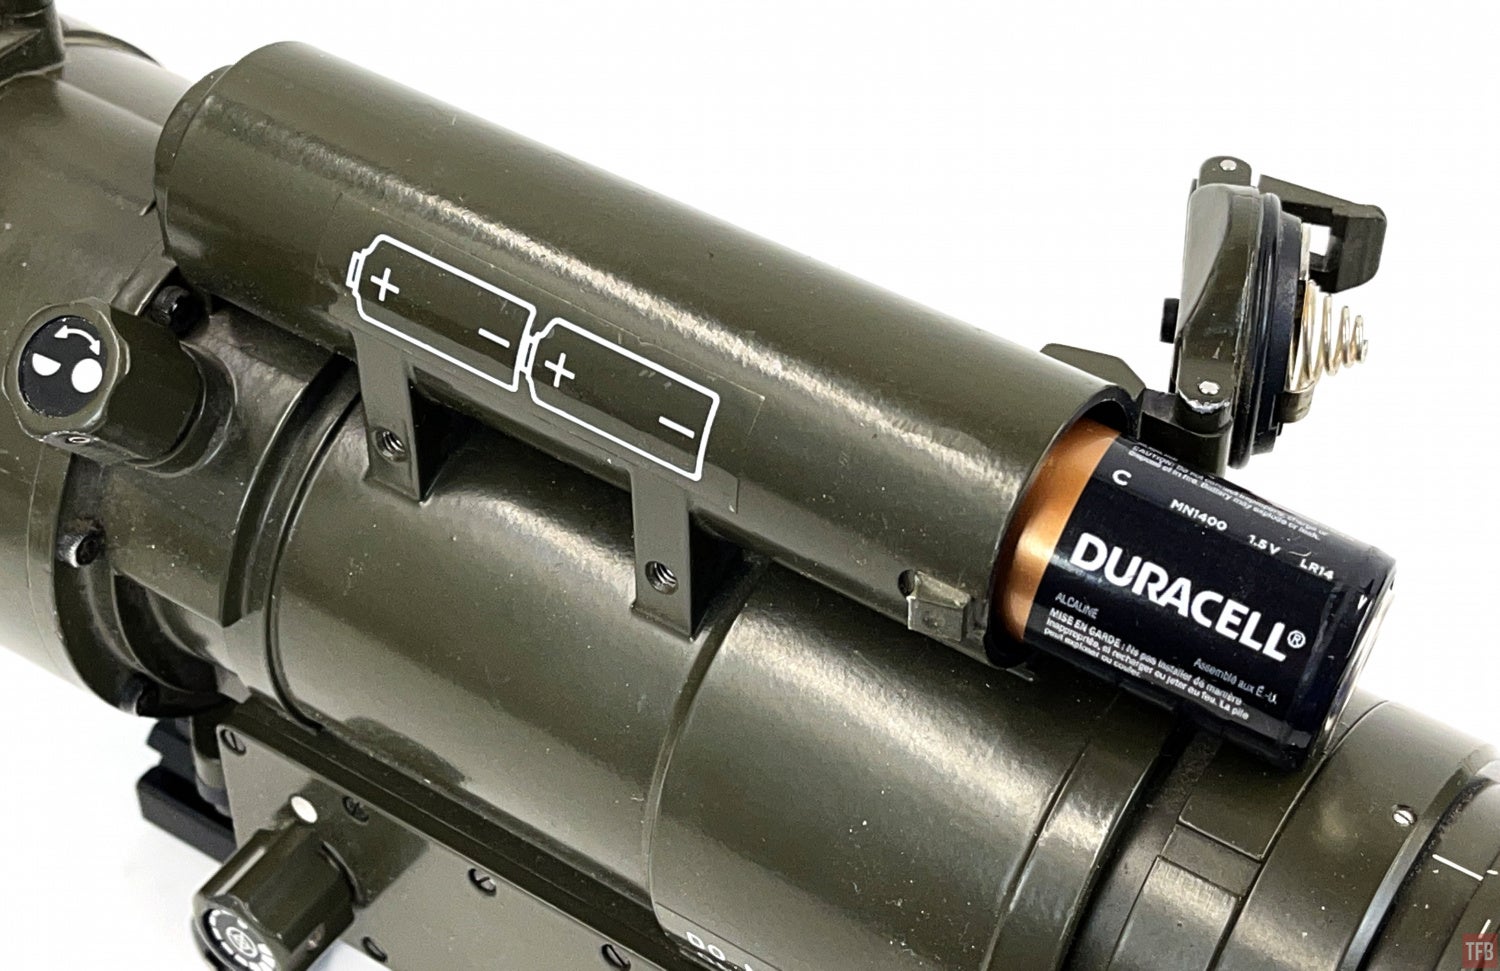
Battery door for the Fero Z51.
It is just powered by two C-cell batteries.
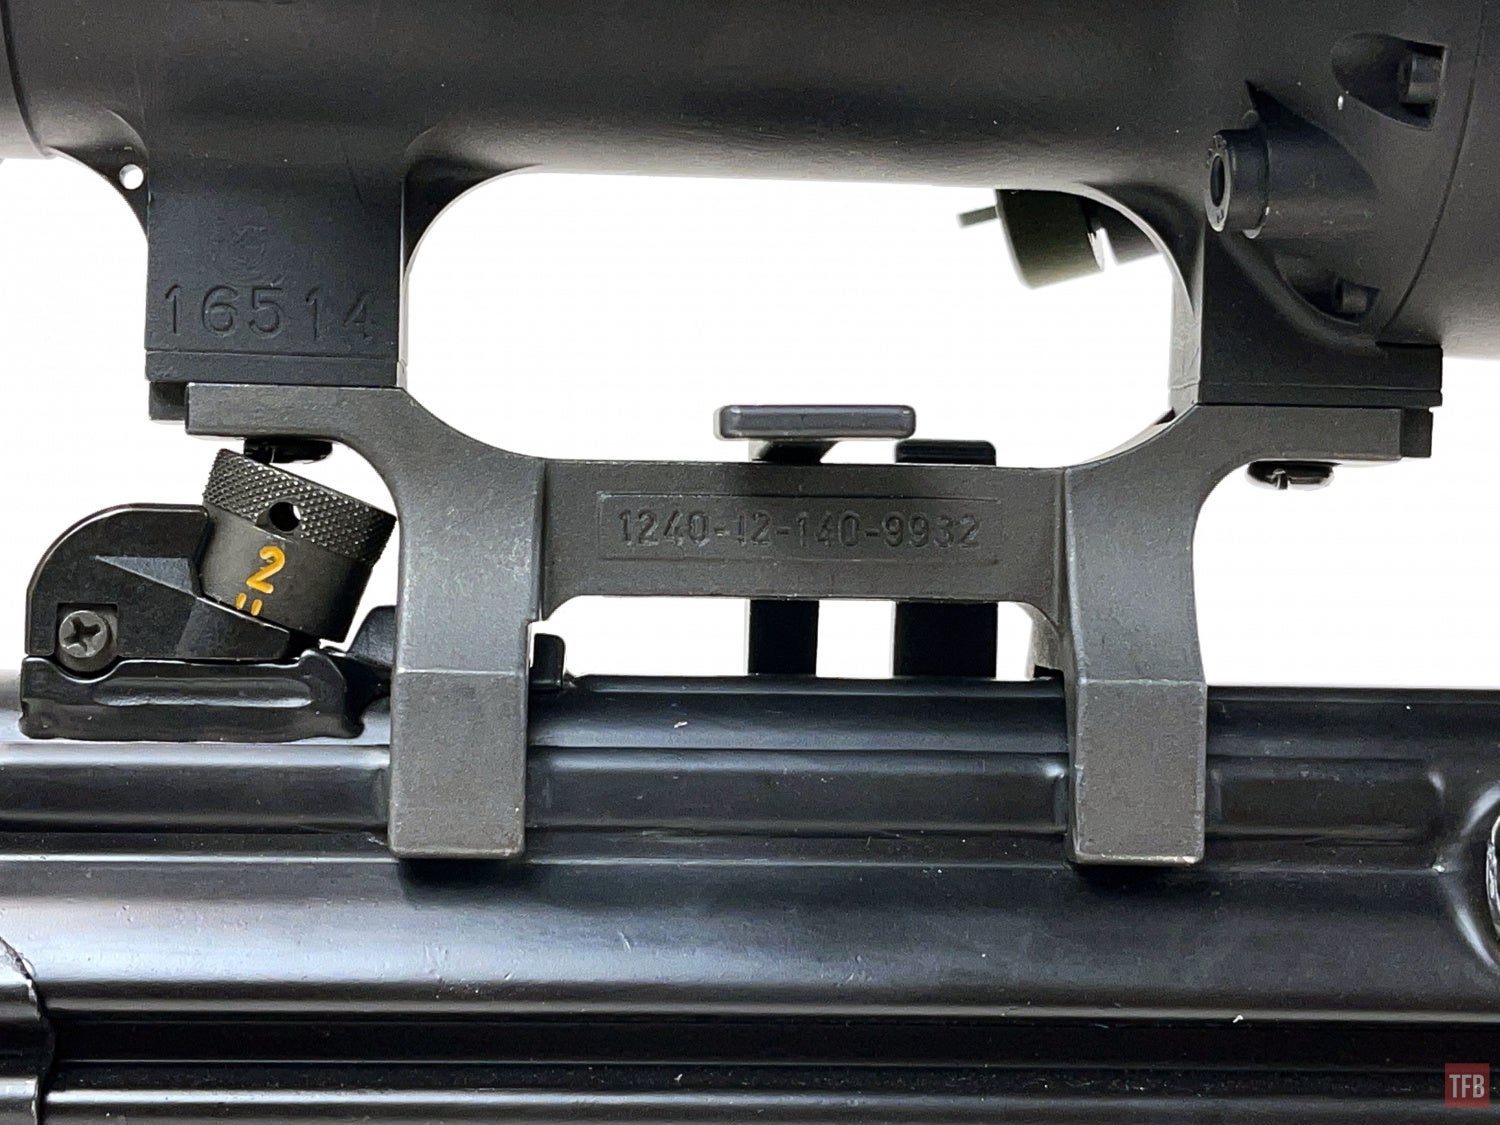
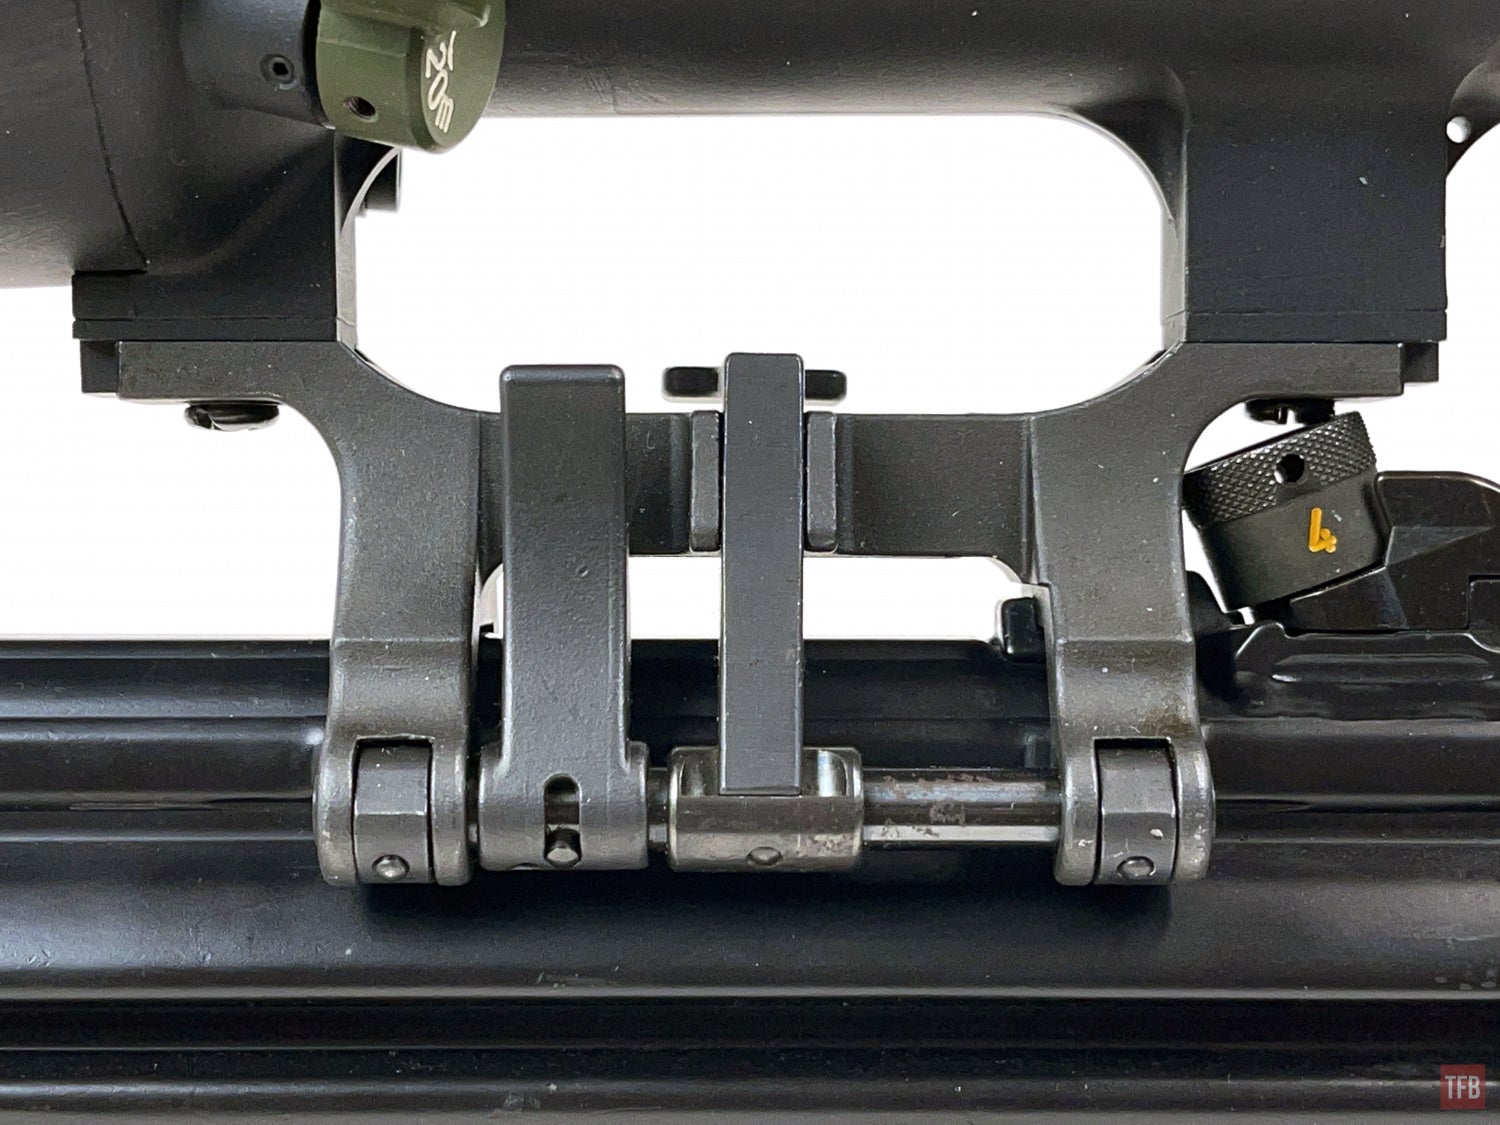
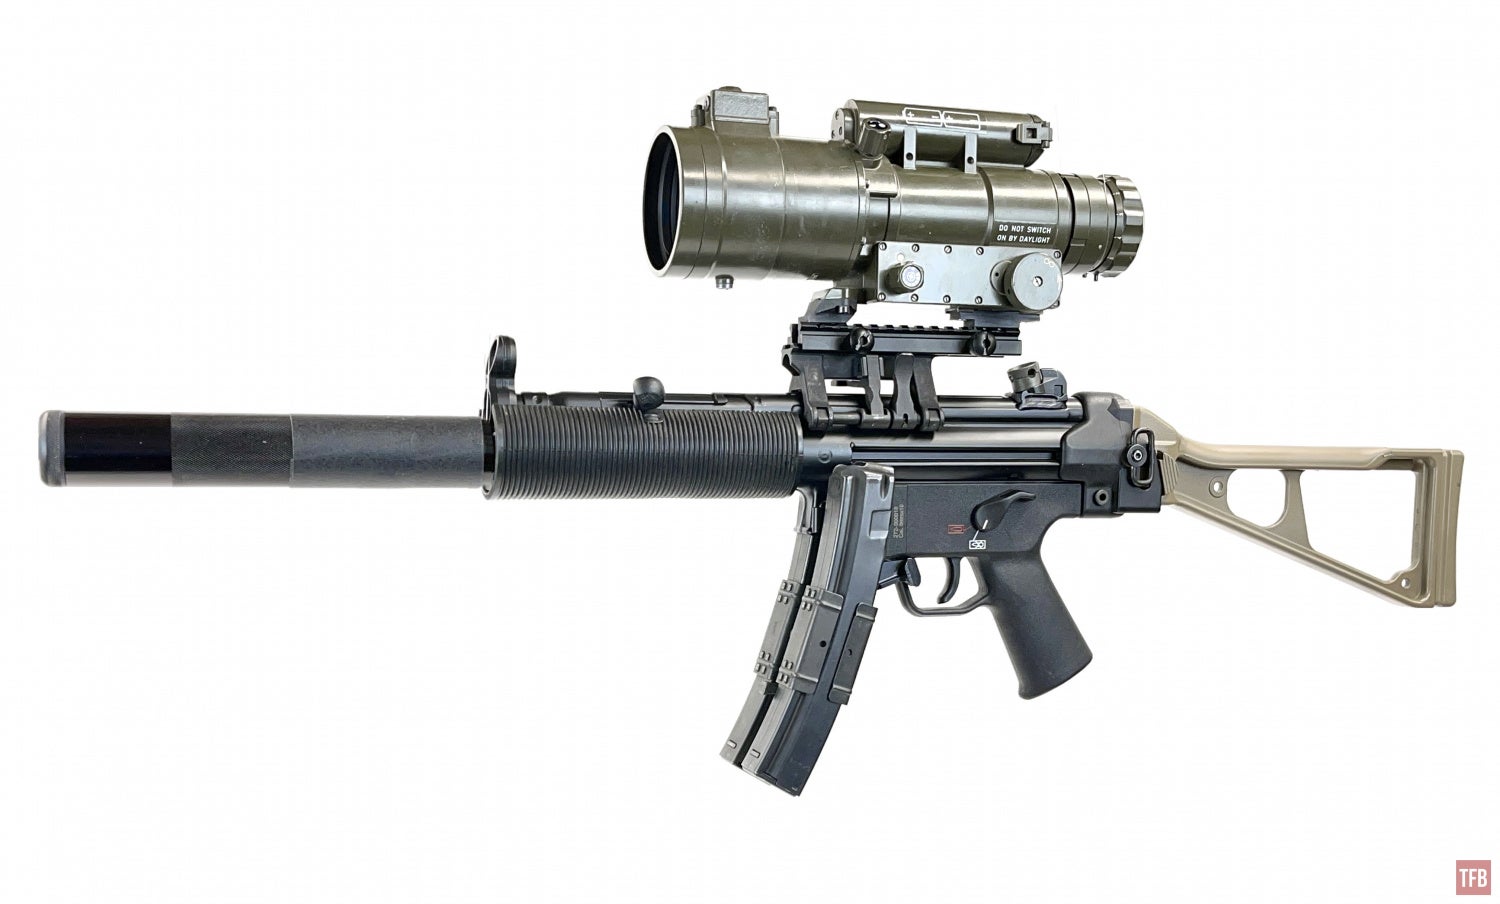
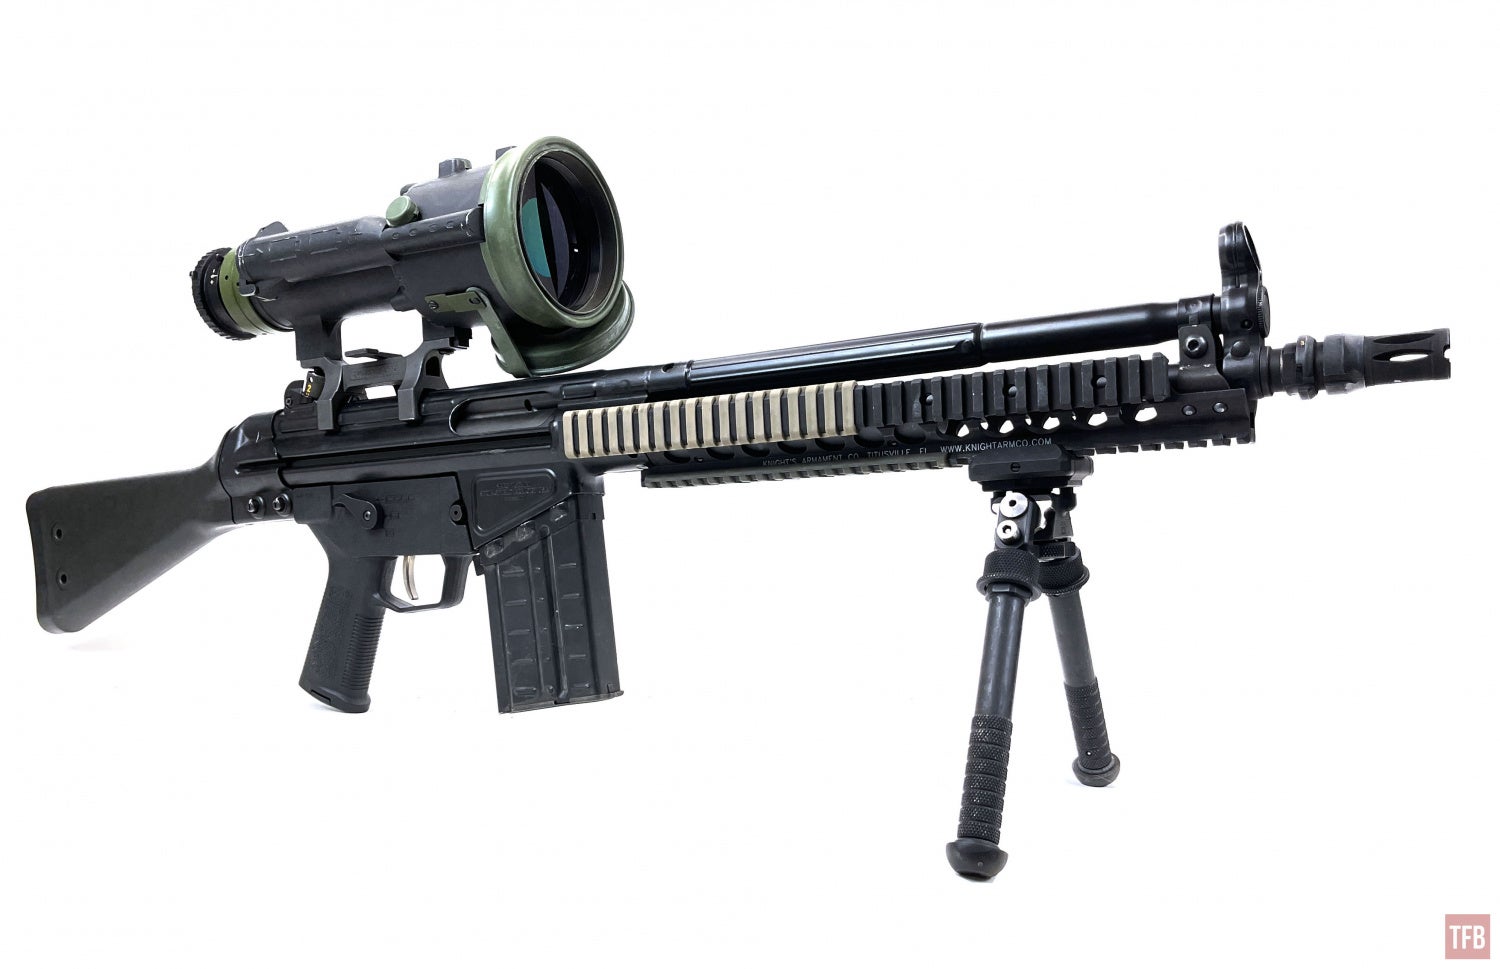 This Fero Z51 did not come with a mount but the scope is designed to use STANAG mounts so I bought an HK claw mount. You could just as easily get an ARMS #19 throw lever mount if you want to mount this to Picatinny.
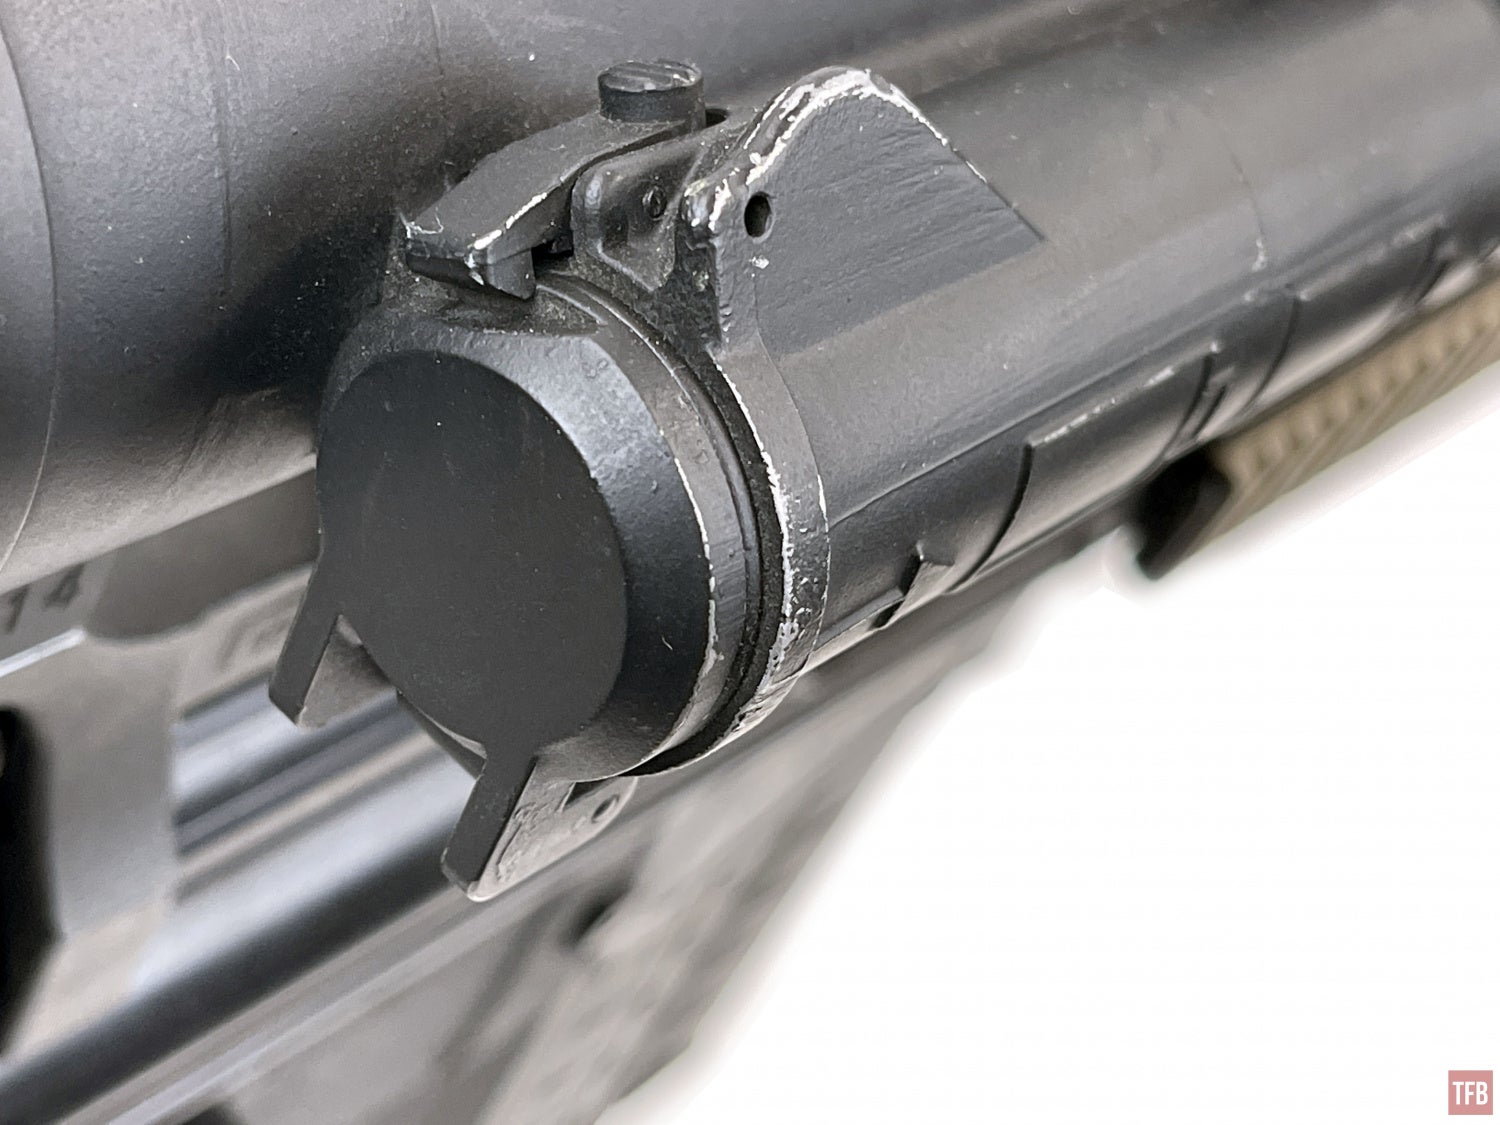
The claw mount just barely clears the rear iron sight.
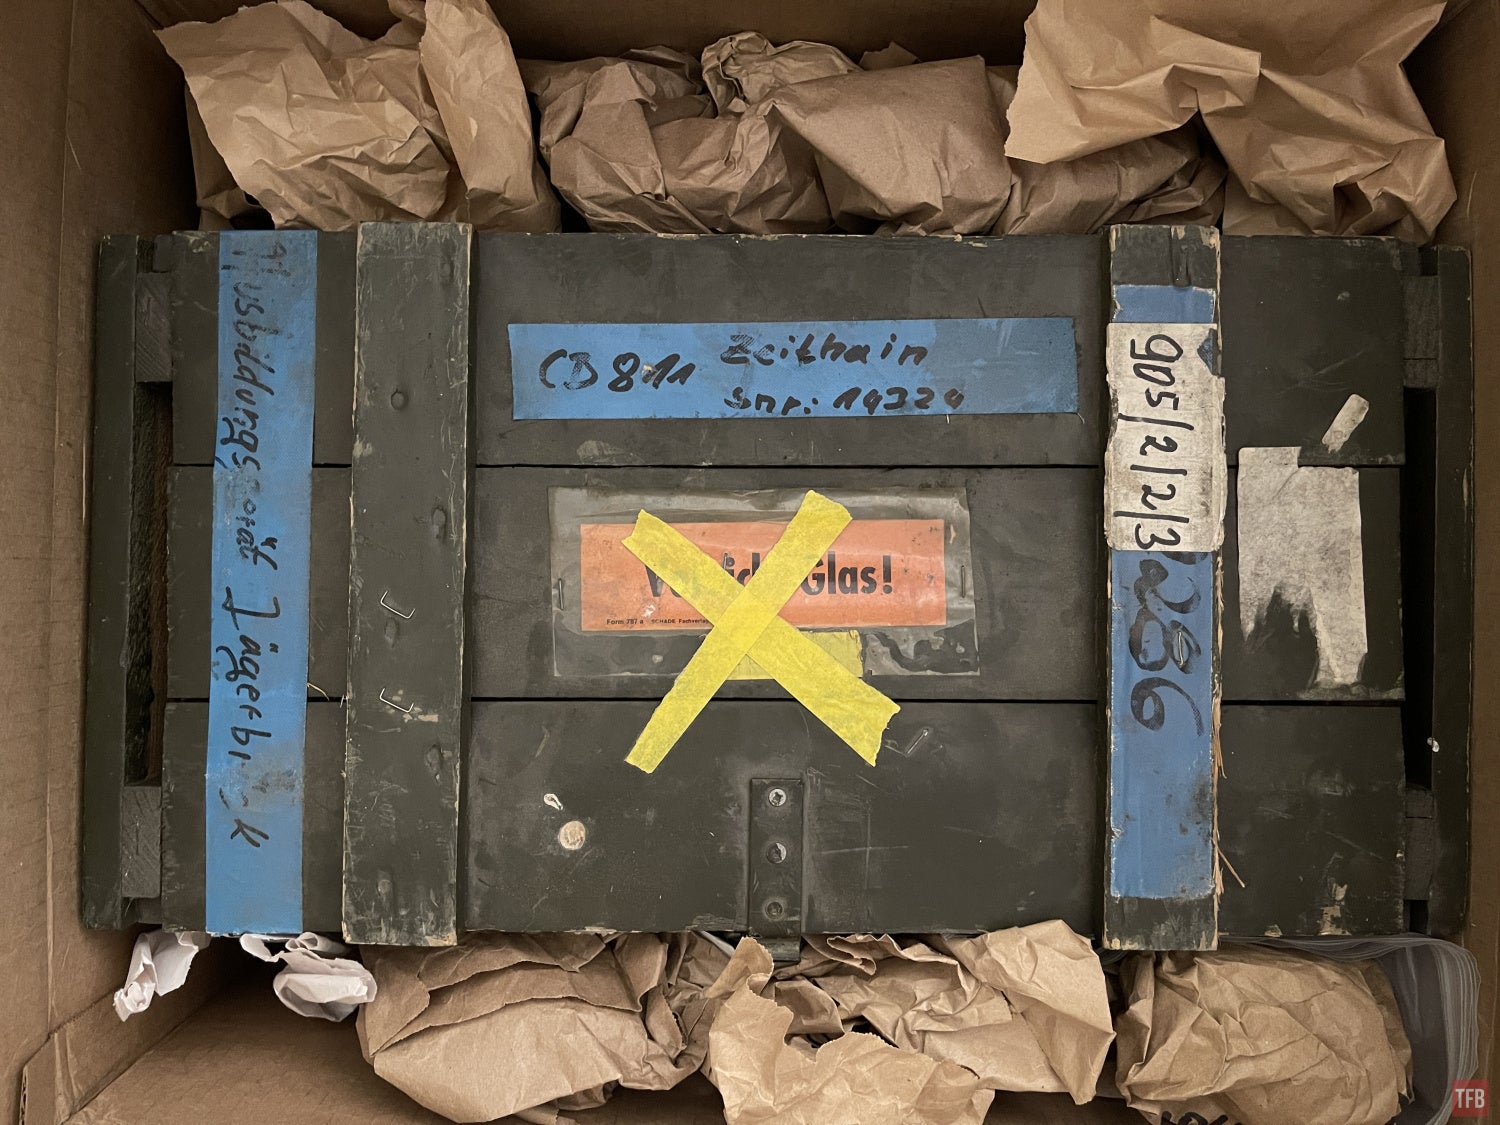
The Fero Z51 came in a wooden crate with the strangest packing material I have seen.
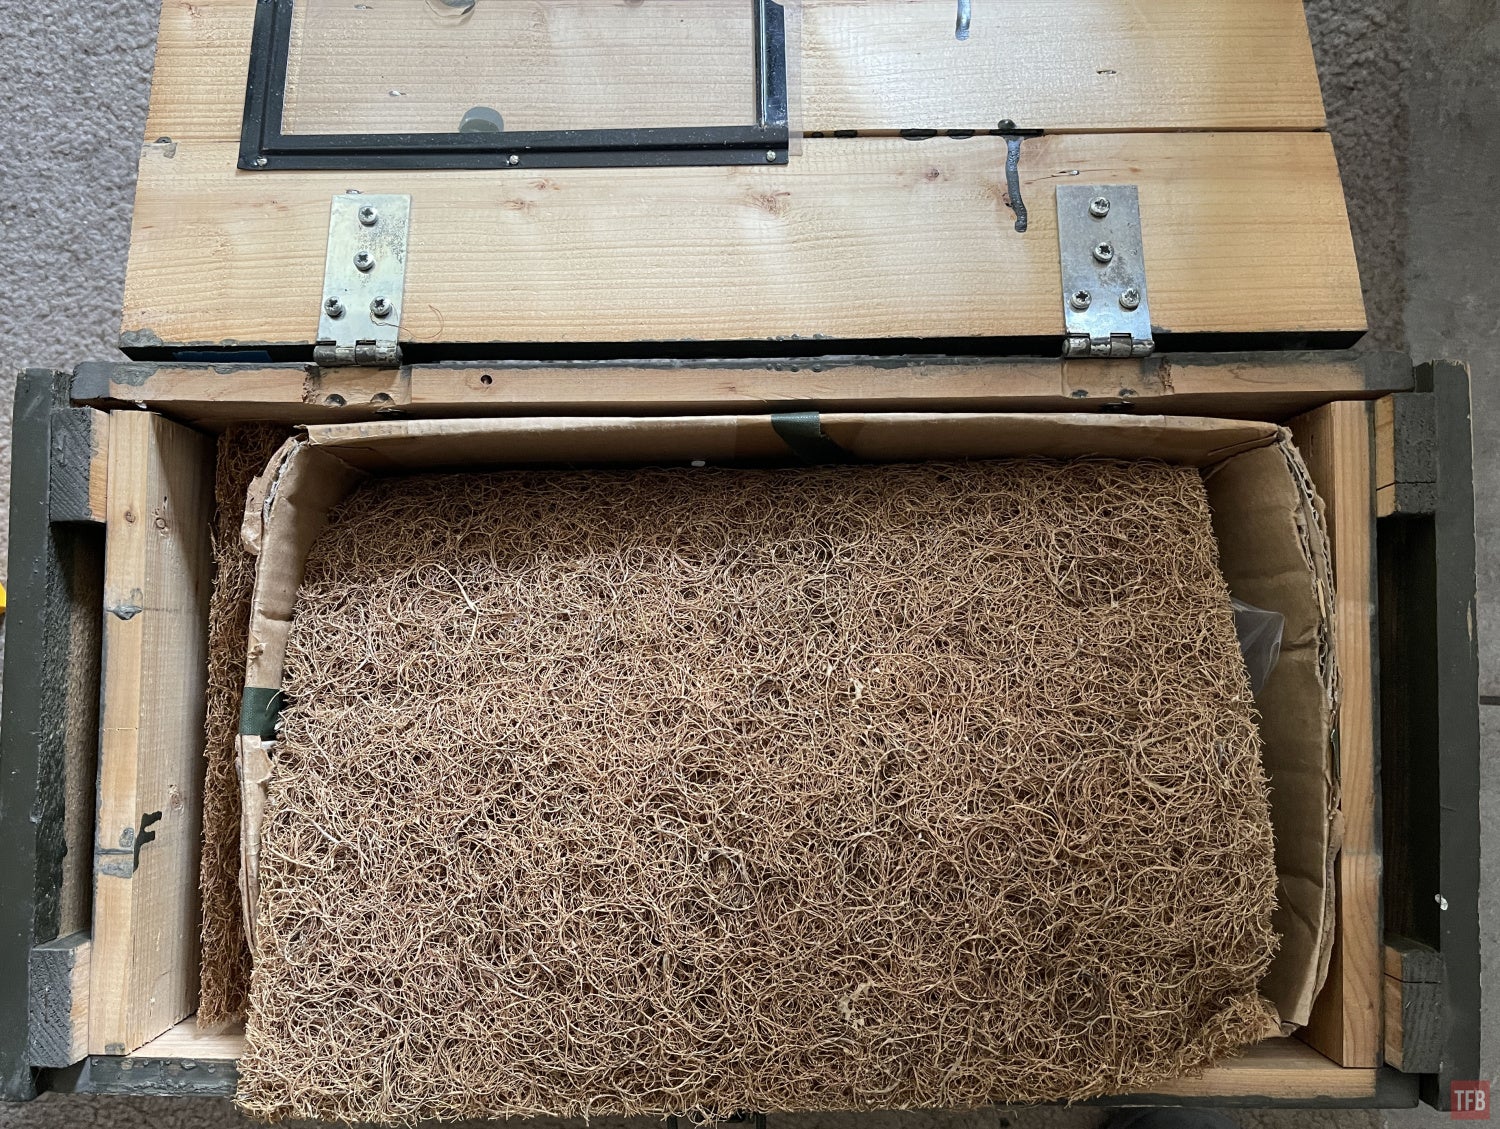
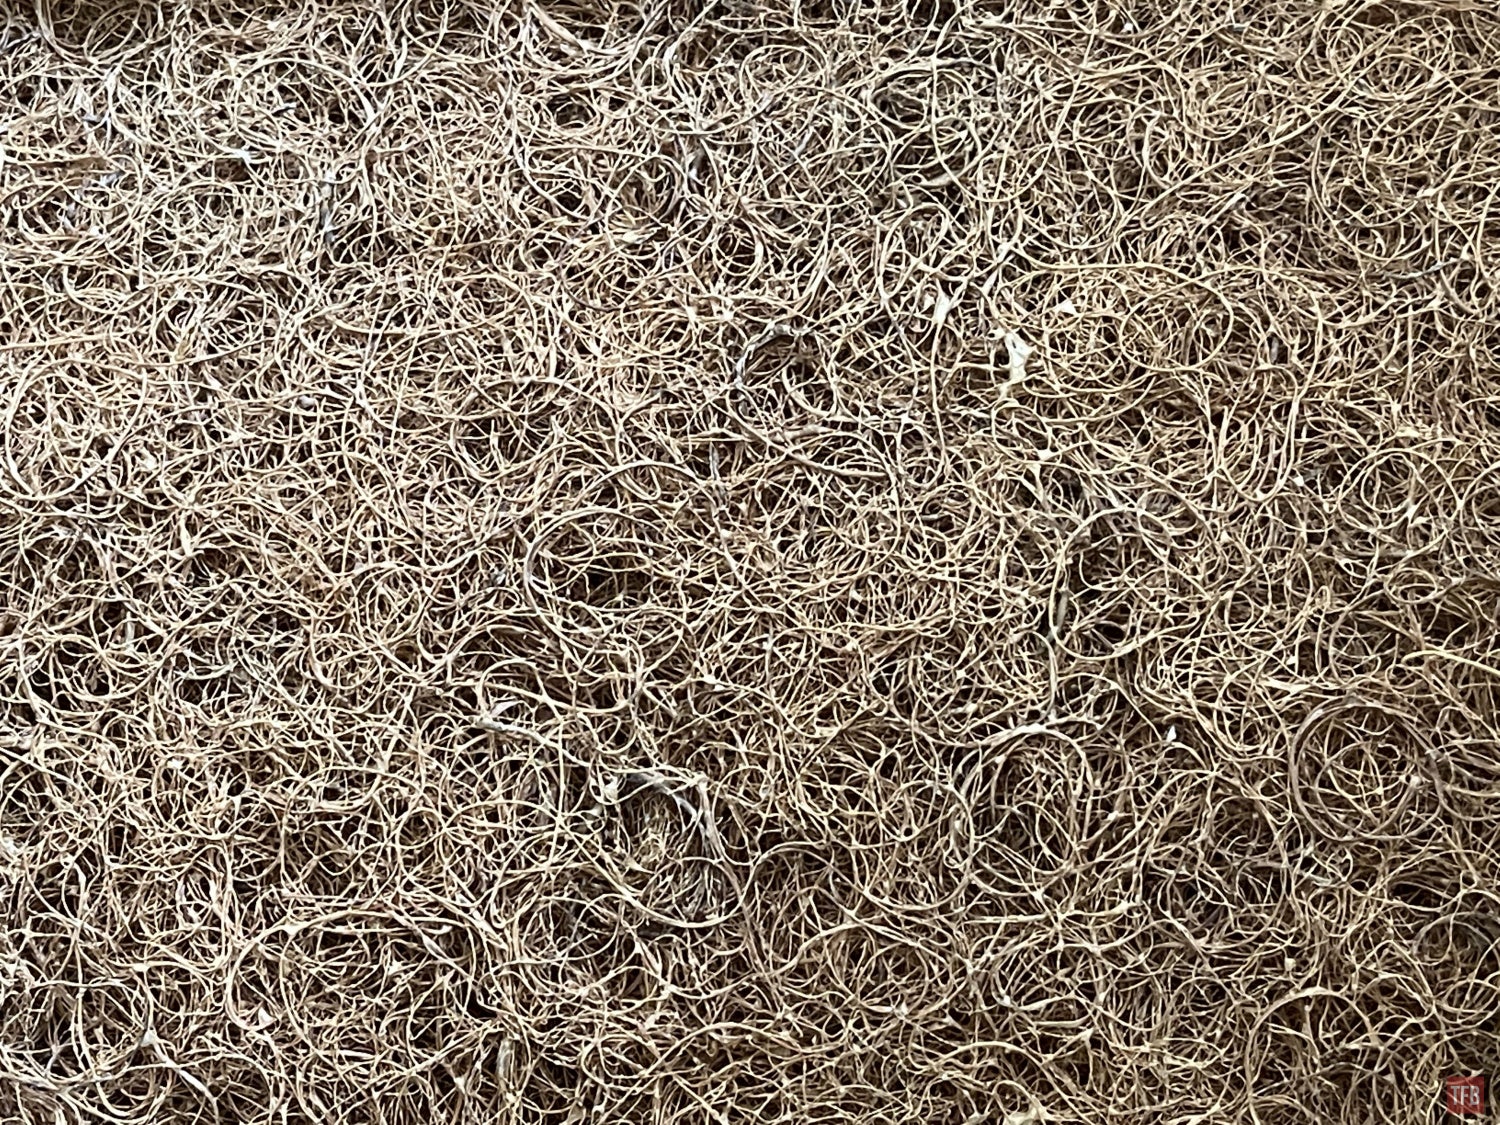
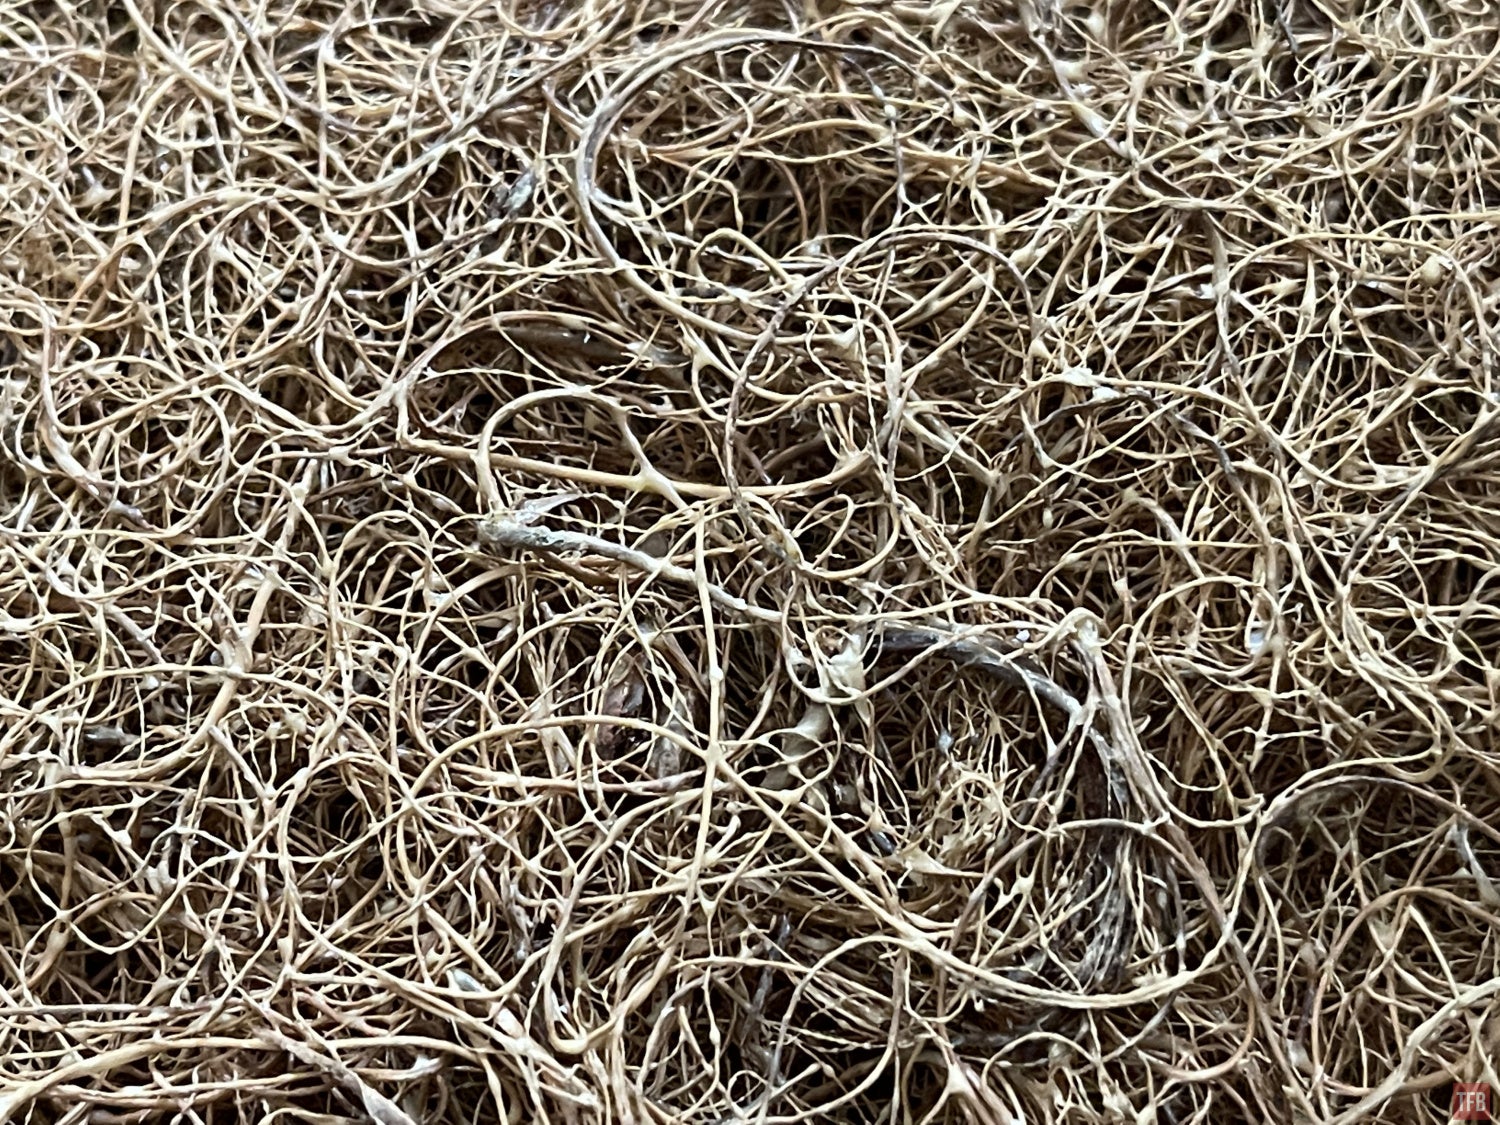
Upon closer inspection, the padding looks like it is dried up organic material. Like some sort of vegetation.
Looking Through The Fero Z51
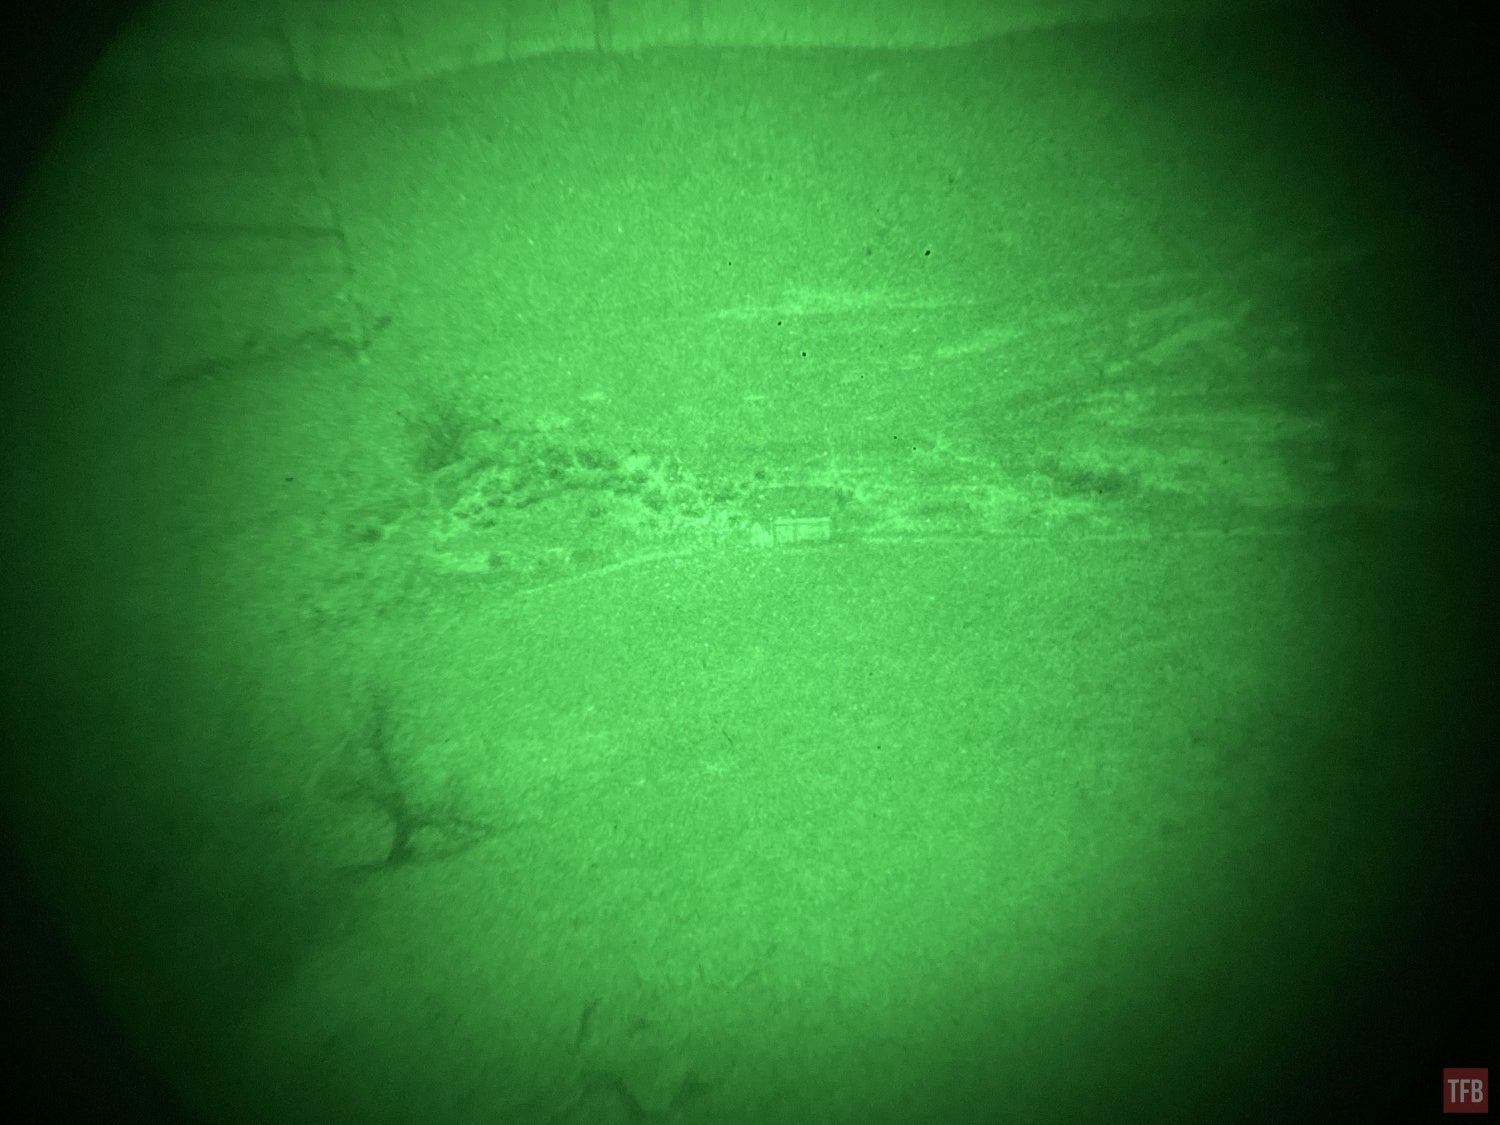
The Fero Z51 really surprised me with its performance. The Gen 1 cascade tube is bright if there is ambient light. In fact, it can be too bright if there is too much ambient light and there is no gain control to turn the brightness down. You can rotate the power switch and lowers a translucent shade that reduces the amount of light entering the tube. Just like sunglasses for your eyes. This results in a sort of dimming of the image. I found this useful when looking towards the horizon and using the shade to block the light coming from the horizon.
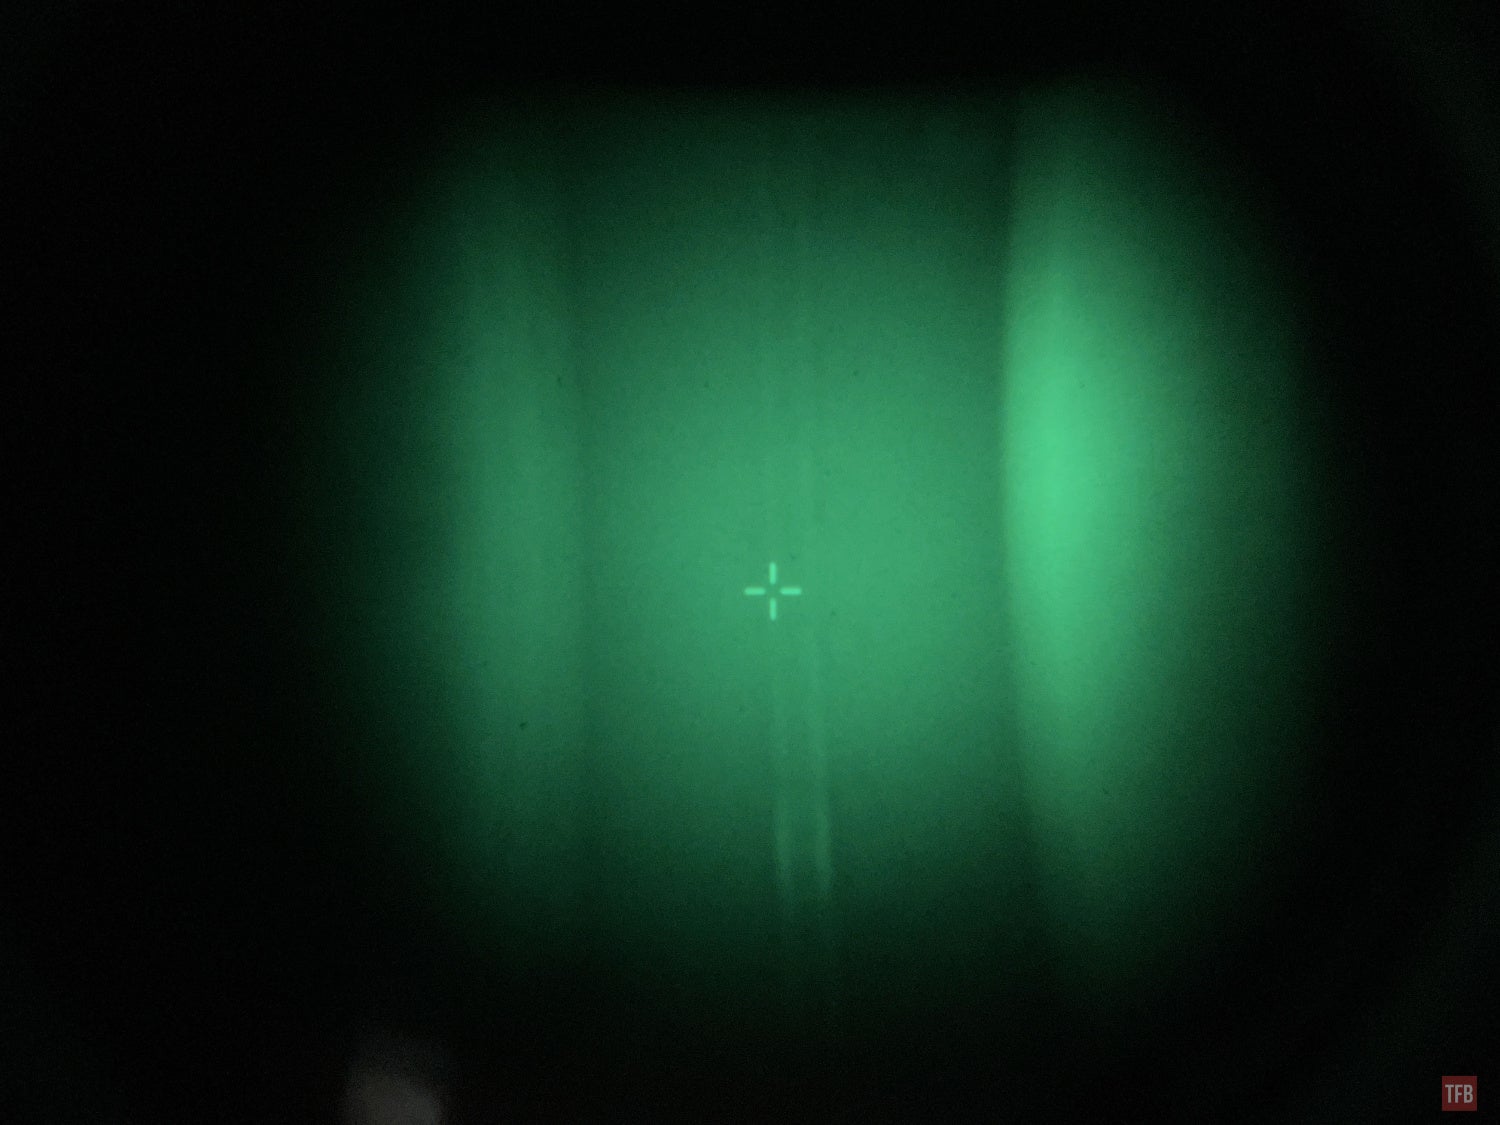
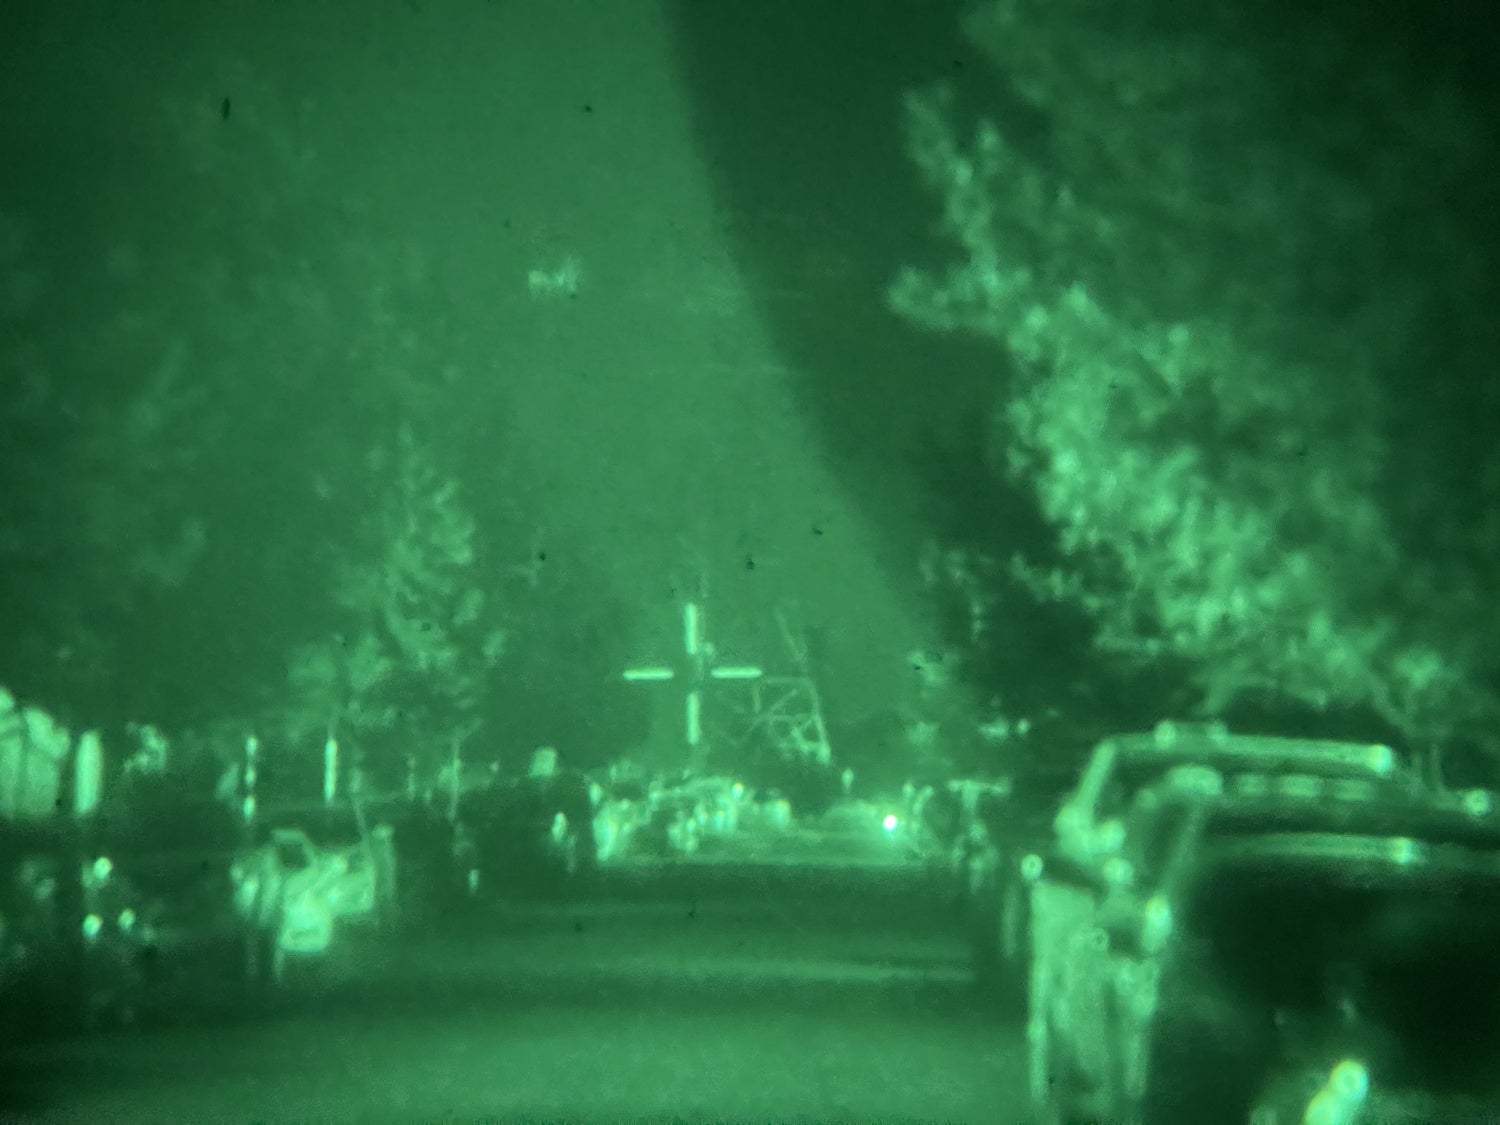
As mentioned previously, the Fero Z51 has a reticle that can be adjusted. However the reticle is not straightforward. See the image below.
My Fero Z51 did not come with a manual so I did not understand the reticle. I ended up buying a translated copy of the manual. Apparently, there are two reticles. There is a set of markings on top. A single dot with two sets of double tick marks. That is for use with an HK G3. The first dot is supposed to be your 100m zero. The double bars below that is your hold over for 200m and the set below that is for holding over for 400m. I assume this is for use with 147gr M80 ball ammo.
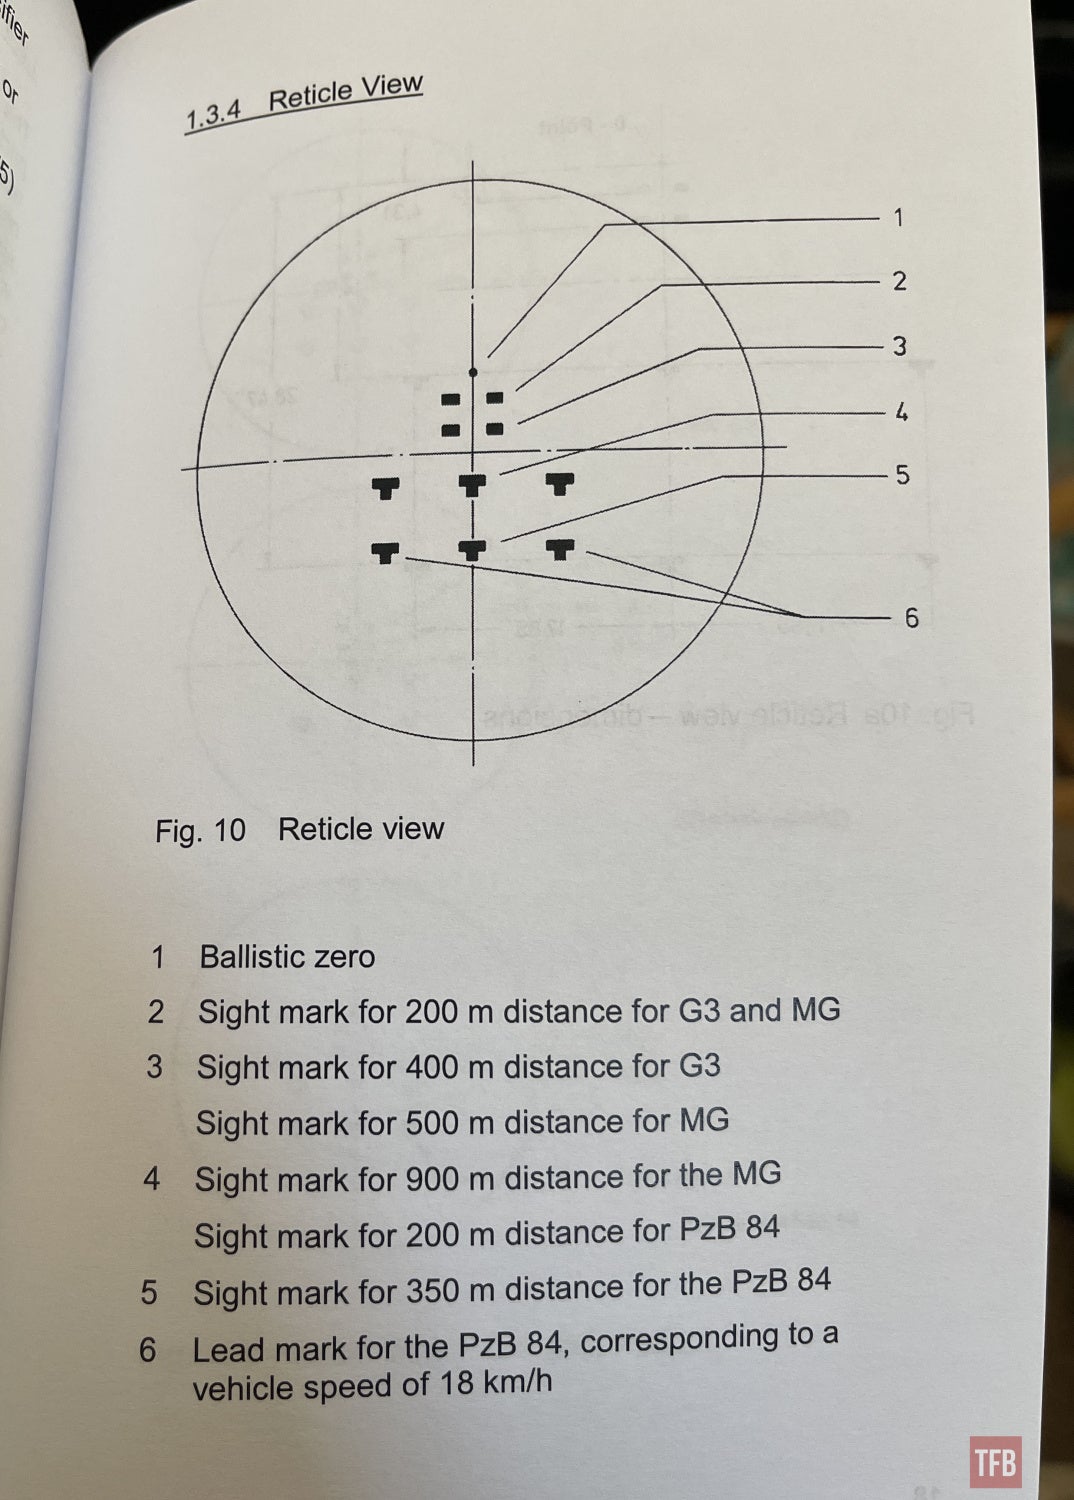
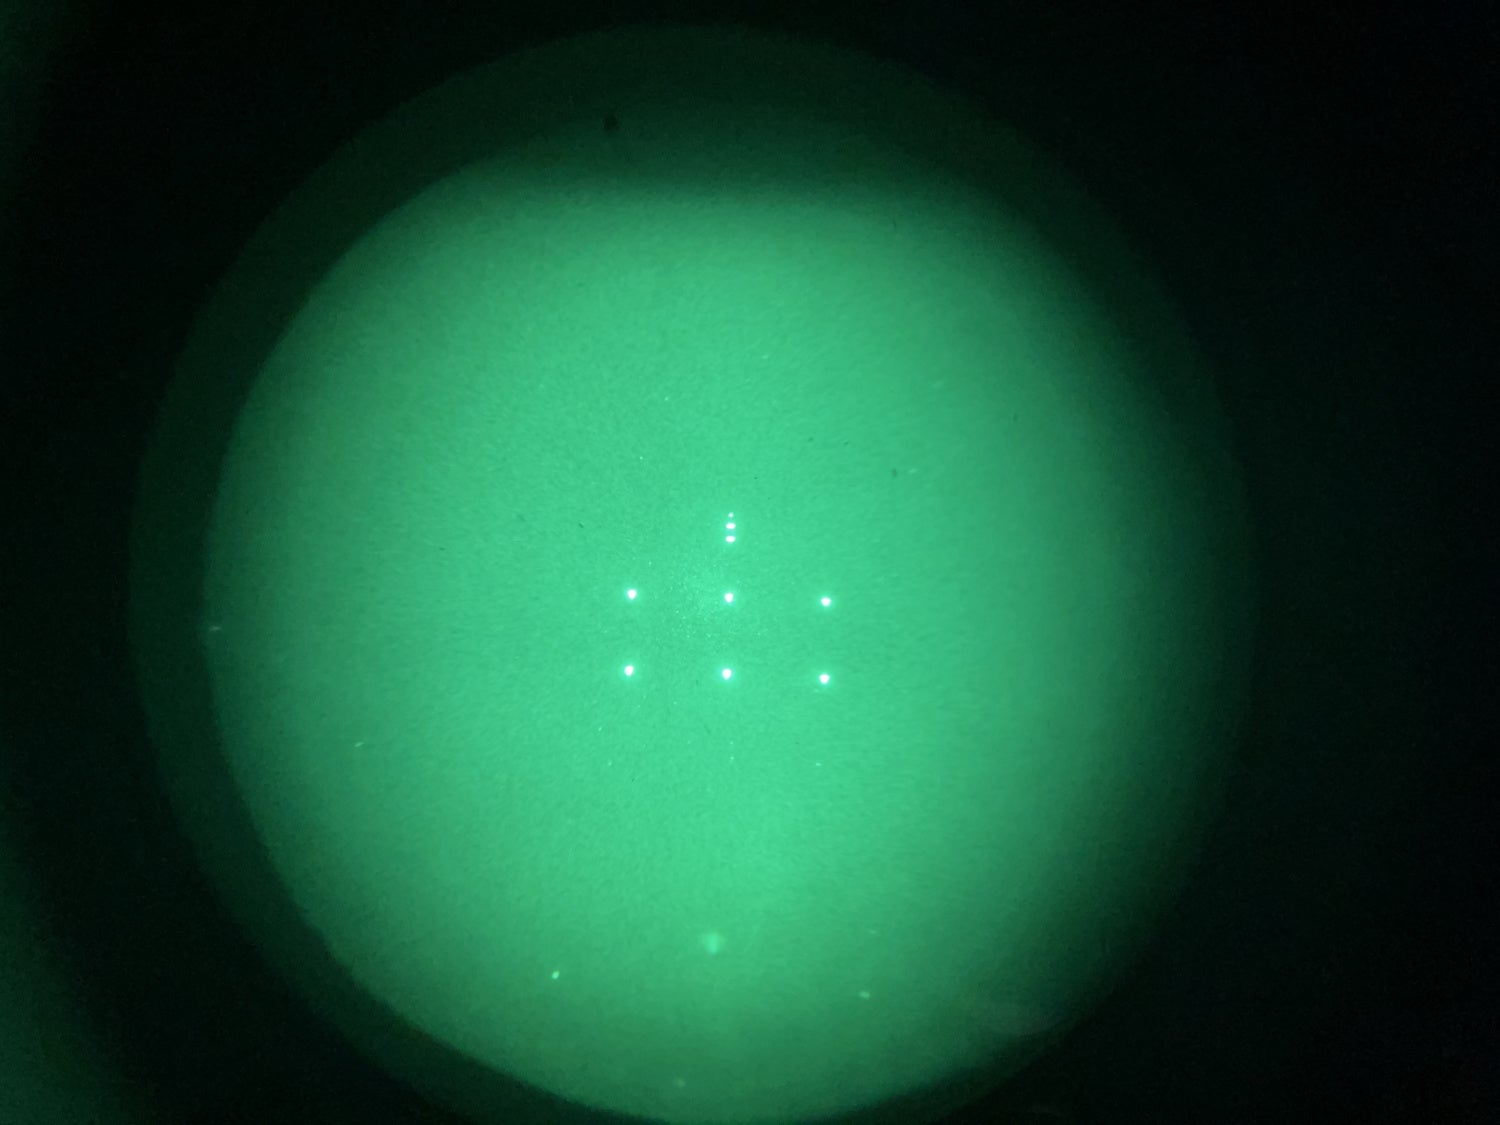
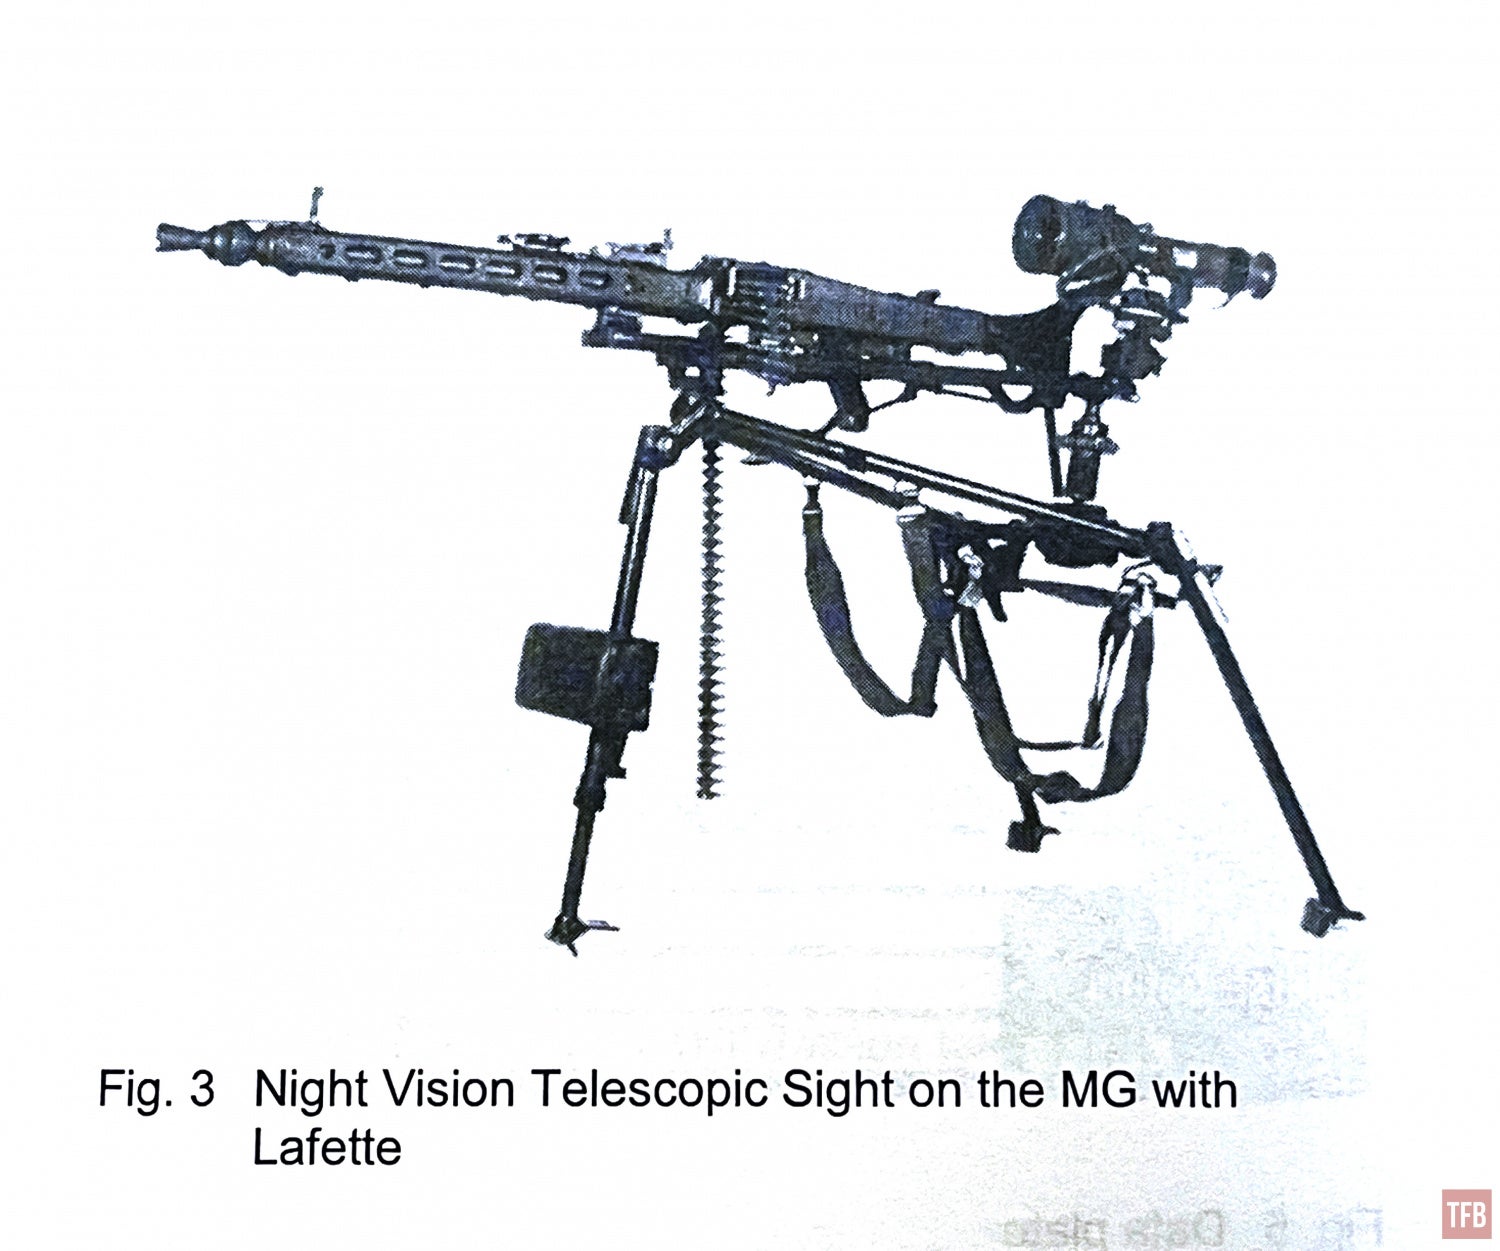
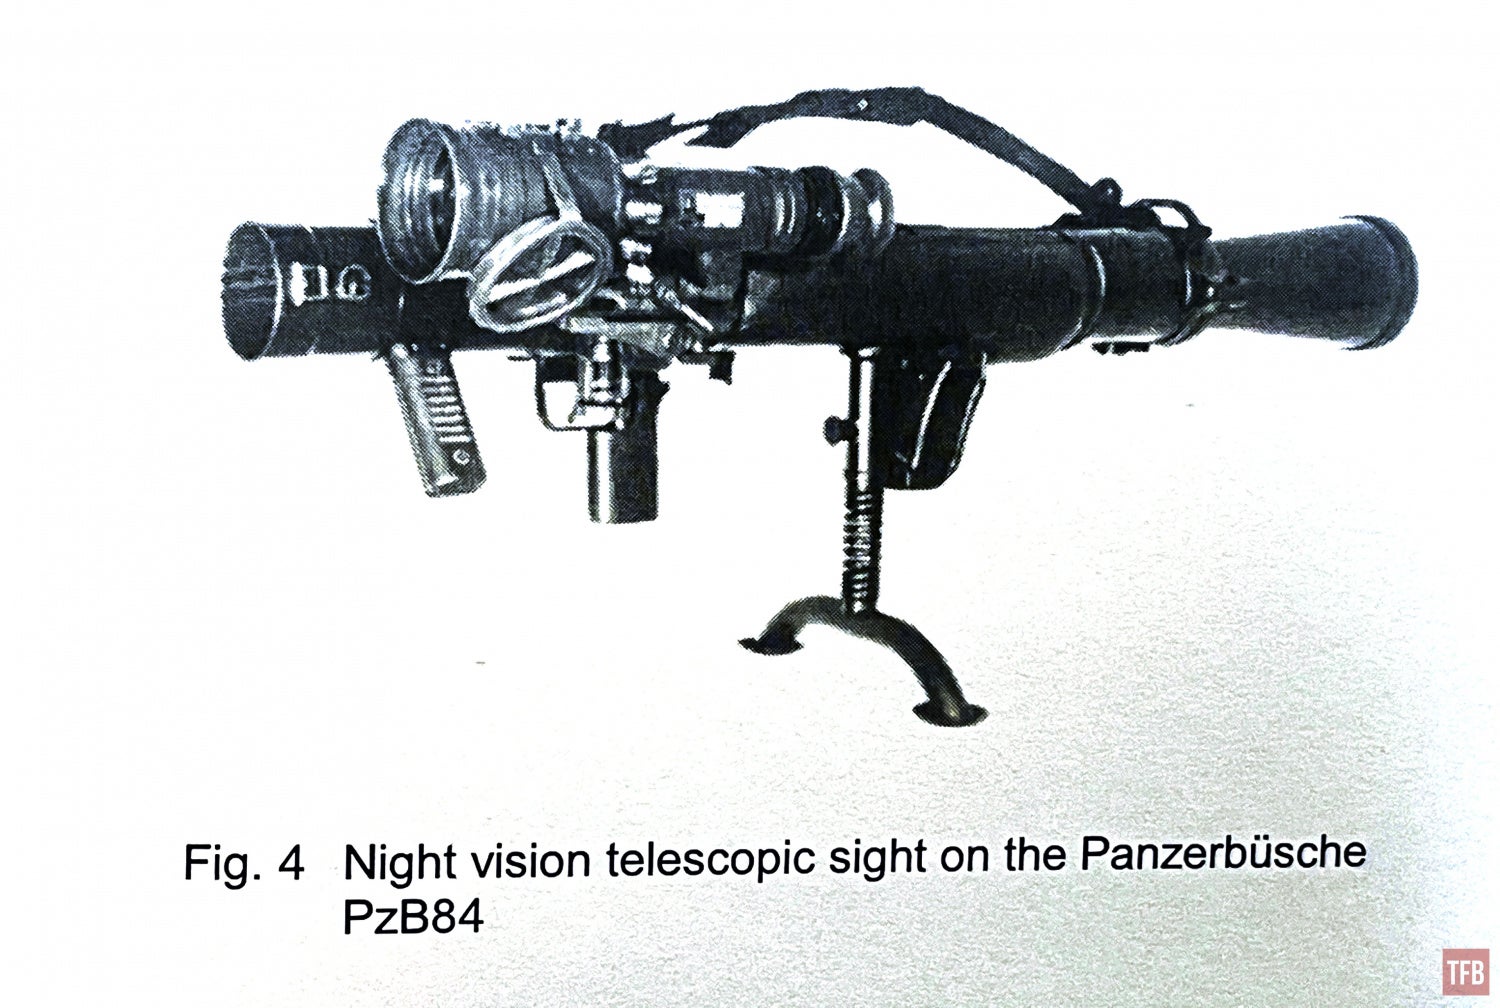
What is really interesting is the second set of reticles below the G3 reticle. The T shaped markings are for an MG or Panzerbusche (PzB 84). See the examples from the manual below.
Here is a video looking through the Fero Z51.
As mentioned earlier, the Z51 does not have any adjustable gain so when there is a lot of ambient light, it can be too much and hurt your eyes. The Z51 has a sort of internal sunshade that limits the light coming in. It is translucent and reduces the amount of light coming into the tube. The scope does rather well in full moon, but moonless nights are a struggle for the scope. I mounted it to my EBO SAR8 (Greek HK91 clone) and found the reticle ran out of elevation adjustment. I was only able to get the 200m mark to zero at my impact at 100 yards. However I could turn off the reticle and aim with an IR laser. In the video above I also filmed through my other Gen 1 cascade night vision scope, the Oldelft HV 5×80.
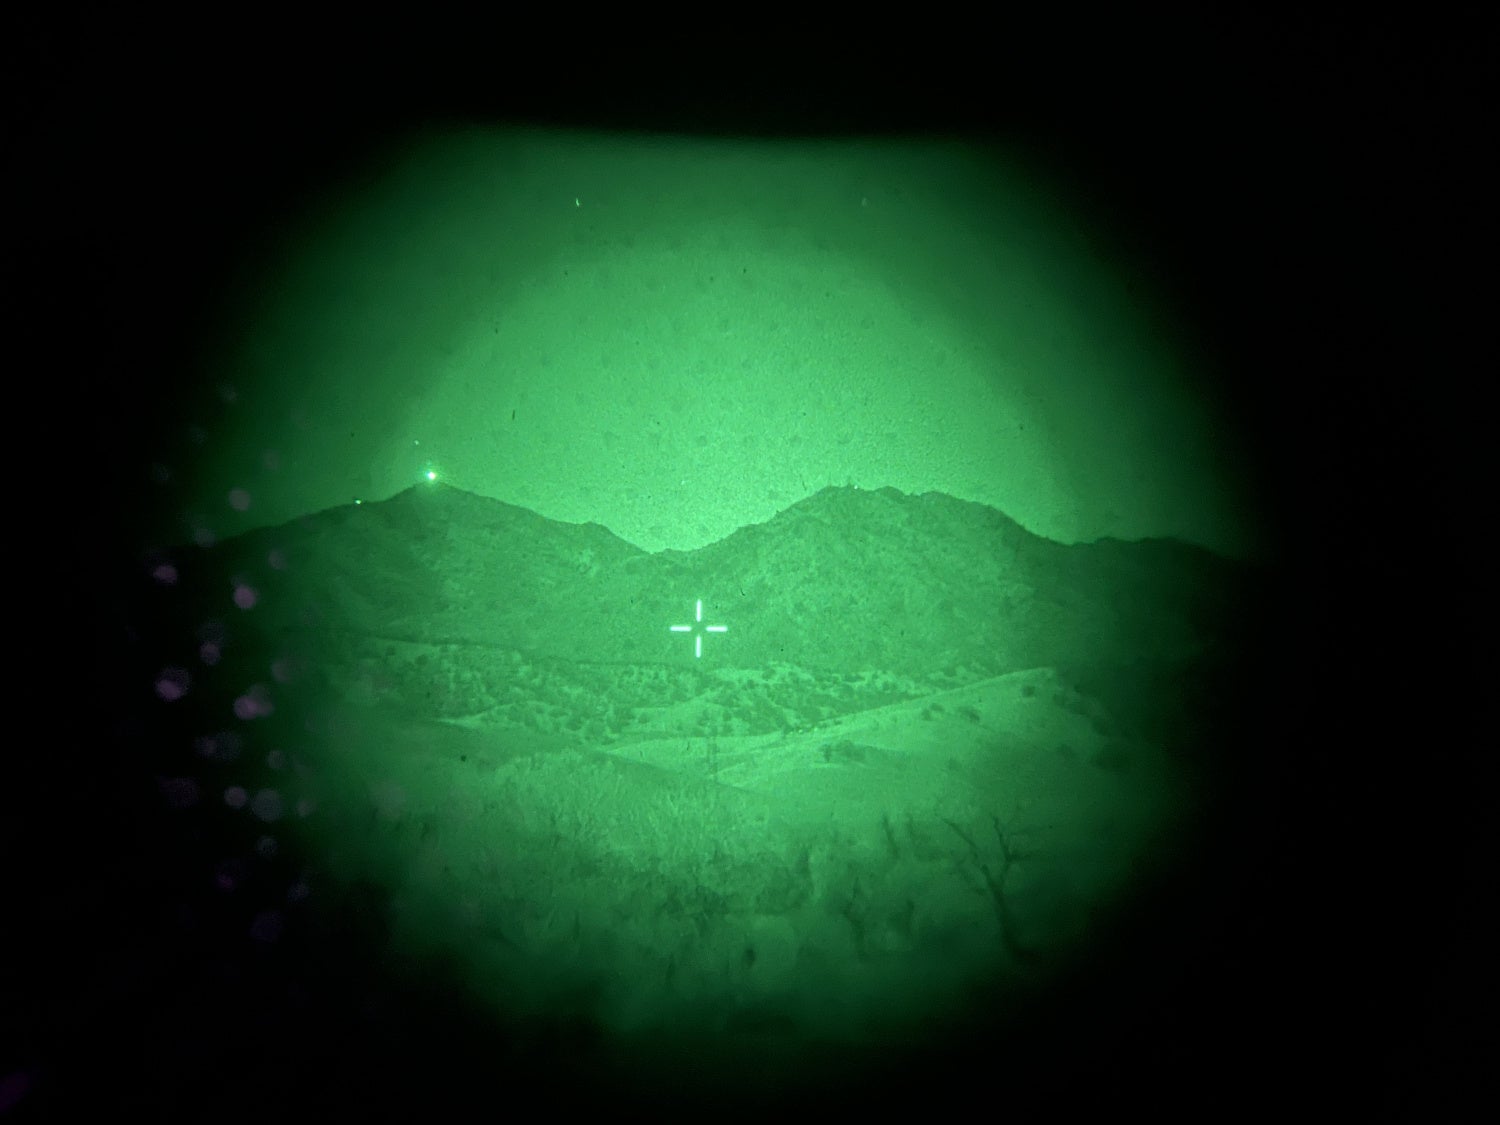
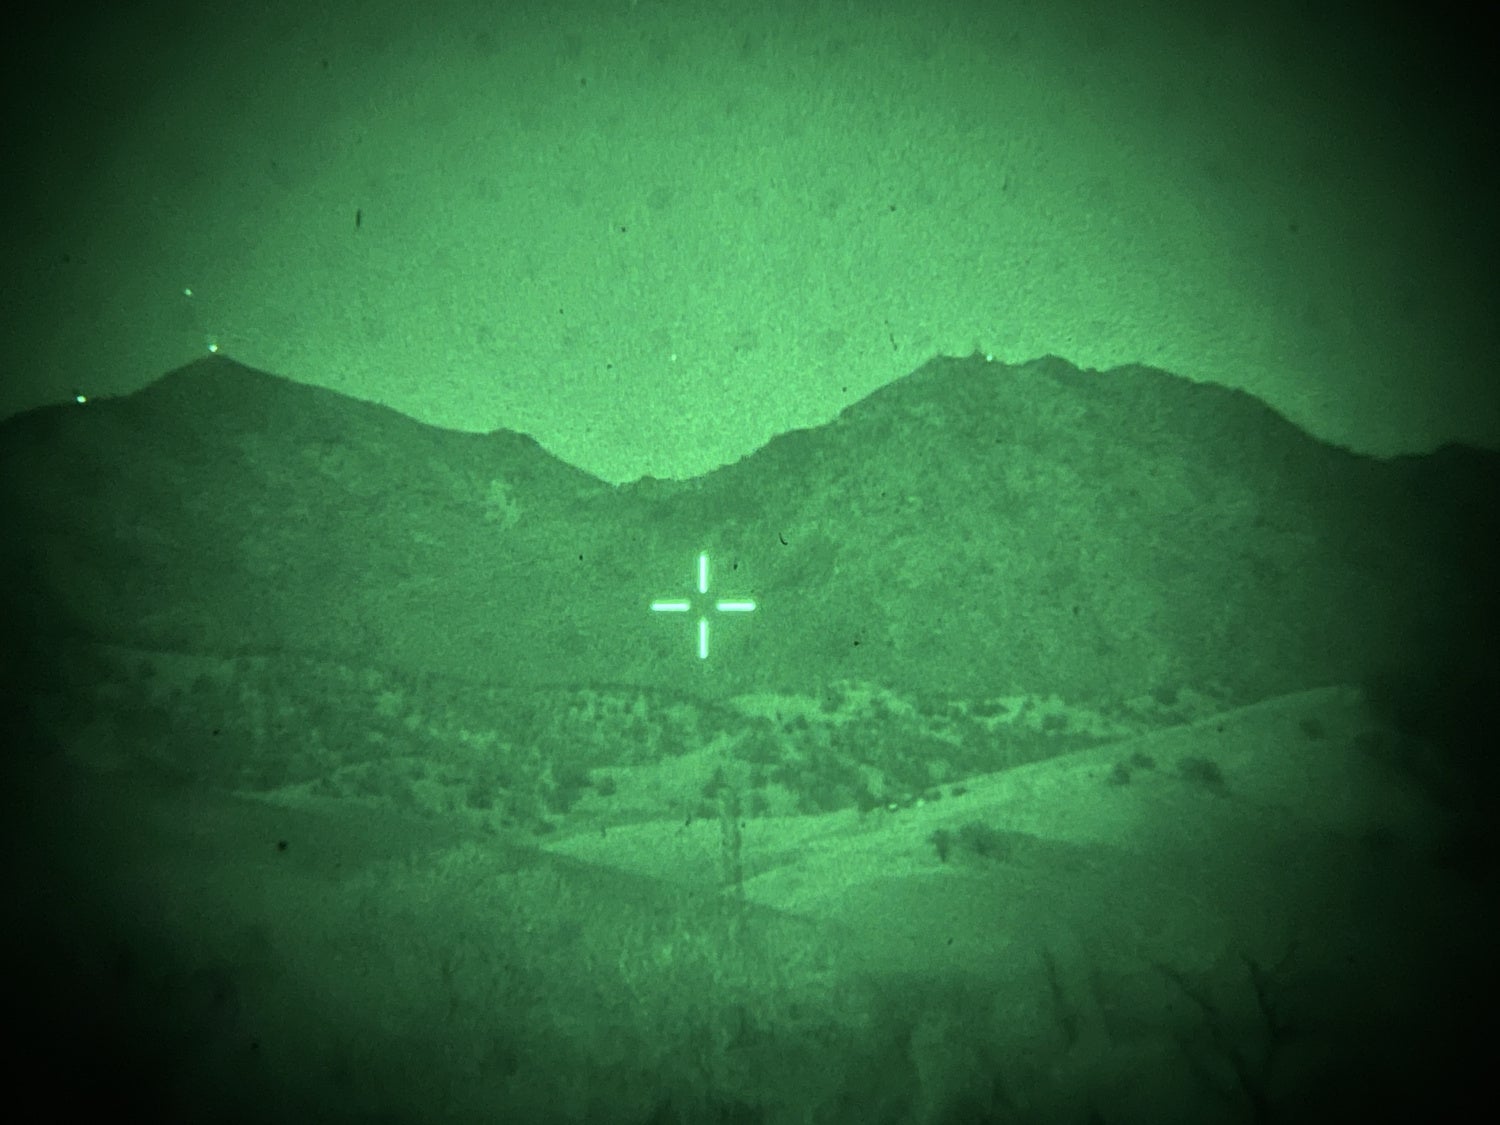
Oldelft HV 5×80
Opdelft is from the Netherlands. I got this Gen 1 cascade scope from a private sale. It cost me $300. However, the performance on this scope looks more like Gen 2 due to the green phosphor color palette as well as the performance. It is not as bright or as clear as the Fero night vision scope.
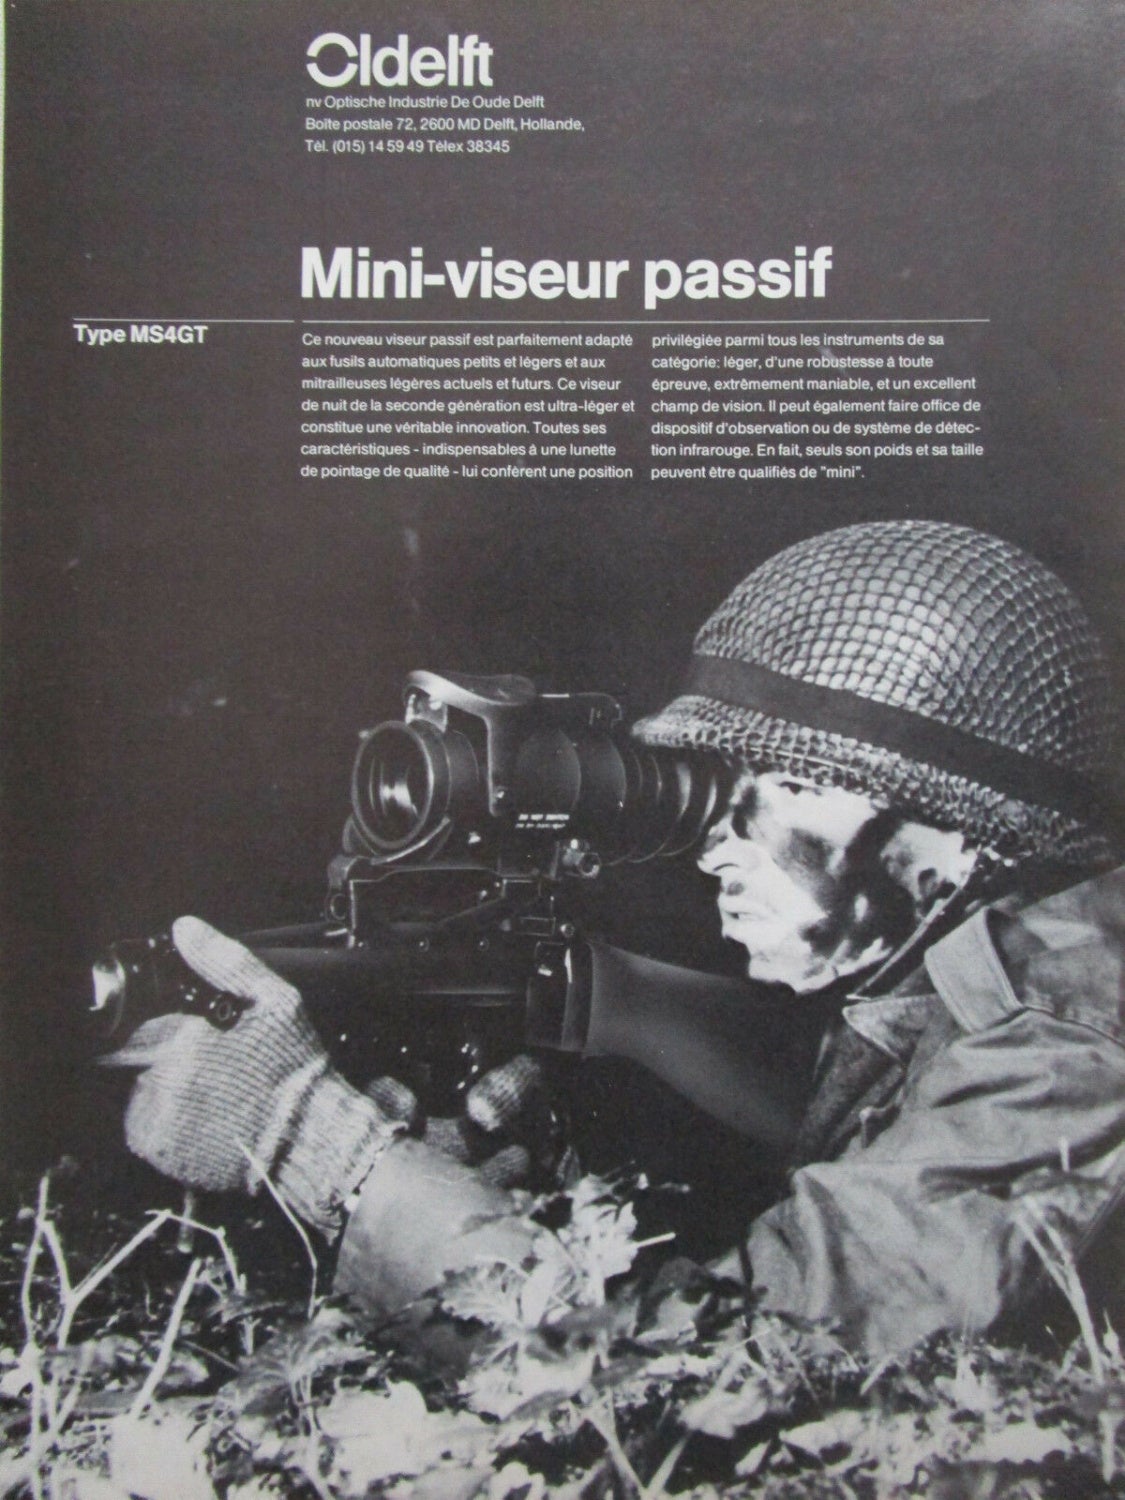
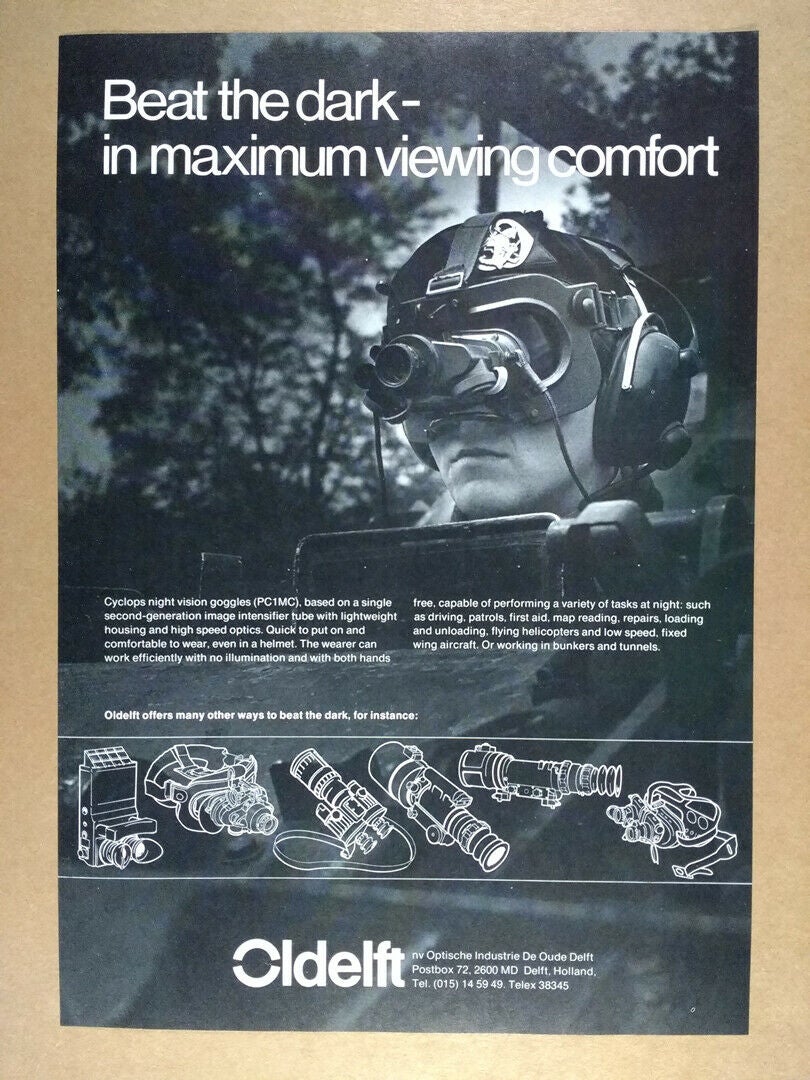
Below are some advertisements I found online.
The Oldelft HV is very similar to the Fero Z51. Both are powered by 2x C-cell batteries, they have catadioptric objective lenses and they have similar controls.
The controls for the Oldfelt is positioned differently than the Fero Z51. Up next to the battery compartment is a knob for the internal shade. The Fero has a transparent shade but the Oldelft HV has a physical sunshade like for the windshield of your car. It blocks the light entering the device.
The photo above is without the light blocking shade. Below is with the shade all the way down. It only blocks the top half of the image.
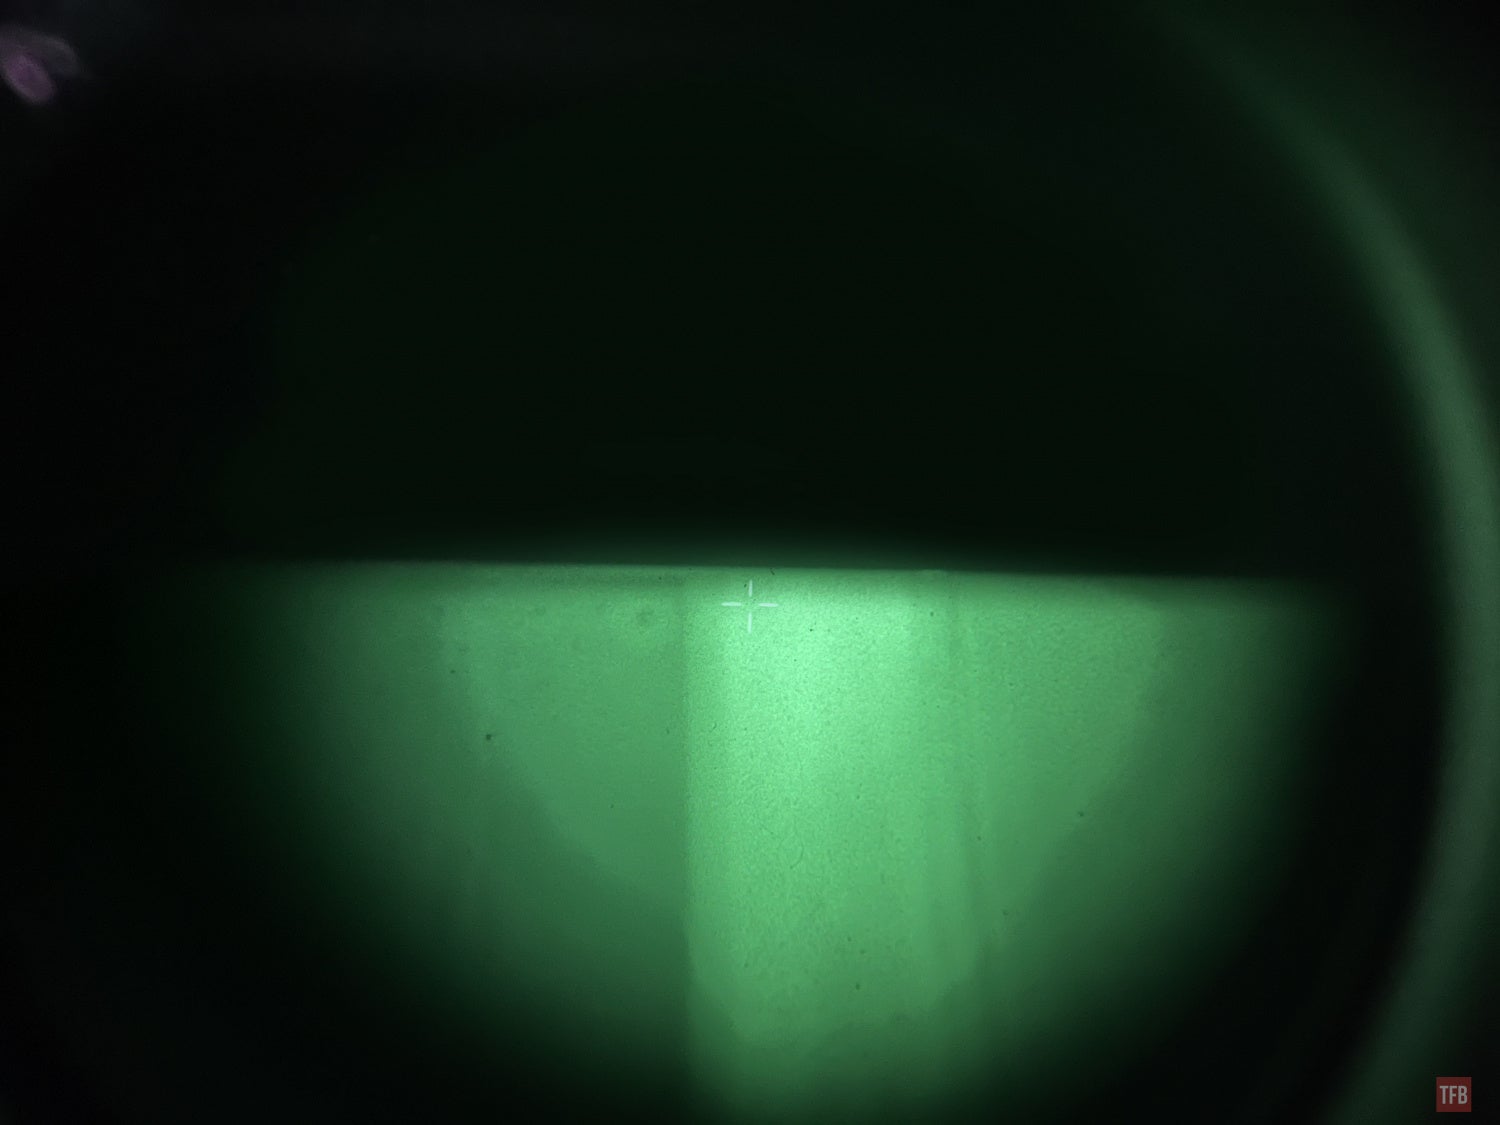
I do not have a manual for the Oldelft HV but I believe it is for blocking the light coming from the horizon from the setting sun. That amount of ambient light can cause the tube to not show much detail, just like driving in your car if you block the light you can see more.
Near the bottom and forward of the controls is the power switch. One click and it turns the device on. Turning the knob controls the brightness of the reticle.
Near the rear of the device is the focus knob.
Just like the Fero, the Oldelft is STANAG mount pattern.
The adjustments for the reticle are adjusted with a metric Allen wrench at the top of the objective lens.
Both the Fero and Oldelft have adjustable diopters.
Size and weight are similar for the Fero and Oldelft. They weigh 4.75lbs each.

The color of the phosphor looks more like old Gen 2 image intensifiers whereas the Fero is more yellow and looks more like Gen 3. The image does not seem as bright as the Fero Z51 but I do not know if that is a factor of the tubes Oldelft used or a characteristic of this particular unit. Also, the reticle is a simple open cross reticle.
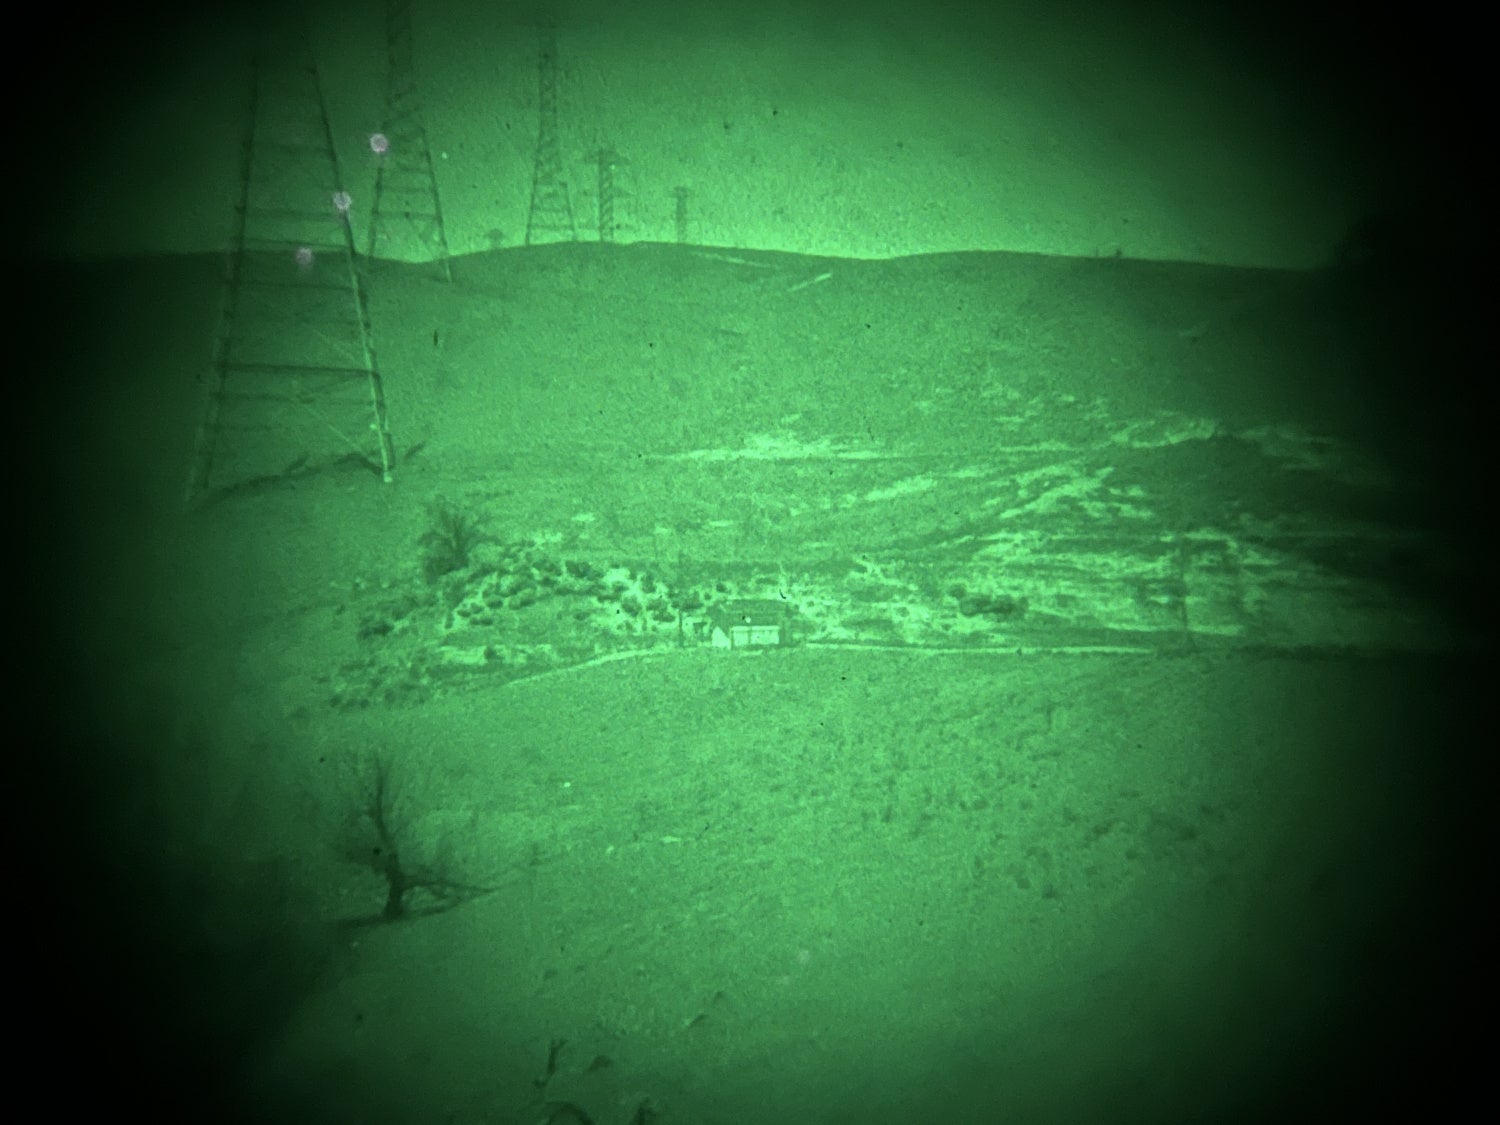
The dots in the image is the LIDAR projected from my iPhone when I photographed through the Oldelft.
Final Thoughts Of Gen 1 Cascade Night Vision
Aside from the size and weight, these night vision devices amazed me at how old technology can still be usable. While these are not as good as Gen 3, the cost and performance of these devices are not terrible. The stereotypical “night vision whine” is very obvious with these scopes. They do need a healthy amount of ambient lighting to see and illuminators help a bit. The Fero Z51 amazed me the most. With the right ambient lighting, the image looks like Gen 3 with regards to the light amplification and is very useable. You can find these night vision scopes for a reasonable amount but they are harder to find now. Often searching for “Fero Night Vision” results in a biocular device. So good luck in your hunt to find these.