 Your Privacy Choices
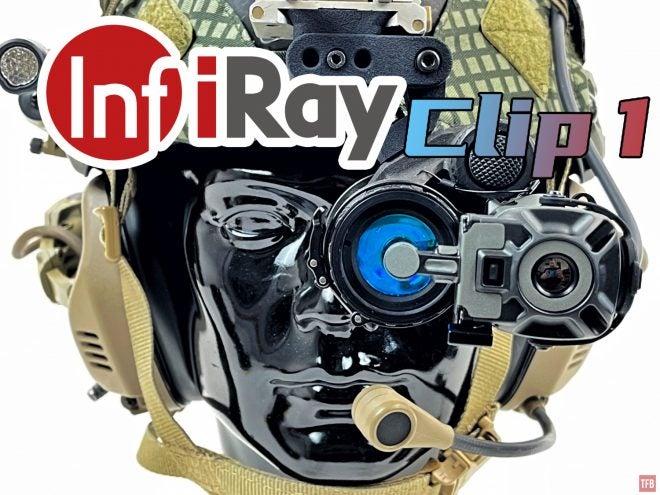
Oh hello there. Are you here to check out the InfiRay (iRay) Clip 1 clip-on thermal imager (COTI)? Well, you have come to the right place. Friday Night Lights is a weekly ongoing series dedicated to nocturnal technology. Those consist of night vision, thermal, lights and lasers. So without further ado, let us dive into the iRay Clip 1.
iRay @ TFB:
- Friday Night Lights: PSQ-20 vs InfiRay JerryF – Fusion Monocular Duel
- Friday Night Lights: Jerry-C AKA Chinese ECOTI
- TFB Review: InfiRay FH35R Finder II Thermal Monocular
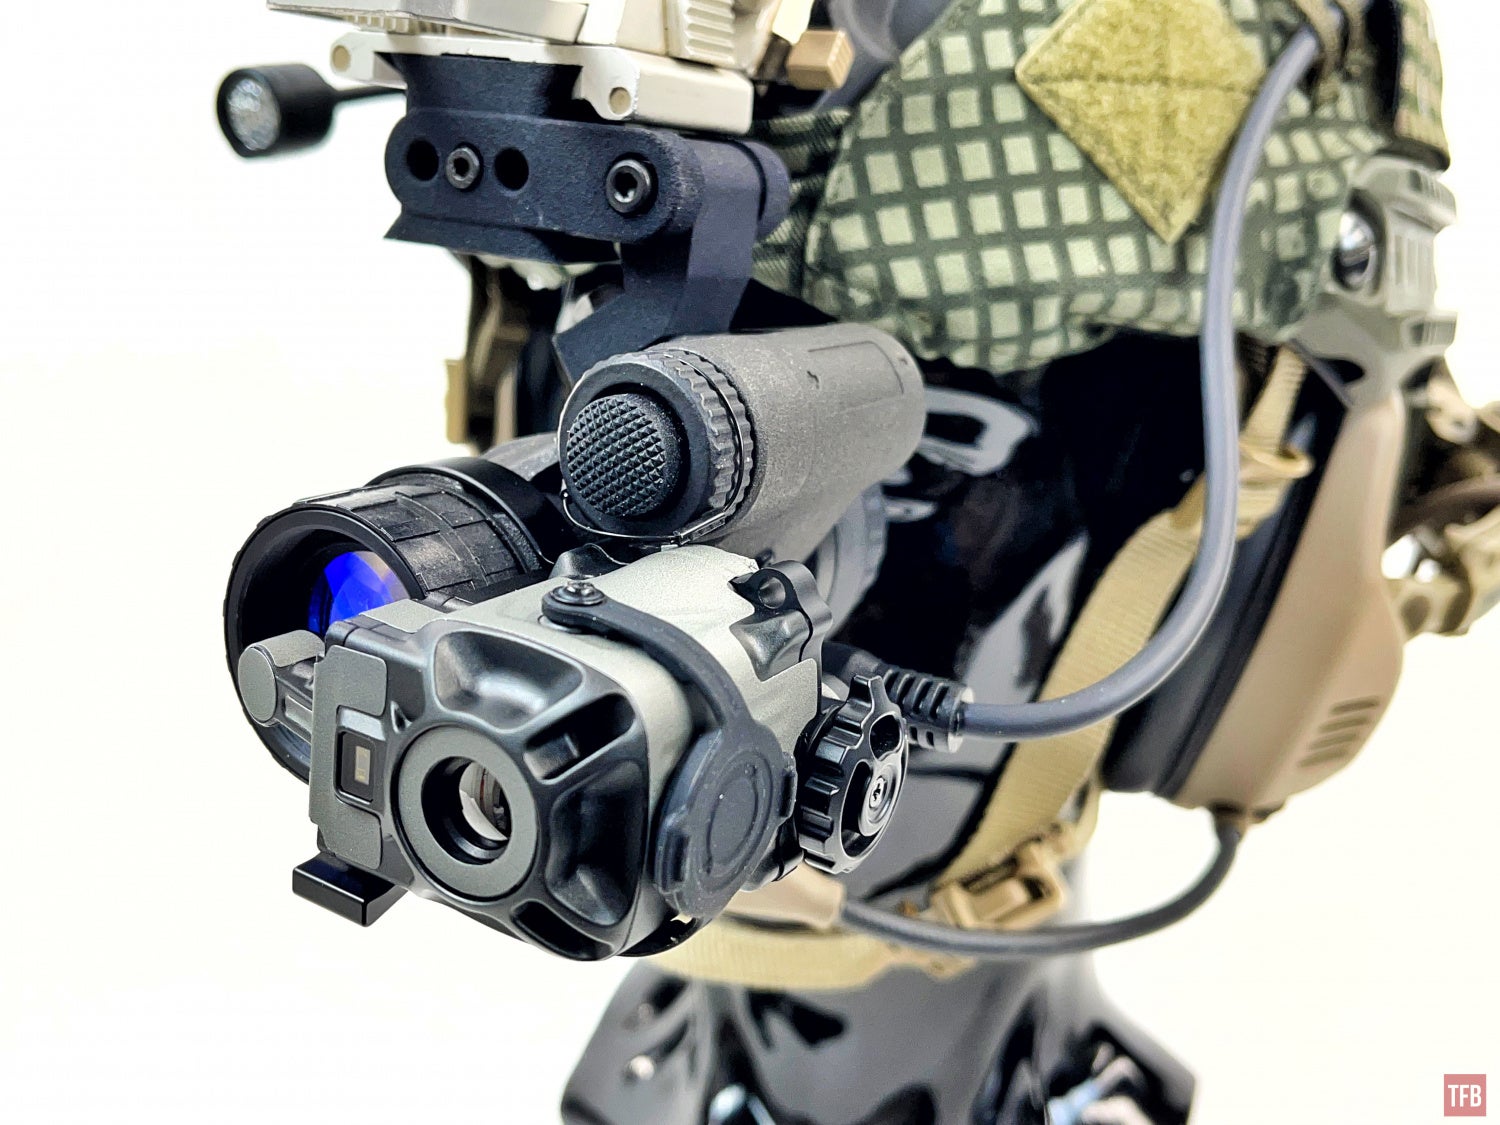
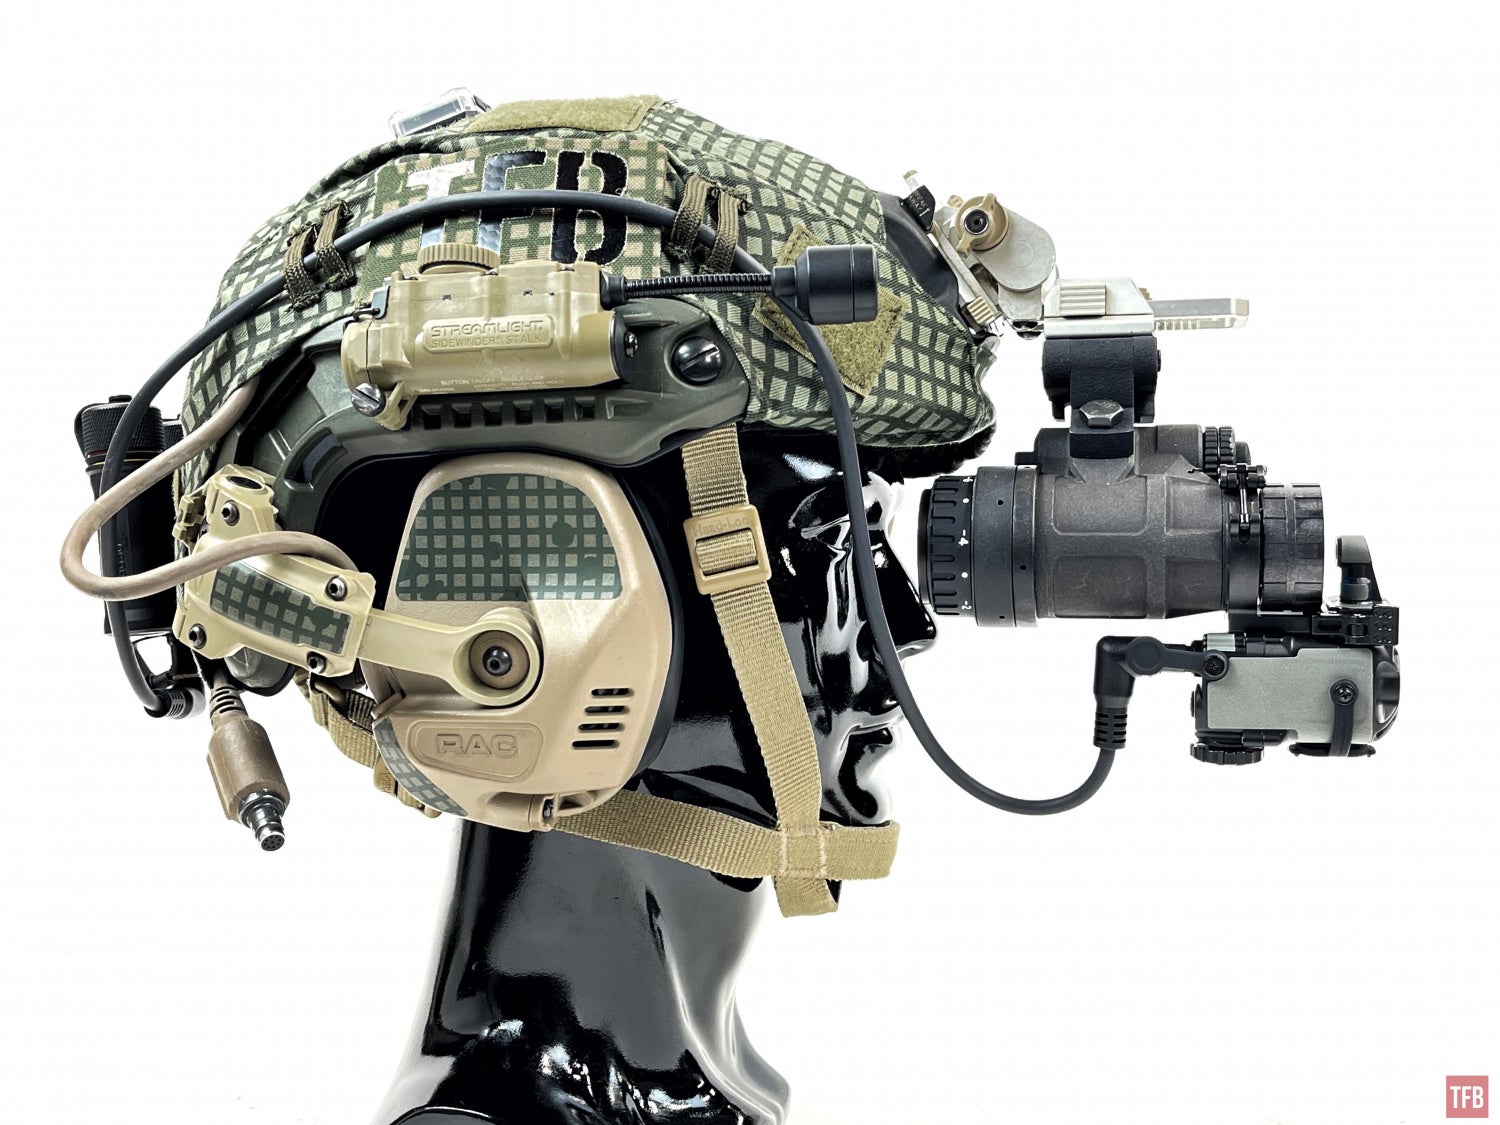
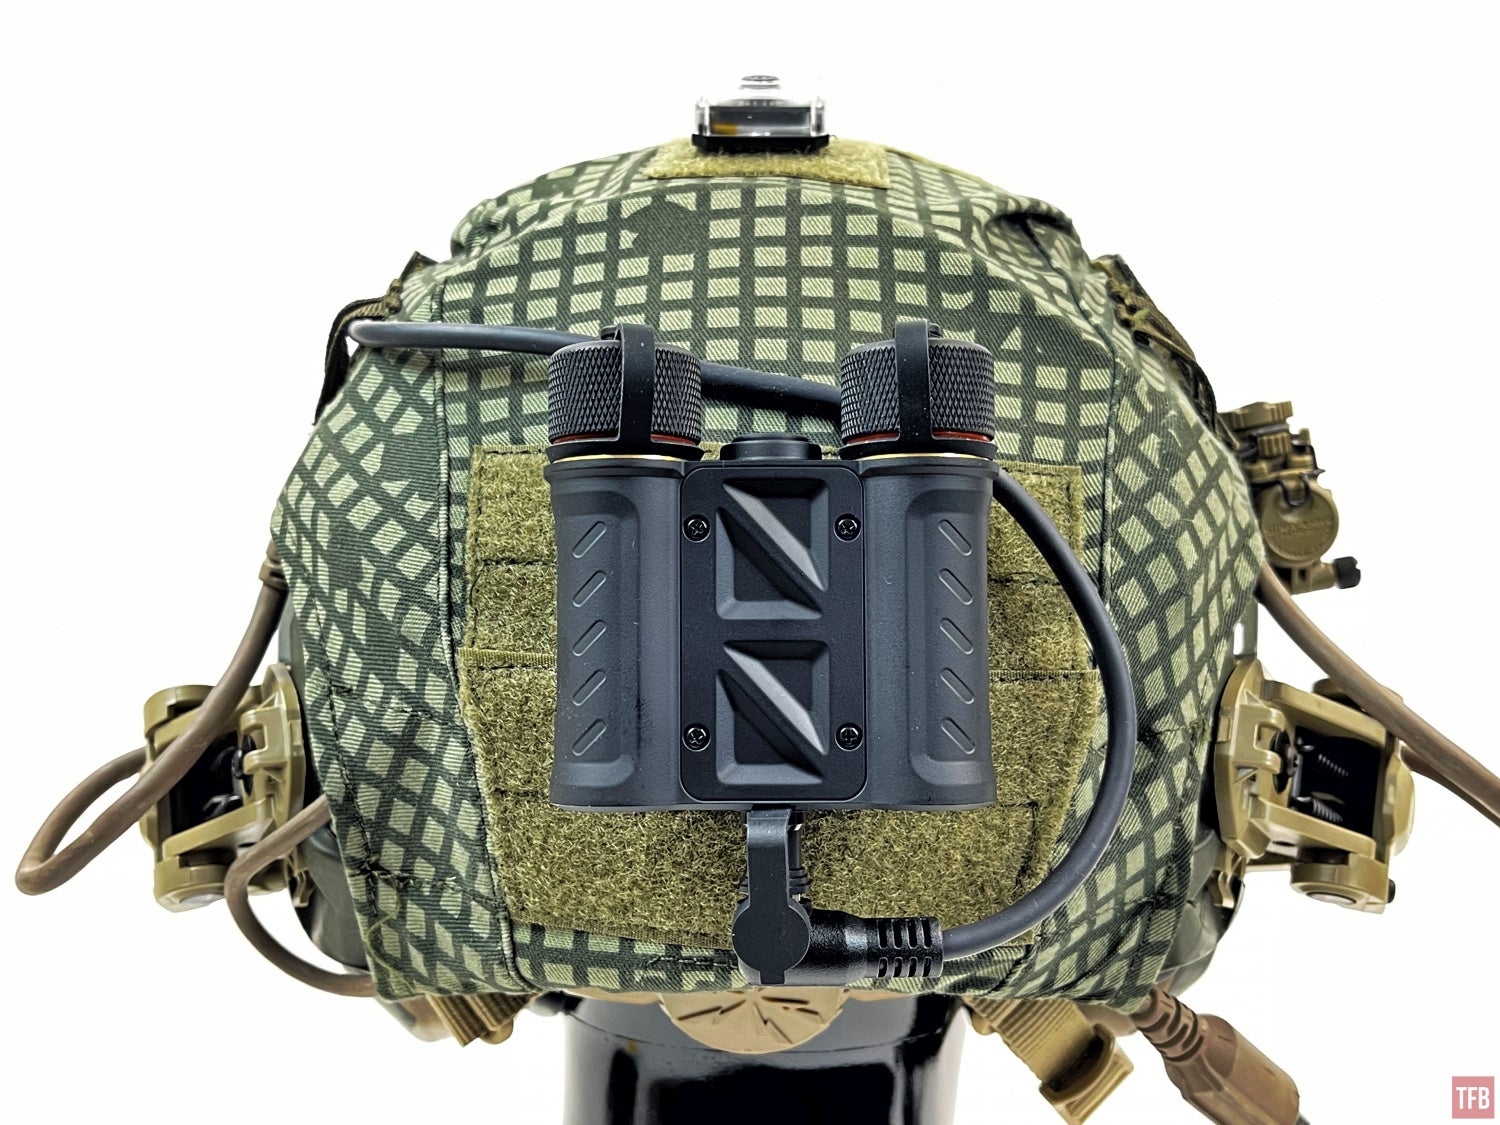
iRay Clip 1 Thermal Imager
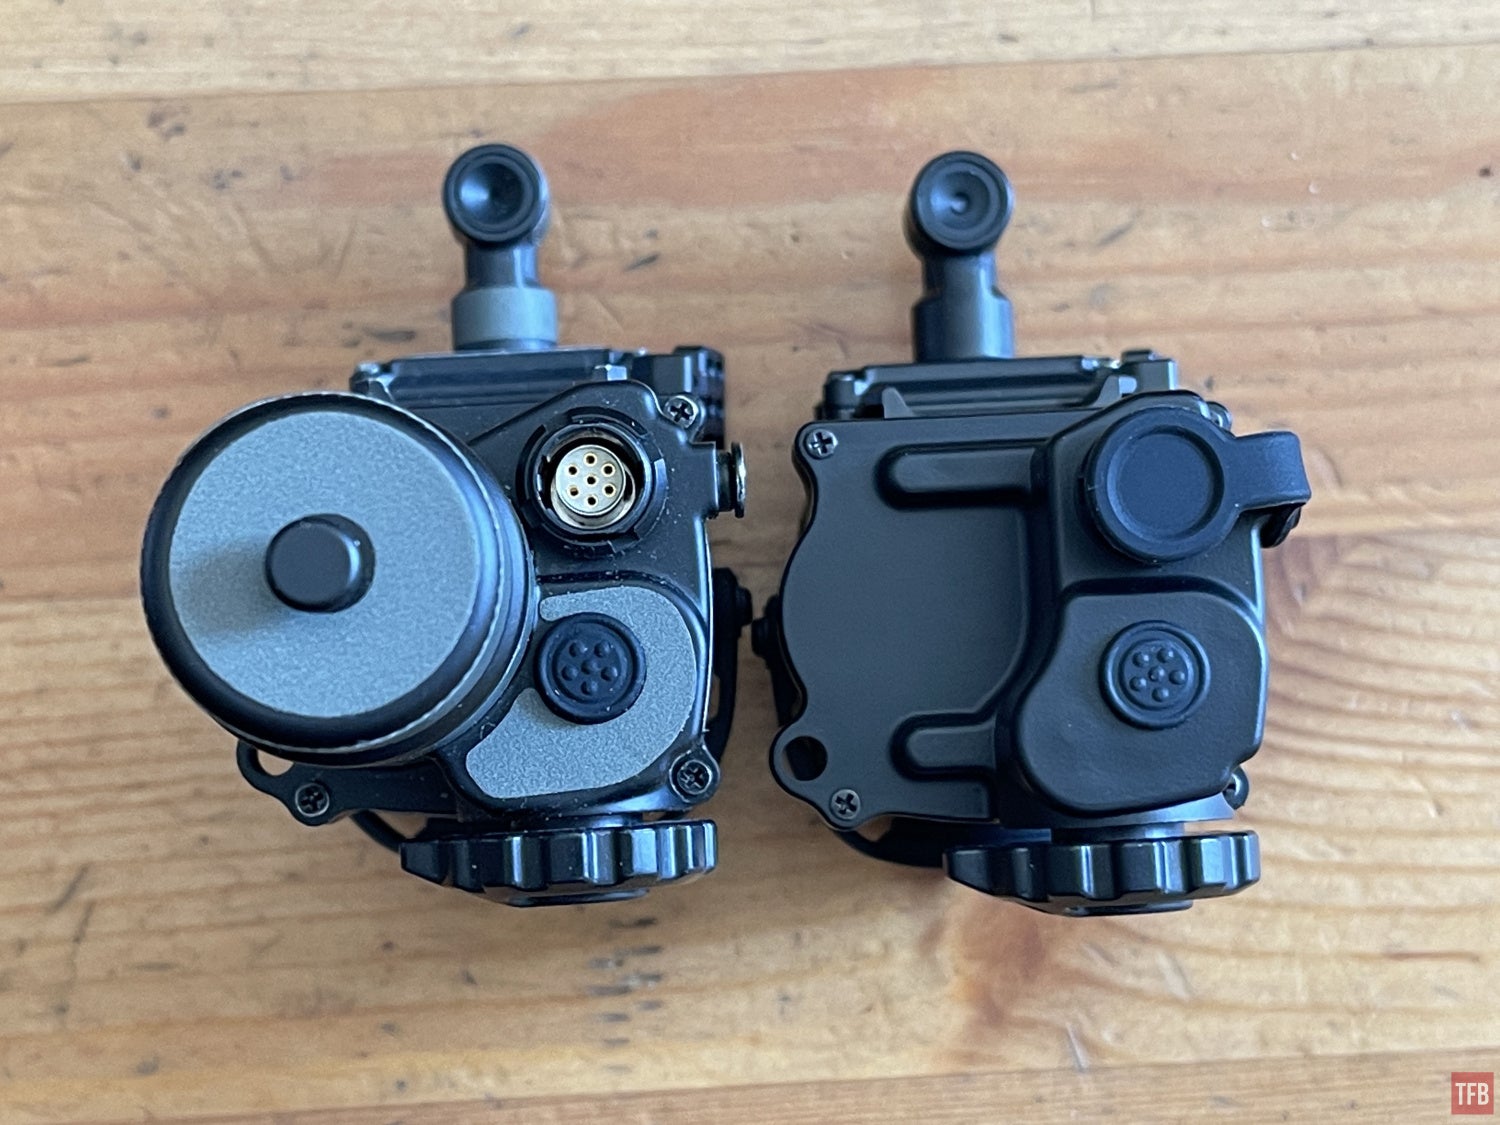
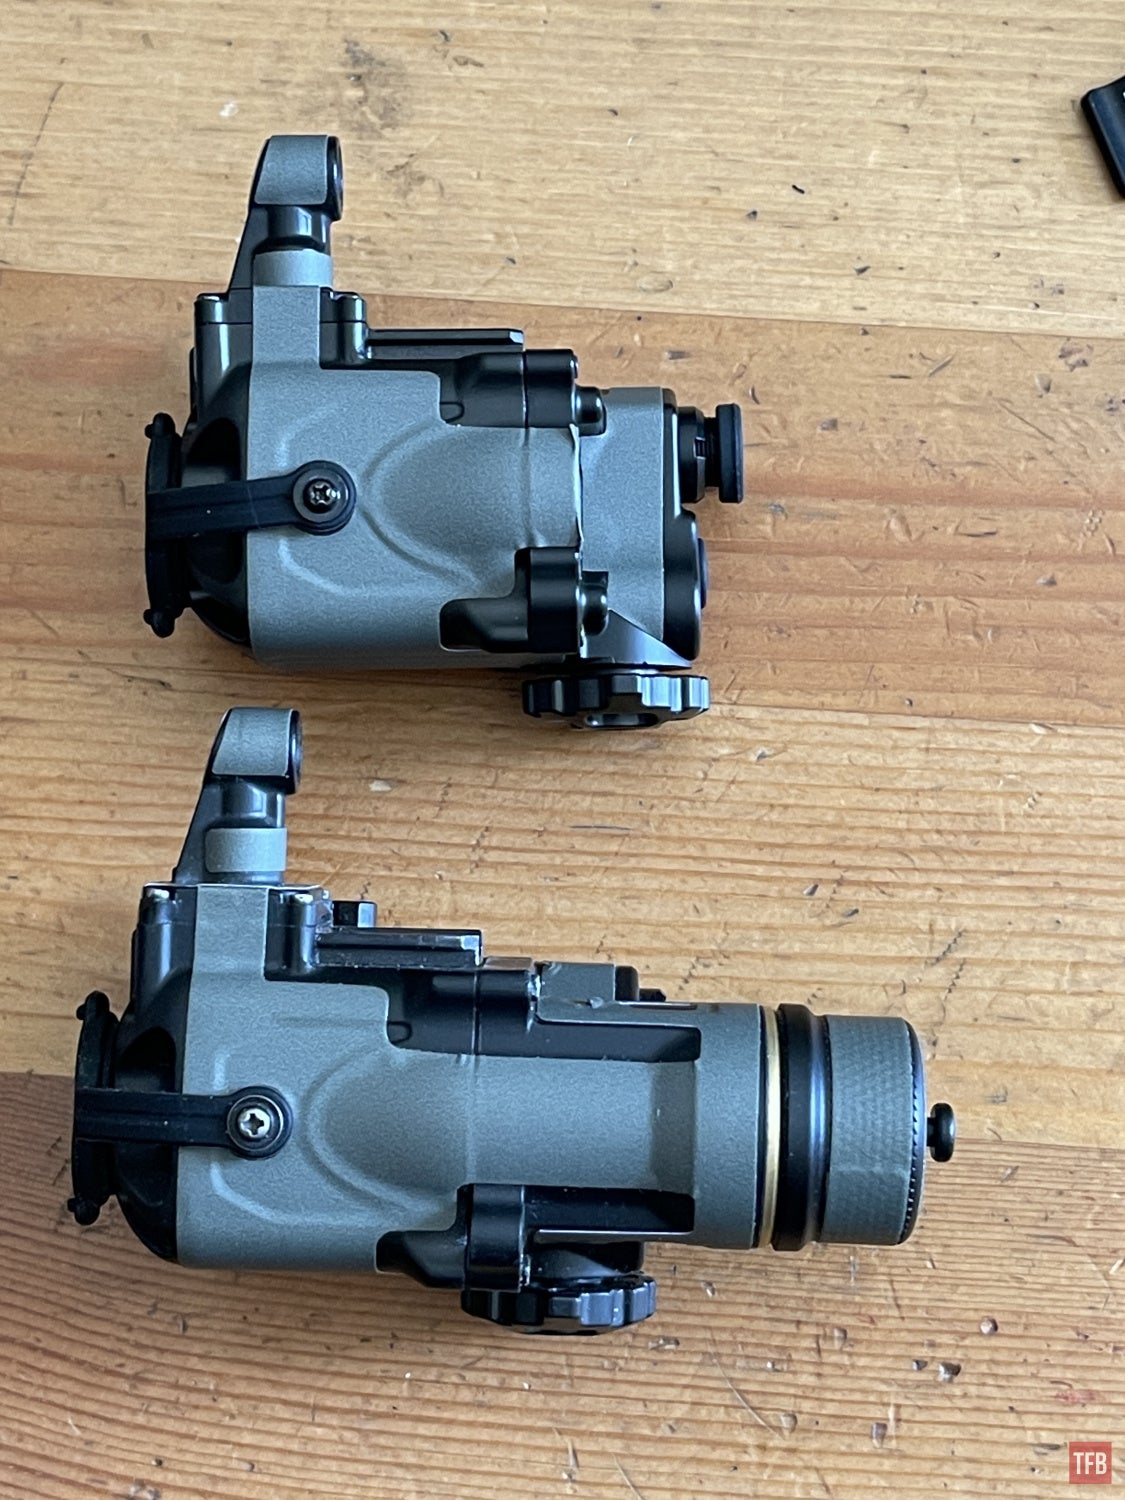
If you recall, I reviewed the Jerry C also made by iRay. They sent me the new Clip 1 which is actually called the Jerry CE2. It is noticeably different from Jerry C. According to the manual, there are four variants of the Jerry clip-on thermal imager: Jerry C2, Jerry C5, Jerry CE2, and Jerry CE5. The difference between the C2/C5 vs CE2/CE5 is the internal battery vs external battery pack. While the biggest difference between the C2 and C5 is the resolution as well as the field of view (FOV). The C2 has a 384×288 resolution compared to the C5 which has a resolution of 640×512. The C2 only has a 20º FOV while the C5 has a FOV of 30.5º. The CE2 and CE5 have the same resolution and FOV as the internal battery variants. See the Jerry C vs Clip 1 (Jerry CE2) below.
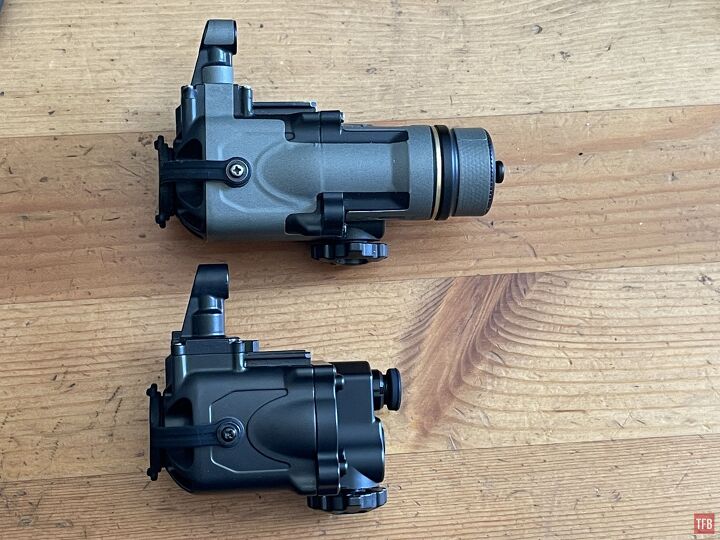
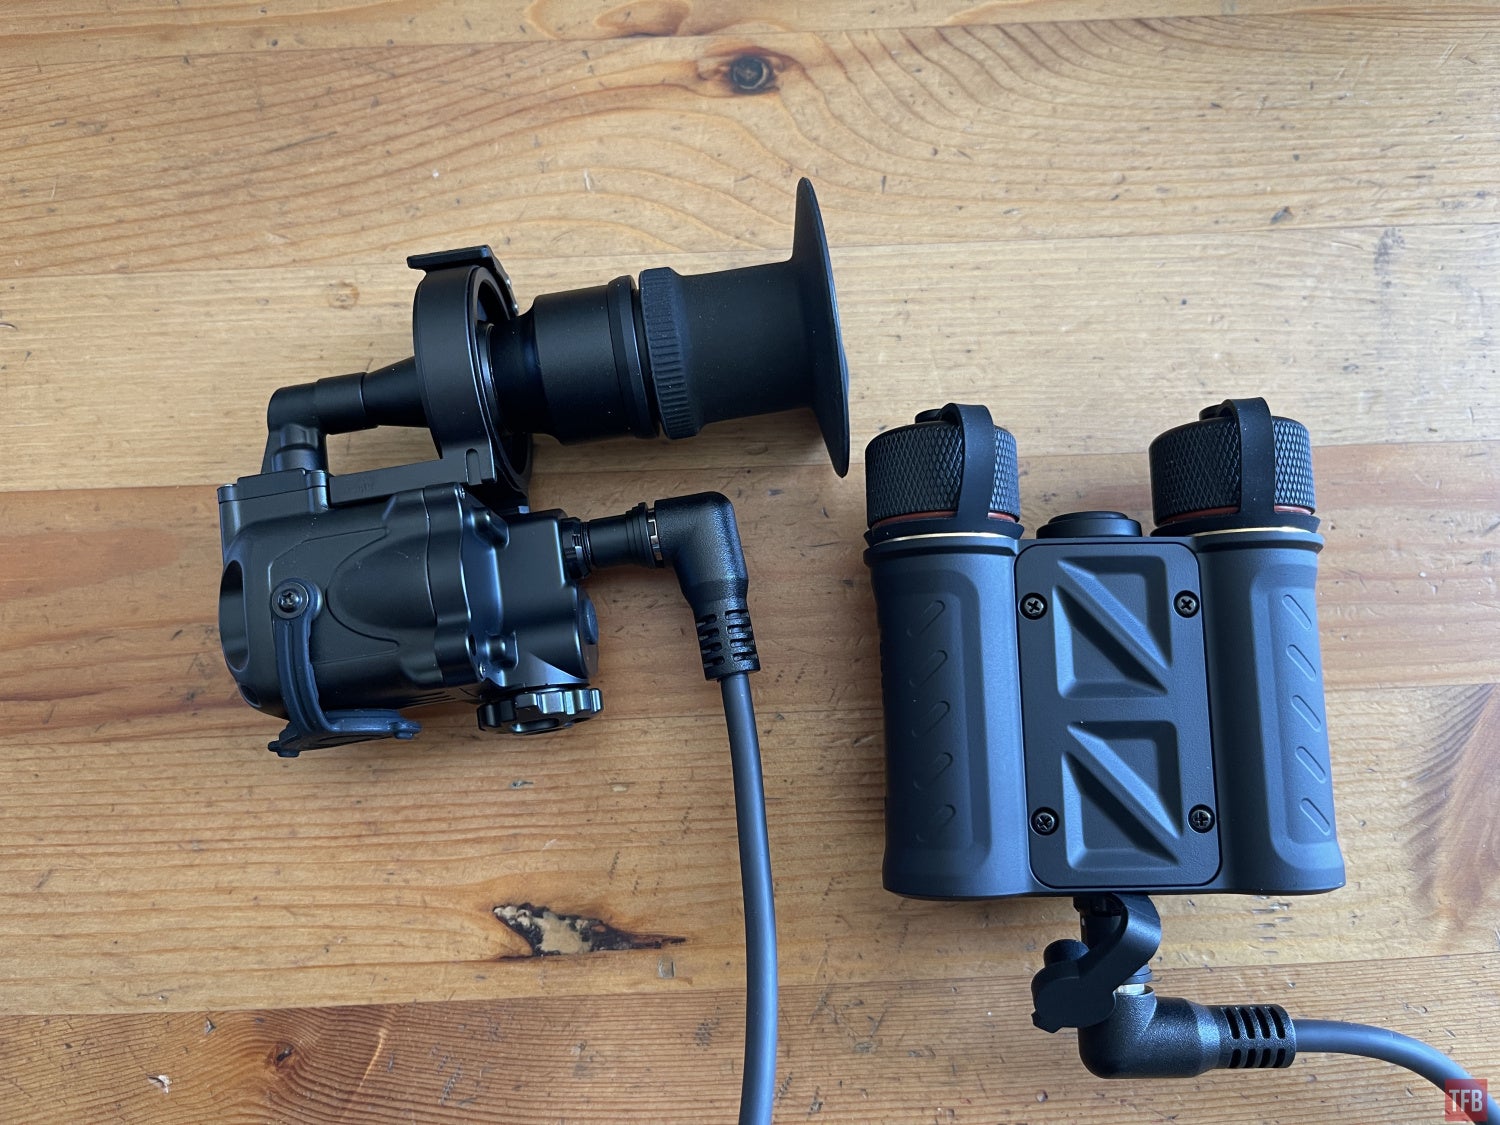
Jerry C5 above, Clip 1 below.
I have the short RCR123 battery cap with battery installed on the Jerry C. The Clip 1 has deleted the battery compartment to save some weight and is powered by a remote battery pack.
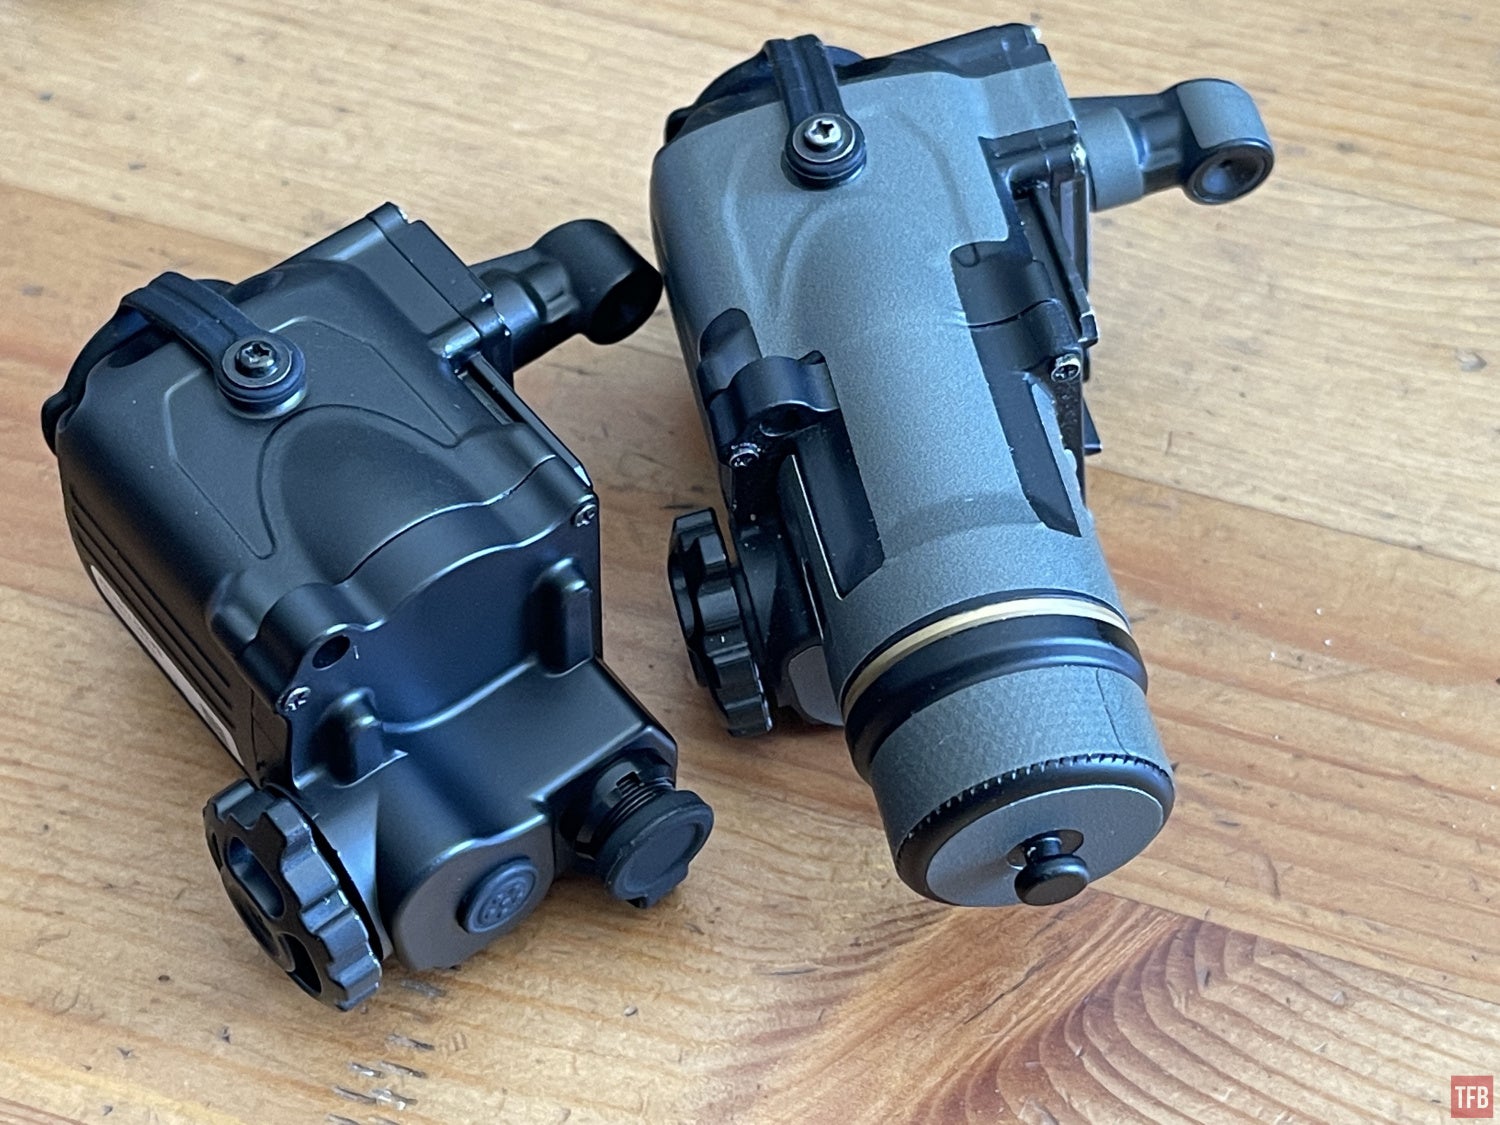
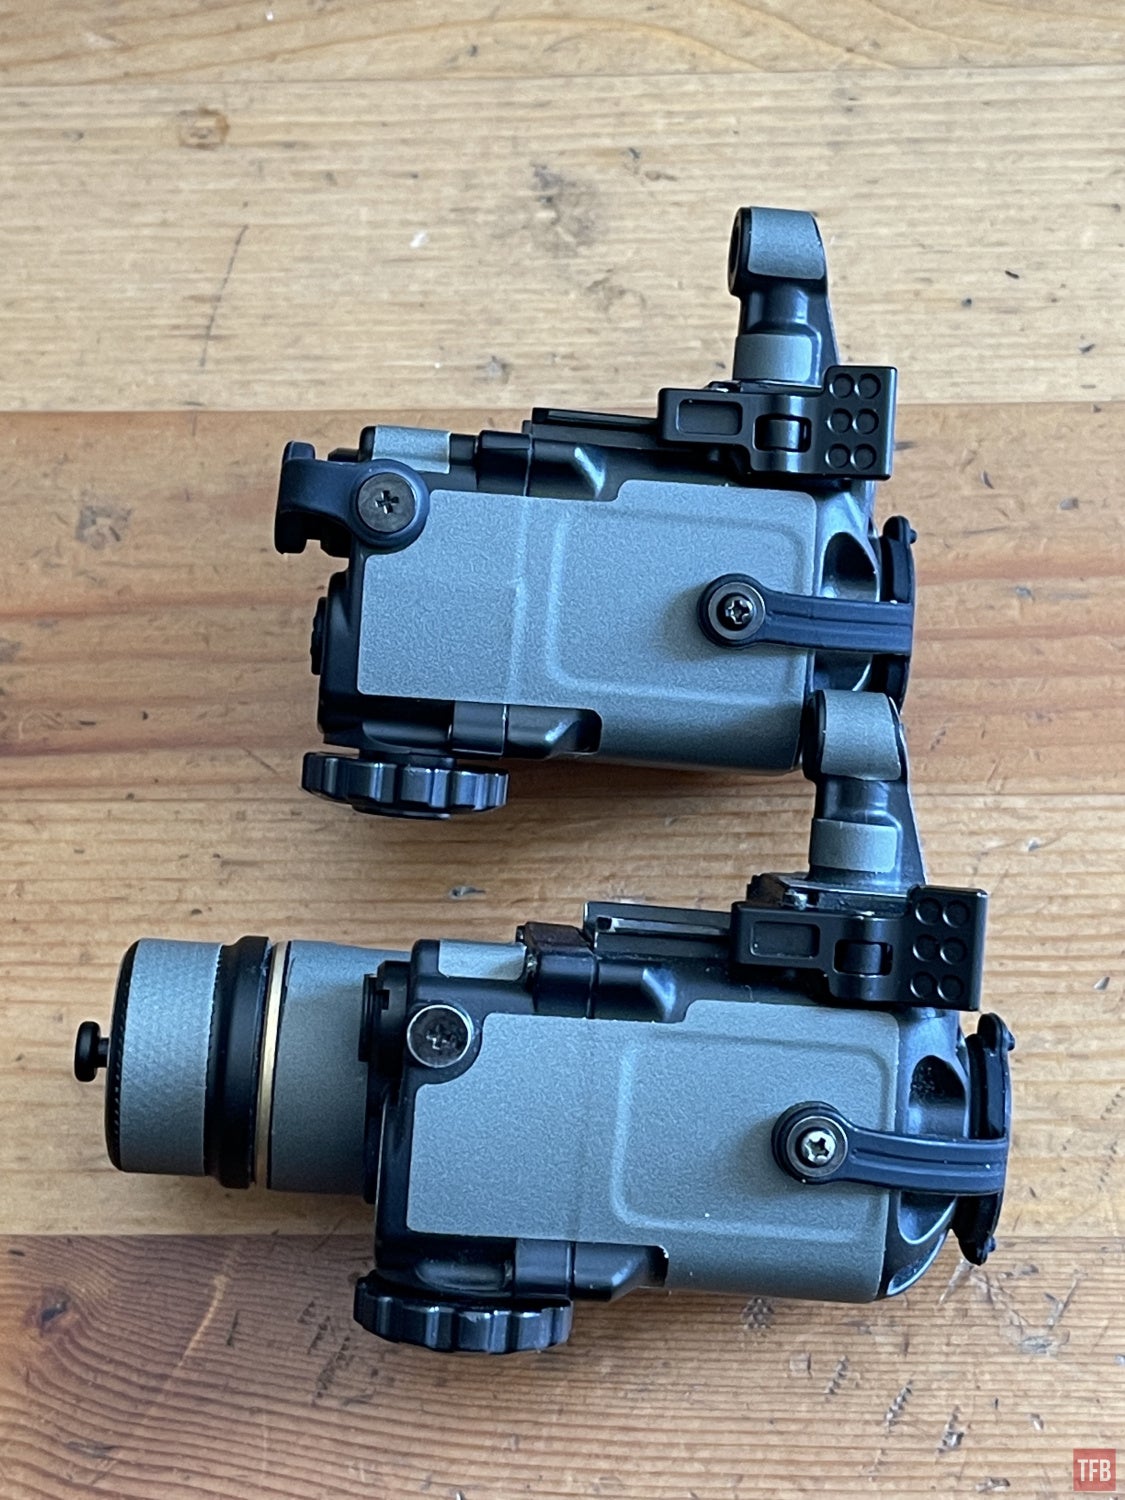
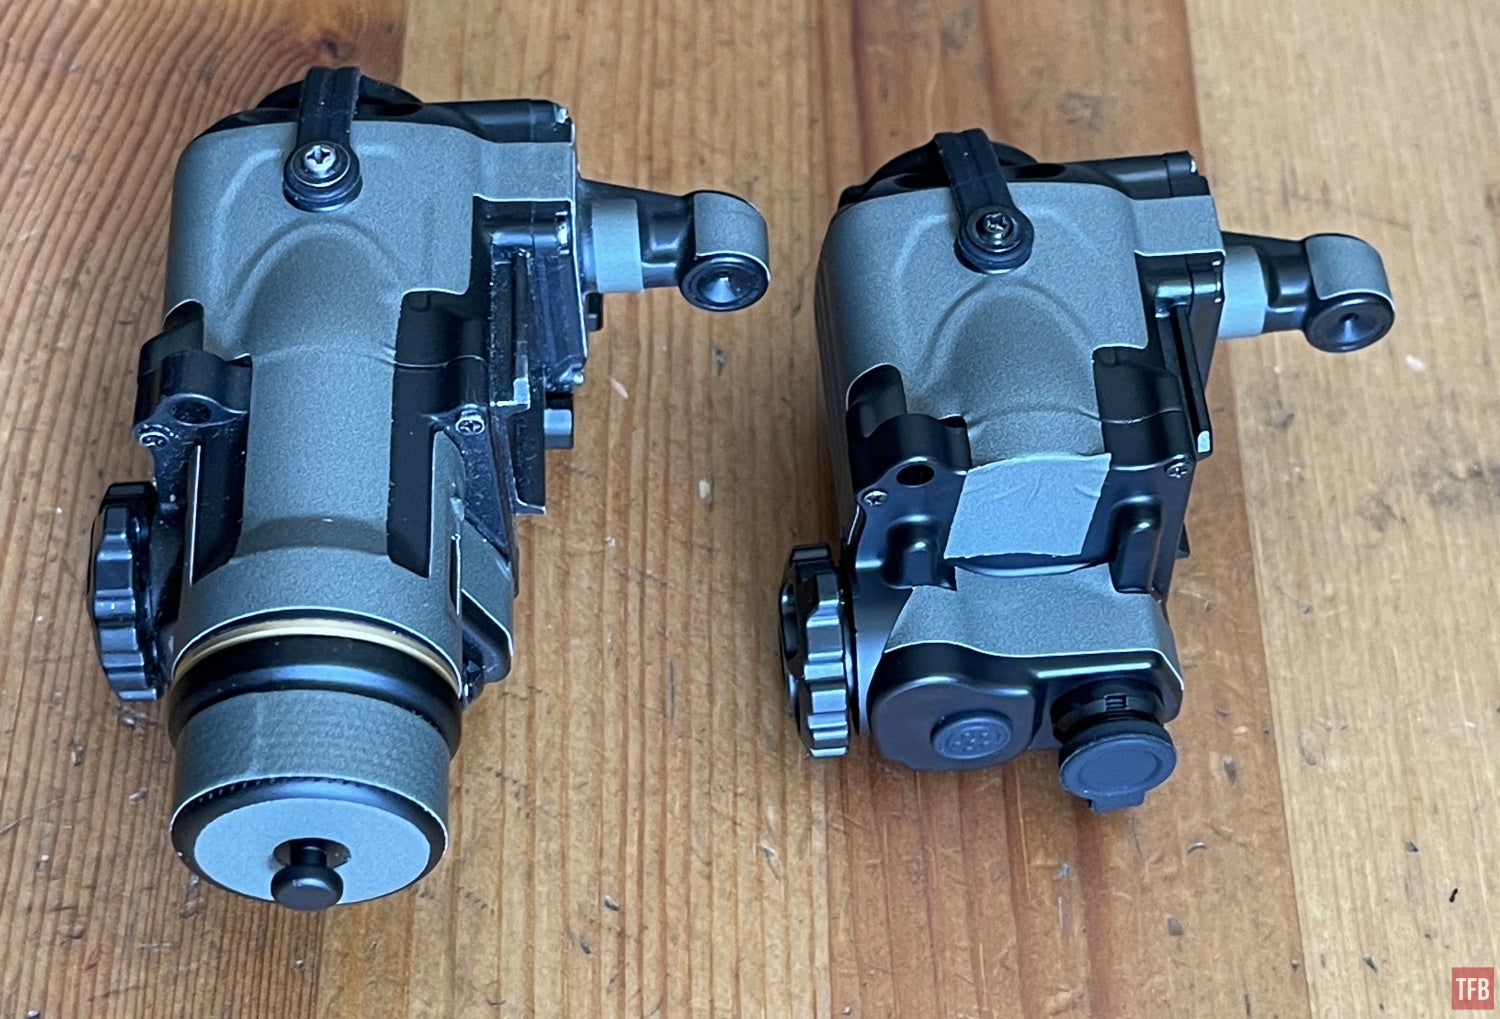
Other than the deletion of the battery compartment, the rest of the Clip 1 is the same in terms of buttons, knobs, and ports.
Here is the battery pack for the Clip 1. The Clip 1 uses the same mount adapters as the Jerry C to attach it onto night vision devices.
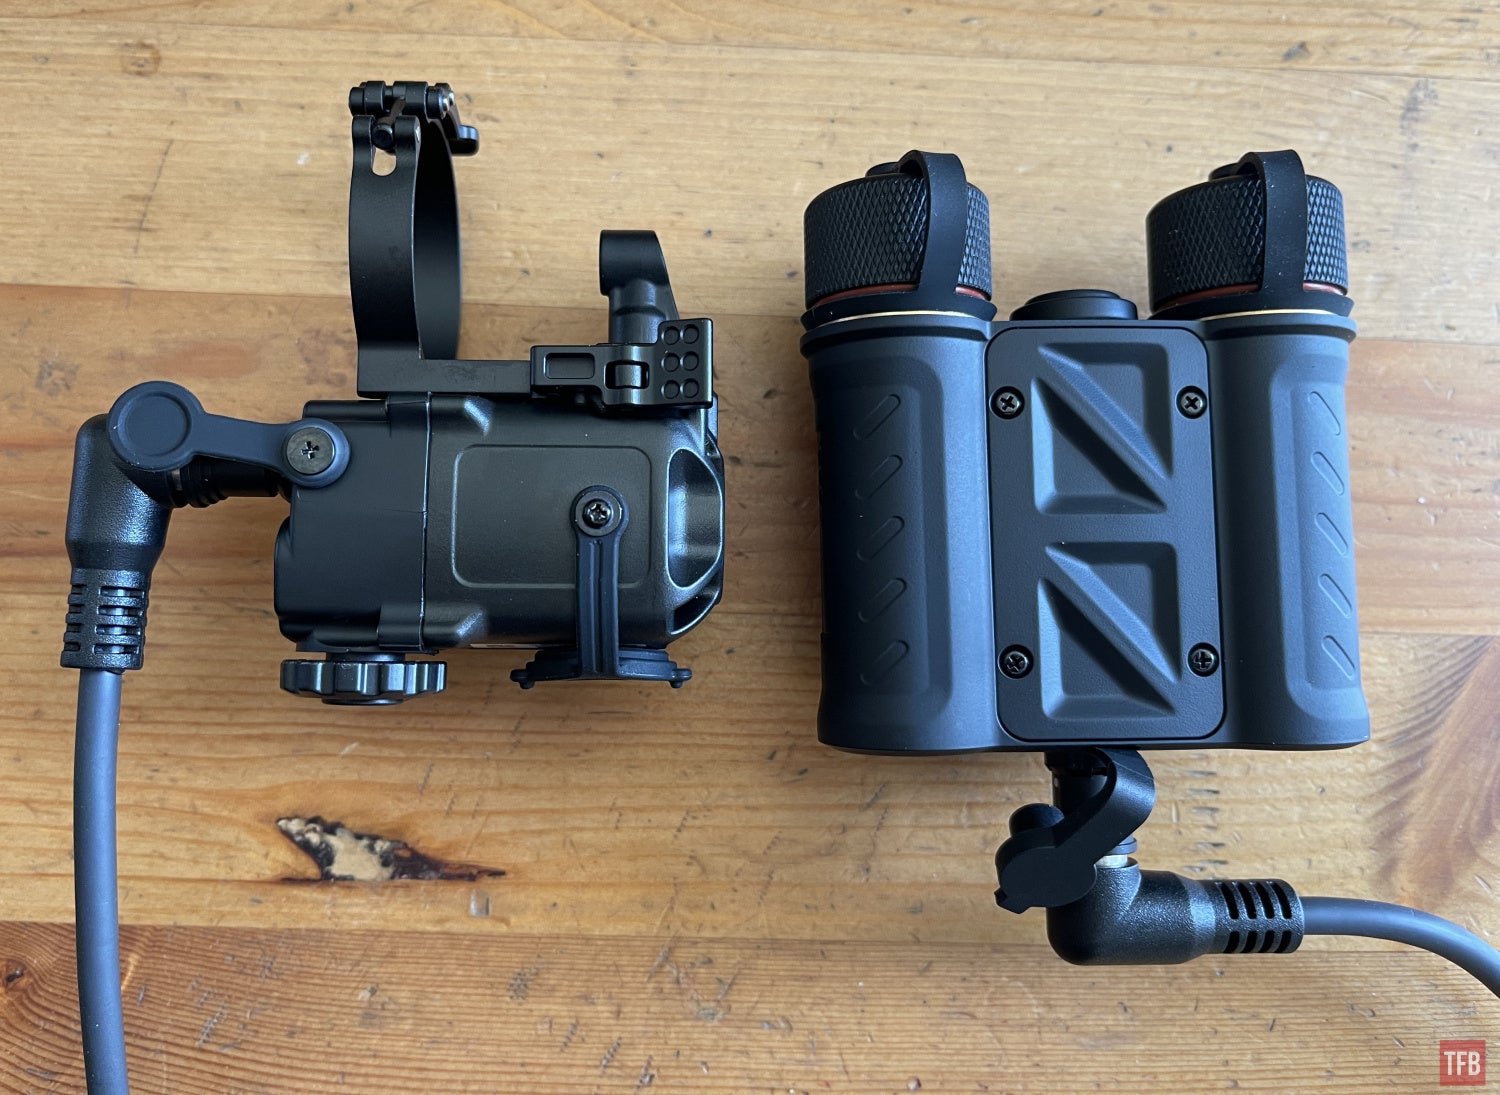
The Clip 1 battery pack uses two 18650s for power. Just like the Jerry C, with 18650 extended battery compartment, you need to use flat top unprotected 18650s as they are a little bit shorter. Regular 18650s like the ones used by Modlite and SureFire are protected cells and they are a little bit longer making them too long for the Jerry C and the Clip 1 battery pack.
According to the Clip 1 manual, the remote battery pack provides 12 hours of run time whereas the C2/C5 with a 17335 li-ion battery will only last 3 hours. The C2/C5 with 18650 will last around 8 hours.
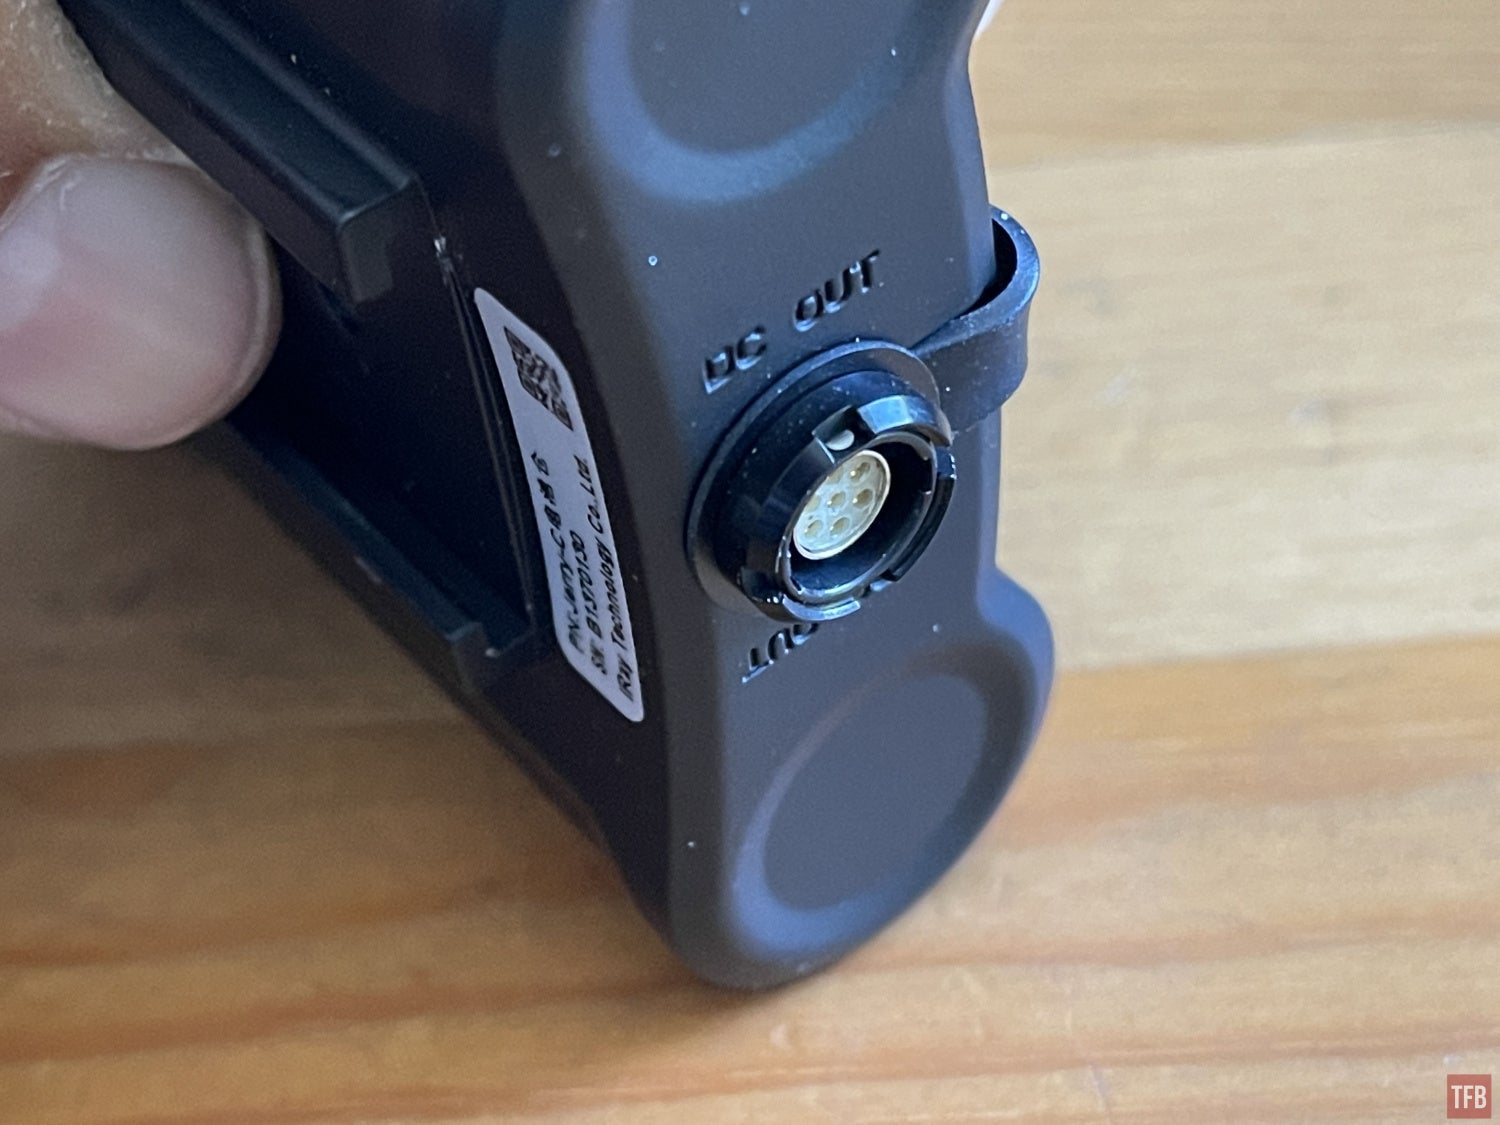
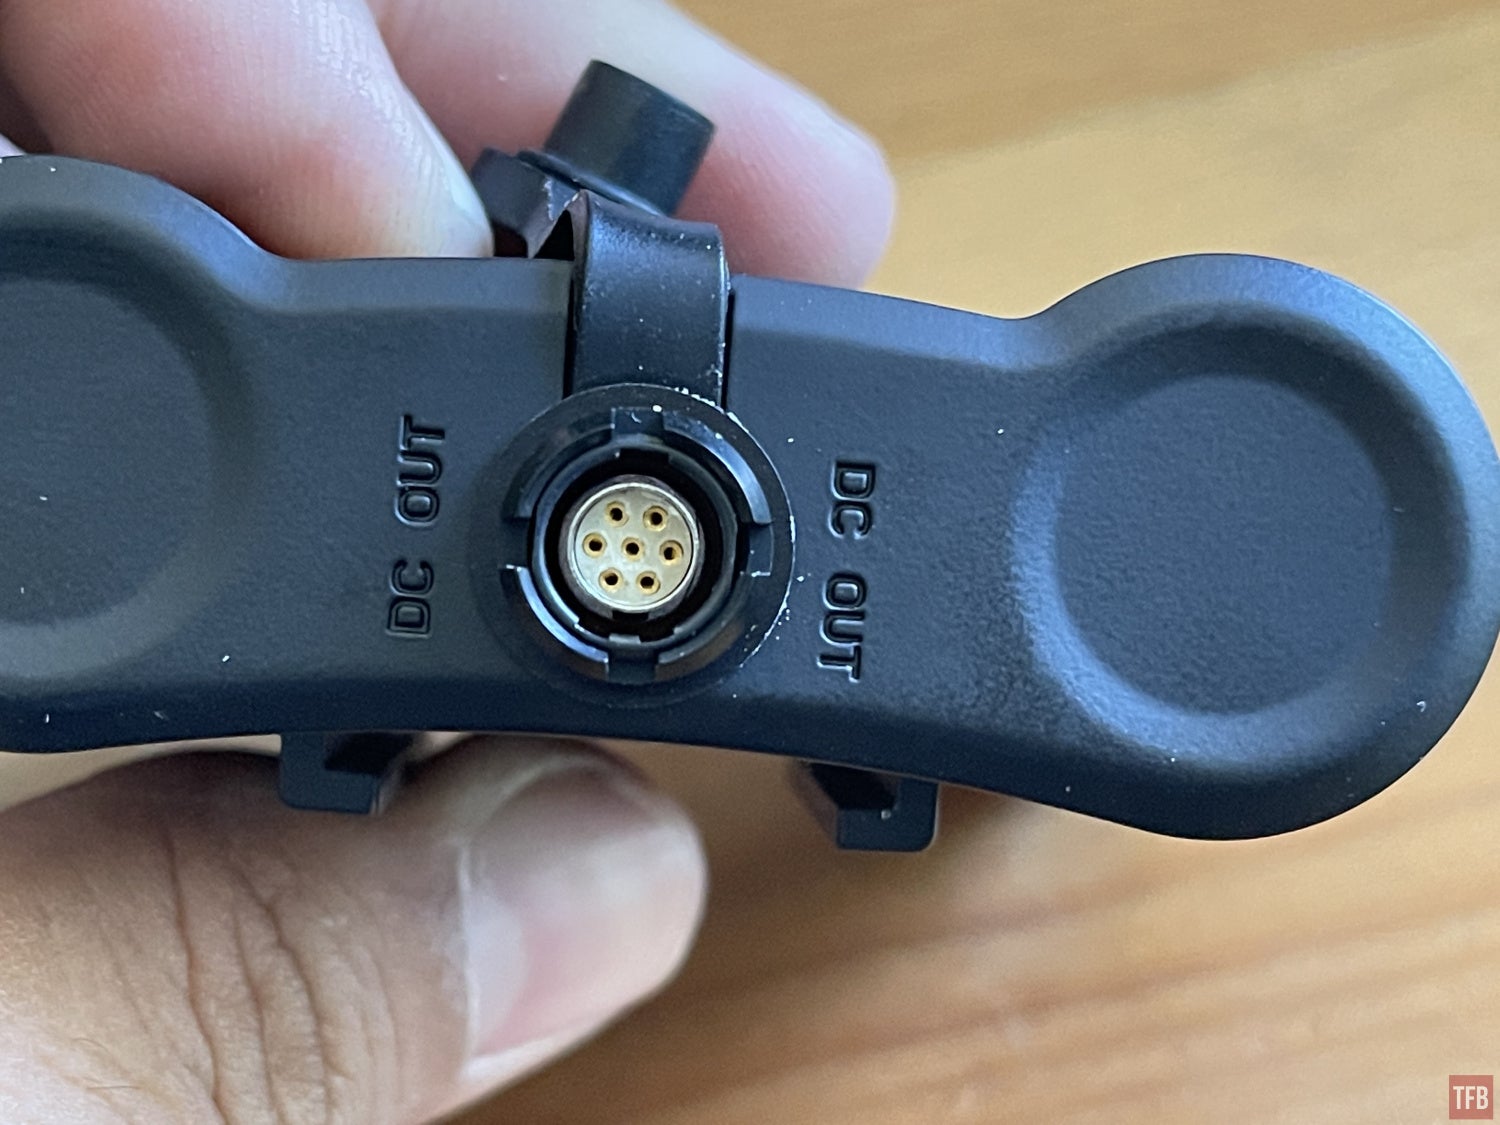
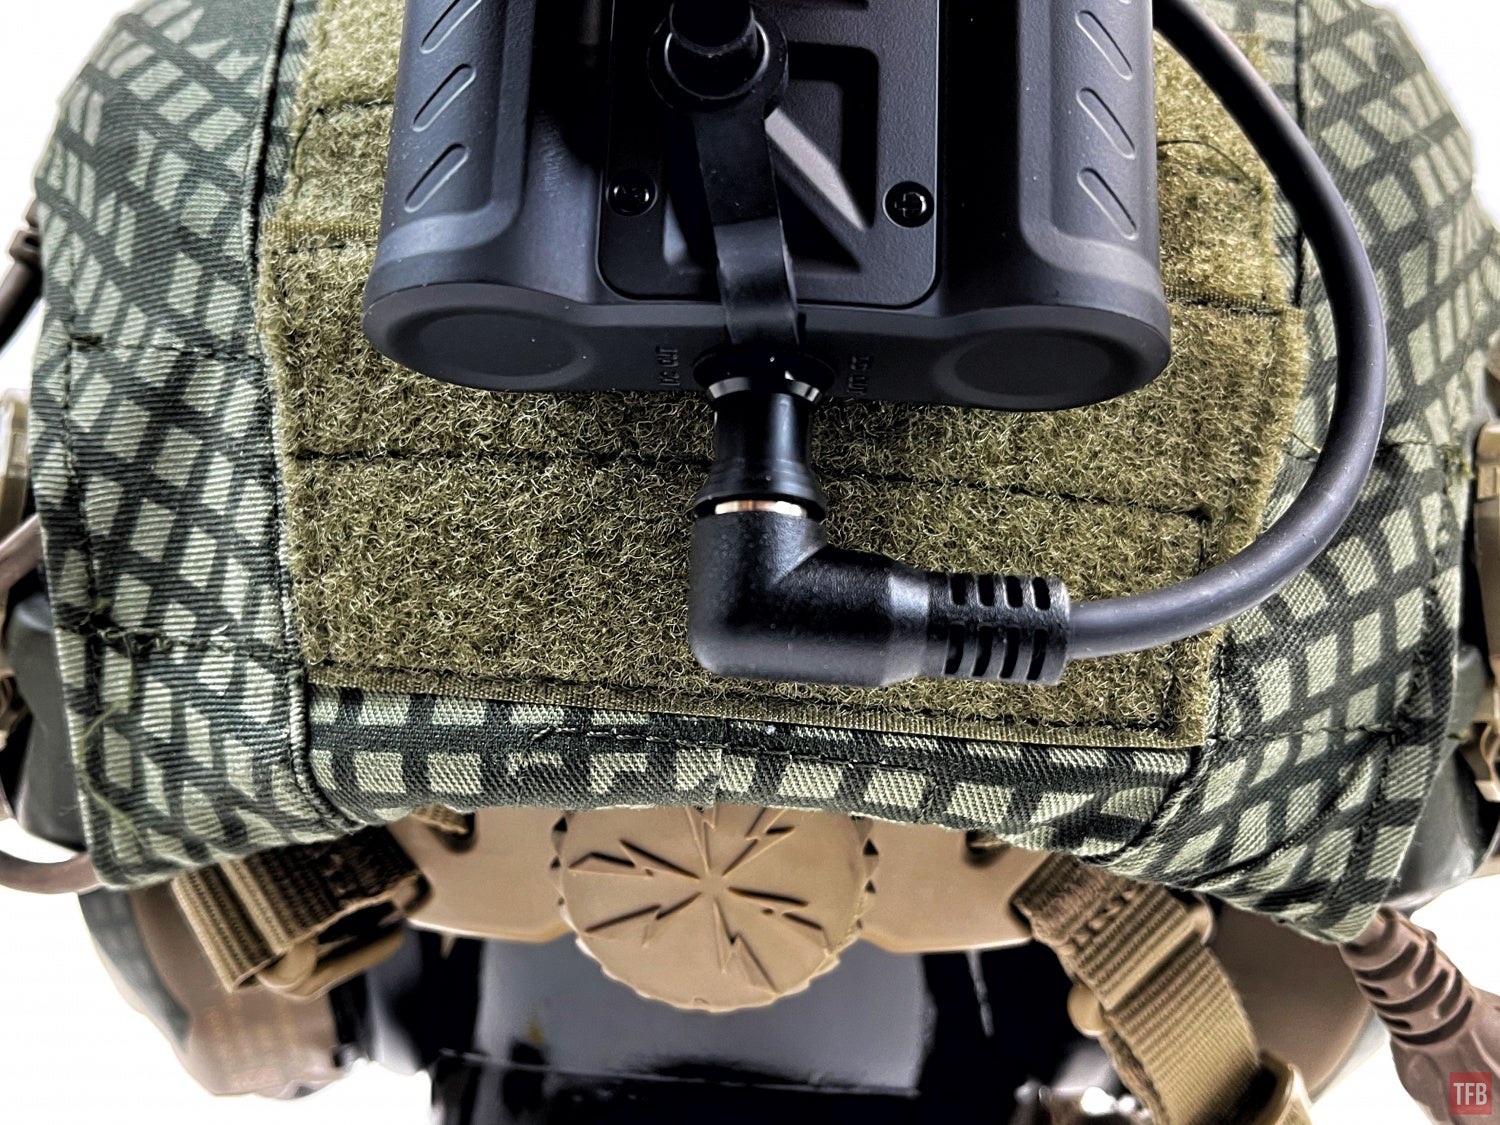
There is a minor annoyance with the Clip 1 battery pack and that is the cable. iRay opted for a 7-pin Fischer plug but it is a 90º plug on both ends. For reference, the PVS-31A and BNVD-1431 use a 4-pin Fischer plug.
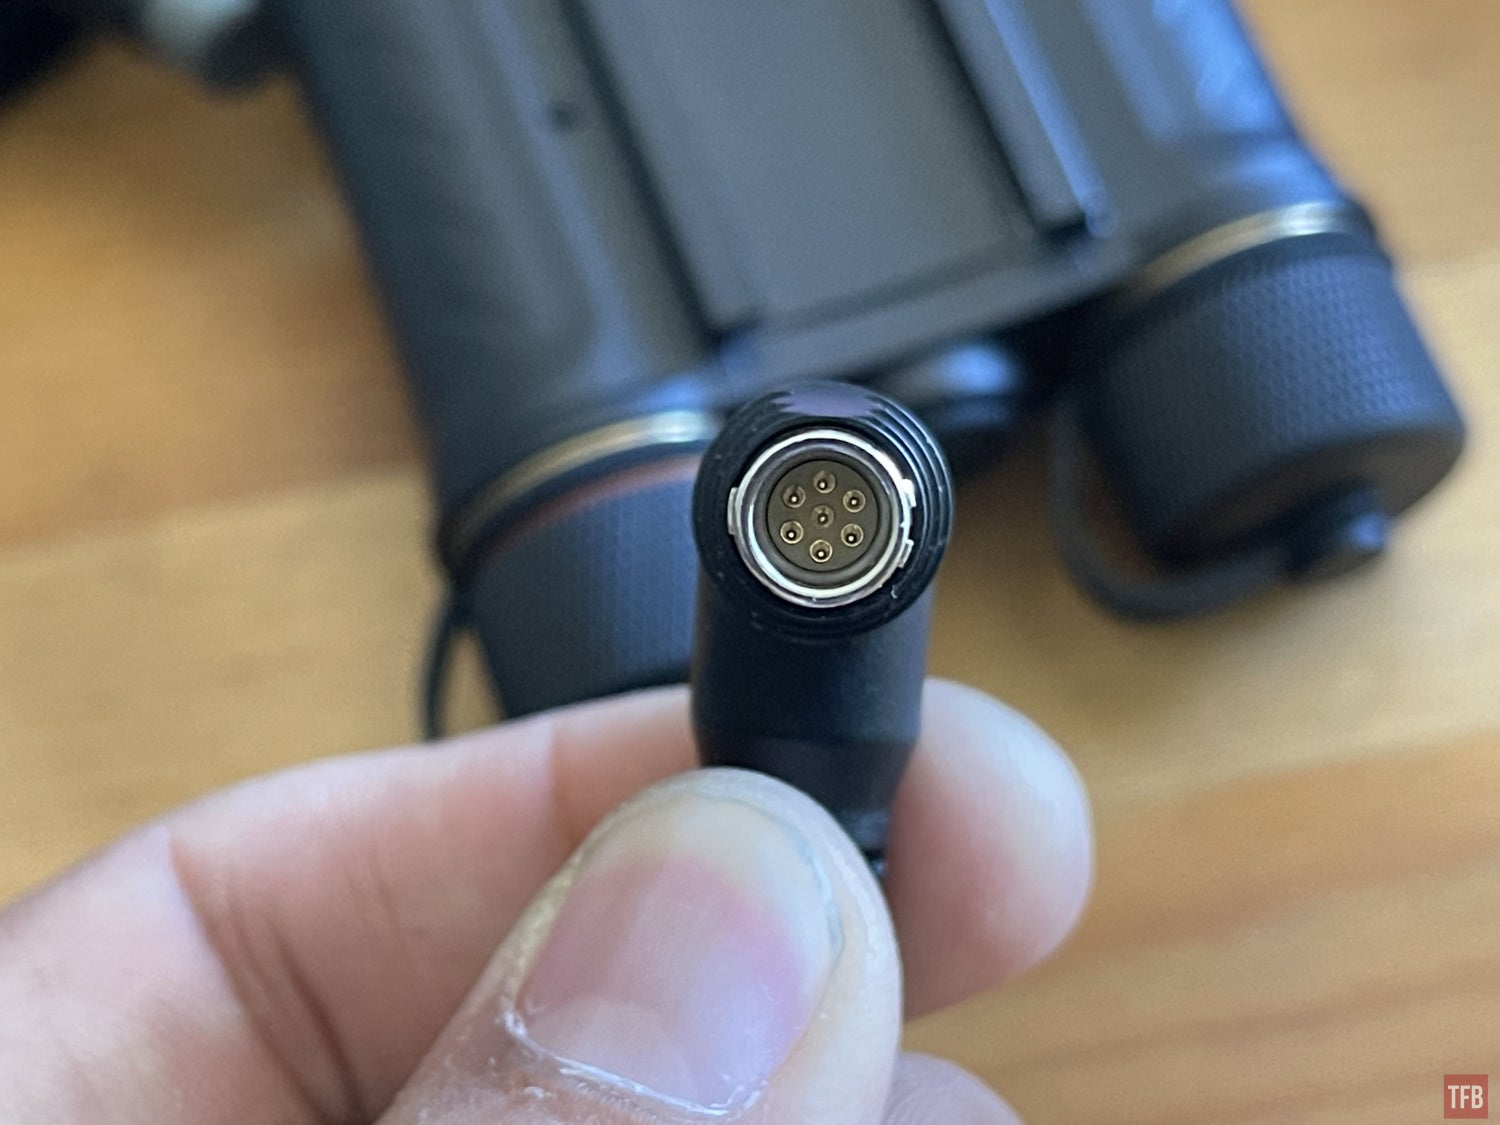
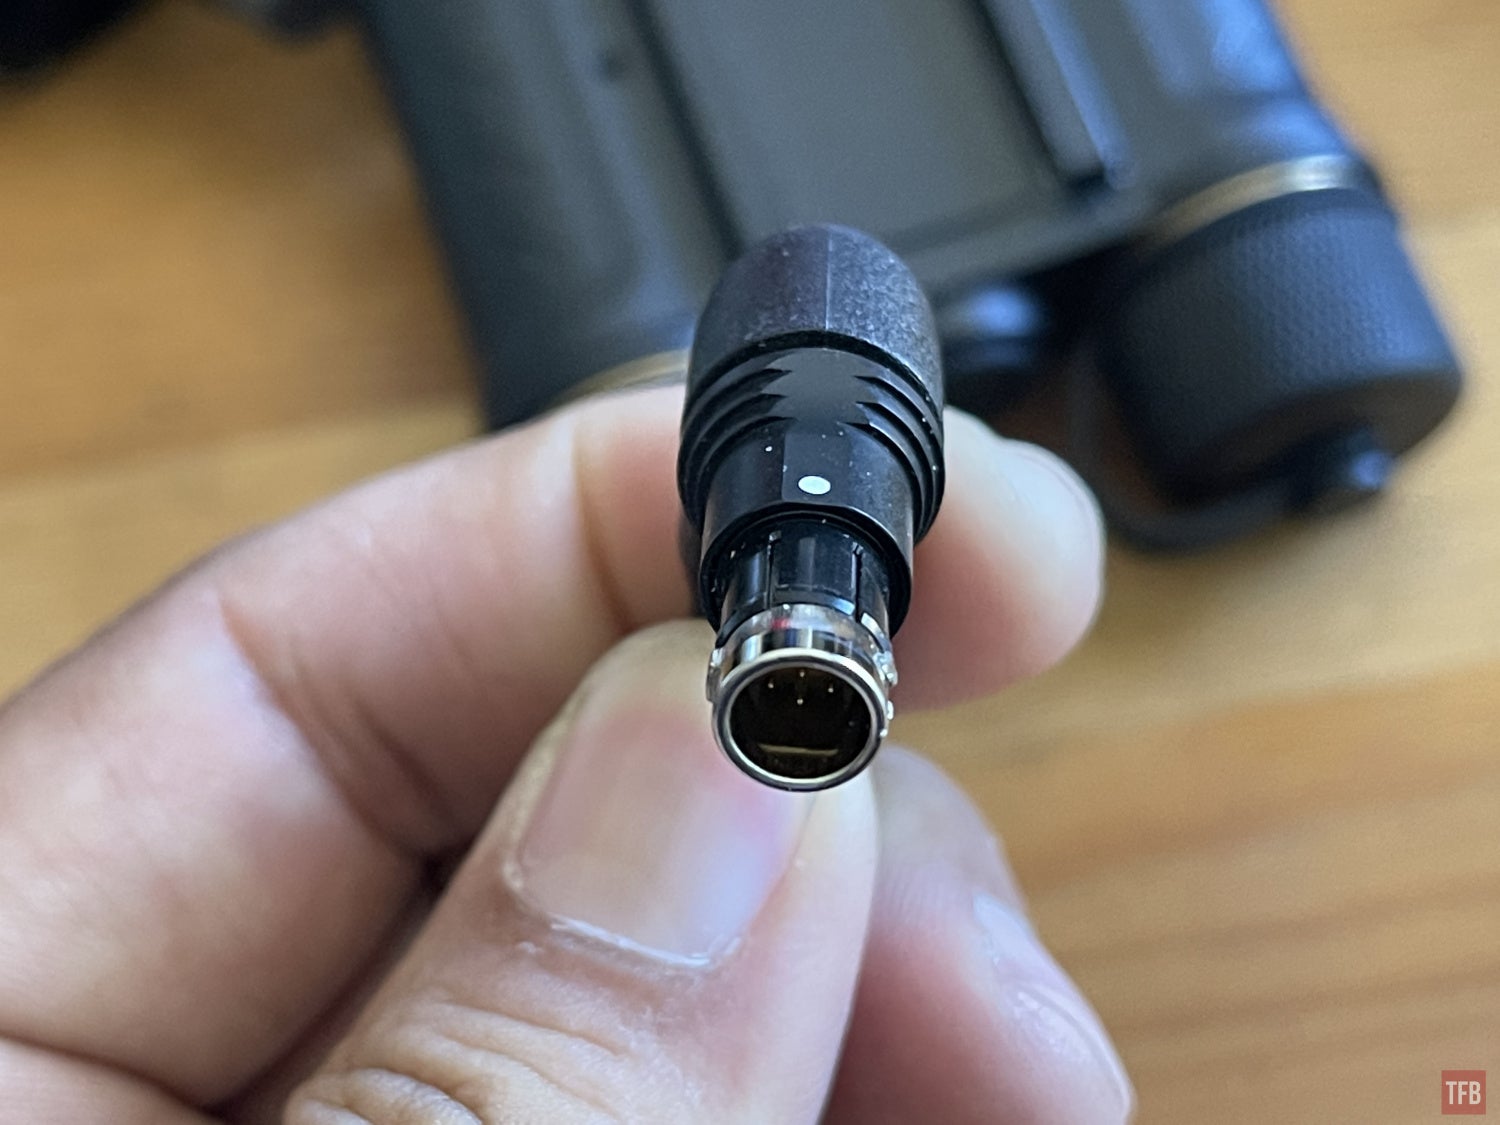
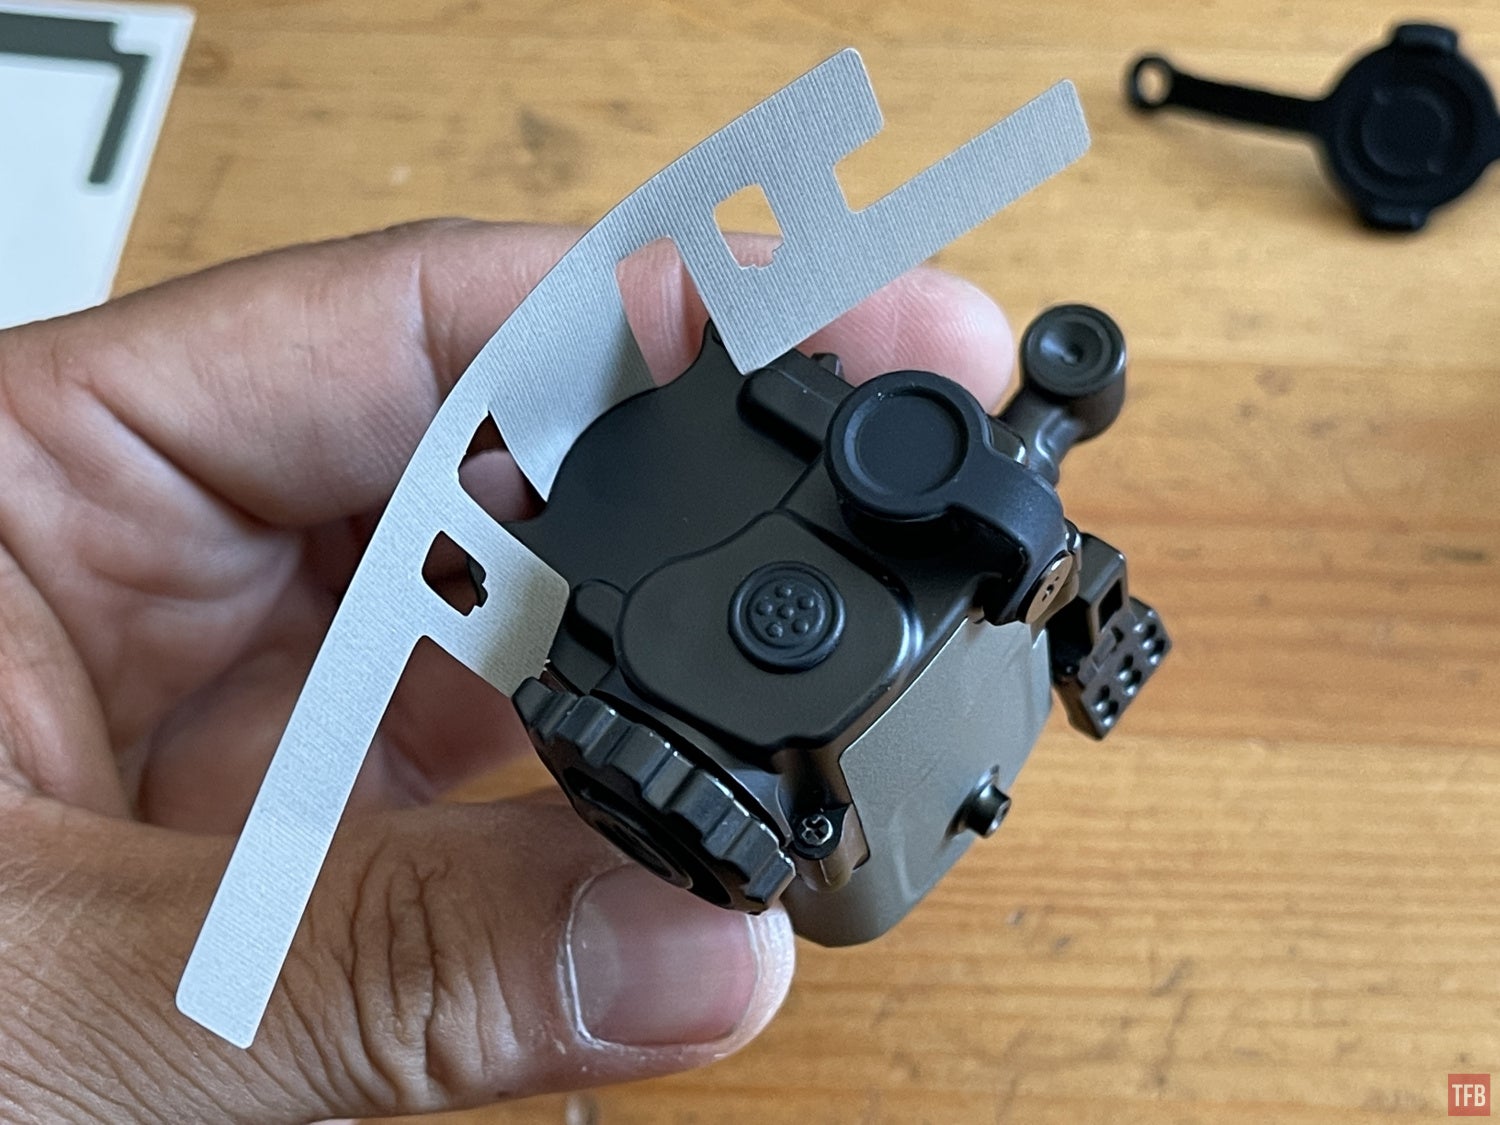
The Clip 1 and the battery backpack have a wide dot to indicate how to line up the plug when you insert it. However the collar around the battery pack port is obscured a bit.
If you look closely, you can see the three notches that interface with the matching protrusions on the Clip 1 battery pack cable.
So why is the 90º plug an inconvenience? See the photo below.
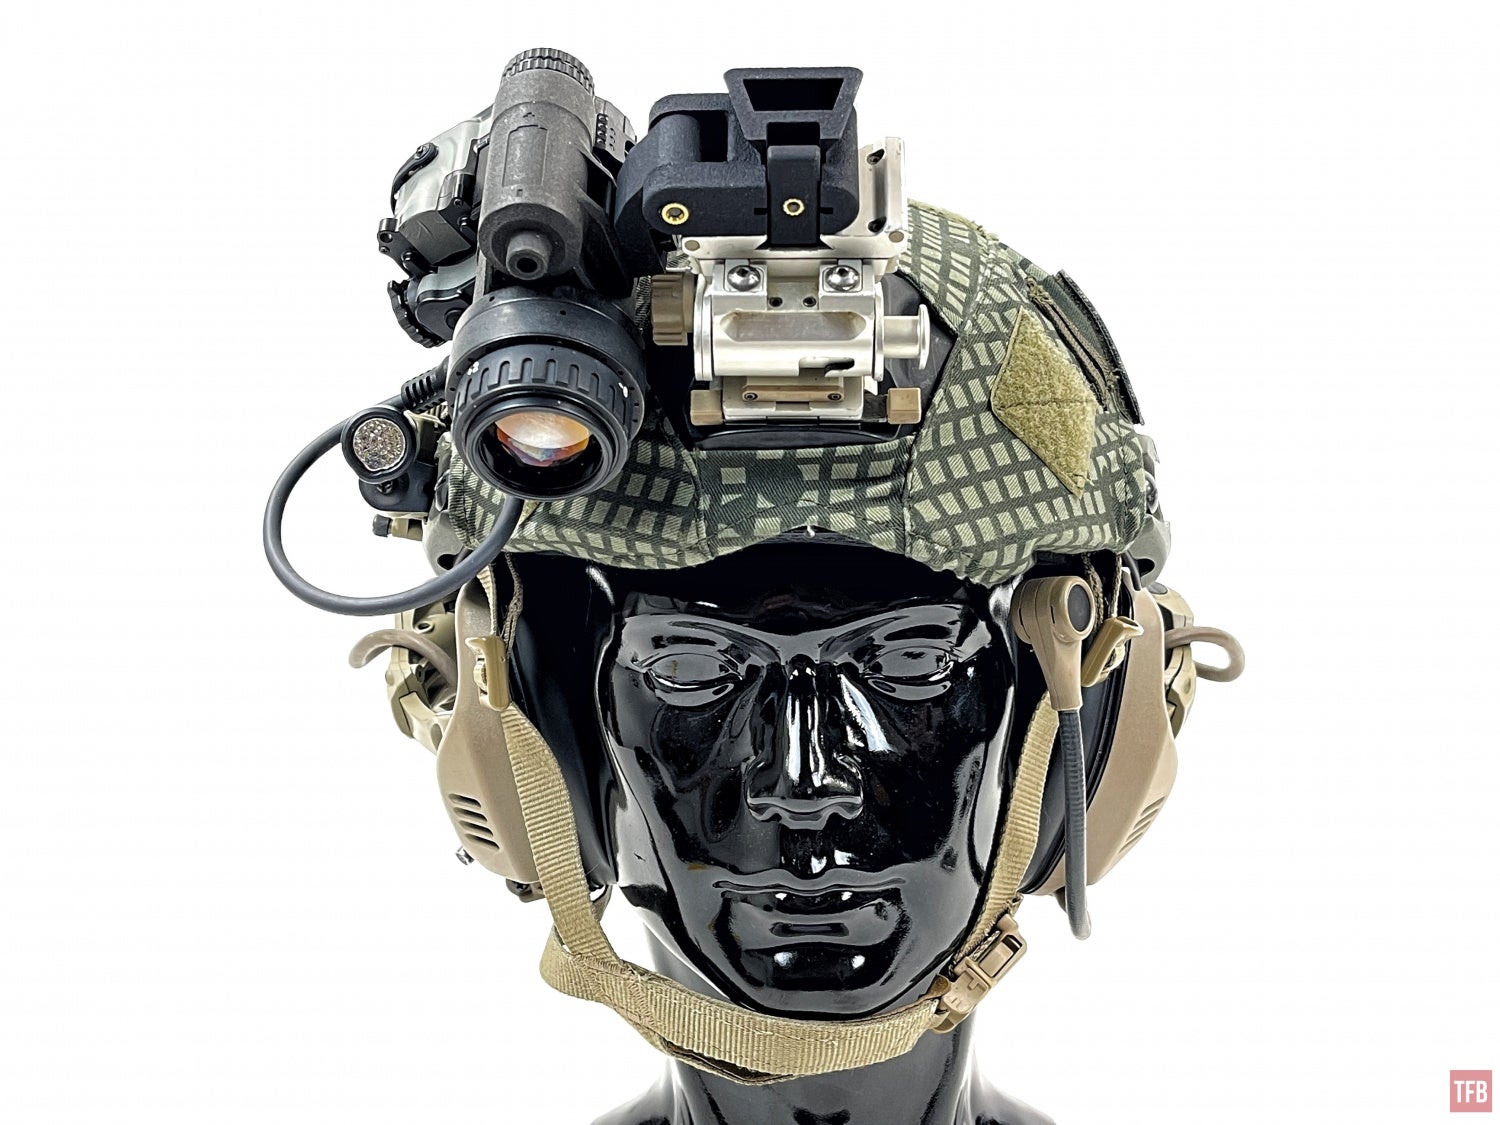
Since the battery pack cable is keyed, it can only be inserted at a certain position. You cannot rotate the plug. At best you can rotate the Clip 1 to help orient the cable in a different direction. But that is a band-aid solution that does not fix the issue at hand. See how the cable bends 90º away from the night vision device? No matter how you rotate the Clip 1 mount, the cable will always be perpendicular to the night vision device. So now the cable has to swoop back up around the helmet. This creates an unnecessary bend in the cable and a potential snag hazard.
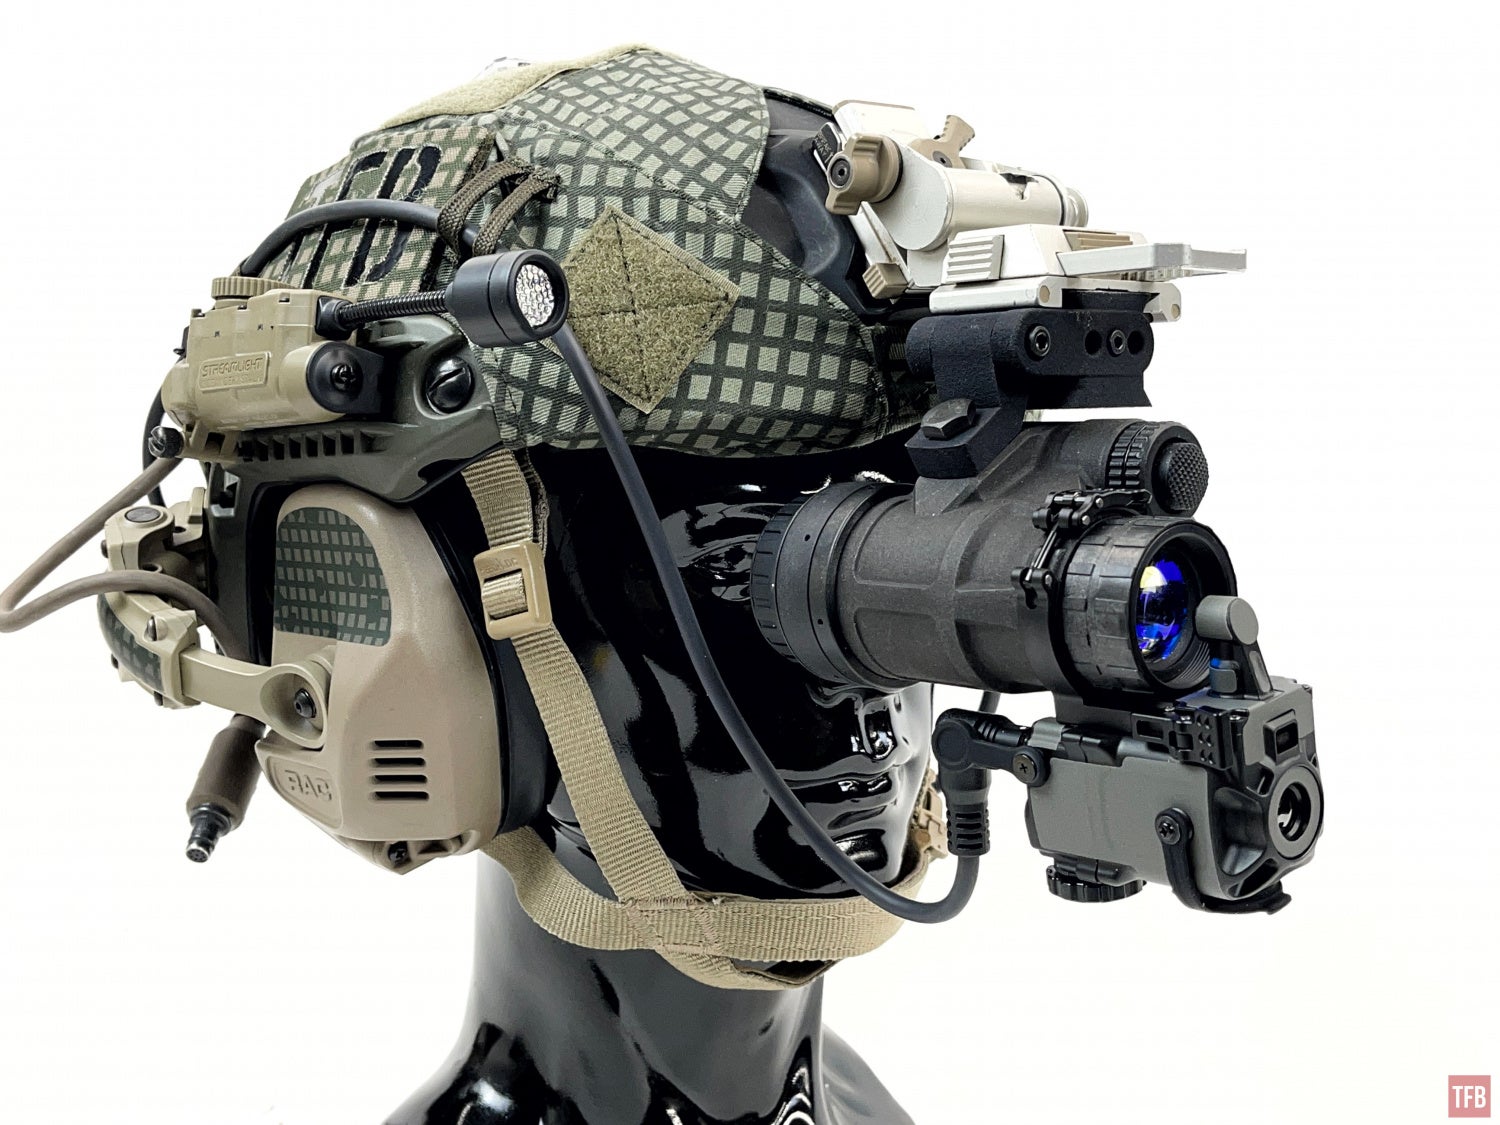
See what happens to the cable when you fold your night vision up. The cable creates a loop when you fold your night vision monocular up and against the side of the helmet with an articulating arm.
There is another issue with the 90º plug with regards to the battery pack. The port position will cause the plug to bend 90º to the right. As mentioned before, you cannot rotate the cable or plug. So the cable will always come out to the right. If you want to wear the Clip 1 on your left side you have to route the cable back up over to the left or rotate the battery pack upside down so the cable is plugged into the top and bends to the left.
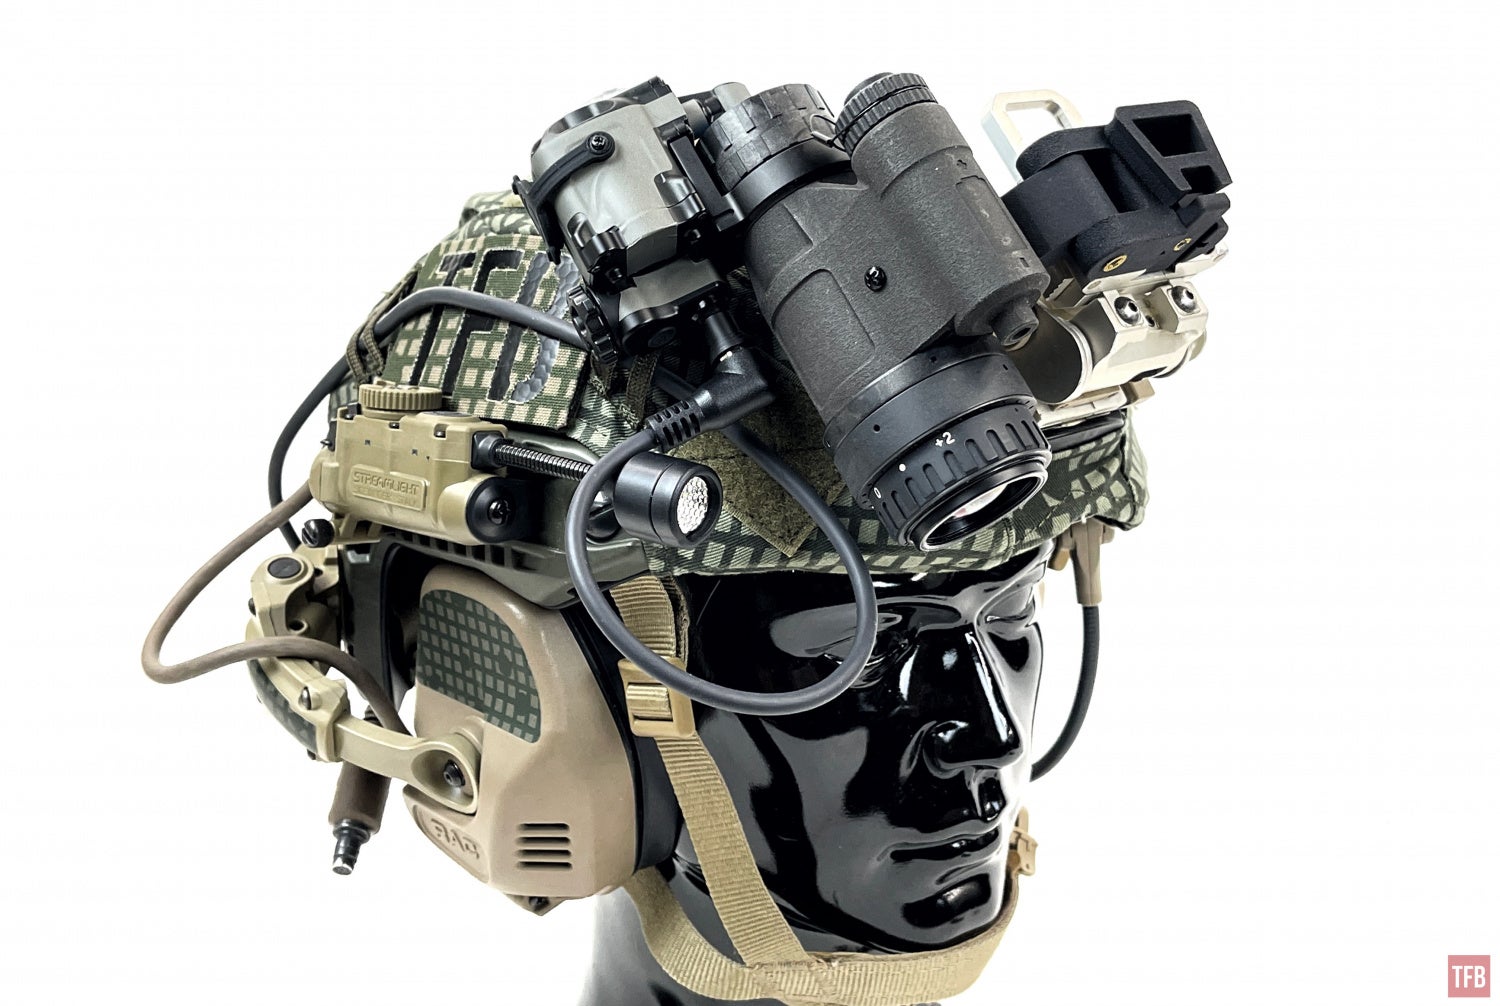
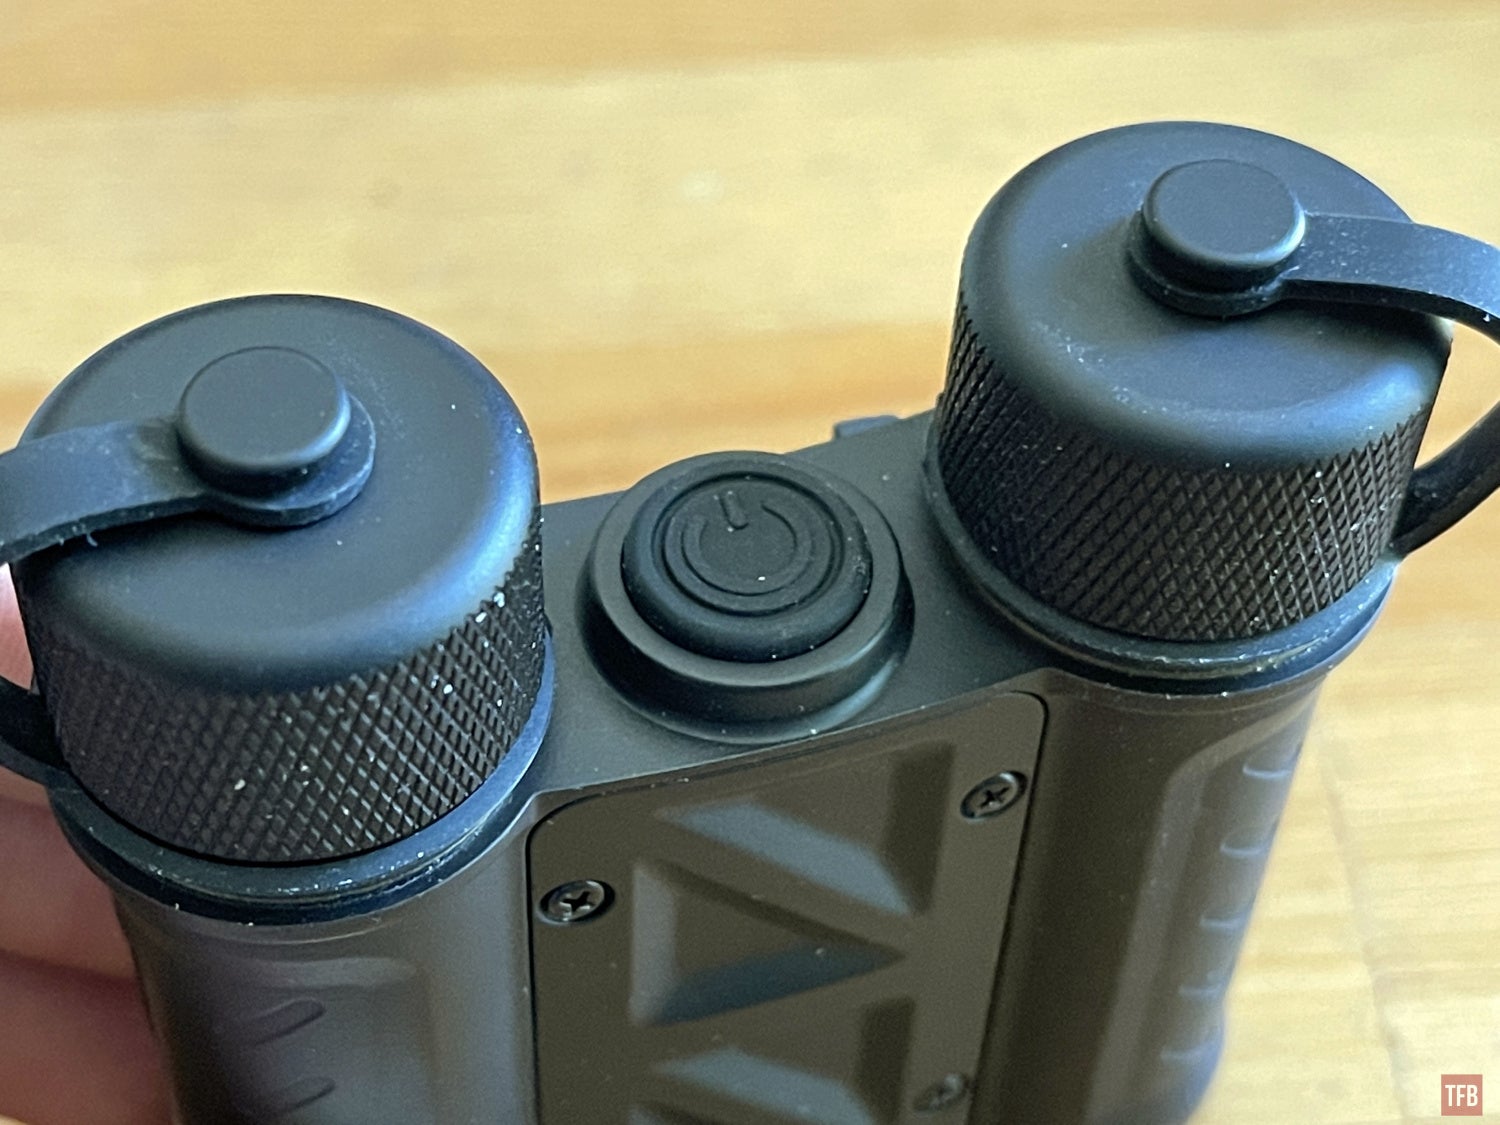
The Clip 1 battery pack has a button on top, between the two battery compartments. You need to press and hold this button down to turn on the battery pack.
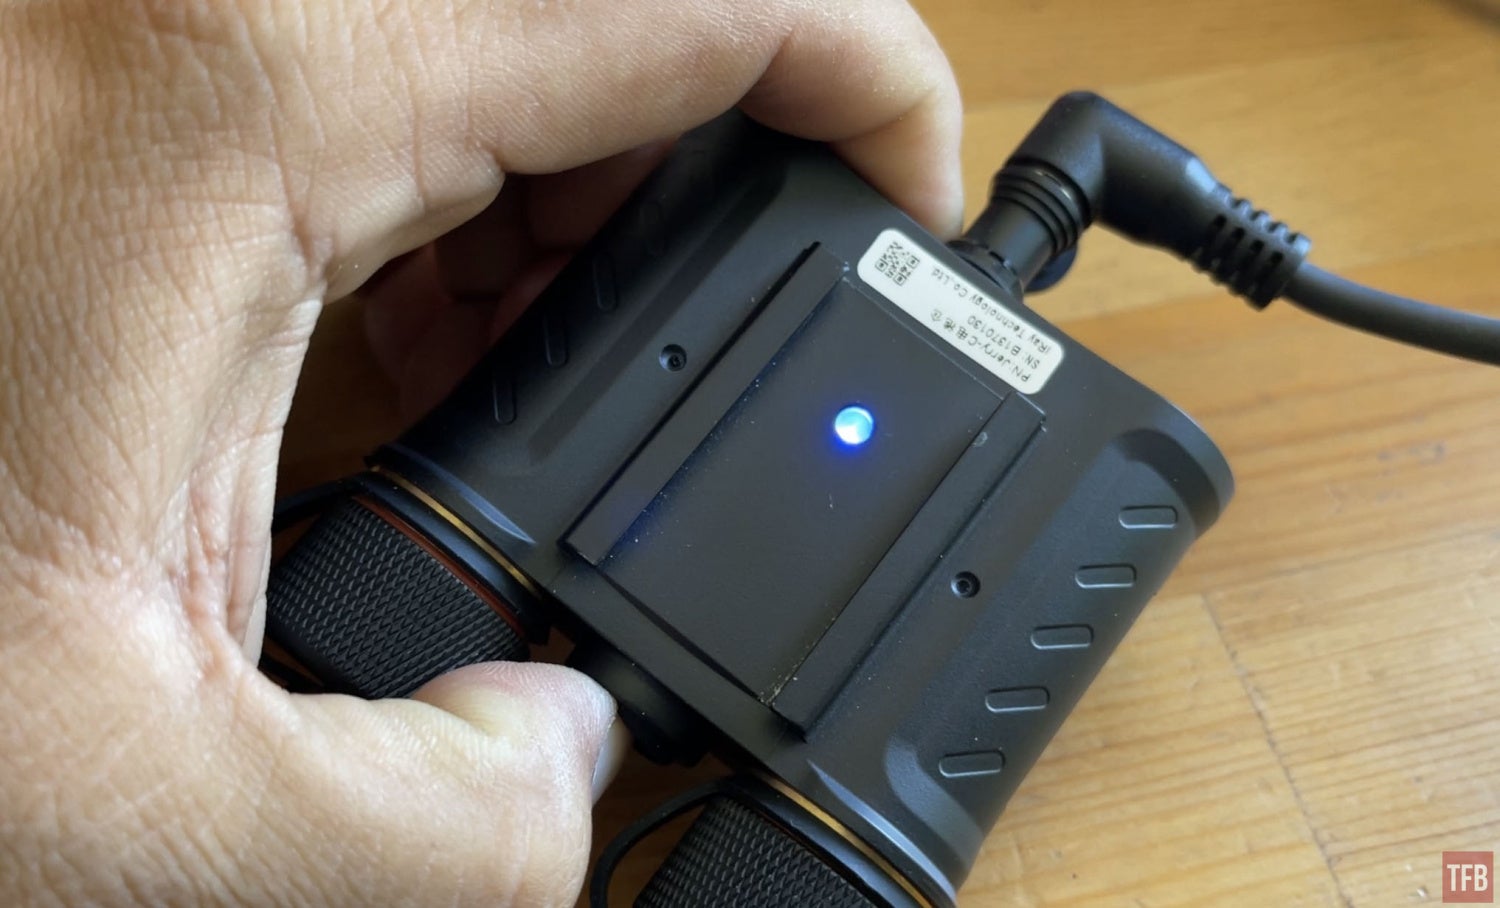
On the back side of the battery pack, there is an LED indicator. It will glow green when you turn on the battery pack. Turning the battery pack off will cause the LED to blink red. If you have a Jerry C or Clip 1 plugged in with the power switch turned on them, the LED on the battery pack will glow blue when you turn it on.
The battery pack is held onto your helmet with a Velcro adapter. There is a T-shaped protrusion that the battery pack slides onto.
Using the Clip 1
The functionality of the CE2 Clip 1 is similar to the Jerry C.
Thanks to my contact at iRay, I found out that there is a hidden menu in the Jerry C to help calibrate the thermal image and reposition the image to better line up with your night vision image. This is huge. The Optics 1 COTI has a similar feature and until now it was believed that the Jerry C does not. Far from it. I tested this on my original Jerry C that I got in 2020 and it has this hidden menu as well.
Along with the Clip 1, iRay sent their eyepiece for handheld use. Just like the PAS-29 COTI, you can use the Clip 1 without night vision. There is a minor difference though. Just like the PAS-29 COTI, the Clip 1 eyepiece inverts the images coming into it. The PAS-29 would automatically invert the thermal image when you use their eyepiece. With the Clip 1 and Jerry C, you need to enter the menu and change the MOD from CLIP to HOLD.
Nocorium Wraps For The Clip 1?
I used a wrap for a Jerry C and most of it will fit the Clip 1. You need to trim some of the excess off.

How Is the Clip 1 As A Thermal Imager?
As mentioned earlier, the CE2 Clip 1 is a lower resolution than the Jerry C5. However, 384 is a higher resolution than the PAS-29 COTI which is 320×240. You can see the difference below. The CE2 seems like a zoomed-in image but it is just scaled up to a similar size as the higher resolution C5 image below it.
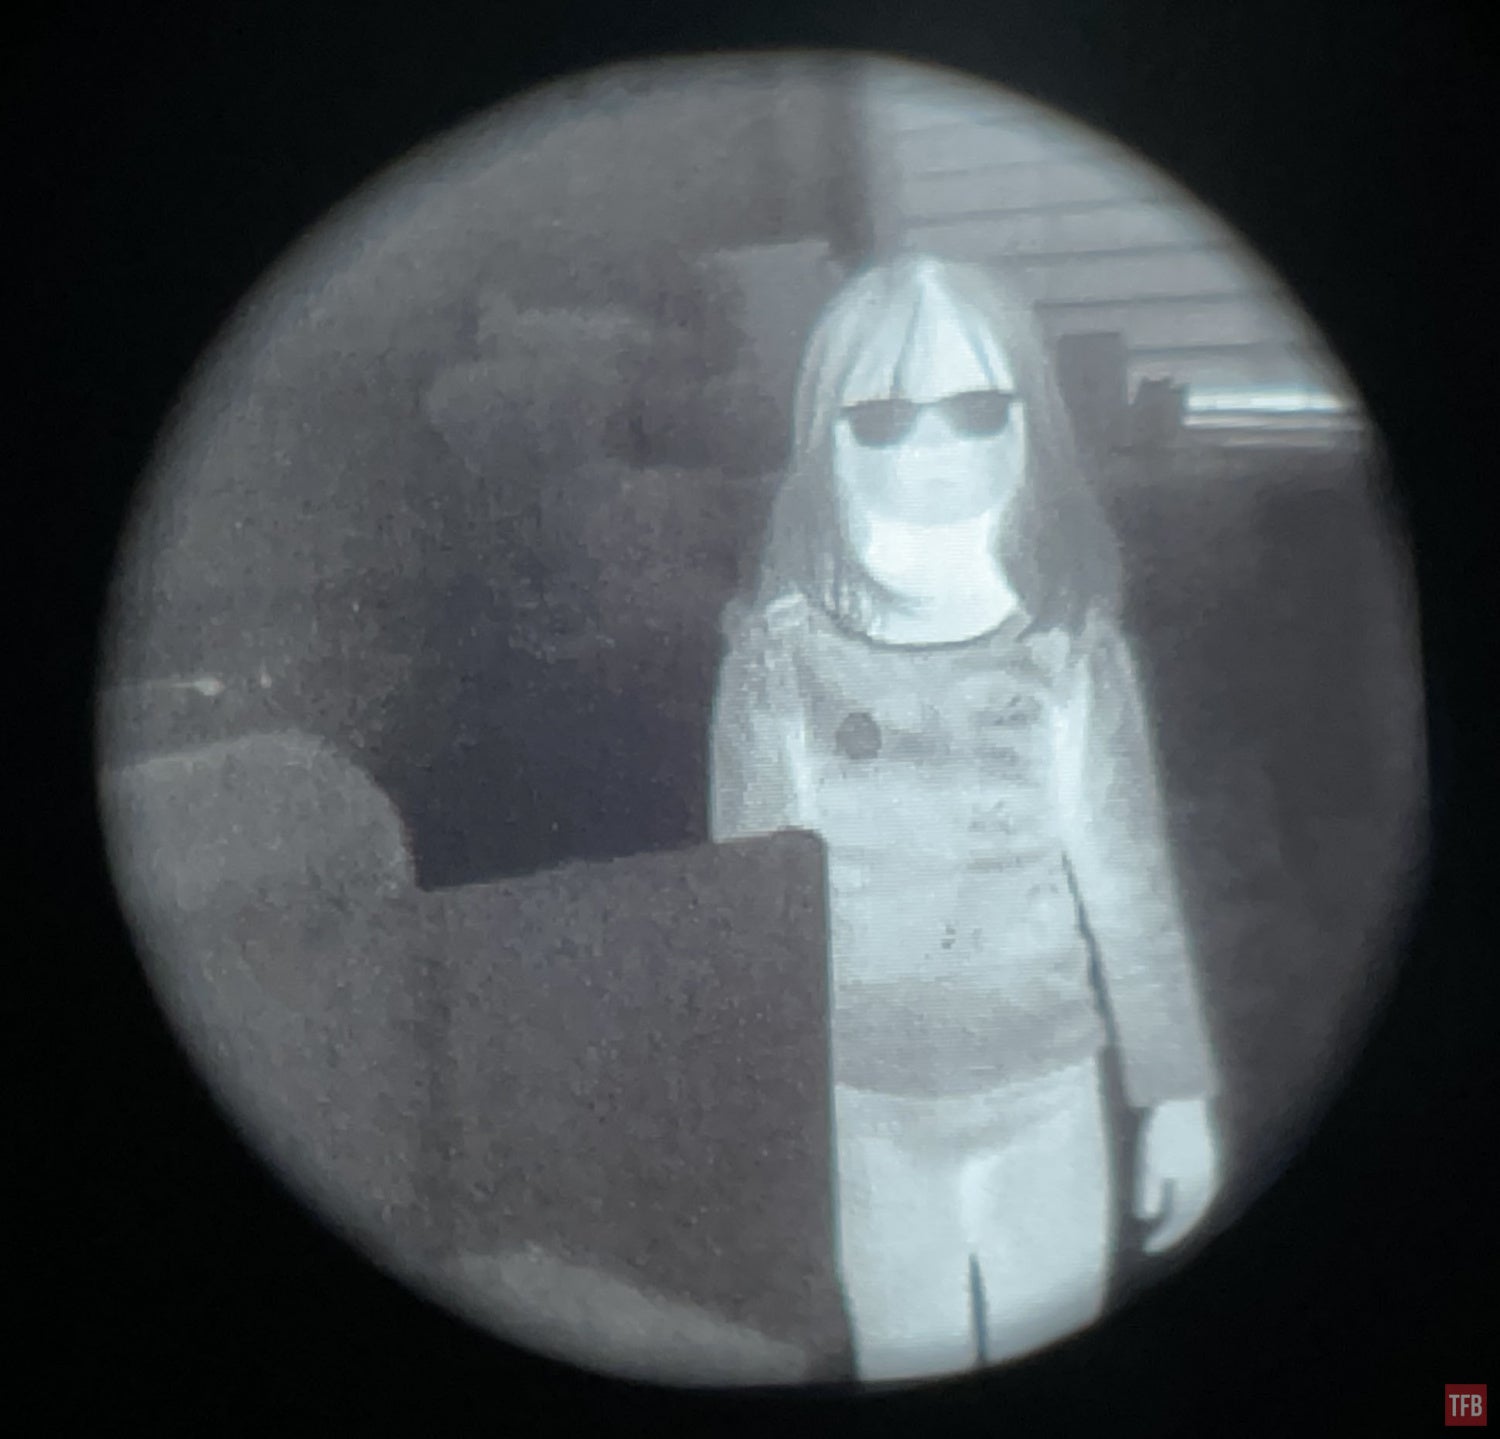
Clip 1 CE2 thermal image.
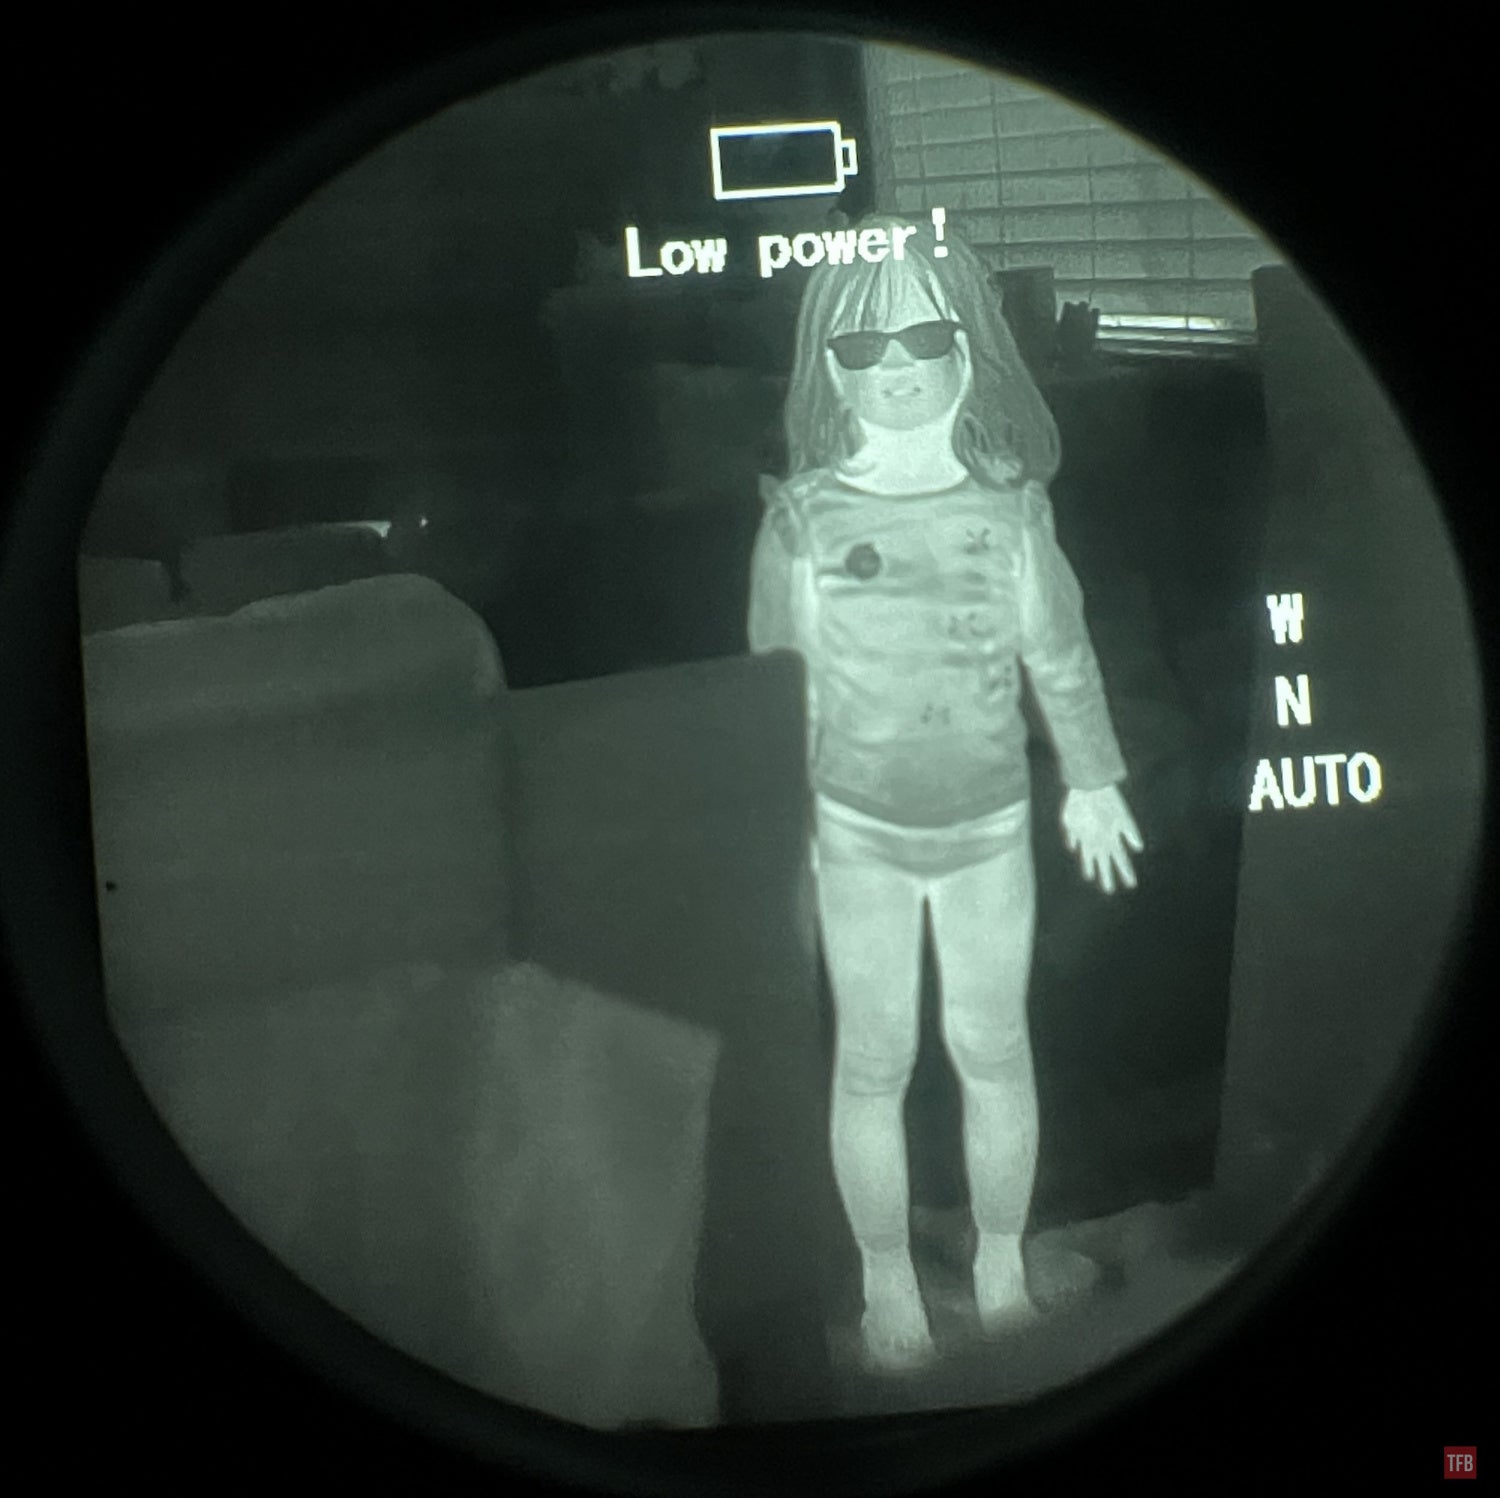
Jerry C5 thermal image.
Here is a video comparison between the CE2 and C5 as well as testing the thermal image of the CE2 at the range.
Final Thoughts On The iRay Clip 1
The Clip 1 CE2 is a reasonable substitute for a PAS-29 COTI, especially with the fluctuating pricing that we have seen over the past year. iRay says the CE2 is $2600 for the 384 resolution version. I would like them to provide a cable with a 90º plug on one end and a straight plug on the other. That way you can have a more streamlined cable coming out of the Clip 1.
There is one more minor issue with the CE2/CE5 vs a C2/C5. Since the CE2/CE5 require the battery pack to run, you cannot have a cable to output a video signal. I used the video out cable from my iRay RH25 Micro and was able to output the thermal image and record it directly via a mini DVR. This is not possible with the CE2 cable unless they make one with a split cable.
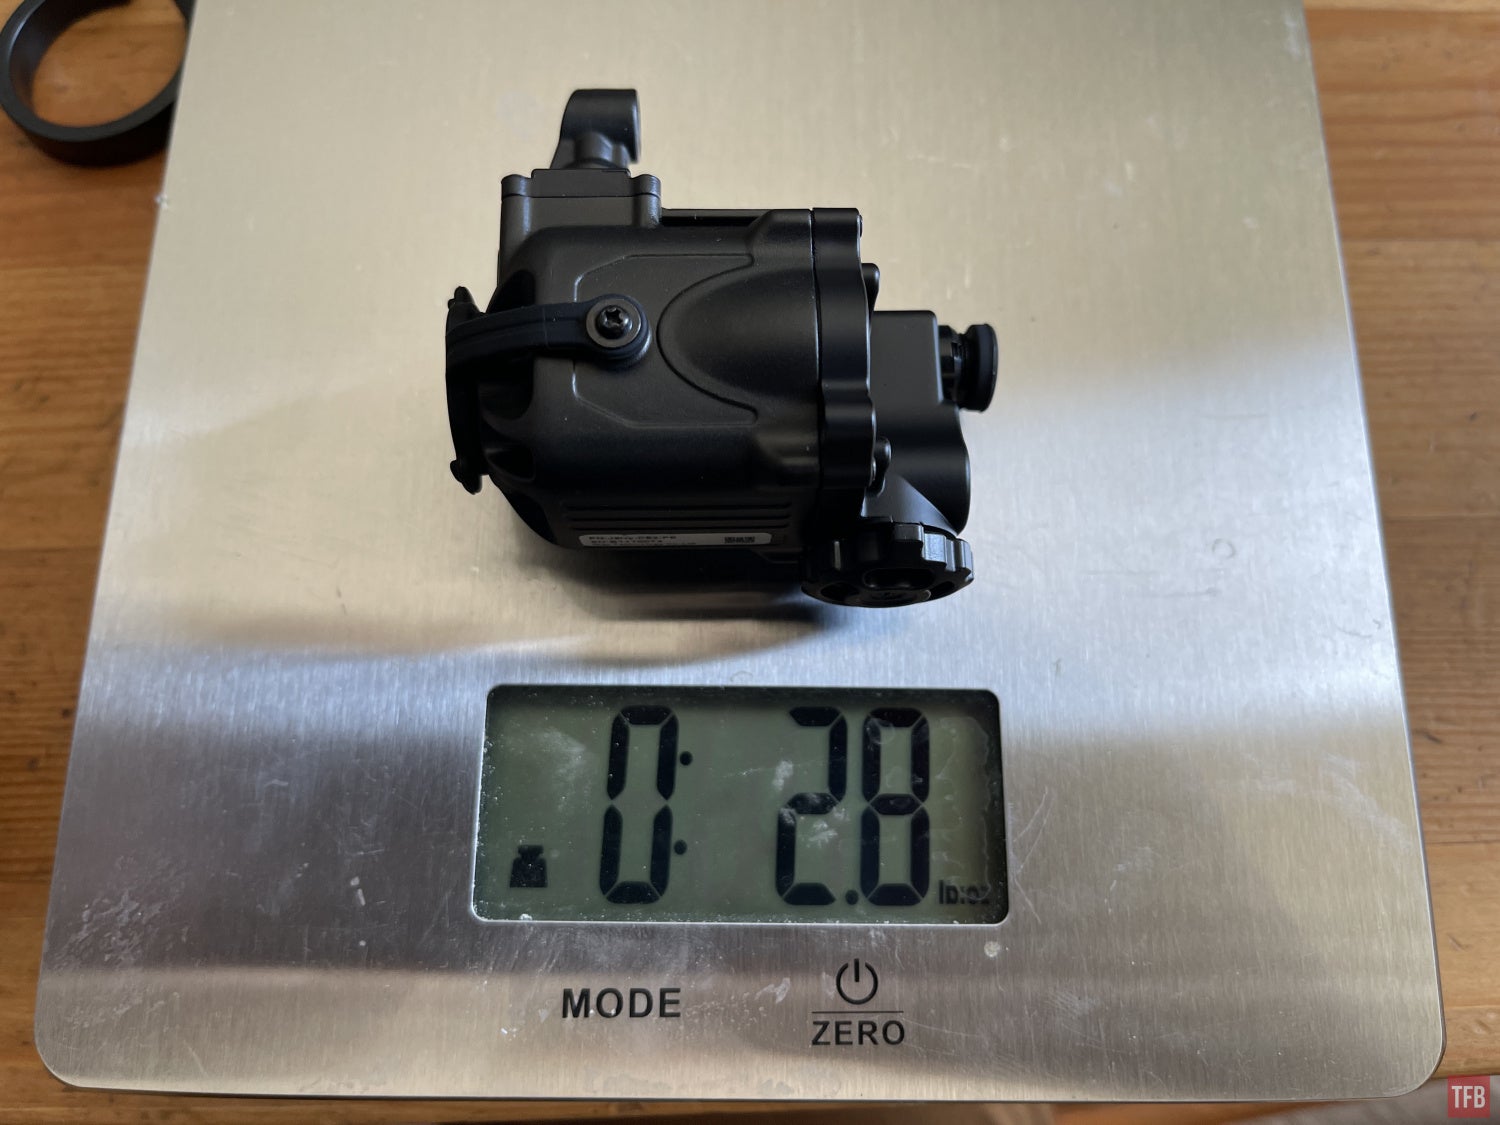
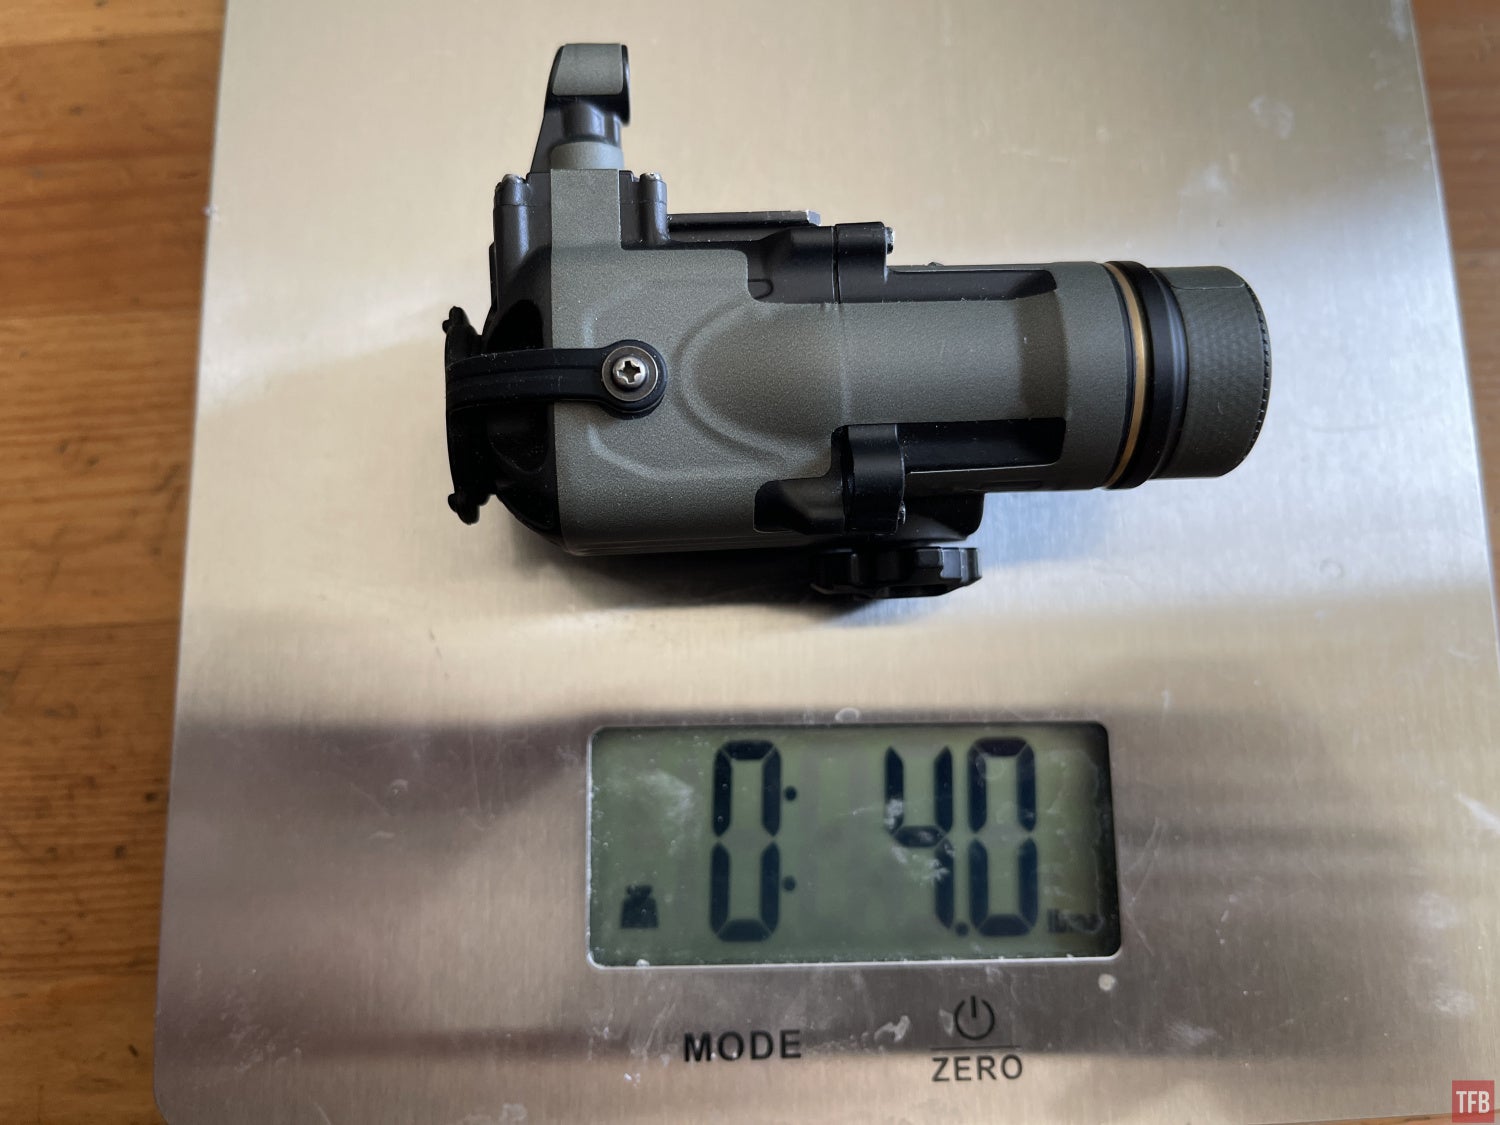
The CE2 is lighter than the C5 but that does not take the cable or battery pack into consideration. For the price, the Clip 1 is a reasonable option for having thermal fusion. For more information check out InfiRay.