Welcome everyone to the TFB Armorer’s Bench! As mentioned in the little blurb, this series will focus on a lot of home armorer and gunsmith activities. In this article sponsored by Wheeler, Tipton, Caldwell, and Frankford Arsenal, I decided to jump back into the topic of Wheeler’s AR Receiver Lapping Tool that I covered in last week’s Closer Look portion of Armorer’s Bench. In that segment, I took a closer look at the product and talked about what it is and its purpose. I intentionally left out exactly how the process works but I am sure you folks could put it together. Just in case though I am happy to elaborate in this article. Let’s dive right back into the Wheeler AR Receiver Lapping Tool!
Note: I am still compiling a list of AR15 upgrades that are common or cool to cover and demonstrate on the rather generic (and disassembled) Sport II. Please feel free to mention some in the comments!
TFB Armorer’s Bench: Wheeler AR Receiver Lapping Tool
Welcome to our recurring series of Armorer’s Bench which is made possible and brought to you by Wheeler, Tipton, Caldwell, and Frankford Arsenal who are our sponsors. Here, we at TFB hope to inform, entertain, and even inspire any would-be gunsmith or armorer out there. Ideally, with the information I provide and with the help of our sponsors, you can have some useful knowledge pertaining to the conservation and improvement of firearms technology while at the same time sharing experiences and teaching each other new tips and tricks along the way in the comments. Digging deep into what it is to be an armorer or gunsmith has significance but what is important is what those people do to show they’ve earned that title. I am happy to share my experiences and knowledge and hope it is informative!
Make your personal safety a priority:
- Practice proper gun safety. Always make sure before the firearm hits your bench that it is unloaded and safe to be handled.
- Wear the proper safety equipment. The main one would be safety glasses (decent ones) since parts are often under spring tension and you may work with high RPM tools. Other honorable mentions would be latex gloves or a respirator when working with potentially harmful solvents and oils. Also hearing protection when working with loud machinery or test-firing firearms.
- Modifications, alterations, and customizations will void your firearm’s warranty 9.5 times out of 10. Please take that into consideration before attempting any at-home gunsmithing.
- If you are unsure about proper safety practices, disassembly procedures, or warranty standards, stop, put down the tools, and consult a competent gunsmith.
Quick Recap: Wheeler AR Receiver Lapping Tool
The Wheeler AR Receiver Lapping Tool is intended to aid in accurizing an AR15 or AR10. When I say that I mean that it is just one small thing you can do to help make your rifle setup as best as possible. It is not an end-all beat-all hack to help achieve supreme accuracy. The process of lapping a receiver is simply removing (for lack of a better word cause removing is a bit extreme) a very little amount of material where the barrel meets the receiver. Material is removed until it is as precise of a plane as possible. As some of you already know, doing this will help alleviate some examples of sight-in issues you or a customer may have if all else has been attended to correctly.
Sometimes the front of a receiver can genuinely be that out of spec, painted over, or just done that poorly where it can affect things like your windage or elevation adjustment. So what can be done and how does the Wheeler AR Receiver Lapping Tool work?
How it Works: Wheeler AR Receiver Lapping Tool
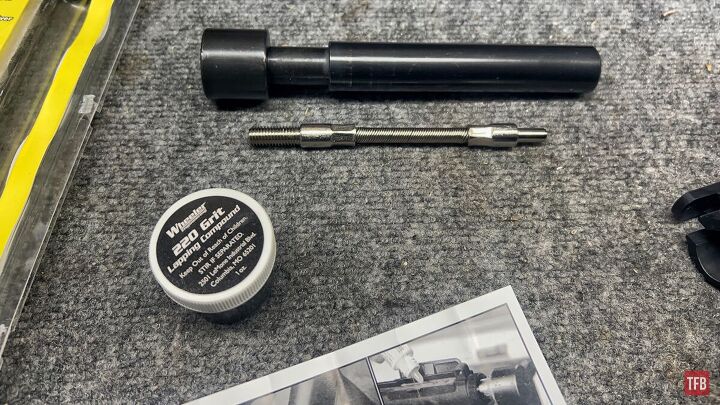
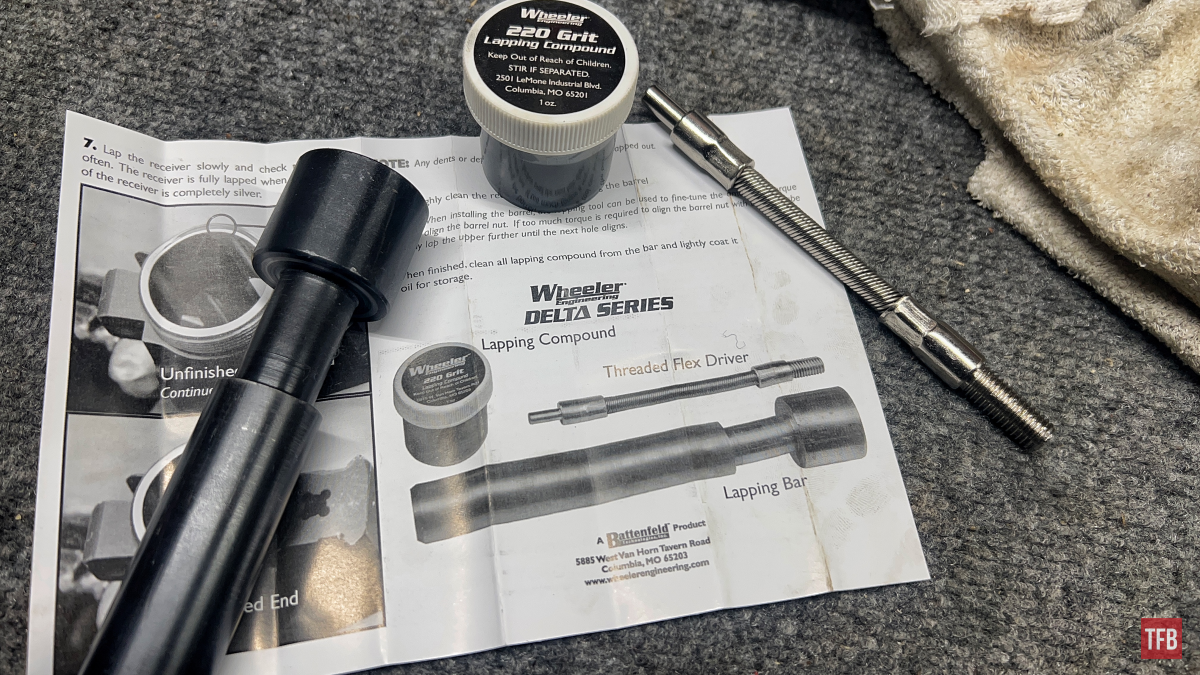
The Wheeler AR Receiver Lapping Tool comes in a clamshell plastic package with a manual, lapping tool, 220 grit lapping compound (also good for lapping scope rings), and a flexible bit that attaches the lapping tool to a handheld drill of some sort.

You start the process by obviously having an AR upper dissembled to the point where the front of the receiver can be accessed. This would mean removing the BCG, a handguard, muzzle device, gas block, gas tube, and barrel. If you need tips on how to properly do that, I encourage you to check out my article on the disassembly of an AR15 upper. I placed the upper into a Wheeler Upper Receiver Vise Block and chucked that into a vise. Take care not to crush your upper. The vise does not need to be torqued down super tight.
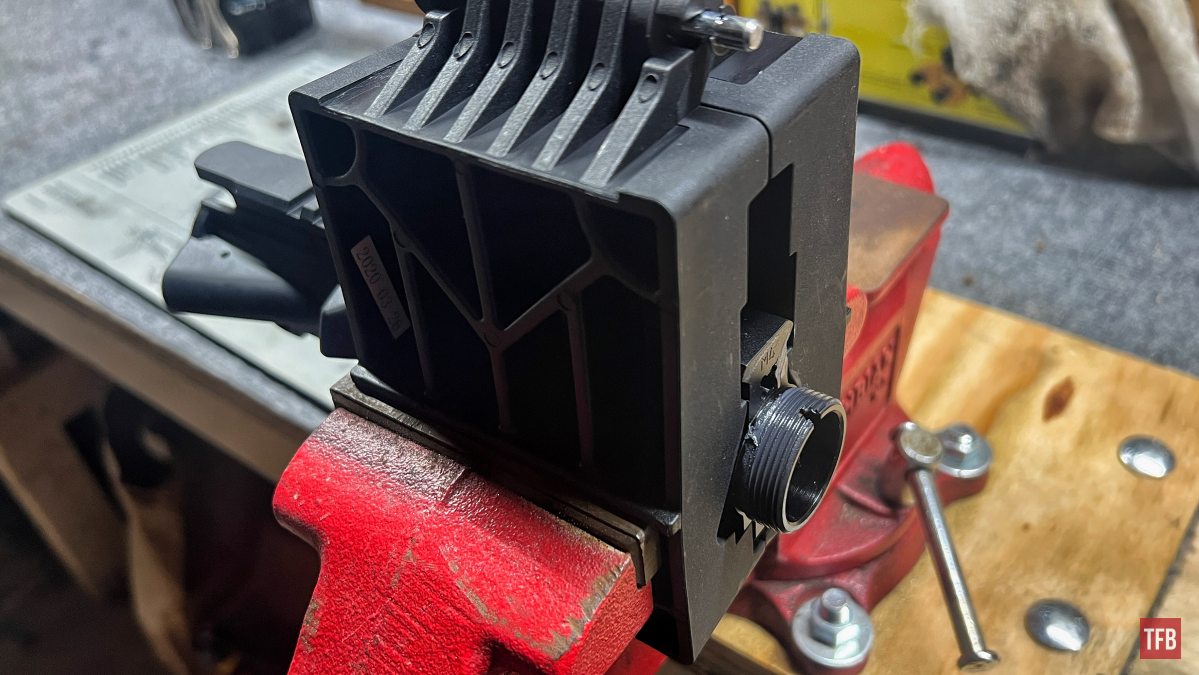
Quick Tip: Placing the front portion of the receiver facing up toward the ceiling will in theory take the strain off of the user while lapping the receiver. Use gravity to your advantage!
From there you assemble the lapping tool. This is done by threading the flexible bit into the lapping tool. As you can see, for whatever reason, my bit would not fully thread into the tool. Upon closer inspection, it appears the threads were damaged at some point. I looked at reviews of this tool and nothing mentioned anything like that so most likely it was a fluke or it was my fault. Regardless I did not have a die on hand that would properly recut/correct the threads so I rolled with it being torqued down while halfway in. It would not be a bad idea to apply grease or anti-seize of some sort to the threads prior to installation since the bit can be tightened even further while in operation.
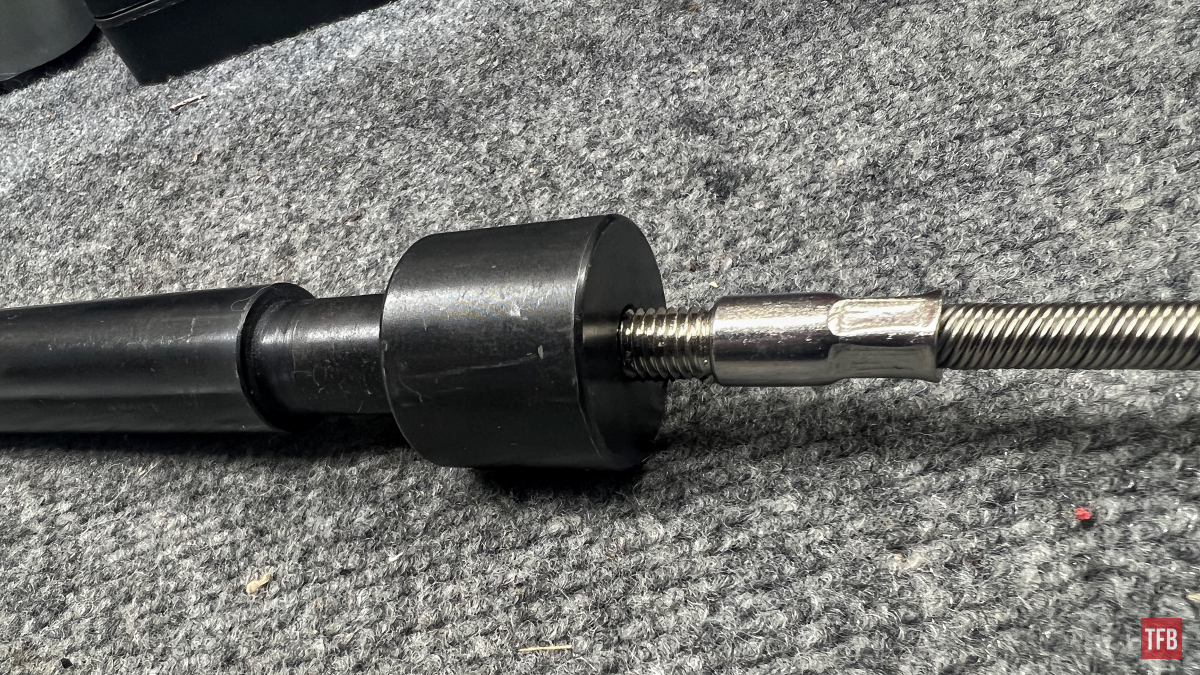
From here you can place the opposite end of the bit into a handheld drill of your choosing. Make sure it is tight and switched to rotate clockwise (when looking from the back to the front) so that you do not “unscrew” the bit that is in the lapping tool.
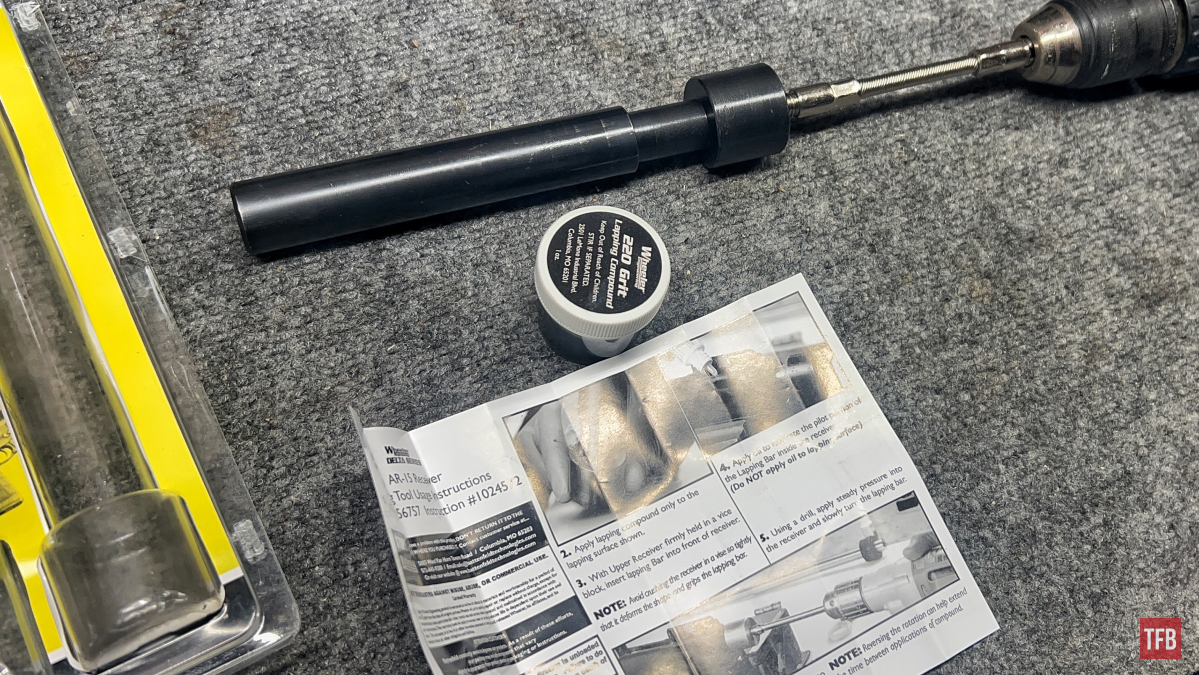
After the lapping tool is ready you can apply the lapping compound to the receiver face of the lapping tool. There is no exact amount just make sure to have a good layer all the way around. Chances are you may have to reapply more lapping compound.
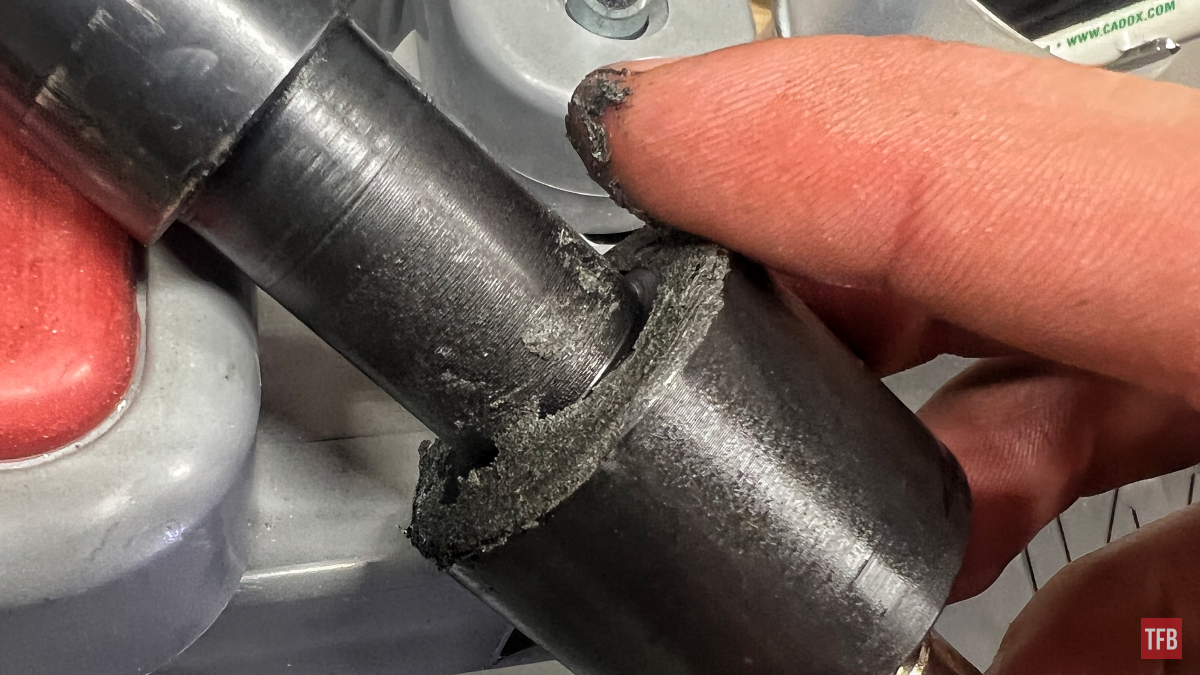
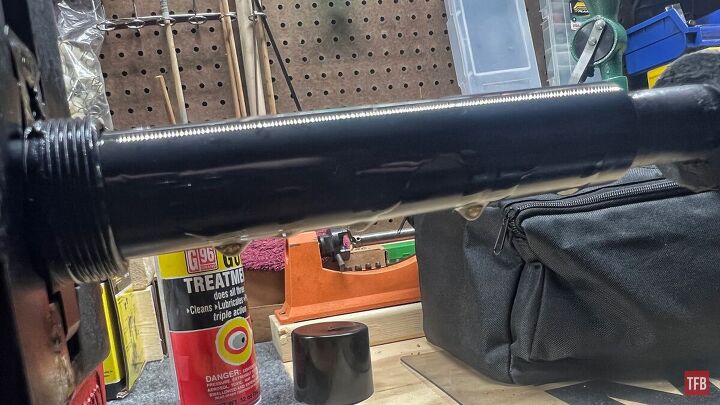
After that, you are ready to rock! Applying some lubricant to the mandrel portion of the lapping tool will help slide the tool in and reduce friction. I used a quick couple of sprays of G96 (check out a previous article on Gunsmithing Liquids).
When the mandrel portion of the lapping tool is fully inserted into the receiver and the face of the lapping tool is touching the face of the receiver we can slowly work the drill. The main thing here is not to run the drill full bore nor to apply tons of pressure. Our objective is to uniform the face of the receiver not to make it shorter and out of spec.
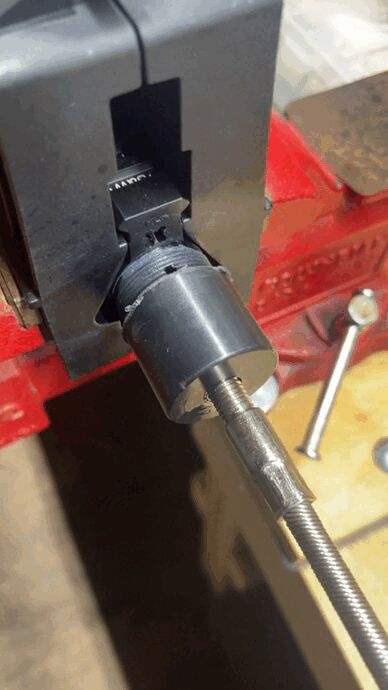
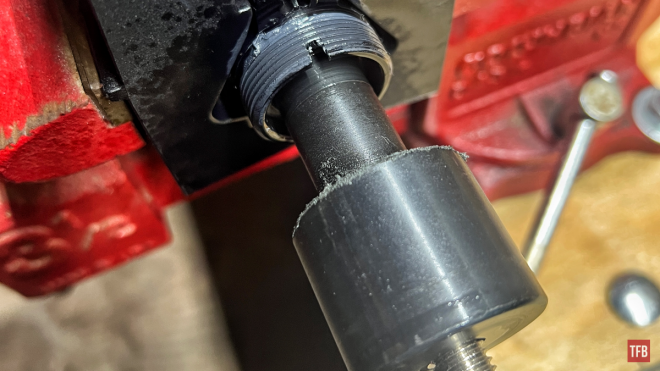
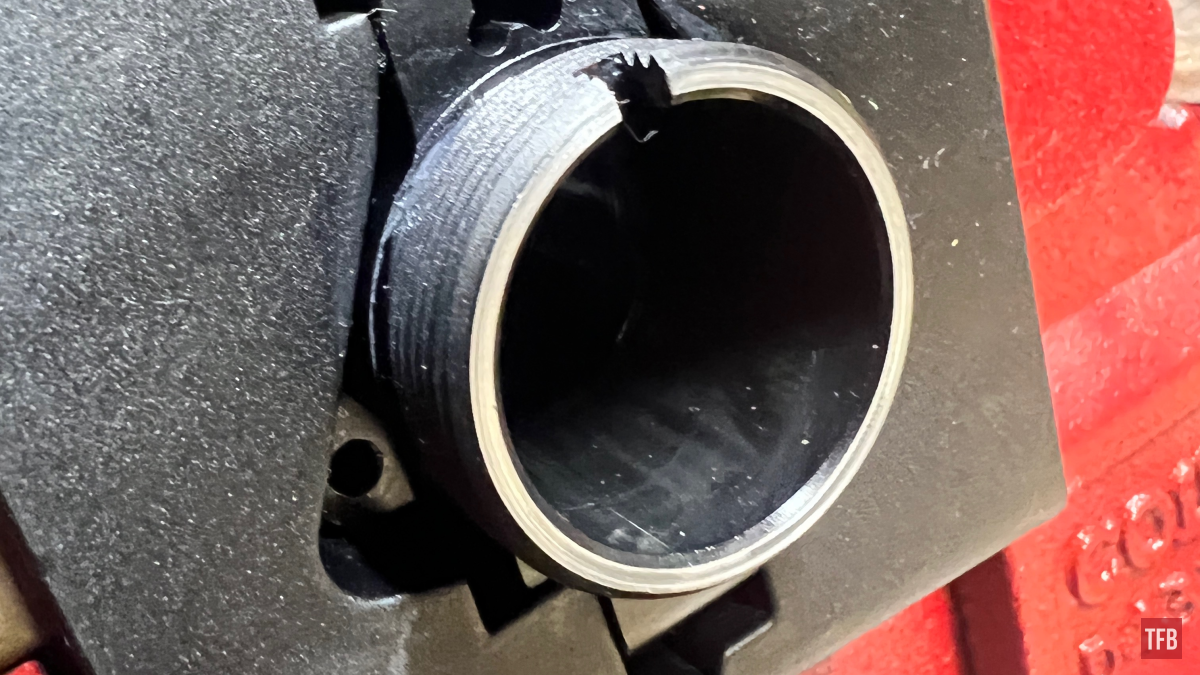
As you can see in the photo below, there is still a tad bit of finish leftover which indicates a low spot on that portion of the face. This is why receiver lapping is a thing. It probably is within a perfectly reasonable amount of factory specification but not perfect for the ultra-accurate AR build if you want to think of it like that.

Continue repeating the lapping step until everything is uniform. From here there is little to do beyond reassembly, function test, and accuracy testing.
Final Thoughts: Wheeler AR Receiver Lapping Tool
That is pretty much the basics. When the front of the receiver appears to be uniform, you are pretty much finished and ready to throw it all back together. One quick check that may work (not confirmed) is to apply a coat of sharpie on the lapped surface. After this doing a slow two or so rotation of lapping should reveal any high spots.
As I mentioned in the previous closer look article on the Wheeler AR Receiver Lapping Tool, I do not think this is entirely necessary. It is just one small thing a person could do or have done to help improve the accuracy of their AR setup. I think it is a more worthwhile tool for a shop owner or gunsmith since it could be offered as a service rather than buying it yourself, using it potentially once, and then never needing it again. I hope to hear what you guys think in the comments below. Make sure to talk about any tips or tricks you may have if this is something you are familiar with. Take care and stay safe out there!
Note: As of writing this, I saw that Wheeler currently is offering a Free 89 Piece Professional Screwdriver Set with $100+ Purchase.
As always, thank you for reading TFB! Be safe out there, have fun while shooting, and we will see you next time for the TFB Armorer’s Bench brought to you by Wheeler, Tipton, Caldwell, and Frankford Arsenal! Also, let us know what you think in the comments below! We always appreciate your feedback.
Pro Range Glasses, Clear

The Caldwell® Pro Range Glasses feature a stylish wrap-around design and are a great choice for all shooters. They feature an adjustable nose piece and temples for all day comfort. The scratch resistant lens meets ANSI Z87.1 standards and offers 99.9% UV protection.
AR Receiver Lapping Tool
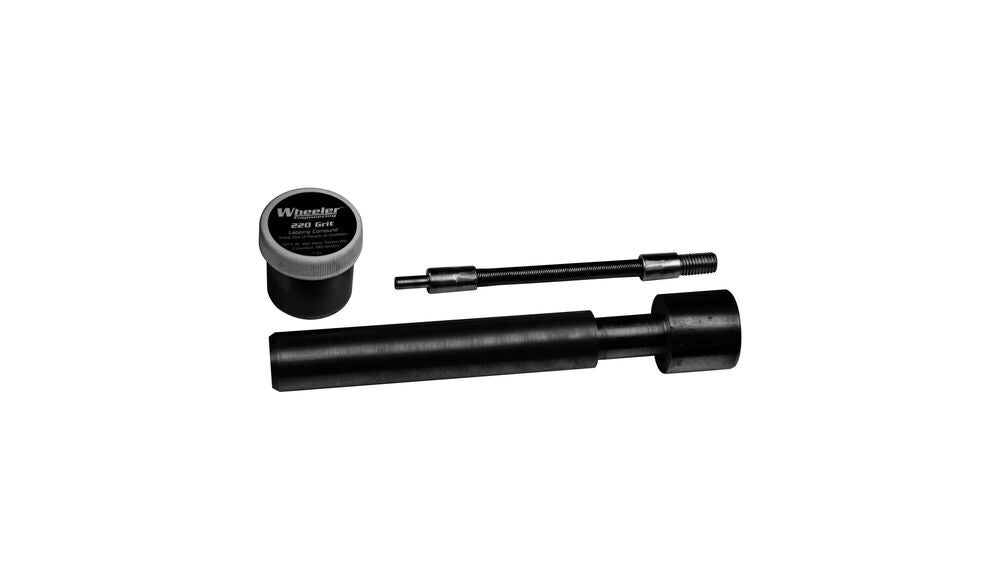
Upper receiver/barrel alignment is critical for accuracy. Lapping the receiver ensures a perfectly square and true surface for the barrel to mate against, and produce optimal positioning of the barrel nut so ideal torque can be achieved along with proper gas tube hole alignment. Use with a battery powered or electric drill to square the receiver face on an AR-15 helps align the gas tube through the barrel nut holes, helps align front and rear A2 style sights.
Delta Series AR-15 Upper Vise Block Clamp
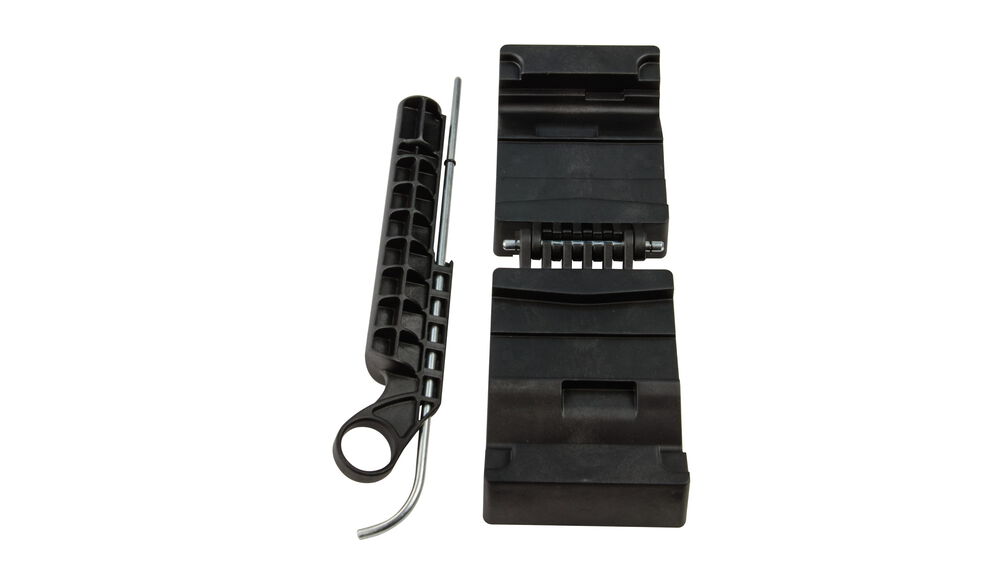
The Delta Series AR-15 Upper Vise Block is optimized for left hand and right hand Mil Spec A2 upper receivers with carry handles, as well as flattop style receivers. Other AR-15 variants may be adapted with special attention to potentially non-conforming surfaces or features. The Delta Series AR-15 Upper Vise Block allows you to safely clamp on to your AR-15 upper receiver in a vise holding it securely without twisting, crushing or marring the finish. This block is the perfect product for torqueing a barrel on, removing a stubborn barrel nut or for simple gun maintenance and cleaning. It is made of a high pressure, solvent resistant polymer material which can withstand almost anything you can throw at it. The Delta Series AR-15 Upper Vise Block truly is the all-around product for your AR-15 gunsmithing, maintenance or cleaning needs. As an added bonus it includes a receiver insert with a gas tube alignment system, making sure your gas tube is always in line when installing a barrel and torqueing a barrel nut. Durable design holds receiver securely and fits both left and right-hand Mil Spec A2 upper, as well as flat top receivers.
Wheeler Delta Series Compact Multi-Tool
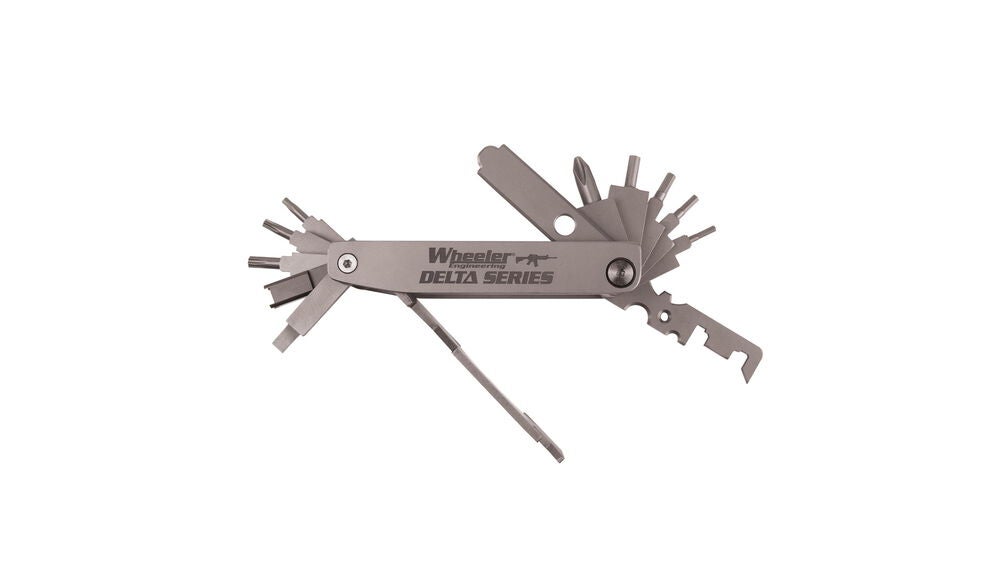
There is no longer a need for a tool box at the range when you have the Wheeler Delta Series Compact Multi-Tool. With a satin finish and stainless steel construction, this tool is not only handy, but durable. The multi-tool design can be used to perform many different functions in the field. When you need to make adjustments, or scrape some carbon build-up, simply reach down and grab this tool out of the included nylon belt sheath and go to work. After you are finished, snap the tool back in and continue shooting.
Stainless Steel Dial Caliper
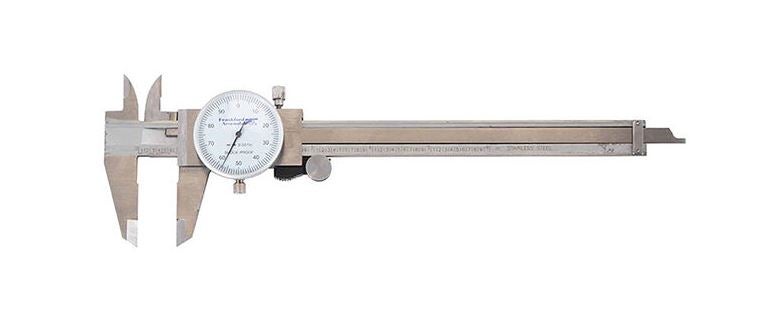
Reloading ammunition requires attention to many critical cartridge dimensions, including case length, neck and base diameters, overall length, primer pocket depth, etc. Verifying these dimensions is quick and convenient with the Frankford Arsenal® Stainless Steel Calipers. These calipers are accurate to within .001″. The calipers allow you to measure inside and outside diameters, plus depths. You will find them useful for many measuring tasks on and off the reloading bench. Packaged in a convenient and protective case.
 Your Privacy Choices
