 Your Privacy Choices
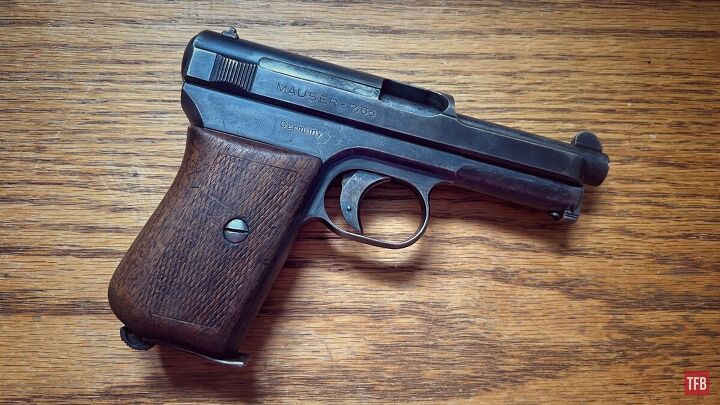
Welcome everyone to the TFB Armorer’s Bench! As mentioned in the little blurb, this series will focus on a lot of home armorer and gunsmith activities. In this article sponsored by Wheeler, Tipton, Caldwell, and Frankford Arsenal, I decided to have a good old field strip article coupled with just a few tips on picking up older firearms. This will be a relatively laid-back run-through since I am currently a little under the weather and unable to head out to the shop or dive into something more intensive. That all being said, let us dive right into the precautions of picking up older firearms as well as field stripping a Mauser 1914 pistol!
TFB Armorer’s Bench: Purchasing Older Firearm Precautions
Welcome to our recurring series of Armorer’s Bench which is made possible and brought to you by Wheeler, Tipton, Caldwell, and Frankford Arsenal who are our sponsors. Here, we at TFB hope to inform, entertain, and even inspire any would-be gunsmith or armorer out there. Ideally, with the information I provide and with the help of our sponsors, you can have some useful knowledge pertaining to the conservation and improvement of firearms technology while at the same time sharing experiences and teaching each other new tips and tricks along the way in the comments. Digging deep into what it is to be an armorer or gunsmith has significance but what is important is what those people do to show they’ve earned that title. I am happy to share my experiences and knowledge and hope it is informative!
Make your personal safety a priority:
- Practice proper gun safety. Always make sure before the firearm hits your bench that it is unloaded and safe to be handled.
- Wear the proper safety equipment. The main one would be safety glasses (decent ones) since parts are often under spring tension and you may work with high RPM tools. Other honorable mentions would be latex gloves or a respirator when working with potentially harmful solvents and oils. Also hearing protection when working with loud machinery or test-firing firearms.
- Modifications, alterations, and customizations will void your firearm’s warranty 9.5 times out of 10. Please take that into consideration before attempting any at-home gunsmithing.
- If you are unsure about proper safety practices, disassembly procedures, or warranty standards, stop, put down the tools, and consult a competent gunsmith.
Older Firearm Purchasing Precautions
So here is our scenario: you are interested in a specific older firearm (probably one from your list, we all have a list) and you have happened upon one at your local gun store, gun show, auction website, etc. What should you do to determine what is right for you? To a certain degree, this will rely on your best judgment and ignoring all formalities there are things a person should check off their list in order to determine if this older firearm is meant for them. I may miss some relatively obvious things and feel free to share any extra insight. Here is a mish-mash of a checklist to ponder on.
- Functionality: Does this older firearm seem to function. Does the slide go back and forth without issue? Does the cylinder rotate and lock up properly? Does the bolt lock up? Does the safety work? Does it lock open on empty if it is designed to? The list could go on and on but the bottom line is that you should be clear on and have a good idea of the current state of functionality unless going in blind is more your speed.
- Bore Condition: Aside from any sort of exterior anomalies the bore is a significant attribute to a firearm and its worth to you as a potential owner. I for one am the type that wants my guns to be able to shoot and shoot safely. If a bore is pitted or rusted and it is hard to determine its actual safety and condition, consider if it is possible to get it relined or find a replacement barrel and if all of that is worth the cost! If it is frosted this usually is a fairly fine thing since everything is dulled and it should not affect the functionality much. Crisp or like new is always best!
- Ascetic Condition: Overall exterior condition is up to the purchaser. I for one do not mind if an old gun has some “character” so long as it is safe and I can go out and enjoy it as it was intended.
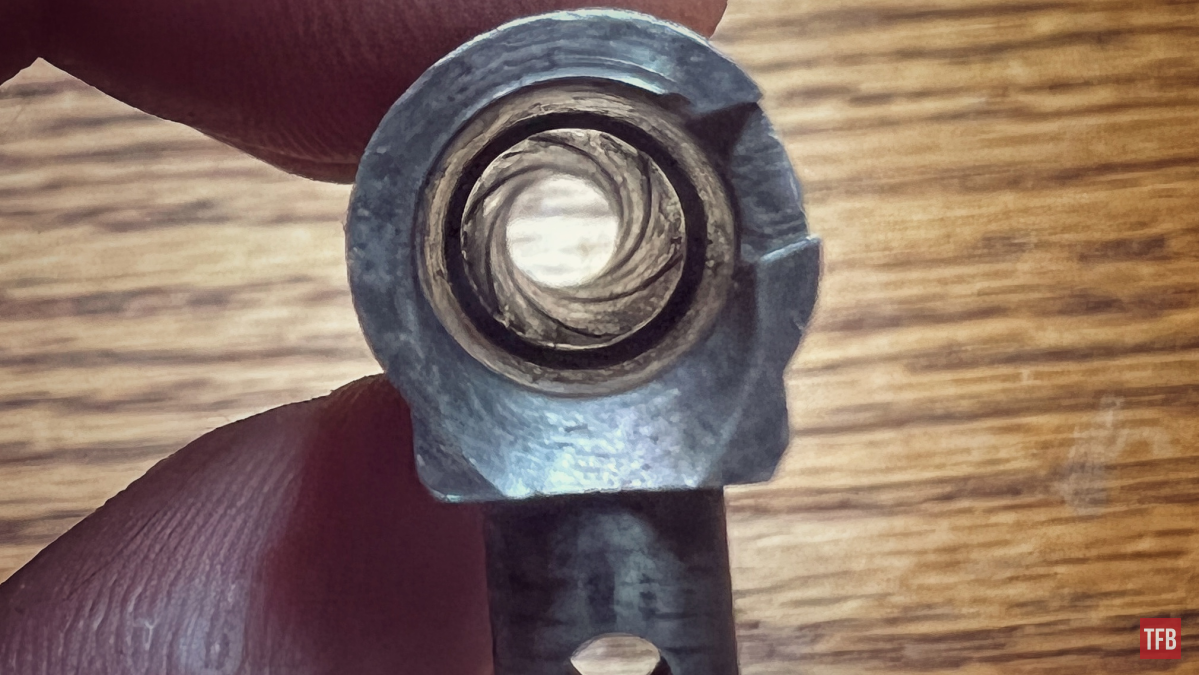
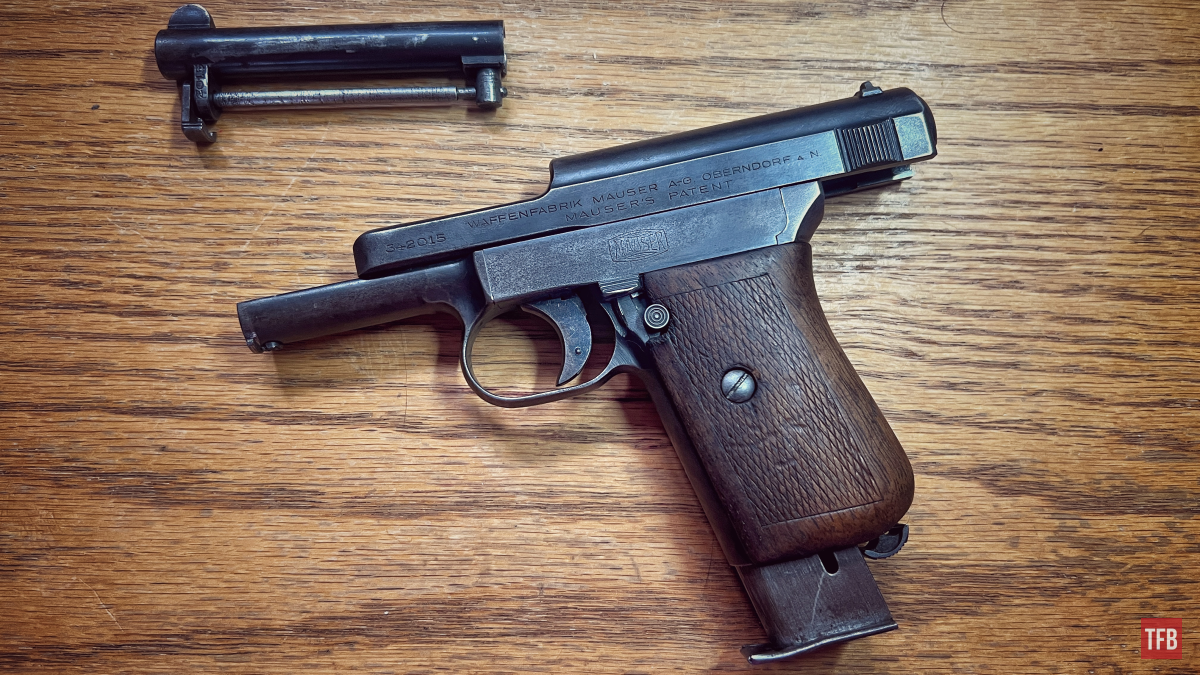
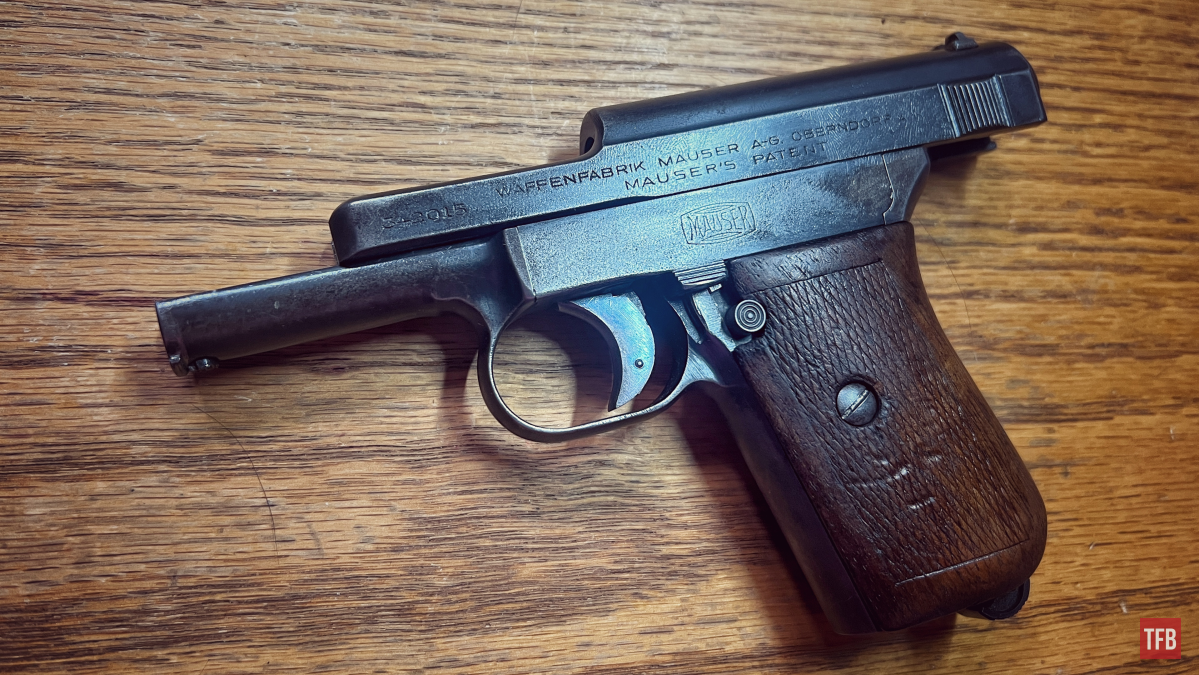
- Beneath The Wood Condition: This is a big one, especially in older firearm circles. I highly recommend asking to see the metal that lies below the woodline for any military surplus gun or antique in general because there is almost always rust or the beginning of rust hidden under wooden or plastic stocks and grips. Wood accented firearms are usually more so than plastic bearing ones since wood can absorb and hold moisture against metal causing rust. I recently purchased this Mauser 1914 and below you can see small rust spots that have formed under the grips.
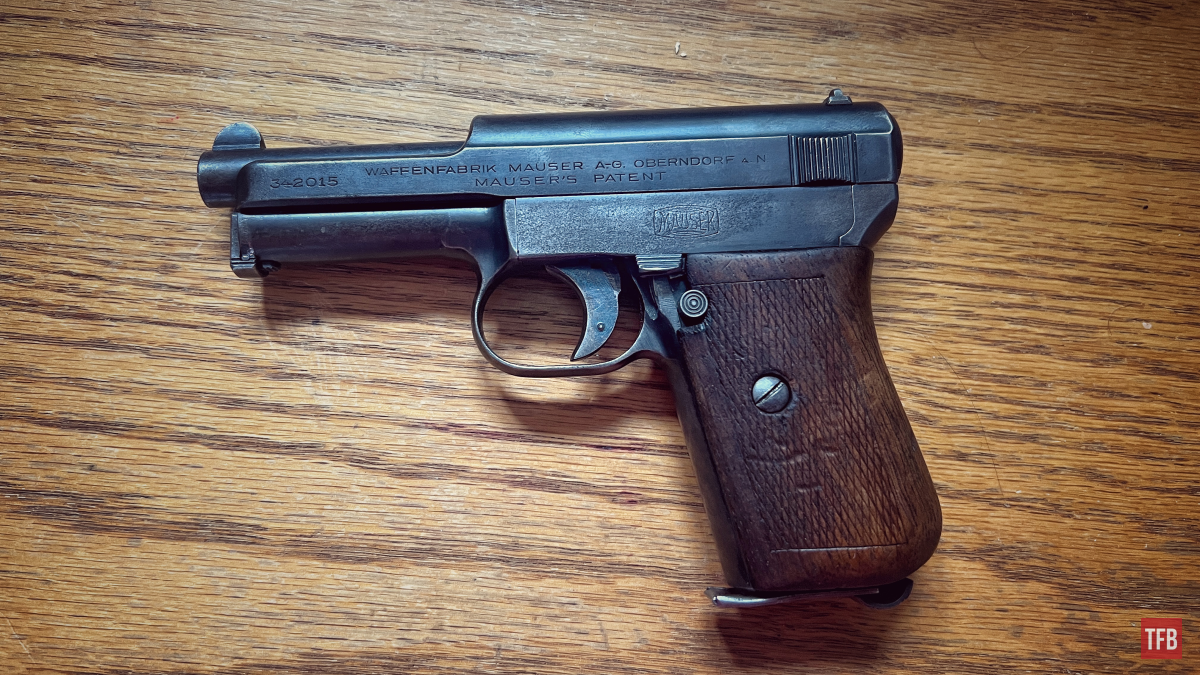
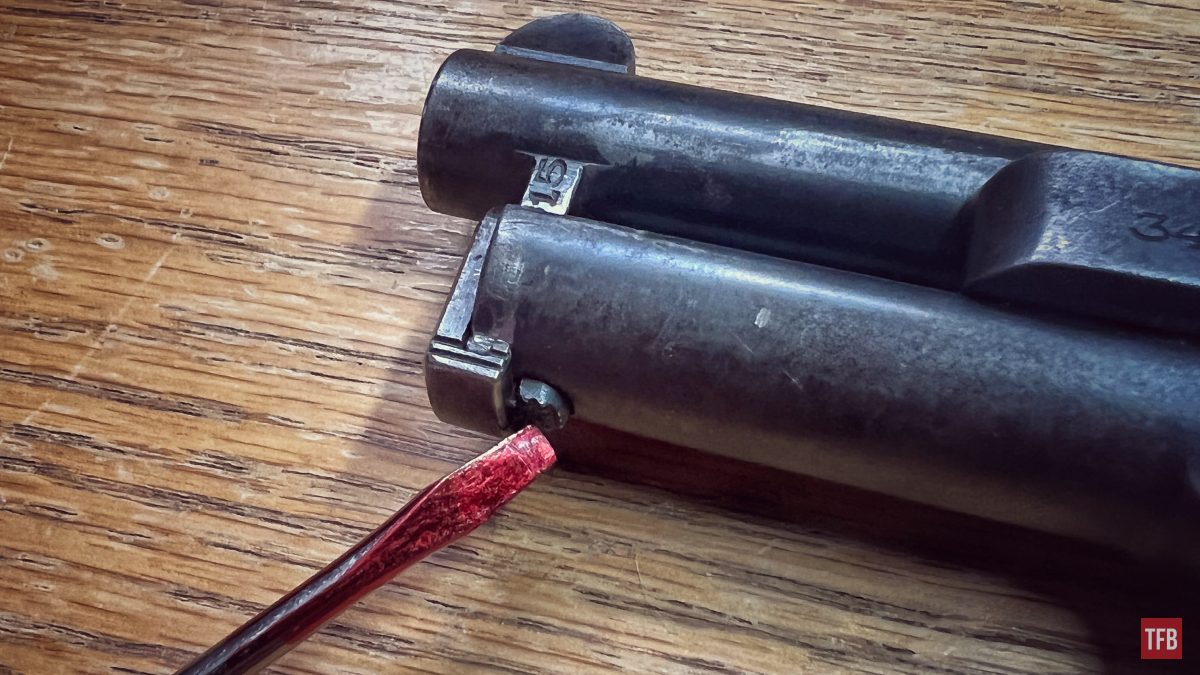
- Parts Originality: Pretty straightforward but you should look over your firearm and double-check that the parts are all original to it. I am talking about parts that provide a function to the firearm. Replacement parts are fine on most guns but a lot of these older firearms were hand-fitted and a replacement part may be out of spec just enough for things not to function right.
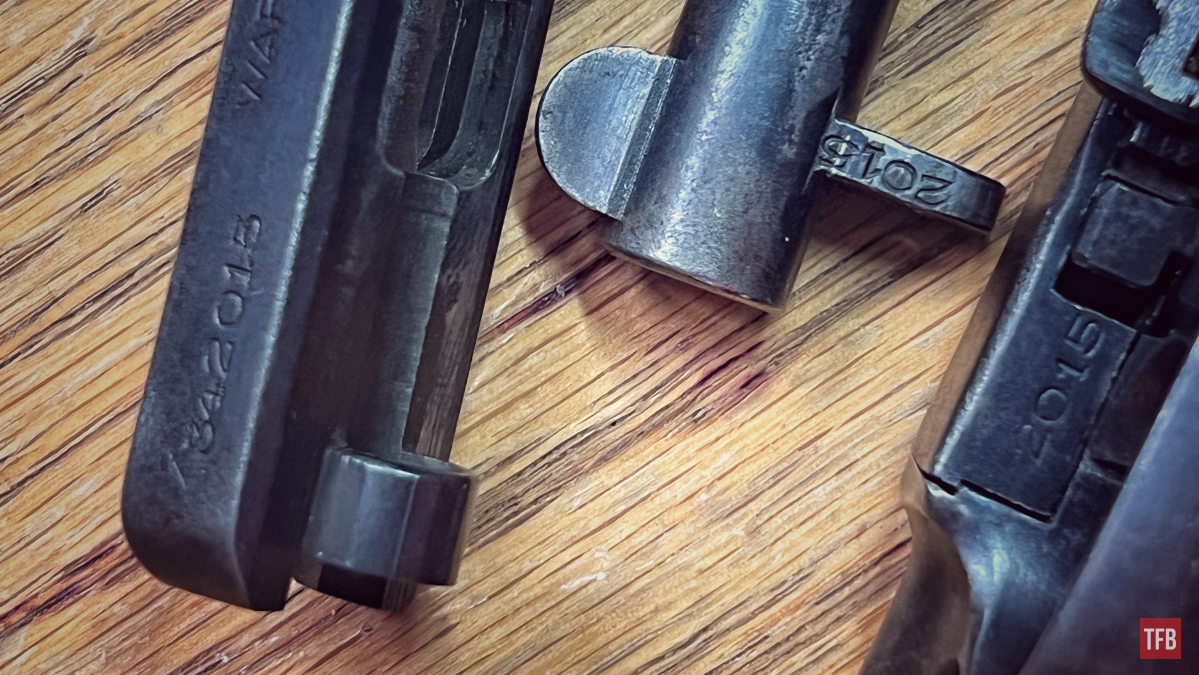
Mauser 1914 slide, barrel, frame plate all marked with the last four digits of the serial number.
- Parts Availability/Interchangeability: Be cognizant of if there are replacement parts out there and if old stock parts are interchangeable or require fitting. Some gun parts are just extinct which is extremely unfortunate.
- Serial Number Range: Do yourself a favor and double-check if the specific firearm on your list ever had a “bad batch”. Just like modern-day manufacturing, there are occasional safety issues and problems with guns that get them recalled. Most of the time, if a problem was bad enough, it is documented. For example, there was a batch of Springfield 1903 rifles that the heat treatment was not done correctly and the receivers are very brittle which (if they had been incorrectly heat treated) can make them a bomb waiting to explode. Springfield Armory rifles with a serial number below 800,000 and Rock Island rifles below 300,000 are considered to be in the window where this heat treatment mishap took place and widely are considered dangerous unless tested by a hardness tester.
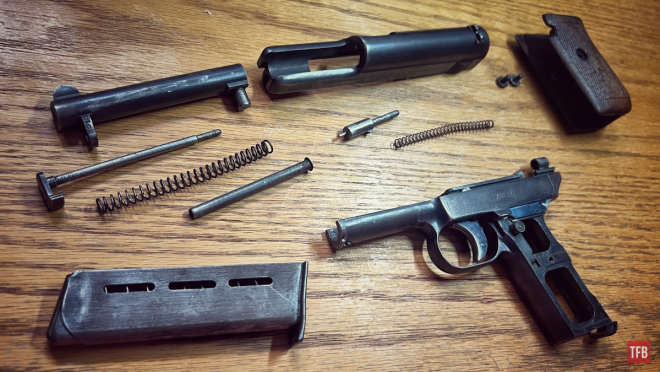
Mauser 1914 Field Strip
1. First thing is first! Practice all the rules of gun safety. When disassembling a firearm, you should always wear safety glasses (Caldwell has some) due to multiple parts being under spring tension. Triple check that the firearm is unloaded. Check the chamber, magazine, and the area in between. All set? Let us jump right into it!
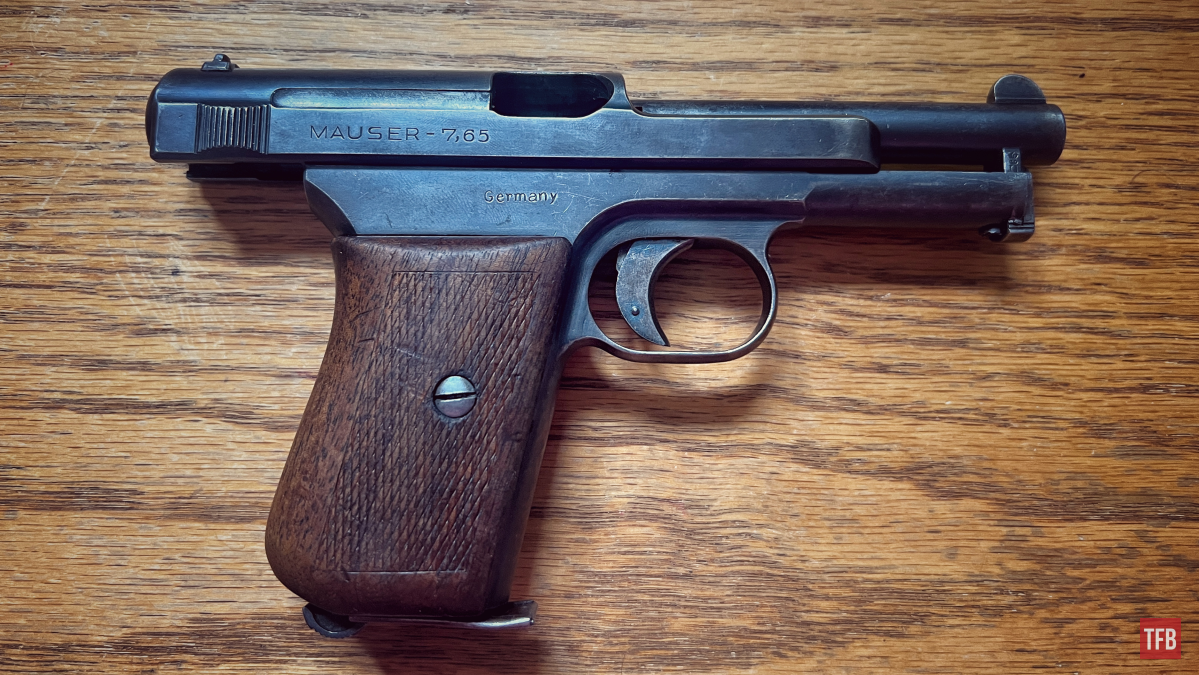
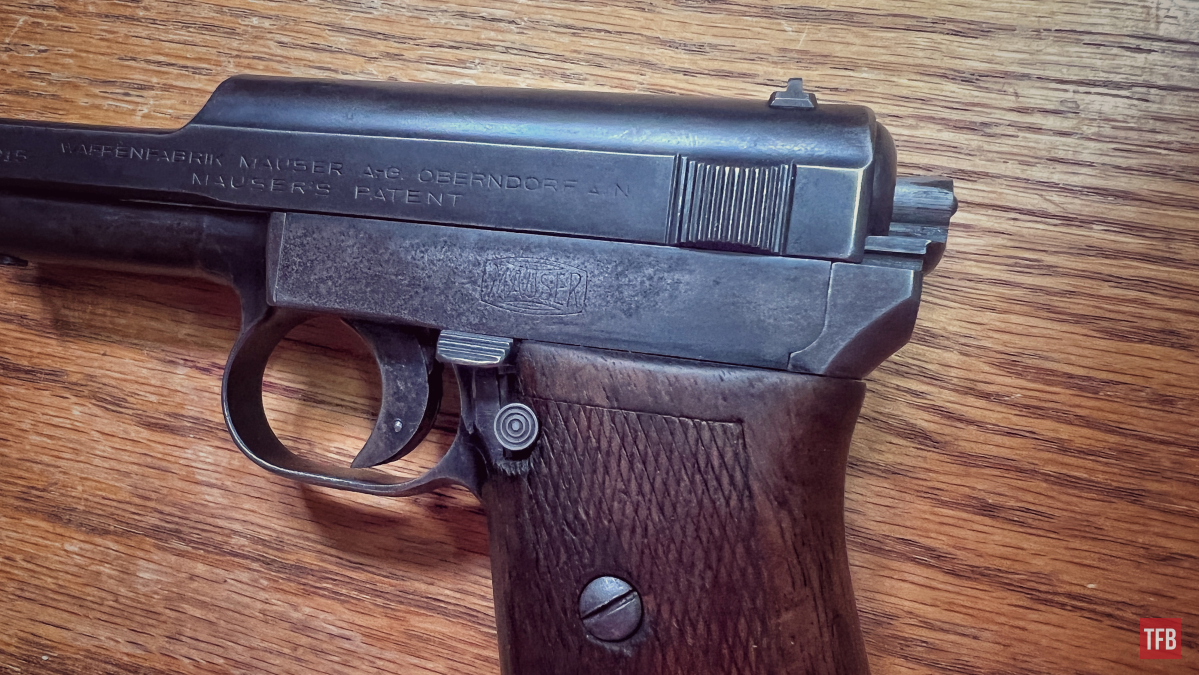
The Mauser 1914 pistols (and their smaller .25 ACP variants and larger .45 ACP variants) are peculiar guns by today’s standards because of their rather minimalist approach. They have a heel magazine release and a manual safety lever and an off-safe button on the left-hand side. Besides those obvious abnormalities, Mauser 1914 pistols do not rely on a slide stop/slide release. Instead, when the gun is out of ammunition, the slide will lock back until a fresh magazine is inserted which will automatically drop the slide and load a round in the chamber. This last factor comes into play quite a bit for disassembly.
2. Starting out after our preliminary safety check we can begin by locking the slide to the rear. This is achieved with or without the magazine inserted.
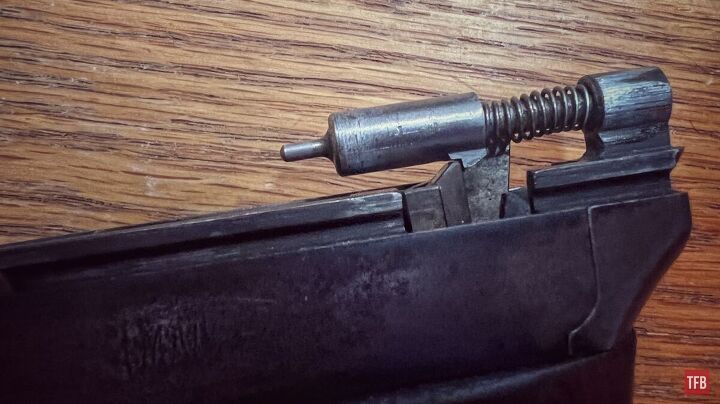
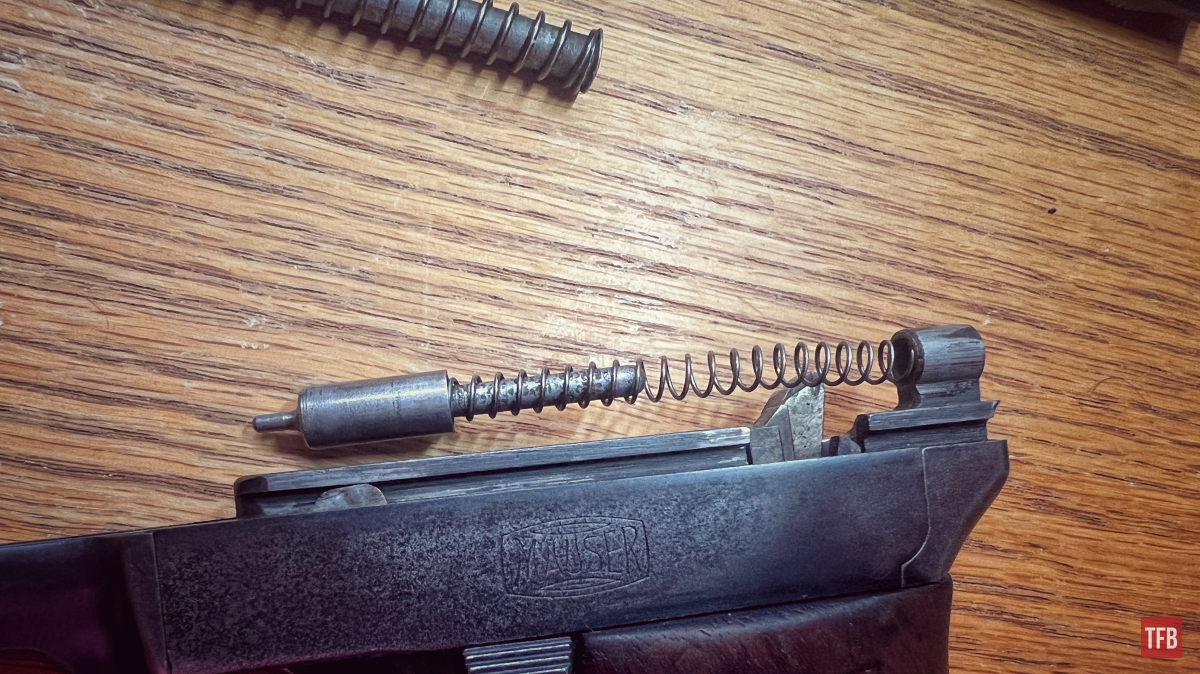
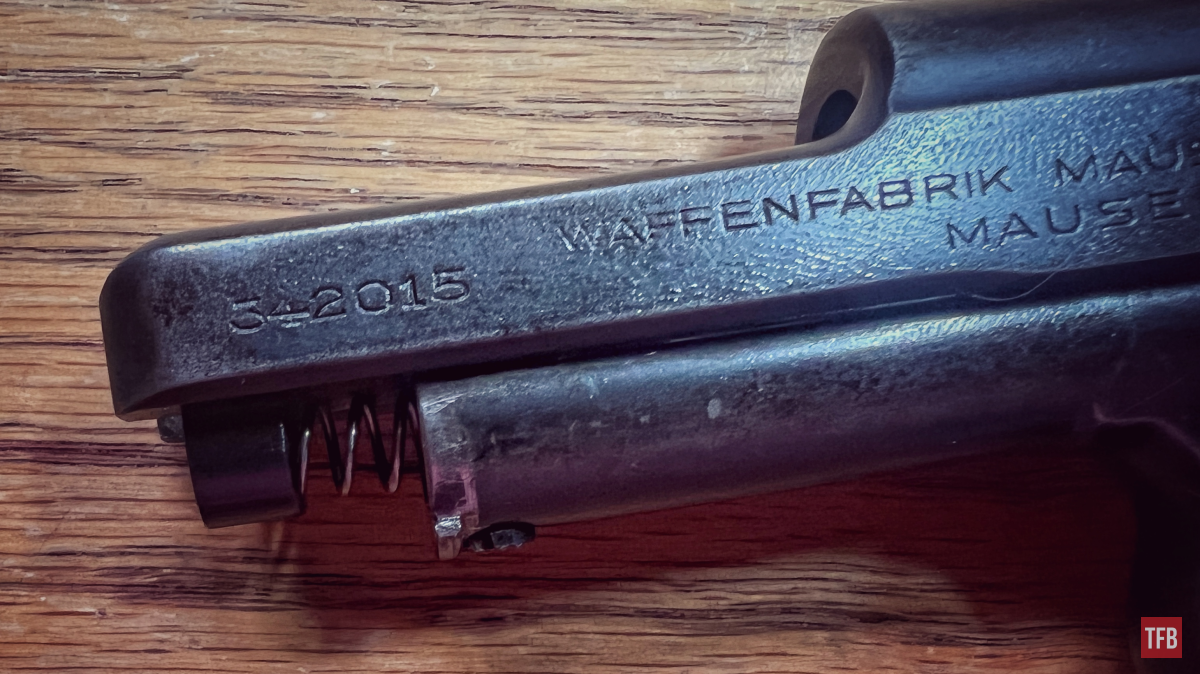
3. With the slide locked to the rear (at this point you can take the magazine out if you have not already) we can move to the muzzle end of things. On the underside of the frame at the muzzle end, there is a knurled button. Pressing this button and holding it down allows the user to rotate the takedown rod counterclockwise.
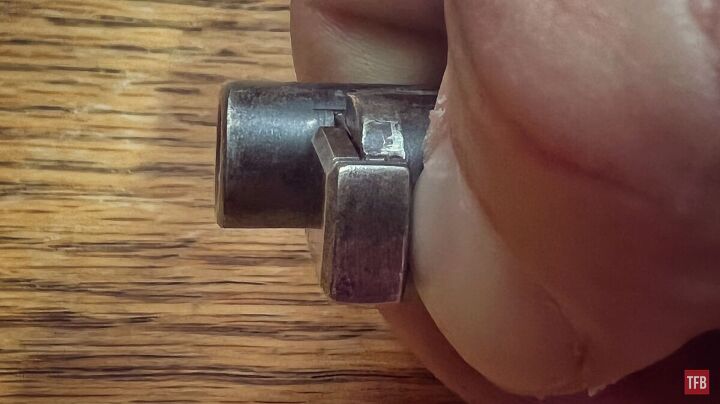
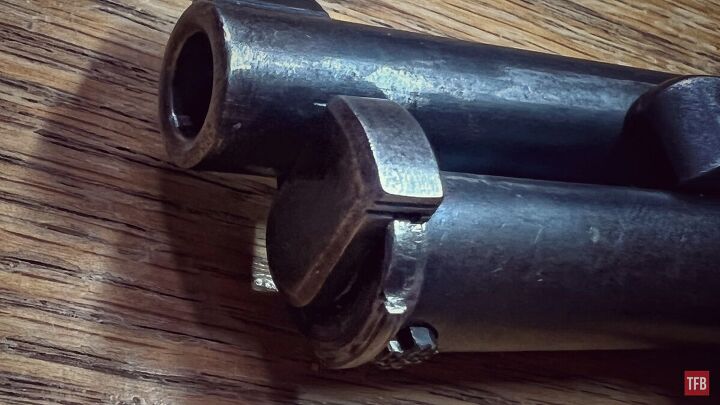
4. With the takedown rod rotated, the takedown catch can be released and the rod pulled out of the barrel guides.
Note: Be careful not to accidentally release the slide because both the firing pin and recoil spring are compressed and the release of the slide would allow these parts to fly off into eternity.
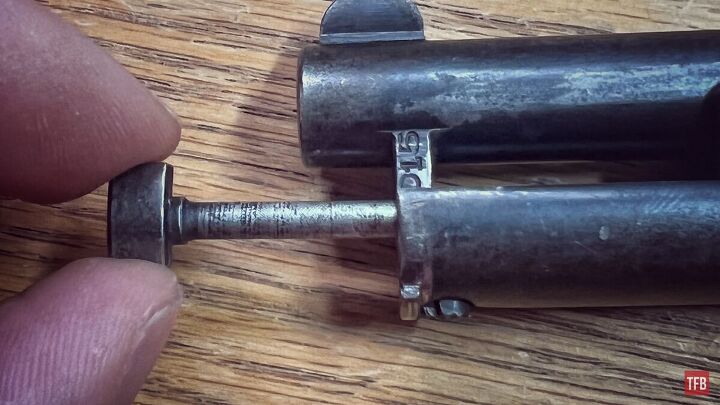
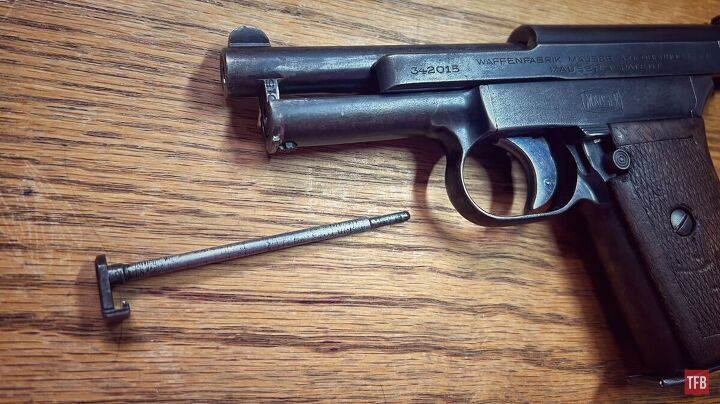
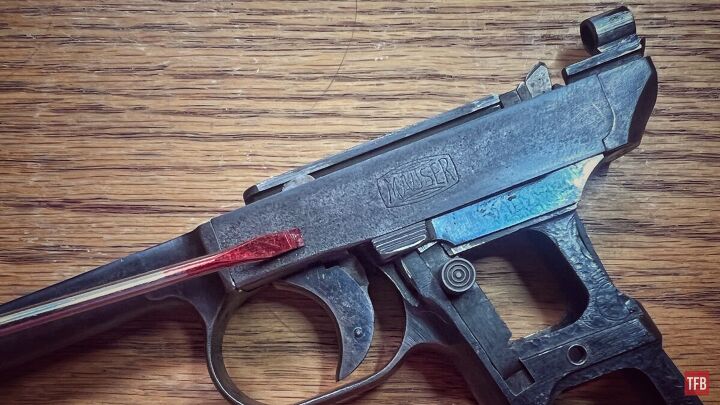
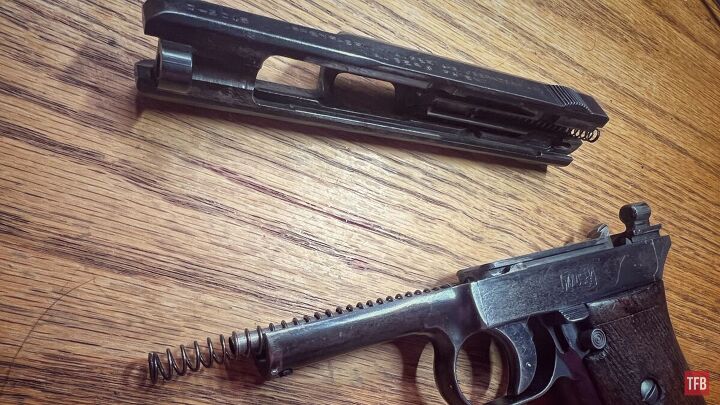
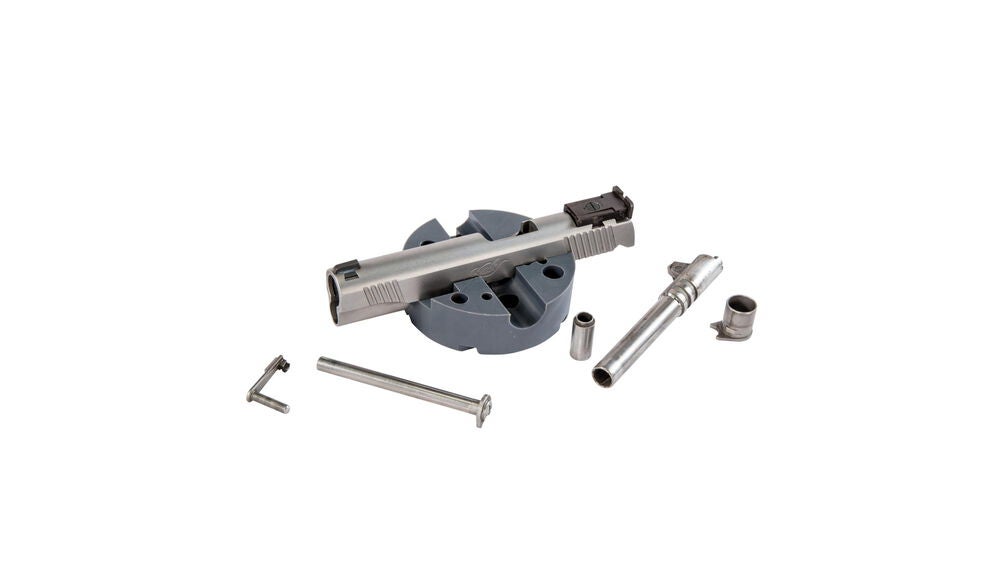
5. With the takedown rod pulled out, the barrel is left to fall free. Most of the time it needs a little persuasion but should be able to be lifted straight up from the frame without the aid of tools.

6. Next up we have the slightly stressful portion of the field strip that involves spring tension. It should be noted that at this point, if the magazine is inserted fully into the gun, the slide will drop. This is why in the photo above it is not fully inserted.
For this portion, I contort my hand in a pseudo-Glock takedown orientation where I both fully insert the magazine while holding the slide captive.

With the magazine fully inserted the slide can be let down and it will come to a stop about where you see it in the photo below.
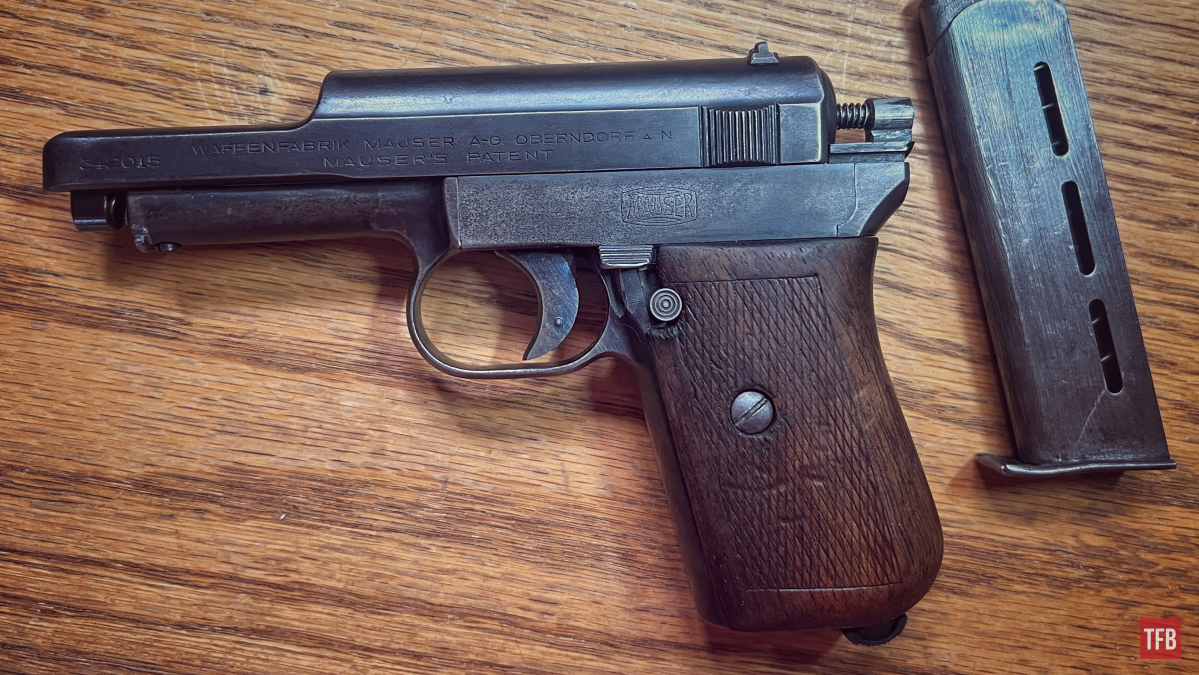
7. From here the magazine can be removed and the slide should be able to be slid off the front of the frame.
Note: Sometimes things get hung up and you may have to lock the slide back once more and repeat step 6 again. If that does not work, one trick is when you insert the magazine and start to let the slide down you can stop to where it is flush with the back of the frame and pull the trigger. This would relieve spring tension on the firing pin as well as pull the disconnector down from the frame.
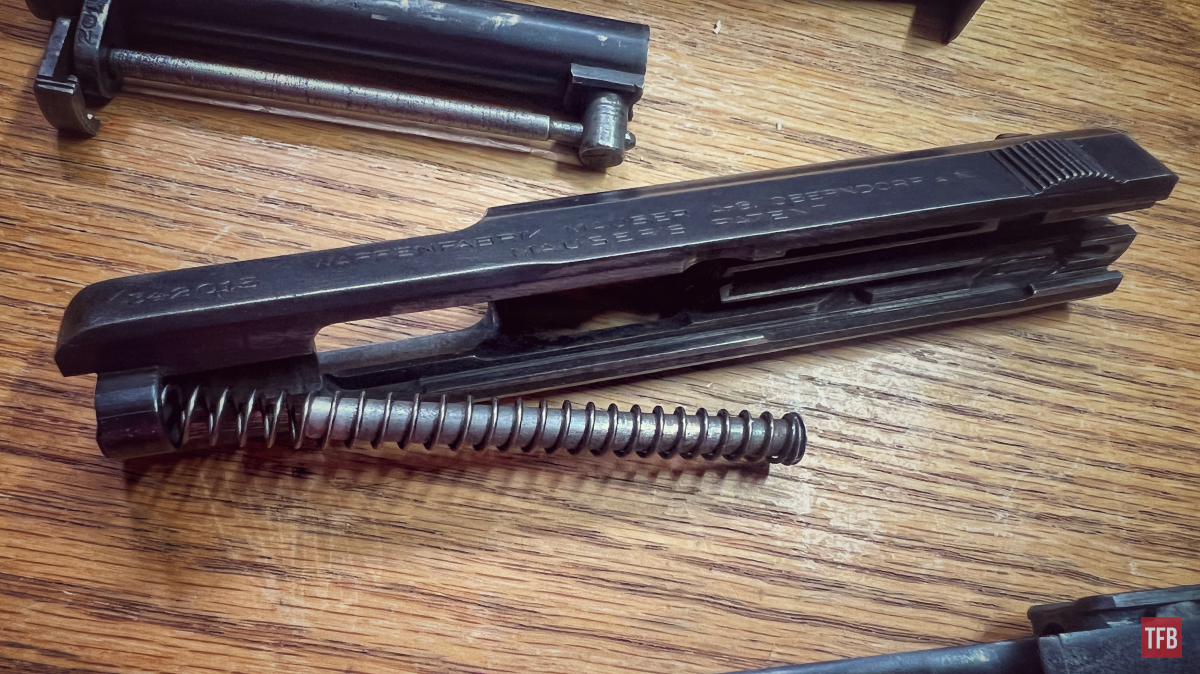
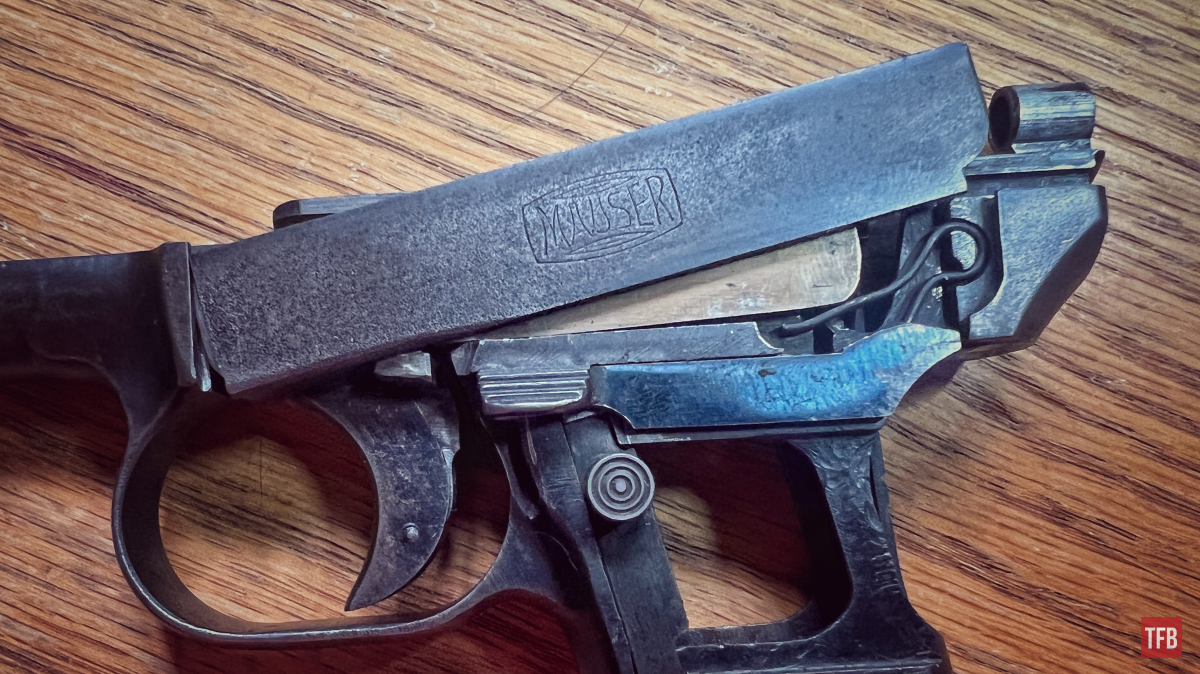
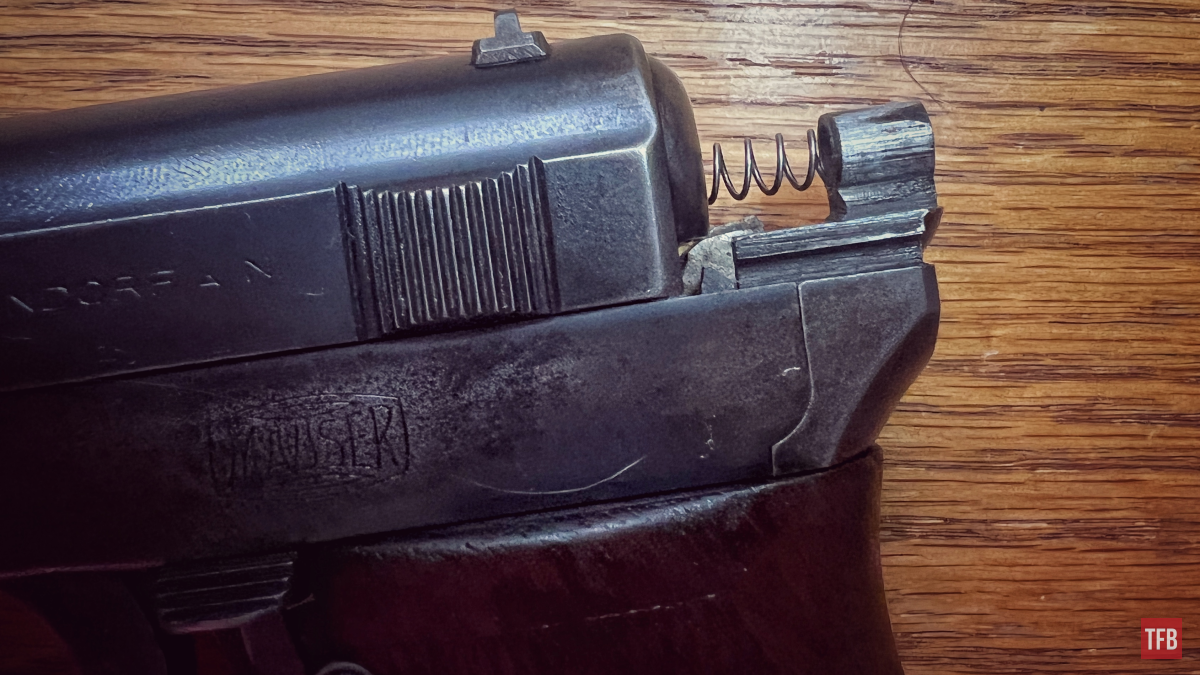
8. From here if nothing was snagged and the spring tension on the firing pin was not released you can grasp the firing pin and rotate and lift it and the spring tension will release. Luckily it is not super aggressive. Be careful not to kink the spring.
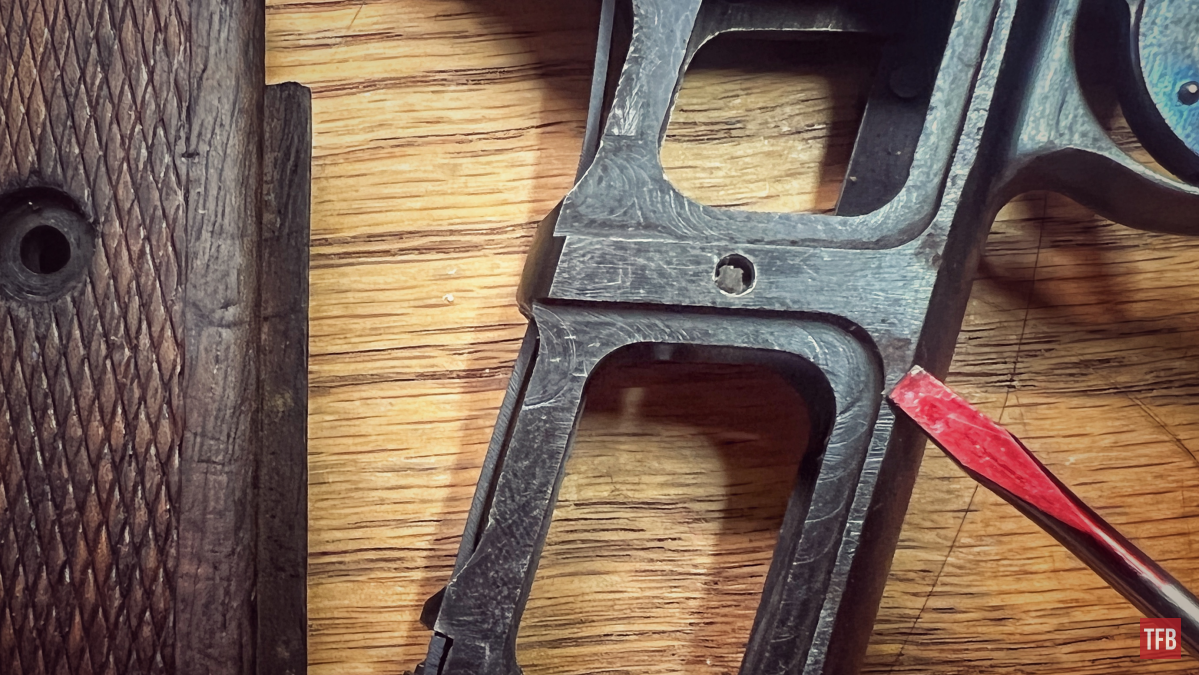
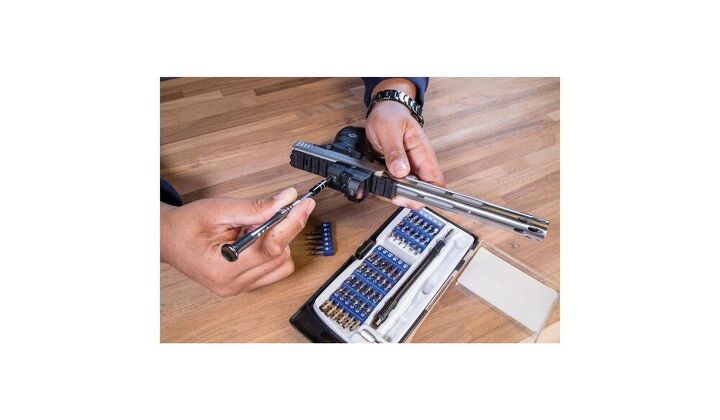
9. At this point the gun is field stripped fully but if further maintenance is needed, the grip panel can be removed by unscrewing the flat head screws with a screwdriver (Wheeler has great screwdriver options). Along with the grip panel, there is also a side plate that can be pushed straight upward for more internal parts access.
Mauser 1914 Side Plate Location
Reassembly Tips: Mauser 1914
When I am about to put the slide back on the frame I start by putting the recoil guide rod and spring in the lower slot and putting the firing pin and spring in their recess in the slide. When sliding the slide back onto the frame just watch to make sure the spring ends meet where they should and do not kink.
The slide should automatically lock to the rear when it is fully brought back and the barrel can then be dropped in and the takedown rod reinserted.
Conclusion: Mauser 1914 Field Strip / Older Firearm Purchasing Precautions
When the Mauser 1914 is disassembled, this would be the best time to put a good quality lube on the slide rails of the frame and even a drop under the barrel (not in). I would recommend putting a moderate amount of grease on the recoil spring and even a little bit on the firing pin and spring. After reassembly un-cock it so tension is not unnecessarily held anywhere and put some oil on a rag generously and wipe down your gun. All of these things are great ways to prolong the life of a gun that has lived long after its time. Keep your Mauser 1914 rocking and rolling!
In closing, thank you to anyone who tuned in and followed along! I have been sick this past week so this was a fun excuse to take a gun apart inside and out of the Minnesota cold. I hope this was helpful and educational. Please always remember to practice proper gun safety and to be mindful of parts so that you do not lose any. Safe and happy field stripping!

Mauser 1914 Field Stripped
As always, thank you for reading TFB! Be safe out there, have fun while shooting, and we will see you next time for the TFB Armorer’s Bench brought to you by Wheeler, Tipton, Caldwell, and Frankford Arsenal! Also, let us know what you think in the comments below! We always appreciate your feedback.

Caldwell Pro Range Glasses, Clear

The Caldwell® Pro Range Glasses feature a stylish wrap-around design and are a great choice for all shooters. They feature an adjustable nose piece and temples for all day comfort. The scratch resistant lens meets ANSI Z87.1 standards and offers 99.9% UV protection.
72 Piece Professional Gunsmithing Screwdriver Set
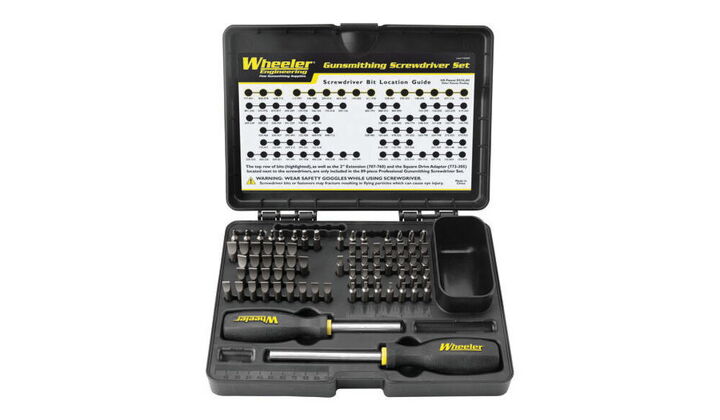
The Wheeler 72 Piece screwdriver set features 54 hollow-ground flat bits, 4 phillips, 3 torx, and 8 specialty bits all made from durable S2 tool steel with a 56-58 Rockwell “C” hardness rating. The precision-engineered bits have a concave shape that allows for insertion all the way into the screw slot of rmaximum contact to prevent burred, buggered, busted up screw slots. The kit also includes 2 non-slip, overmolded plastic handles that come in a convenient hinged storage case whcih includes a bit location guide.
Universal Bench Block
Made of non-marring urethane, the Universal Pistol Bench Block is perfect for use on M1911 pistols as well as other firearms such as 10/22s.
Tipton ULTRA GUN VISE
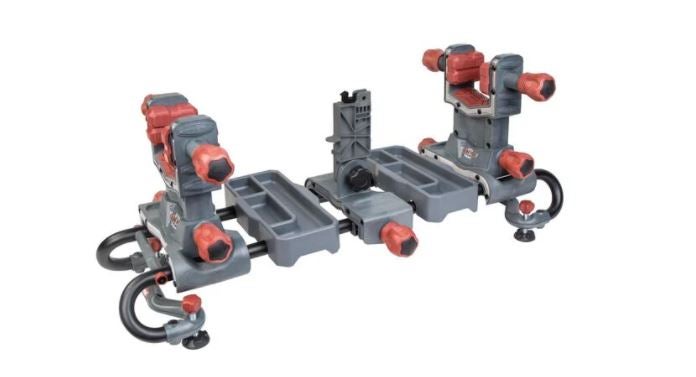
The Tipton® Ultra Gun Vise features a completely modular interchangeable design to allow virtually any shape firearm or crossbow to be cleaned and worked on with ease. The ball and socket articulating clamp pads allow for the pads to adapt to any surface. The dual clamp technology rigidly holds any firearm shape in place, while the rigid steel tube frame structure allows for complete access to your firearm or crossbow. The front and rear clamps are both height and length adjustable, and feature fast-turn knobs allowing for quick clamping. The solvent-resistant accessory and tool trays are movable and removable to stand up to even the toughest jobs.
Precision Micro Screwdriver Set
Frankford Arsenal Stainless Steel Dial Caliper
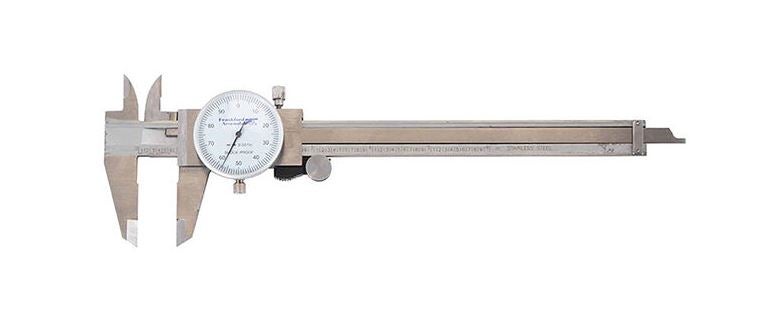
Reloading ammunition requires attention to many critical cartridge dimensions, including case length, neck and base diameters, overall length, primer pocket depth, etc. Verifying these dimensions is quick and convenient with the Frankford Arsenal® Stainless Steel Calipers. These calipers are accurate to within .001″. The calipers allow you to measure inside and outside diameters, plus depths. You will find them useful for many measuring tasks on and off the reloading bench. Packaged in a convenient and protective case.