 Your Privacy Choices
Welcome everyone to the TFB Armorer’s Bench! As mentioned in the little blurb, this series will focus on a lot of home armorer and gunsmith activities. In this article sponsored by Wheeler, Tipton, Caldwell, and Frankford Arsenal, we are jumping back into the second part of this bluing topic. Welcome back to those of you who were kind enough to tune in last time and hello all who may be new! If you want to check out Part One find it here. I had originally written this all to be a single article but it came out too long so I apologize for the split up. That being said if there are any references to a different bluing that is not on this page make sure to refer to Part One. Let’s dive right back in!
TFB Armorer’s Bench: Firearm Bluing Types & Processes
Welcome to our recurring series of Armorer’s Bench which is made possible and brought to you by Wheeler, Tipton, Caldwell, and Frankford Arsenal who are our sponsors. Here, we at TFB hope to inform, entertain, and even inspire any would-be gunsmith or armorer out there. Ideally, with the information I provide and with the help of our sponsors, you can have some useful knowledge pertaining to the conservation and improvement of firearms technology while at the same time sharing experiences and teaching each other new tips and tricks along the way in the comments. Digging deep into what it is to be an armorer or gunsmith has significance but what is important is what those people do to show they’ve earned that title. I am happy to share my experiences and knowledge and hope it is informative!
Make your personal safety a priority:
- Practice proper gun safety. Always make sure before the firearm hits your bench that it is unloaded and safe to be handled.
- Wear the proper safety equipment. The main one would be safety glasses (decent ones) since parts are often under spring tension and you may work with high RPM tools. Other honorable mentions would be latex gloves or a respirator when working with potentially harmful solvents and oils. Also hearing protection when working with loud machinery or test-firing firearms.
- Modifications, alterations, and customizations will void your firearm’s warranty 9.5 times out of 10. Please take that into consideration before attempting any at-home gunsmithing.
- If you are unsure about proper safety practices, disassembly procedures, or warranty standards, stop, put down the tools, and consult a competent gunsmith.
Nitre Bluing: Firearm Bluing Types & Processes
Nitre Bluing sometimes referred to as strawing or hot bluing, is more akin to heat treating (like color case hardening) than bluing. Yes, it uses molten salts in its processes but the finish change is more of a by-product when it is used for heat treatment. It is a process that is often used to temper springs or heat treat small parts without the use of a furnace/oven. Nitre bluing itself is the timed submerging of a gun part into a molten salt solution to produce various colors depending on the heat and duration of the soak. It gets its name from its use of sodium and potassium nitrates.
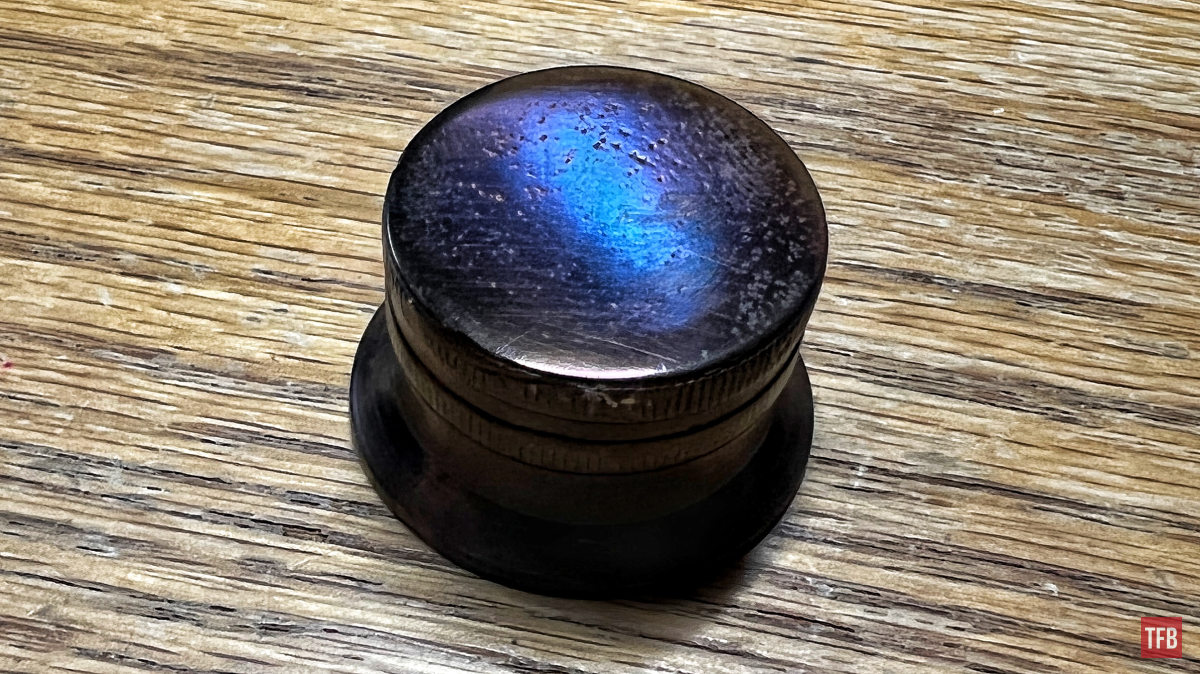
Nitre Blued Auto 5 magazine tube cap
I have only personally done this once but it is something I look forward to doing again because it was very easy. You start through the usual degreasing hoops like with any other bluing process. Then you want to polish the workpiece. Nitre blue finishes benefit and are known for a high polish. A pot of molten nitre blue salts is heated to a specific temperature and the parts are suspended in solution for a duration that is up to the user. Nitre bluing usually produces a wide range of colors like deep blue, purple, and even gold. Many German Luger pistols have small parts that are nitre blued (often referred to as “strawed”) like the trigger or safety switch that often has a gold appearance.
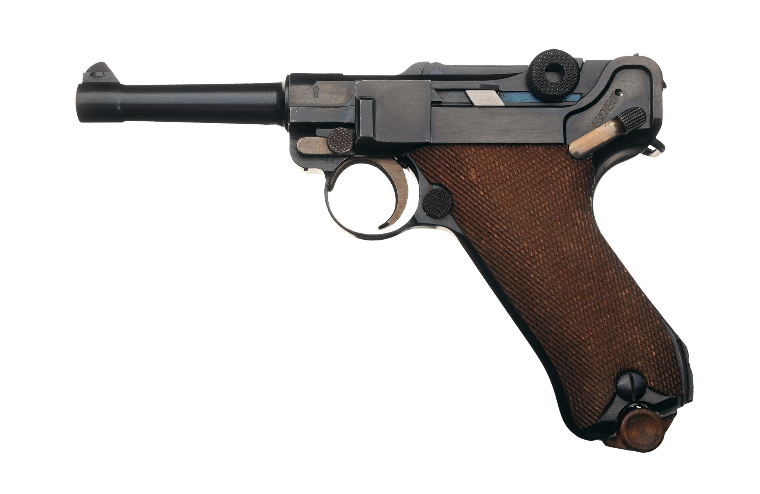
Nitre blued (Strawed) trigger, safety, takedown latch, trigger bar spring. Photo Credit: Rock Island Auction Company
As I mentioned earlier, niter bluing is more of a heat treatment process than a finishing process. This is because the heat at which this is done (usually around 650 degrees Fahrenheit) will alter the heat treatment of parts. That being said, it is almost never used on high-stress parts like a gun barrel for example. It is usually used for springs (to temper them) or small parts that provide accents to the overall finish. Typically, nitre blued parts are not parts that are prone to wear because the nitre blue finish itself is pretty thin and will rub off over time. After they have been suspended in solution they are removed, quenched in water, and protected with oil just like all the processes I have mentioned so far.
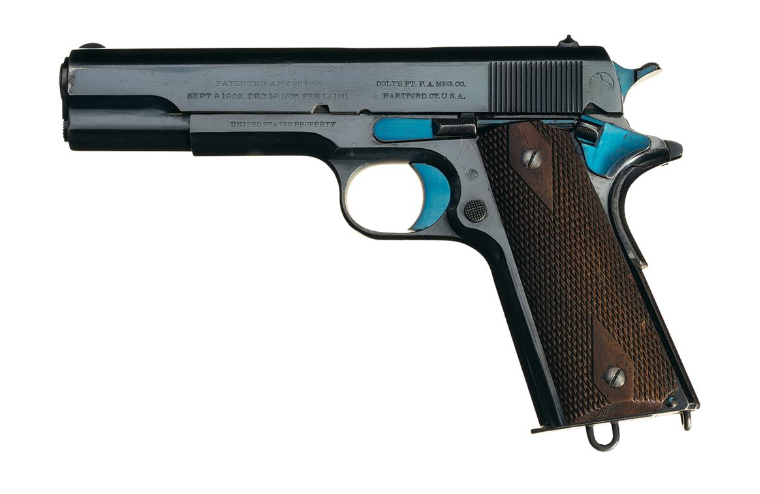
Nitre blued trigger, safety, takedown lever. Photo Credit: Rock Island Auction Company
Note: During the initial dip I have seen people remove the part and card off any crystallization that may form. When I nitre blued my Auto 5 magazine tube cap, I did not do this and it resulted in little flecks on the finish. I am indifferent about it but it is a good point to know.
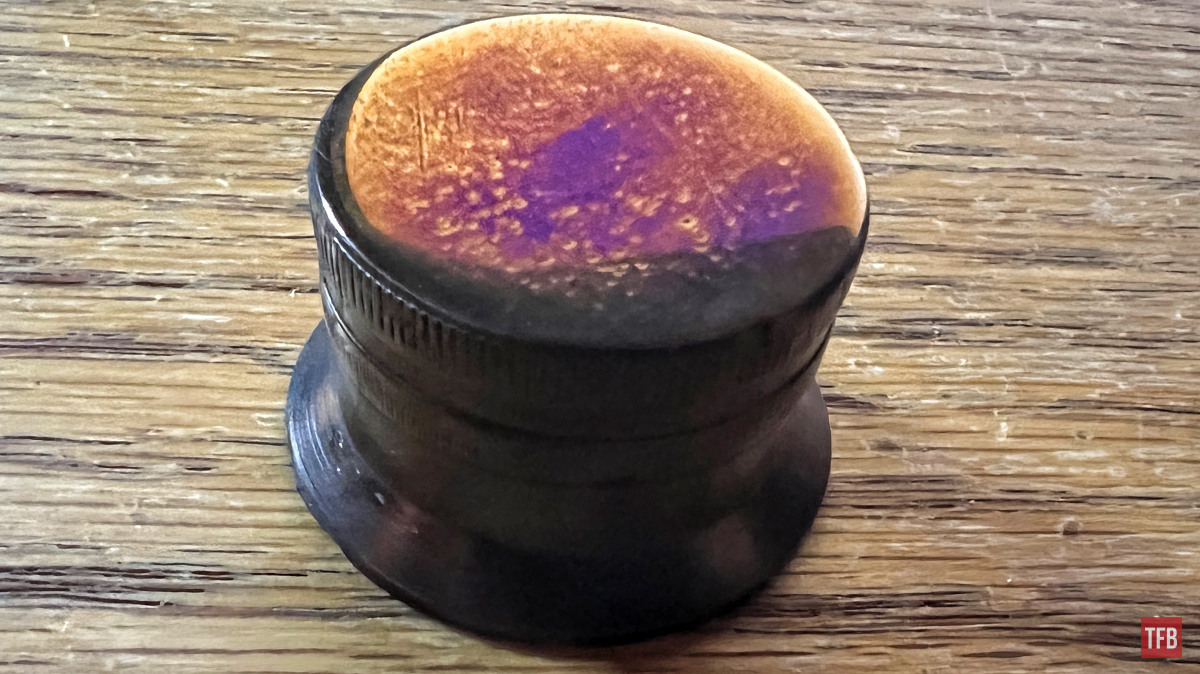
Nitre Blued Auto 5 magazine tube cap
Having an at-home setup for something like this is very easy. All a person really needs, other than the salt, is a large pot (I have seen people use lead melting pots), a hot plate, some metal wire, and a good book on heat treatment and nitre bluing processes. Think of the books as a guide to recipes for potential different colors.
Charcoal Bluing: Firearm Bluing Types & Processes
This one is gonna be a fairly short and sweet description since I personally do not have any hands-on experience with it. Charcoal bluing sometimes referred to as carbon bluing, is a bluing method used back as far as the 18th century making it an older method than the rust bluing I already covered.
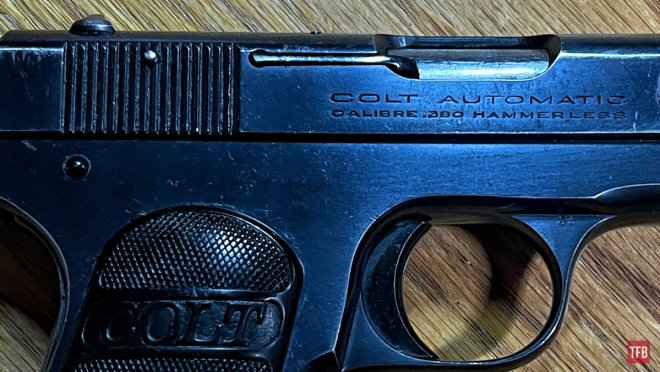
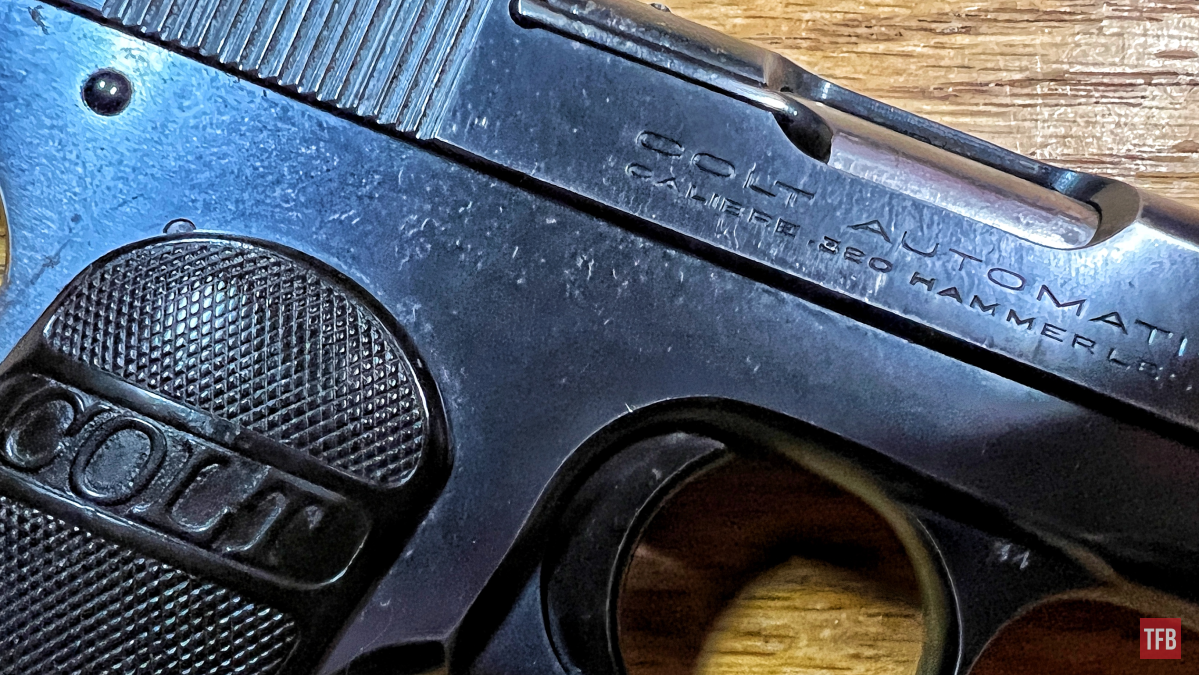
Fun fact: Many notable Colt firearms such as early 1873 Single Action Army’s and even some of the very early Colt auto-loading handguns were charcoal blued.

Charcoal blued Colt Pocket Hammerless
Charcoal bluing is a process that does not involve molten salts or hot tanks of liquid. It involves literal charcoal. Starting out you prep and degrease your parts. From there you have a tank, tub, pit, etc filled with small chunks of wood that have now turned to charcoal (they had been burning). When the charcoal starts to turn white in some spots it is ready to have gun parts buried in it for five to ten minutes. When the parts are removed they are examined for a color change. If a change has taken place the next step, using a cloth or rag, is to wipe rottenstone or lime up and down the parts. This is repeated until the bluing coming through is a deep blue.
Flame/Fire Bluing: Firearm Bluing Types & Processes
Flame bluing, sometimes called fire or torch bluing, is a simple change in color provided by heat from a flame. Typically done on small exterior parts (such as screw heads) that have a high polish. This will normally render deep luster-blued parts that add to a firearm’s overall aesthetic. With this method, degreasing is not necessary but it does not hurt either. Just be sure to keep your flame far away from any degreasing agent you may be working with, they are usually very flammable (think acetone).
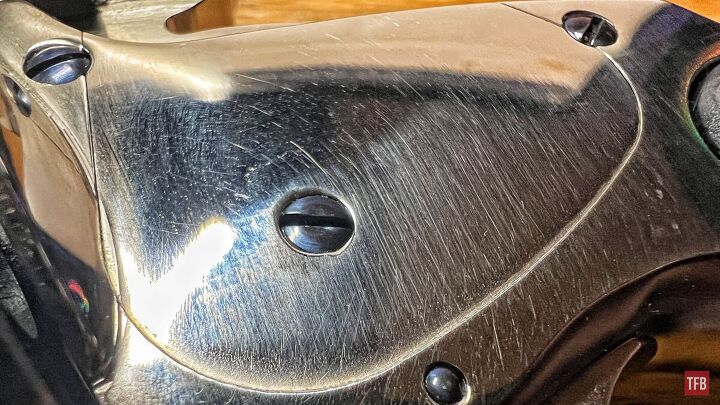
Flame blued screws
The operation is very simple. Holding a polished part with a pair of long pliers, clamp or forceps, heat the polished portion of the part with a torch until you start to see it change color (color change usually changes around 380 to 400 degrees). This first color change is usually a light yellow that fades to a burnt bronze color. As the part heats up further to around 600 degrees, it will turn to a deep blue. This is when the heat is removed and the part is quenched in an oil bath while it is still hot. Polish and redo as needed for the desired blue.
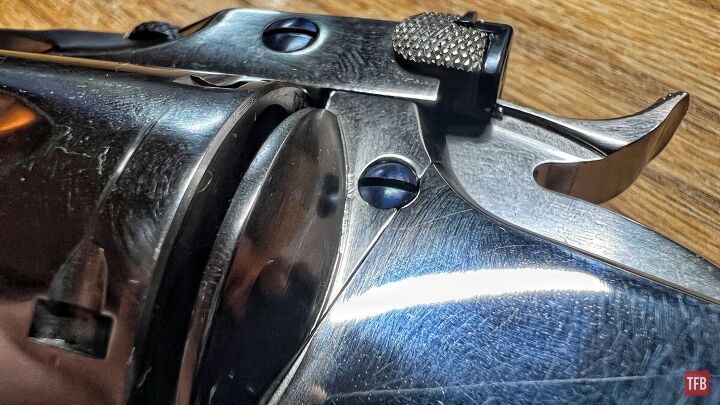
Flame Blued Screws
Cold Bluing: Firearm Bluing Types & Processes
This is more of an honorable/dishonorable mention. Cold blue is a liquid solution that is applied to steel at room temperature and as a result of a chemical reaction the steel will turn dark gray or black. This is not actual “bluing”. It especially is not intended for a whole gun. These are mainly and ideally for touching up scratches or worn portions of actual bluing. There are some out there who use a whole bottle of the stuff on an entire firearm and to that, I say “do what you want” because I really do not mind even if I personally do not define it as bluing.
Conclusion: Firearm Bluing Types & Processes
In conclusion, I would like to say that I am no expert in these practices. I am pretty familiar with most because I have done most. I may have even missed a different sort of “bluing”. By definition, the bluing effect is achieved by rusting metal parts and converting that rust so the chemical makeup of it is different. That is all, bluing actually is just controlled rust. Over time the term bluing has warped and been generalized to mean anything that changes the color of the metal to black or blue. At the end of the day, I recommend any at-home gunsmith do what they think is best for them and find a book on firearm finishes. I highly recommend picking up old gunsmithing books because they usually have little tips and tricks when it comes to different bluing processes and even setting up equipment.
As always, thank you for reading TFB! Be safe out there, have fun while shooting, and we will see you next time for the TFB Armorer’s Bench brought to you by Wheeler, Tipton, Caldwell, and Frankford Arsenal! Also, let us know what you think in the comments below! We always appreciate your feedback.

Caldwell Pro Range Glasses, Clear

The Caldwell® Pro Range Glasses feature a stylish wrap-around design and are a great choice for all shooters. They feature an adjustable nose piece and temples for all day comfort. The scratch resistant lens meets ANSI Z87.1 standards and offers 99.9% UV protection.
Tipton POWER SWABS – PISTOL CLEANING KIT, 500 COUNT
Tipton’s new Power Swabs are an essential part of your cleaning kit. They’re disposable, fast, and easy to use, plus they provide no-mess cleaning with all your favorite solvents and oils. They also fit lands and grooves better than a patch for maximum cleaning.
Wheeler Universal Bench Block
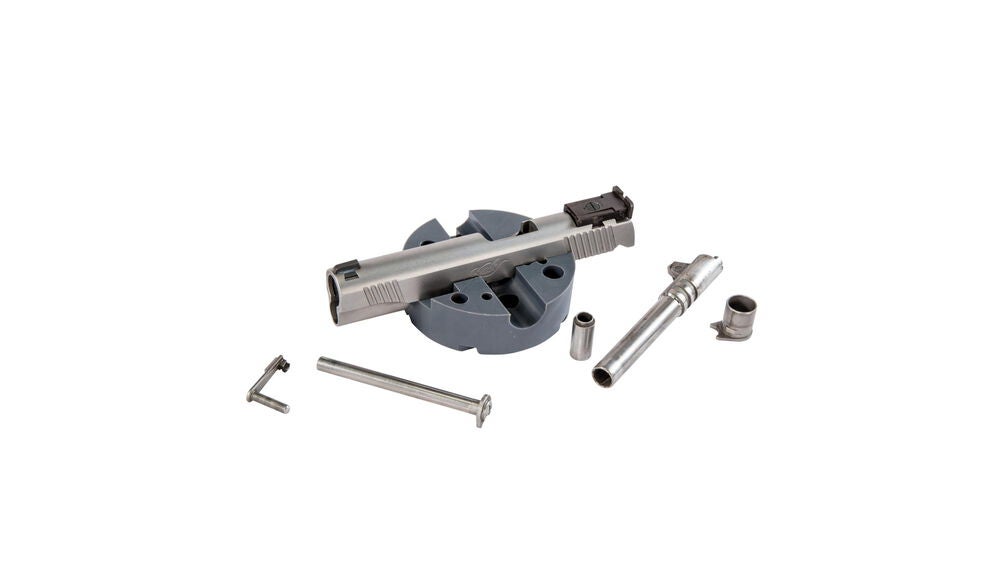
Made of non-marring urethane, the Universal Pistol Bench Block is perfect for use on M1911 pistols as well as other firearms such as 10/22s.
Tipton CLEAN AND OIL BRUSH
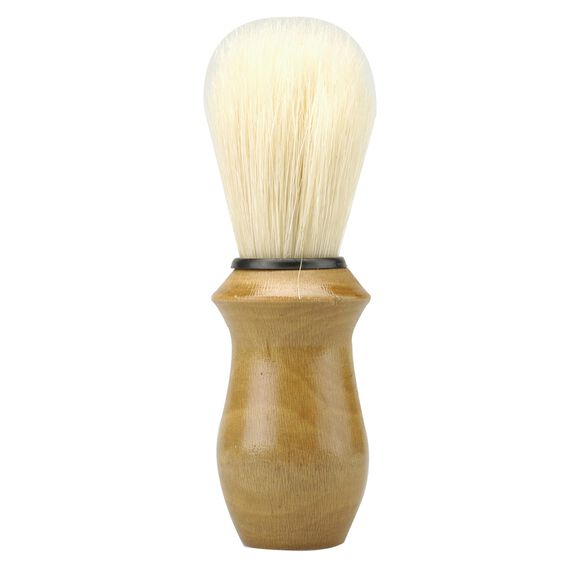 Fine natural bristle cleaning and oil application brush. Contains hundreds of soft 1-3/4″ bristles for cleaning and carrying oil and preservatives to the exterior of your guns, and the hard-to-reach areas like under vent ribs.
Frankford Arsenal Stainless Steel Dial Caliper
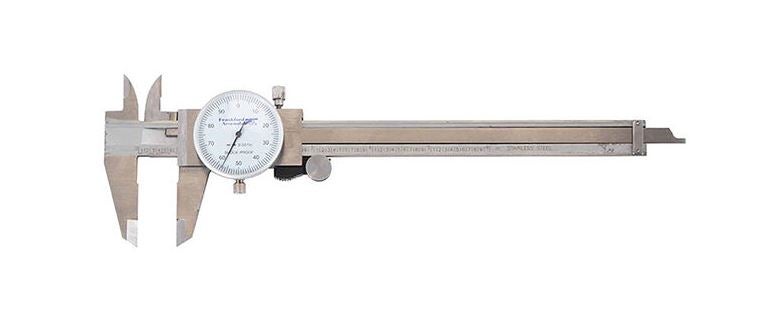
Reloading ammunition requires attention to many critical cartridge dimensions, including case length, neck and base diameters, overall length, primer pocket depth, etc. Verifying these dimensions is quick and convenient with the Frankford Arsenal® Stainless Steel Calipers. These calipers are accurate to within .001″. The calipers allow you to measure inside and outside diameters, plus depths. You will find them useful for many measuring tasks on and off the reloading bench. Packaged in a convenient and protective case.
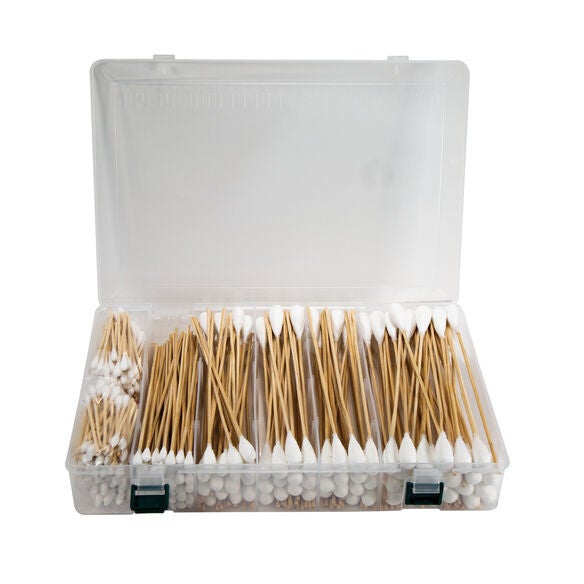
Tipton SHOOTERS SWABS
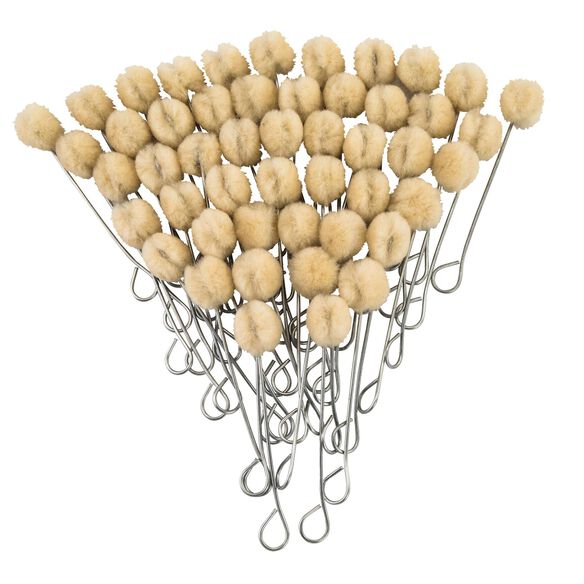
Wire-handled swabs are perfect for applications of lubes and preservatives. They also work well with solvents to scrub out recesses in receivers, bolt bodies and other hard-to-reach areas. Dozens of uses. 4” long.