 Your Privacy Choices
Welcome everyone to the TFB Armorer’s Bench! As mentioned in the little blurb, this series will focus on a lot of home armorer and gunsmith activities. In this article sponsored by Wheeler, Tipton, Caldwell, and Frankford Arsenal, I decided to heat things up and work with some liquid metal! Today I am going to briefly cover chamber casting. I tend to work with a lot of older firearms since it is kind of in my wheelhouse and interests so this can sometimes leave me questioning the chambering of a particular firearm. Unfortunately, I do not have any pictures of a recent chamber cast but what I do have are some photos of the process of casting a revolver cylinder in order to determine what cartridge it is made for. Let’s dive right into Chamber Casting!
TFB Armorer’s Bench: Chamber Casting
Welcome to our recurring series of Armorer’s Bench which is made possible and brought to you by Wheeler, Tipton, Caldwell, and Frankford Arsenal who are our sponsors. Here, we at TFB hope to inform, entertain, and even inspire any would-be gunsmith or armorer out there. Ideally, with the information I provide and with the help of our sponsors, you can have some useful knowledge pertaining to the conservation and improvement of firearms technology while at the same time sharing experiences and teaching each other new tips and tricks along the way in the comments. Digging deep into what it is to be an armorer or gunsmith has significance but what is important is what those people do to show they’ve earned that title. I am happy to share my experiences and knowledge and hope it is informative!
Make your personal safety a priority:
- Practice proper gun safety. Always make sure before the firearm hits your bench that it is unloaded and safe to be handled.
- Wear the proper safety equipment. The main one would be safety glasses (decent ones) since parts are often under spring tension and you may work with high RPM tools. Other honorable mentions would be latex gloves or a respirator when working with potentially harmful solvents and oils. Also hearing protection when working with loud machinery or test-firing firearms.
- Modifications, alterations, and customizations will void your firearm’s warranty 9.5 times out of 10. Please take that into consideration before attempting any at-home gunsmithing.
- If you are unsure about proper safety practices, disassembly procedures, or warranty standards, stop, put down the tools, and consult a competent gunsmith.
Why and What is Chamber Casting?
Chamber casting is the act of pouring a soft and low melting point liquid metal into the chamber of a firearm and allowing it time to turn to solid. Once solid, the metal can be punched out of the bore and you ideally will have a cast of a cartridge, albeit not perfect in some ways. This will allow you to measure certain spots on the casting and compare them with documented dimensions of a cartridge to decide what it is chambered for.
Note: it is wise to not fill your head with guesses or expectations on the cartridge. When measuring your casting you can basically make your micrometer or caliper tell you what you want to hear. This makes truly identifying the correct cartridge difficult. Try to go into it unbiased and let the measurements speak for themselves.
Materials Necessary for Chamber Casting
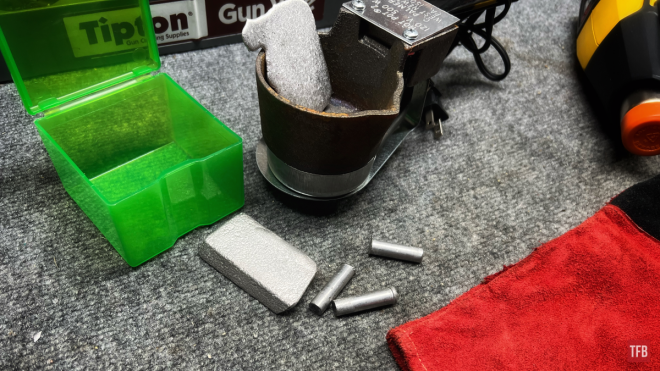
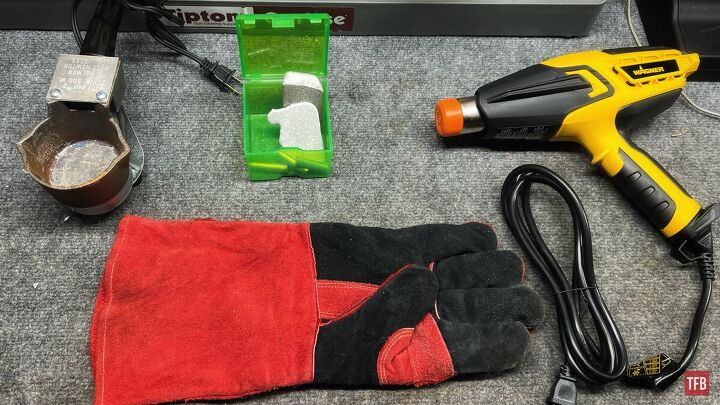
Well, you are working with molten metal so it is good to start with safety equipment. First of all, make sure your workspace is a well-ventilated area. Make sure you have some heavy-duty gloves like a pair of welding gloves. This sucks for dexterity but you only need to have one glove on for the hand that is handling the now liquid metal. Besides gloves, it is always a safe bet to wear safety glasses cause crap happens.
Beyond those basic safety precautions just use your best judgment and common sense. Do not attempt this sort of thing with a light heart or lack of confidence. Always seek a professional’s assistance or expertise if you have any doubts about your ability to do this right without hurting yourself, others, or your workpiece. Basic necessary materials are as follows:
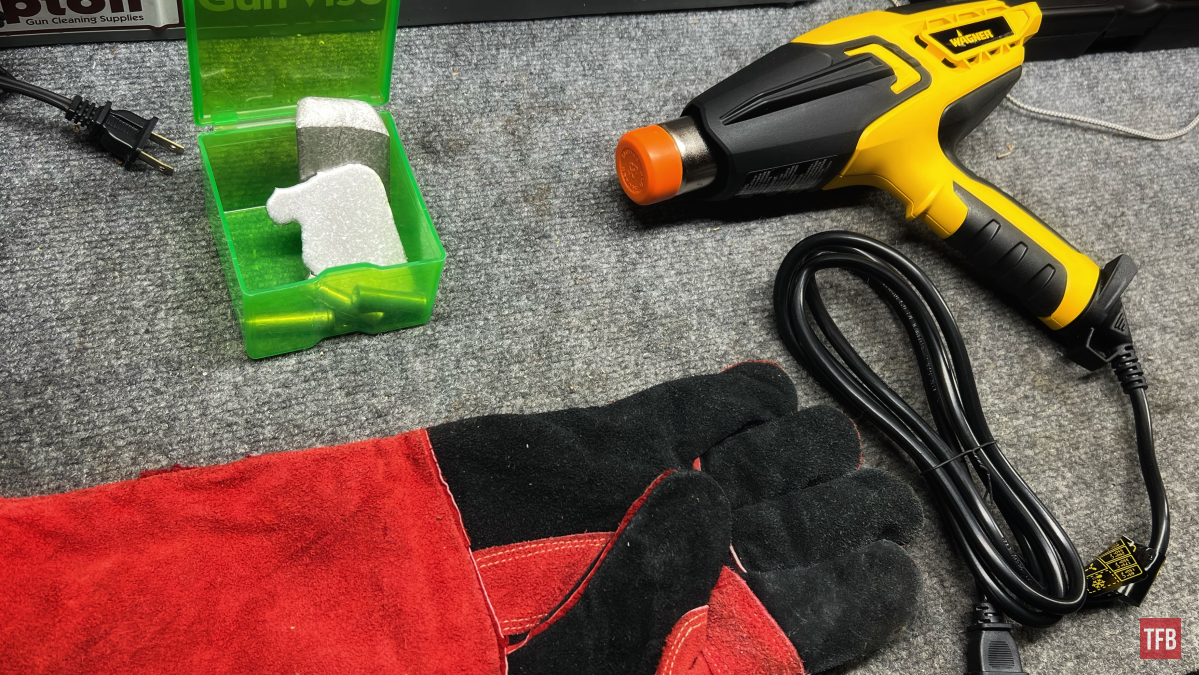
- Torch or Heat Gun: A torch or heat gun is a valuable and smart tool when making a chamber casting. Besides heating up and liquifying metal to cast in a chamber you also should take care and heat up the chamber area itself with light brushes from a torch or some heat from a heat gun. Not so much heat to change any colors or ruin finishes but just enough so that the shock of hot liquid metal isn’t enough to send molten metal spraying all over, cracking any already weakened metal parts, and ensuring a decent looking cast overall.
- Metal for Casting: Chamber casting metal is commonly referred to as Cerrosafe which is actually a brand name. Think of it as if you were calling tissues kleenexes instead of just tissues. Cerrosafe is a low melting point alloy that is metal-containing multiple metals consisting of 42.5% bismuth, 37.7% lead, 11.3% tin, and 8.5% cadmium. Cerrosafe melts between 158 °F (70 °C) and 190 °F (88 °C). There are companies out there that make Cerrosafe and call it something else or have bought the name. I have heard it be called Bolton 160-190 for example.
- Container for Molten Metal: For both melting and holding the now molten metal I use a Hot Pot Lead Melter used for well…melting lead for casting lead bullets. It works well and has spouts in which it is easy to pour. A simple metal cup crimped at the mouth for a makeshift spout would work fine although the heating up would have to be done manually with a torch.

- Work Holding Device: A vise of some sort is necessary to hold the barrel (or cylinder in the case of the pictures) while it gets heated up and then liquid metal is poured into it.
- Measuring Tools: Micrometers can be a tad bit more precise but I always find a good caliper is maneuverable. Frankford Arsenal makes a decent and affordable dial caliper. Digital calipers are out there but the dial ones will always be more accurate.
- Paper/Pencil: Simple and obvious but it would be wise to take down any measurements you take.
- Cartridge Resource: Some form of literature that helps narrow down possible cartridges with the measurements taken. Reloading manuals and Cartridges Of The World books do this fine enough.
- Honorable Mentions: Cleaning solvents and oils, patches, cleaning rod, hammer.
Breech Style Chamber Procedure: Chamber Casting
With the firearm disassembled as far down as necessary, the bore should be wiped clean. After the necessary cleaning is finished, we can plug the bore with a few patches that will later be punched out. These patches can be regular dry patches used for cleaning. The patches can be pushed into the bore until they settle in the portion of the bore which is the start of land and grooves. This will make it so the casting is longer than needed to ensure a proper casting and also so a whole bunch of casting material does not end up further down the bore or on the floor.
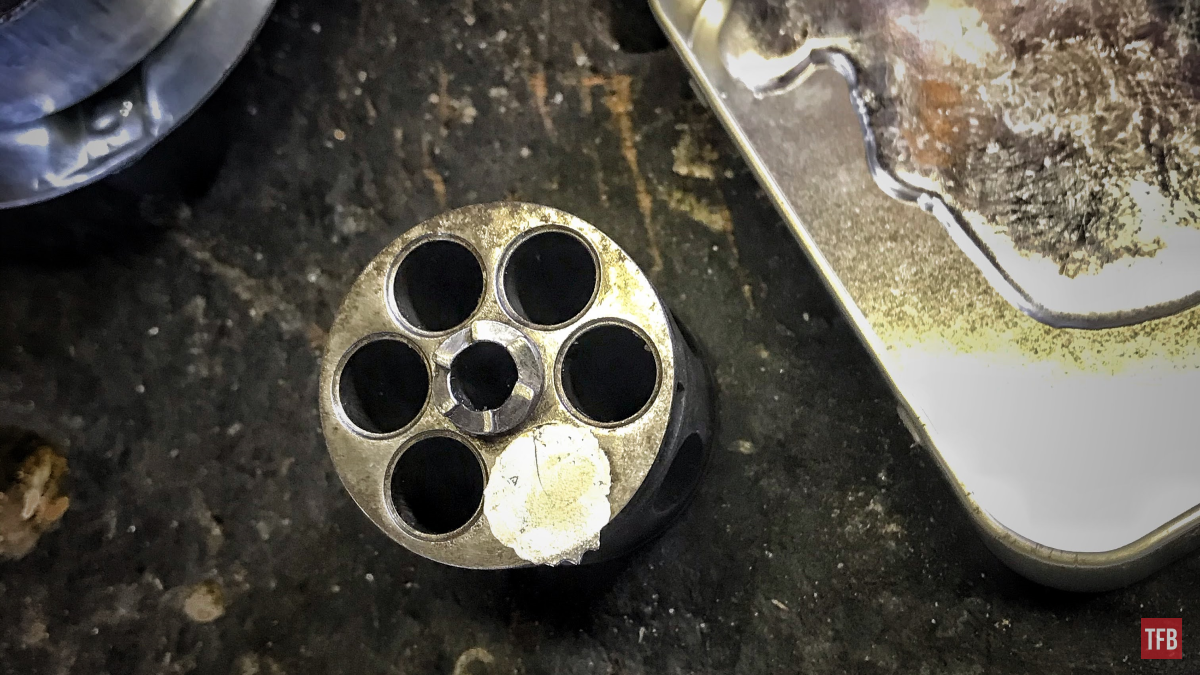
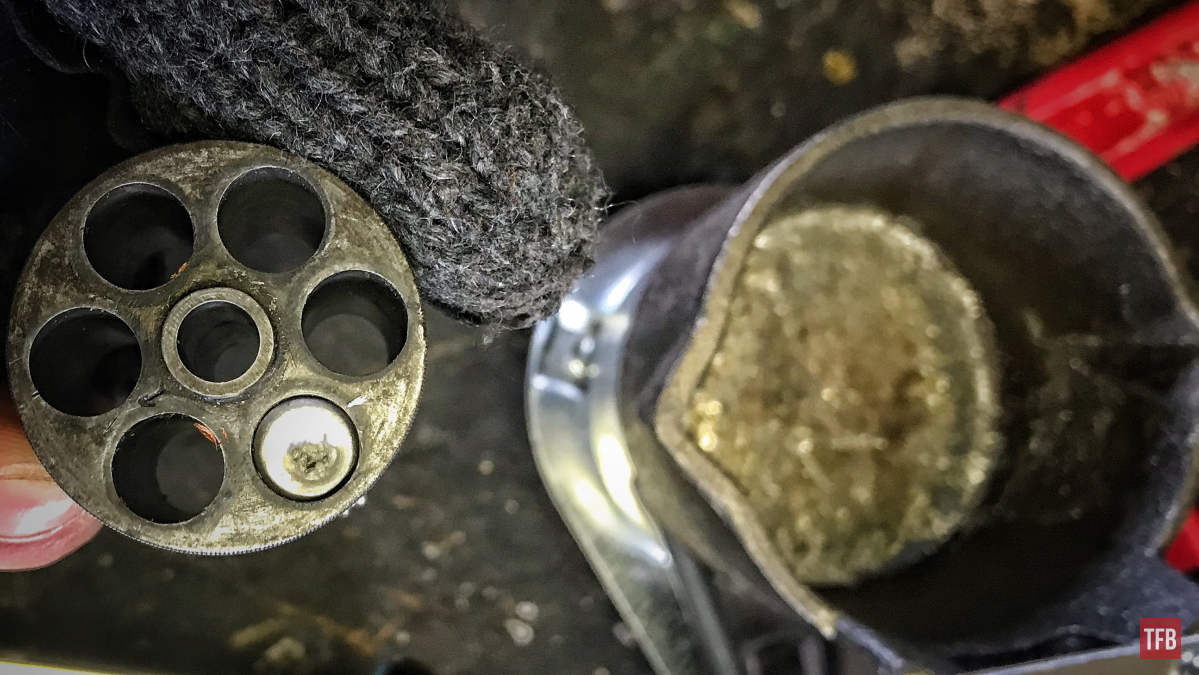
A light coating of oil is placed in the chamber to help the casting remove from the chamber later on but most of the time this is not necessary unless your chamber was aggressively dirty, to begin with. Light brushes with a torch or a concentrated blast of hot air with a heat gun over and into the chamber help the overall casting process and will result in a better-looking cast. After the chamber is heated, you can pour in your chamber casting material until it sits just above where a normal cartridge would. If it is a rimmed cartridge make sure to stop just barely above the rim so you can measure better. Allow the Material to harden, punch the cast out of the bore with a cleaning rod and some light taps with a hammer. Measure all significant portions of the cast accordingly!
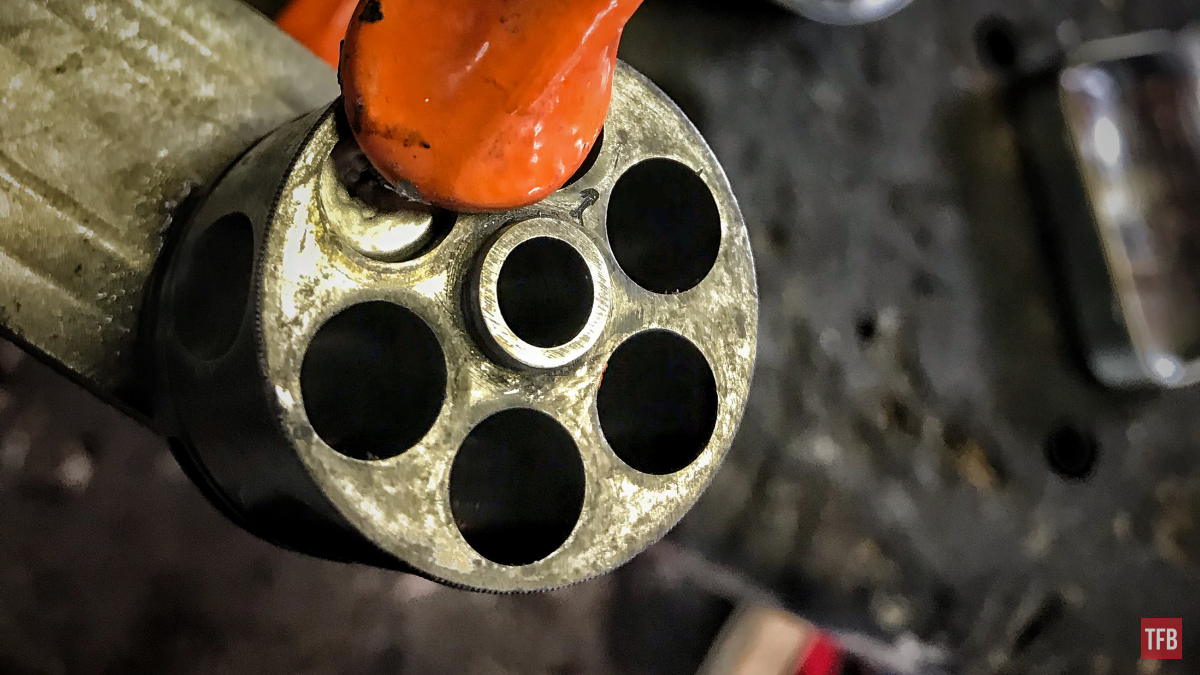
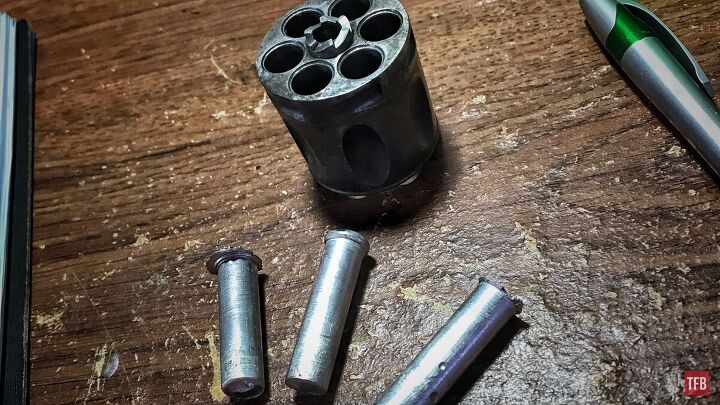
Revolver Cylinder Chamber Procedure: Chamber Casting
With the cylinder removed from whatever revolver it belongs to, we can first clean the chambers and oil them if necessary. Next, I personally find it helpful to close the end of the chamber by clamping the cylinder to a flat piece of steel stock. That steel stock can be secured into a vise. With everything tight and rigged, we can repeat the heating and pouring steps from before, taking special care not to muck up any rims used for measuring.
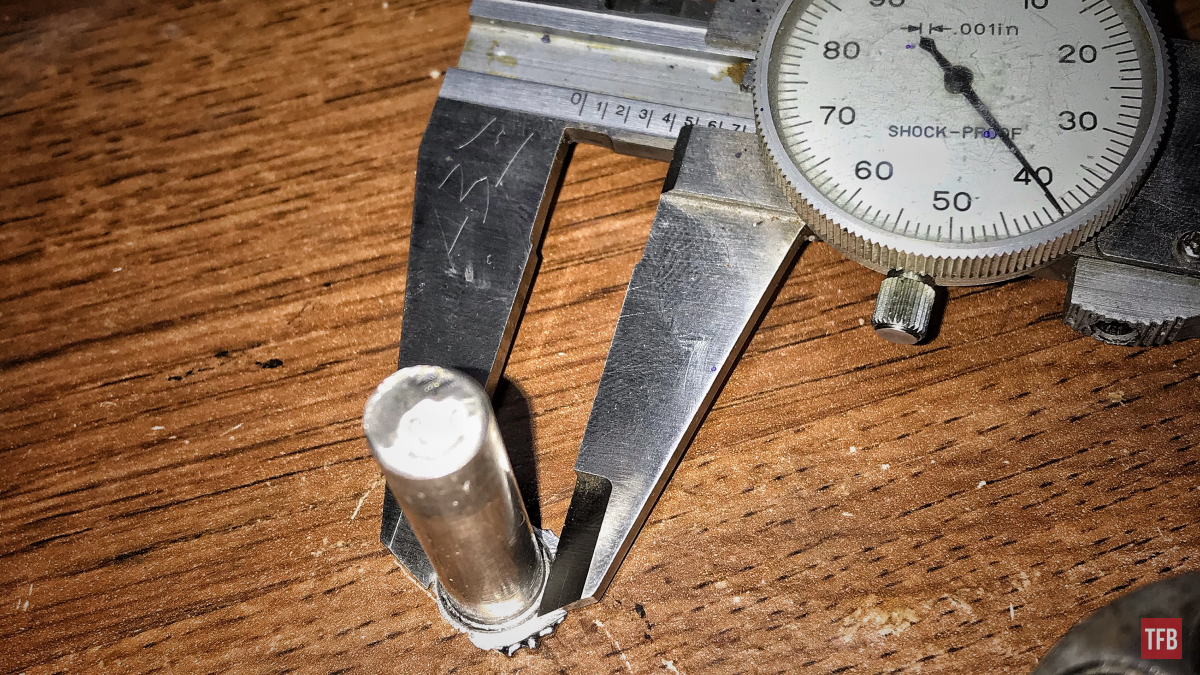
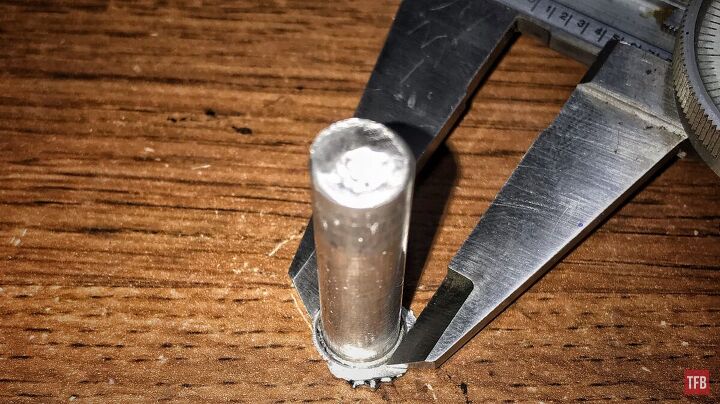
The last time I did a casting was for my Hugo Hensel Revolver which I have done multiple articles on both TFB and AllOutdoor.com. I really did not find much out with my measurements and the rim thickness was way too thin to get consistent and accurate measurements. I have included a picture of my averaged measurements below to any sleuths interested in the pursuit of a mystery.
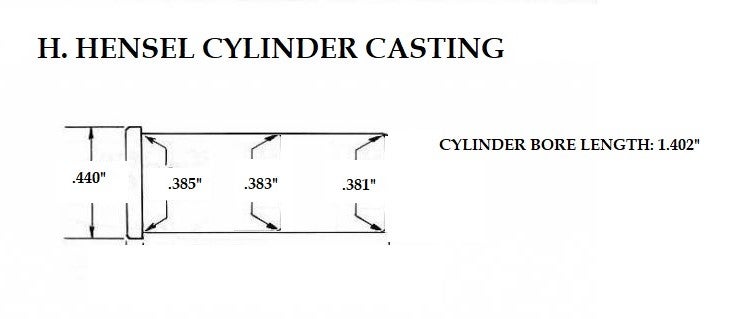
Regarding the cartridge speculation, I am fairly certain that it would be a .380 rimmed cartridge of some sort. Basically anything similar to the US’s .38 Short Colt which I have fired from this revolver. The big issue with looking at dimensions and chamber casts I have made is it is made somewhat irrelevant with the lack of cartridge specifications back in the day. One factory could make a .380 rimmed cartridge and the rim diameter would be different from the next factory and it would technically be the same cartridge. I have included a rough drawing from the averages of chamber casts I have made. Please keep in mind that the bore diameter is .355-.365ish.
Conclusion: Chamber Casting
Well, there are the basics of chamber casting! It really is not rocket science, just tedious and something to be handled with care if you want a yield of accurate measurements. Make sure to clean your firearms after casting – these objects have been exposed to high heat and moisture as a result it is wise to give them a good wipedown. Castings can be reused so make sure to keep them or melt them back down with the rest of the casting material for a different time.
As always, thank you for reading TFB! Be safe out there, have fun while shooting, and we will see you next time for the TFB Armorer’s Bench brought to you by Wheeler, Tipton, Caldwell, and Frankford Arsenal! Also, let us know what you think in the comments below! We always appreciate your feedback.

Pro Range Glasses, Clear
https://www.caldwellshooting.com/safety-gear/safety-glasses/pro-range-glasses-clear/320040.html

The Caldwell® Pro Range Glasses feature a stylish wrap-around design and are a great choice for all shooters. They feature an adjustable nose piece and temples for all day comfort. The scratch resistant lens meets ANSI Z87.1 standards and offers 99.9% UV protection.
Universal Bench Block
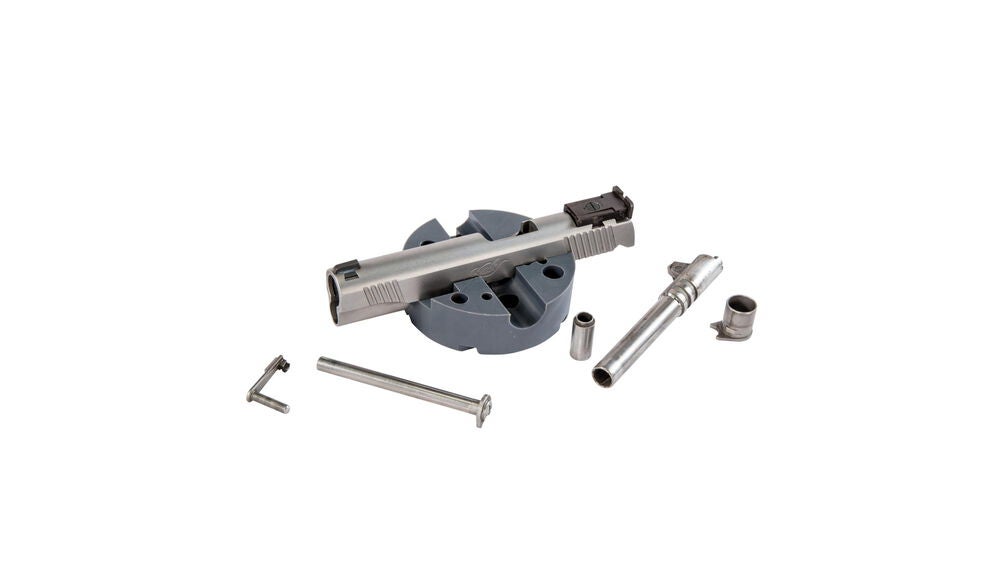
Made of non-marring urethane, the Universal Pistol Bench Block is perfect for use on M1911 pistols as well as other firearms such as 10/22s.
Stainless Steel Dial Caliper
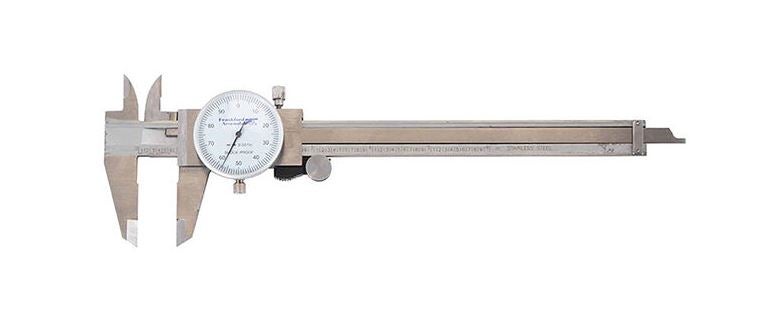
Reloading ammunition requires attention to many critical cartridge dimensions, including case length, neck and base diameters, overall length, primer pocket depth, etc. Verifying these dimensions is quick and convenient with the Frankford Arsenal® Stainless Steel Calipers. These calipers are accurate to within .001″. The calipers allow you to measure inside and outside diameters, plus depths. You will find them useful for many measuring tasks on and off the reloading bench. Packaged in a convenient and protective case.
POWER SWABS – PISTOL CLEANING KIT, 500 COUNT
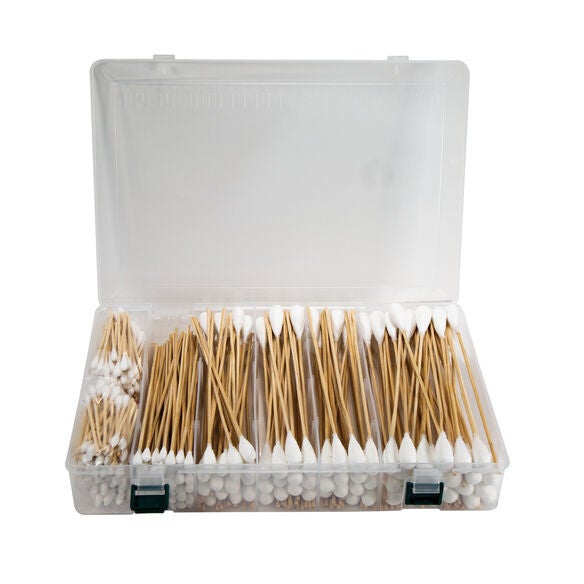
Tipton’s new Power Swabs are an essential part of your cleaning kit. They’re disposable, fast, and easy to use, plus they provide no-mess cleaning with all your favorite solvents and oils. They also fit lands and grooves better than a patch for maximum cleaning.
Tipton ULTRA GUN VISE
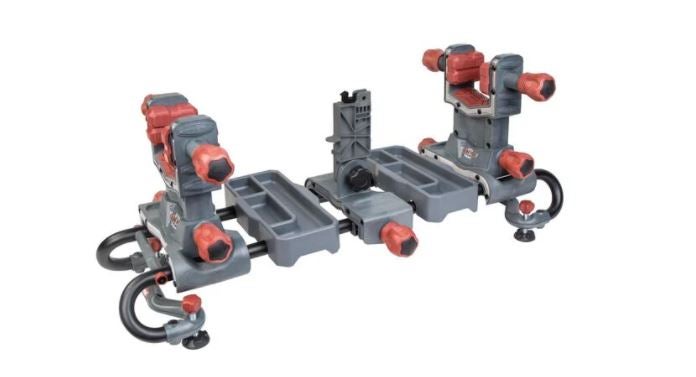
The Tipton® Ultra Gun Vise features a completely modular interchangeable design to allow virtually any shape firearm or crossbow to be cleaned and worked on with ease. The ball and socket articulating clamp pads allow for the pads to adapt to any surface. The dual clamp technology rigidly holds any firearm shape in place, while the rigid steel tube frame structure allows for complete access to your firearm or crossbow. The front and rear clamps are both height and length adjustable, and feature fast-turn knobs allowing for quick clamping. The solvent-resistant accessory and tool trays are movable and removable to stand up to even the toughest jobs.
Hammer and Punch Set, Plastic Case

The Wheeler® Hammer and Punch Set includes a polymer/brass combination hammer, eight precision brass punches, four steel punches and two plastic punches. It comes in a handy molded case. It makes for a great tool for driving pins or drifting sights at the shooting range, or on your gunsmithing bench.