 Your Privacy Choices

Welcome everyone to the TFB Armorer’s Bench! As mentioned in the little blurb, this series will focus on a lot of home armorer and gunsmith activities. In this article sponsored by Wheeler, Tipton, Caldwell, and Frankford Arsenal, I decided to do a quick overview on AR15 gas rings and when it’s time to replace them. This was a suggested topic of a fellow TFB writer Rusty S so a big thank you to Rusty for the idea! Routine maintenance is required on AR15s just like any other firearm, especially if they have been used frequently. Let’s dive into AR15 gas rings and their maintenance!
Where Are They and What Do AR15 Gas Rings Do?
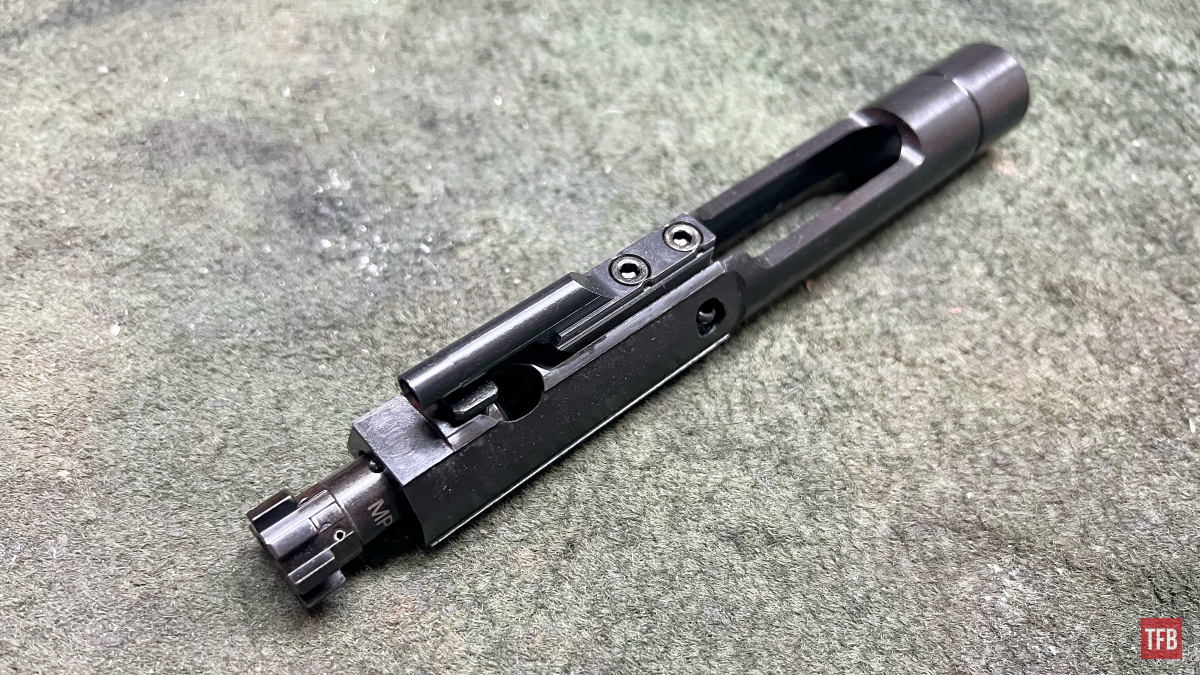
AR15 gas rings are located on the rear of the bolt within the bolt carrier group. Their purpose is simple; they are there to catch gases and use the pressure therein to help the bolt unlock when cycling. These metal rings have a square cutout in them. The only reason for these cutouts and gaps is for installation and removal because as I mentioned above these parts need maintenance too! A very good comparison I have heard is that changing gas rings is similar to changing the oil in your car. After a certain amount of miles/rounds, things need to be maintained or replaced.
How Do You Know When They Need to Be Replaced?
- Functionally: It is pretty rare to see worn-out or damaged gas rings affect the overall performance of the rifle. I do know that excessively worn rings can cause short strokes or short recoil where the bolt does not fully go to the rear and pick up a new round. This can happen when the previously mentioned ring gaps are all lined up as well. Since it is hard to get to that point it is why it is important to check after your AR has had a very high round count, been exposed to undesirable conditions, or been shot with corrosive/dirty/hot ammunition. It should be mentioned that these rings take a while to wear out and after very high round counts. So no need to run to replace them.
- Aesthetically: Just by looking at the rings themselves the obvious giveaways would be any sign of wear. This includes things like warping where they aren’t concentric anymore. It usually is more dramatic damage like pitting or rust even. I have only seen an AR15 gas ring literally broken once and I would wager that was a manufacturing defect or it got warped and chewed up in the mechanism.
Testing AR15 Gas Rings
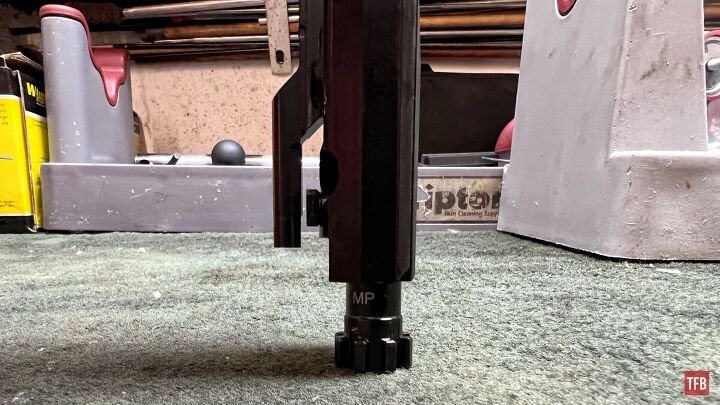
Besides a visual inspection or functional suspicion, there is one test that has been handed down by AR platform armorers in the form of simply taking the bolt carrier group and putting it facing down on a table. Okay maybe it is not that terribly simple, allow me to elaborate.
By removing the bolt carrier group, extending the bolt, and placing the bolt face against the table/benchtop, you can technically get an idea if it is time to replace them. By doing this your bolt carrier group can do one of three things. It can fall straight down, collapsing the bolt. This means that your gas rings have worn down their diameter and should be replaced soon.
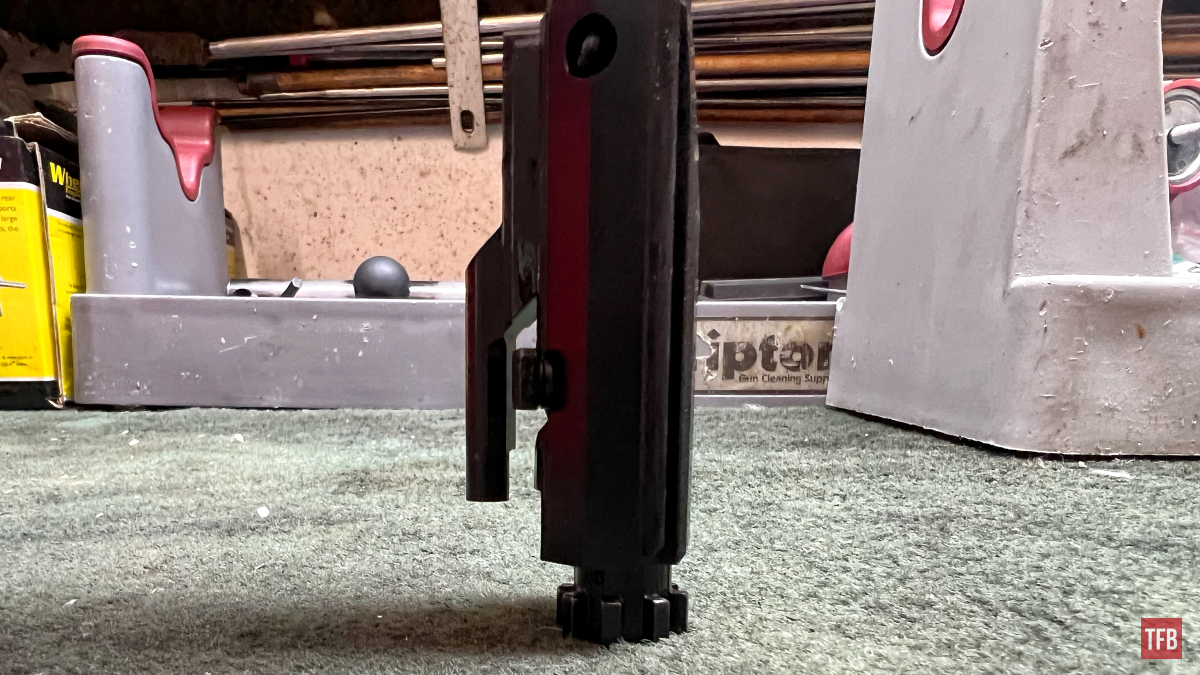
It can slowly fall down which means there is some wear but not enough to be concerned about. Lastly, it can just stay standing straight and this means that the rings are basically like new.
Replacing AR15 Gas Rings
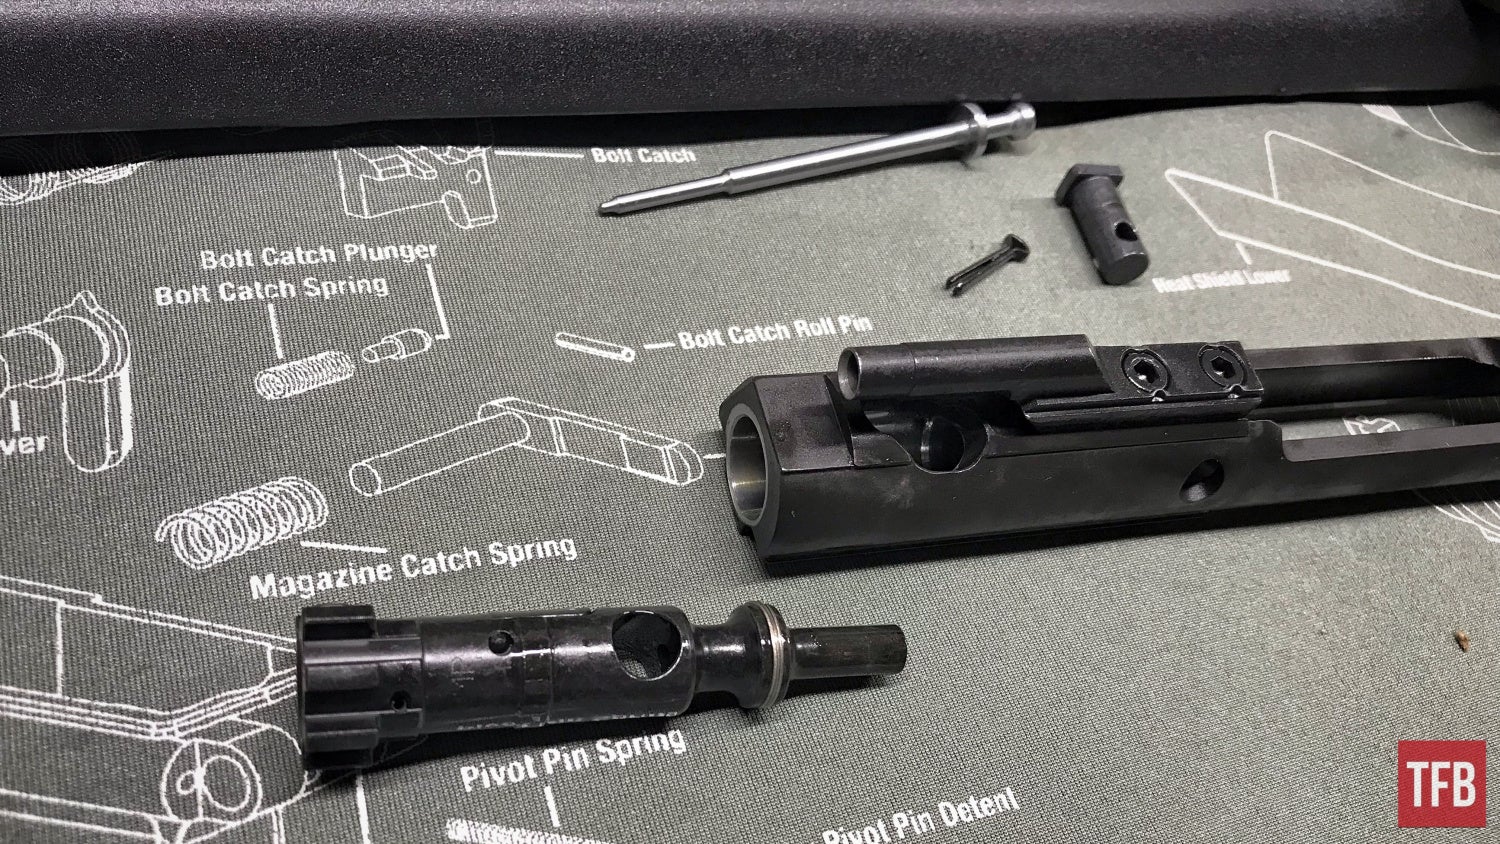
Gas rings fortunately are cheap and easy to order. If you have deemed it necessary to replace your gas rings, it is fairly easy. Make sure you yourself are willing to do it otherwise I would consult a gunsmith or armorer. First, we have to take apart our boot carrier group down to the bolt itself. I have extracted photos and steps from our AR15 disassembly article series.
Step Five: Complete AR15 Disassembly – Bolt Carrier Group
Now onto the bolt! The first thing here is to make sure that your bolt is in the forward position.

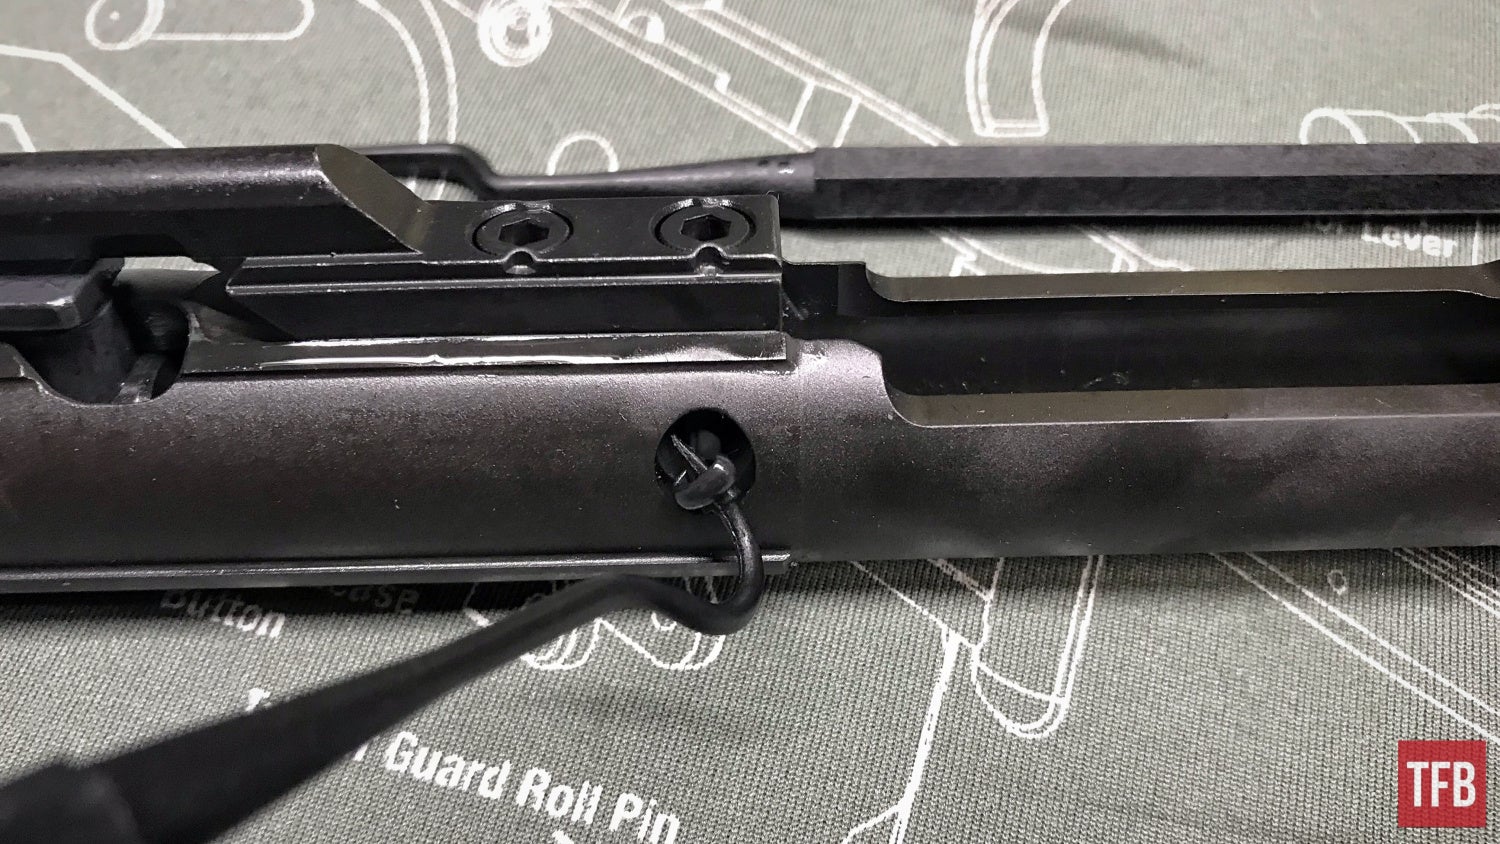
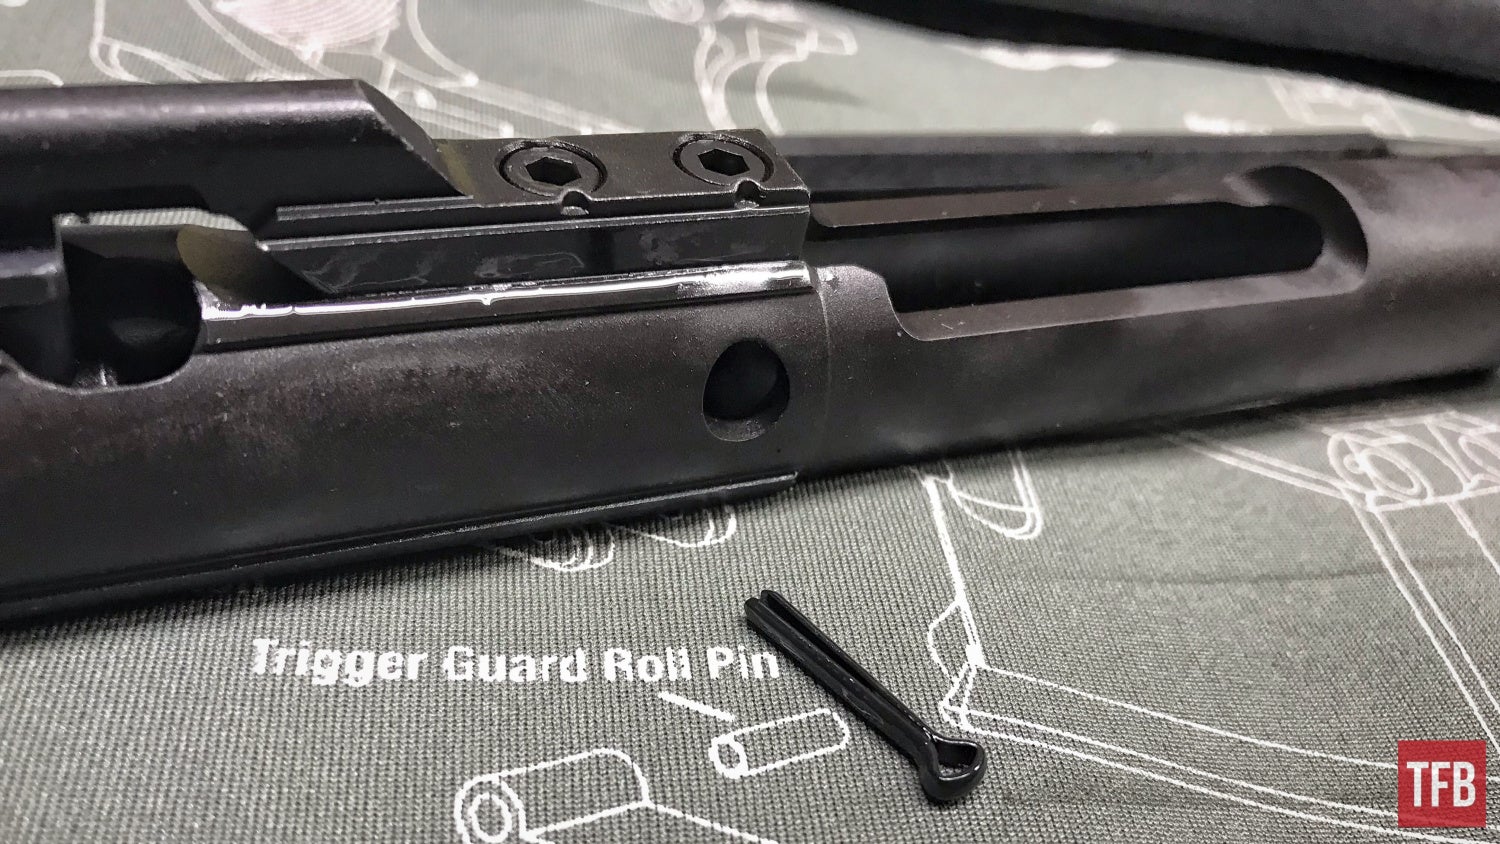
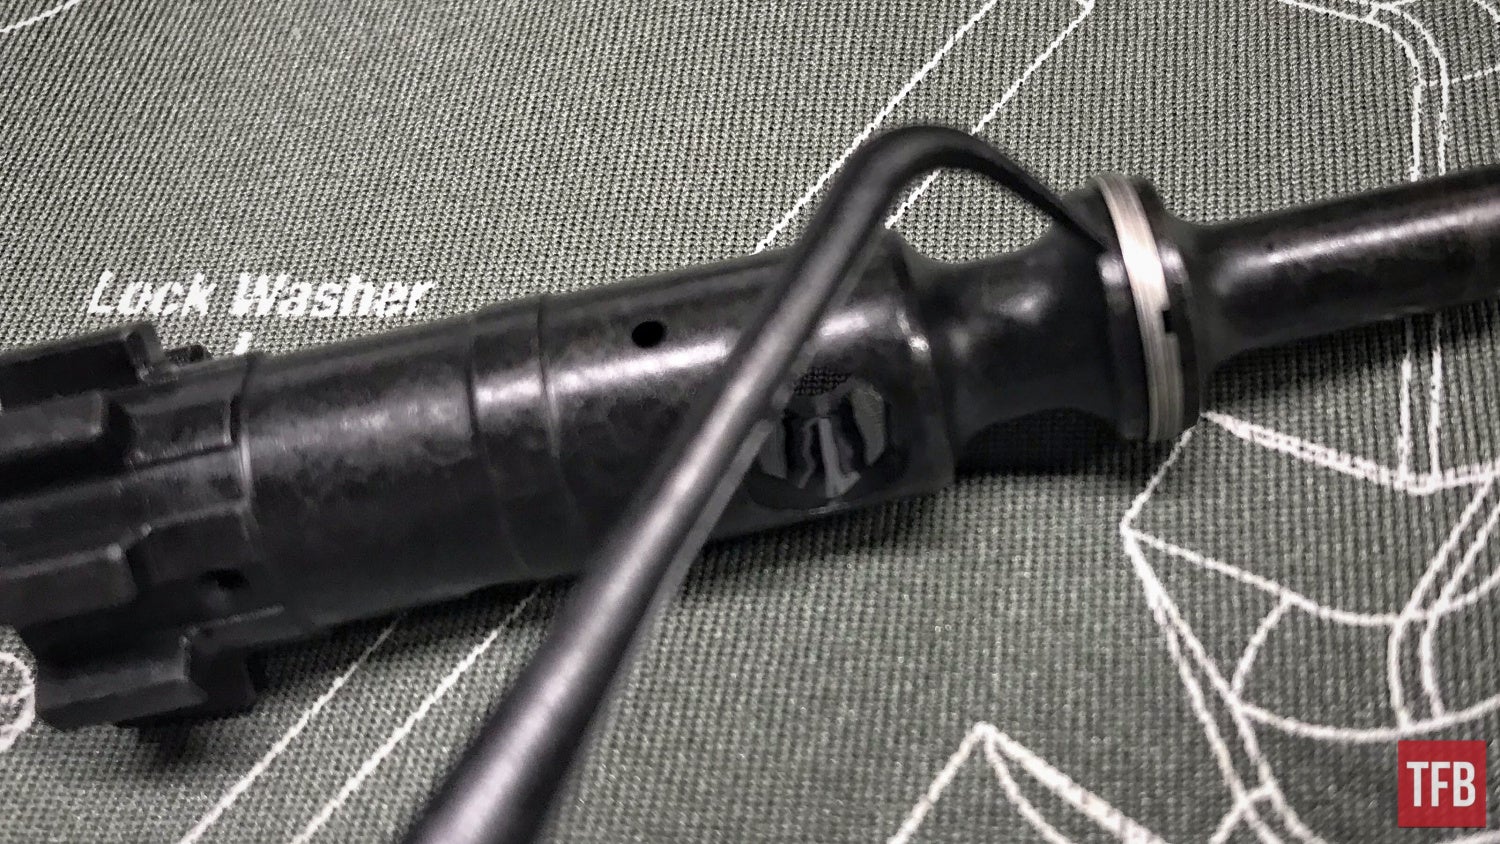
Note the loop-looking piece of metal on the side of the bolt. This is commonly referred to as the cotter pin or the technical term is a split pin. The cotter pin is what prevents the firing pin from falling out of the bolt carrier group.
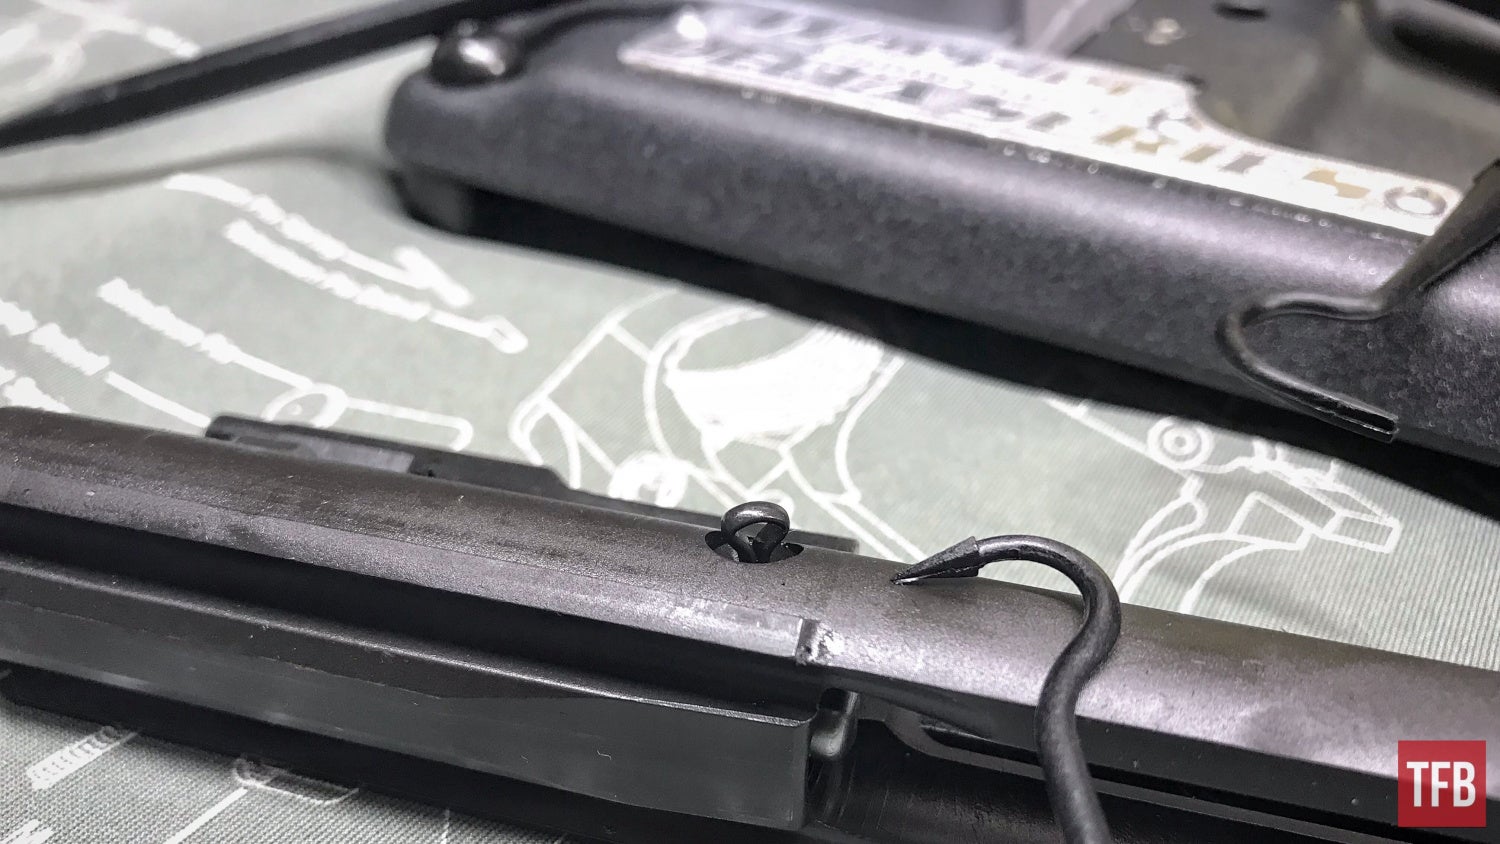
You can use a small punch or a hook tool like shown below and begin to pull the cotter pin out.
The pin itself provides its own spring tension and should not go anywhere once removed.
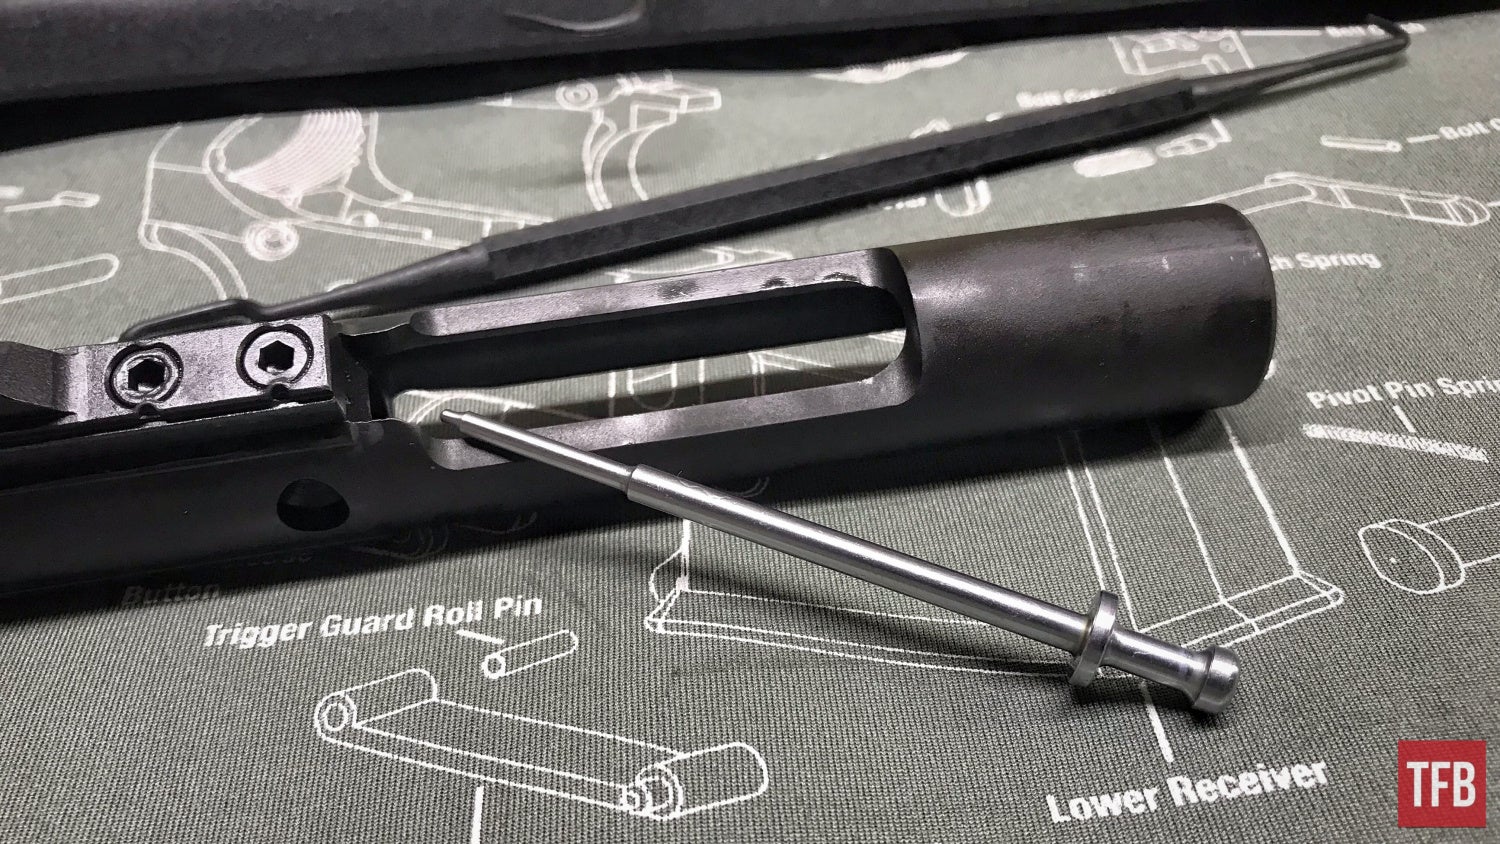
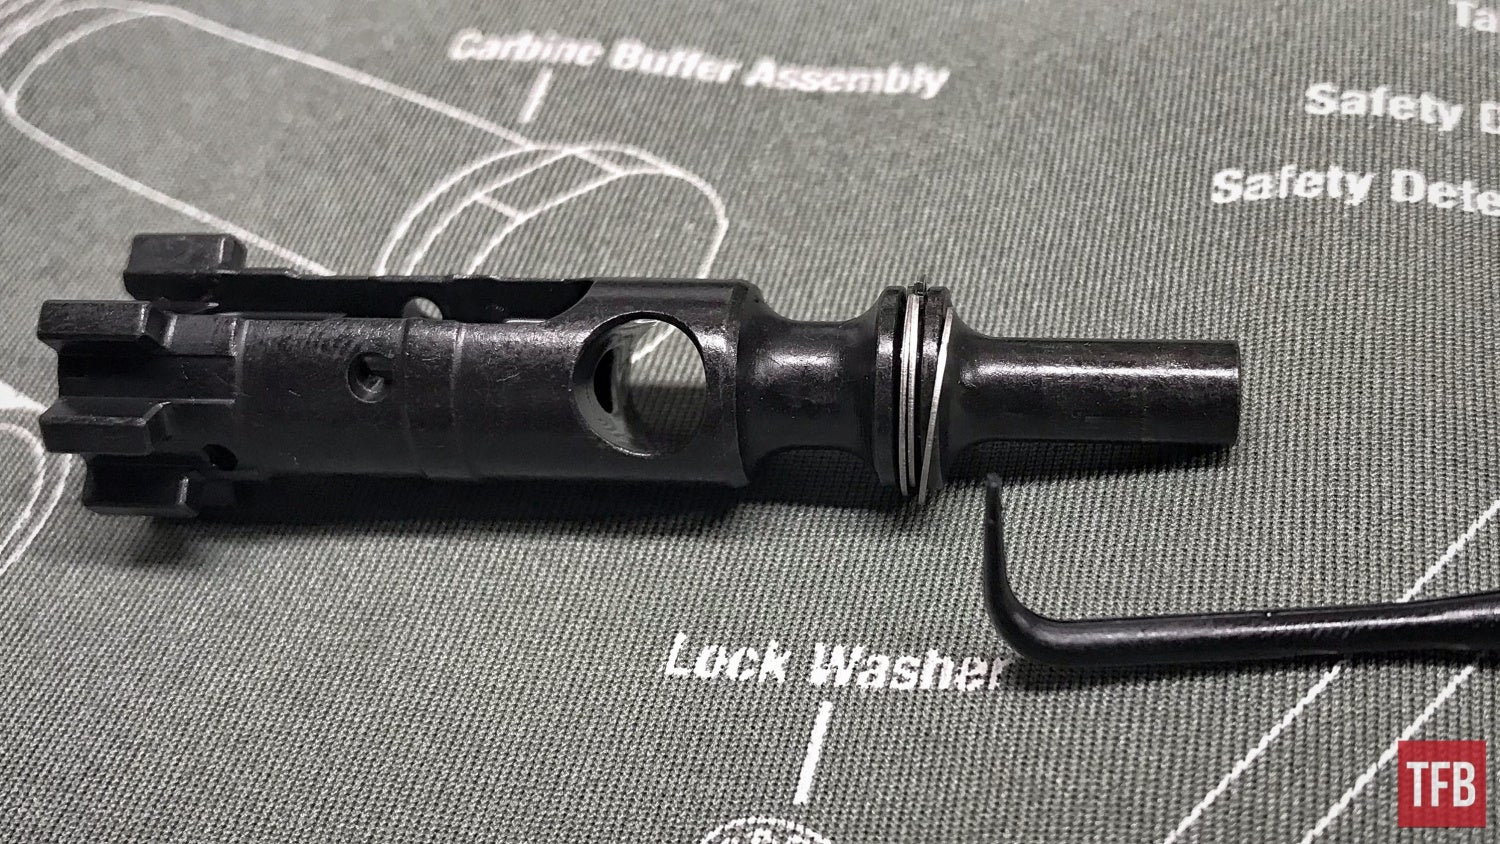
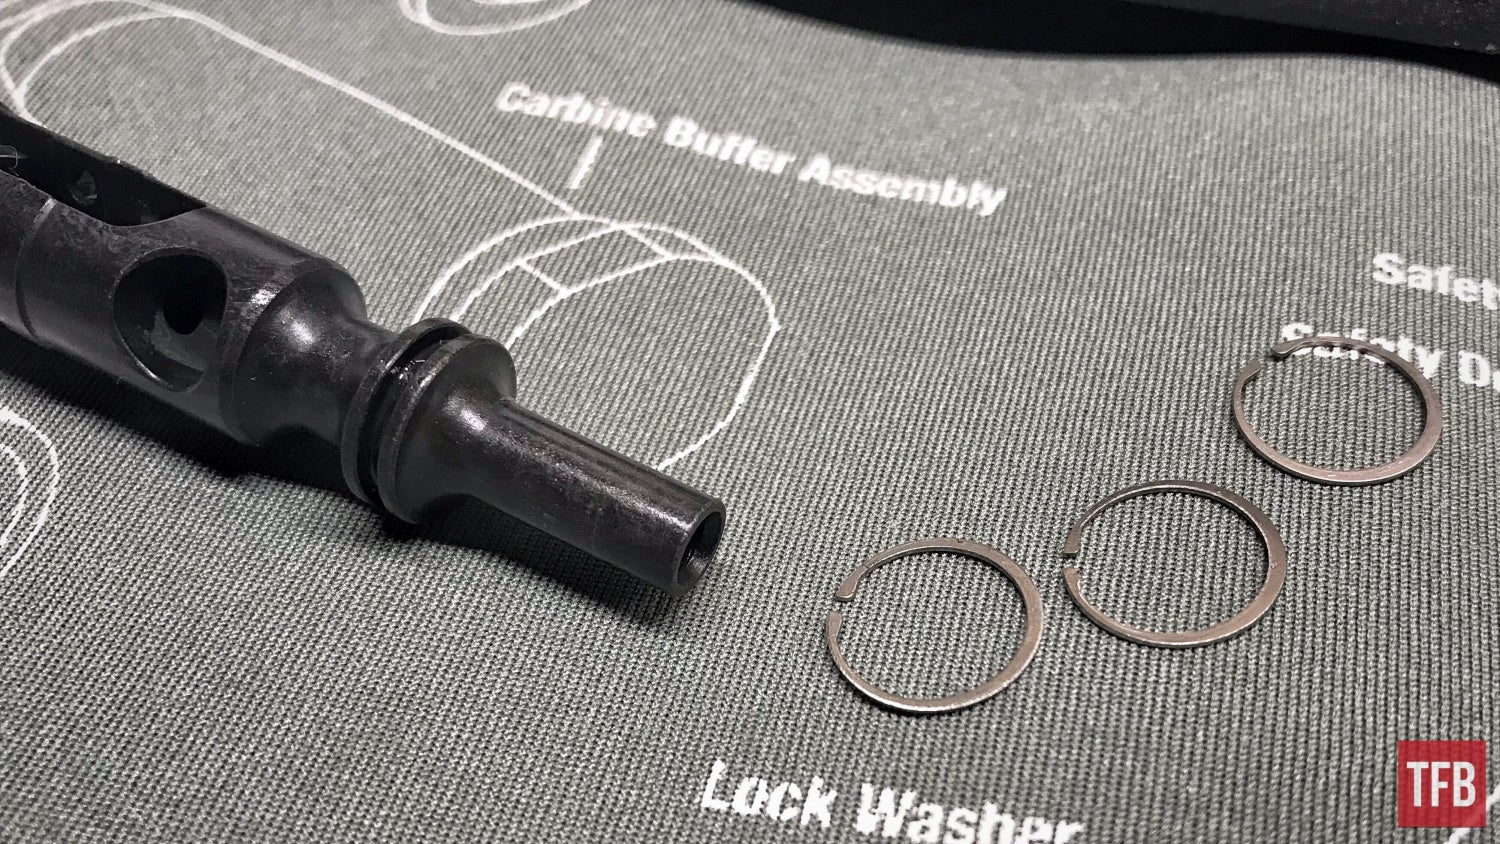
Step Six: Complete AR15 Disassembly – Bolt Carrier Group
With the cotter pin removed, the bolt carrier group can be put vertically with the bolt face towards the sky. Typically the firing pin will fall free with the assistance of gravity.

Otherwise, some light tapping with a nylon hammer will allow the firing pin to fall free.
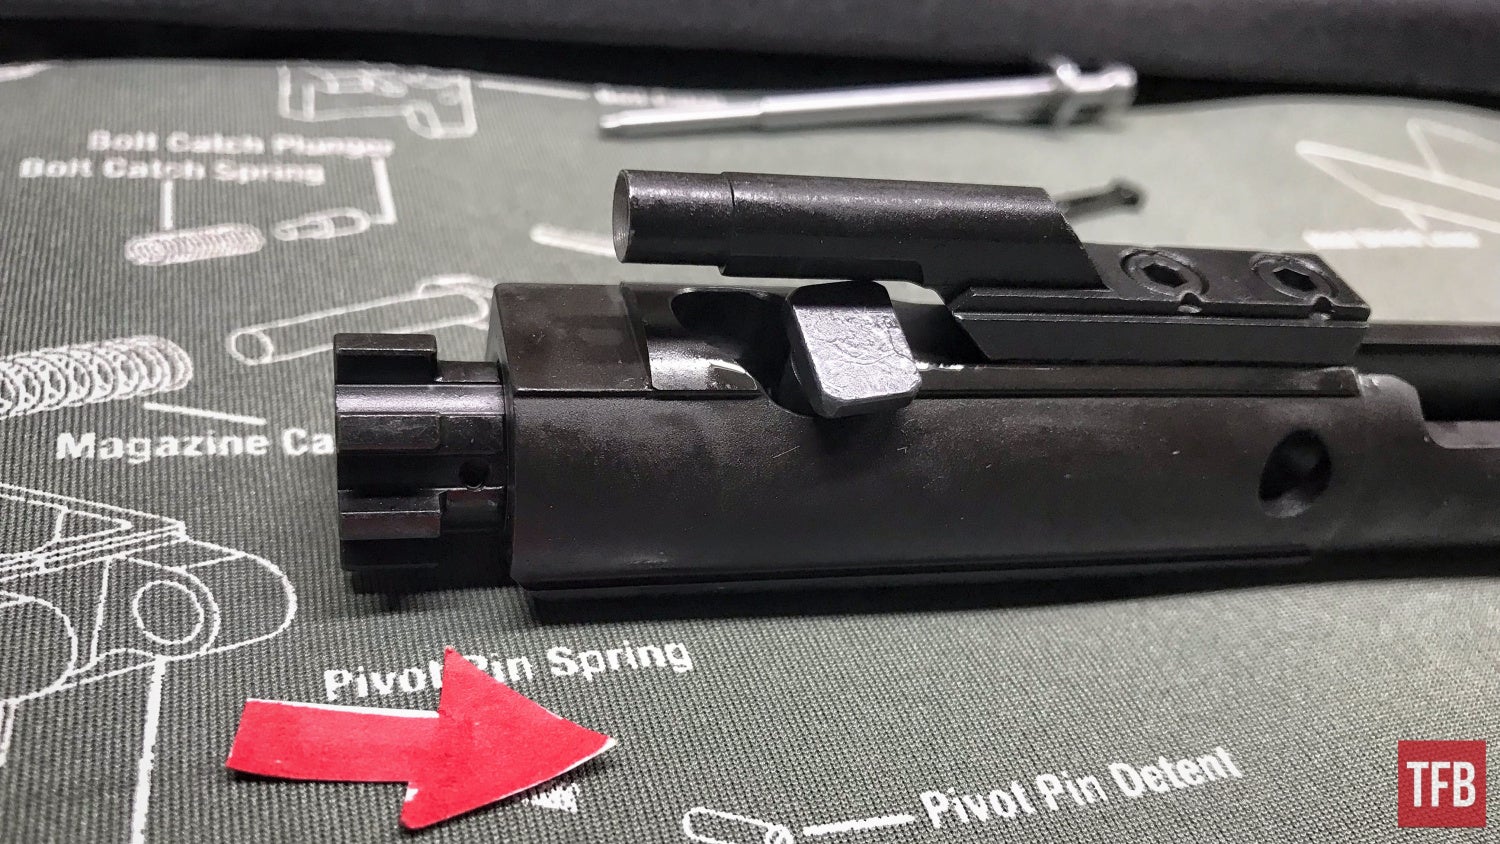
Step Seven: Complete AR15 Disassembly – Bolt Carrier Group
Slide the bolt backward in the orientation below.
With the bolt as far back as it can go into the carrier, spin the bolt cam pin so that the long faces of the bolt cam pin are parallel with the carrier as shown below.
Note: I have seen some bolt cam pins that are perfectly round and these would just need to be spun while applying upward pressure till it is released.
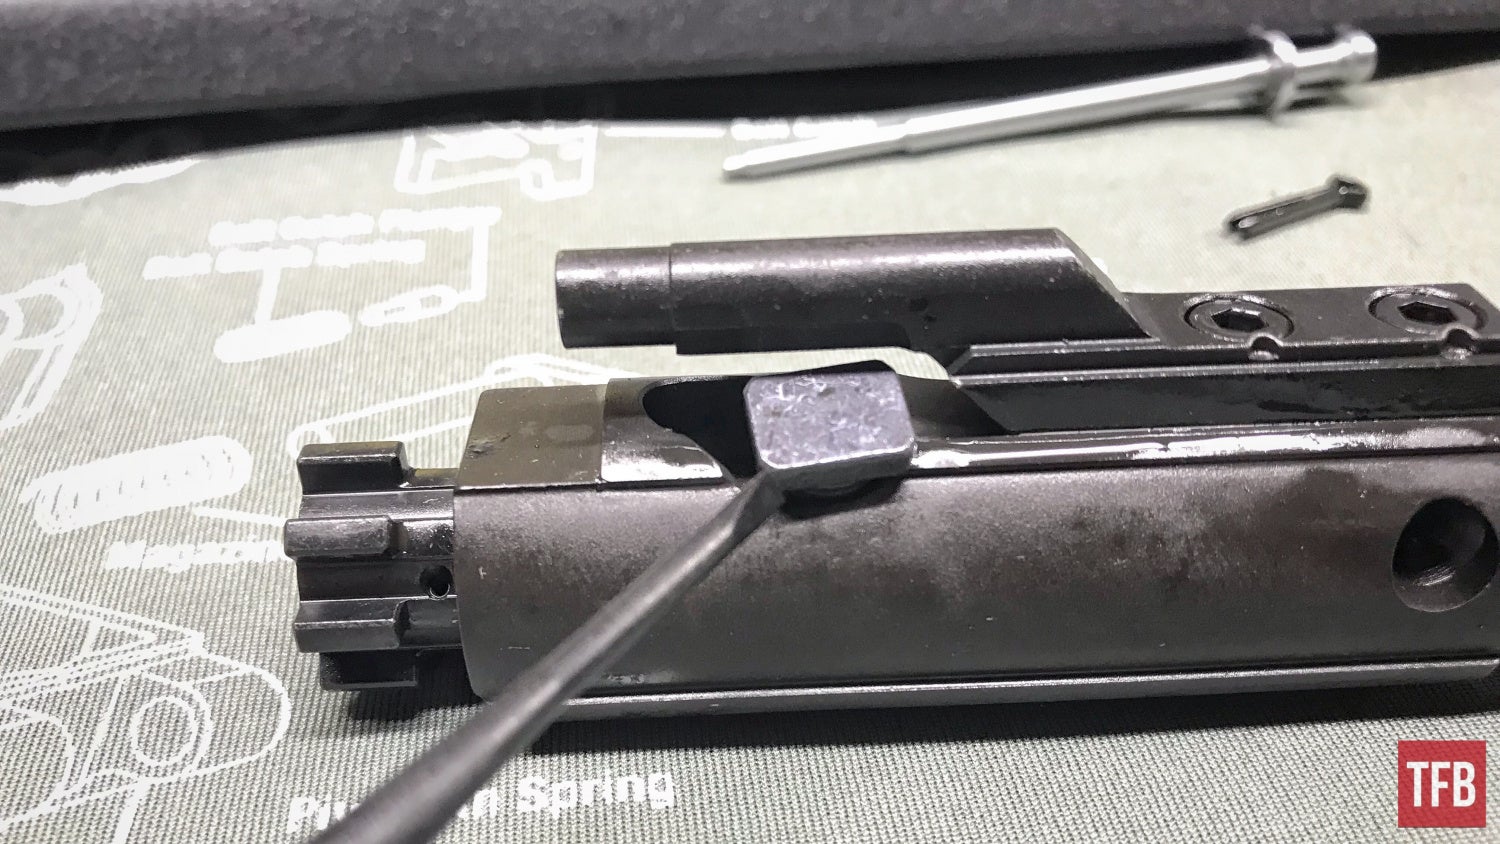
The bolt cam pin in this position can be pulled from the bolt and carrier. It can be grasped with needle-nose pliers or pry upward with a flathead screwdriver.
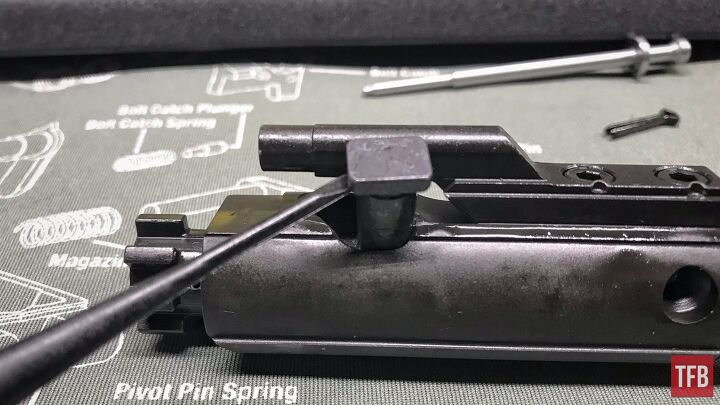
Remove the bolt cam pin and note how the orientation matters in terms of reassembly and the hole in which the firing pin usually travels through.
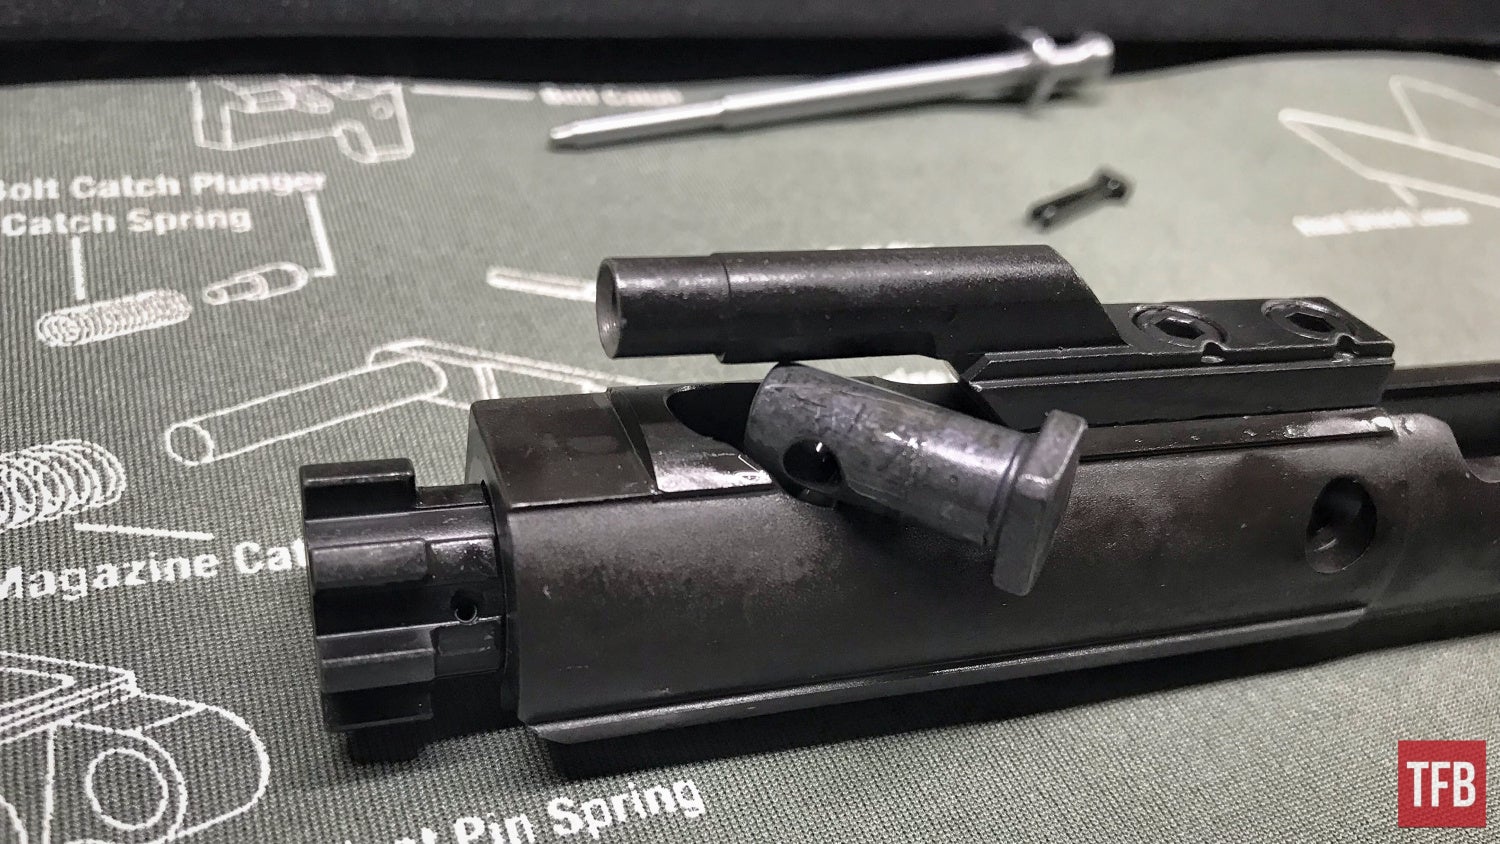
Step Eight: Complete AR15 Disassembly – Bolt Carrier Group
With the bolt cam pin removed the bolt assembly can be pulled out the front of the carrier.
From here we can skip to step number eleven!
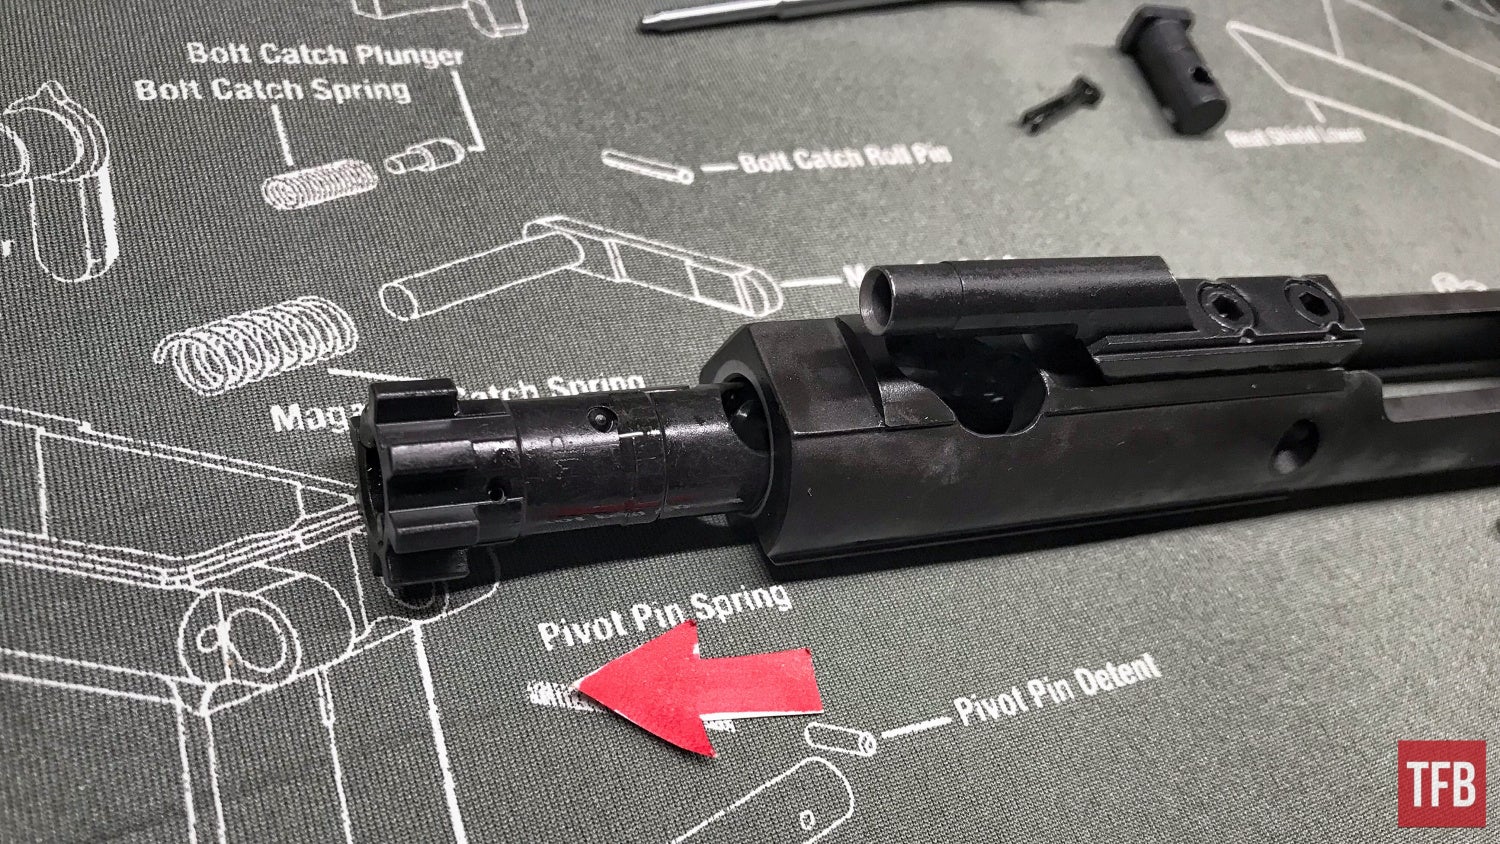
Step Eleven: Complete AR15 Disassembly – Bolt Carrier Group
There are three gas rings located on the rear of the bolt assembly. These are entirely optional and do not need to be replaced super often unless you are avidly shooting your AR15 and have noticed changes in your bolt carrier group’s performance. I do not recommend that they are removed just for the fun of it since they can be damaged.
They do not have any sort of correct alignment and rotate freely in their slot. They are spring-like but CAN BE BENT so be careful if they are being removed for routine non-replacement-related maintenance.
I have heard of people using anything from a screwdriver to C-ring style pliers but I find it easiest to grab one of these rings using a pick of some sort. Sneak the pick in through an open slot in the rearmost ring. Rotate the pick and pivot in such a way that you are able to lift the ring and push it towards the rear.
Repeat the last process until all three rings are removed and set them aside in a safe spot if they are to be reused.
Note: When installing new AR15 gas rings take special care to have their gaps randomized and not lined up. Have each of the gas spaced out on one-third of the circumference. If they are lined up then leakage will happen and performance issues may arise.
Conclusion: AR15 Gas Rings
Well, that is all this time around folks! The AR15 gas rings are a pretty rare replacement for the average AR15 owner since it usually requires a large round count on their lifespan. It is still good to know the signs and better yet how to do the maintaining. Make sure to share any tips or tricks I may have missed along the way in the comments. Be helpful to one another and stay safe out there! Happy Holidays!

As always, thank you for reading TFB! Be safe out there, have fun while shooting, and we will see you next time for the TFB Armorer’s Bench brought to you by Wheeler, Tipton, Caldwell, and Frankford Arsenal! Also, let us know what you think in the comments below! We always appreciate your feedback.

Pro Range Glasses, Clear

The Caldwell® Pro Range Glasses feature a stylish wrap-around design and are a great choice for all shooters. They feature an adjustable nose piece and temples for all day comfort. The scratch resistant lens meets ANSI Z87.1 standards and offers 99.9% UV protection.
Tipton Cleaning Picks
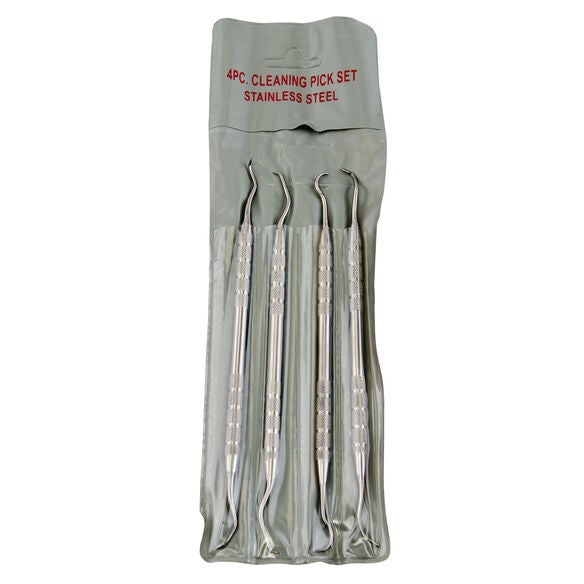
Here is a clever idea that belongs in every cleaning kit, Gun Cleaning Picks. This set of four picks with different configurations on each end provide eight different combinations to get into those tight, hard-to-reach places. One set is made of high-strength polymer so they will not scratch the finest surface. The other set is made of stainless steel.
AR Armorer’s Bench Block

Tired of trying to secure your AR parts while installing a pin, detent or spring? The AR-15 Bench Block is the answer! Specifically designed for AR-15 assembly and disassembly, the AR-15 Bench Block is the perfect tool. It securely holds the upper receiver, lower receiver, front sight and charging handle during assembly, disassembly and maintenance.
Stainless Steel Dial Caliper
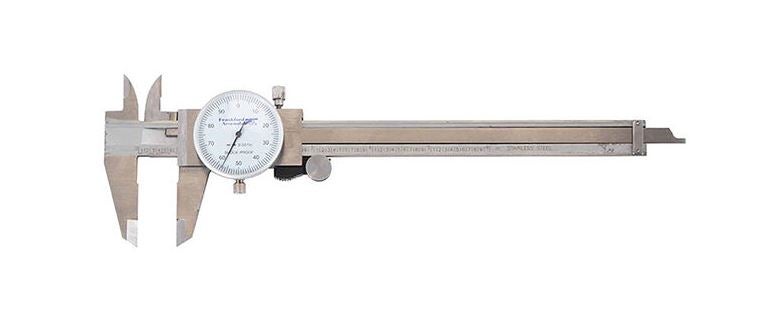
Reloading ammunition requires attention to many critical cartridge dimensions, including case length, neck and base diameters, overall length, primer pocket depth, etc. Verifying these dimensions is quick and convenient with the Frankford Arsenal® Stainless Steel Calipers. These calipers are accurate to within .001″. The calipers allow you to measure inside and outside diameters, plus depths. You will find them useful for many measuring tasks on and off the reloading bench. Packaged in a convenient and protective case.
Wheeler AR Armorer’s Ultra Kit

Ultra Kit includes: AR-15 AR Armorer’s Vise, AR-15 Combo Tool, Torque Wrench, AR-15 Armorer’s Bench Block, AR-15 Roll Pin Installation Tool Kit, Upper Vise Block Clamp with Gas Tube Alignment Tool, Maintenance Mat with Exploded AR-15 Diagram, Pivot Pin & Roll Pin Installation Tool, AR Front Sight Tool, Delta Ring Tool, Strap Wrench, AR-15 Bore Guide, AR-15 Adjustable Receiver Link, .22 Cal Bore Brush, Bolt Carrier Brush, Chamber Brush, Magazine/Upper Receiver Brush, Nylon Brush Handle, Double-ended General Cleaning Brush, Cleaning Pick Set, and Custom Fitted Carrying Case.