Your Privacy Choices
Welcome everyone to the TFB Armorer’s Bench! As mentioned in the little blurb, this series will focus on a lot of home armorer and gunsmith activities. In this article sponsored by Wheeler, Tipton, Caldwell, and Frankford Arsenal, I happened to do a little maintenance on my Chiappa 1887 Lever Action shotgun and while disassembling and reassembling, I thought to myself that it may be beneficial if I did an Armorer’s Bench on diagnosing a light primer strike problem and its many causes and fixes. All that being said, let’s dive right into Diagnosing Light Primer Strikes!
TFB Armorer’s Bench: Diagnosing Light Primer Strikes
Welcome to our recurring series of Armorer’s Bench which is made possible and brought to you by Wheeler, Tipton, Caldwell, and Frankford Arsenal who are our sponsors. Here, we at TFB hope to inform, entertain, and even inspire any would-be gunsmith or armorer out there. Ideally, with the information I provide and with the help of our sponsors, you can have some useful knowledge pertaining to the conservation and improvement of firearms technology while at the same time sharing experiences and teaching each other new tips and tricks along the way in the comments. Digging deep into what it is to be an armorer or gunsmith has significance but what is important is what those people do to show they’ve earned that title. I am happy to share my experiences and knowledge and hope it is informative!
Make your personal safety a priority:
- Practice proper gun safety. Always make sure before the firearm hits your bench that it is unloaded and safe to be handled.
- Wear the proper safety equipment. The main one would be safety glasses (decent ones) since parts are often under spring tension and you may work with high RPM tools. Other honorable mentions would be latex gloves or a respirator when working with potentially harmful solvents and oils. Also hearing protection when working with loud machinery or test-firing firearms.
- Modifications, alterations, and customizations will void your firearm’s warranty 9.5 times out of 10. Please take that into consideration before attempting any at-home gunsmithing.
- If you are unsure about proper safety practices, disassembly procedures, or warranty standards, stop, put down the tools, and consult a competent gunsmith.
What and Why?: Diagnosing Light Primer Strikes
Light primer strikes are when the detonating portion of the cartridge is not smacked hard enough to detonate. The causing forces of this stoppage can vary fairly greatly. Like anything mechanical in nature usually, there is one single cause but it is possible to be multiple things. There can be far more than the list below. I may miss some or they may be situational in terms of ammunition and or a particular firearm.
- Hard Primers: Some ammunition brands just have hard primers. This is most likely the issue if it happens with a specific type or persists with a single batch of ammo.
- Weak Firearm Parts: This can be one of two things. Some firearms have wimpy springs, firing pins, strikers, and hammers. Sometimes these key parts may wear out.
- Firearm Parts Breakage: A firing pin spring may be weak, broken, or even a firing pin may be broken. This can be especially dangerous if the firing pin tip is broken and has not dislodged itself from the port. The broken tip has the potential to get stuck in the port and protrude forward causing a chambered cartridge to fire as soon as the bolt face contacts the shell. This is very bad in semiautomatic in that they can “run away” but it would be just as unsafe in other actions.
- Headspace: The headspace may be incorrect or thrown off by debris, a new non-fitted part, or a faulty cartridge. I have witnessed some straight blowback guns light striking constantly due to a replacement part like an extractor or ejector that is slightly bigger or not fitted.
- Dirty Firearm: The firearm itself may be dirty in all the right places. Dirty in the firing pin port, space between the bolt face and cartridge, or dirty in the recess in which extractors seat when in the battery. These things can throw things just enough out of headspace where light strikes occur or in the case of a port/channel being dirty, may slow down the firing pin overall.
Establish Evidence: Diagnosing Light Primer Strikes
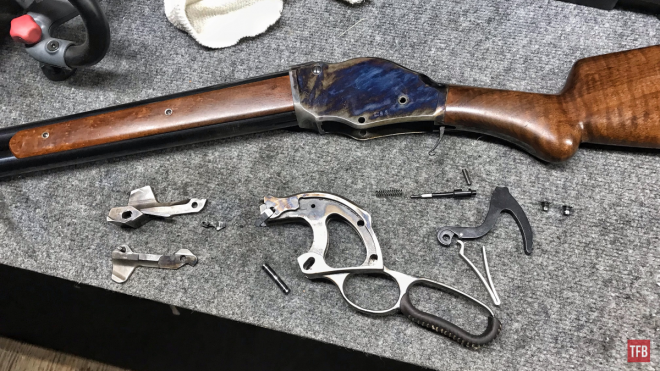
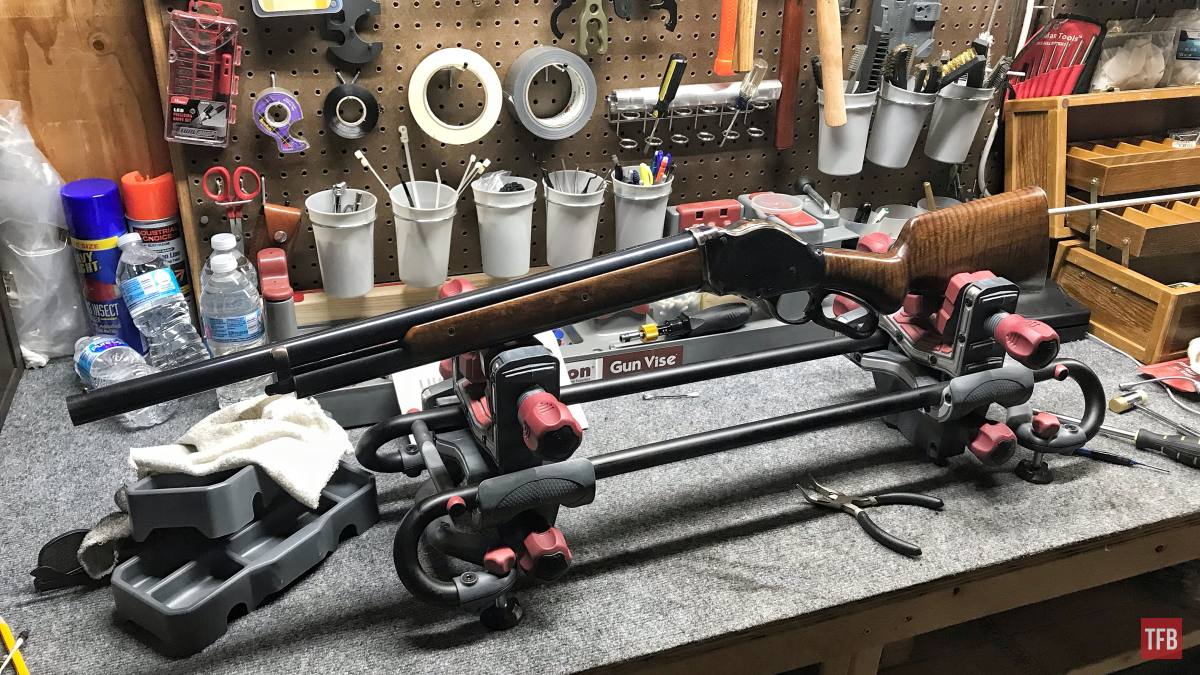
My Chiappa 1887 which I have had for just under a decade has been giving me problems with light primer strikes for around a year. I do not have a lot of time to work on my own firearms beyond mundane routine maintenance. That being said, I was forced to take a closer look at this issue when I had a 12 gauge shell rupture at the part where the hull meets the brass and spit some burning powder on my forehead. I disassembled my 1887 to make sure nothing catastrophic happened in terms of integrity.
So, what is happening specifically? The times in which I would get a light primer strike were almost always the first round in a fresh reload. Or sometimes if you slowly closed the action rather than aggressively. It also seemed particularly picky when it came to dealing with Federal or Estate shotshells over any other brands.
We can rule out the headspace and replacement part-related stuff since nothing beyond a new sight bead and front sling swivel are new. Could this be because of those brands having cumbersome primers? Maybe after a decade of shooting my firing pin is worn out or eroded. Maybe the spring is busted or weak from the 9 years of use. Perhaps the firing pin channel itself is dirty since I have done the necessary maintenance on my gun. A disassembly and closer look are the only ways to for sure find out.
Disassembly: Diagnosing Light Primer Strikes
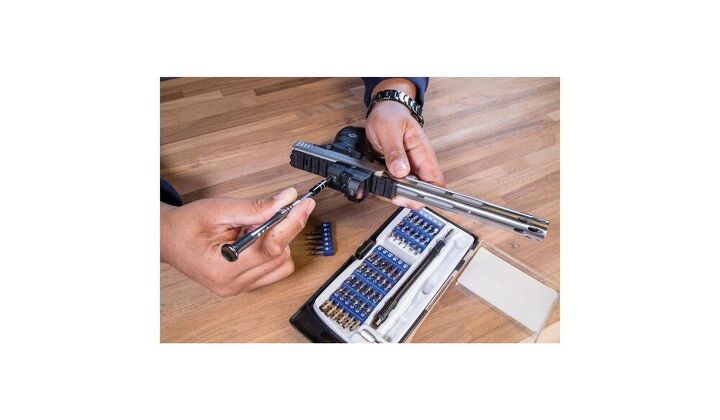
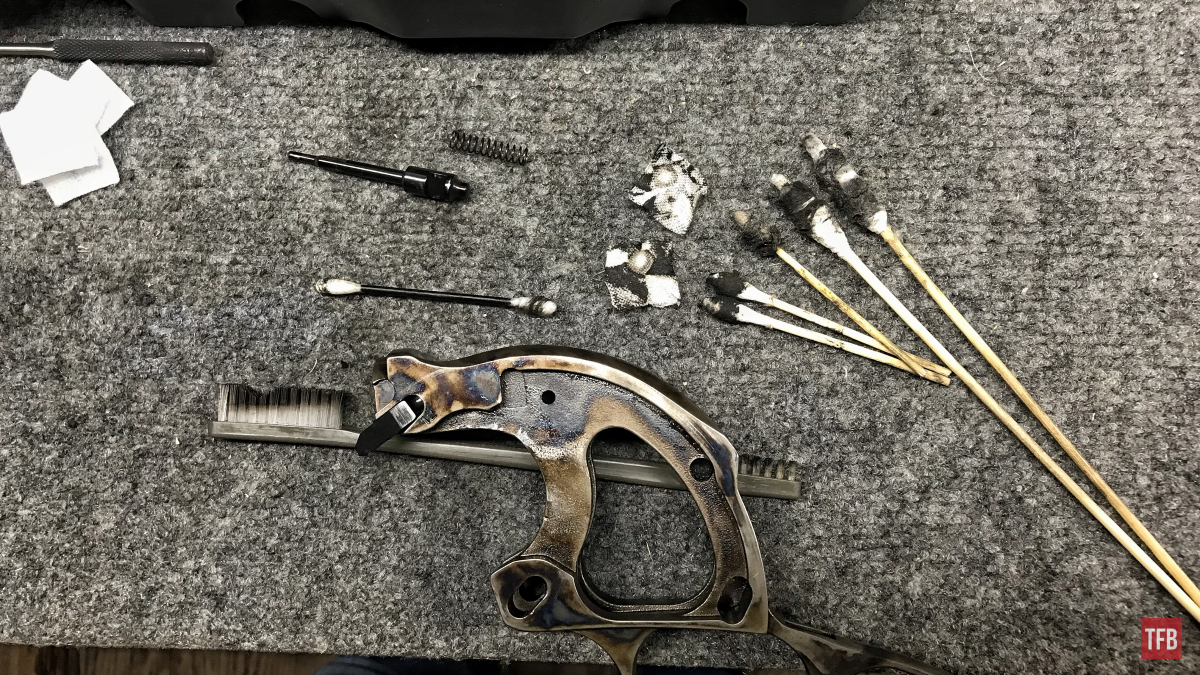
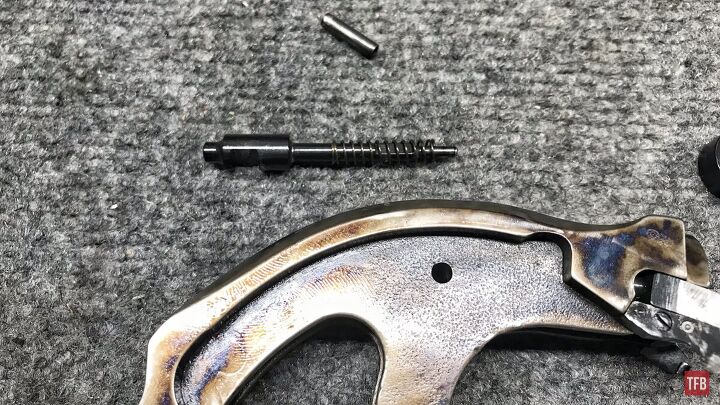
Disassembly of a Model 1887 is not very complicated for someone like me. I would not recommend it for the non mechanically inclined but it is not rocket science. The major and most complicated part to remove is the hammer spring. From there the carrier screws and lever pin are removed and that is basically it. To get access to the firing pin a simple roll pin is punched out and the firing pin itself is not under a ton of tension. The extractor and ejector can be cleaned and maintained without full disassembly. If necessary the “cam” or ejector can be removed with the help of a very small and fine screwdriver. Wheeler makes a Micro screwdriver set that was super helpful in this.
Note: Model 1887 disassembly/reassembly looks more complicated than it is. If there is enough want for a disassembly article, I would be happy to churn one out!
Findings: Diagnosing Light Primer Strikes
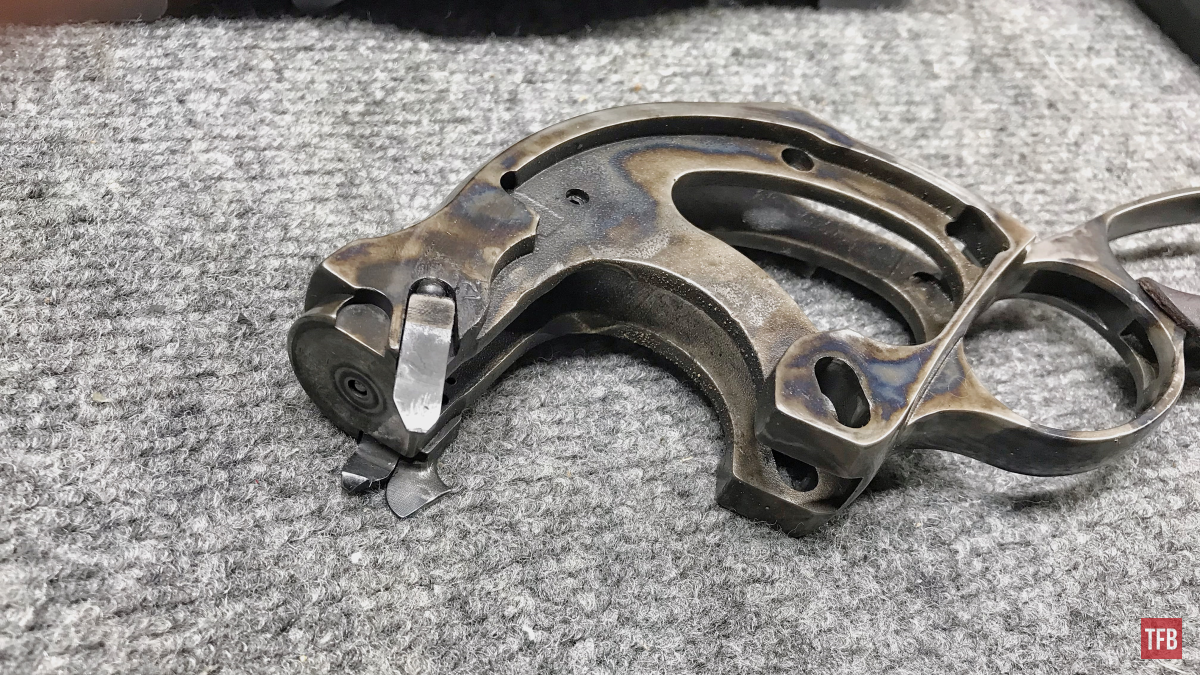
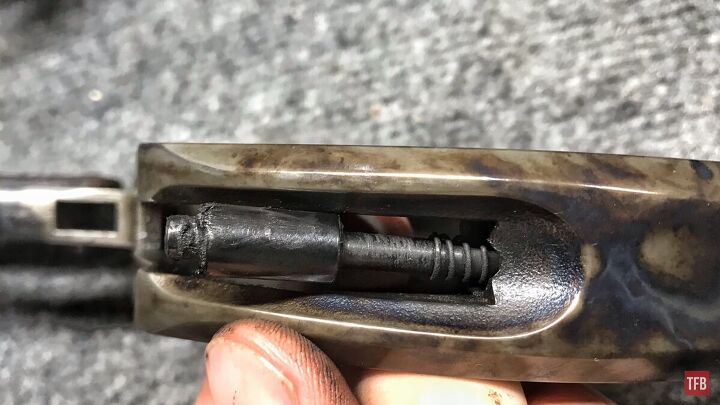
Upon what I would call basic disassembly or field stripping I assessed that the firing pin was complete and not busted. Nothing seemed off with the extractors or cam. When I removed the firing pin spring and firing pin it was pretty dirty but I made a point to check the pin face for significant erosion. Although, I did see some small angled erosion I was not worried. It was not enough to make a difference. The spring still had good tension and did not have noticeable breaks or rust. All was dirty though.

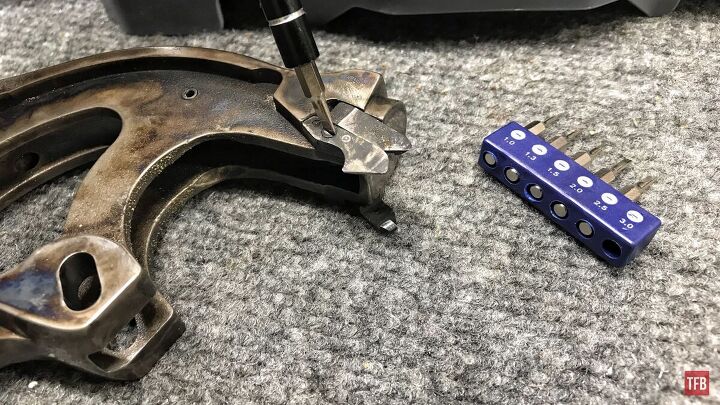
Aside from cleaning these parts removed there was not enough evidence of significant inhibition occurring. That was until I started to clear the debris out of the firing pin channel. Honestly, as someone who is trained in this sort of stuff, I am surprised that this gun was able to function by the amount of fouling in the firing pin channel. Even more so I was surprised at the sheer amount of fouling stick in there. It was like cleaning a marker. To be fair, the channel had not been cleaned after near 3000 rounds of all sorts of shotshells. It was a deep clean that it needed.
It sort of makes sense from there. After a round was fired the fouling probably would be cleared by recoil or gasses just enough for every subsequent round to work just fine. At the time of stoppage, the spring tension from the firing pin spring would be pushing all the gunk forward and start the nonfiring cycle all over again.
Cleaning the firing pin channel sucked up several q-tips. Many q-tips were harmed in the cleaning of this gun, so to speak. Luckily, I had Tiptons Power Swap kit on hand to get the right-sized cleaning apparatuses. After thoroughly cleaning the channel, I took the model 1887 out on another occasion and tested it and it worked like brand new which is a relief that further diagnosis is not necessary.
What if? : Diagnosing Light Primer Strikes
What if a further diagnosis was needed? To me, this is a simple answer. A part would need to be bad or the ammunition is unusable at this point with a decade-old spring and firing pin. All parts are original and unaltered. Everything is clean and scrubbed. I would use all sorts of ammo and most likely if it persisted the same conclusion would come up. The firing pin and spring should be changed and the hammer inspected for damage. It should be noted that the hammer did have some minor wear that could potentially become a problem someday but most likely something else will fail before then. From there further testing would need to be done.
Final Thoughts: Diagnosing Light Primer Strikes
Luckily for me, this was a simple fix. I was not super worried and to be honest, I figured it was something like a dirty firing pin channel since the whole gun is normally spotless, the pin is not noticeably broken and its forced protrusion is fair to good with only a slight angle eroded. I have had this gun for a long time and that is basically the only spot I have not worried about. All is well now. Hope you enjoyed this attempt at armorer detective work! As I mentioned earlier if there is enough want for a model 1887 disassembly article, I would be happy to churn one out!
As always, thank you for reading TFB! Be safe out there, have fun while shooting, and we will see you next time for the TFB Armorer’s Bench brought to you by Wheeler, Tipton, Caldwell, and Frankford Arsenal! Also, let us know what you think in the comments below! We always appreciate your feedback.

Pro Range Glasses, Clear

The Caldwell® Pro Range Glasses feature a stylish wrap-around design and are a great choice for all shooters. They feature an adjustable nose piece and temples for all day comfort. The scratch resistant lens meets ANSI Z87.1 standards and offers 99.9% UV protection.
POWER SWABS – PISTOL CLEANING KIT, 500 COUNT
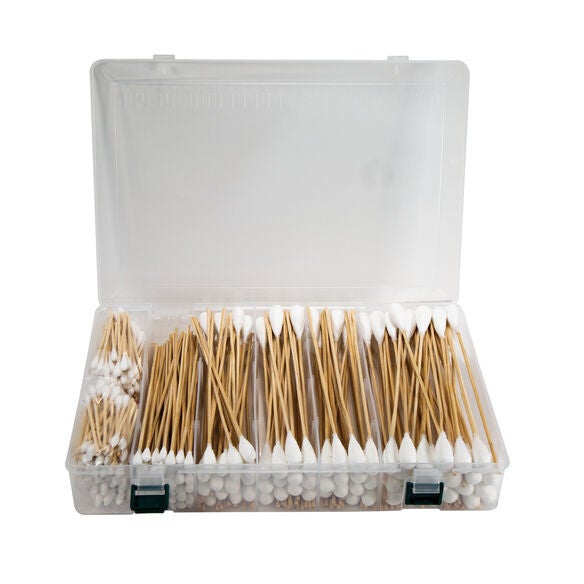
Tipton’s new Power Swabs are an essential part of your cleaning kit. They’re disposable, fast, and easy to use, plus they provide no-mess cleaning with all your favorite solvents and oils. They also fit lands and grooves better than a patch for maximum cleaning.
Universal Bench Block
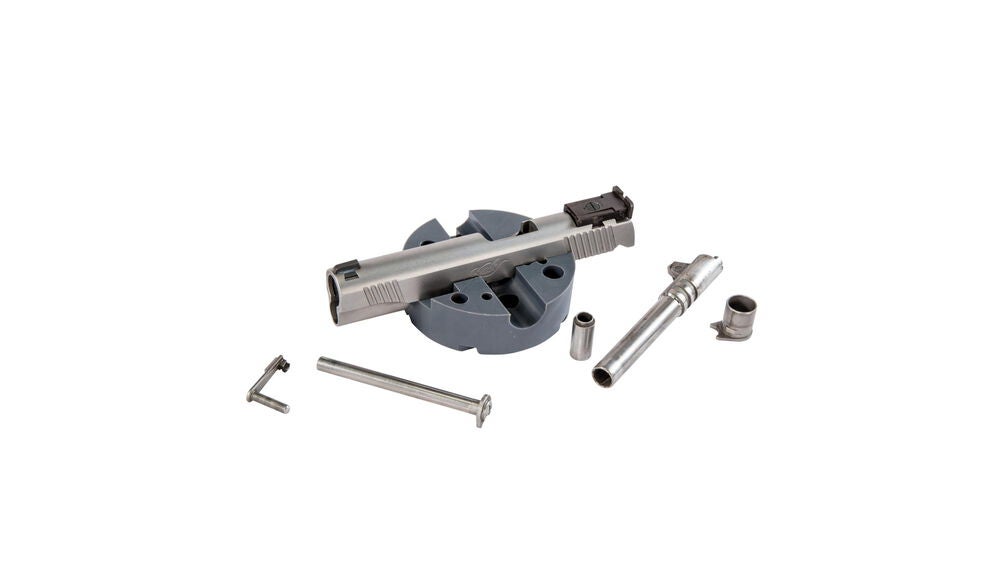
Made of non-marring urethane, the Universal Pistol Bench Block is perfect for use on M1911 pistols as well as other firearms such as 10/22s.
Tipton ULTRA GUN VISE
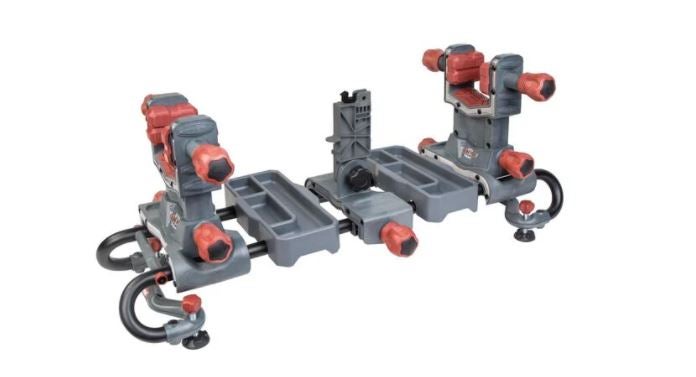
The Tipton® Ultra Gun Vise features a completely modular interchangeable design to allow virtually any shape firearm or crossbow to be cleaned and worked on with ease. The ball and socket articulating clamp pads allow for the pads to adapt to any surface. The dual clamp technology rigidly holds any firearm shape in place, while the rigid steel tube frame structure allows for complete access to your firearm or crossbow. The front and rear clamps are both height and length adjustable, and feature fast-turn knobs allowing for quick clamping. The solvent-resistant accessory and tool trays are movable and removable to stand up to even the toughest jobs.
Precision Micro Screwdriver Set