 Your Privacy Choices

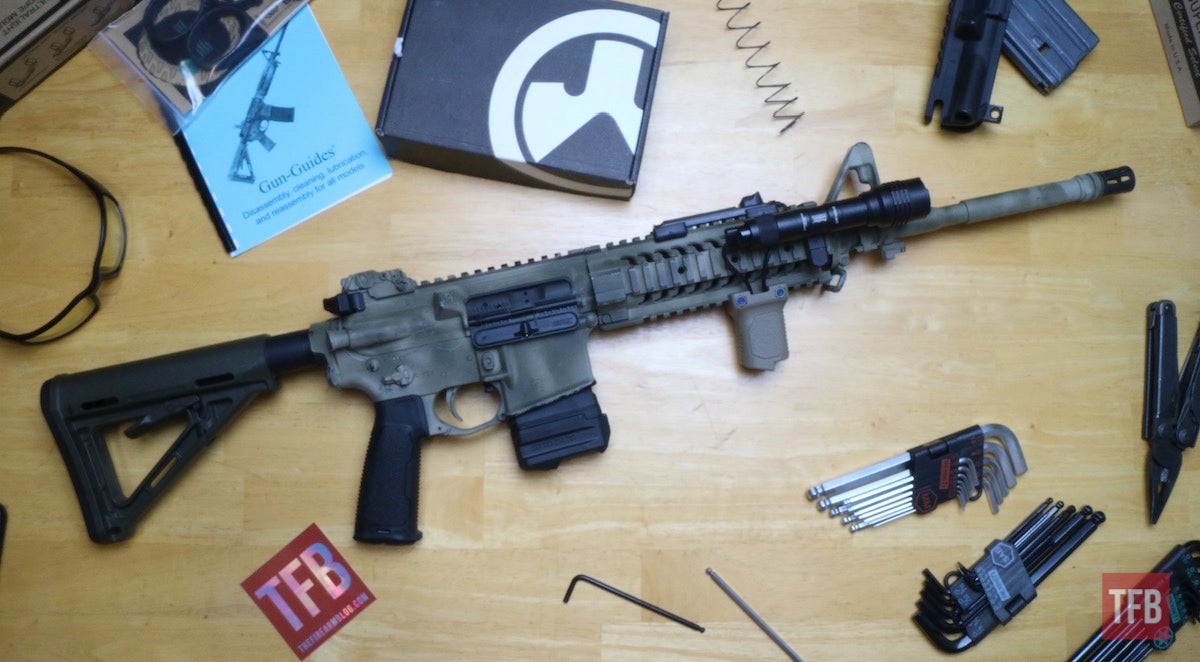
Welcome back to my escape from California bondage. This is Part 2. If you read the first part, you know what this is all about. If not, check it out Un-Californiaizing My AR-15 Part 1. We left off having completed the upper half of the rifle, sans optic. Again, we’ll be working on that in the third and final part of this series. As we stand, this is the rifle.
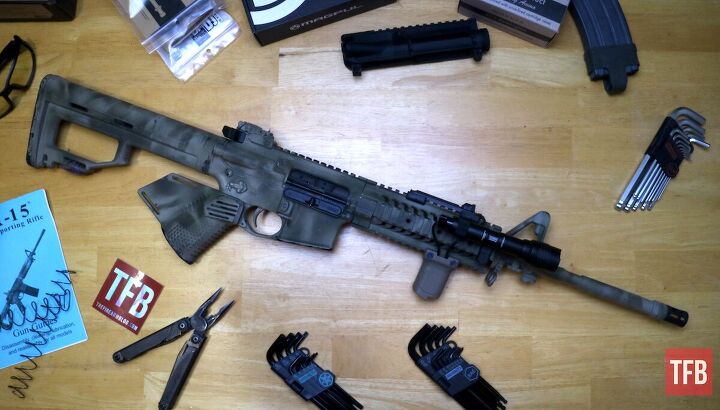
Un-Californiaizing My AR-15 Part 2 – The Lower Receiver
Not bad, right?! The lower is going to be much more involved. There were a lot of other changes I wanted to make, but there were a few other things to keep in mind. The budget was important to me. As I mentioned, I’m a husband and a father, and I don’t have the money to get all of the latest and greatest. What I do have is a love for function. A cool rifle would be great, but I’m here to build a functional one. The other major consideration is that I live in an apartment. I don’t have space for a workshop, so I also don’t have things like a vice. If you ask my wife, I have several vices, but that’s another article for another publication. All of that aside, we have a lot to do, so let’s get started.
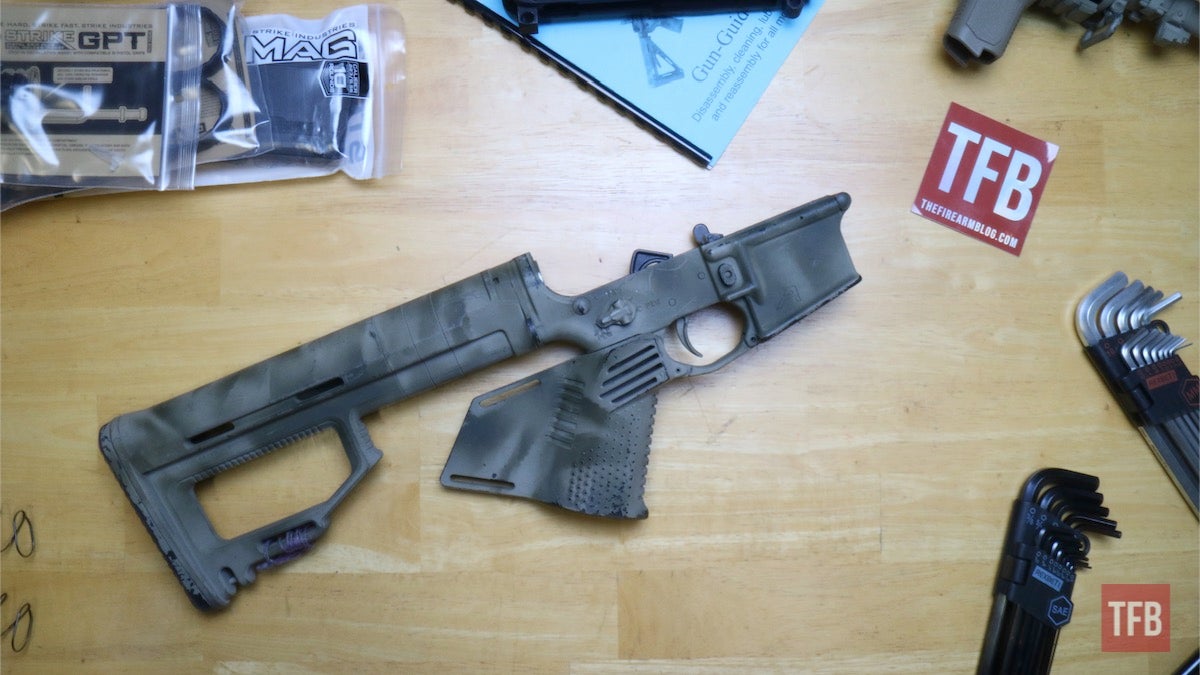
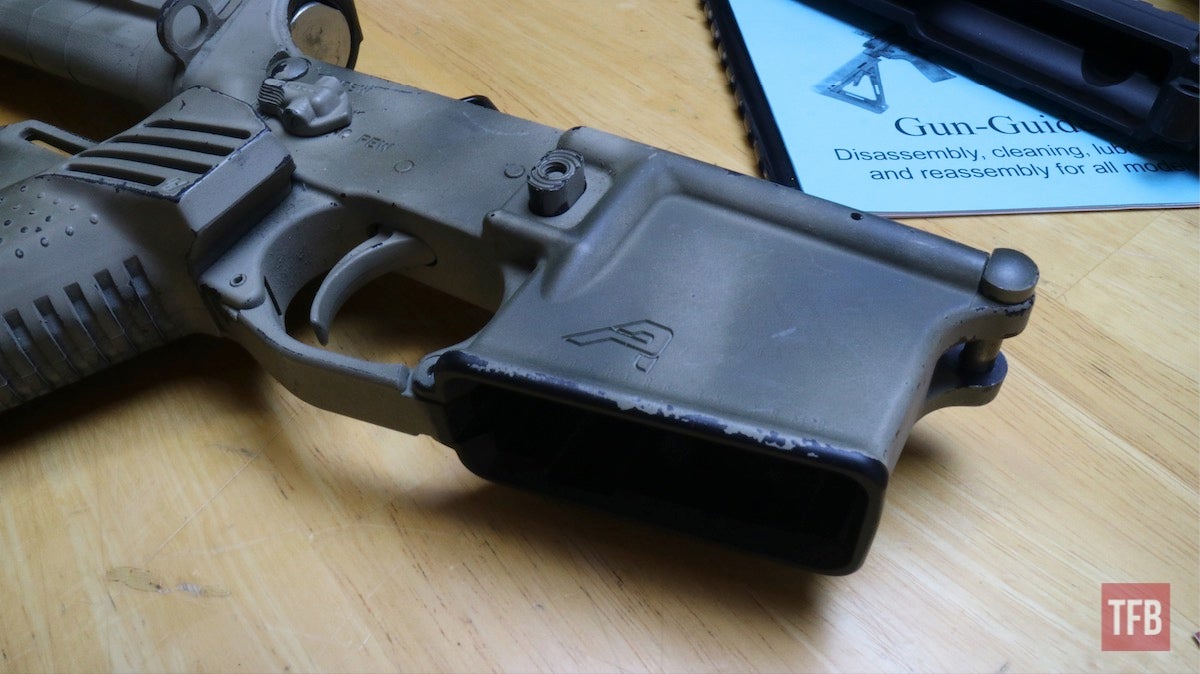
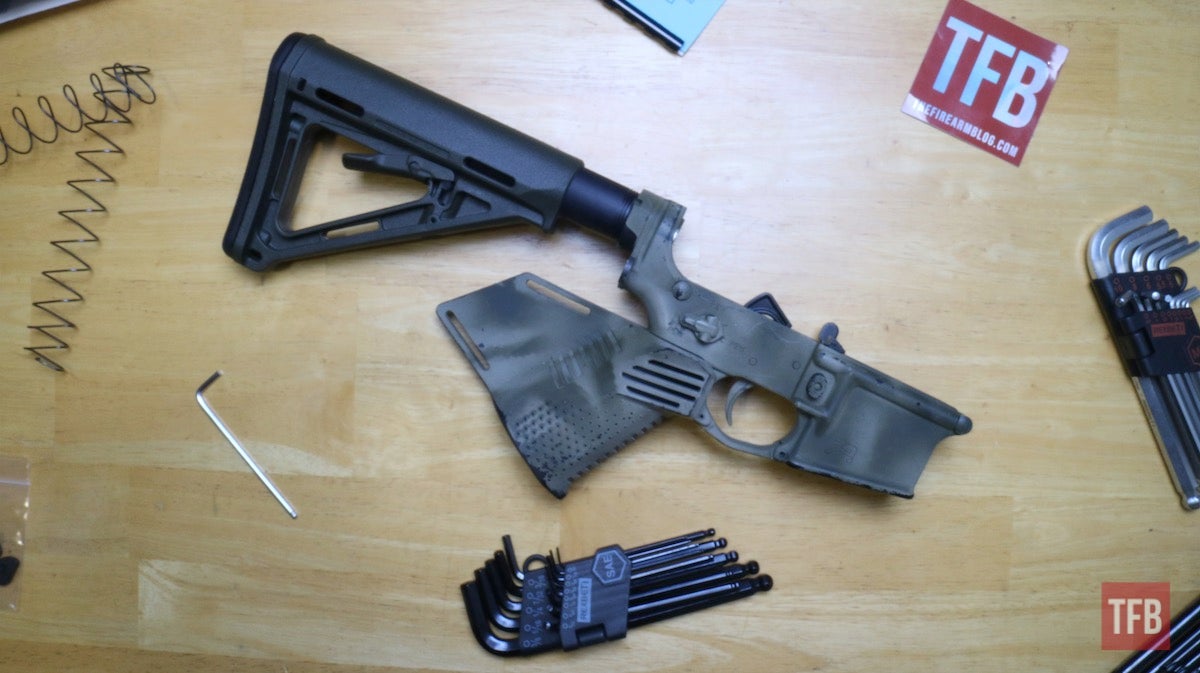
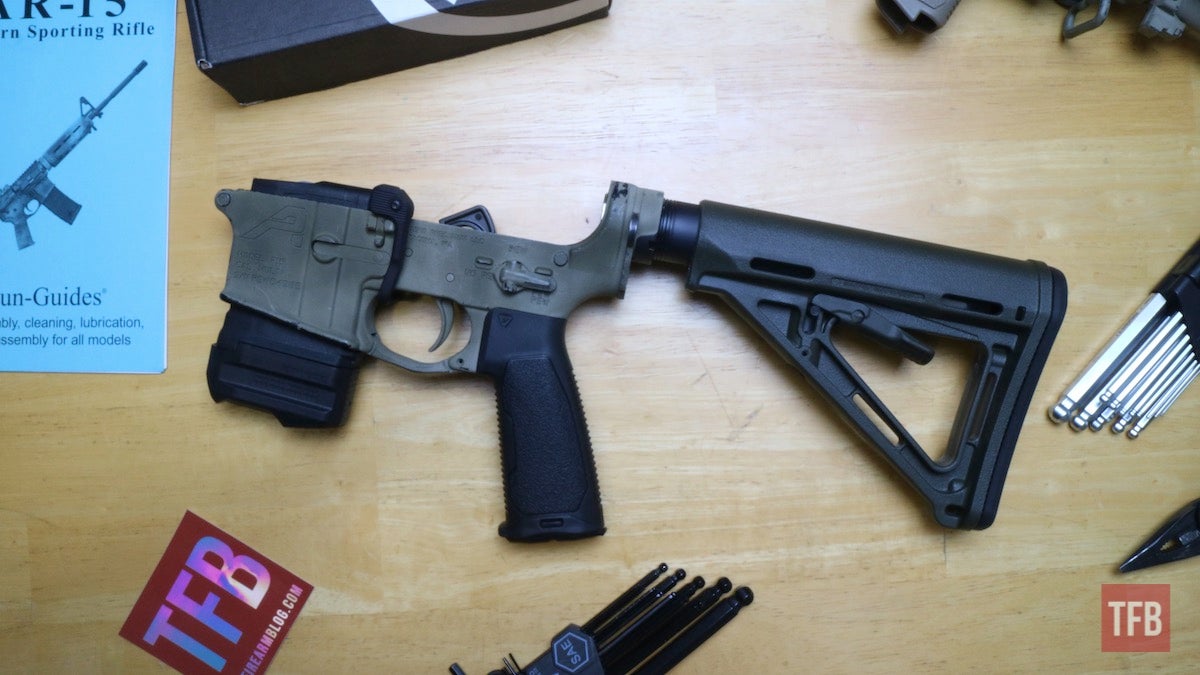
So, here’s what we’re starting with. The lower is built on an Aero Precision lower receiver.
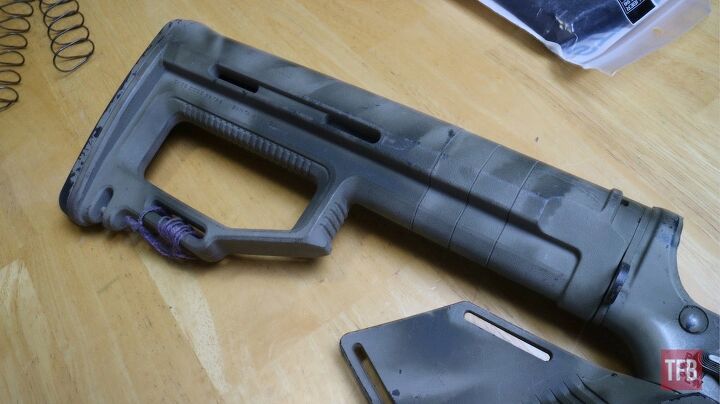
Out the back is a mil-spec tube inside of a Strike Industries fixed stock. I actually do really like this stock, but I’ve been unable to have a collapsable stock for too long. It’s gotta go!
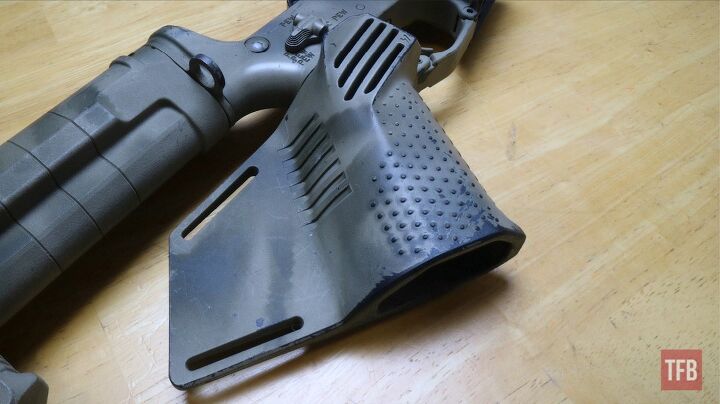
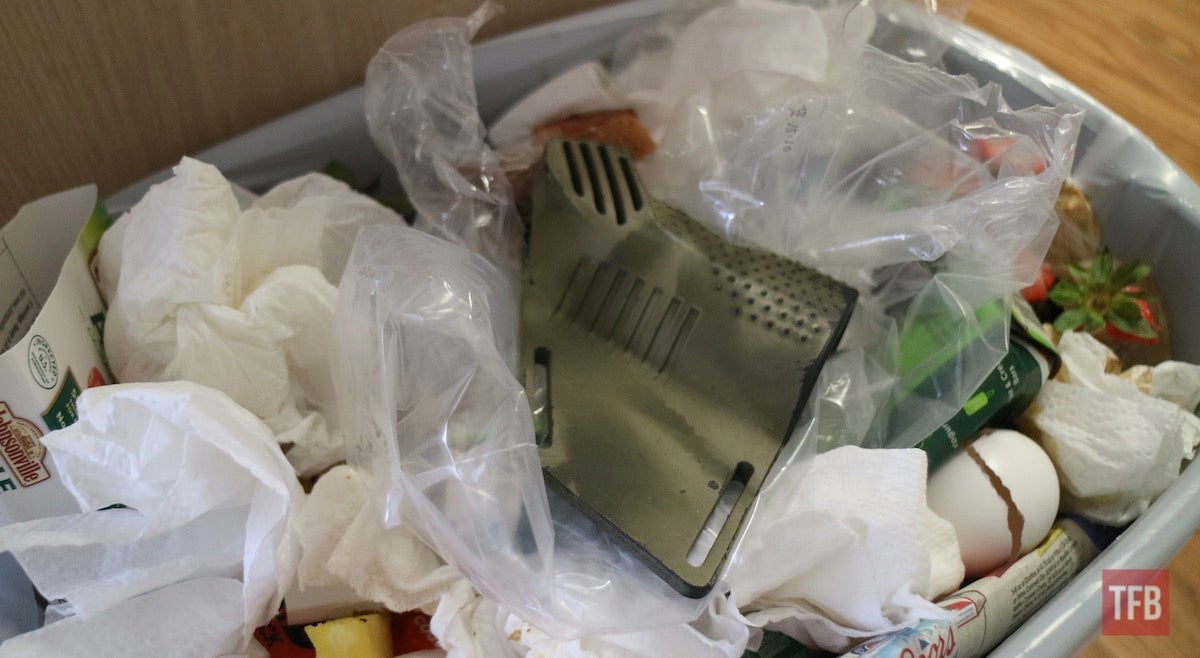
Also from Strike Industries is this abomination. This is the Strike Industries Megafin. Just like the stock, this grip really isn’t that bad. I mean, I hate it, but of all of the available options, it’s the best. Strike took the time to think about the best way to make it functional while adhering to California’s grip laws.
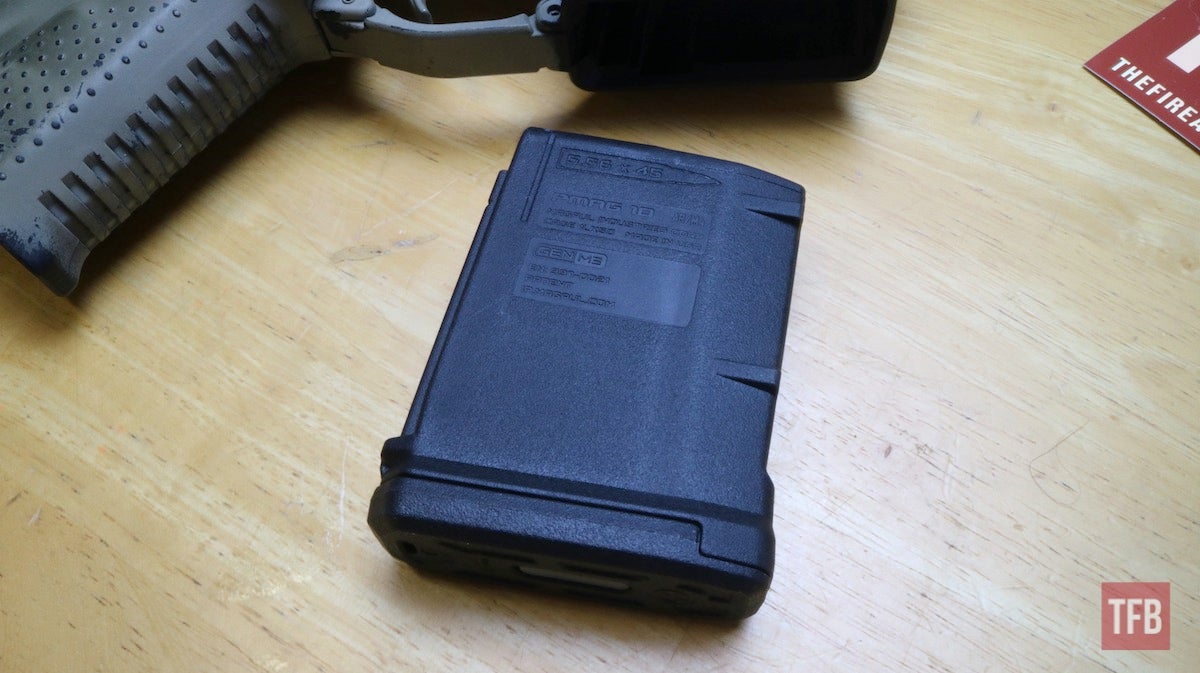
The last compliance part we need to fix is the magazine. While Colorado is pretty gun friendly, they do have this pesky 15-round magazine limit. As with most laws, there are ways for people to legally get around it. However, I’m making this article for everyone, including those who want an option that won’t make them nervous if a police officer pulls up to the range. So, we’re going to give this magazine a 50% freedom boost.
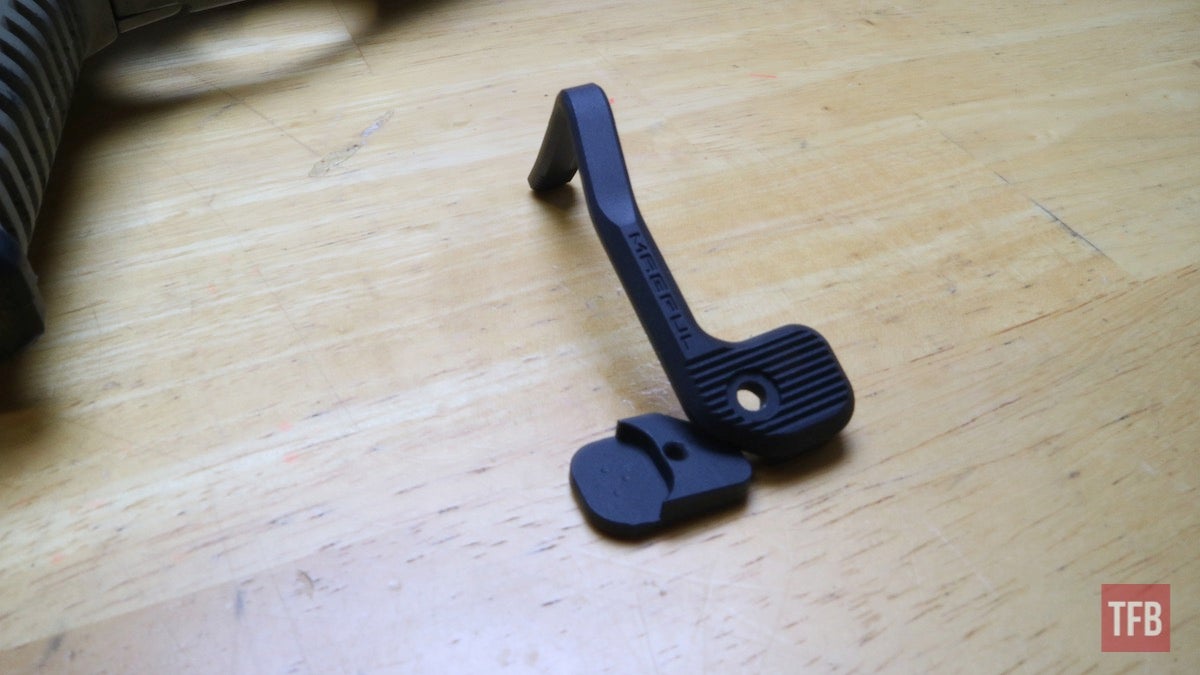
Lastly, and this has nothing to do with compliance, I’m installing a B.A.D. Lever. I really just hate how the bolt catch works on an AR. While it’s not difficult, it sure feels awkward, so I plan to remedy that. I’ve never used a B.A.D. Lever, so this should be fun!
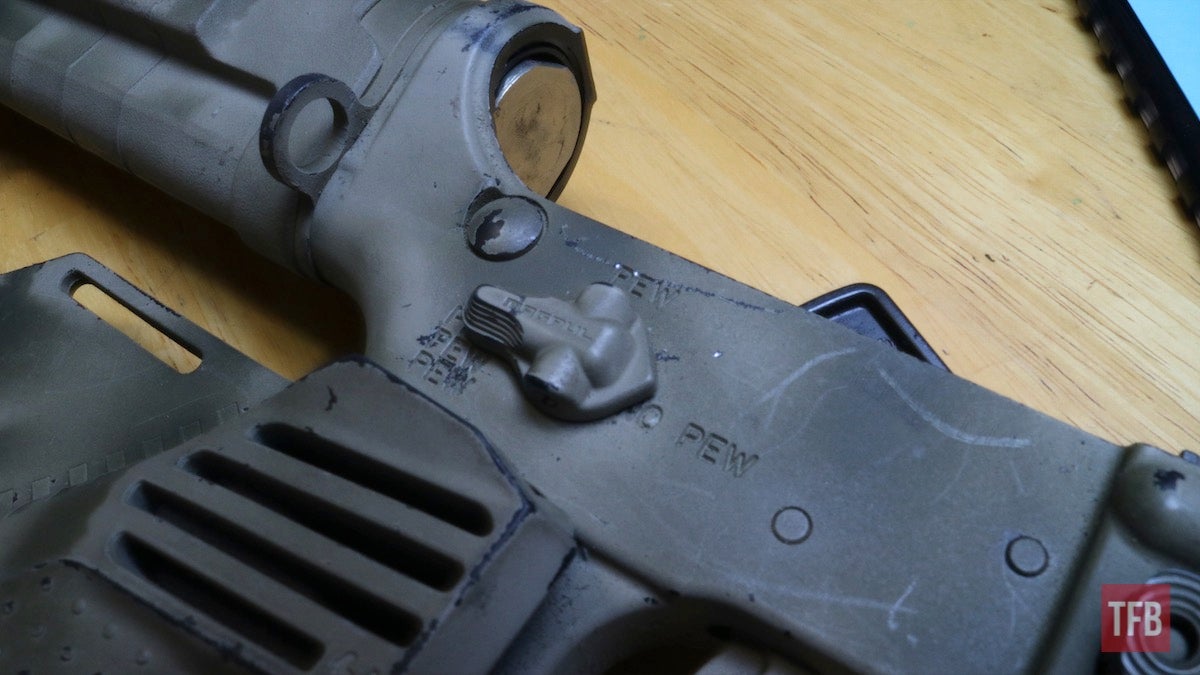
I also have a Magpul 60-degree throw ambi selector. I love this selector, and when running a fin, you need it. I have no plans to change it.
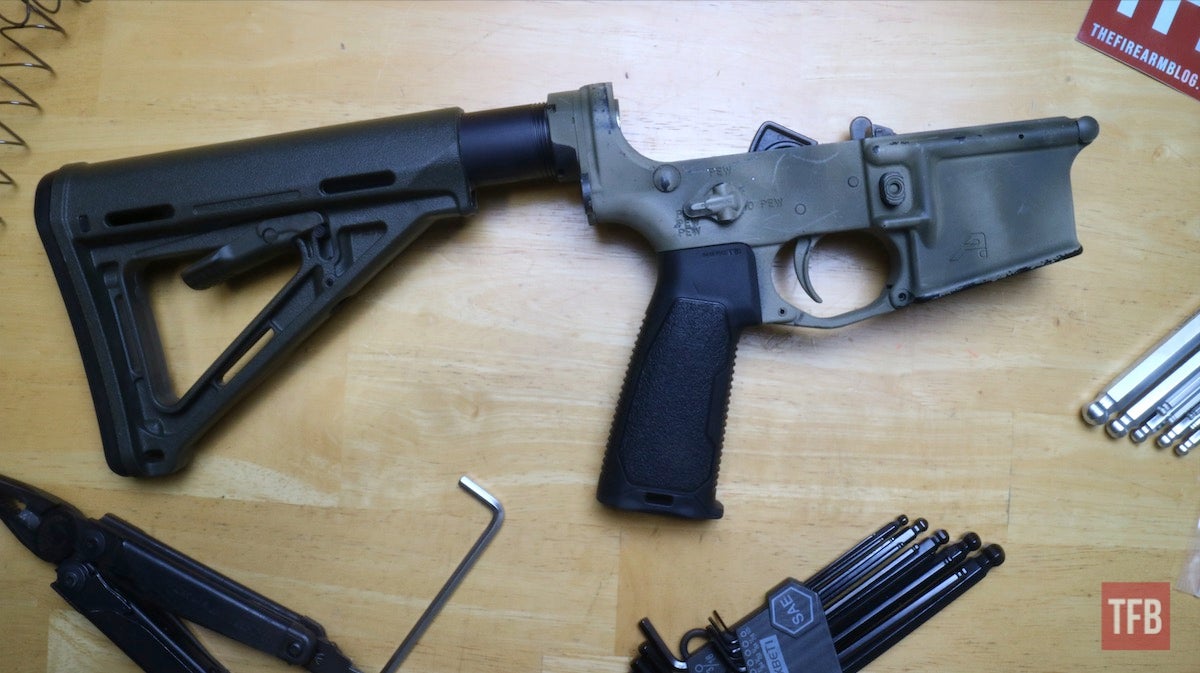
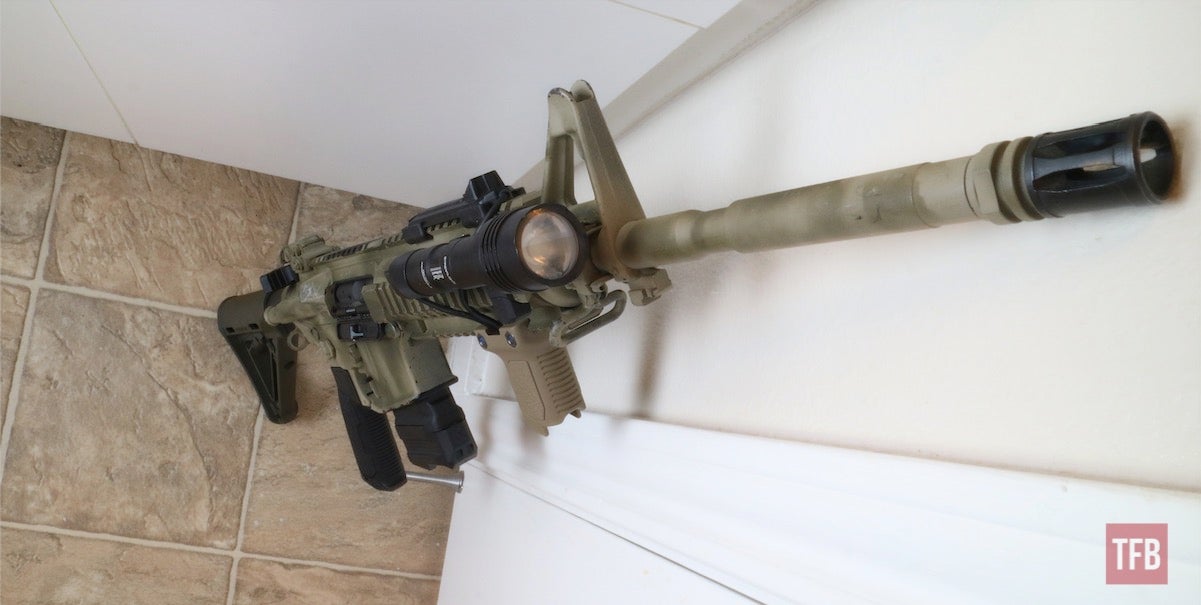
I know you’re all as itchy as I am to see that fin go away, but I’m going to start with the stock. I like to do things in order, and from the back, so we’re all going to have to be patient. I’ve chosen to replace the stock with a Magpul MOE Carbine Stock. After removing the Strike Industries stock, installing the MOE is easy. Simply slide the stock over the tube, and lock it down. Done.
Okay, NOW it’s time for the grip. I can smell the freedom already. Now, if you’ve never installed an AR-style grip, the removal of the old grip is actually the “difficult” part. There’s a detent spring that’s just waiting to coax every word you don’t want your kid to learn out of your mouth. To avoid this problem, all you have to do is go slowly and keep the grip facing the sky.

After that grip is off of the gun, installing the new one is simple. Just line up the spring, wiggle the new grip onto the receiver, and screw it down with a 4.5mm hex key. I opted to use a Strike Industries 15-degree AR Flat Top Overmolded Pistol Grip.
I also put a Strike Industries Pistol Grip Plug Tool Holder Insert in the grip for storage of some essentials.

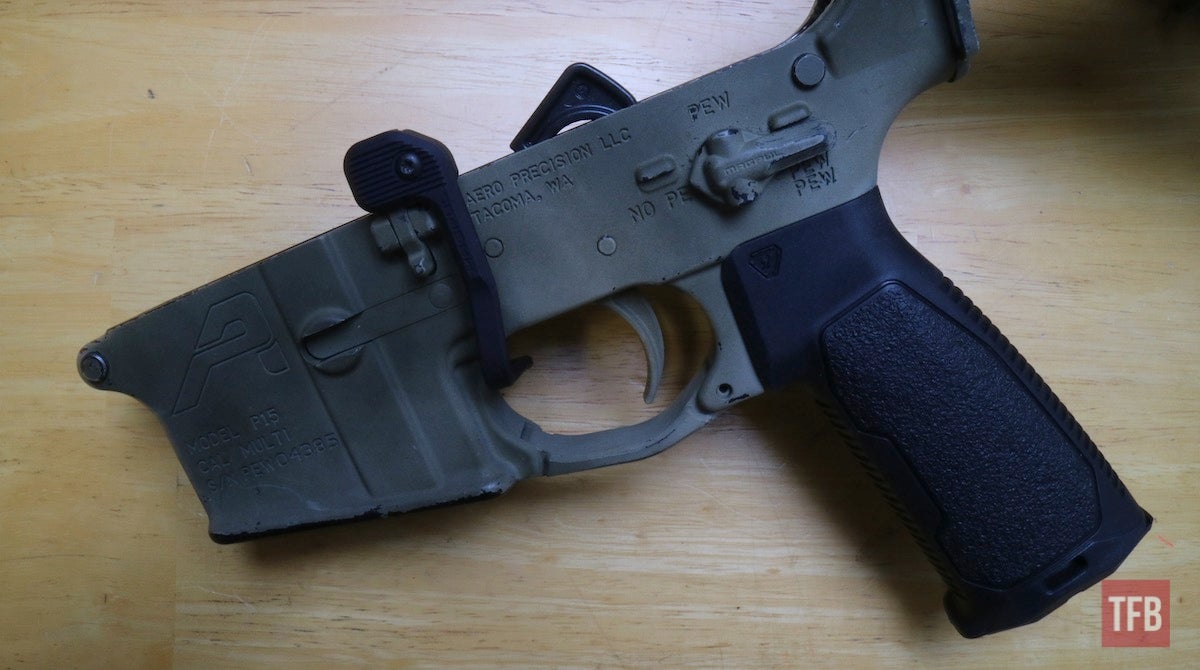
Next is the B.A.D. Lever. If you don’t know what it is, the lever attaches to the bolt catch, and allows the operator to lock the bolt rearward using their trigger finger. Installation is simple. Just sandwich the bolt catch between the front and rear parts of the B.A.D. Lever and screw it on. It’s so quick, you have extra time to go make that sandwich I just made you want.
As I mentioned before, Strike Industries makes a really strong effort to make compliant parts usable. Their EMP baseplates are no exception. Living in a state with a 15-round capacity basically limits you to 10-round mags, because nobody really makes 15s. However, with Strike’s EMP for ARs, you can add five rounds to a 10-round PMAG.
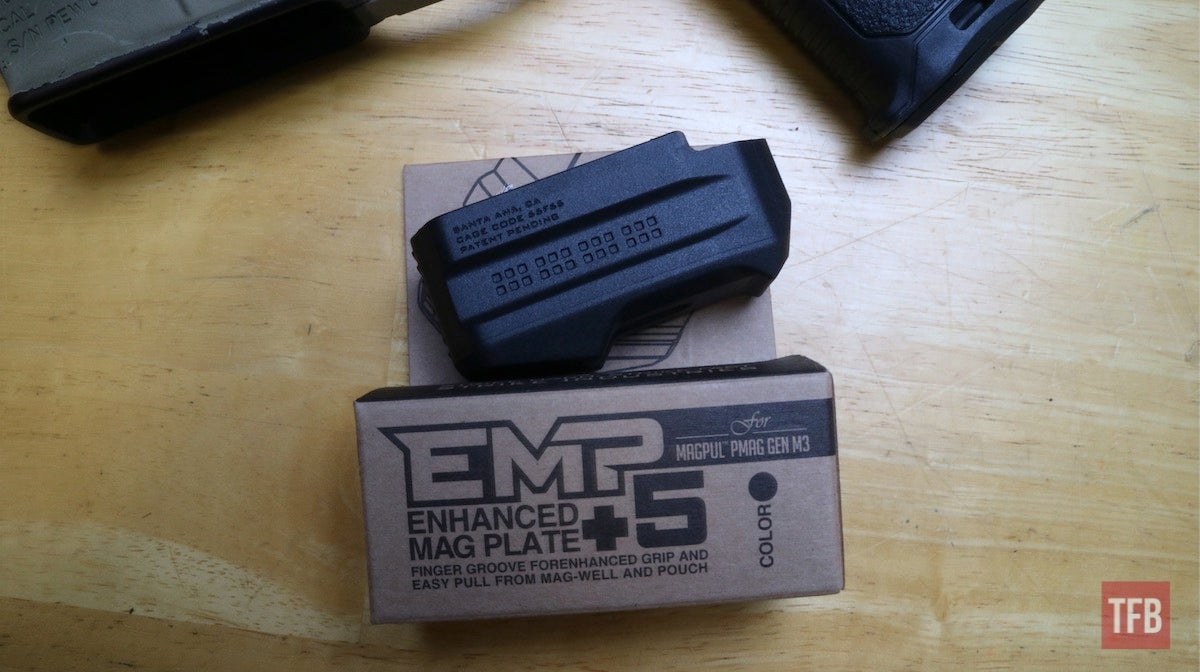
I don’t hate the length of these mags, especially if you’re going to be shooting from prone. I think that 20-round mags are the perfect all-around length, but I’m not about to permanently limit one. To install the EMP, slide the existing baseplate off of your PMAG. Then slide the EMP on, and you are now five rounds freer.
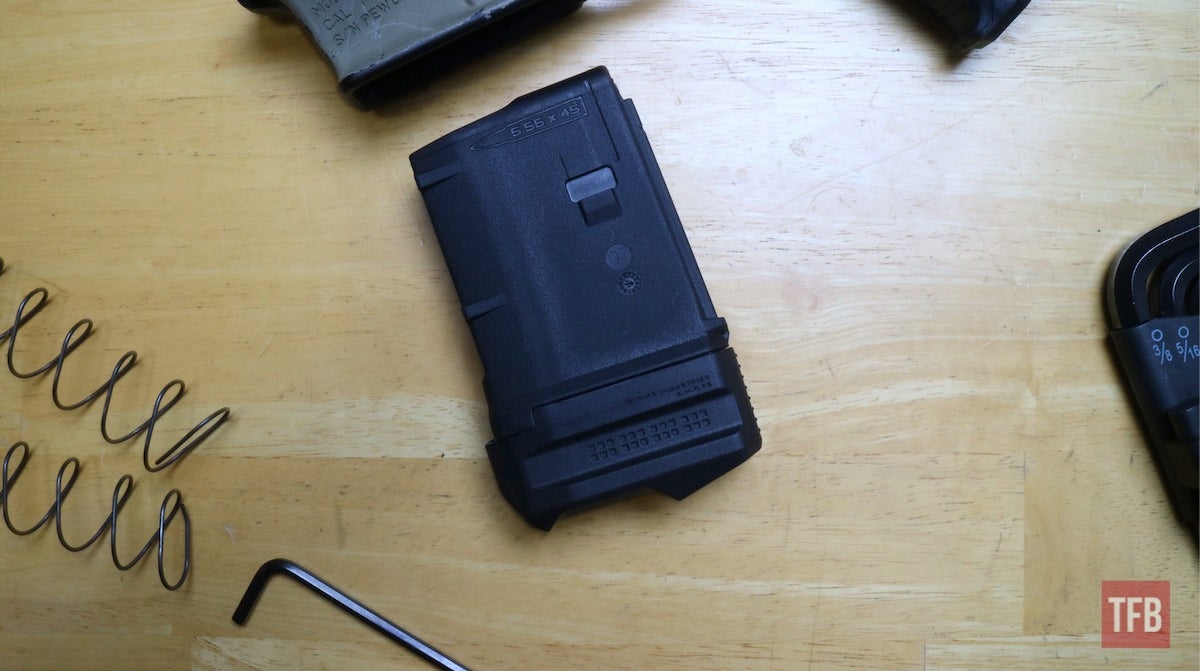
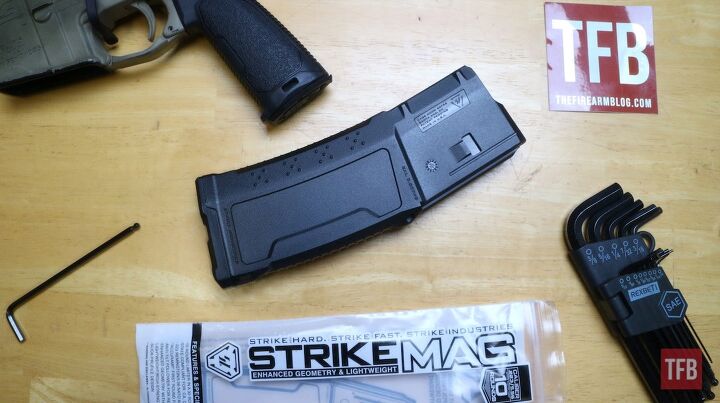
Strike also has another option to help me stay legal. They make their Strike Mag in a 10/30, giving me the length of a 30, but with a 10-round maximum.
So, here she is!
We’re one article from a completed and tested non-California compliant rifle. Stick around for Part 3, where we’ll look at optics, do some shooting, and maybe even update the paint job. See you next time!

If you’re interested in any of the parts I mentioned in part 2 of this series, below is a list with links: