 Your Privacy Choices

Recently, due to the reaction of the U.S. government to Coronavirus, my day job has become 100% remote work. I work in the television industry, which has always meant one horrific thing. I was stuck living in Los Angeles. I was born and raised in LA, but as I got older and my priorities changed, I realized how much I hated living there. I started planning my escape in my early twenties, and when the opportunity to leave presented itself, my wife, baby, and I jumped on it. Our last day as California residents was Christmas 2020. We now reside in beautiful Colorado and couldn’t be happier. As an avid gun and self-defense enthusiast, the new opportunities before me were almost overwhelming. Suppressors? Binary triggers? No handgun roster? I wanted to drive straight to the nearest gun store and buy them all. Unfortunately, that would be hell on our bank account, so I had to pick a place to start. One of the most hideous affronts leveled against my passion for firearms is the illogical and ignorant laws surrounding AR-15s. I had a California compliant AR, and that knowledge made me churn and boil inside like I was filled with fiery magma. Welcome to my mini series Escape From Bondage: Un-Californiaizing My AR-15 Part 1.
Un-Californiaizing My AR-15 Part 1 – The Upper Receiver
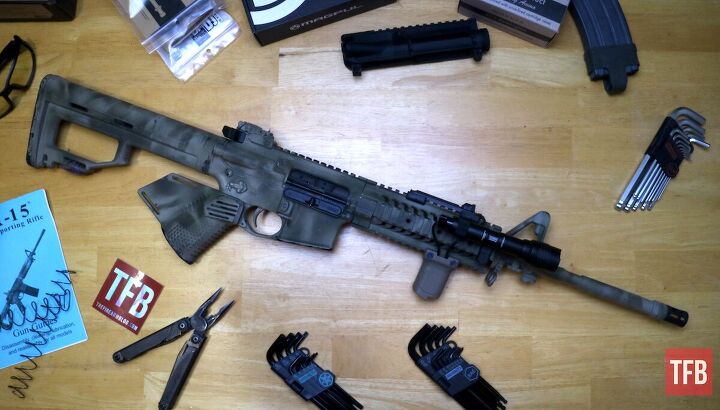
WARNING: If you are easily disturbed, the following images of a California compliant AR-15 can trigger sudden dizziness and vomiting.
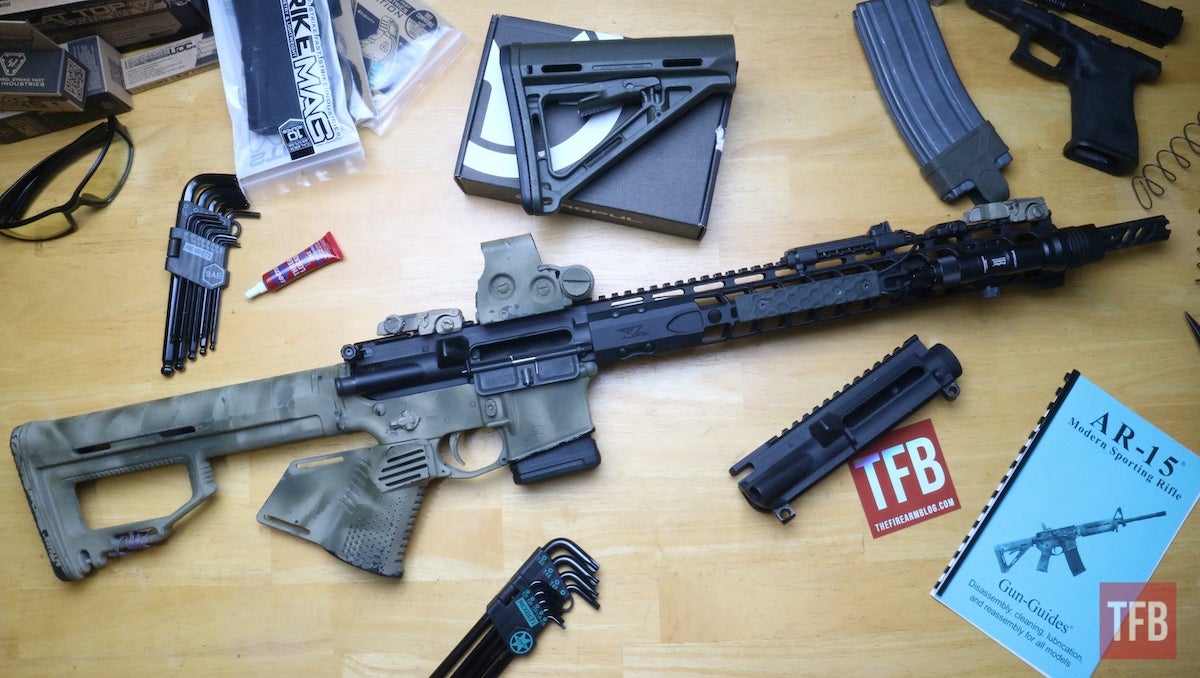
Now, I’m cheating a little bit here. The upper pictured above isn’t the one I’ll be working with. That is an upper from another AR (F-1 Firearms FDR-15), shown to give us a truly compliant starting point. Below is the one we’ll be changing.

The first image is 100% compliant as a featureless rifle. To start this journey, I’ve swapped it with this Stag Arms 2HT upper, which isn’t compliant because it has an A2 flash hider and a bayonet lug installed. I considered adding a bayonet to this build, just as a giant middle finger, but ultimately decided against it.

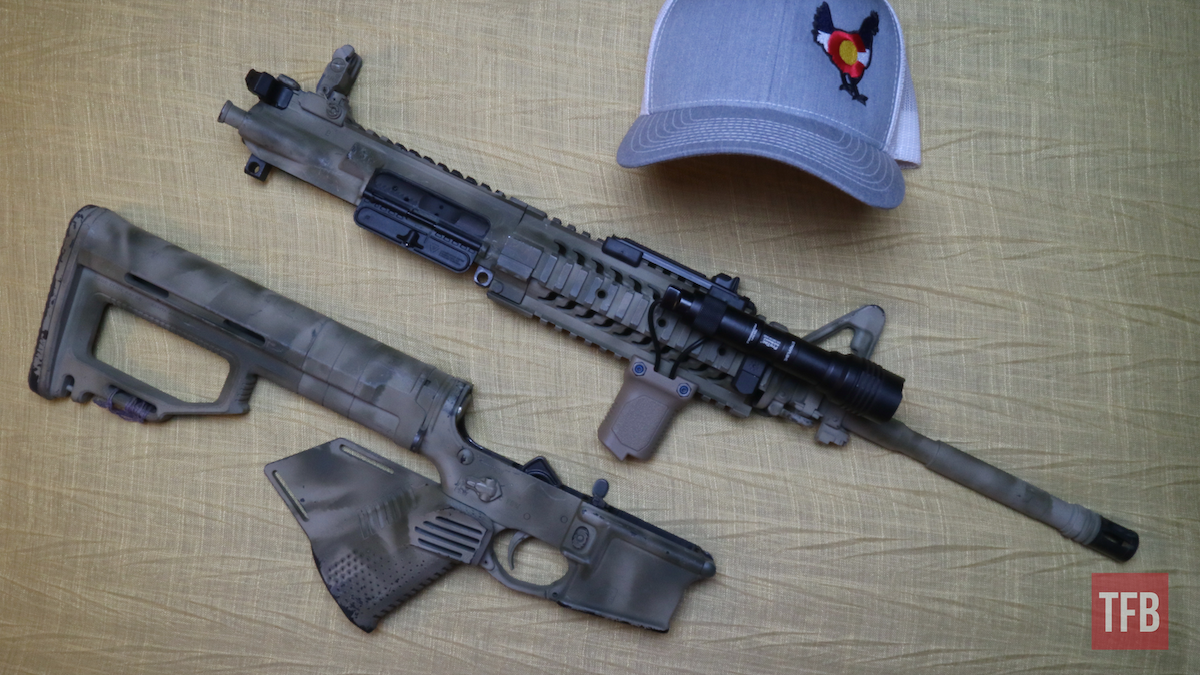
This upper has a 16” government profile barrel. It’s chrome-lined and uses a 1:9″ twist. While not as popular now, it has a fixed A2 front sight post, and I think it’s kind of hot. Notice the scary A2 birdcage.
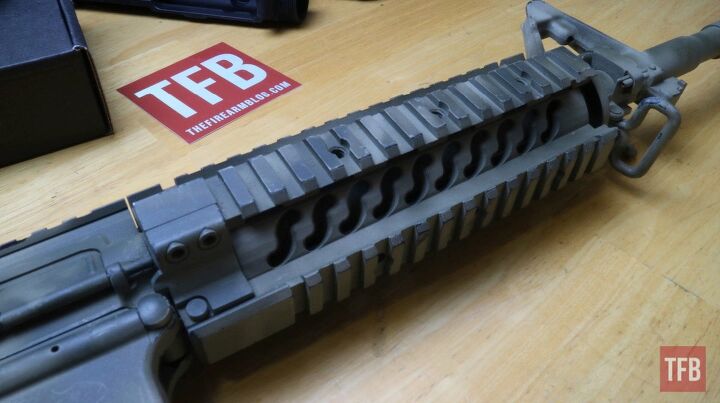
The fatty quad rail might be outdated and heavy, but I like the grip it provides me. It also brings me back to what was popular when I first became really interested in firearms. There’s something to be said for a hint of nostalgia.
It’s chambered in 5.56 NATO and uses a Mil-Spec manganese phosphate coated M16 bolt carrier group and charging handle.
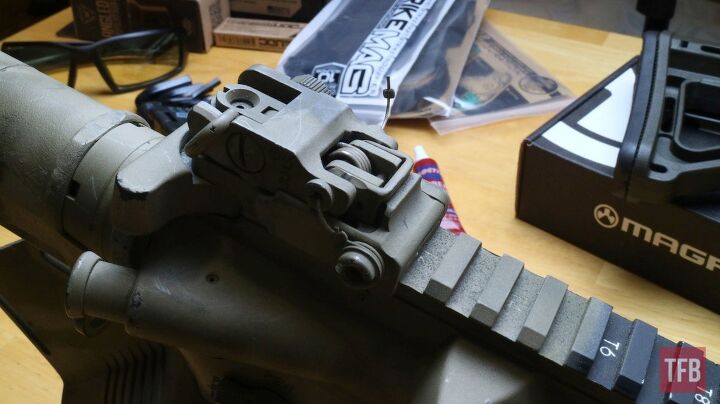
The rear iron sight is an A.R.M.S #40L Low Profile Rear Sight. It’s not the easiest to activate and deactivate, but it’s a backup. If I already have the part, I don’t see the point of spending money to replace it at this point.

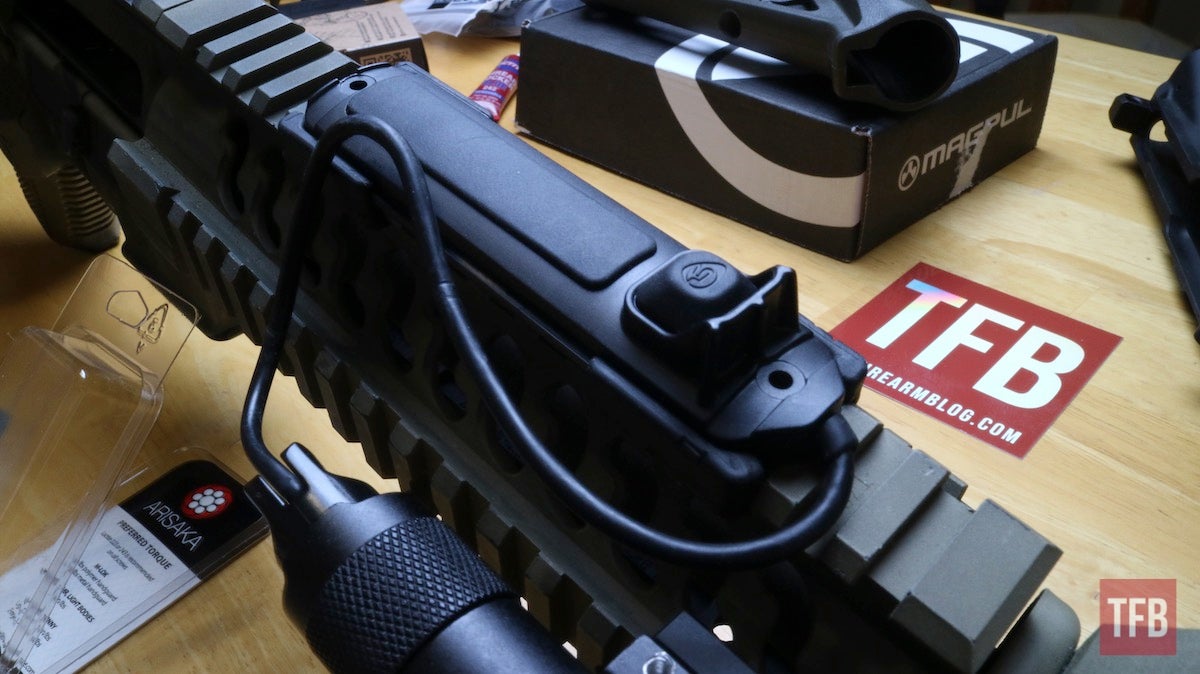
Starting at the front of the gun, we’re going to add a light. Remember, I’m a family man, so this will be a budget-ish build. If you’re here for all the Gucci parts, you’ll be disappointed. I’ll be mounting a Streamlight Protac Rail Mount II with an Arisaka Side Scout Mount. The quad rail is chunky enough, so bringing that light in tight is a huge help.
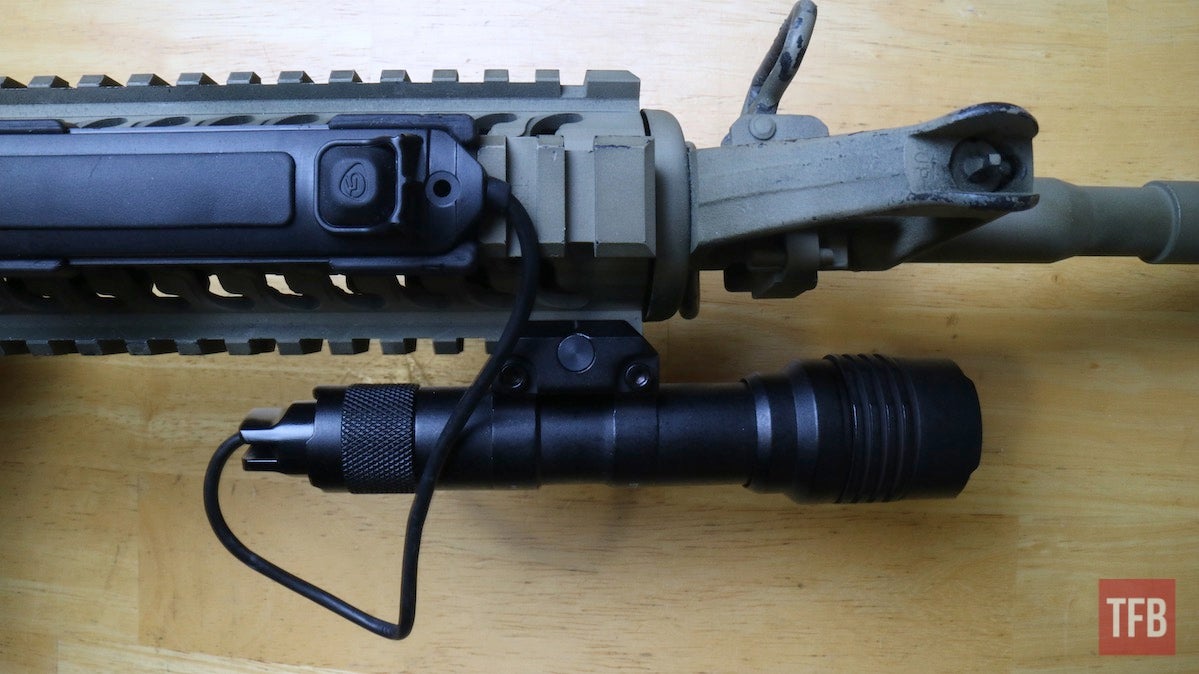
Notice how far the light sticks out without the offset. The Arisaka mount is easy to install. Just a little blue Loctite and a T20 wrench, drop your light in, and you’re good to go.

I’ll then fasten the tape switch to the top rail for ambidextrous activation.
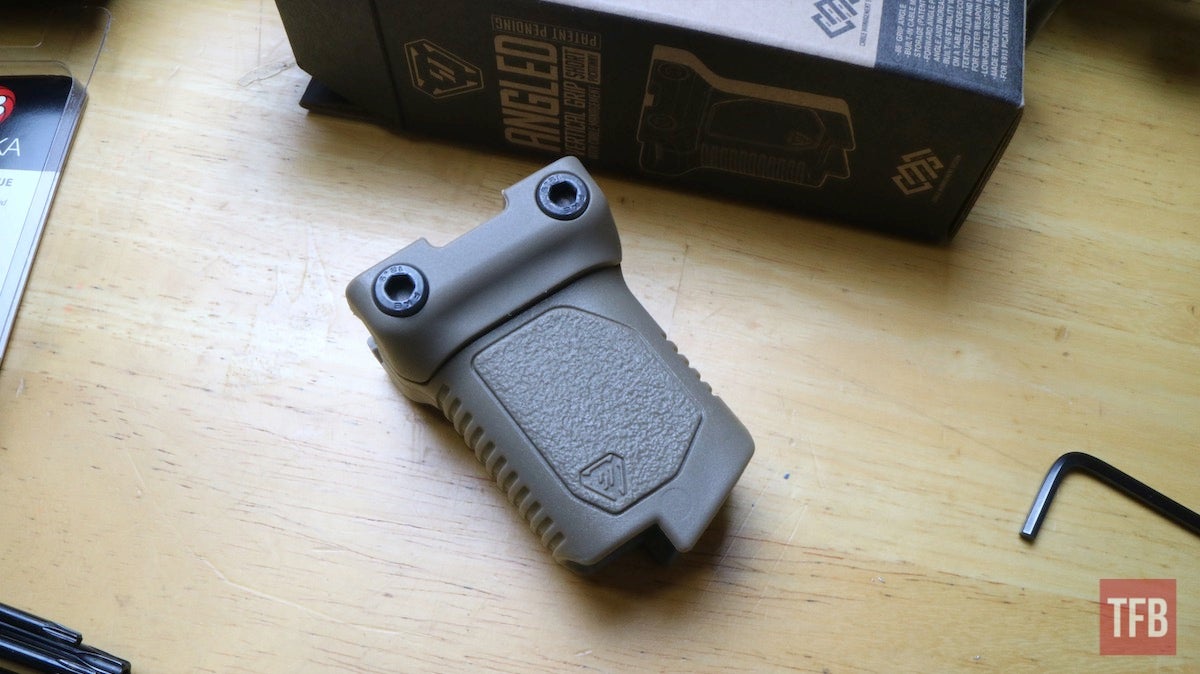
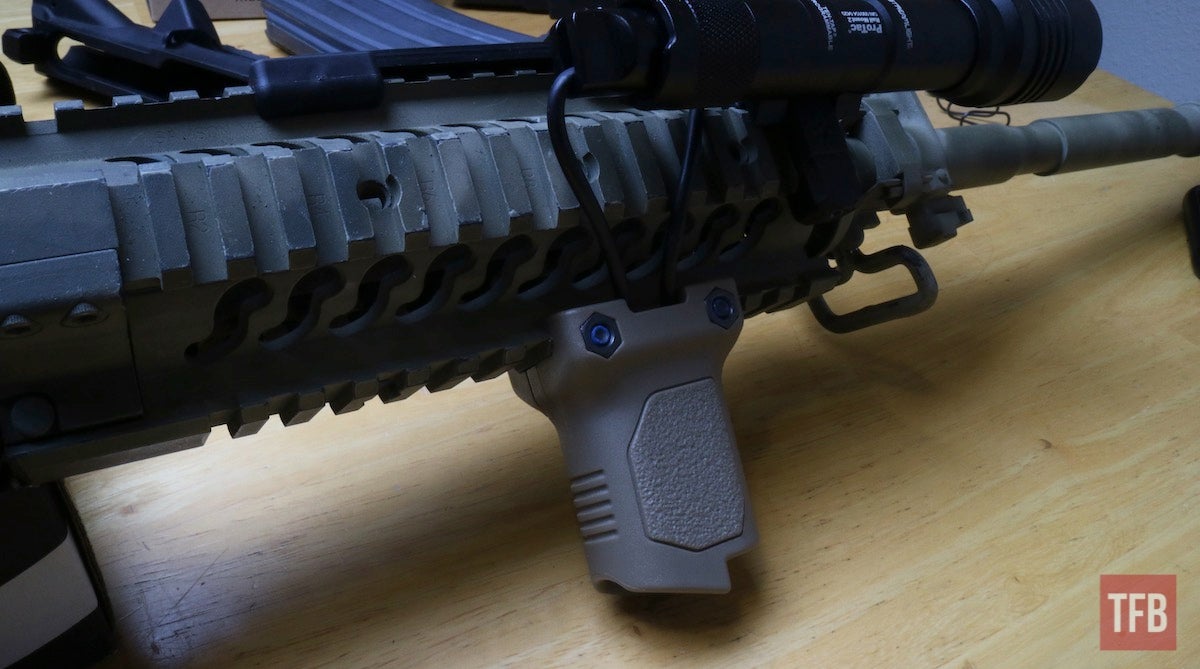
Another thing that California hates is vertical grips. This is apparent when you see movies made in Hollywood where the character doesn’t know how to use one. Because of the light, I wanted something with some cable management capabilities, so I opted for the Strike Industries Angled Vertical Grip with Cable Management.
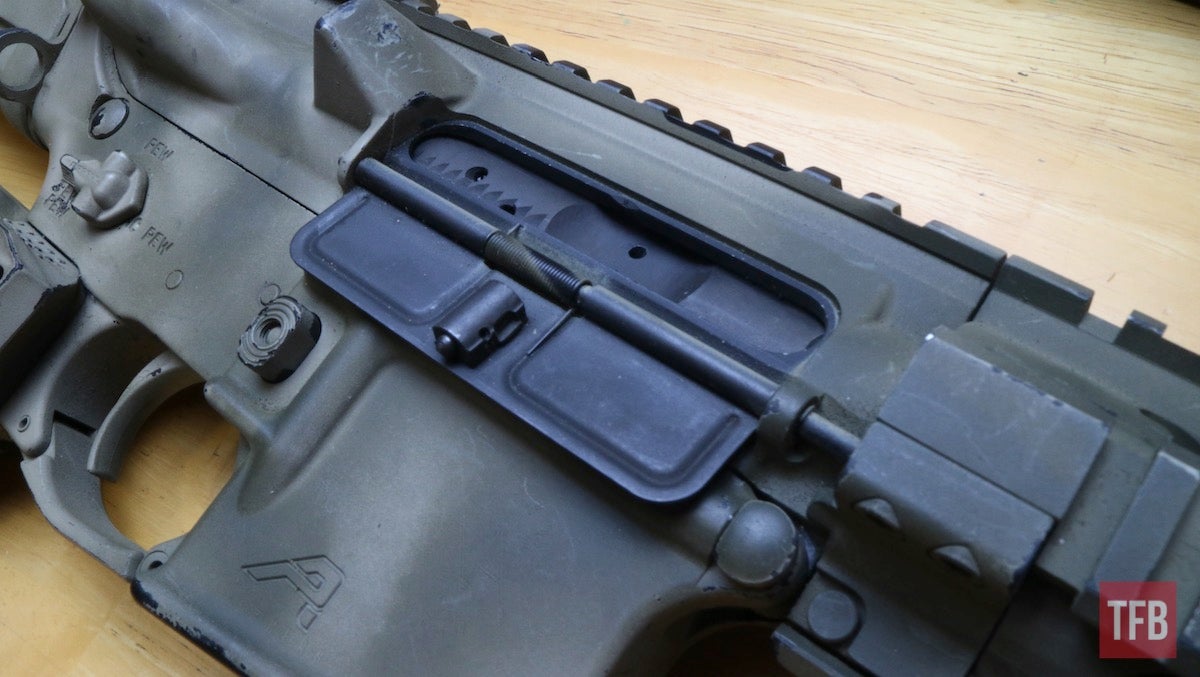
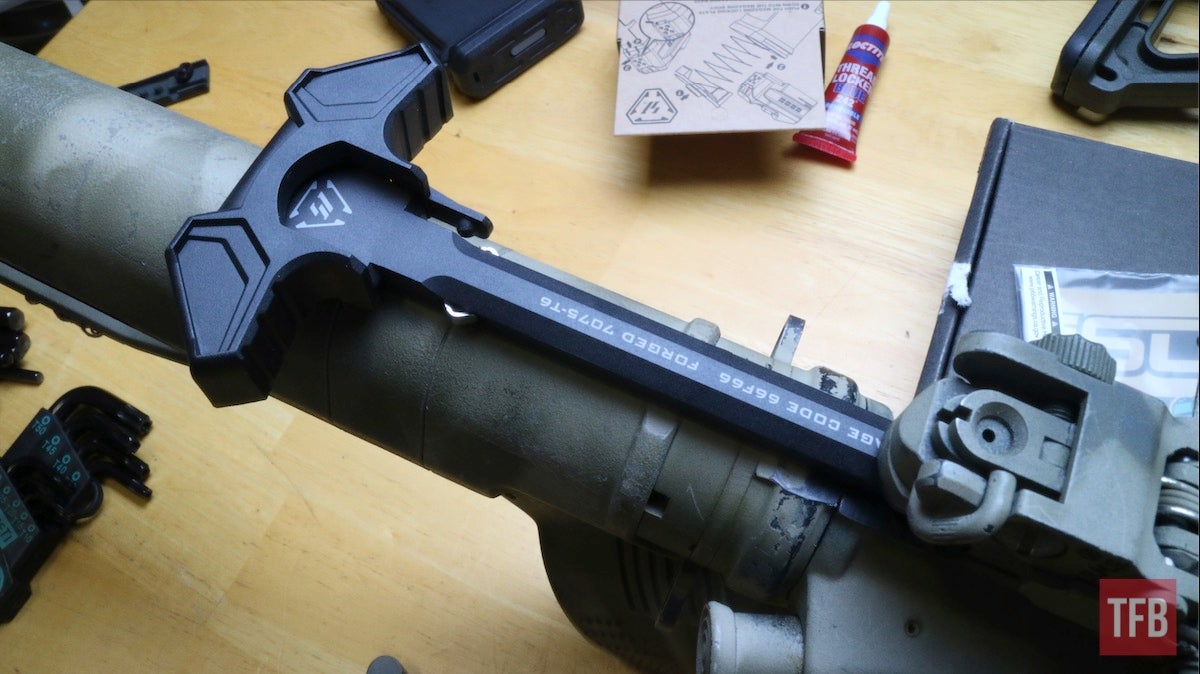
There aren’t any compliance reasons for changing the charging handle or dust cover, but we need to have some fun, right? So I decided to swap them for the Strike Industries Latchless Charging Handle (with Polymer ISO Latch) and the Overmolded Ultimate Dust Cover.

With that, the upper half of the rifle is complete. Well, almost. I’ll be adding an optic later, so for now, we’re moving on. Stay tuned for the next installment where we’ll tackle the lower receiver. I hope you enjoyed Un-Californiaizing My AR-15 Part 1. Let me know all of the things you hate about my gun in the comments. See you next time!

If you’re interested in any of the parts I’ve mentioned so far, below is a list with links: