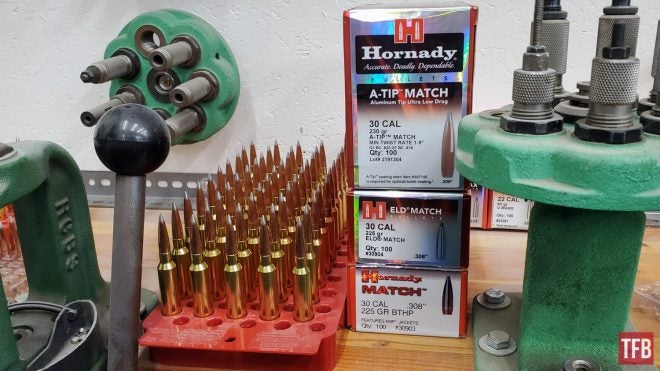
Extreme accuracy reloading is how you determine just how accurate your rifle truly is. Last year I reviewed the Ruger Precision Rifle Magnum in 300 PRC. During that review, I was averaging 0.6 MOA groups using Hornady 300 PRC 225 Grain Match Ammunition. I purchased the rifle shortly after that review, and several months later spotted Hornady’s new A-Tip projectiles on shelves. Keen to see just how accurate this Ruger could be with these new projectiles I promptly bought a box and set off to work up a precision hand load for this rifle.
Extreme Accuracy Reloading: Hornady A-Tip
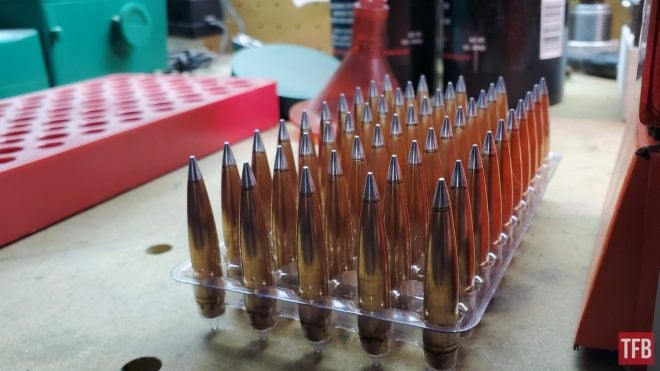
Hornady A-Tip projectiles
Measuring O.A.L.
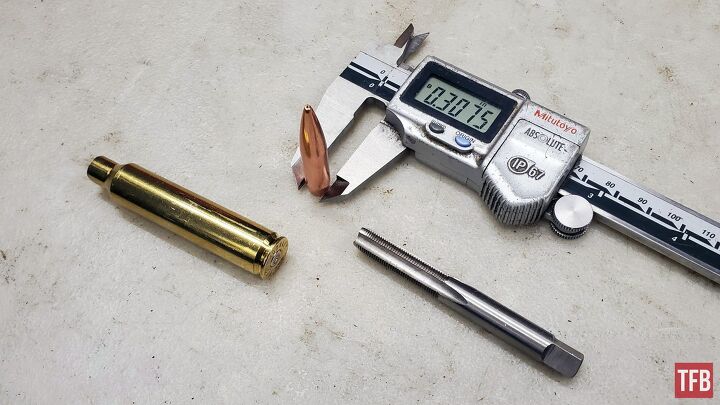
Making a modified case for use with Hornady O.A.L. gauge
Overall Length or OAL is used to determine how far back the bullet should be seated from the lands (where the rifling begins) in the barrel’s freebore. Instead of purchasing a modified case from Hornady, I opted to create one using a once-fired case.

Drilling the 300 PRC case prior to 5/16″x 36 RH tap
Using a 50 BMG collet die to hold the spent brass in place, this assembly was then secured in a vice. Using a 0.290″ drill bit (letter gauge “L”) the center section of the case was then drilled out, and subsequently tapped for 5/16″x 36 RH. This would allow it to be used with the Hornady O.A.L. tool.
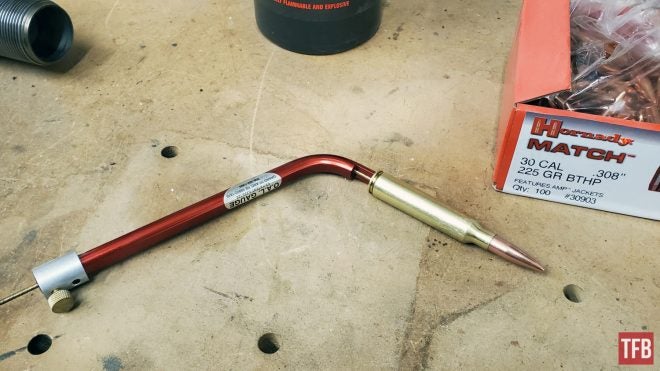
Hornady O.A.L. case gauge assembled
It’s important to note that each bullet type will have its own overall length. If you’re planning on reloading multiple projectile types and weights you’ll want to take note of each separately.
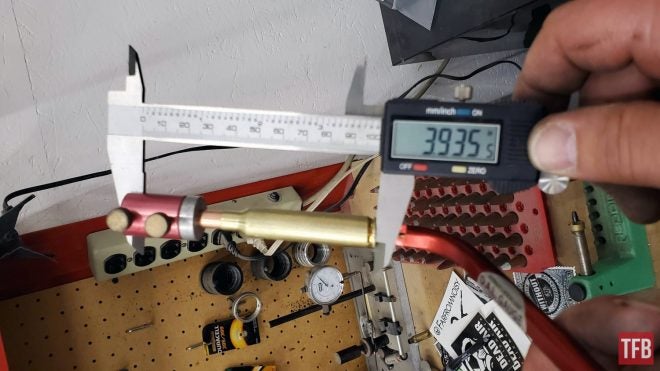
Hornady A-Tip O.A.L. RPR Mag
With the projectile inserted into the case, it was then inserted into the rifle’s chamber using the tool and pressed all the way forward. With the bullet pushed all the way forward to the lands, the tool is then removed, and you’re able to measure your overall length with a set of calipers.
In this instance, the leade in the rifle’s barrel was well over the maximum Combined Overall Length or COL of 3.700″ for this cartridge. Typically it’s best practice to seat the projectile .003″ off the rifling lands. As the leade was so long in this chamber, I opted to seat the projectile at the recommended Hornady length of 3.685″ for 300 PRC A-Tip.
Advanced Case Prep

Precision reloading tools
With factory new or fired brass, there are a couple of extra tools and steps you can take to make sure your hand-loaded ammunition is as perfect as it possibly can be.
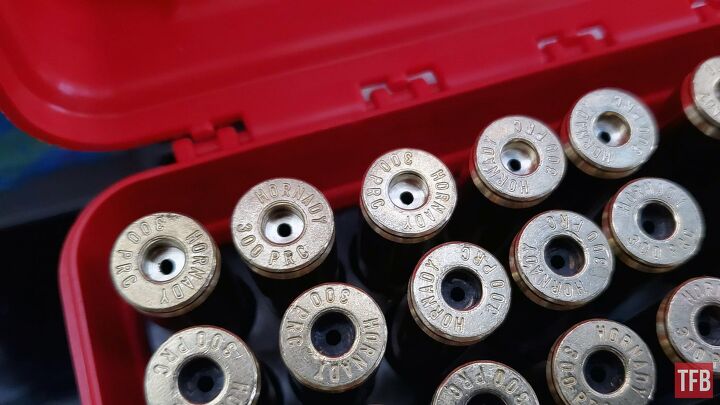
Uniforming primer pockets
The first of these tools is an RCBS Primer Pocket Uniforming Tool. This will true both the walls and bottom of your primer pocket and will make sure all your primers are seated perfectly.
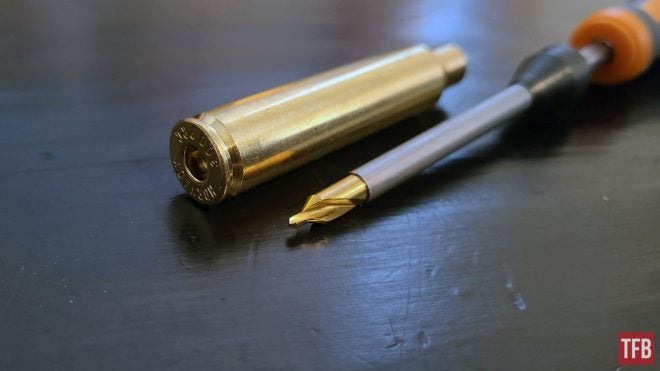
Lyman Flash Hole Uniforming Tool
With the primer pockets now uniform it’s now time to make sure the flash holes are uniform as well. Flash holes are punched in cases during production, and a tool like this Lyman Flash Hole Uniformer will remove any burrs around the hole and uniform the hole itself.
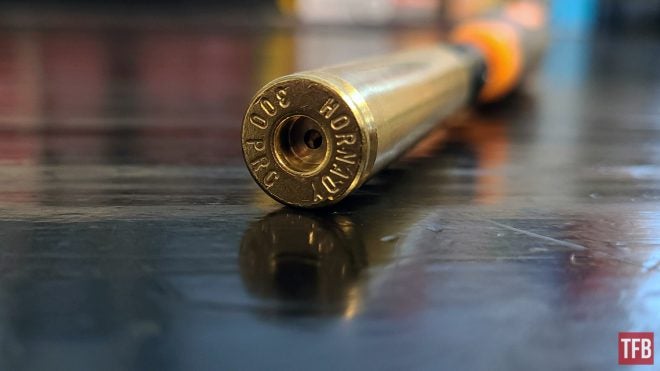
Uniforming case flash holes
With the flash hole uniformer inserted you’ll only need to turn it a few times until the case turns freely in the tool.
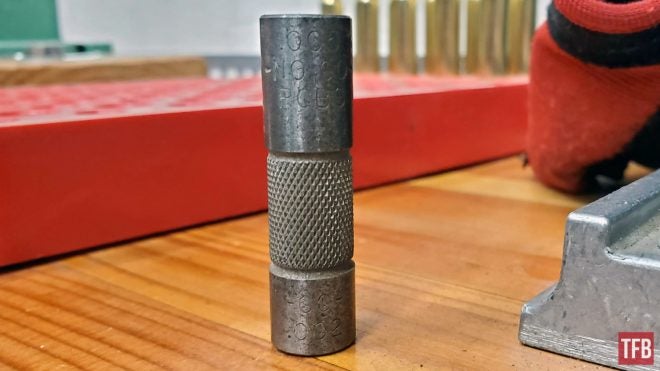
RCBS Primer Go – No Go – Tool
While a primer depth gauge is not required, it certainly helps when seating primers. This RCBS tool is two-sided and has a .002″ GO and .005 NO-GO” measurements that allow seated primers to be checked.
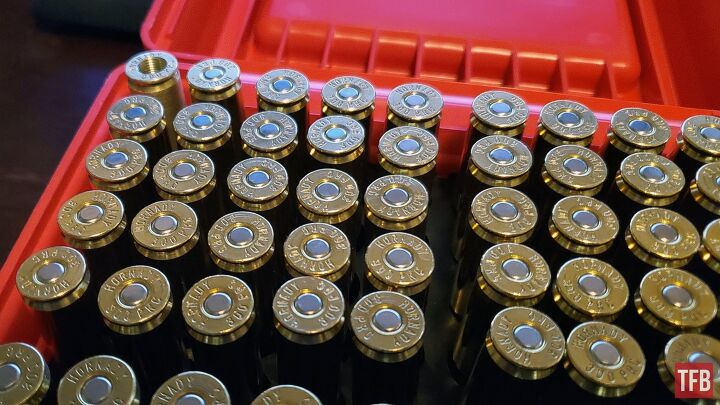
Visually inspect primer seating
A depth gauge is certainly not required for priming but it can make things easier. The most important tool needed when priming is always a bench mounted priming tool. This allows you to manually put the same amount of pressure on each case, and then visually inspect each primed case afterward.
Choosing The Right Components

Hornady A-Tip projectiles
Hornady’s 230-grain A-Tip projectiles are designed for optimal use in a 1:9 twist barrel and fit the bill perfectly for my 300 PRC chambered Ruger RPR Mag. Along with these projectiles, I purchased the recommended A-Tip Seating Stem that drops into Hornady’s Custom Grade Reloading Dies in order to seat these projectiles uniformly.
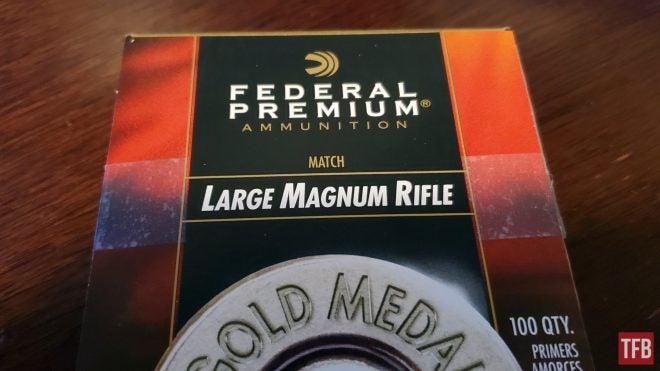
Choosing the Right Primer – Federal Gold Medal Match Magnum
Federal Gold Medal Match large rifle magnum primers were sourced in order to get the correct burn in this longer case. I had the opportunity to ask Federal engineers about the difference between Large Rifle (210 Primer), and Large Rifle Magnum (215 Primer), and here’s the feedback they gave me.
Components are all the same between the 210 and 215 (cup, anvil and mix type)
215 has MORE mix (higher pellet weight)
215 is a better igniter for larger propellant beds for the following reasons
Due to more mix it has better ignition capability – more stored energy for the larger propellant bed
It burns at the same temperature as the 210, but the heat energy (mass) is higher than the lighter pellet weight of the 210. Higher flame temp is not the goal as this leads to a higher pressure front and compacts the propellant bed leading to less consistent ignition from shot to shot
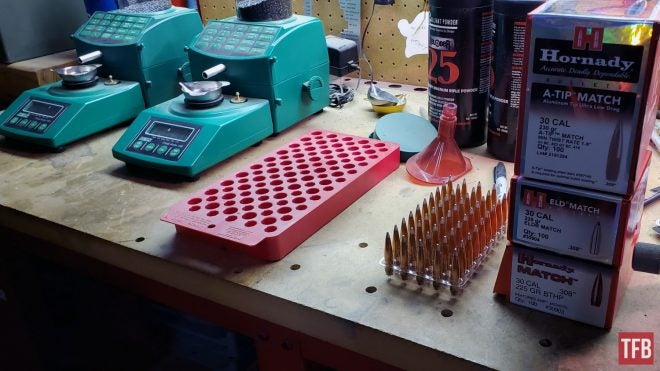
RCBS Powder Dumps
For propellant, I opted to use Alliant Reloader 25. I had already reloaded for multiple 225-grain projectiles using this powder, so with only a 5-grain difference, it was the easiest and most natural place to start.
Working Up a Powder Charge
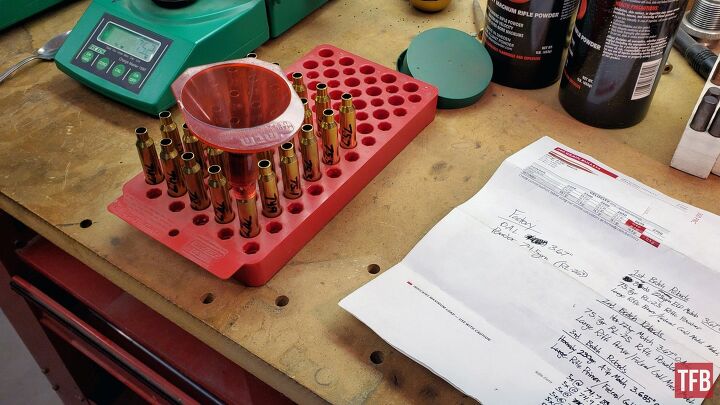
Working up a powder load for A-Tip
Using the data I had gathered using Hornady’s 225-grain ELD-Match projectiles I backed the load off 1 grain from my 225-grain projectile data and would load back up from there.
Note: Always start from verified factory-recommended load data.
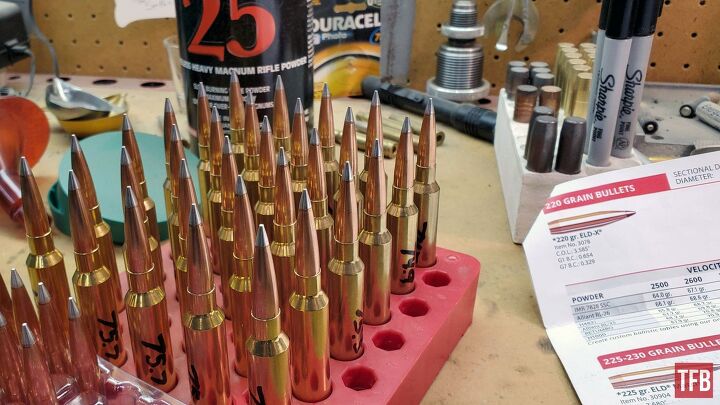
Worked up 230gr 300 PRC A-Tip loads
Using RCBS powder dispensers five projectiles would then be loaded at the starting charge. Each group of five after this would have .2 grains added. In the end, I had 30 rounds, with six five-round loads at each charge weight. This would allow me to put five-round groups onto paper while also inspecting the brass for high pressure signs during this process.
Accuracy Testing and The End Result
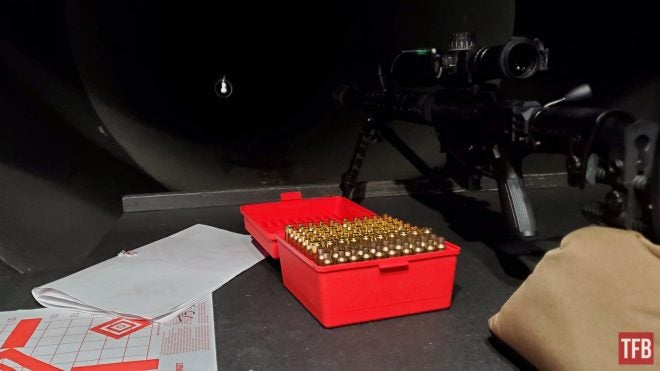
Grouping the A-Tip loaded 300 PRC at TNT Guns and Range
It’s important to note the cleaning and firing schedule for your rifle prior to grouping it. Typically a rifle will group better with a certain amount of copper fouling present in the barrel. Additionally, you should never start accuracy testing a rifled barrel that you’ve just cleaned. Prior to grouping the A-Tip ammunition, I put a group on paper to verify both proper zero and the condition of the rifle. Six targets were then marked with the corresponding charge weight before each five-round group was put downrange.
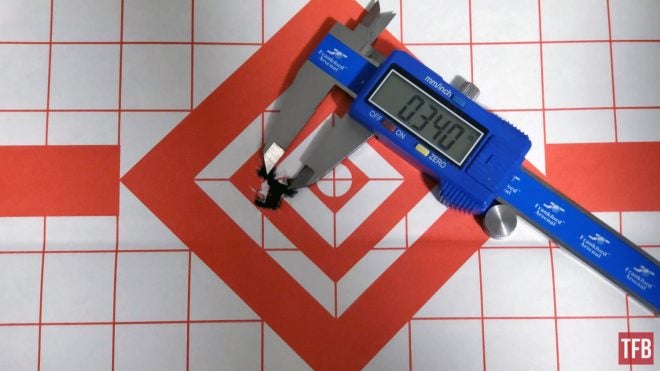
300 PRC A-Tip final group
The end result was this 0.34 MOA five-round group that landed almost squarely 1 MOA left of center at 100 yards. Prior to this, I’d seen an average grouping of .55 MOA with hand-loaded 225-grain ELD-Match ammunition, so this was a sizable improvement.
A-Tip projectiles certainly aren’t a necessity for most shooters, they do provide a noticeable advantage by eliminating more standard deviation. The only downside to these projectiles is both cost and use. They’re certainly not cheap (at about $75 per 100), and aren’t optimized for hunting use. If neither of these is a factor for you, I’d highly recommend A-Tip projectiles. Especially for targets at extended ranges.
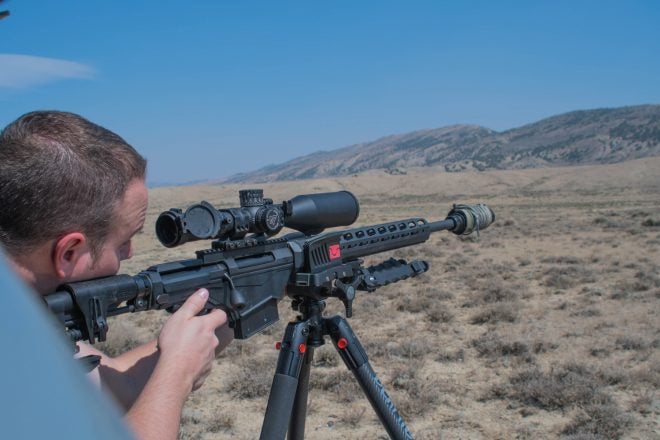
Photo Credit: James Rose
We are committed to finding, researching, and recommending the best products. We earn commissions from purchases you make using the retail links in our product reviews. Learn more about how this works.
 Your Privacy Choices
