 Your Privacy Choices
Welcome back to The Rimfire Report. In this ongoing series of articles we explore, discuss, and examine various firearms, ammunition, and topics surrounding the rimfire world. This week I’ll be sharing my recent backpack gun build – a Ruger 10/22 Charger. The intention for this gun is to be an easily stowed and easily deployed platform that can be used in a pinch to hunt small game.
The Rimfire Report: The Ruger 10/22 Charger – My Backpack Gun
The Rimfire Report: The Ruger 10/22 Charger – My Backpack Gun
I. The Gun
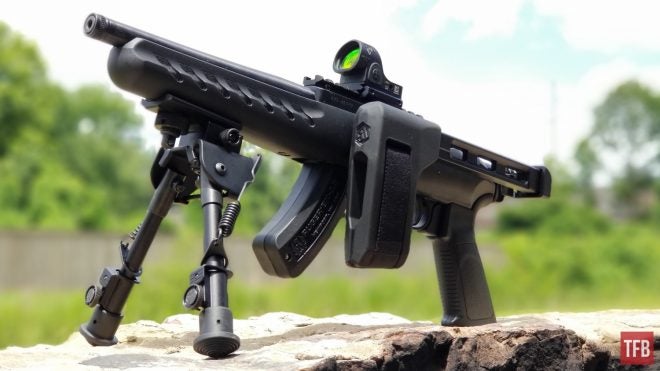
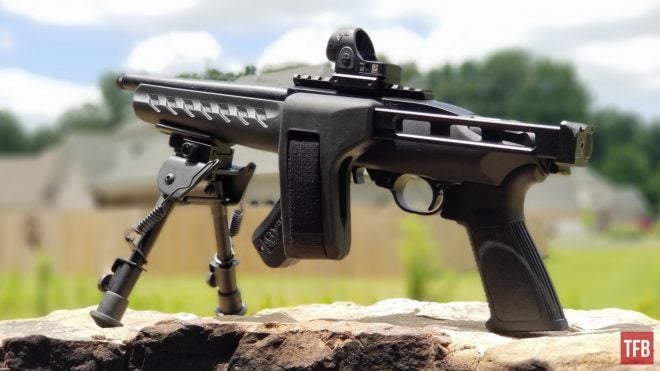
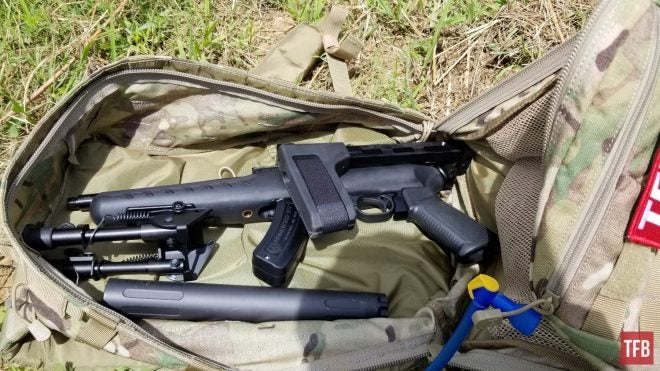
This build starts off with a simple Ruger 10/22 Charger Lite. I picked the 10/22 Charger as it gives the 22LR cartridge a good balance of muzzle velocity while being faster to deploy than a Ruger 10/22 takedown with a full length 16″ barrel.
The Rimfire Report: The Ruger 10/22 Charger – My Backpack Gun
I purchased the Ruger 10/22 Charger online for about $300 shipped off of a discount retailer site. The gun came standard with a 15-round BX-15 magazine, Ruger pistol grip, integrated top Picatinny rail, Picatinny rail brace mount, a 1/2×28 threaded barrel, and an integrated QD cup for a sling. It also came standard with a UTG Bipod which I am still deciding whether or not to keep it on the gun.
The Rimfire Report: The Ruger 10/22 Charger – My Backpack Gun
You could argue that perhaps the Henry AR-7 is a better bet for a backpacking/survival gun but it requires assembly and in my experience, the sights leave a lot to be desired for over the option of a red dot optic on the Charger. It is for this reason that I decided to go with the Charger as its overall length is 17″ and is ready to go at a moment’s notice.
II. Ammunition and Accessories
I wanted to keep this build relatively simple so I opted to forgo items like weapon lights with tape switches etc. Even though a weapon-mounted light might be extremely useful when backpacking, I opted to not use one mounted to the platform. Instead, I only added the following items to complete the gun:
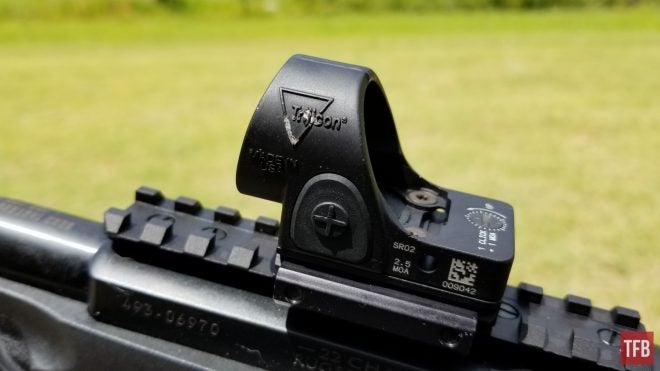
- Optic: Trijicon SRO
- Brace: S&B Tactical FS1913 Brace
- Ammunition: CCI Mini-Mag 36-Grain Varmint
- Optional: TiOn Inc. Dragoon 450B Suppressor
The Rimfire Report: The Ruger 10/22 Charger – My Backpack Gun
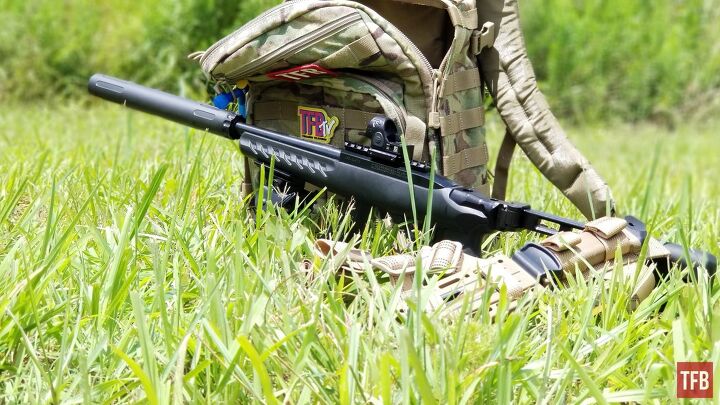
With an 8″ barrel and CCI MiniMags as my choice for ammunition, I’m getting right around 1,100 fps of muzzle velocity with a 36-grain projectile. Normally I wouldn’t be wearing hearing protection while hiking so the availability of a lightweight suppressor is kept in there as an optional accessory I could carry with me. The TiOn inc suppressor is currently the only one I have available to me but it is lightweight with its all-titanium construction. A dedicated 22 LR suppressor with a QD mount would be a much better option but as of right now I don’t have access to those items so I am working with just the direct-thread suppressor when I need to.

The Rimfire Report: The Ruger 10/22 Charger – My Backpack Gun
The SRO sight is lightweight and durable enough for backpacking. It isn’t the most impact-resistant optic I have, however, I’ve dropped it directly onto its frame (by accident) from about chest height and it still kept its zero and still functioned well so I think it works well enough as a backpacking gun as long as you’re not using it to beat tent stakes into the ground. As an added bonus, the SRO is completely waterproof up to 10ft so a bit of rain or a brief submersion in water won’t hurt it. The battery is purported to last about 3 years when placed on setting #4 and you can easily keep it there with the optics useful button lockout mode.
The Rimfire Report: The Ruger 10/22 Charger – My Backpack Gun
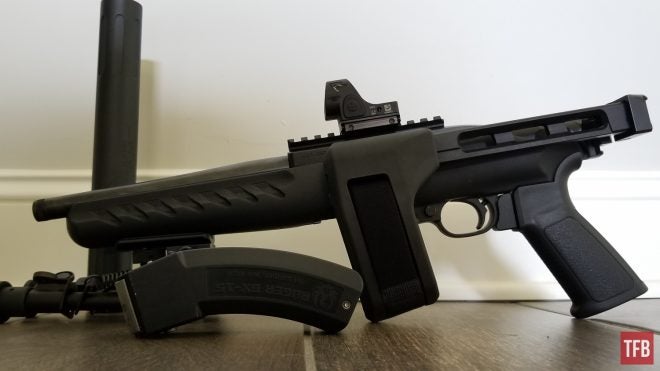
The addition of the SB Tactical FS1913 brace was to provide a more stable shooting platform while keeping the overall length of the stowed firearm as close to the original as possible. I chose the aluminum version over the polymer one just to provide a bit more durability and peace of mind.
TOTAL BUILD COST (MSRP): $1,350 (not including suppressor)
Now mind you I didn’t spend $1,350 on this build. In fact, I probably paid about less than half of that for the entire setup using a combination of online deals and promotions. Just because you pick out quality gear doesn’t mean you need to pay exorbitant prices, be smart about your purchases.
The Rimfire Report: The Ruger 10/22 Charger – My Backpack Gun
I’m not including the suppressor in the cost for two reasons. First, the suppressor I’m using is neither optimal for length or proper for the caliber – the suppressor is meant for use with 45 caliber rifle cartridges. Second, the suppressor isn’t necessarily needed it is just a convenience upgrade (also it makes the build look 200% sexy). Not to mention the excessive shooting of unplated rimfire ammunition can cause excessive lead and carbon buildup without regular cleaning.
III. Field Practicality and Portability Observations
As I have gone through my testing, there have been several observations I’ve been noting as far as how well this setup works as a backpacking gun. I’ll list the pros and cons down below but I’d be interested in your thoughts and comments as I’m still developing this build and the jury is still out on some of the features that I’m adding and subtracting.
The Rimfire Report: The Ruger 10/22 Charger – My Backpack Gun
Pros
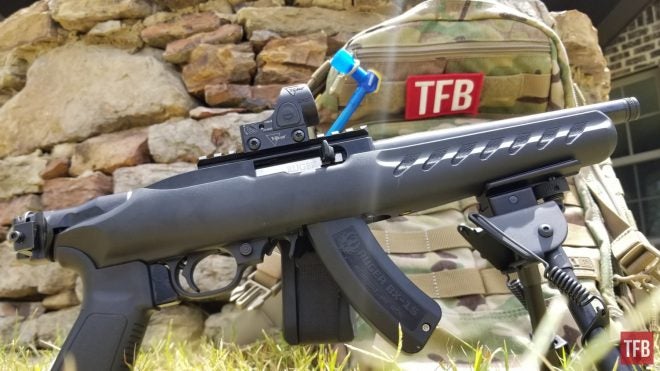
I mentioned earlier that the Charger came with a UTG bipod. I initially added the bipod to the gun and it works very well and is quite stable. The bipod makes shooting from the prone position much more comfortable when deployed and also provides a stable shelf to lay the gun on other objects like rocks or tree branches when in the folded position.
The Rimfire Report: The Ruger 10/22 Charger – My Backpack Gun
The lack of a takedown option was something I heavily considered when conceptualizing this build and I think I am dead set on the Charger being the superior choice over the Takedown model. Not only do you have to deal with the extra weight of the Takedown, but the overall length of the two pieces also equals double that of the folded Charger. Furthermore, the Charger requires no assembly before being ready to fire and can be 100% operated with the brace folded.
Cons
22LR is a relatively anemic cartridge when it comes to larger game. If you come upon a black or brown bear you would probably be better off using the bear spray as a deterrent rather than a 22LR cartridge. It is for this reason that I still carry a pistol with hard cast bullets as a part of my backpacking kit.
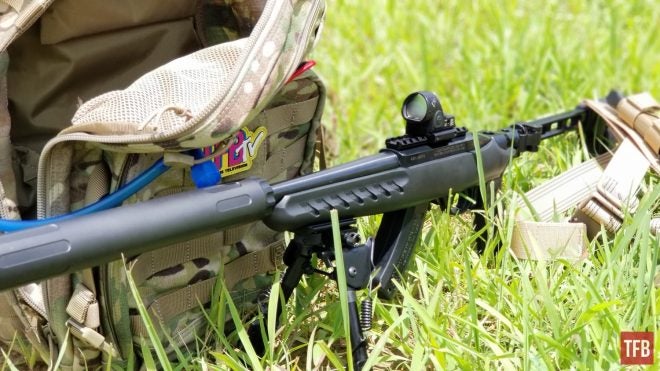
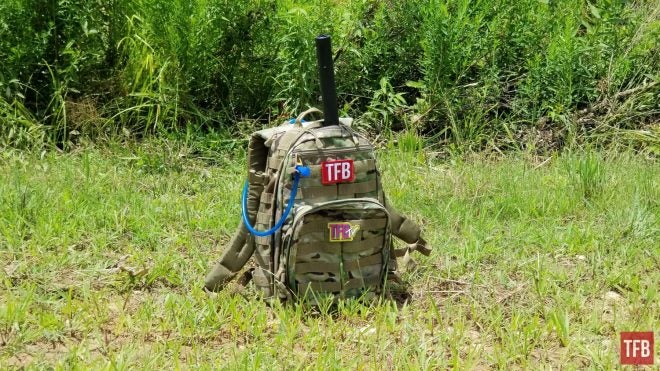
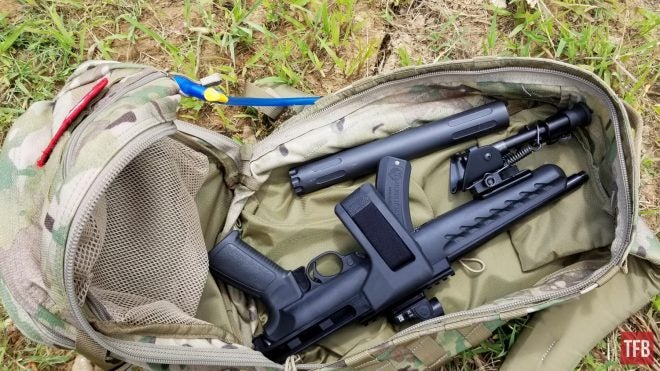
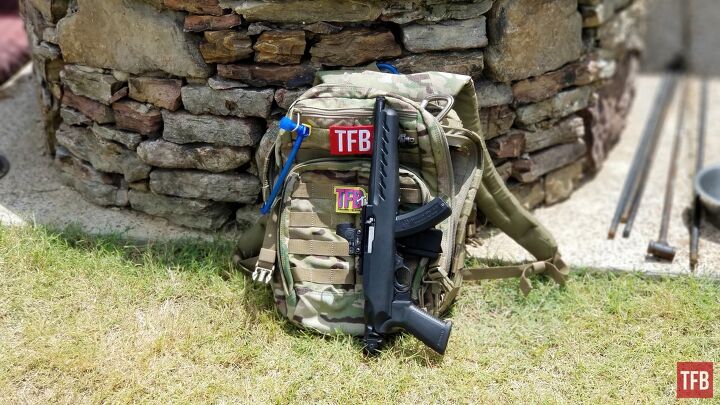
The bipod is useful for shooting but it also makes retrieving the gun from the backpack an issue as it tends to get bound up on the edges of the bag. I am using a 5.11 Tactical Rush24 37L Multi-Cam backpack and it will easily fit the loaded rifle without any issues (sans suppressor). However, the addition of the bipod adds two undesirable traits.
The Rimfire Report: The Ruger 10/22 Charger – My Backpack Gun
The first obviously is the weight. The UTG Bipod ads an additional 12.2 ounces of weight to the build and makes the gun’s center of gravity a bit further forward than I’d like. In addition, the bipod also extends past the edge of the muzzle and makes gripping the stock hard (although, you can use the bipod itself as a grip in a pinch).
AN Ongoing Process
I understand that there is no “one size fits all” solution for something like a backpack gun. Depending on the environment, weather conditions, length of trek, and fauna you’ll have to find out what would work best for you.
The Rimfire Report: The Ruger 10/22 Charger – My Backpack Gun
As I continue to use the Charger I am sure the kit will change further. Let me know your thoughts down in the comments. I’d be interested to hear what your build is or what your optimal build would be. As always thanks for reading The Rimfire Report and we’ll see you next time!
We are committed to finding, researching, and recommending the best products. We earn commissions from purchases you make using the retail links in our product reviews. Learn more about how this works.