 Your Privacy Choices

Why?
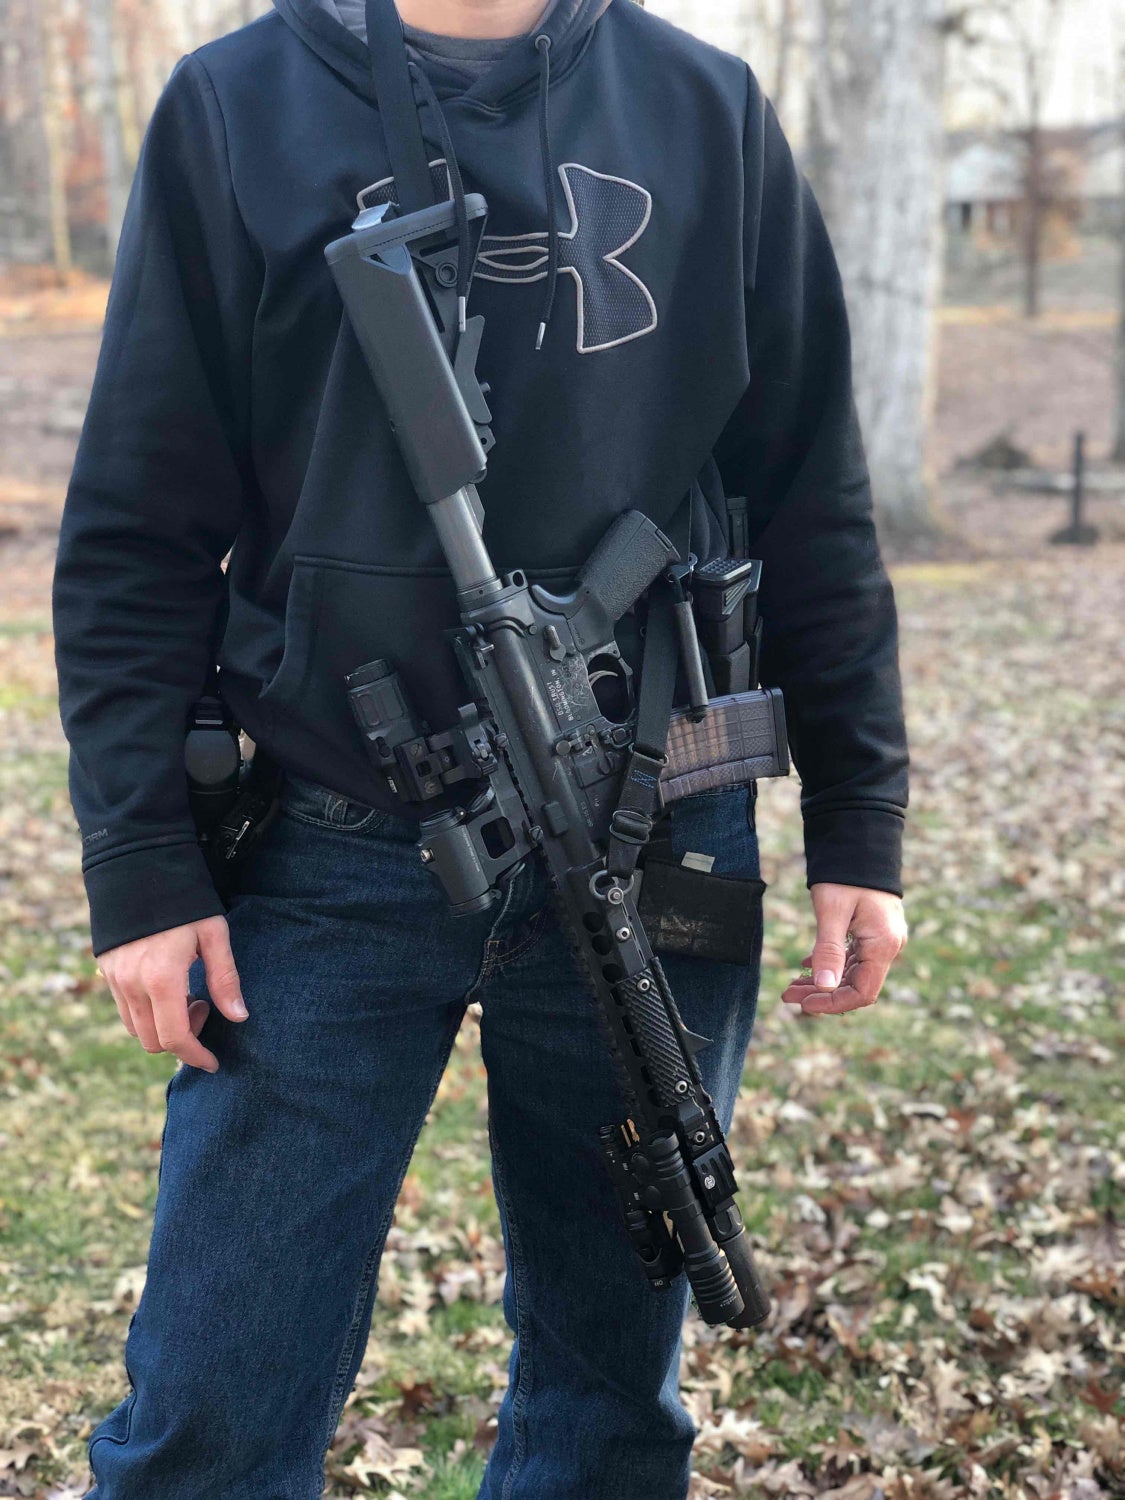
Sling Setup
First, we must start with fitting the sling to the shooter. There are multiple videos and good sources of information on doing so online if you are new to sling setup. It is important we have a proper fit as this will enable us to have the correct amount of tension at the correct times. Next, we need to understand the impact of where the front sling point is attached. The chosen attachment point will impact how we choose to get into a sling assisted shooting position. The front attachment point is often near the end of the rail or near the magwell. Sling assisted shooting is about getting to the correct level of tension on the sling. Again, remember to fit your sling before attempting these techniques.
End of Rail
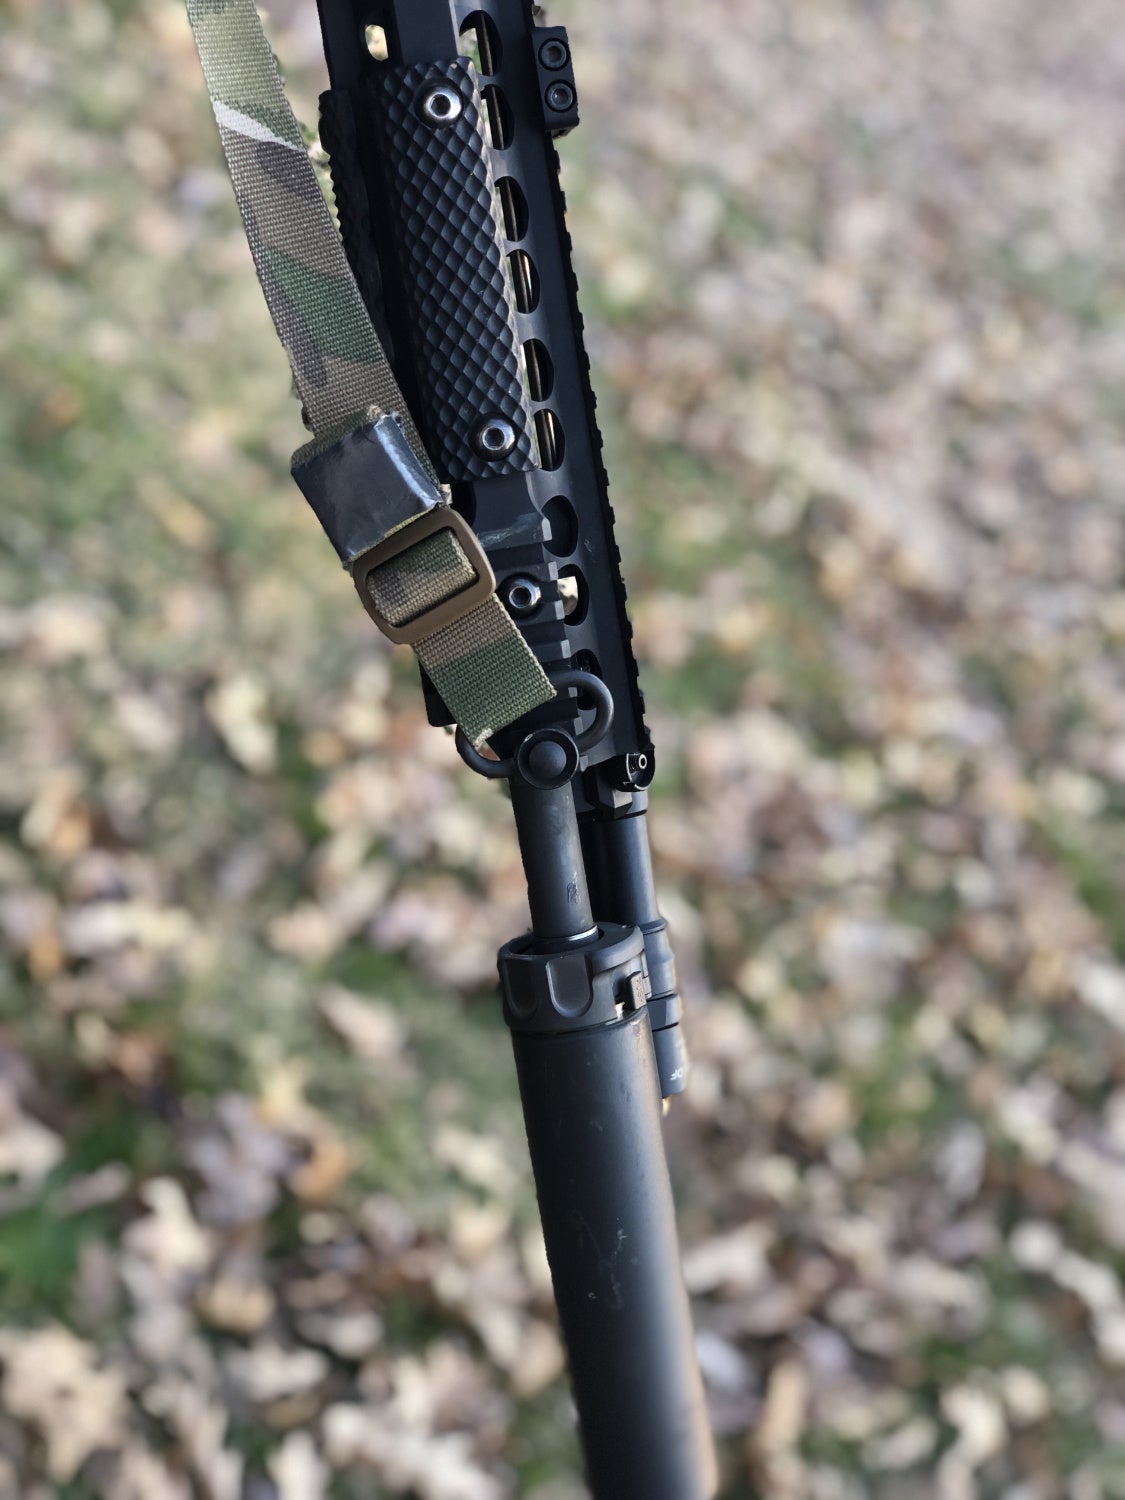
Here we see a standard setup for a mount at the end of the rail with a QD sling attachment on an SR15 rail.
With lights and or lasers it is difficult to mount a sling at the end of the rail without interfering with the use of accessories.
Magwell Mount
In this setup, we see the front sling attachment is near the magwell.
There are methods that enable sling assisted shooting with the closer mounting option. When getting on target, use the support hand thumb to push forward on the sling. This runs the sling along the rail of the rifle. Tightening the sling to the desired level is then done quickly and efficiently.
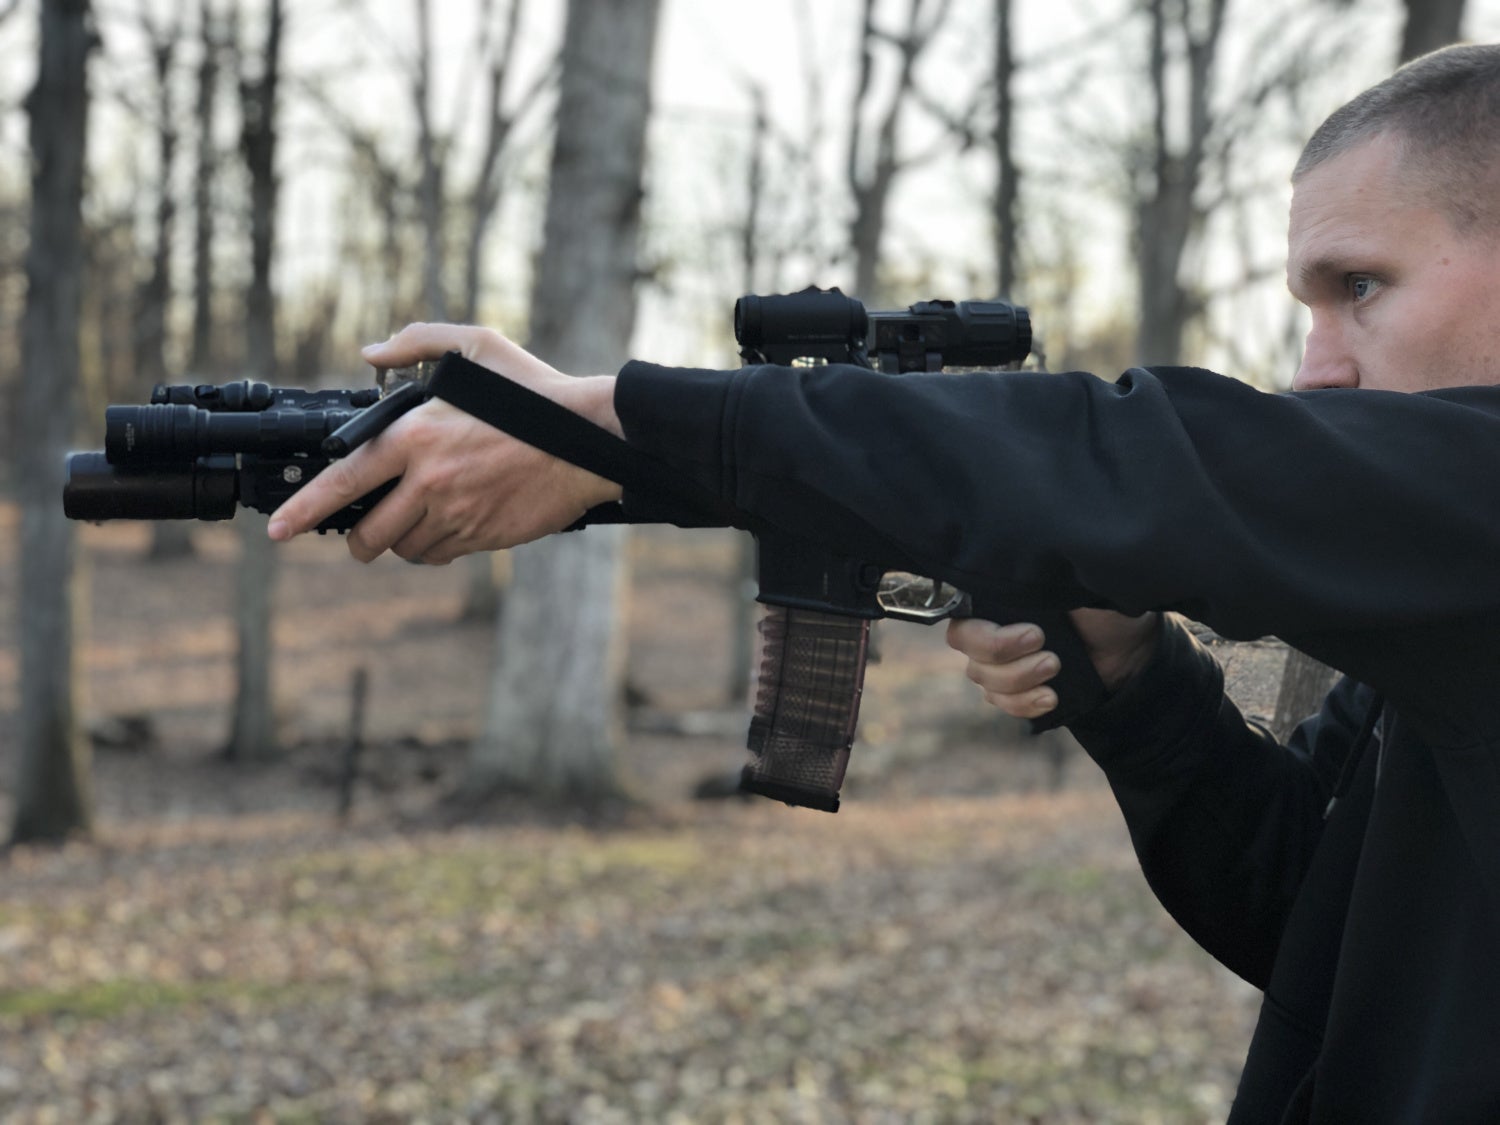
Push forward and run the sling down the rail with the support hand. We see that the sling can still have applied tension while not interfering with the use of accessories or the shooter’s grip on the rifle.

This sling position allows for more mobility and is often used for shooting at closer ranges.

Notice how the sling is double wrapped around the support side arm to take up extra slack in the sling.
Hybrid Mount
Finally, some use more of a hybrid attachment point. Here we see that the sling is mounted between the magwell and the end of the rail.

Here you can see the hybrid sling setup. This allows for the sling mounted farther forward while still staying back far enough to stay out of the way when manipulating lights and lasers.
Depending on how tight the sling is adjusted and how close the sling is to the end of the rail, either of these techniques may work. I prefer having the sling a little tighter and sliding my hand down the rail. This bias is due to the shorter amount of time to get into position.
Conclusion
We are committed to finding, researching, and recommending the best products. We earn commissions from purchases you make using the retail links in our product reviews. Learn more about how this works.