 Your Privacy Choices
With the AR-15 being the Lego-style build it yourself rifle on the market today, I’ve talked about the SIG Sauer P320 is a similar modular design with the Fire Control Unit being the heart of the gun. Those designs are great, but how hard is it to build your own 1911 from scratch?
How It Started
I started thinking about this while looking at various 2011’s and not being able to justify the price regardless of how hard I tried. Trust me, I tried for weeks to muster up the $2,000-3,000 it took to own one. When thinking about it harder, I said well it can’t be hard to build your own from an 80% frame and go from there.

How the 1911 builders kit comes new out of the box
Even kits for a 2011 are rather expensive to put together, so I decided to pick up a single stack 45 ACP kit to cut my teeth on and then after I have some experience move up to the 2011. I ordered the kit from 1911 Builders which came with an 80% lower and ordered all the other tooling I would need to get MUH 1911 all set for the tacticool FUDD Olympics and boy was I excited. The total cost of the kit for me was $1410.00.
Things You’ll Need To Build a 1911
- A Work Bench
- A Vise
- Quality Hand Files
- 80% 1911 Kit
- A Charged Drill
- 1911 PRC FINISHING KIT PRC/DECKER/BITS
- Craftsman Variety Sandpaper Package
- 320#
- 400#
- 600#
- 1500#
- 2000#
Building the Frame and Fitting
Probably the most important part of building the frame is taking your time and not rushing things because you want to get done. As tempting as it may be, it’s important to do things slowly and slowly finishing the frame one step at a time. I decided to order a decking fixture for the frame. This fixture had the hammer and sear locations already in place so drilling the holes was much easier. Having this fixture will also make it much easier to lower the frame deck height and will make fitment much easier in the long run.
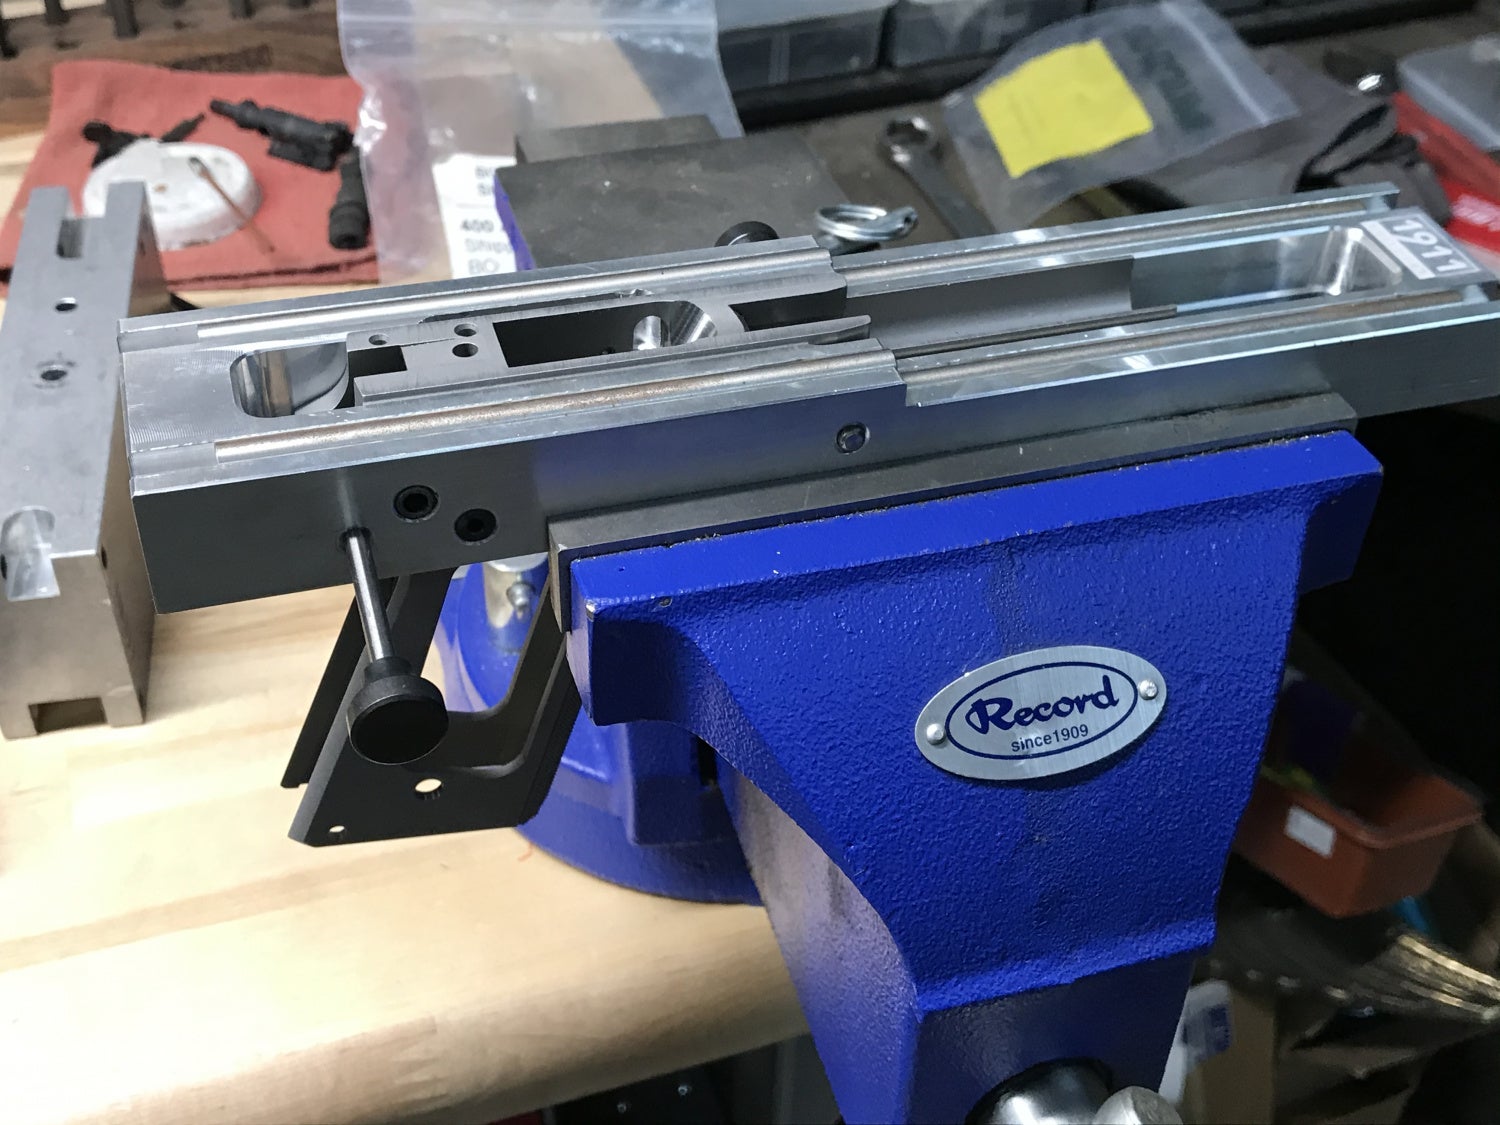
Using the fixture to hand file the deck height down to its correct height.
Once the majority of the material has been taken down, you can then hand file the deck height to its exact dimension. Drilling the holes for the hammer and sear was very easy with the fixture tool and hand filing down the deck height was a rather relaxing experience for me. After the deck height is correct, you can now cut the barrel seat into the frame. A few different companies make barrel seat cutting tools that make it extremely easy to cut the exact notch into the frame.
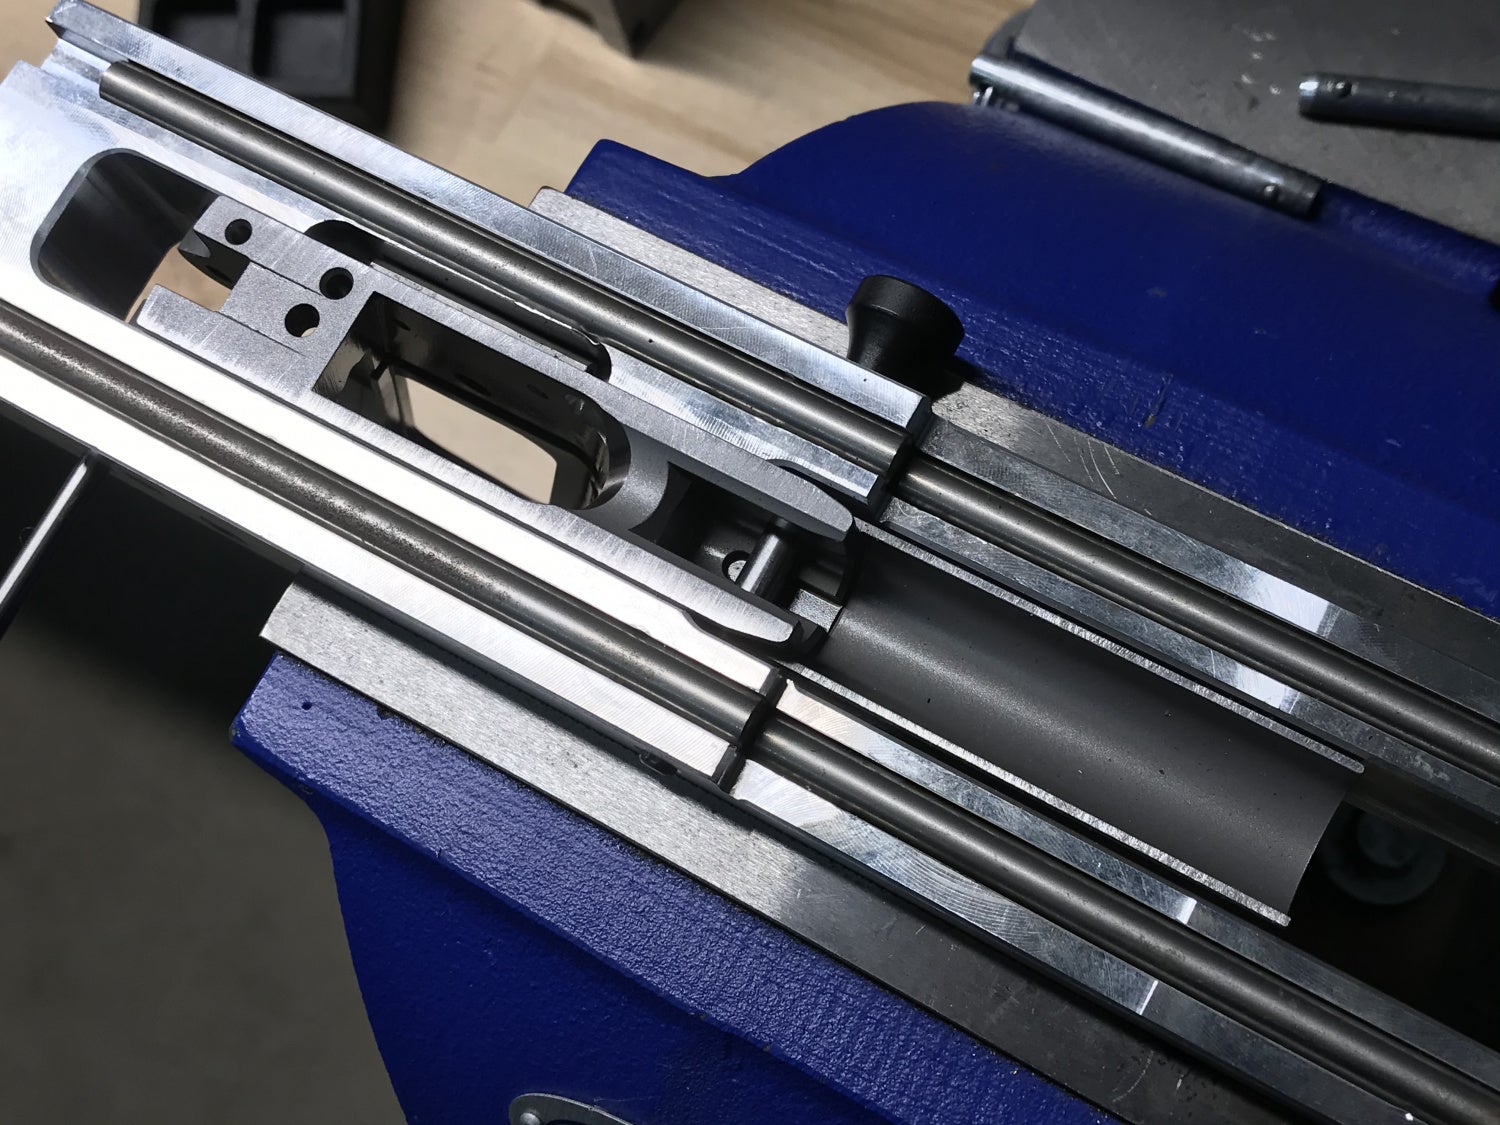
Once the majority of the framework is complete, it’s just time to make sure the slide and frame ride correctly and install the smaller parts into the frame. Once all the parts are installed, it’s time for final tuning.
Final Tuning and Cerekoting
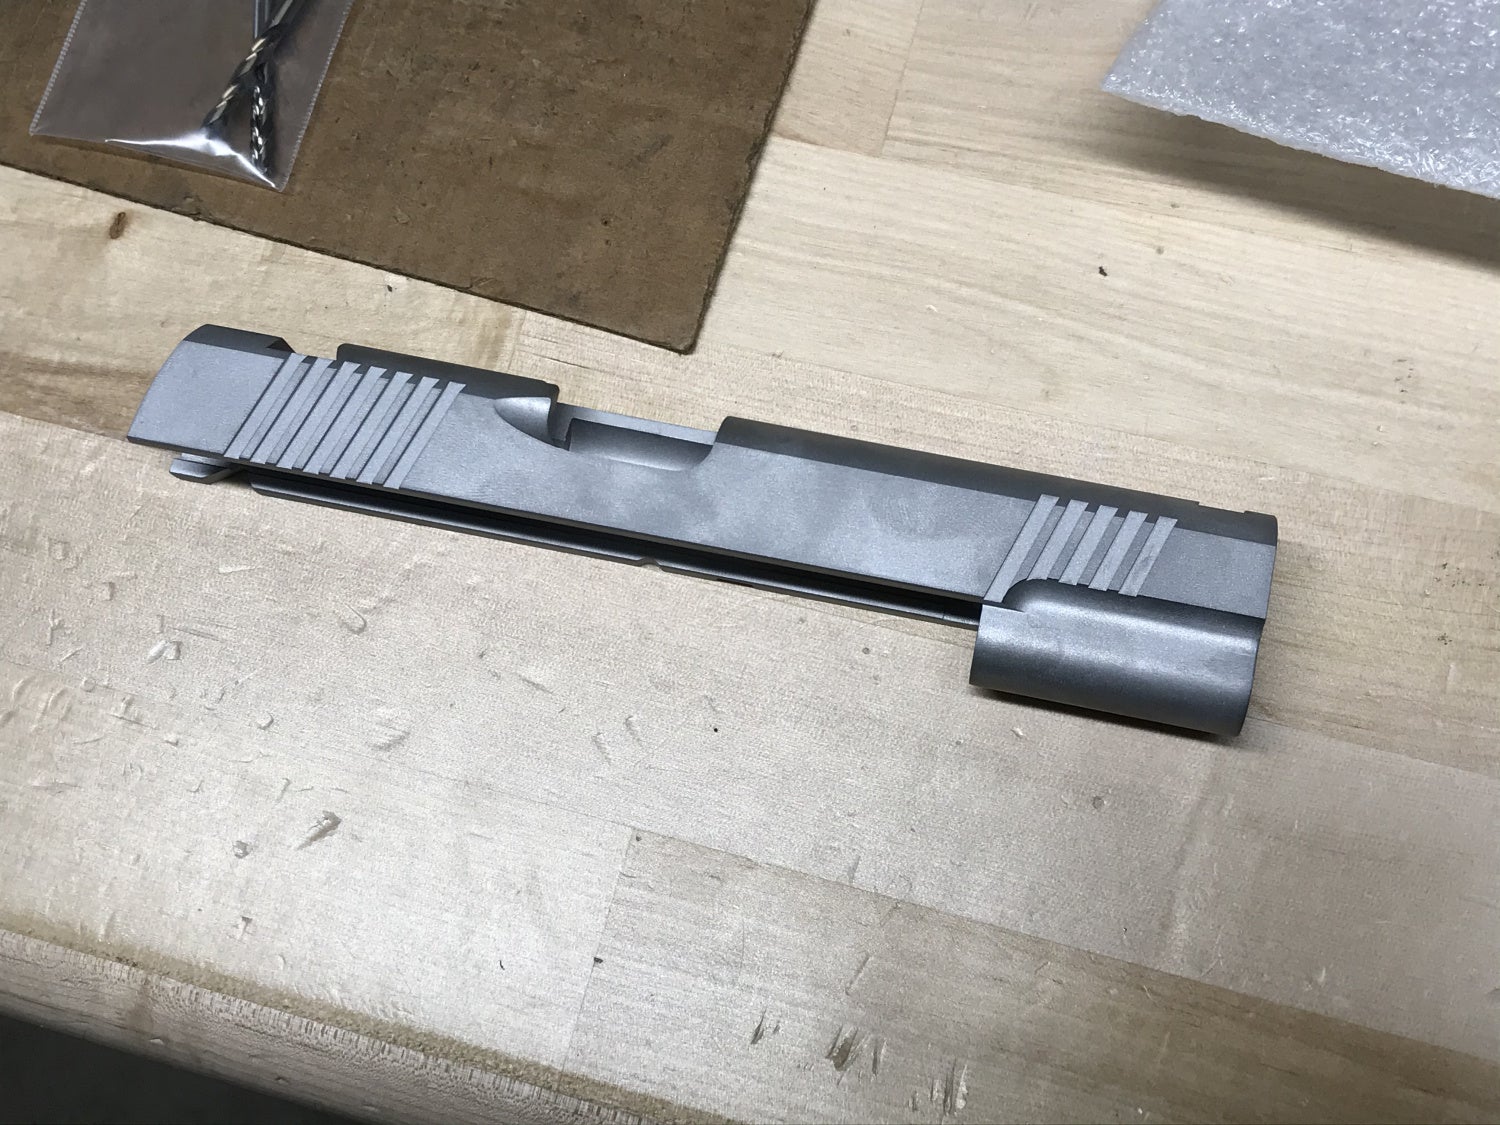
Once the bulk of the fitment was finished, it was all about making the gun feel as smooth as possible. Once I had the perfect fitment, I didn’t want to take any more material off but decided to polish the slide rails and contact points to make it smooth as glass. One surprise I had was the hammer rubbing on the slide as it was cocked back. I rounded the top section of the hammer just a tad which solved my issue with a slight delay when racking the slide. The hardest part was getting the overall fitment between the slide and frame correct so once that’s complete the fine-tuning is fairly quick.

This was the stage where I started fitting the parts to see what needed to be worked still.
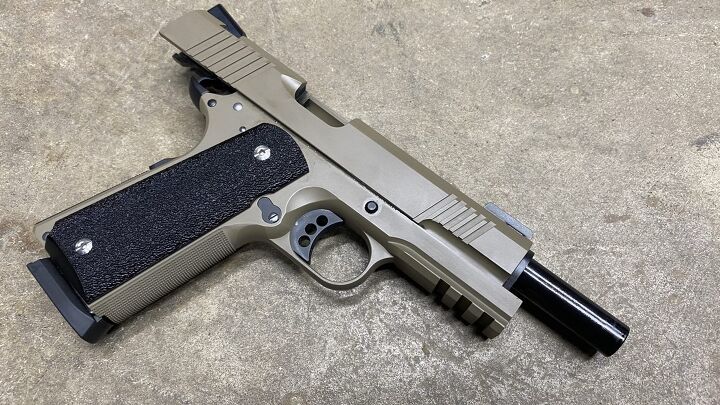
The difference between a decent feeling 1911 and a custom hand-built feel is in the fine-tuning so it’s worth taking the extra time and really being critical to the overall final fitment and getting that glass-like smoothness. After two days of slowly working on polishing in the chase for perfection, I felt the frame was good and Cerekoted my parts for final assembly. When it comes to Cerekote, it’s important to remember that it does add thickness to the parts. As a result, parts may have to be lightly polished to get it back into that glass-like finish. I went back and hit a few different contact points with a light polish to get it back to the original fitment.
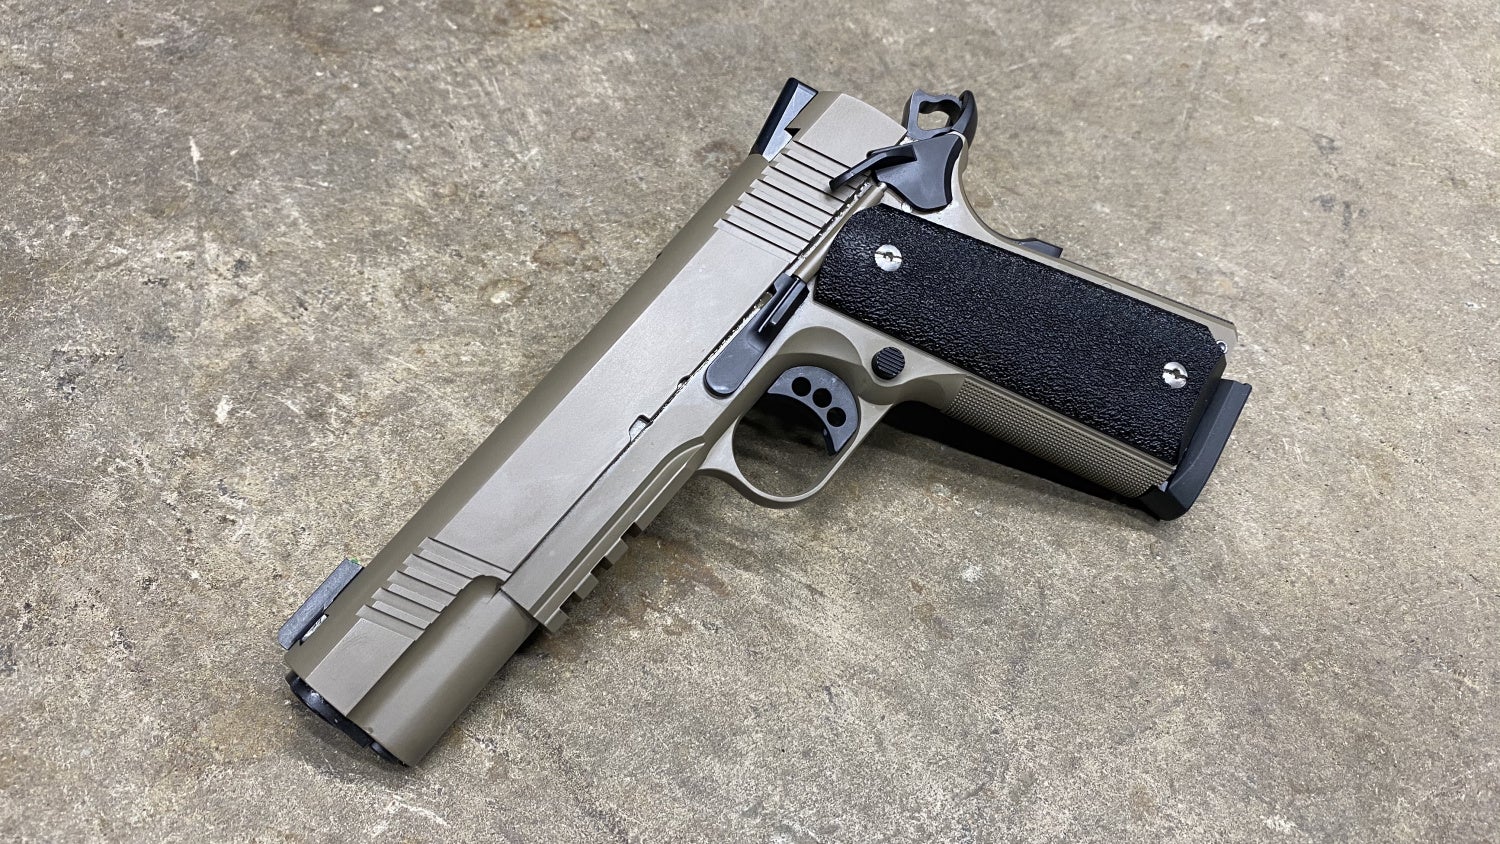
Overall Thoughts
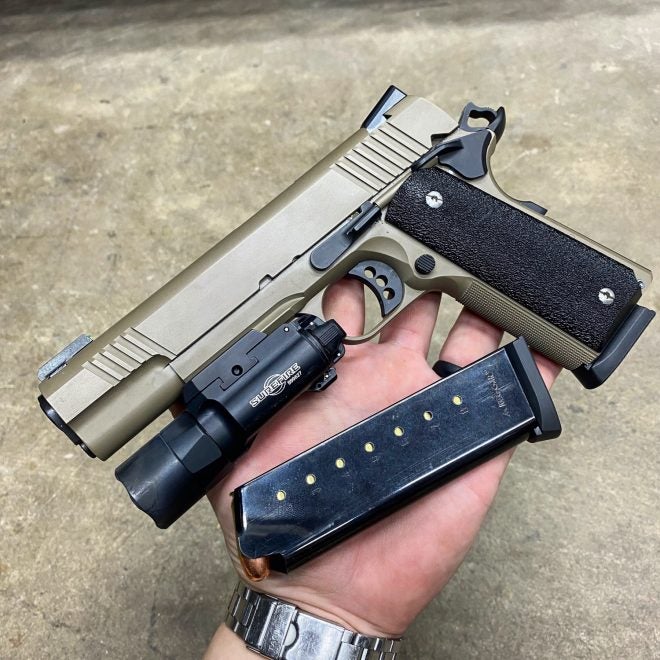
When I first started this project, it was extremely daunting and I almost talked myself out of it before I even started, but now it’s finished up, I am prouder of this than any AR I have ever built. It took way more concentration and energy than building an AR but there’s something special about creating something out of a labor of love. I built this 1911 to do a long term against a mid-priced factory 1911 to see what your best bang for your buck is. It may not be the cheapest option but it is definitely one of my favorite guns right now. Let me know what you think about building your own 1911 in the comments below. If you have questions about the process, feel free to contact me on my Instagram @fridgeoperator. Stay safe out there!