 Your Privacy Choices
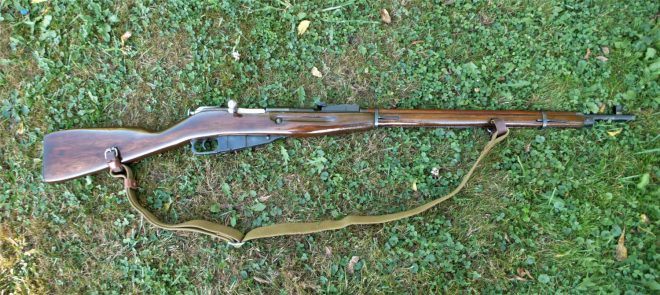
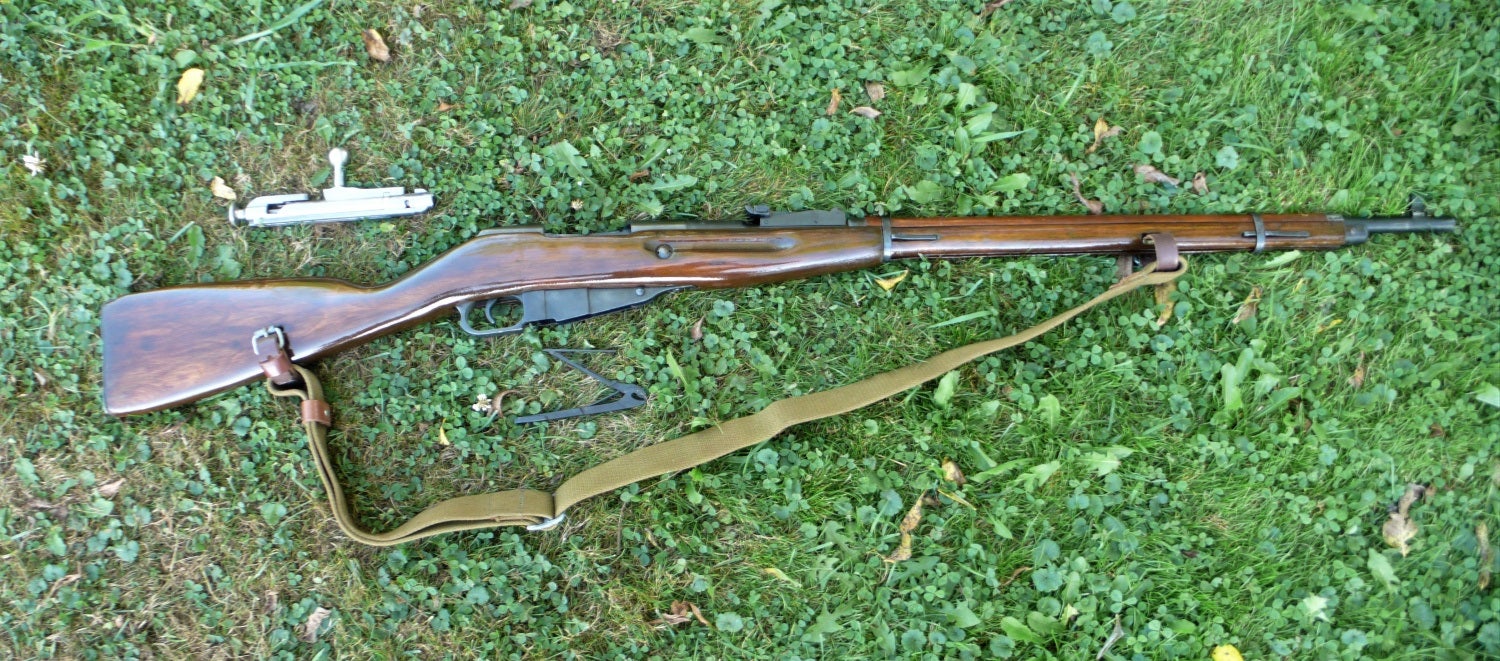
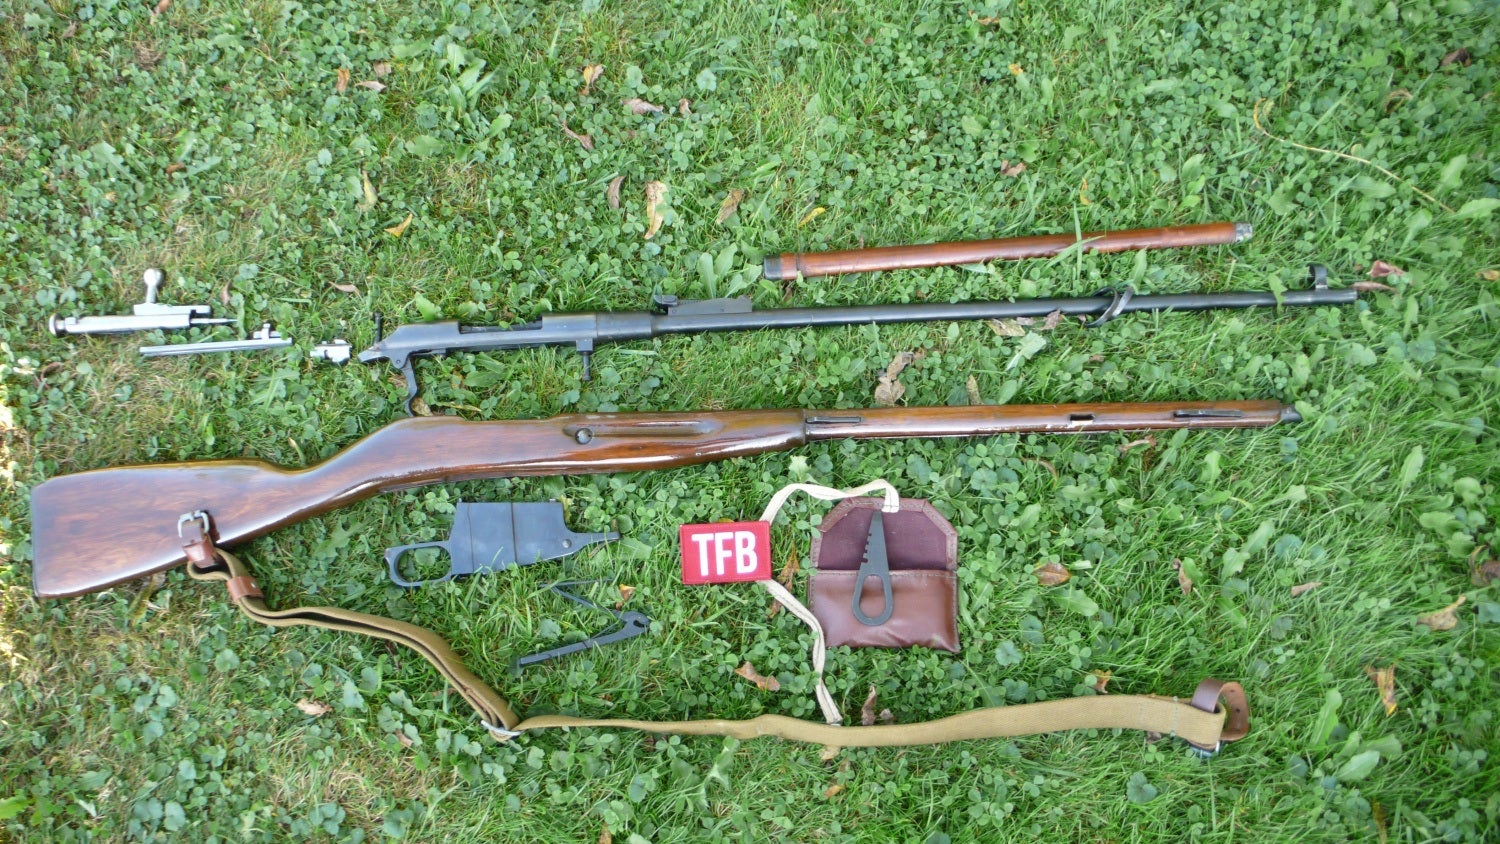
Welcome to another edition of TFB’s Field Strip series. Today we’ll cover the disassembly process of the famed Mosin-Nagant bolt action rifle. Since the Mosin-Nagant rifles have hit the surplus market, people seem to either love them or hate them. Regardless of your feelings on them, the Mosin-Nagant has sealed its place in history, despite not being the best at what it does.
Since its adoption by the Russian Army in 1891, more than 37 million Mosin-Nagants were produced between various modifications and variants. General Sergei Ivanovich Mosin was credited as being the primary contributor to the design, although it was officially named the “3 Line Rifle, 1891 Model.” It was later referred to by the General’s name. Several other common variants of the Mosin-Nagant are 91/30, M38, M44, M-1907, Finnish M39 and 1927 Cavalry. Since the Mosin-Nagant is a bolt action rifle, the disassembly is fairly straight forward. However, there are a few unique features and an important safety caveat when we get to the bolt.
TFB FIELD STRIP: THE MOSIN-NAGANT RIFLE
BEFORE YOU FIELD STRIP ANY WEAPON, REMEMBER the four rules of gun safety:
- All guns are always loaded.
- Never let the muzzle cover anything you are not willing to destroy.
- Keep your finger off the trigger until your sights are on the target.
- Be sure of your target and what is beyond it.
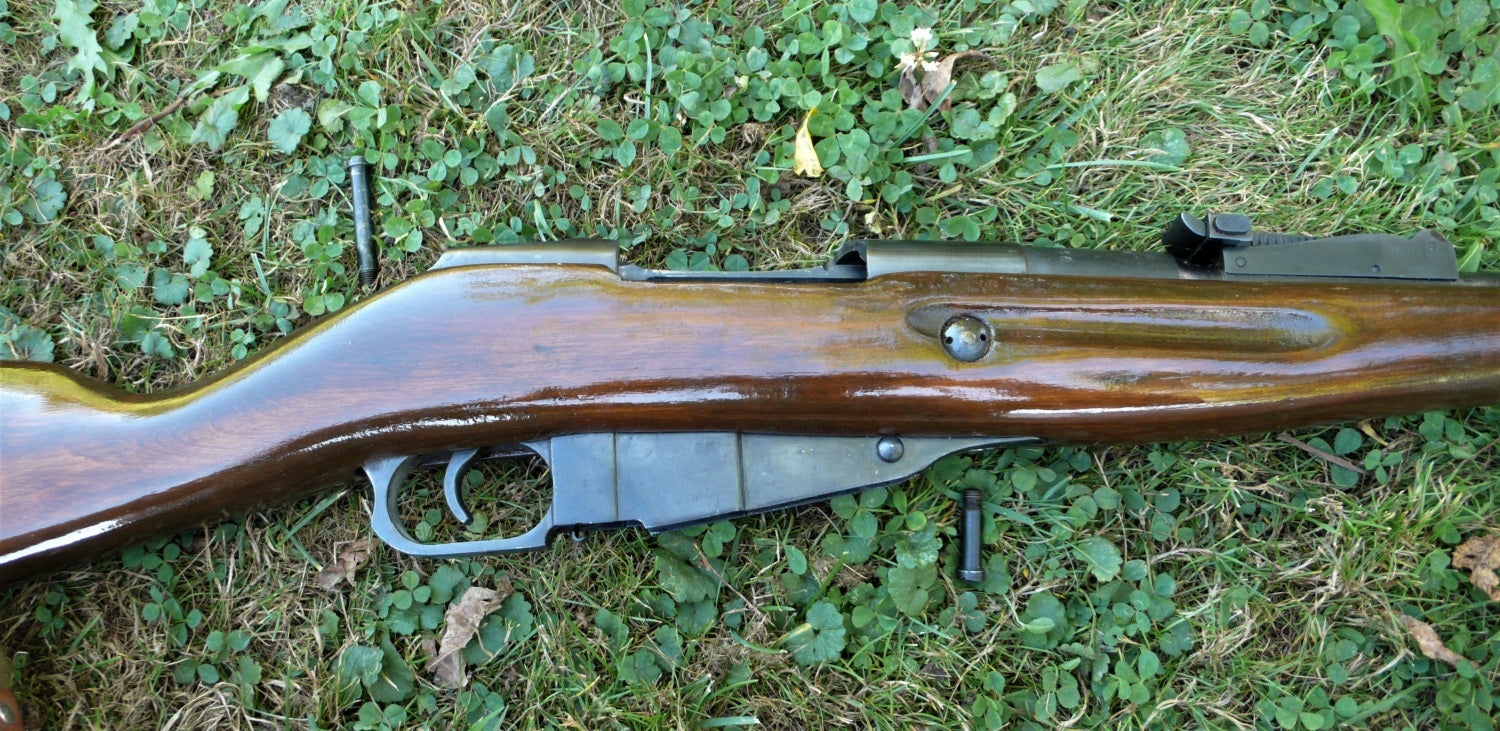
Step 1. As always, ensure that the rifle is unloaded by visually and physically inspecting the magazine and chamber. With the bolt rearward and the action open, pull the trigger and pull the bolt out from the back of the receiver. Set it aside for later.
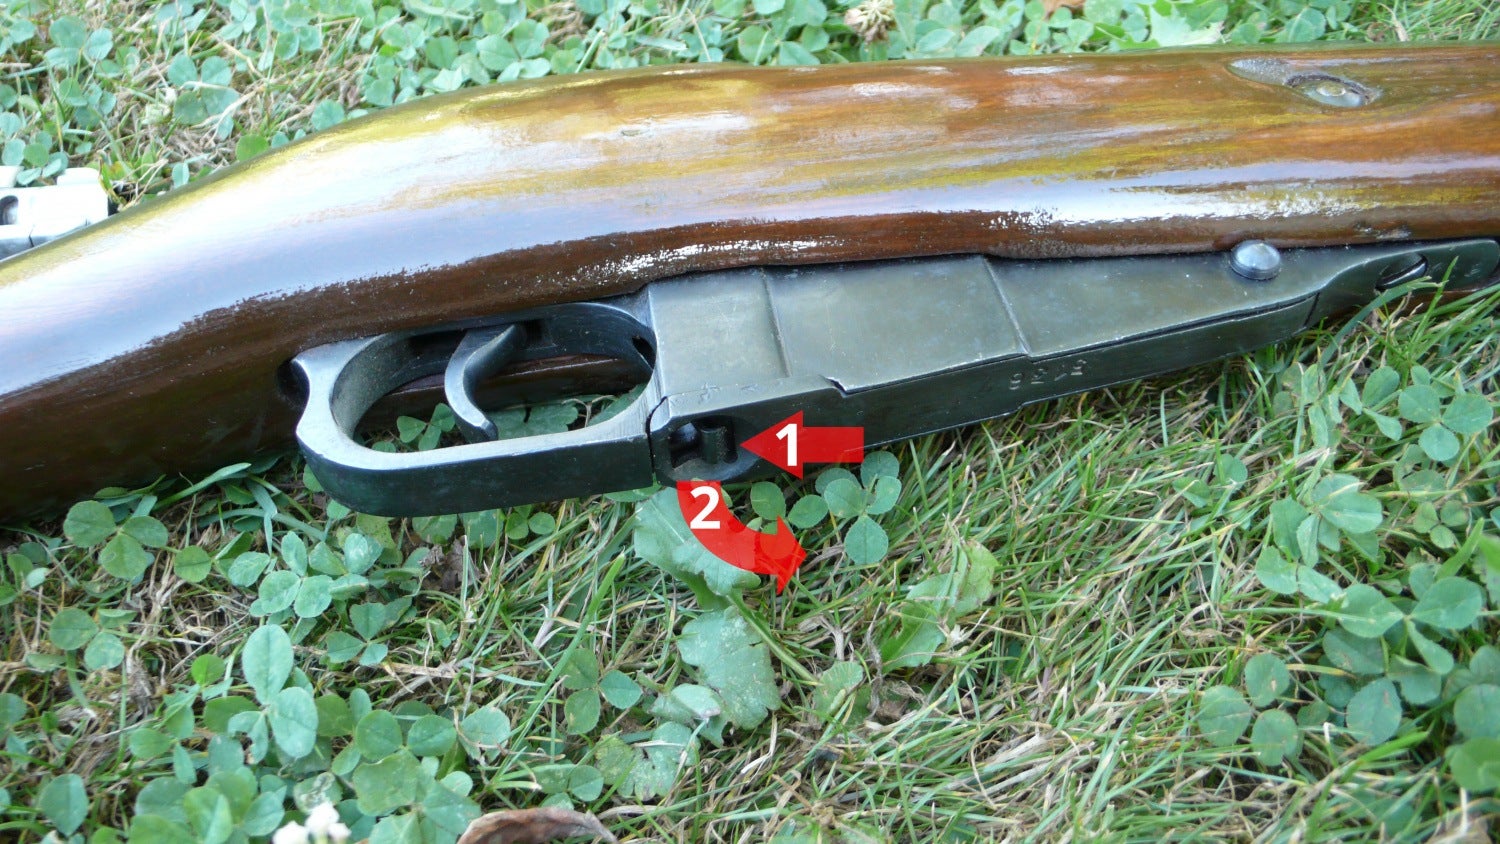
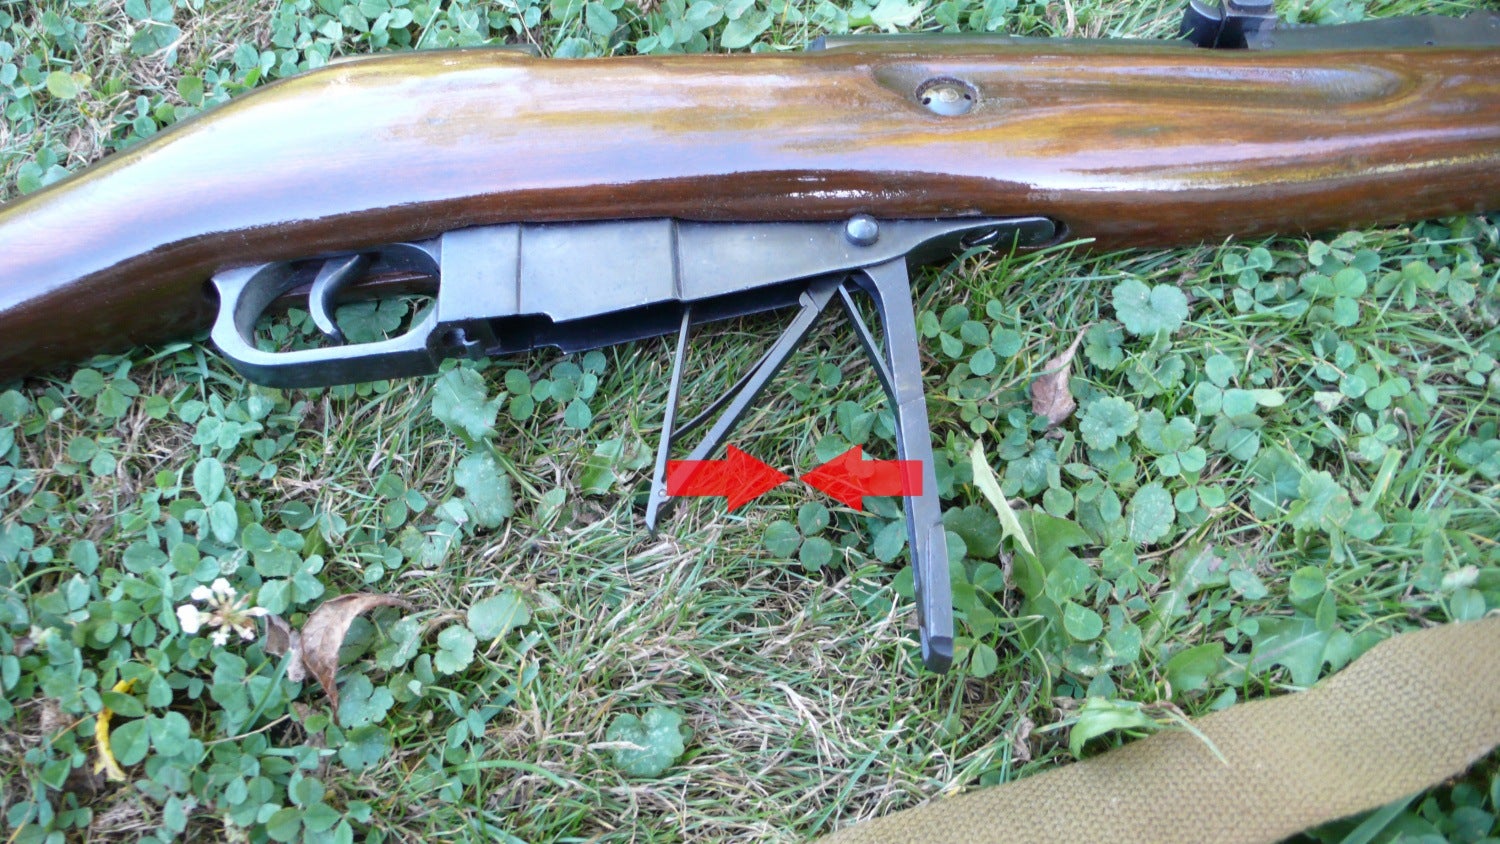
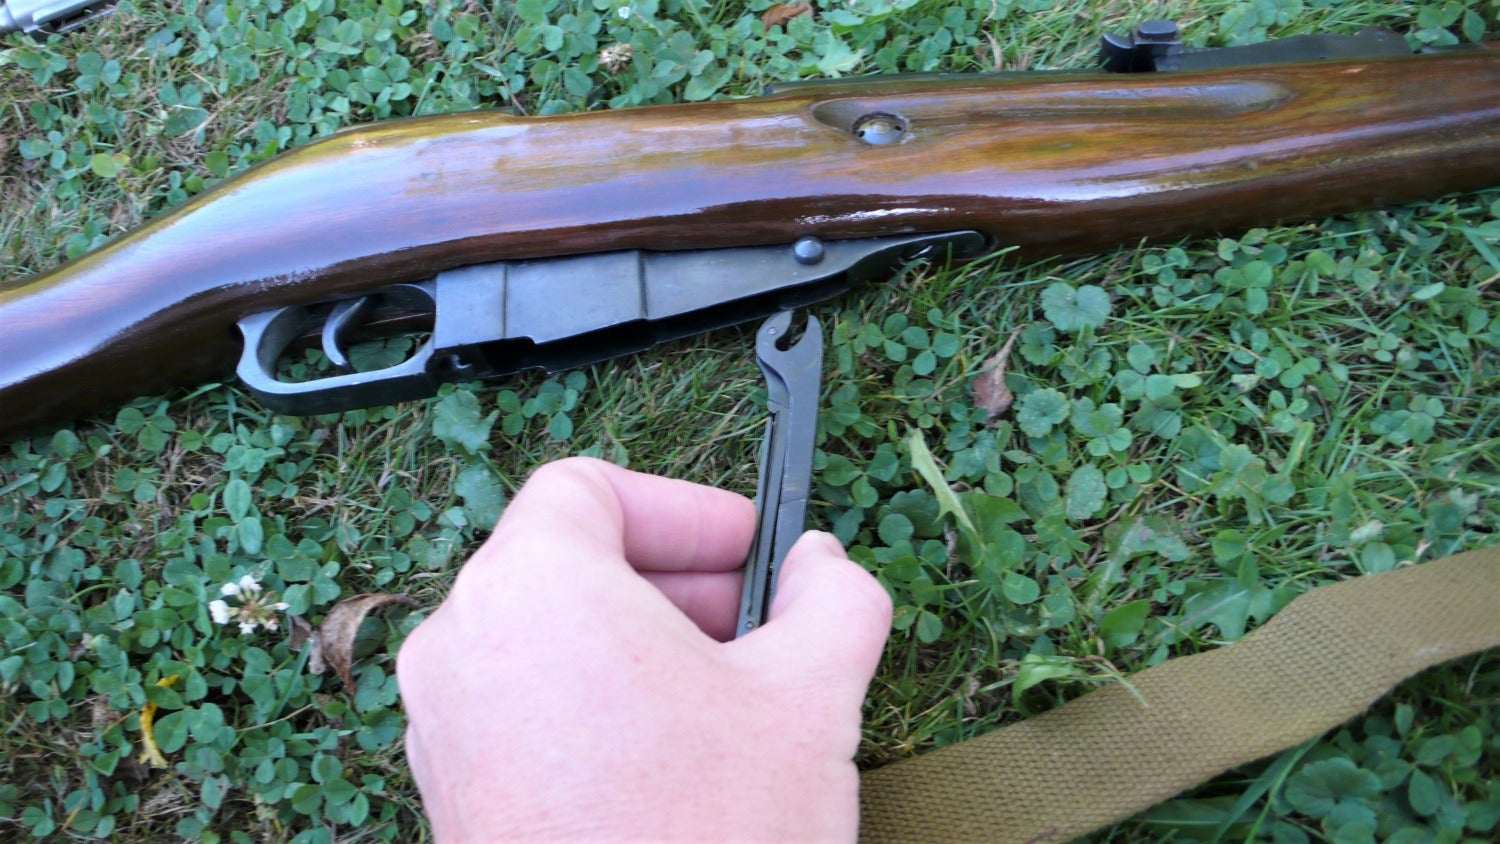
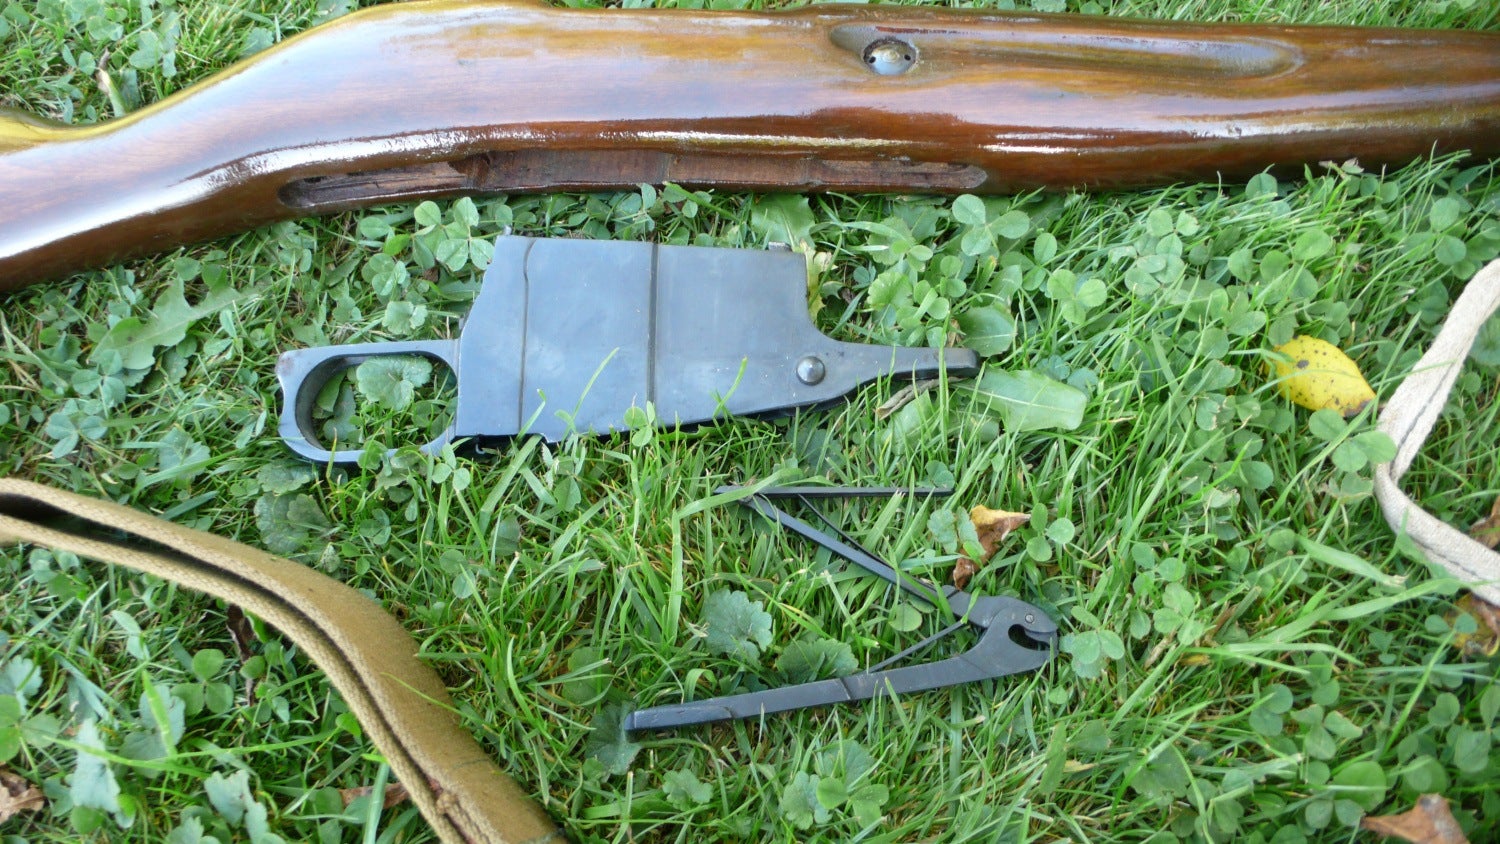
Step 2. On the bottom of the integral magazine is a small release tab. Press the tab to the rear while grasping the tabs on the bottom plate and pull downward. This exposes the magazine’s leaf spring and follower which is attached to the bottom plate. To remove the magazine’s internals, pinch the plate and follower together, compressing the spring between them, then pull downward to release them.
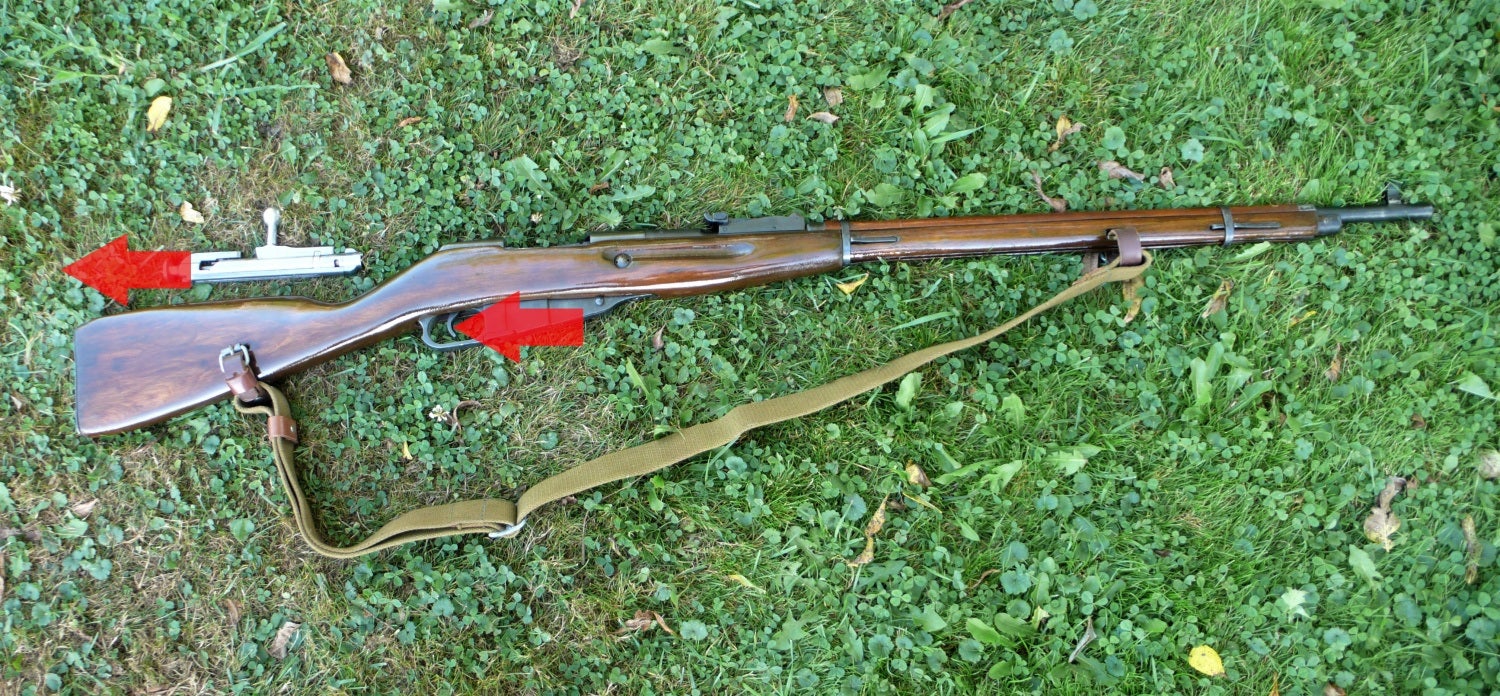
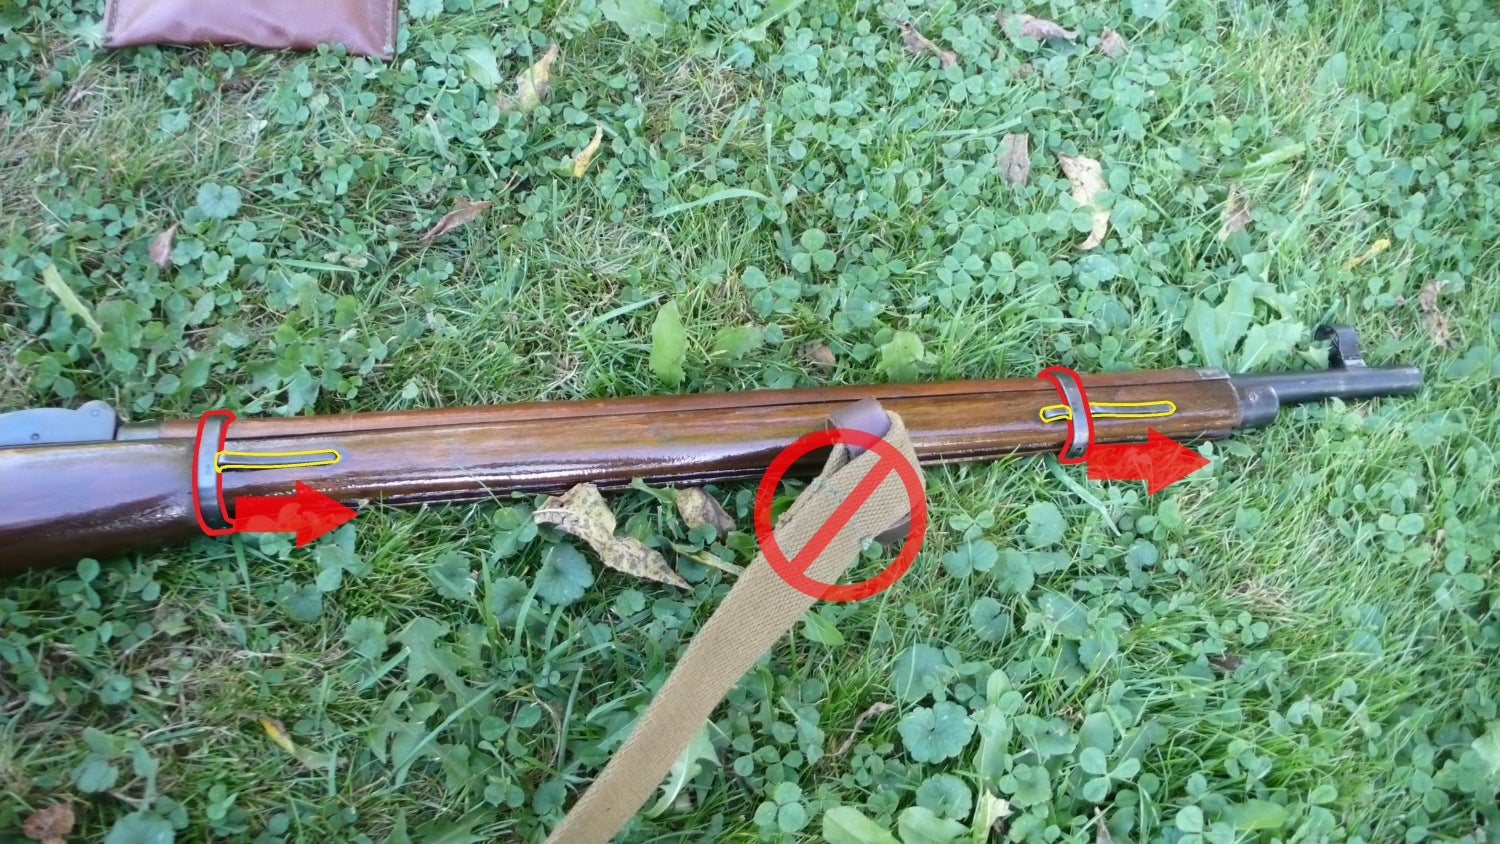
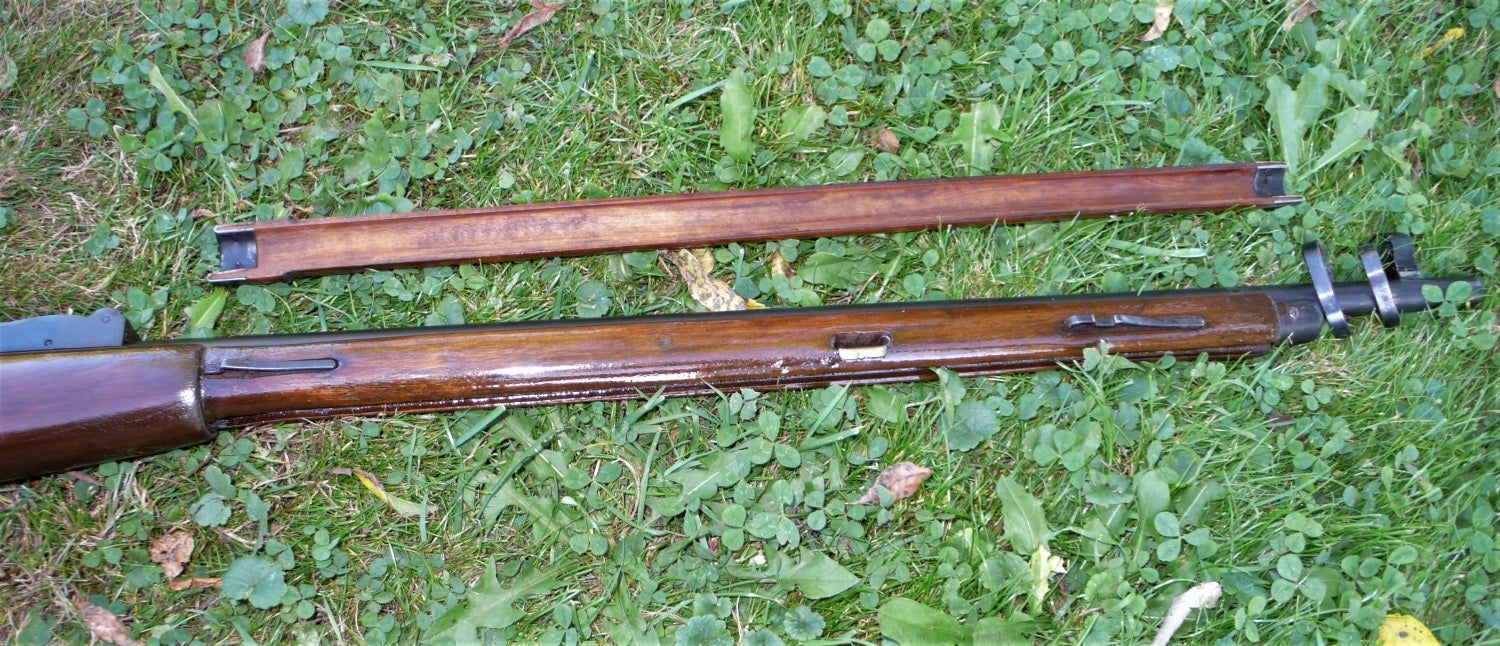
Step 3. Remove the “dog collar” sling attachment from the front of the stock. Then push on the horizontal springs (highlighted in yellow) to allow the barrel rings (highlighted red) to slide forward. Once the rings are moved forward to the front sight, the handguard can be removed.
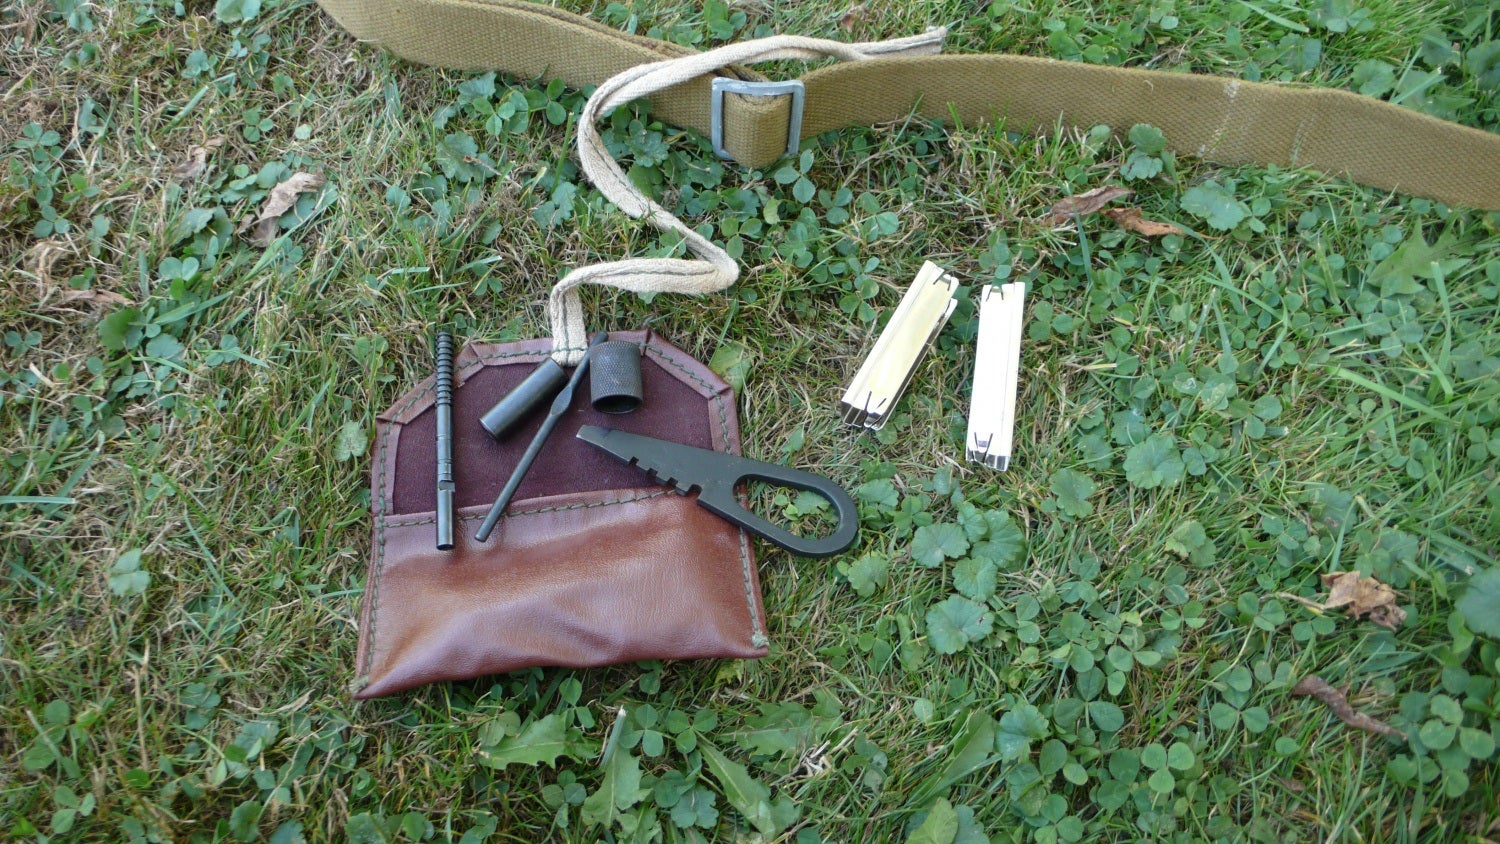
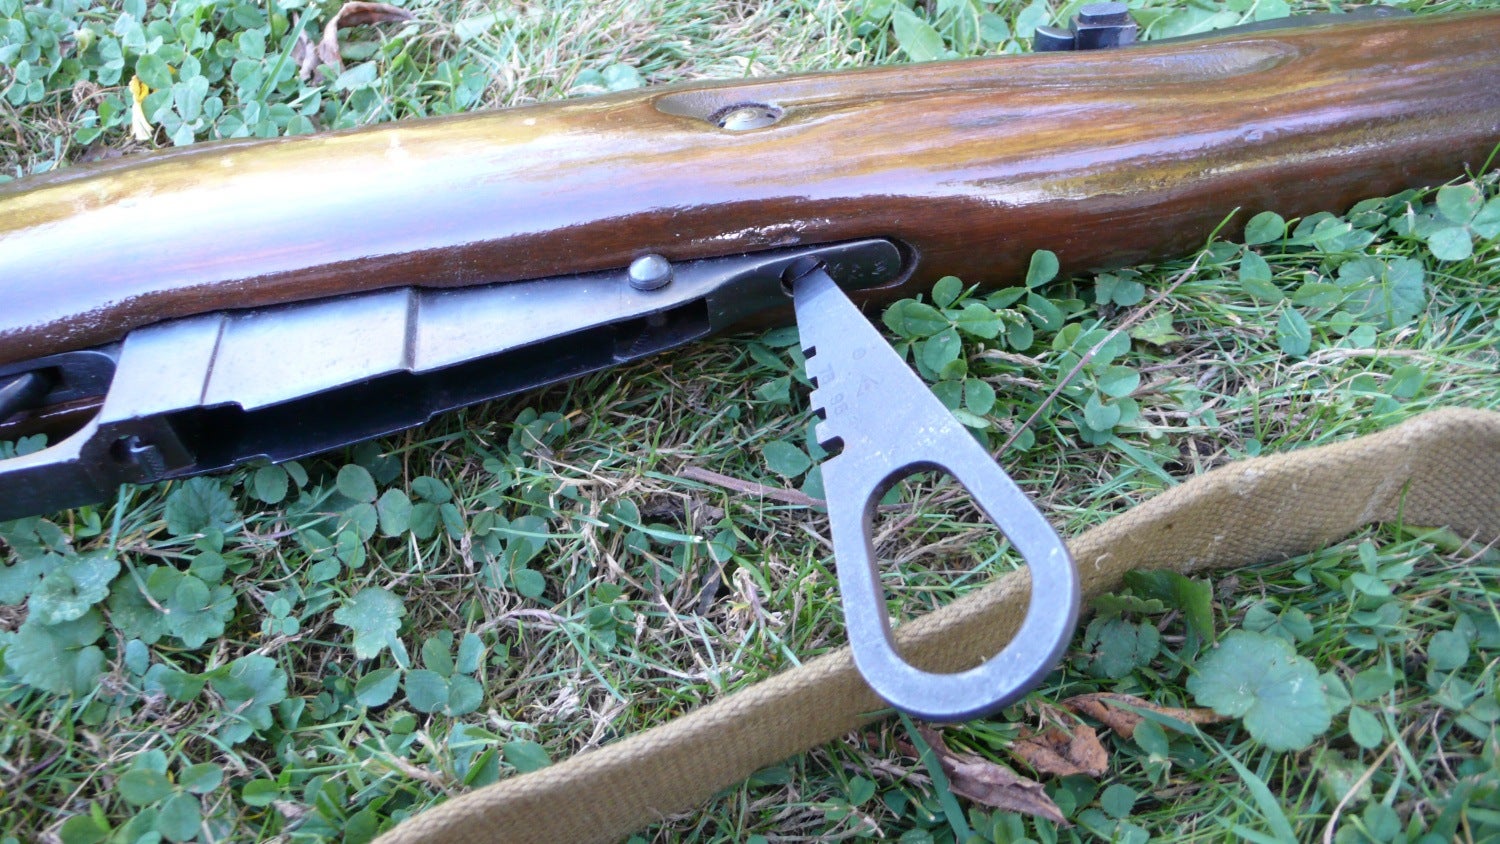
Step 4. This step I used the original issued Mosin-Nagant tool to unscrew the action screws that hold the magazine body and the action to the stock. A screwdriver works fine, but if you’ve acquired a Mosin-Nagant without this tool, I suggest finding one for one of the following steps as you’ll see.
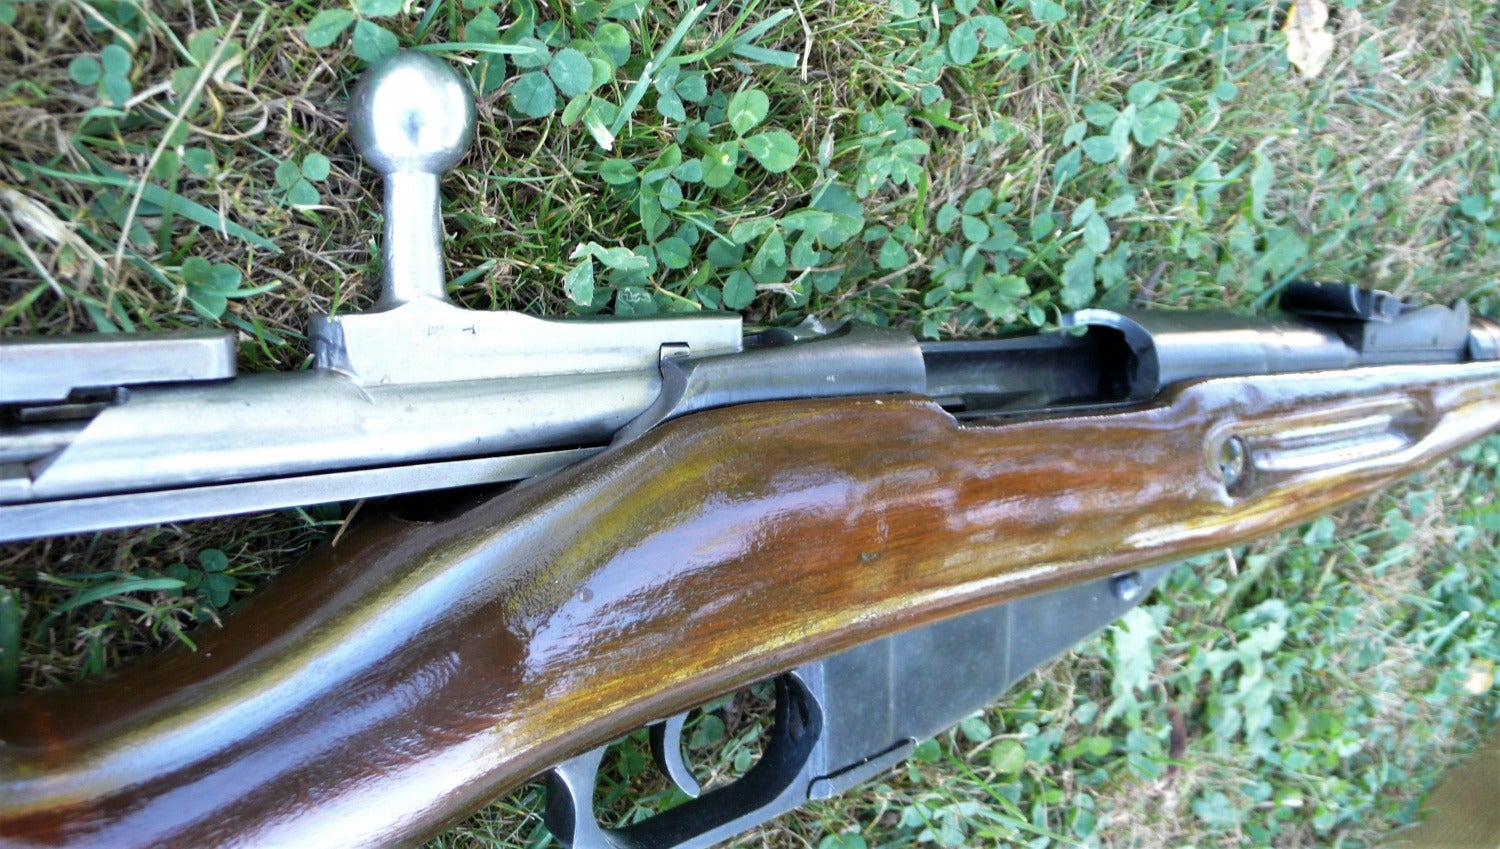
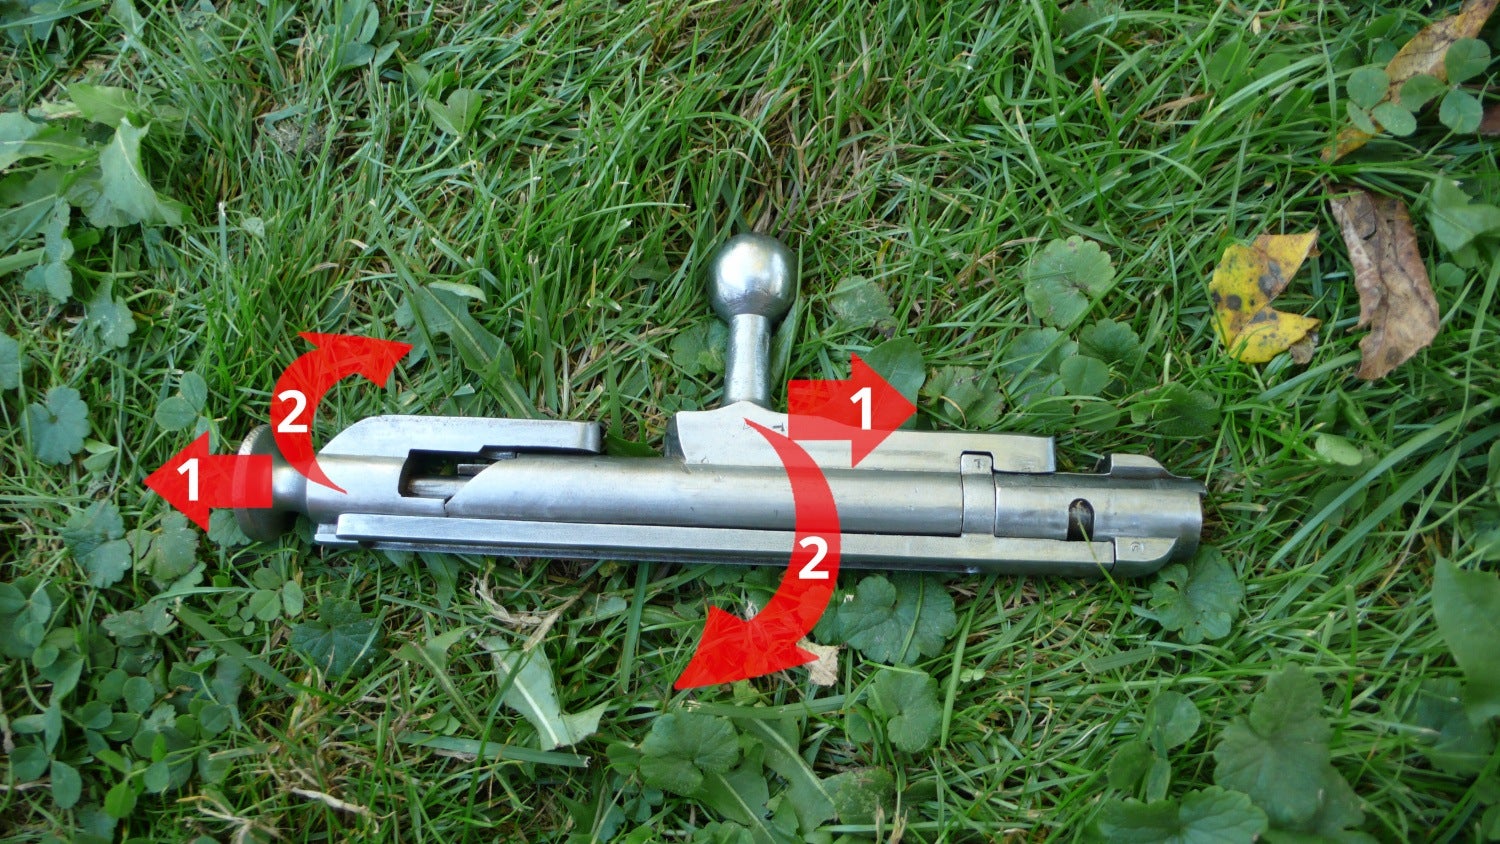
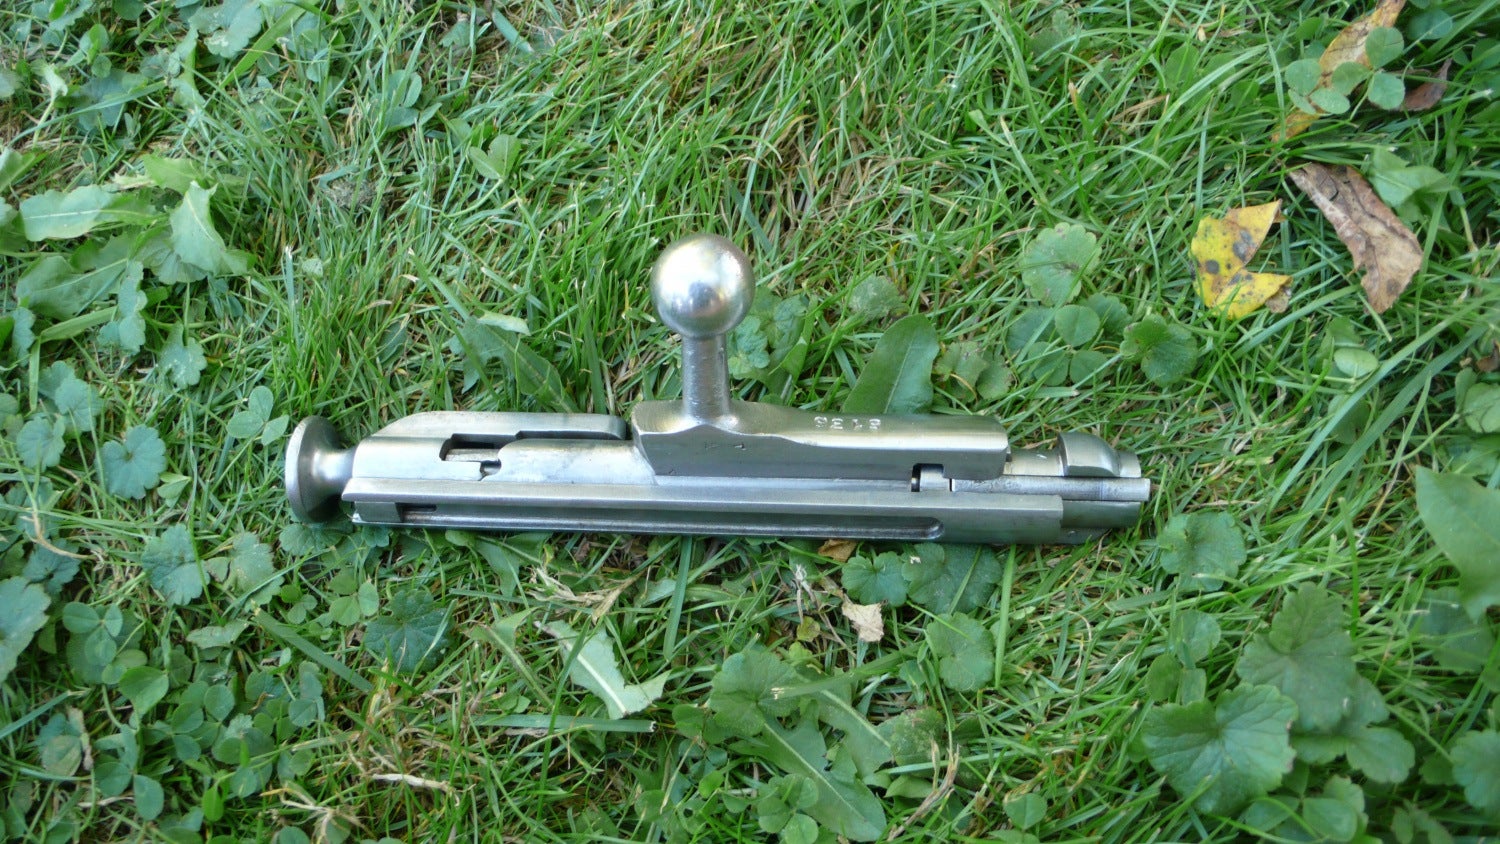
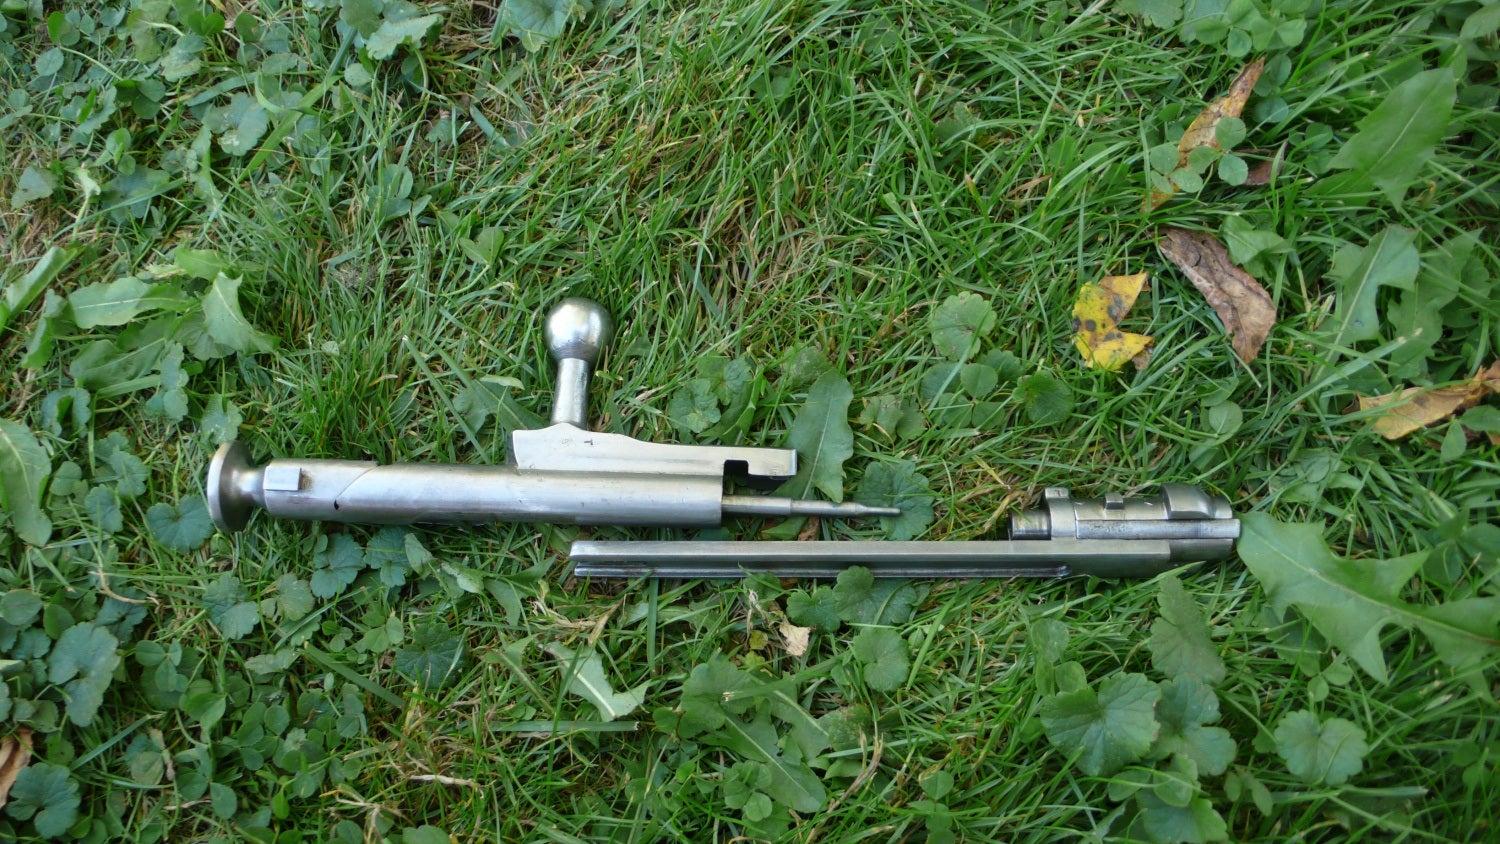
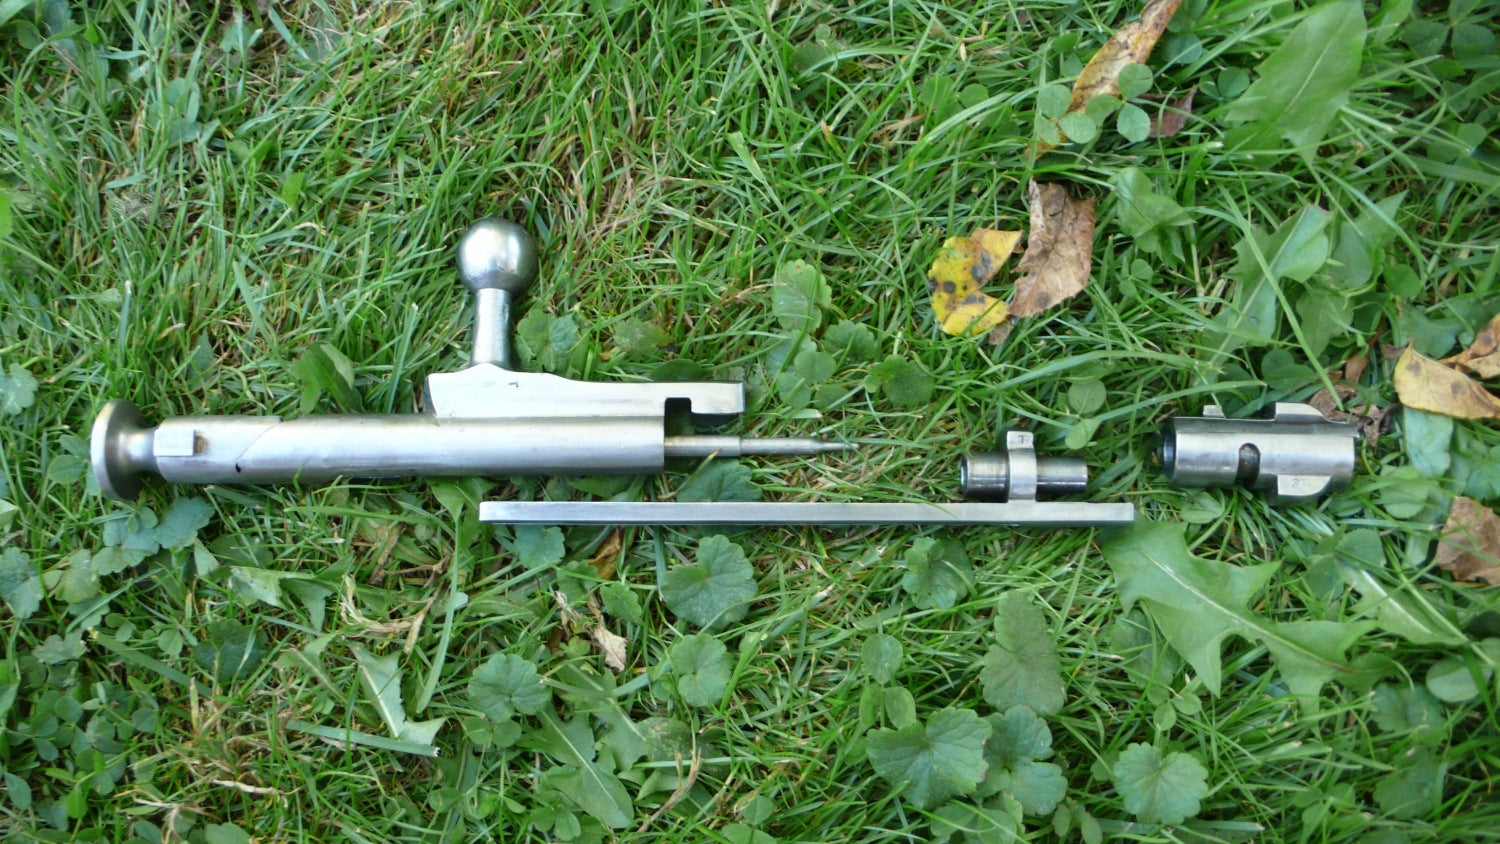
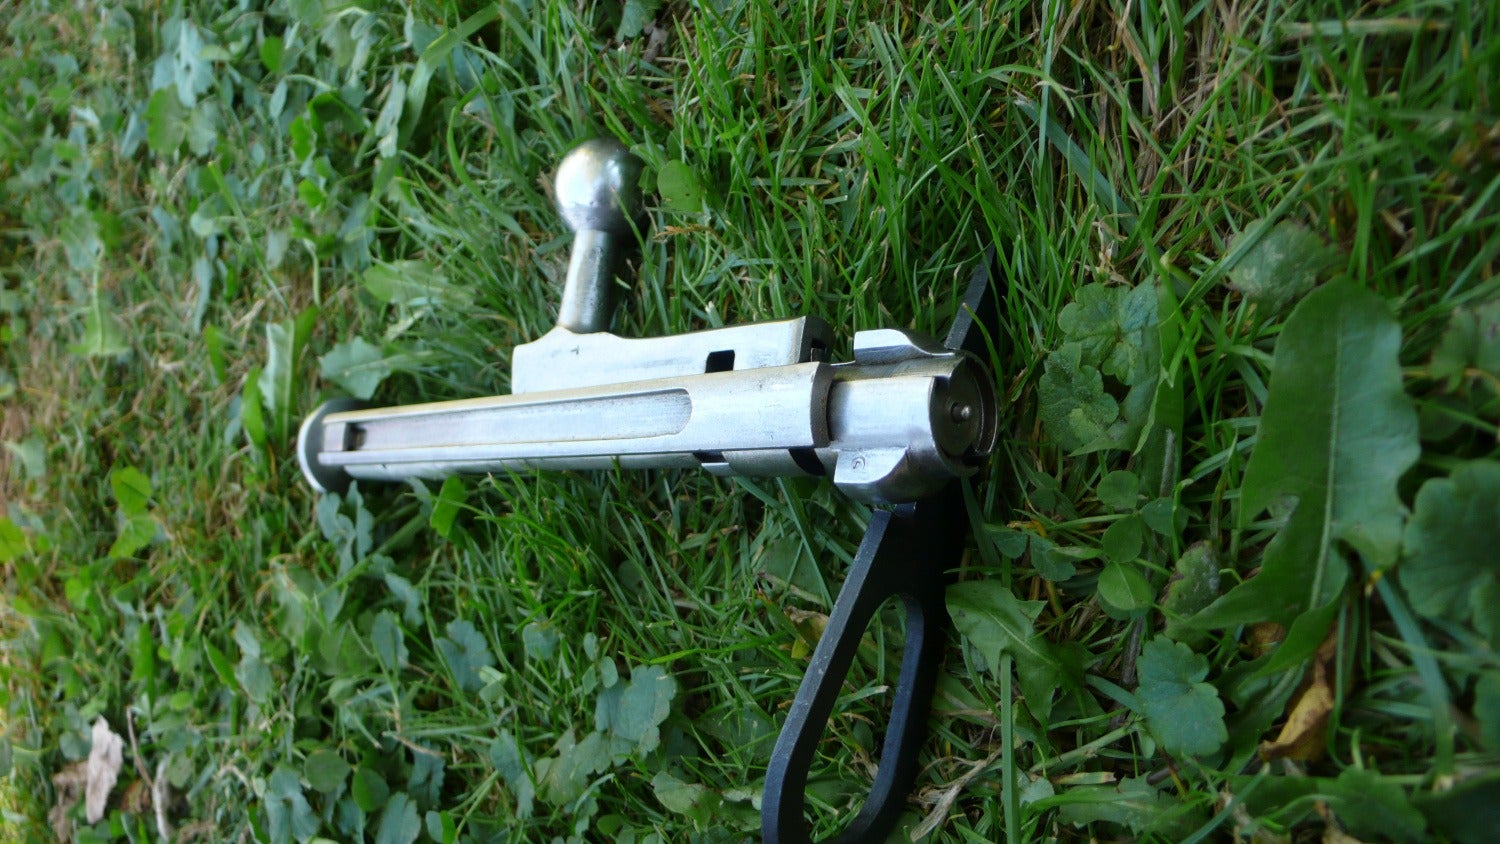
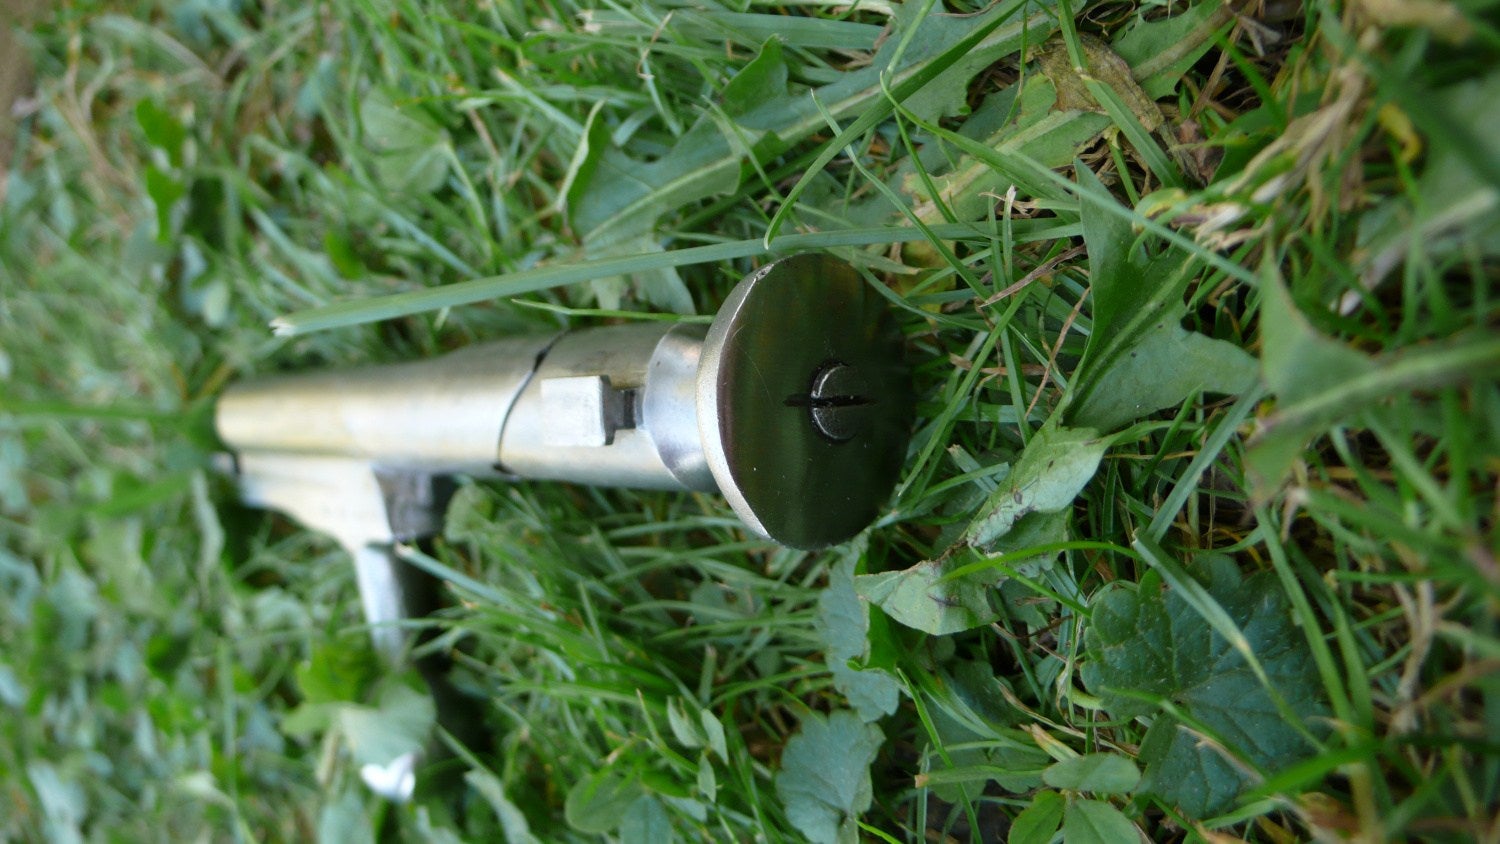
Step 5. Next, we’ll disassemble the bolt. First, with one hand, grasp the bolt handle. With the other hand, grasp the safety knob at the rear of the bolt. Pull the two knobs in opposite directions, and twist. If you have it oriented like the position below, the bolt handle will twist toward you. The bolt will then disassemble in three components. The firing pin can be unscrewed, but I opted not to go that far.
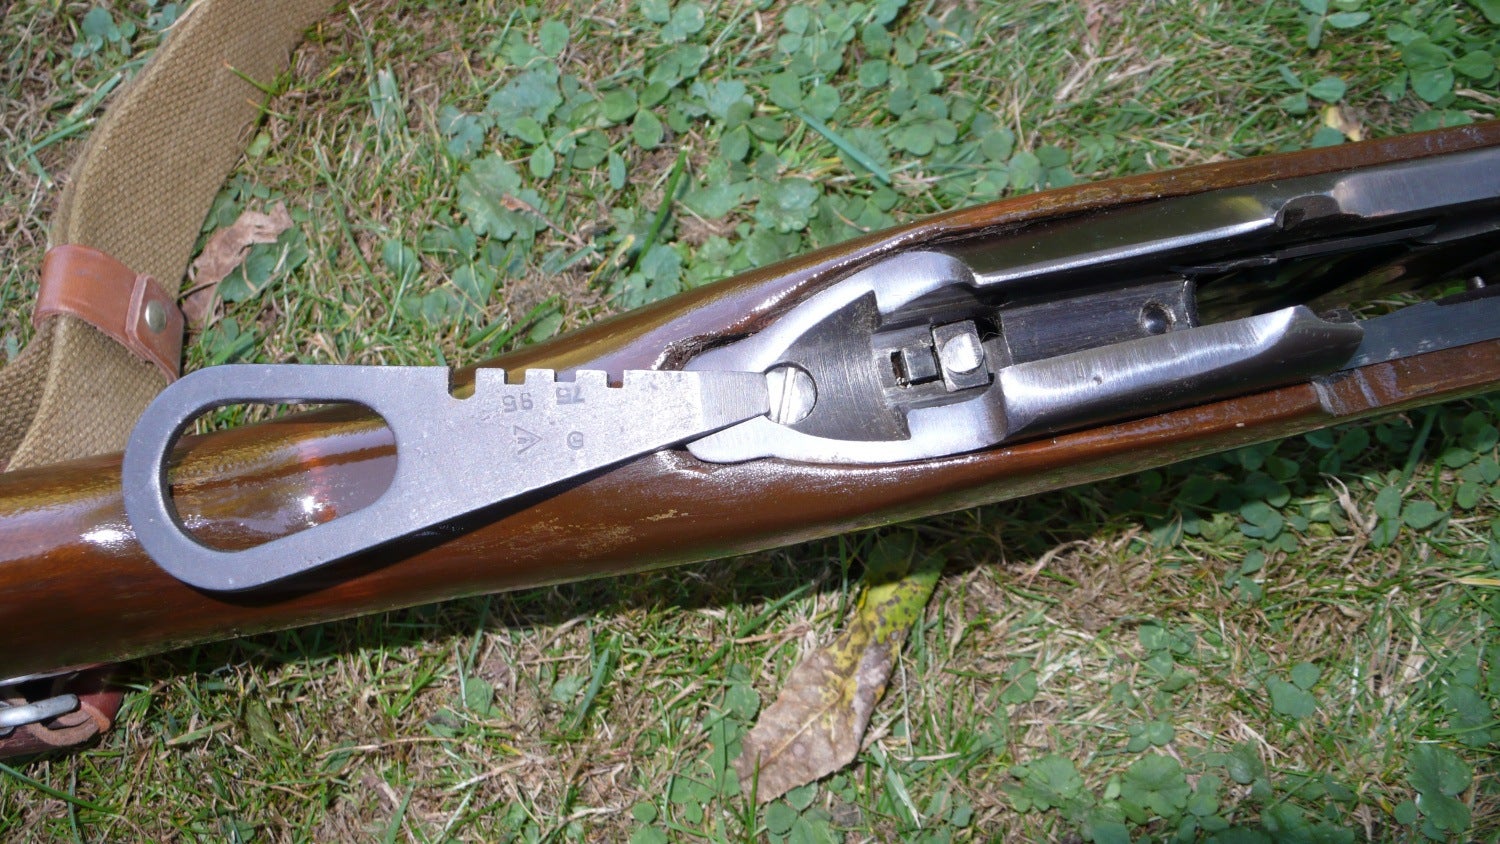
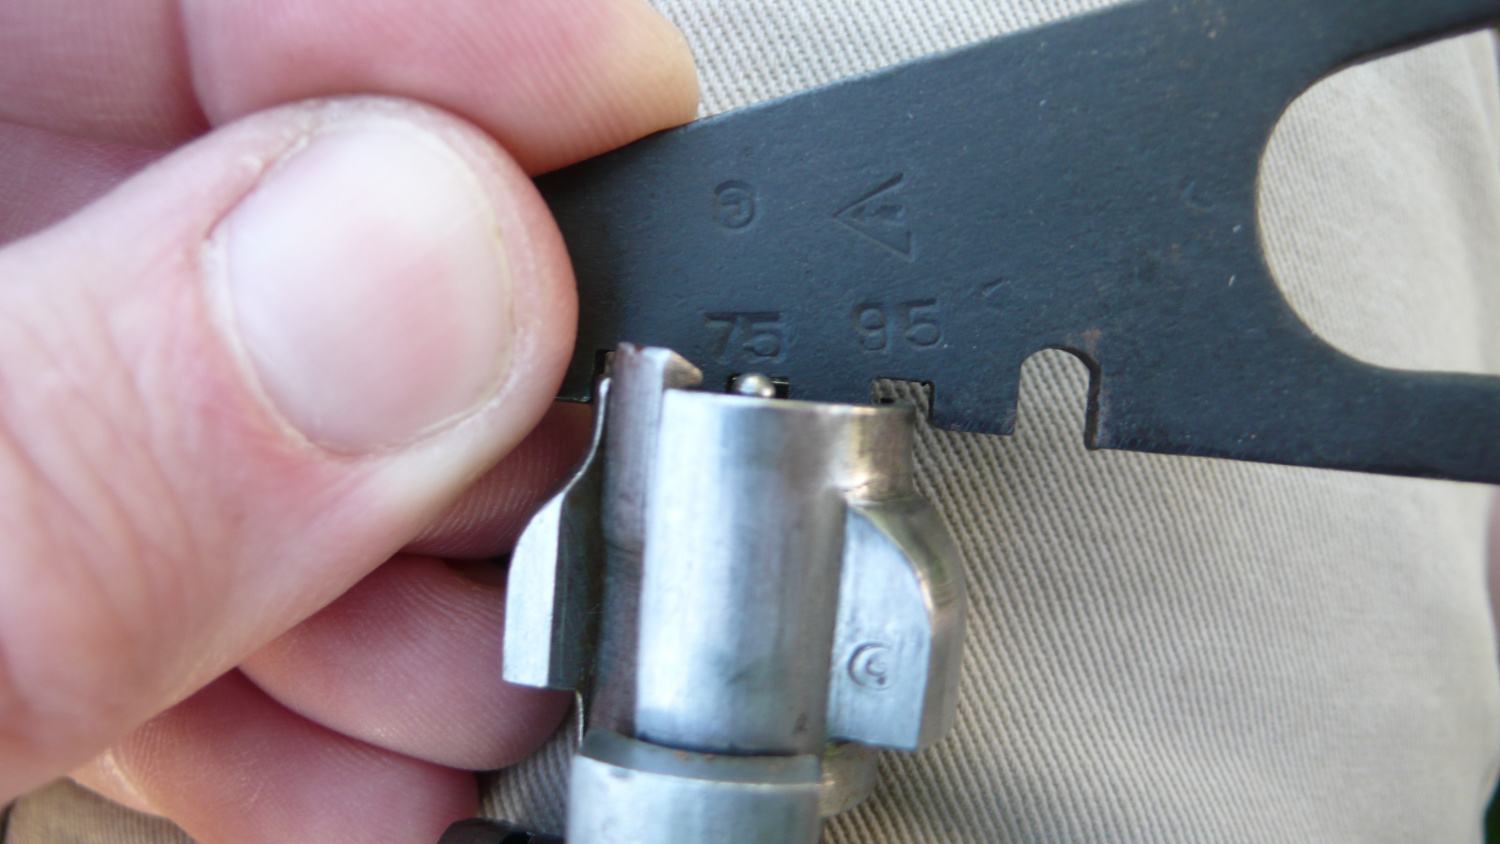
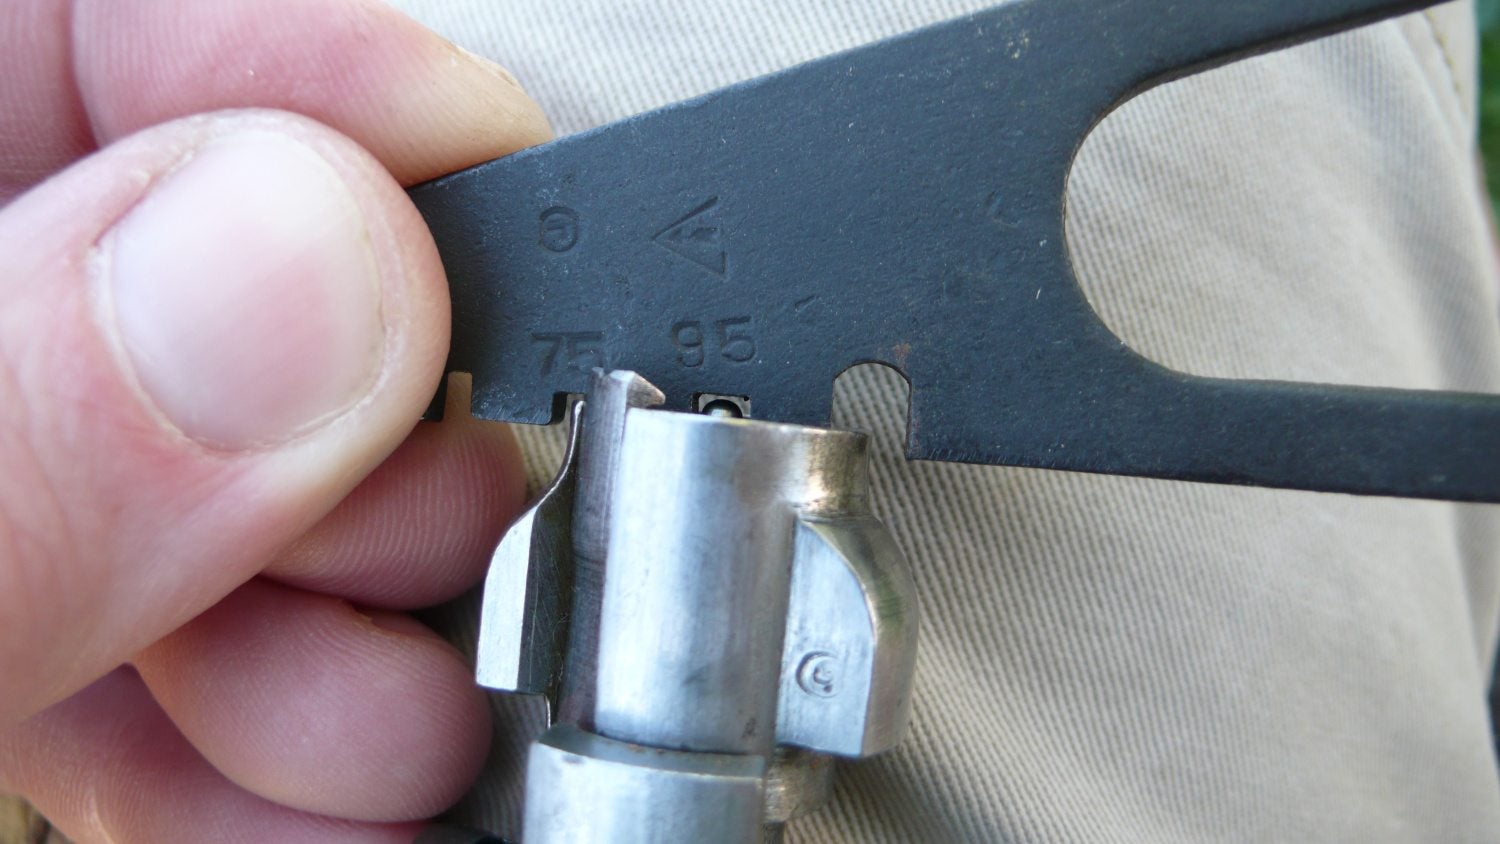
Step 6. This step is important if you don’t like the possibility of your firing pin punching through primers with no defined re-direct for gasses. Once your bolt is reassembled, but not yet under tension from the firing pin spring, get your handy Mosin-Nagant tool to check that your firing pin is set to the appropriate depth during firing. Using your tool, check that your firing pin touches the top of the .075 inch notch. Make sure that it does not touch the top of the .095 inch notch as shown below. If your firing pin needs to be adjusted, you can use a screwdriver or the Mosin-Nagant tool on the notch at the rear of the bolt.
This ends the field strip process for the Mosin-Nagant family of rifles. Reassemble in reverse order. Thanks for joining us for TFB’s Field Strip series.