 Your Privacy Choices
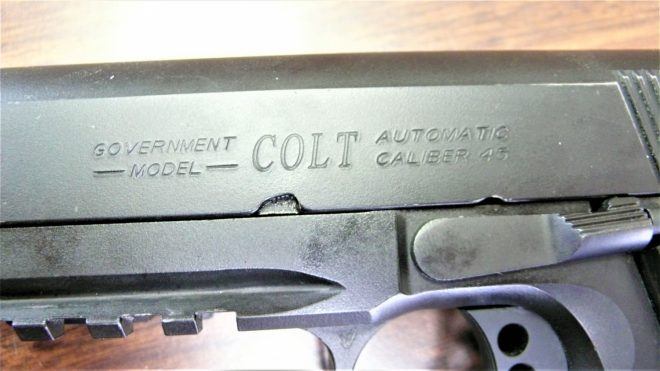
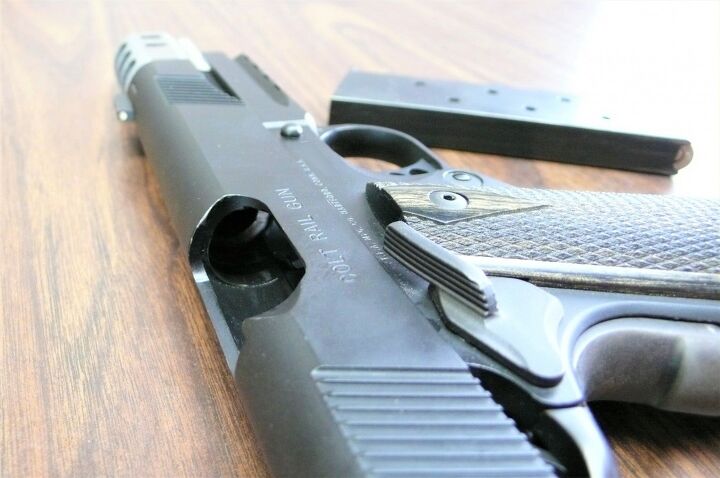
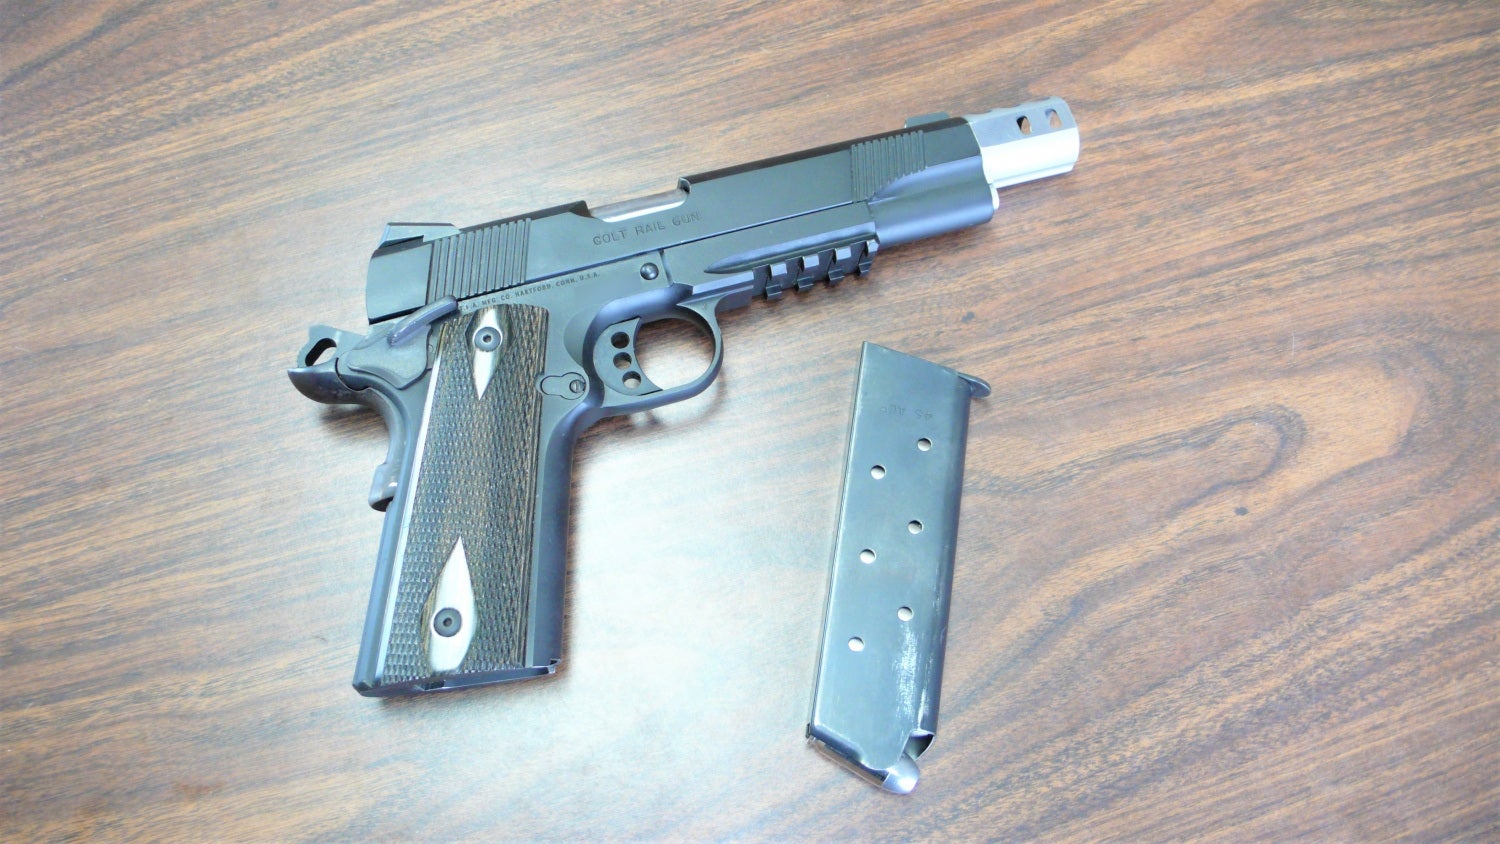
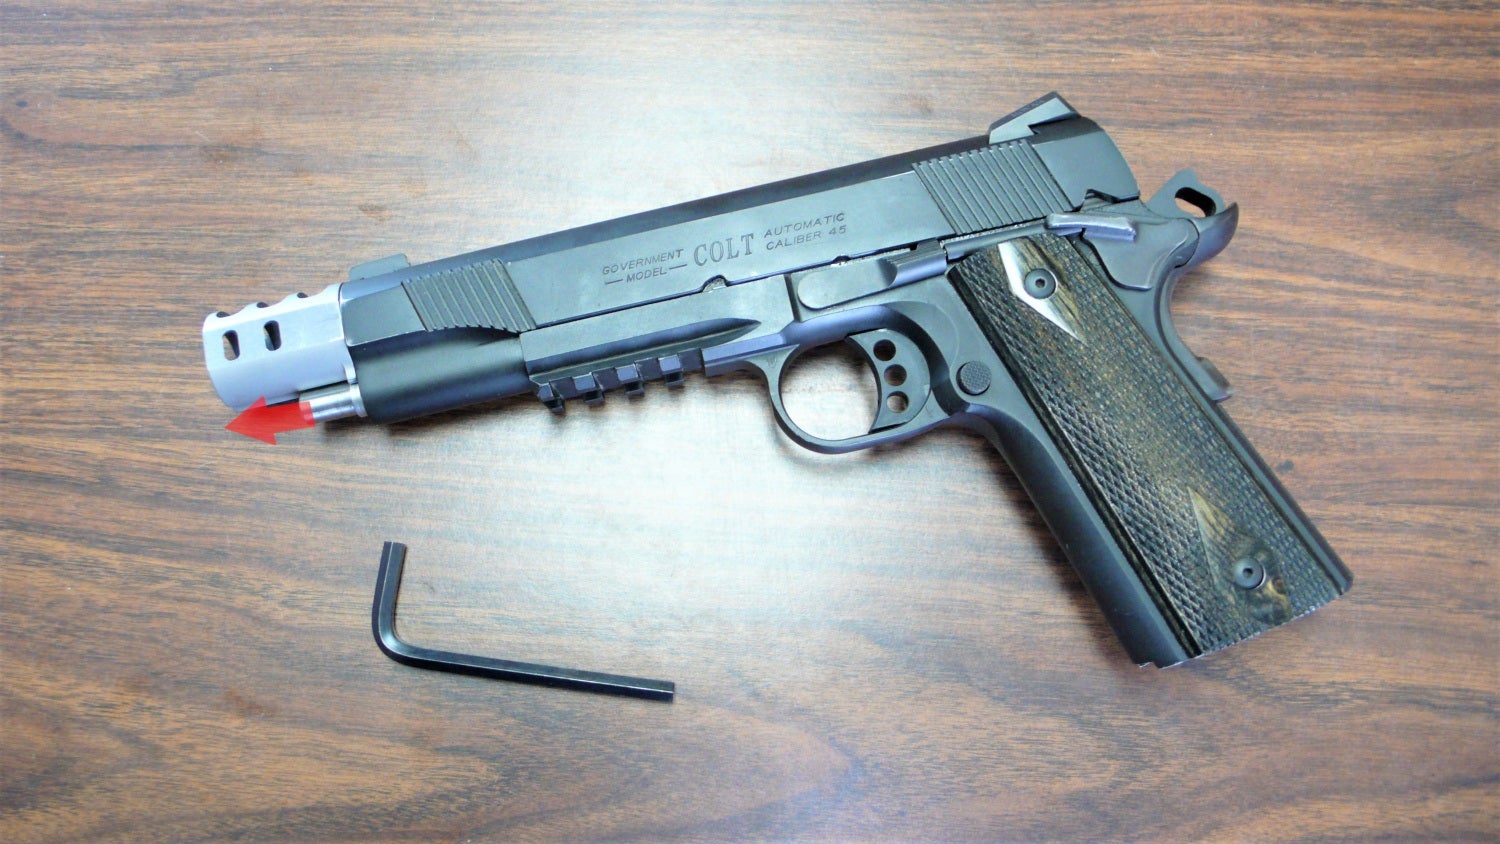
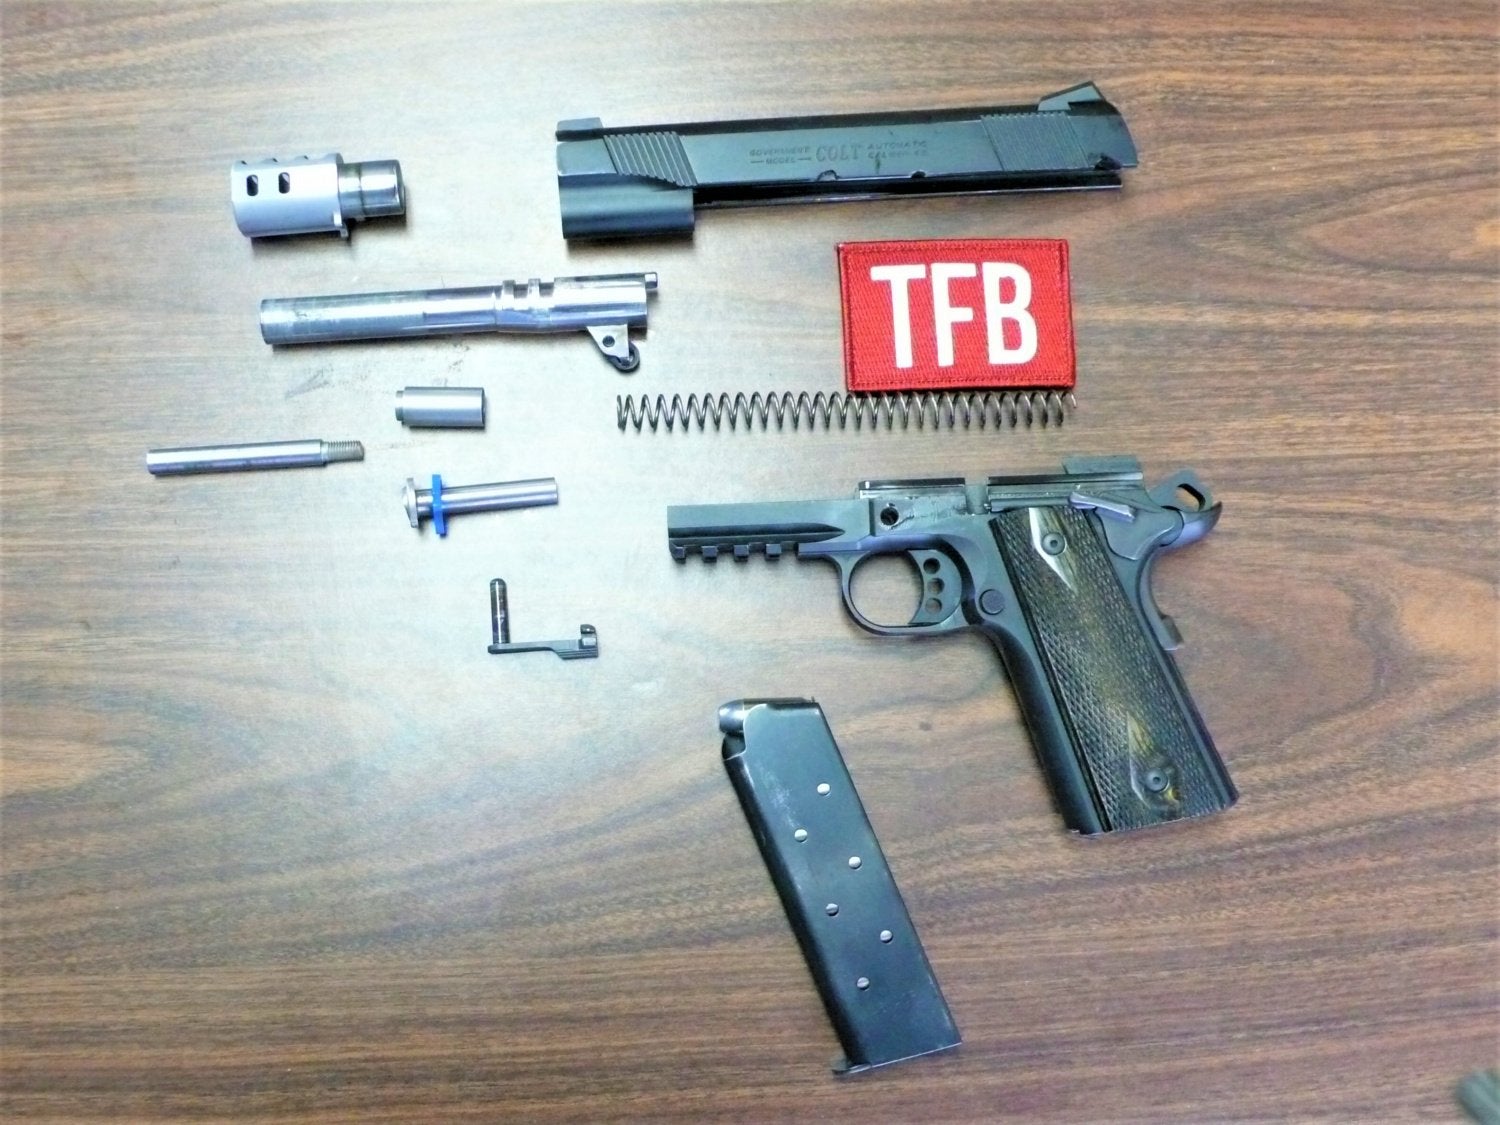
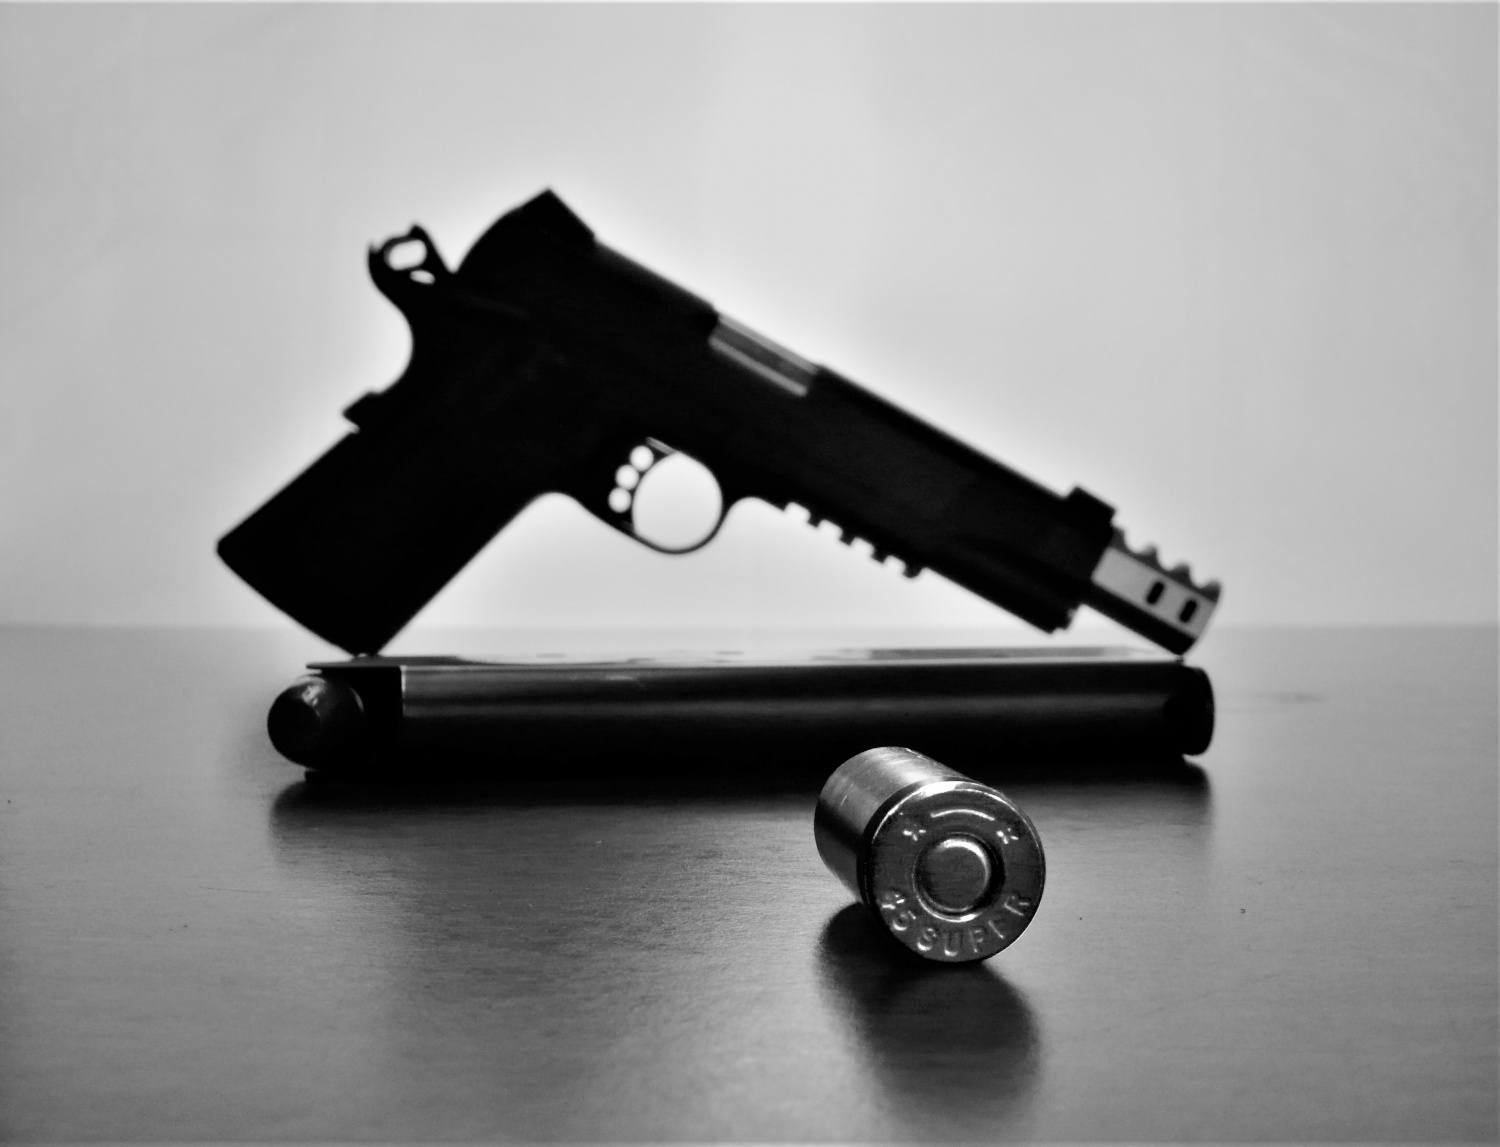
When a firearm design is as old, and as popular, as the 1911, people are going to tinker with it to better suit it to their needs. This Colt Rail Gun is no exception. The Colt Rail Gun is the civilian version of the USMC’s M45. TFB’s Adam S. already covered the field strip for a standard 1911, but my friend Seth’s 1911 Colt Rail Gun has been upgraded enough to warrant another field strip to add to the TFB series. Seth added aftermarket parts from Wilson Combat and upgraded two stiffer springs to allow him to shoot .45 Super as well as .45 ACP. The compensator, 2-piece, full length guide rod, and shock buffer were all additions from Wilson Combat. The 24 pound recoil spring and upgraded trigger pin spring were from Wolff Gunsprings. The stiff 24 lb. spring and the 2-piece guide rod change the take down process and add a bit of sport as well. Let’s begin after this safety message:
REMEMBER the four rules of gun safety:
- All guns are always loaded.
- Never let the muzzle cover anything you are not willing to destroy.
- Keep your finger off the trigger until your sights are on the target.
- Be sure of your target and what is beyond it.
TFB FIELD STRIP: 1911 COLT RAIL GUN with wilson combat upgrades
Before starting the field strip process, as with any firearm, remove the magazine and check the chamber to make sure there’s no live ammunition in the gun. When done with the safety check, begin with the slide in the forward position.
Step 1.
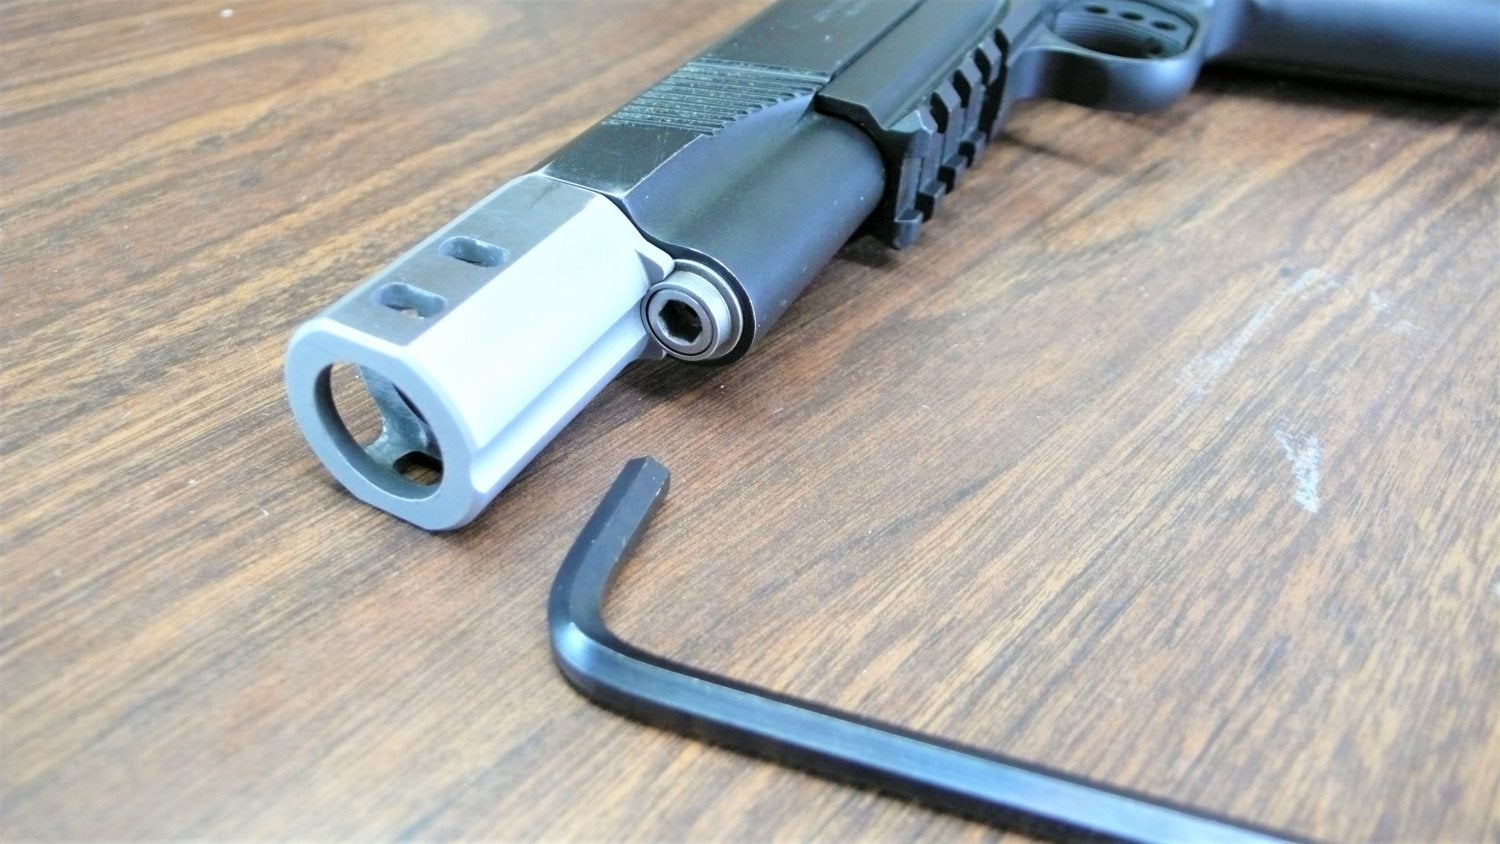
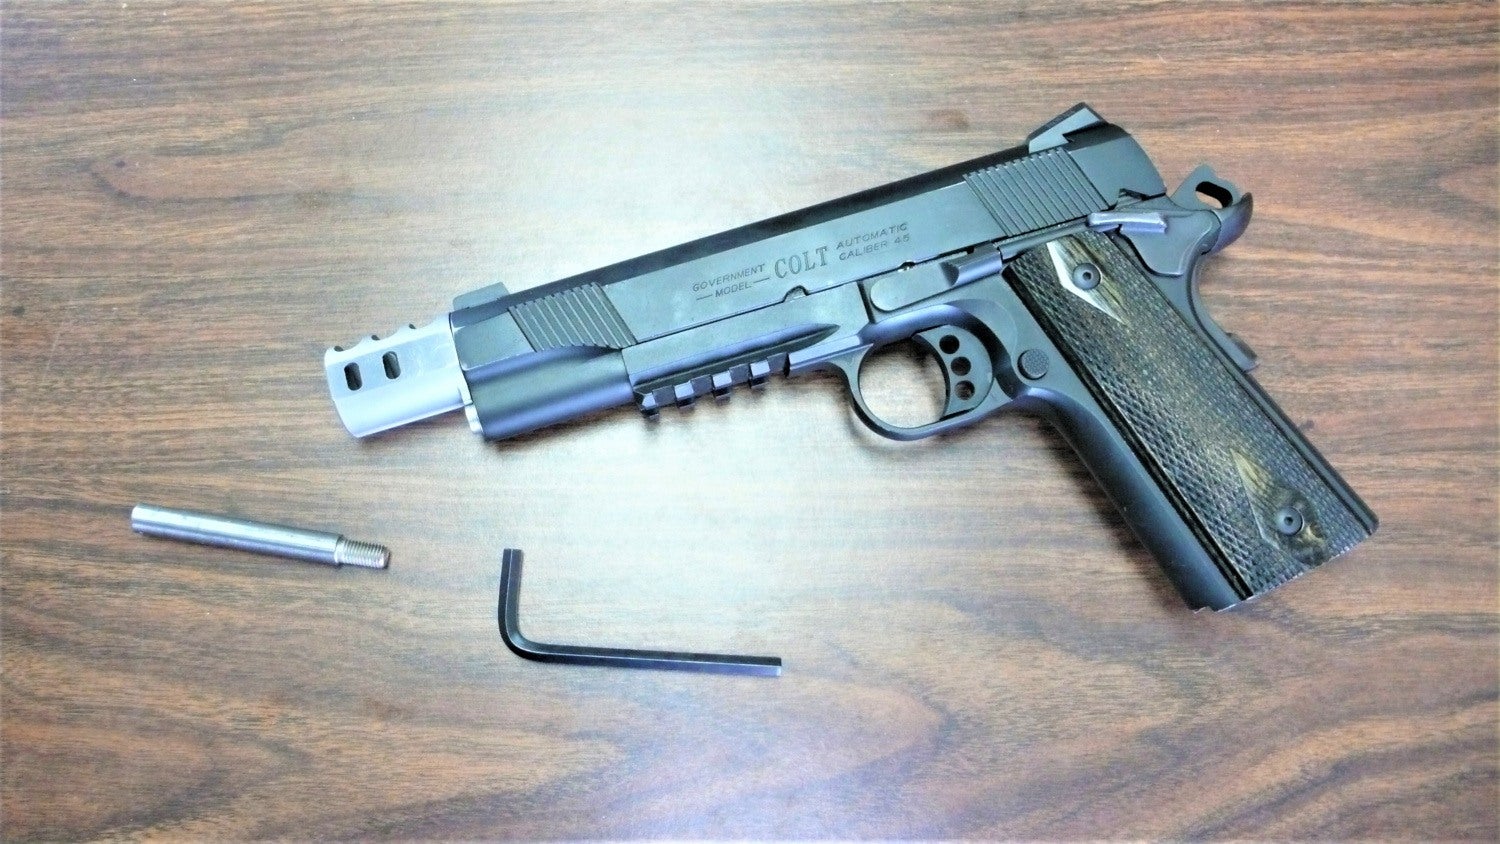
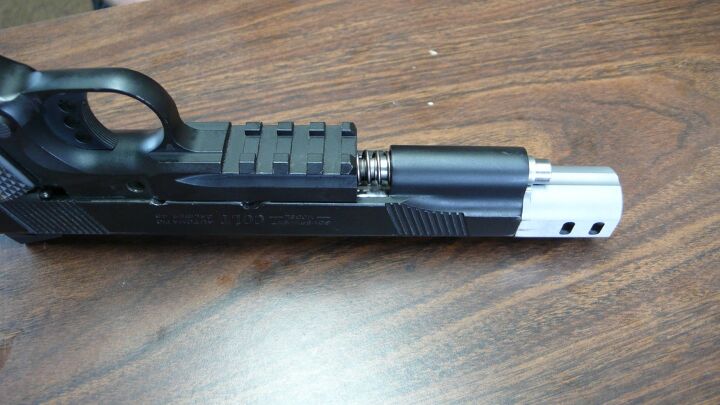
With the Wilson Combat 2-piece, full-length guide rod, use a hex key to unscrew the exposed front half of the guide rod. Pull it out of the front once loosed. The slide is still held in place by the slide stop/ takedown pin.
Step 2.
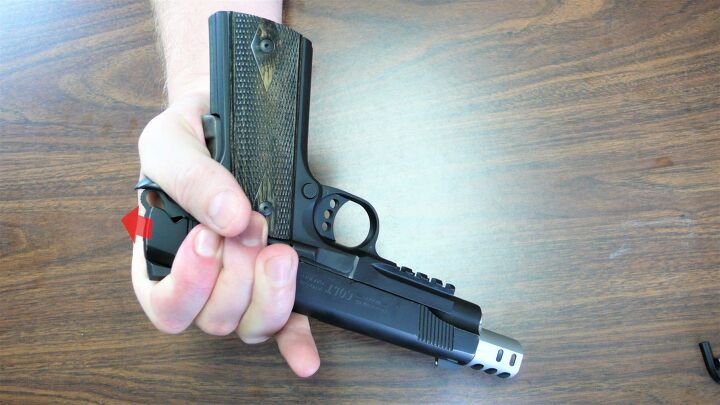
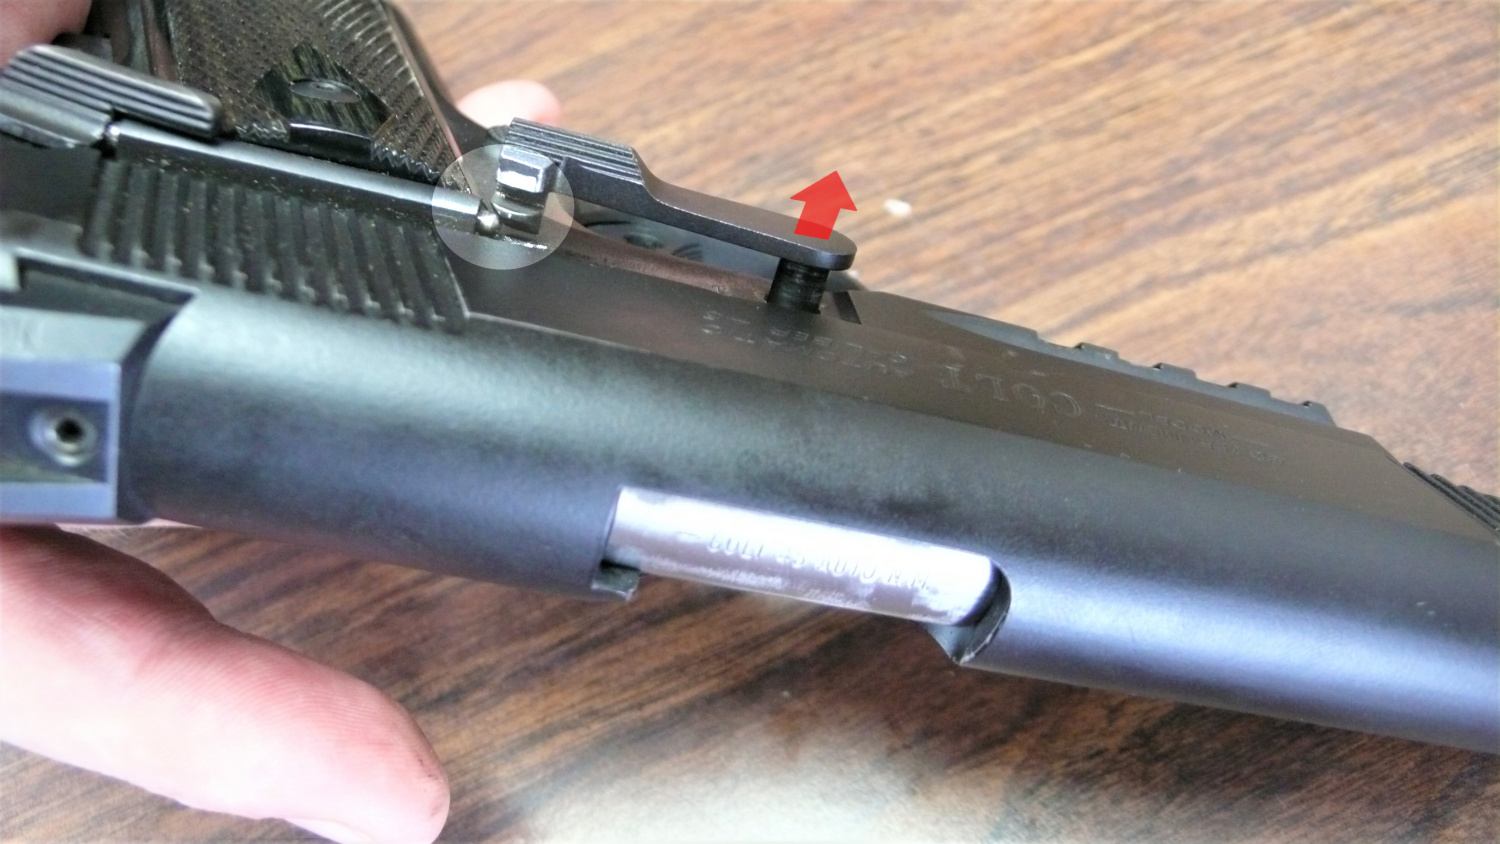
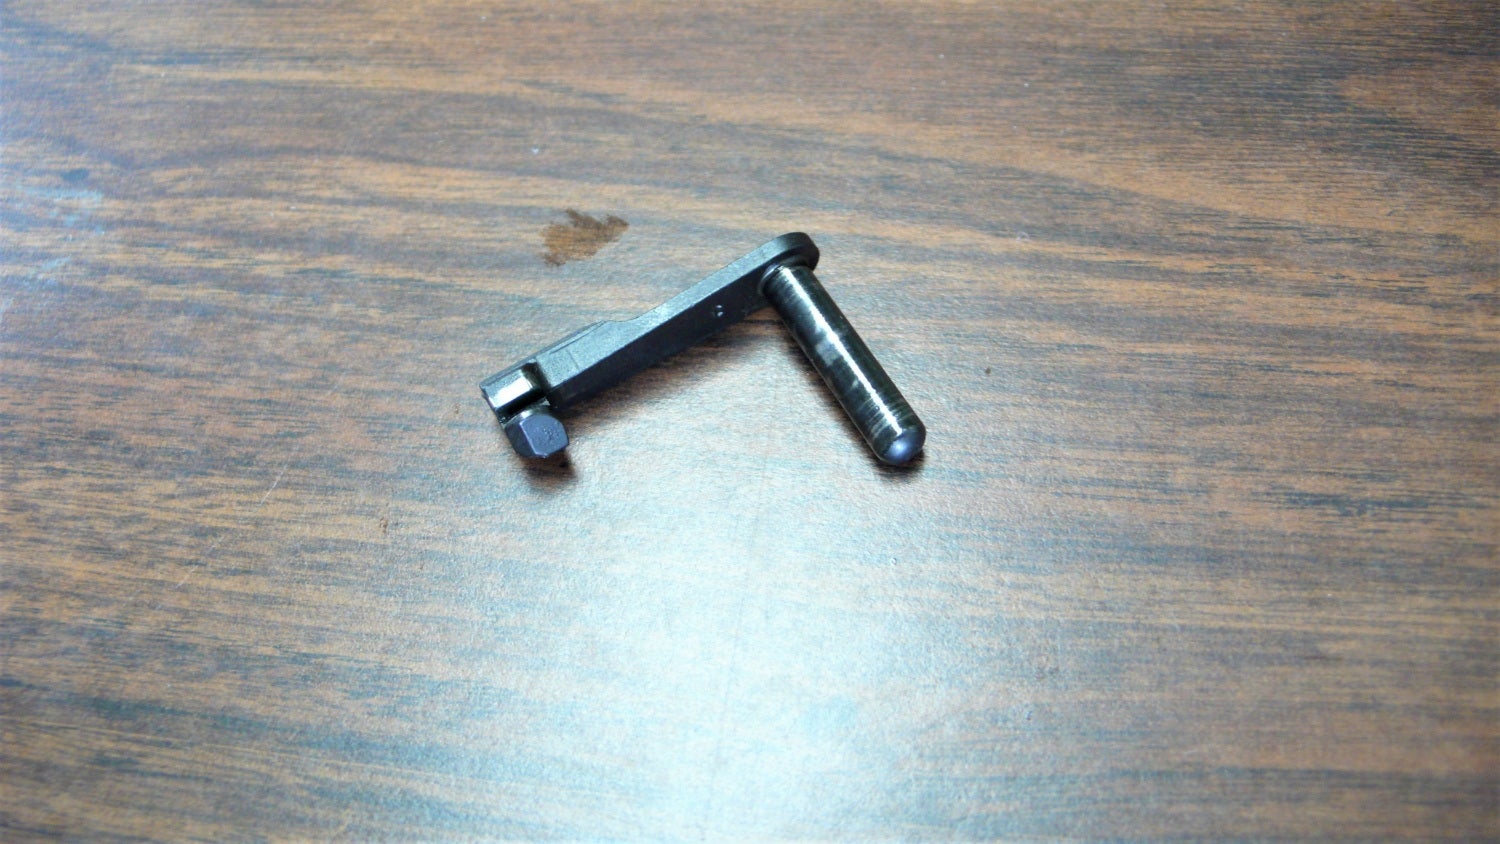
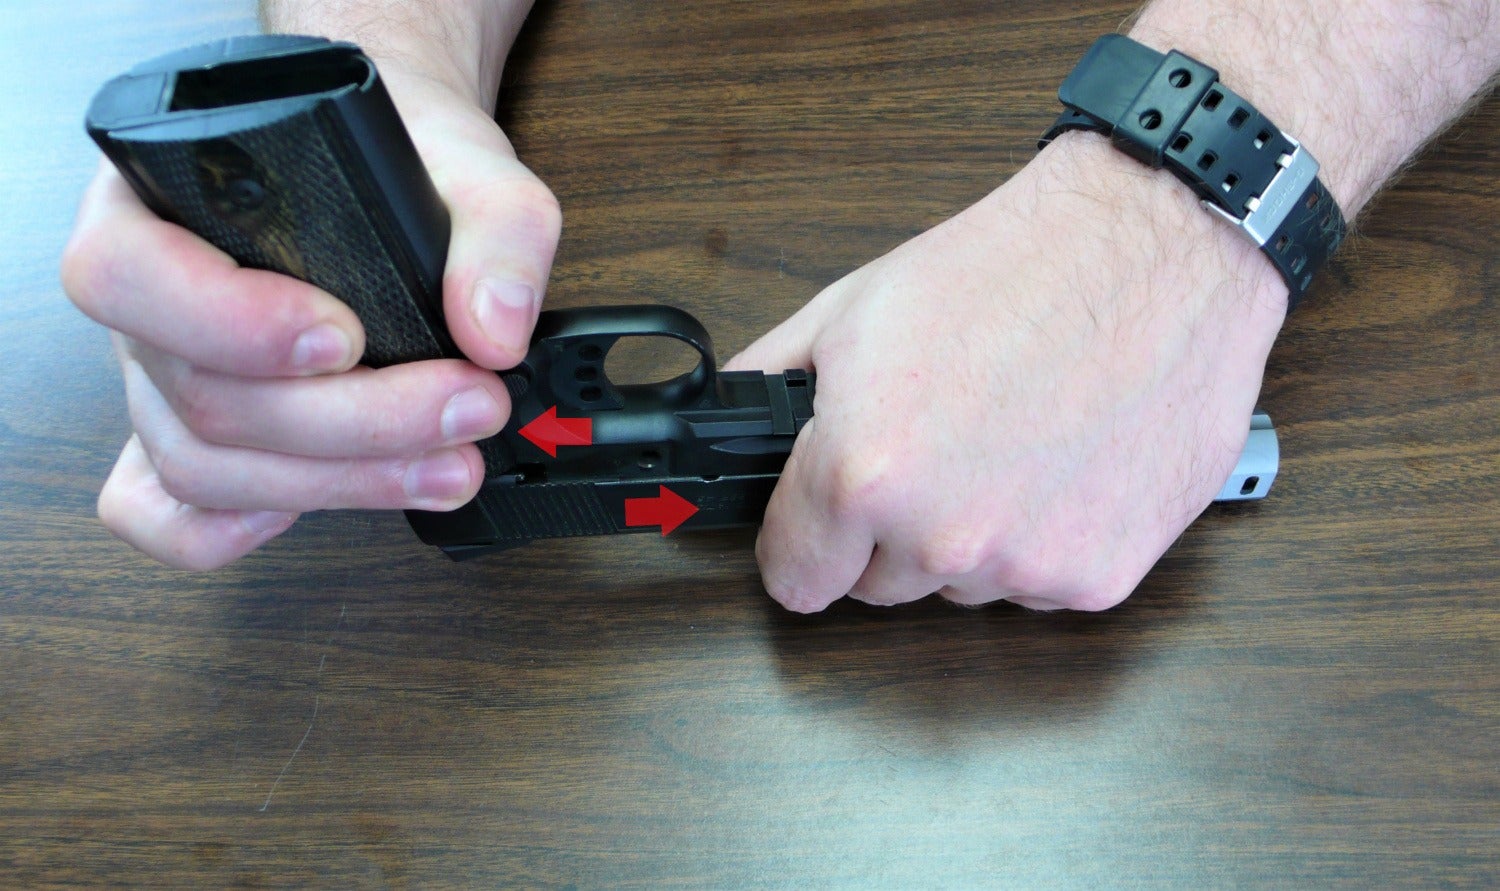
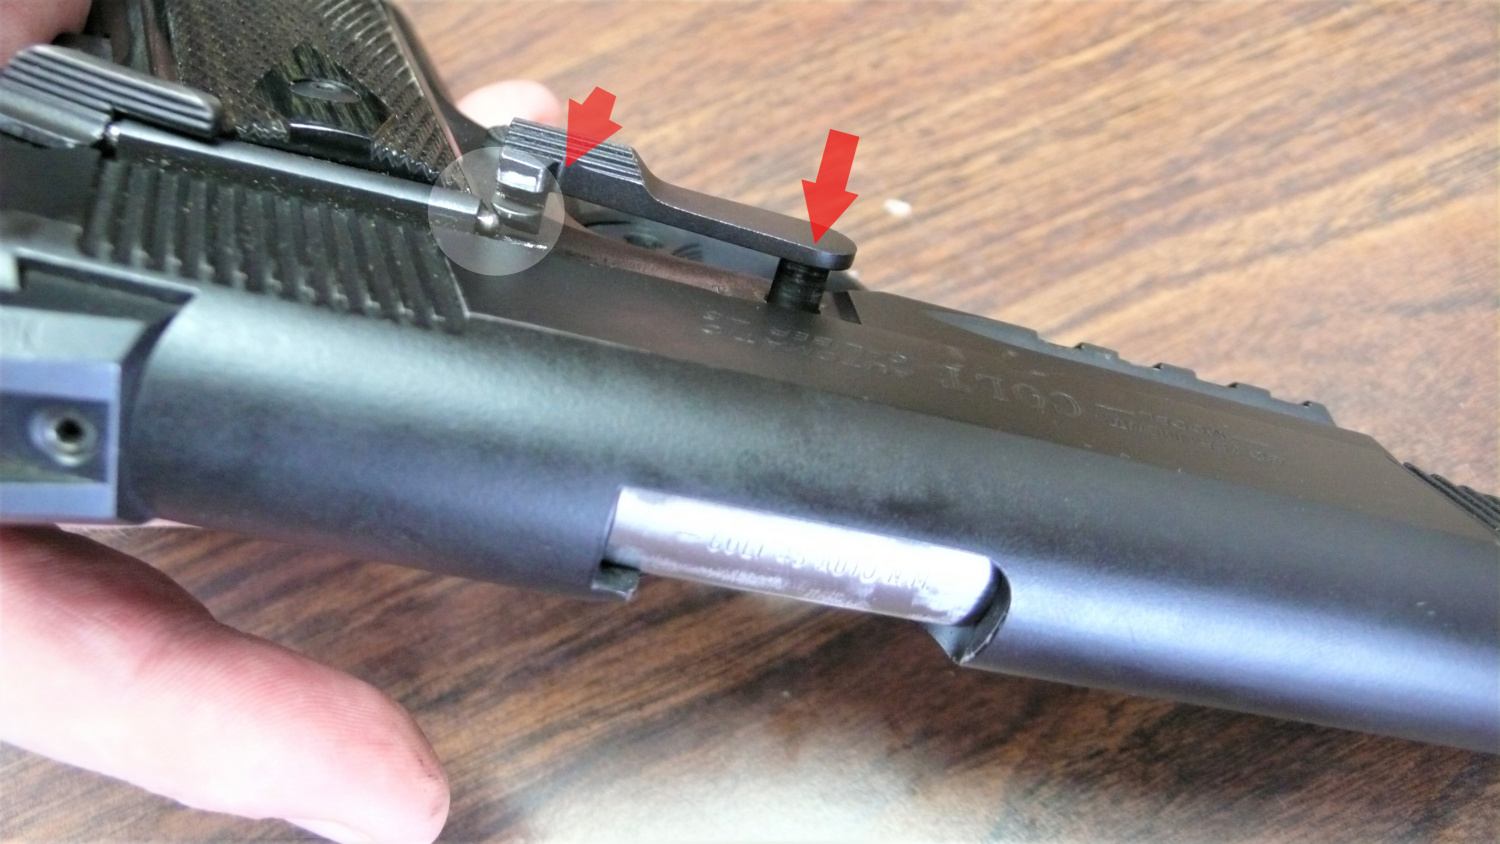
Use one hand to hold the whole pistol, while using the fingers of the same hand to grip the slide and move it slightly to the rear. While holding the slide rearward, push on the takedown pin from the right side of the gun with your free hand. The slide stop/takedown pin can then be pulled out of the frame. Seth noted to be decisive when dealing with the slide stop as it is partially held in place by a pin just aft of it (highlighted).
Step 3.
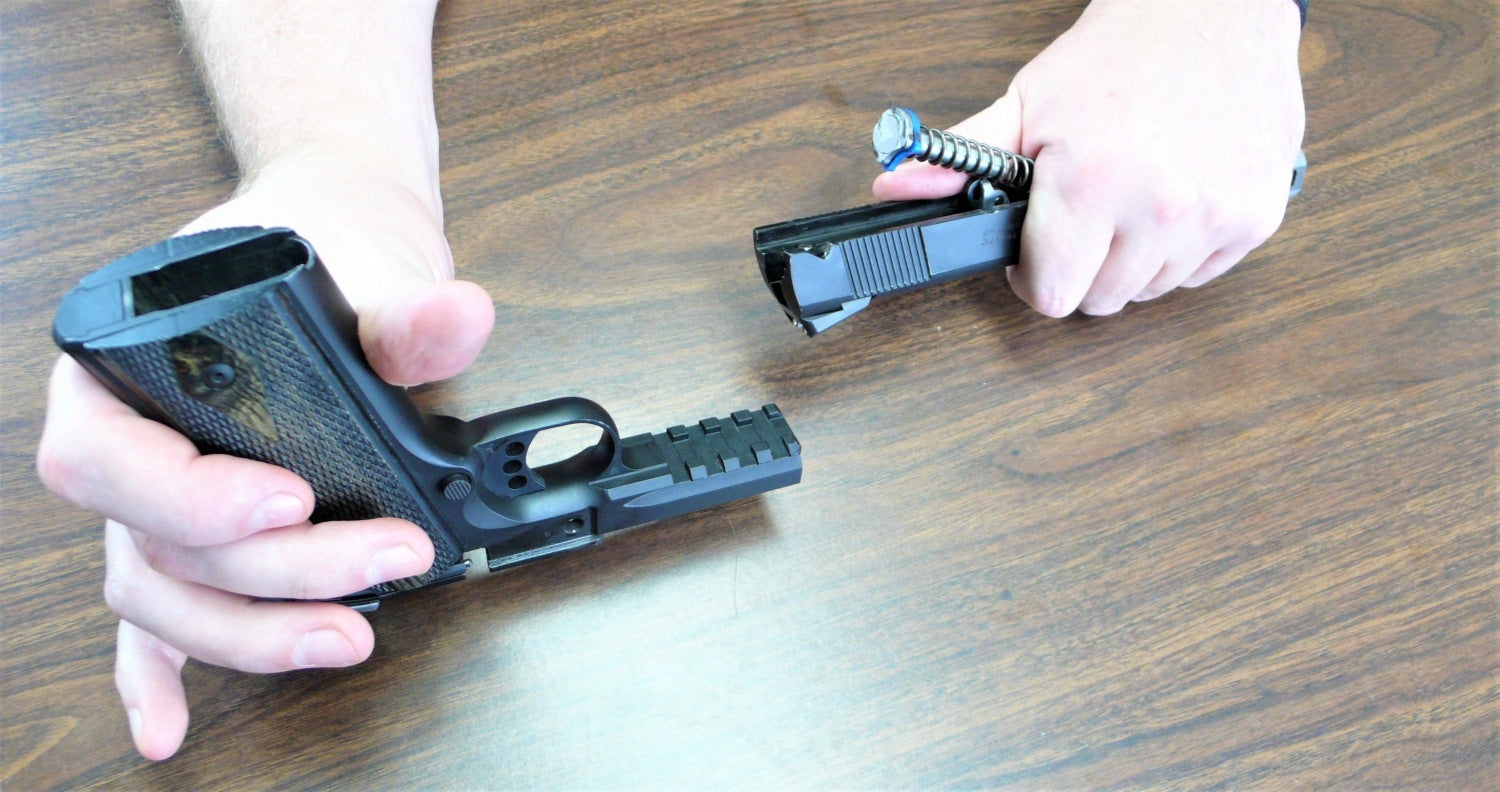
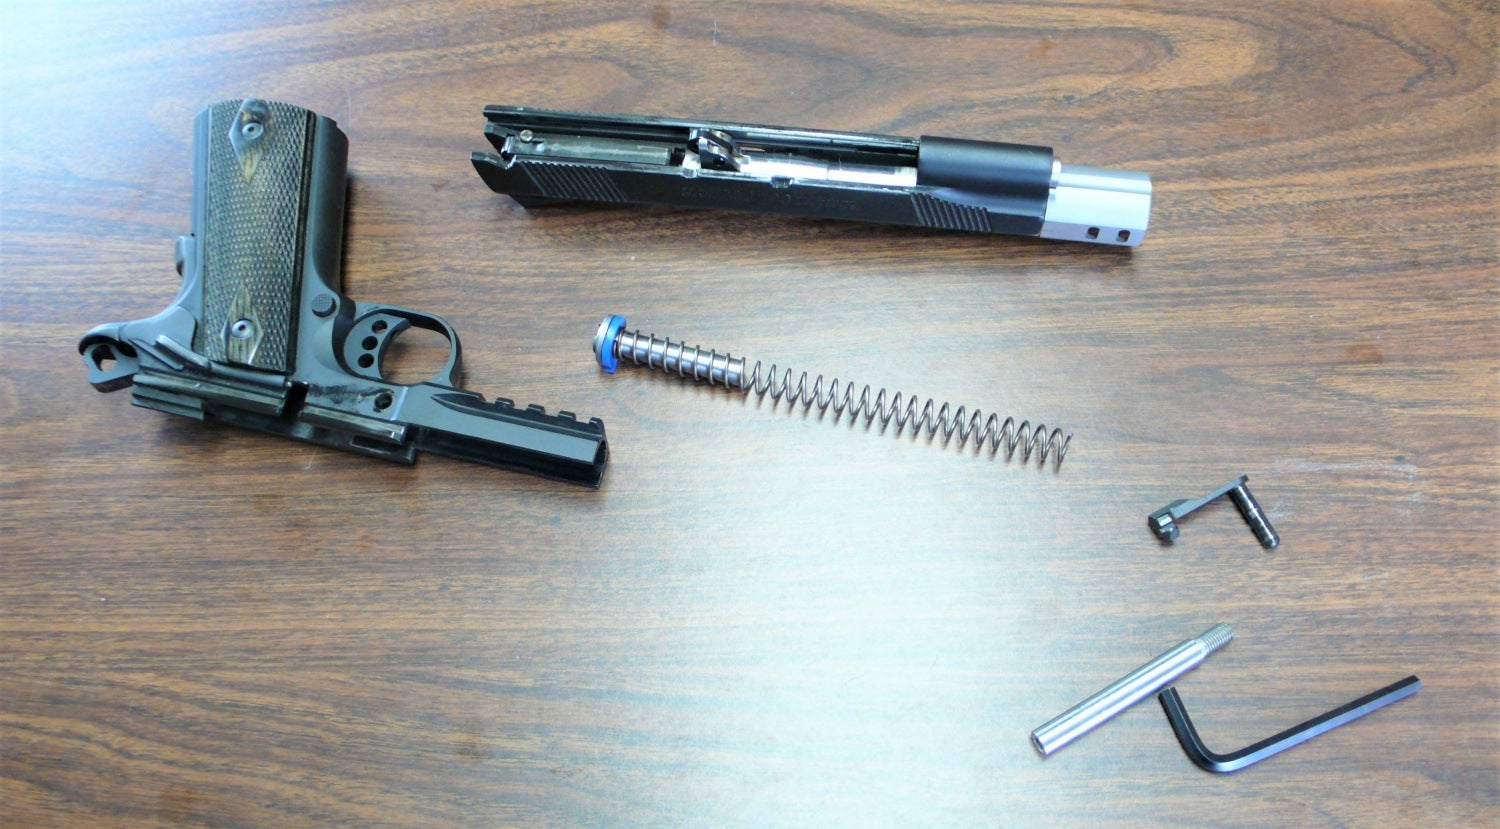
This is where things can get sporty when working with springs more powerful than standard issue. Seth demonstrates how he holds the Colt Rail Gun while separating the slide from the frame. He used one hand to completely cover the front half of the slide and railed frame. He slowly worked the slide forward off the frame, keeping his hand in place to cover the spring and hopefully keep it from taking orbit. The spring and back half of the guide rod wanted to launch, but Seth’s hand placement caught it in time. Once the slide is separated from the frame, the spring and back half of the guide rod can be removed out the back.
Step 4.
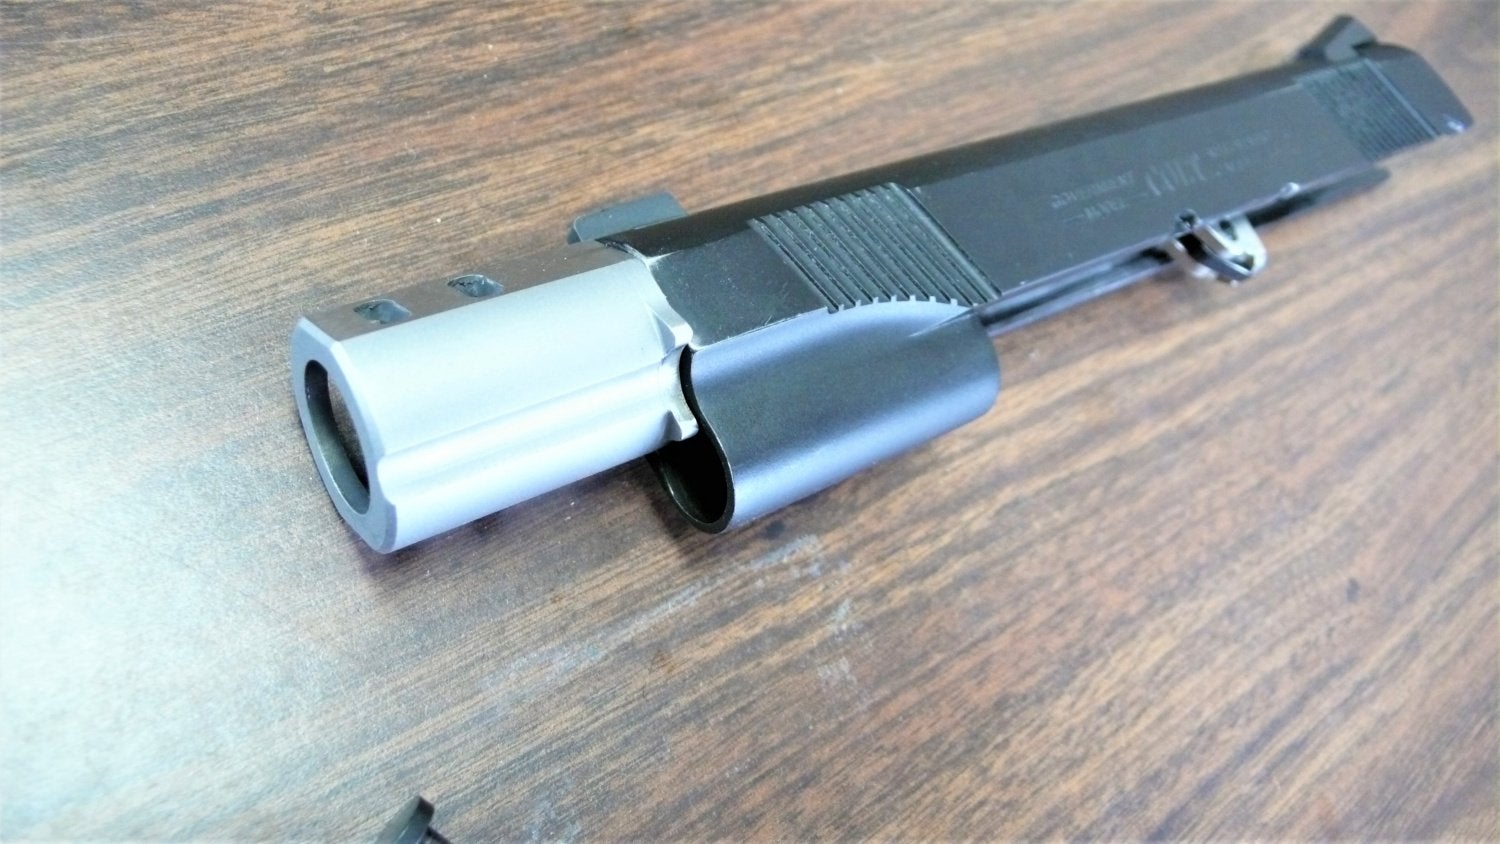
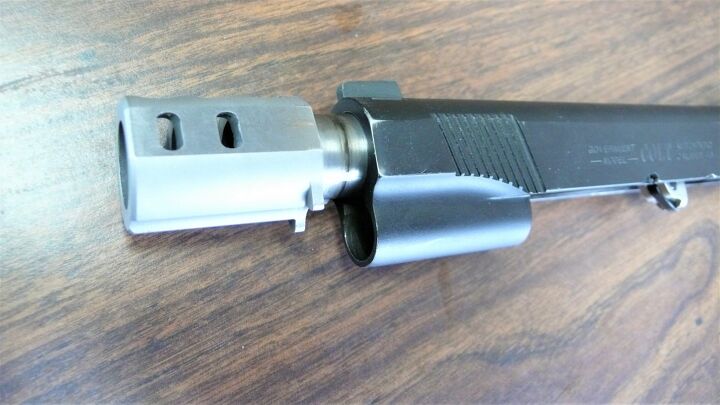
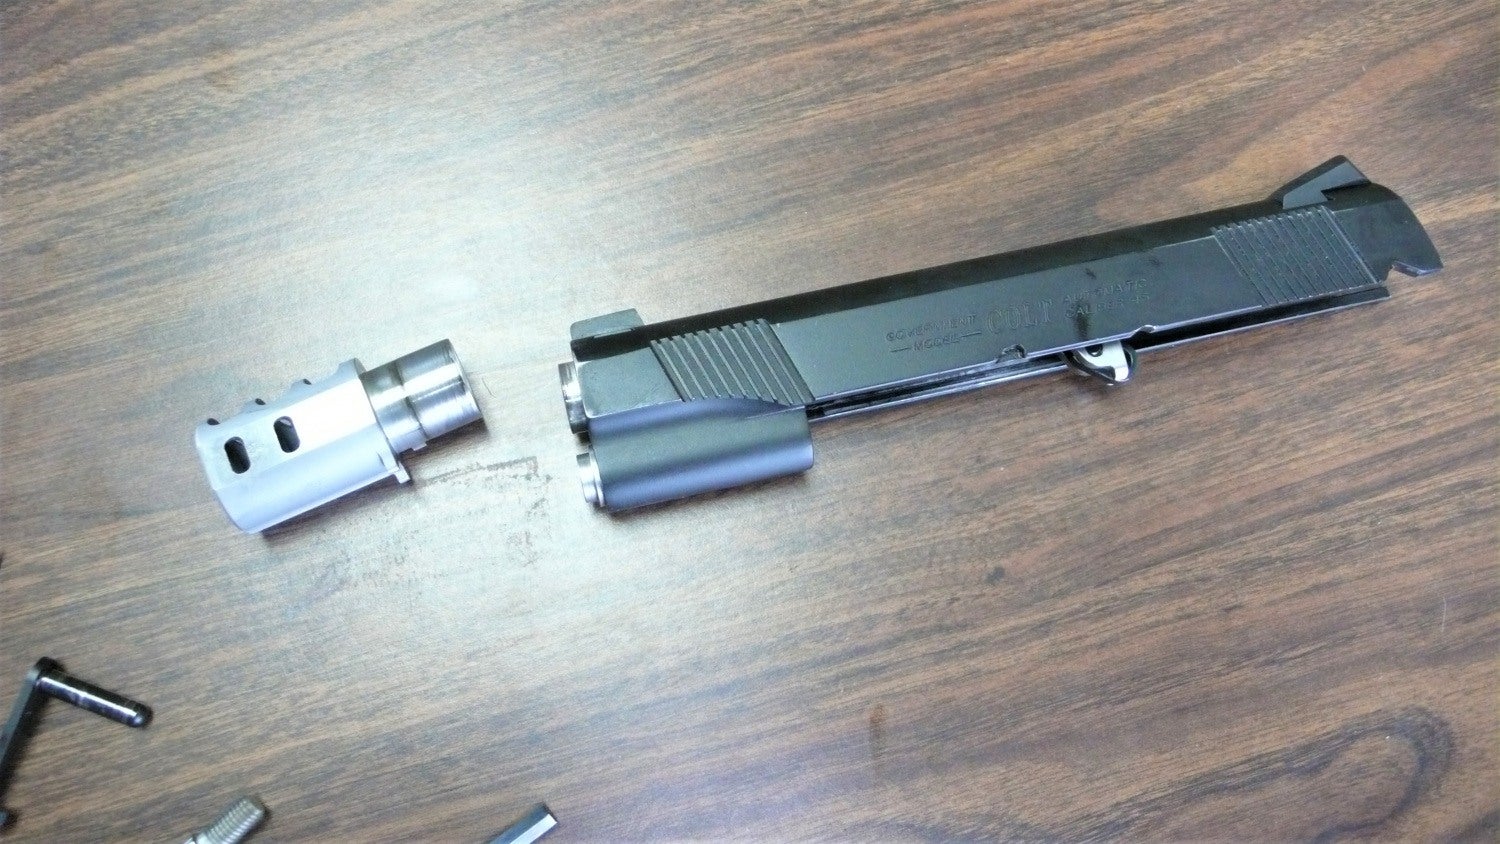
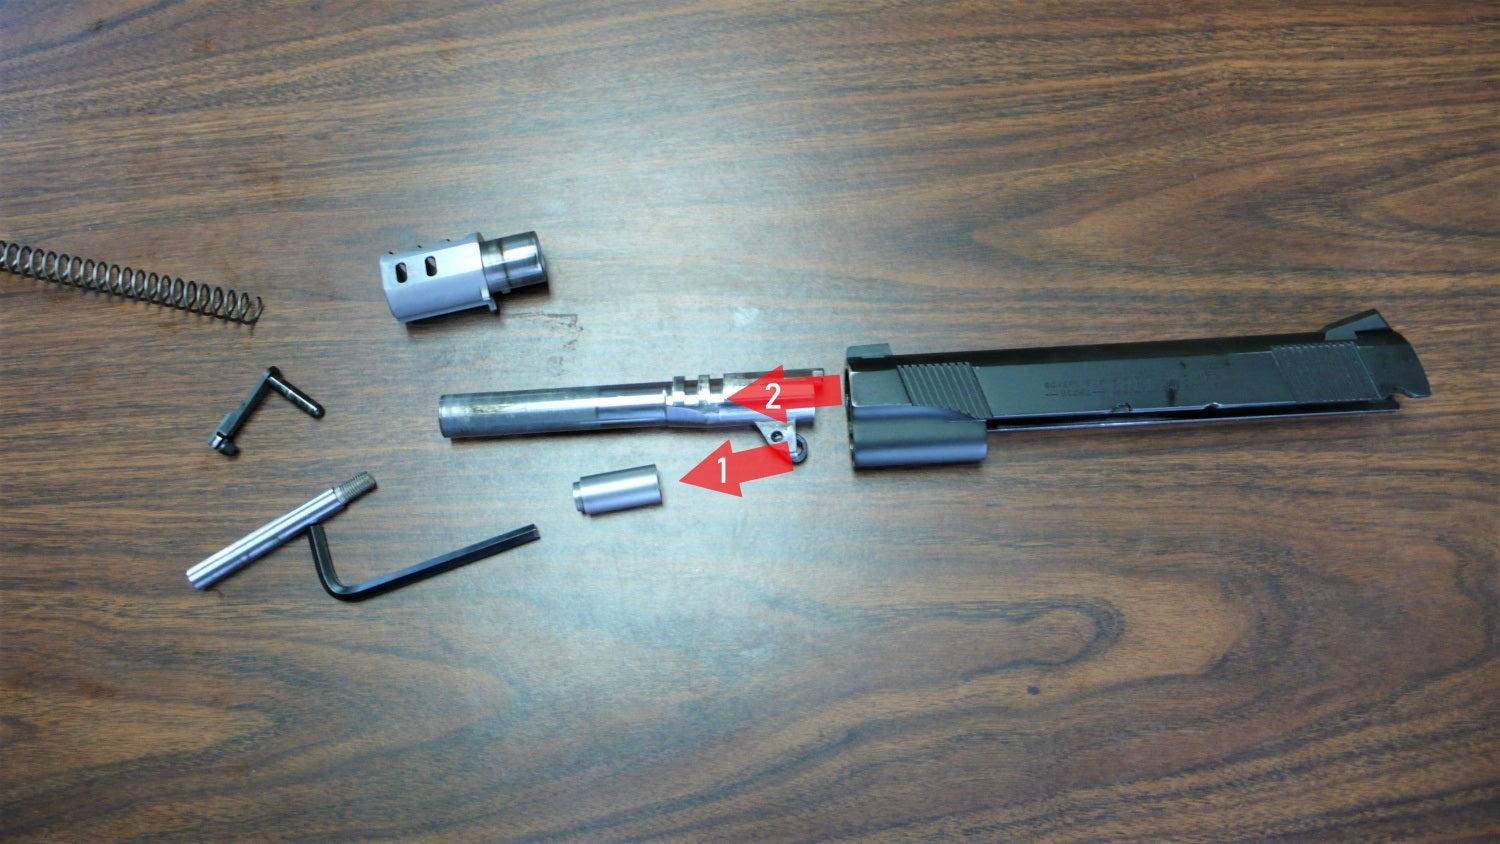
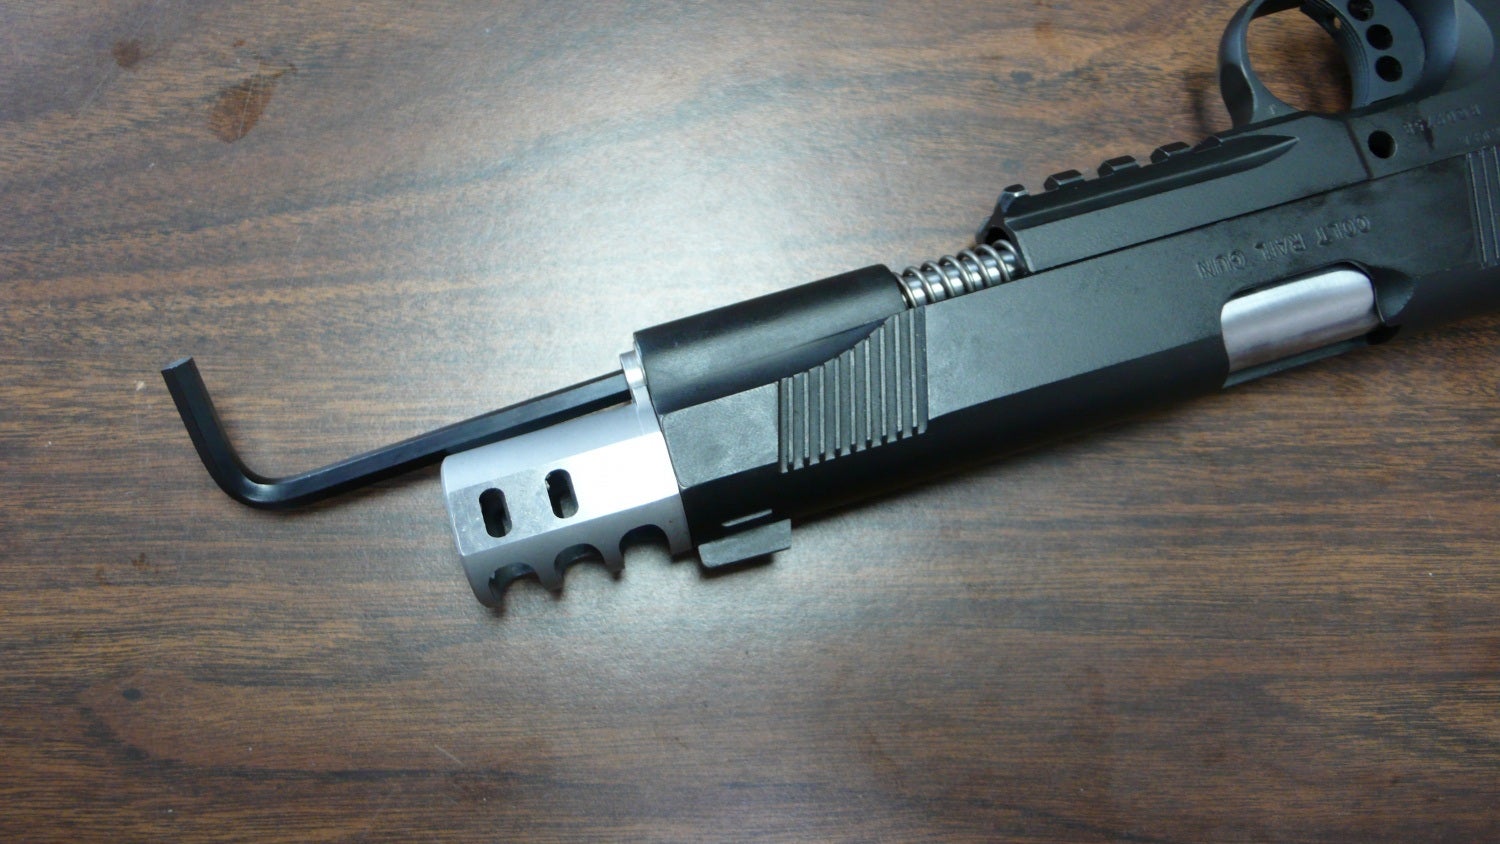
Next up is to remove the Wilson Combat muzzle brake. A 1/8th or quarter-turn to the pistol’s left side is needed, but it’s a tight fit, so we had to twist it back and forth while pulling. Once the muzzle brake is off, the recoil guide plug and barrel can be pulled out the front of the slide.
If you’ve been toying with using some of these aftermarket parts, that’s the rundown on how to disassemble them. Reassemble in reverse order. If you’re also thinking of adding a stiffer spring to shoot .45 Super, I suggest taking a look at the pictures below for a couple hints at doing it safely. The 24 lb. spring was a bit overkill as it was the top level available, however, I’ve read other accounts that only used a 22 lb. spring.
When you muscle the recoil spring and second half of the guide rod into place under the barrel, you can place the slide back on the frame to use as a safety cover to make sure the spring doesn’t launch. You can then thread the front section of the guide rod on with the hex key. As before, use a determined motion to replace the slide stop/takedown pin.
We are committed to finding, researching, and recommending the best products. We earn commissions from purchases you make using the retail links in our product reviews. Learn more about how this works.