 Your Privacy Choices
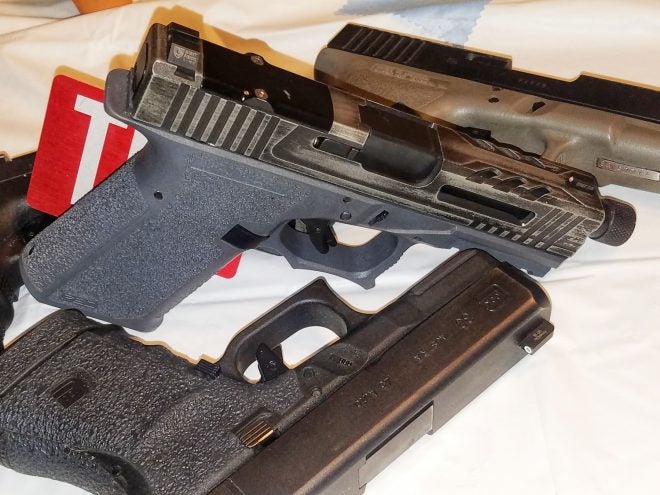
Welcome to the third article in our Build Your Own Glock series. By the end of this article, you will have YOUR custom build in your hands completed. I will go over how I initially break in the action, not necessary but I noticed good results. I get long in my articles, so my dear readers I will do my best to keep it shorter, to help I will have more pictures.
(If you missed the previous article you can find part one here, and two here).
Let’s get the slide assembled. It is not difficult, and there is a huge amount of other reference material out there if you need further reference.
Firing Pin ASSEMBLY
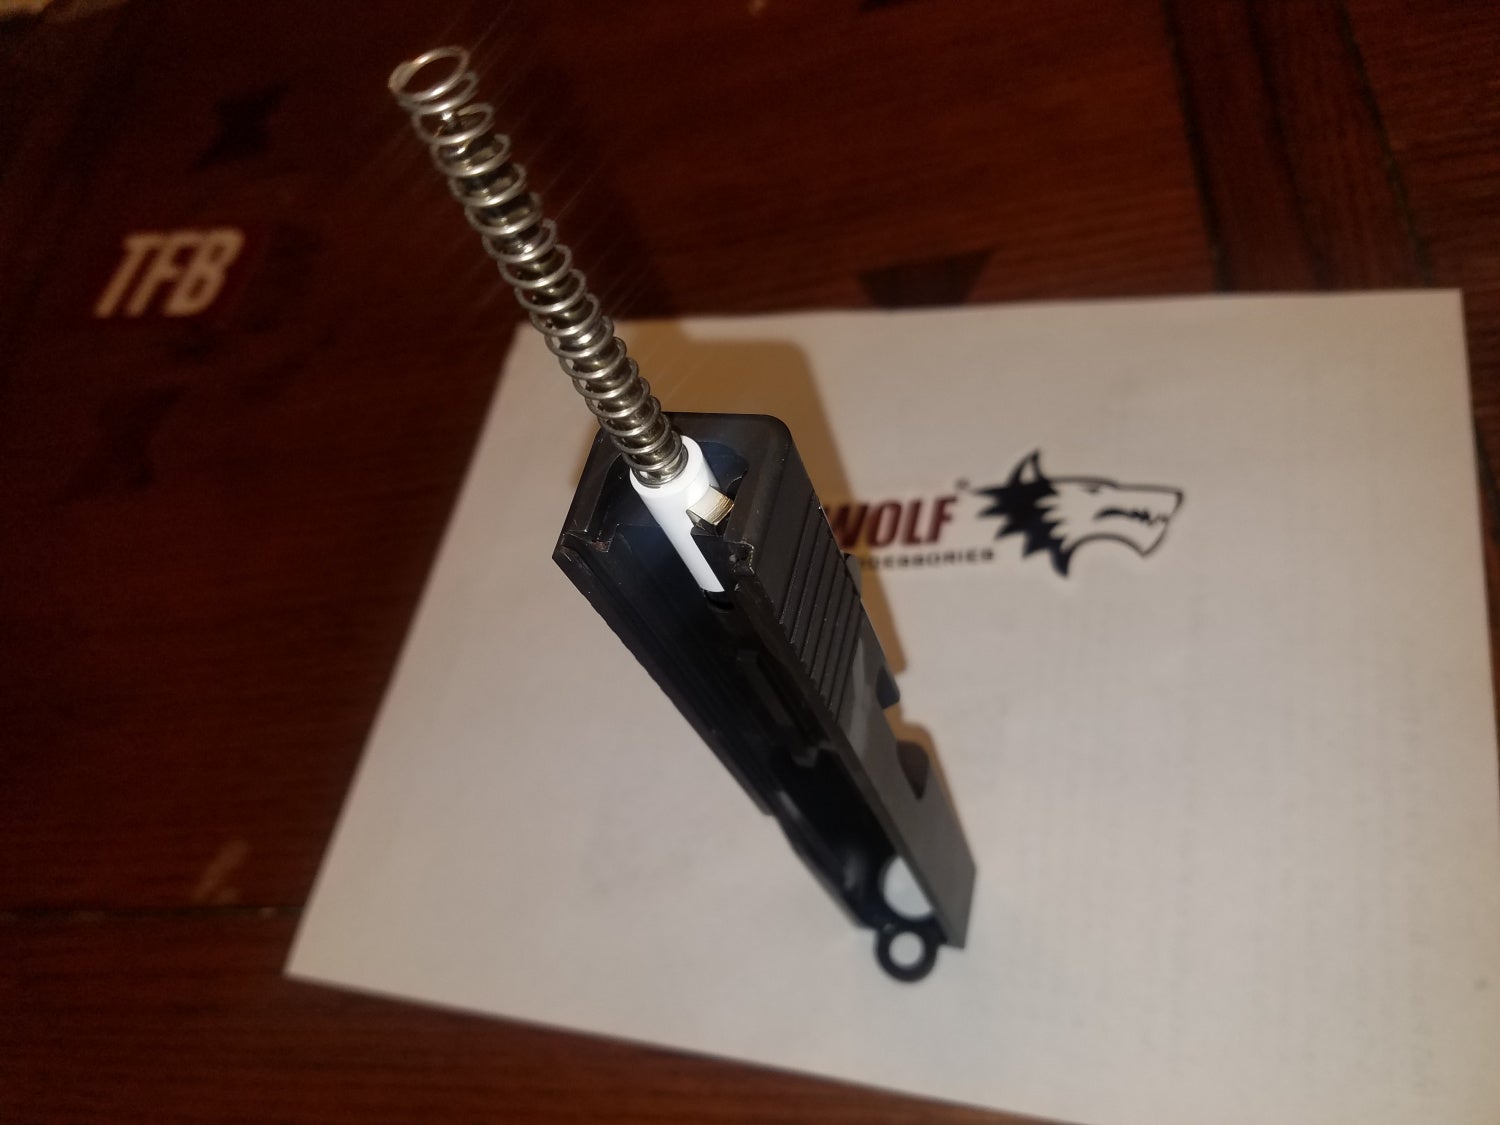
I have found this is the best way to assemble the firing pin assembly.
With the slide laying on its front, place the spacer, firing pin and spring in the rear of the slide as seen in the above pic. Compress the spring, and place the spring cups in place, then slowly release the tension n the spring until the cups fit on the outer edge of the pin.
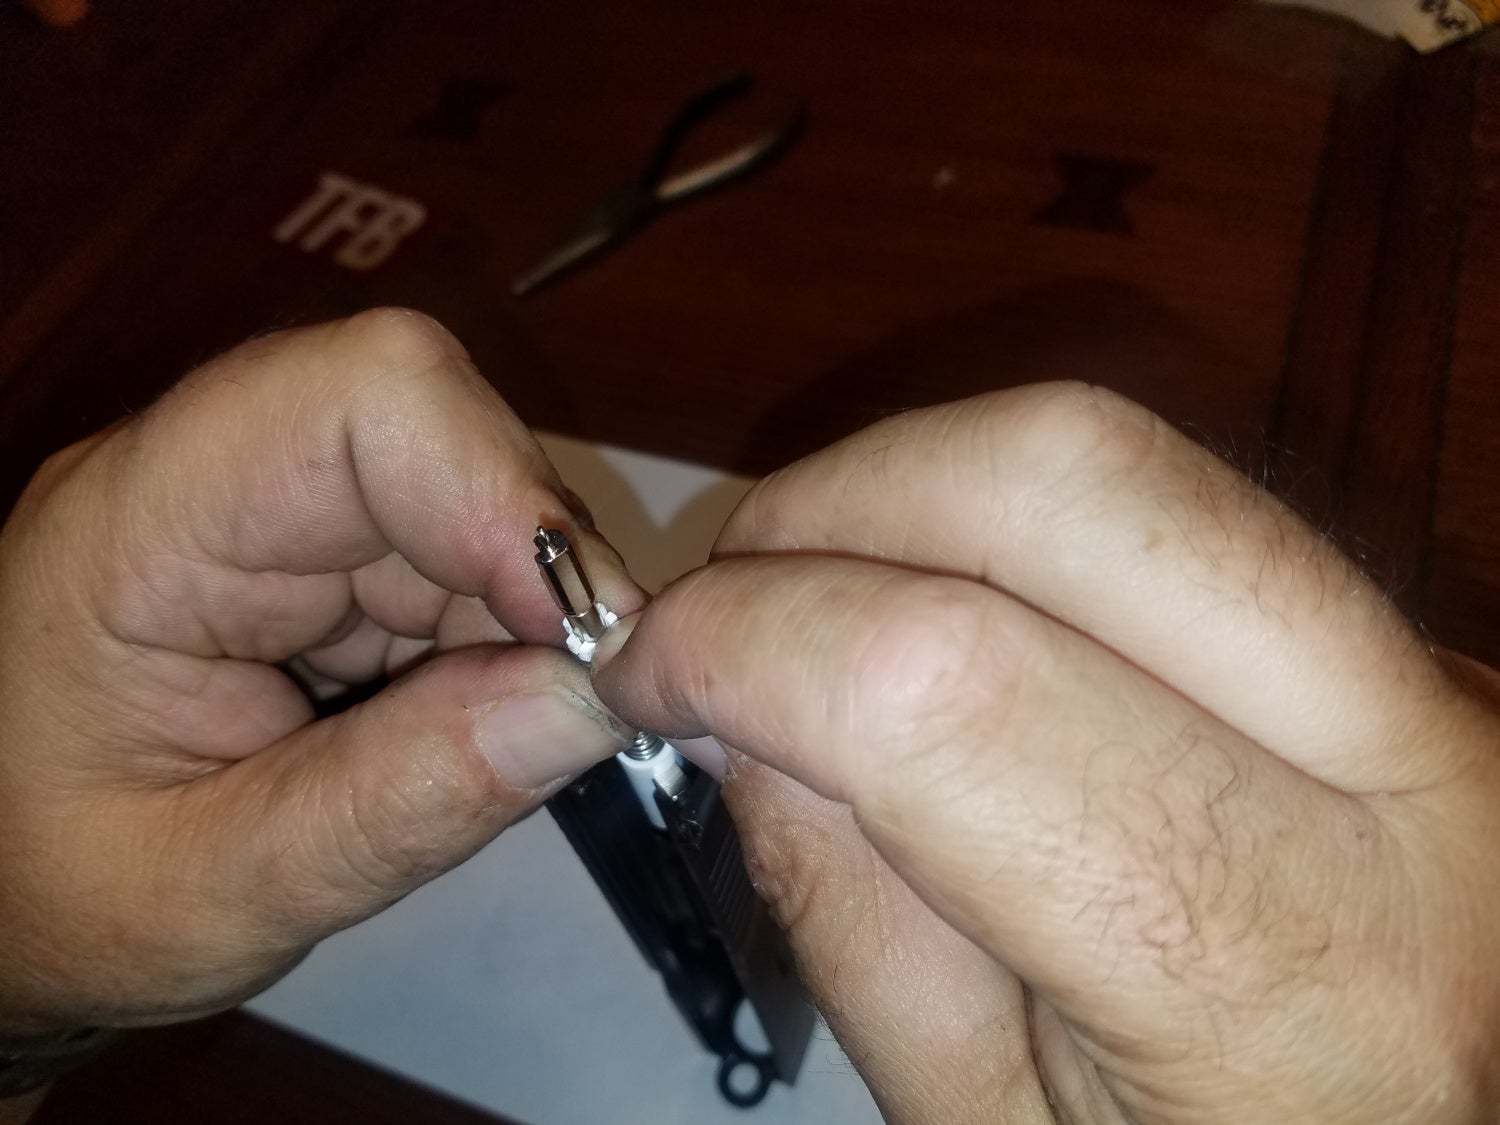
Inserting the spring cup
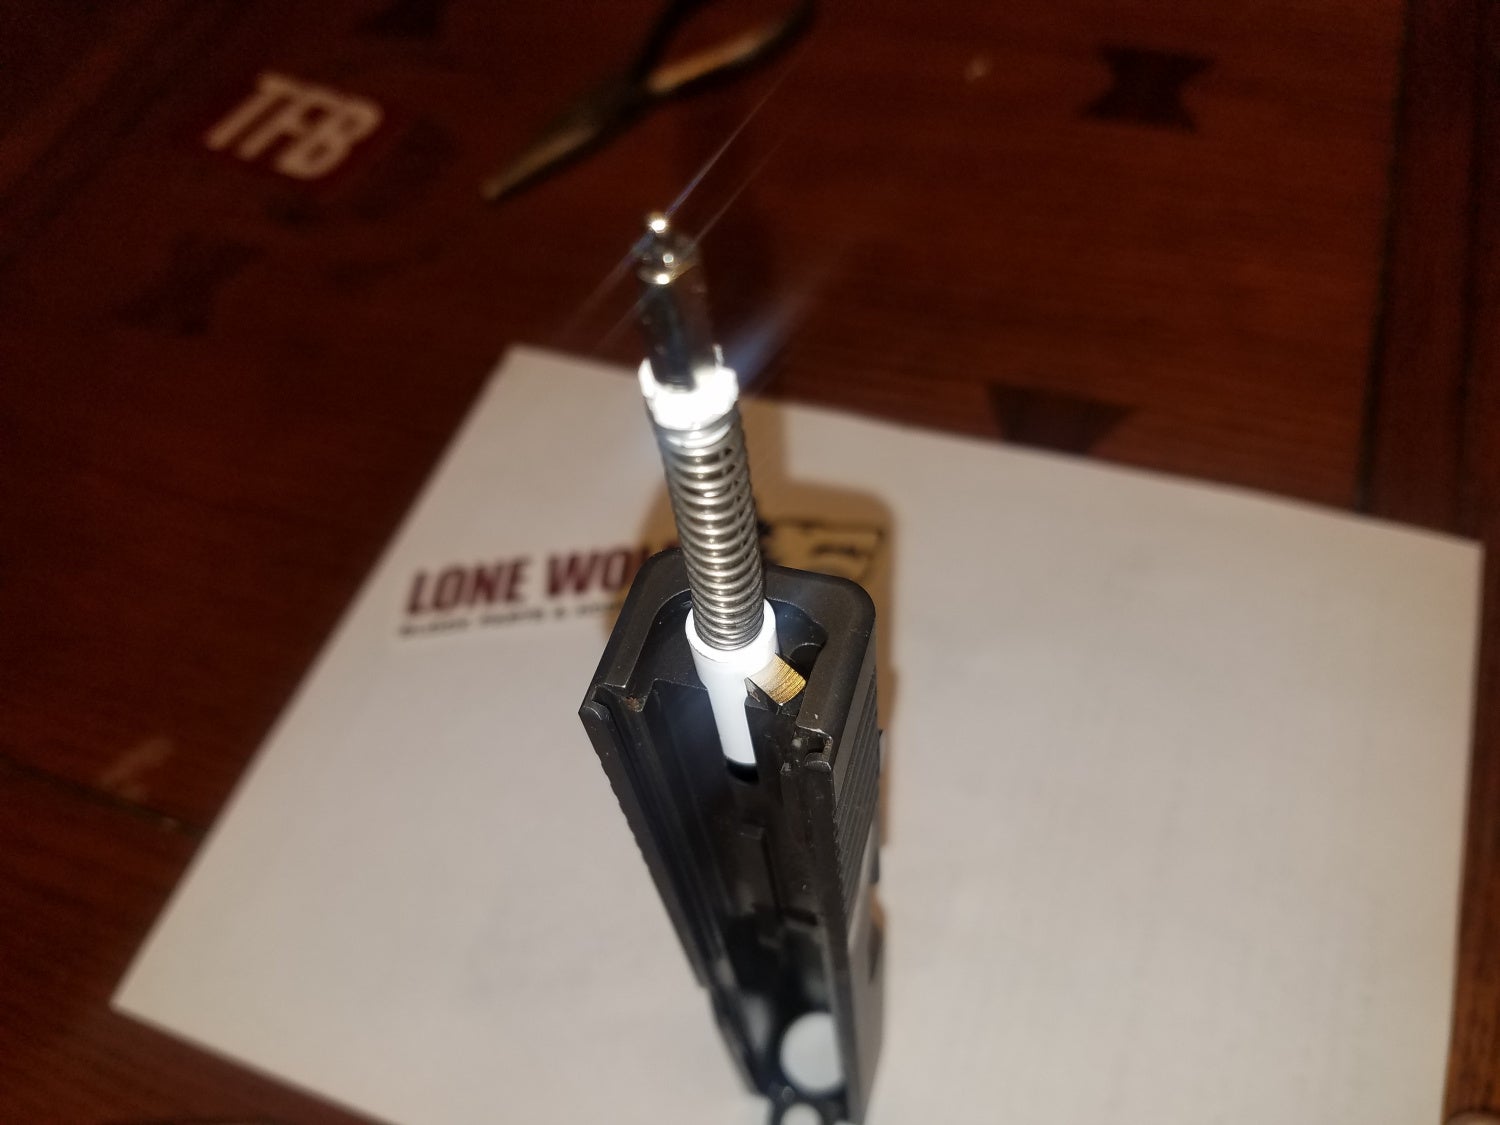
The completed firing pin assembly. (Behold the glorious firing pin)
With the firing pin assembled, turn it around and place it in the slide.
EJECTOR
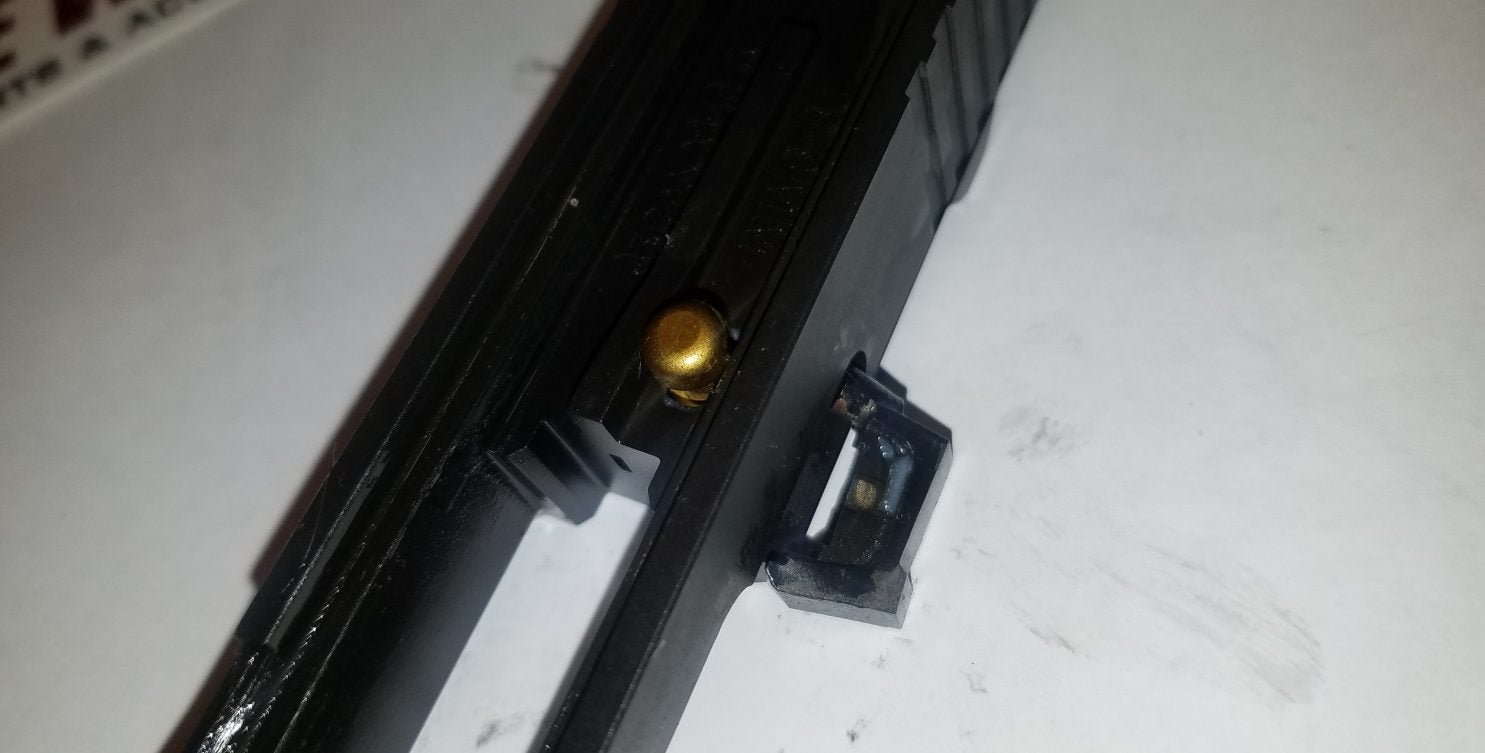
Safety in place with extractor waiting to be placed
Here we start with the firing pin safety. First, insert the safety, with spring attached. Next, install the extractor, compress the safety to completely insert. Now we put the extractor plunger in from the rear of the slide – the plunger side first, and spring side to the rear. Then we install the slide cover (see the picture below).
This is how the extractor plunger is assembled and inserted.
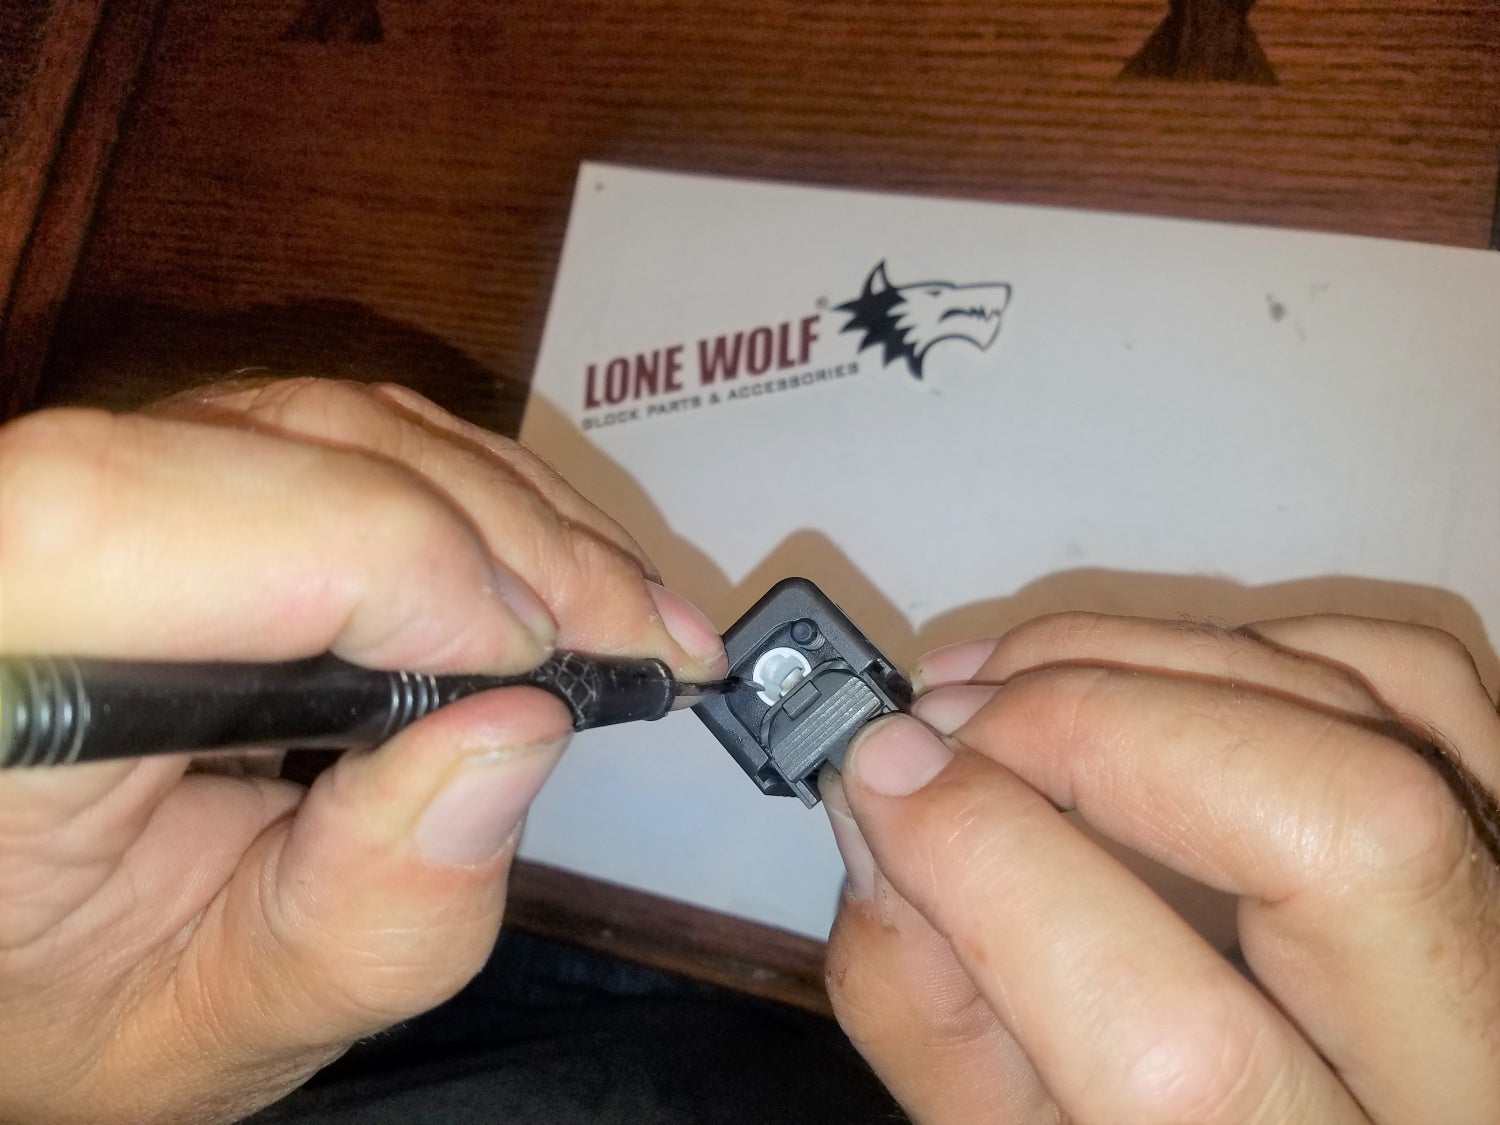
I use a small screwdriver to compress the firing pin spacer, and then the extractor as I install the slide cover
PUTTING IT ALL TOGETHER
The frame and slide are complete. Rather than throwing together and expecting good results, now is the time to do some extra work. Does the trigger work both directions without resistance? You might need to take material off somewhere. Look for parts rubbing that should not. Feel for resistance that should not be.
On my build, I found the slide was initially a rough fit. Do yourself a favor, put a dab of polishing compound on the rails, or anywhere there is metal on metal contact then rack the slide 50-100 times. It might be rough at first. Let all the mechanisms fit themselves.
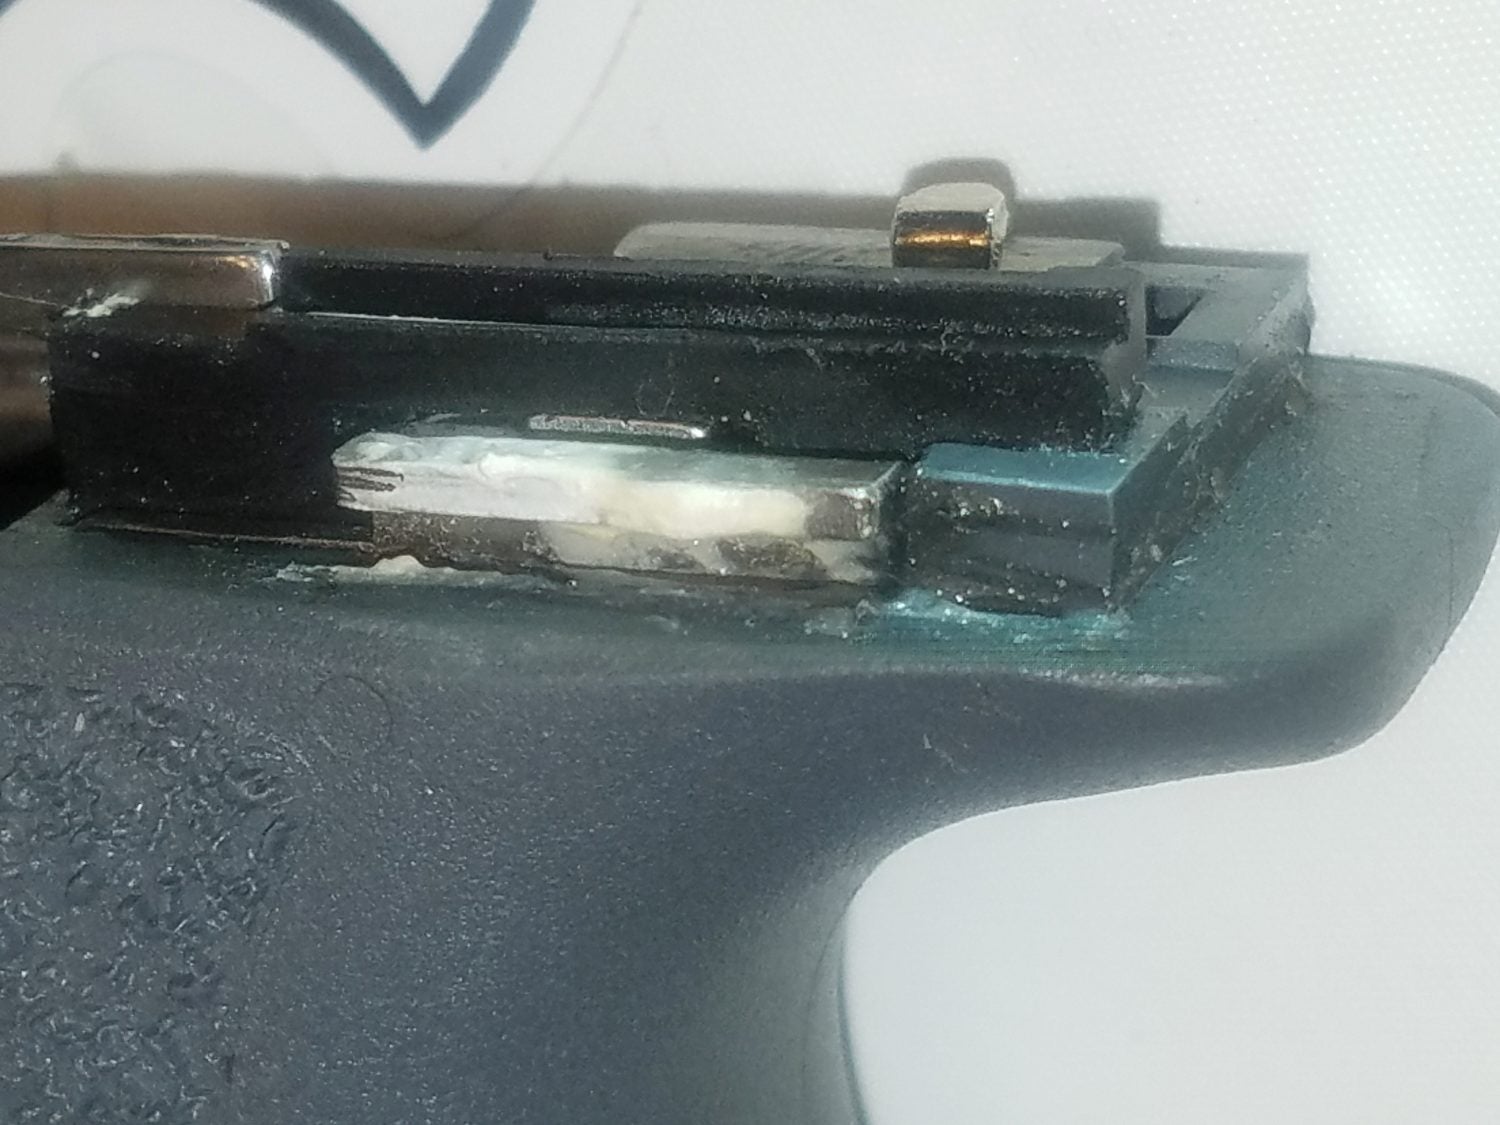
Some polishing compound applied to the rails helped the break-in
When you are done it should feel a little smoother. Take it apart and clean ALL the polishing compound out. Oil or grease the rails, and take that bad boy to the range. I ran two full magazines without any failures. How did you guys do on your first range visit? What was the problem, and how did you resolve it?
In our next part of the series, we will talk about custom slide work including a discussion with a head machinist at a shop that does everything including adding beauty to your freedom machine.
Any of you guys have success the first time running your build?
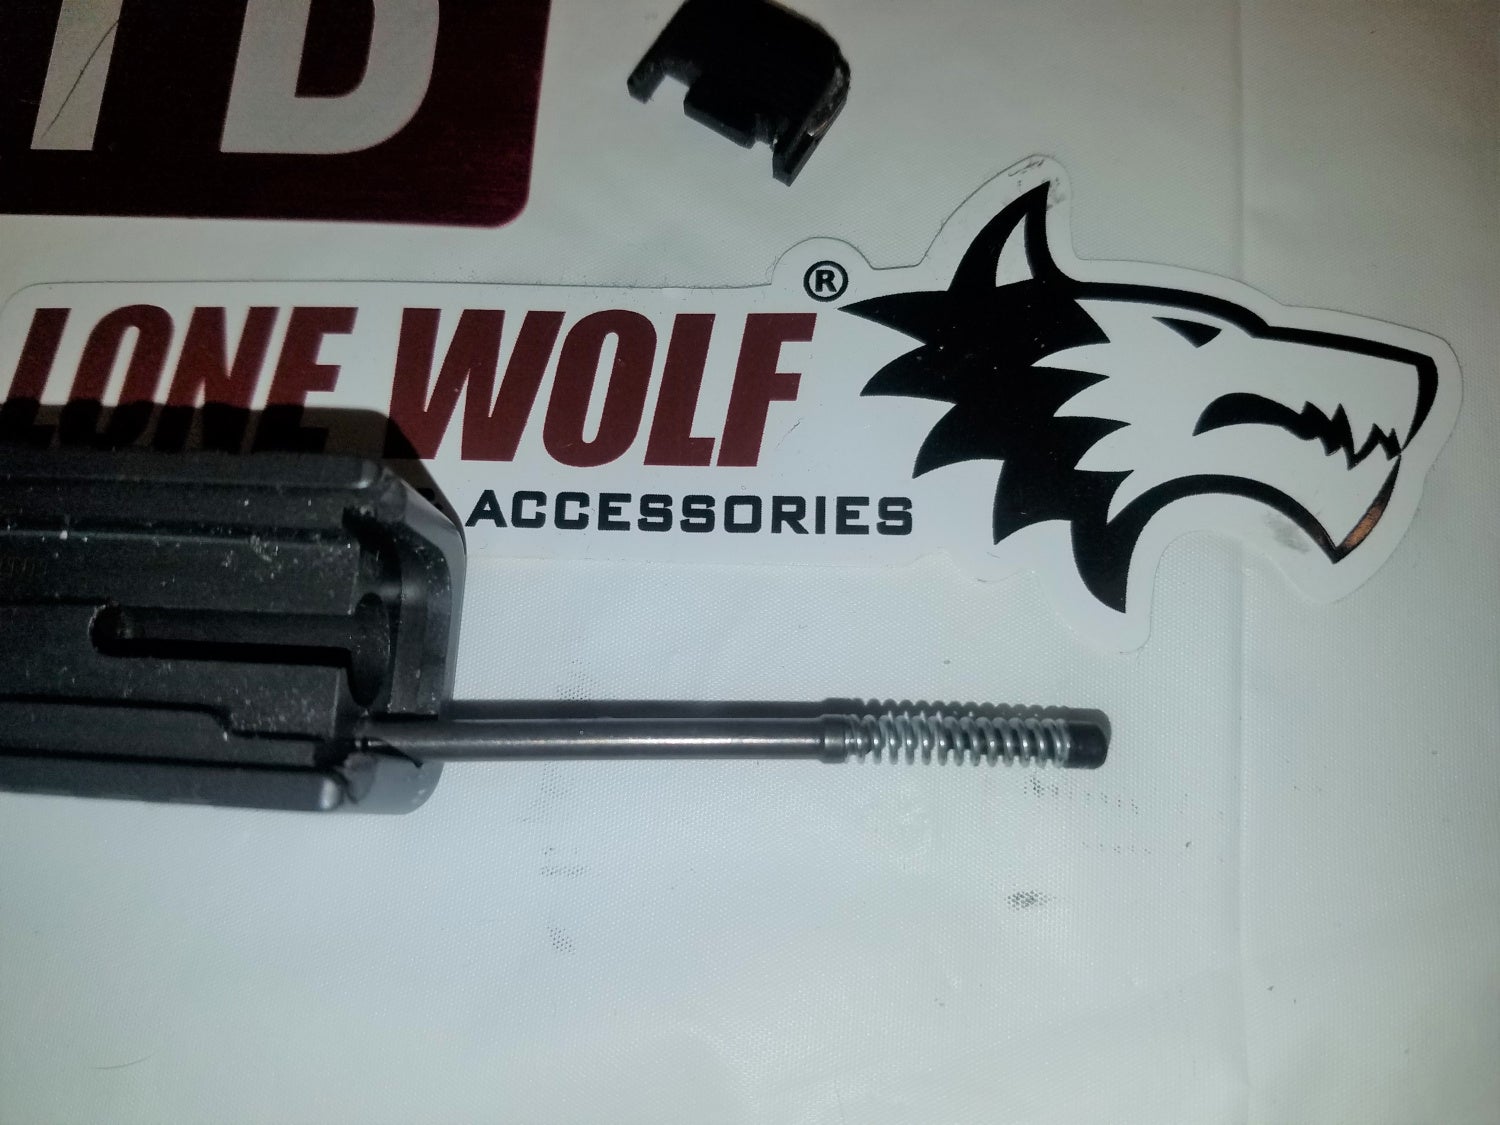
We could not have done this series without the help of Lone Wolf. Please consider their products for anything Glock. They are great peeps who support TFB.
![]()
We are committed to finding, researching, and recommending the best products. We earn commissions from purchases you make using the retail links in our product reviews. Learn more about how this works.