 Your Privacy Choices
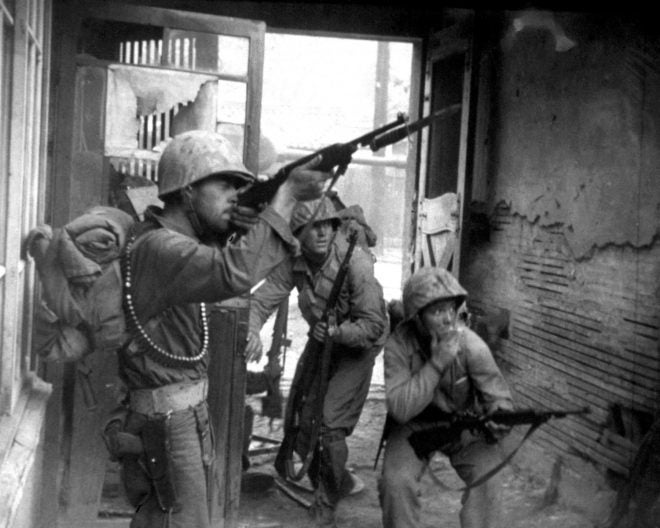
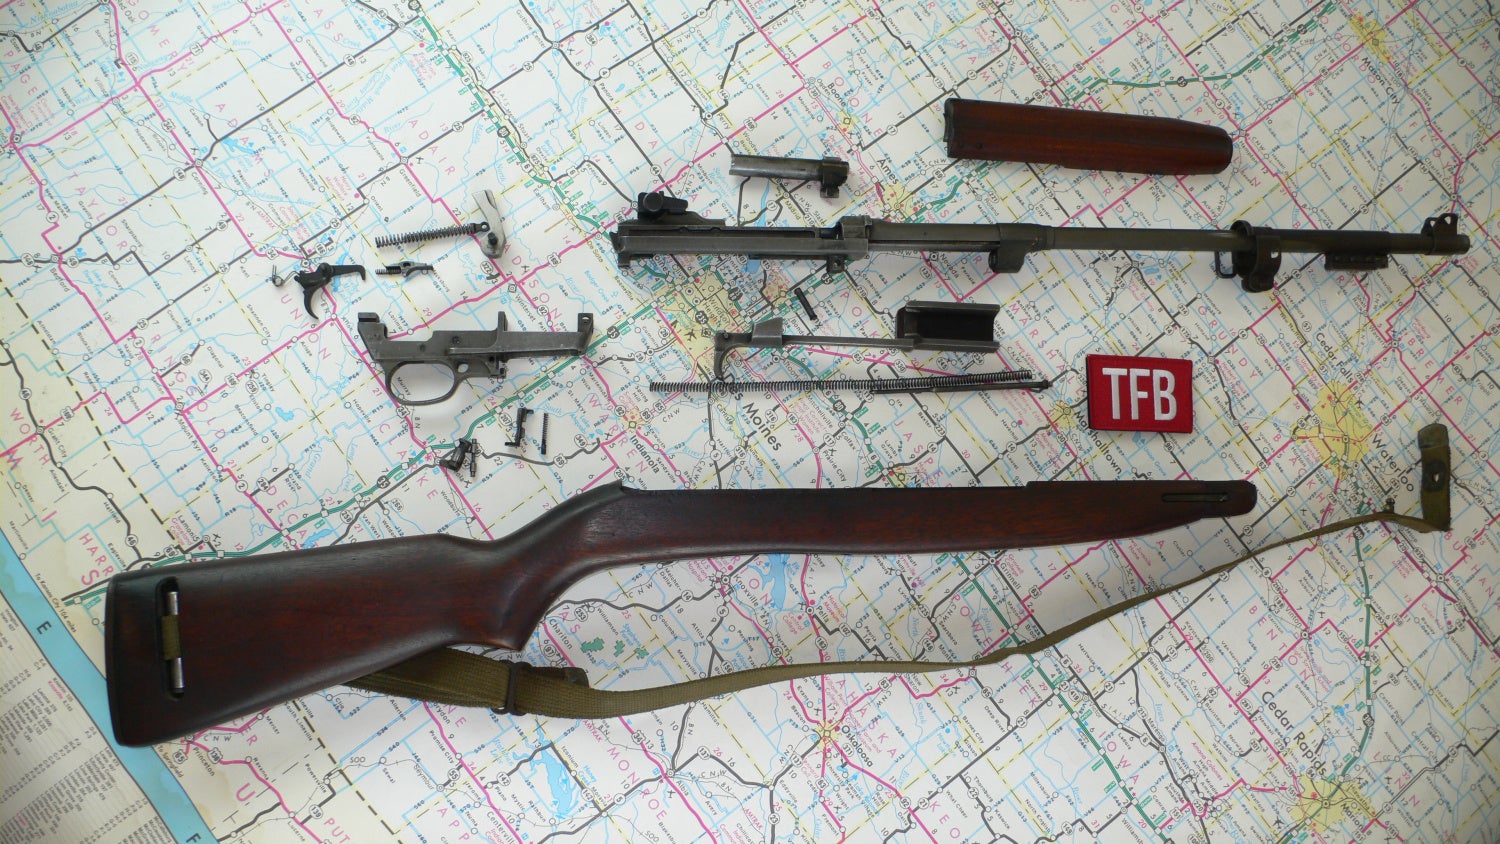
The M1 Carbine was in service for three decades with the United States military (and others) and served in quite a few wars. After the retirement of the M1 Carbine, it was still in use by police departments around the world. The M1 Carbine gets mixed reviews online, but I’ve always found them a joy to shoot. You can look back at the Carbine’s TFB coverage HERE. You can also view the M1 Carbine Field Manual HERE. For a deeper look into the M1, M2 and M3 Carbines and its intricacies, you can view the Technical Manual HERE. I’d like to thank my Father-in-law for the use of his Carbine for this article.
REMEMBER the four rules of gun safety:
- All guns are always loaded.
- Never let the muzzle cover anything you are not willing to destroy.
- Keep your finger off the trigger until your sights are on the target.
- Be sure of your target and what is beyond it.
TFB FIELD STRIP: M1 CARBINE
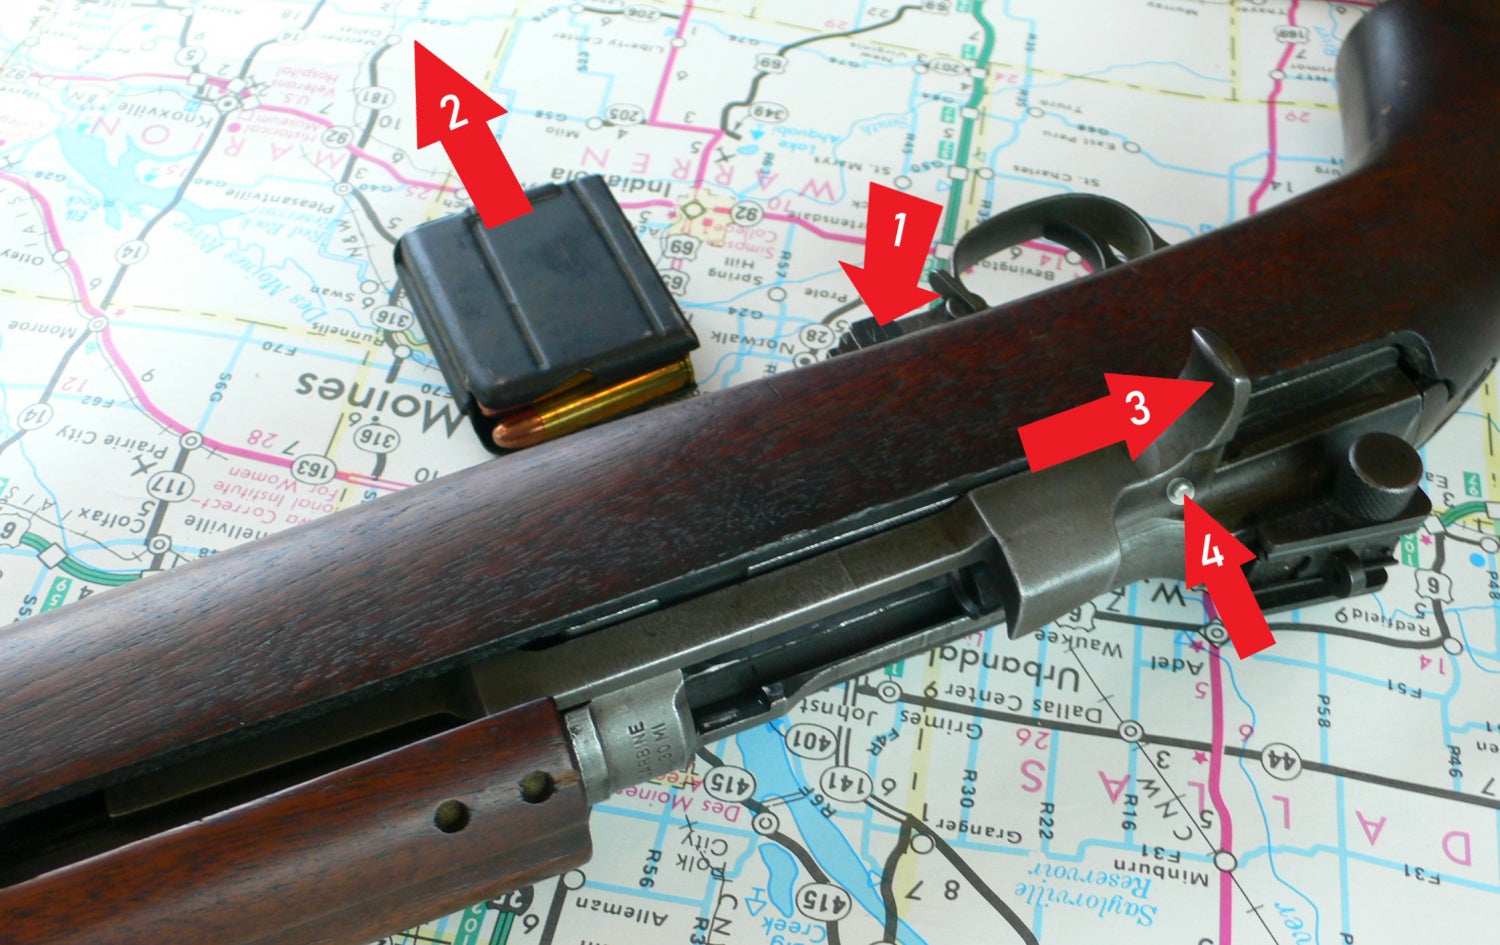
Step 1.
Remove the magazine and then pull the charging handle to the rear. It can be locked in the rearward position by pressing down on the small button (4) attached to the charging handle. Check the chamber to make sure the weapon is safe.
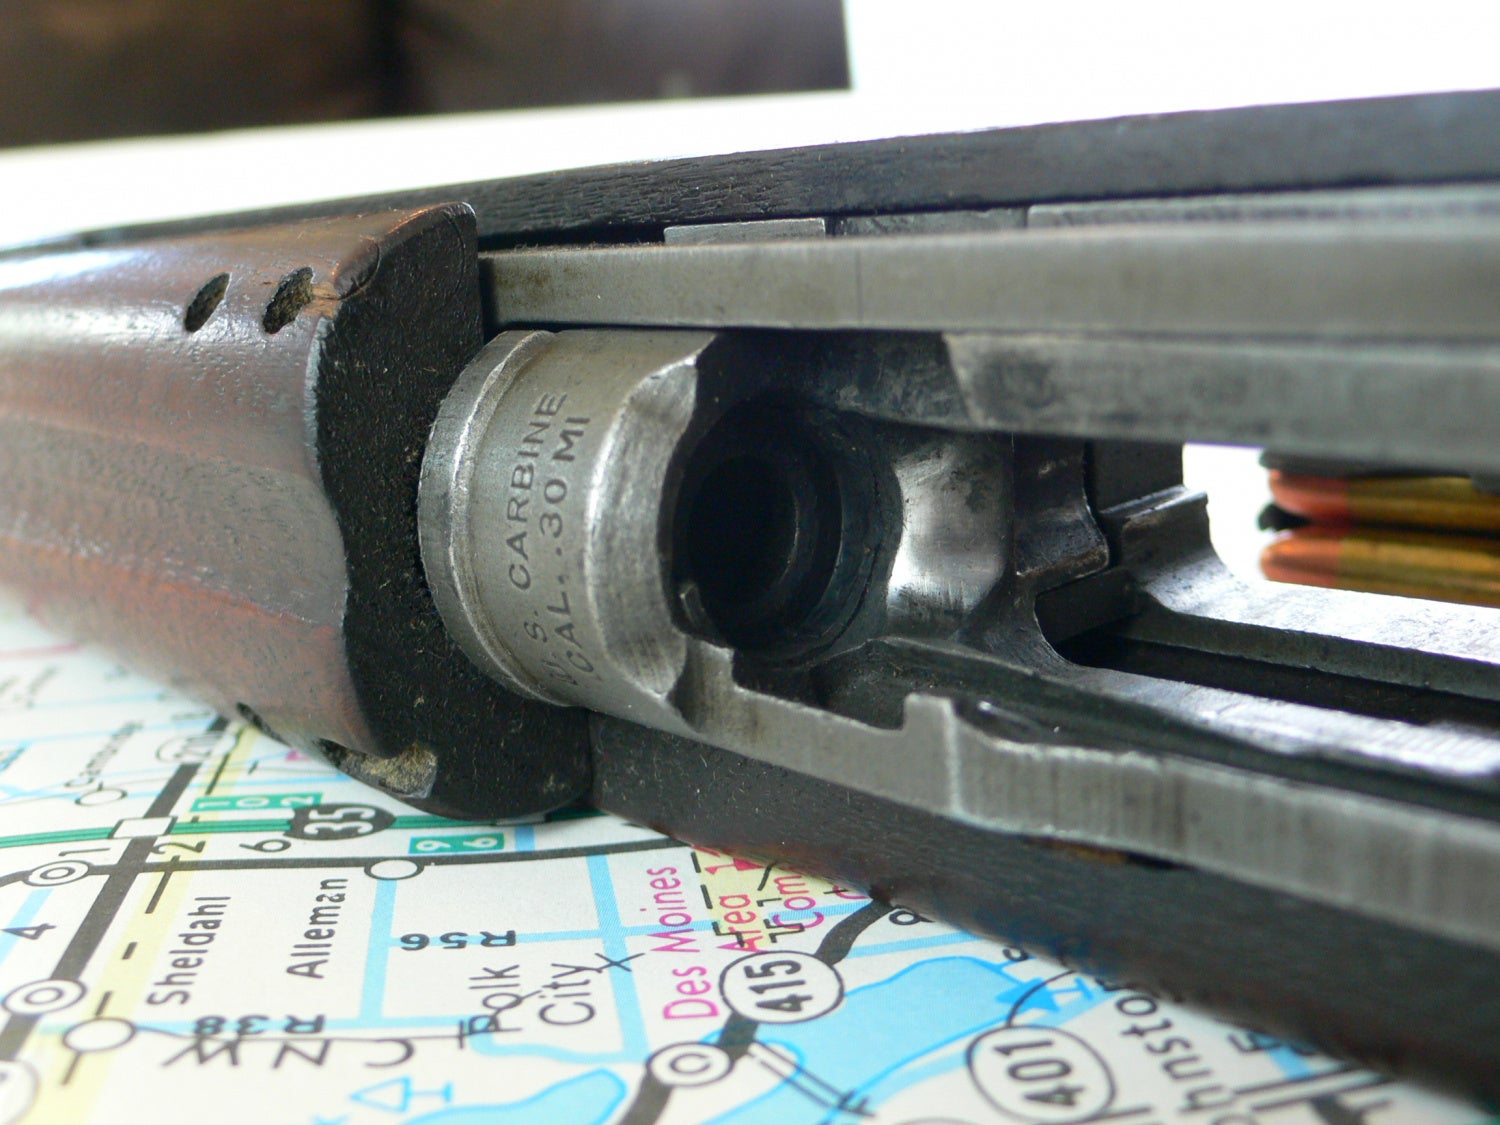
Step 2.
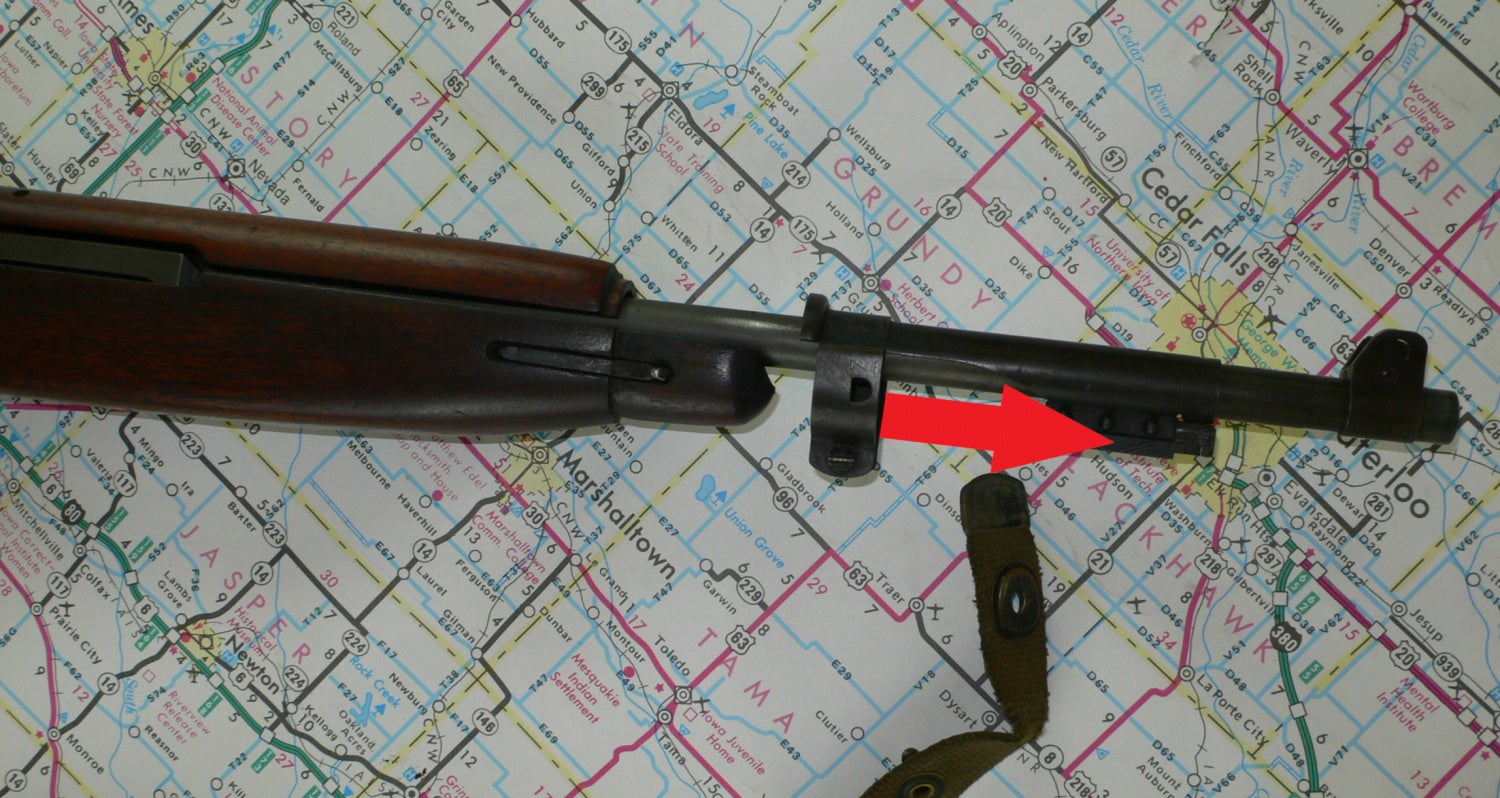
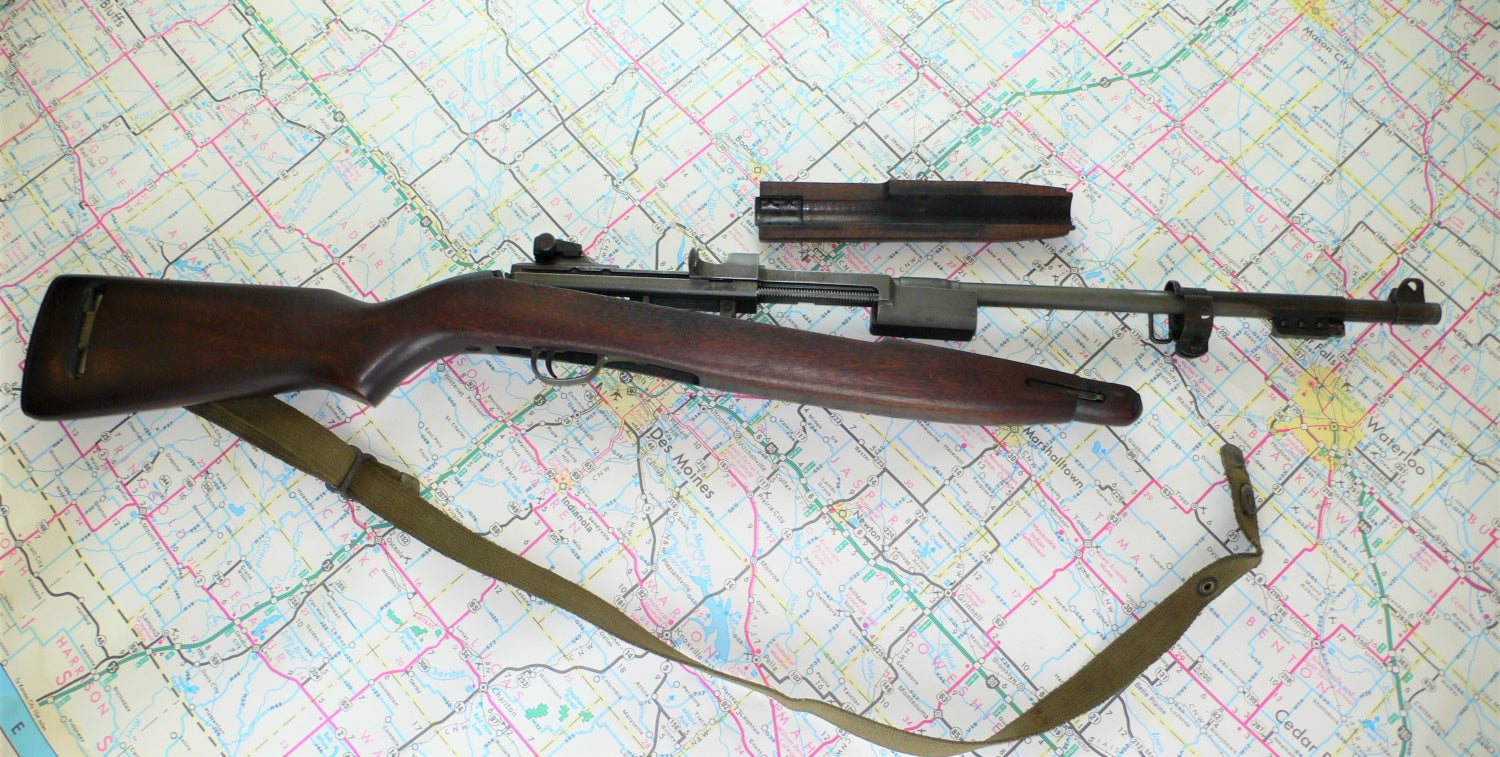
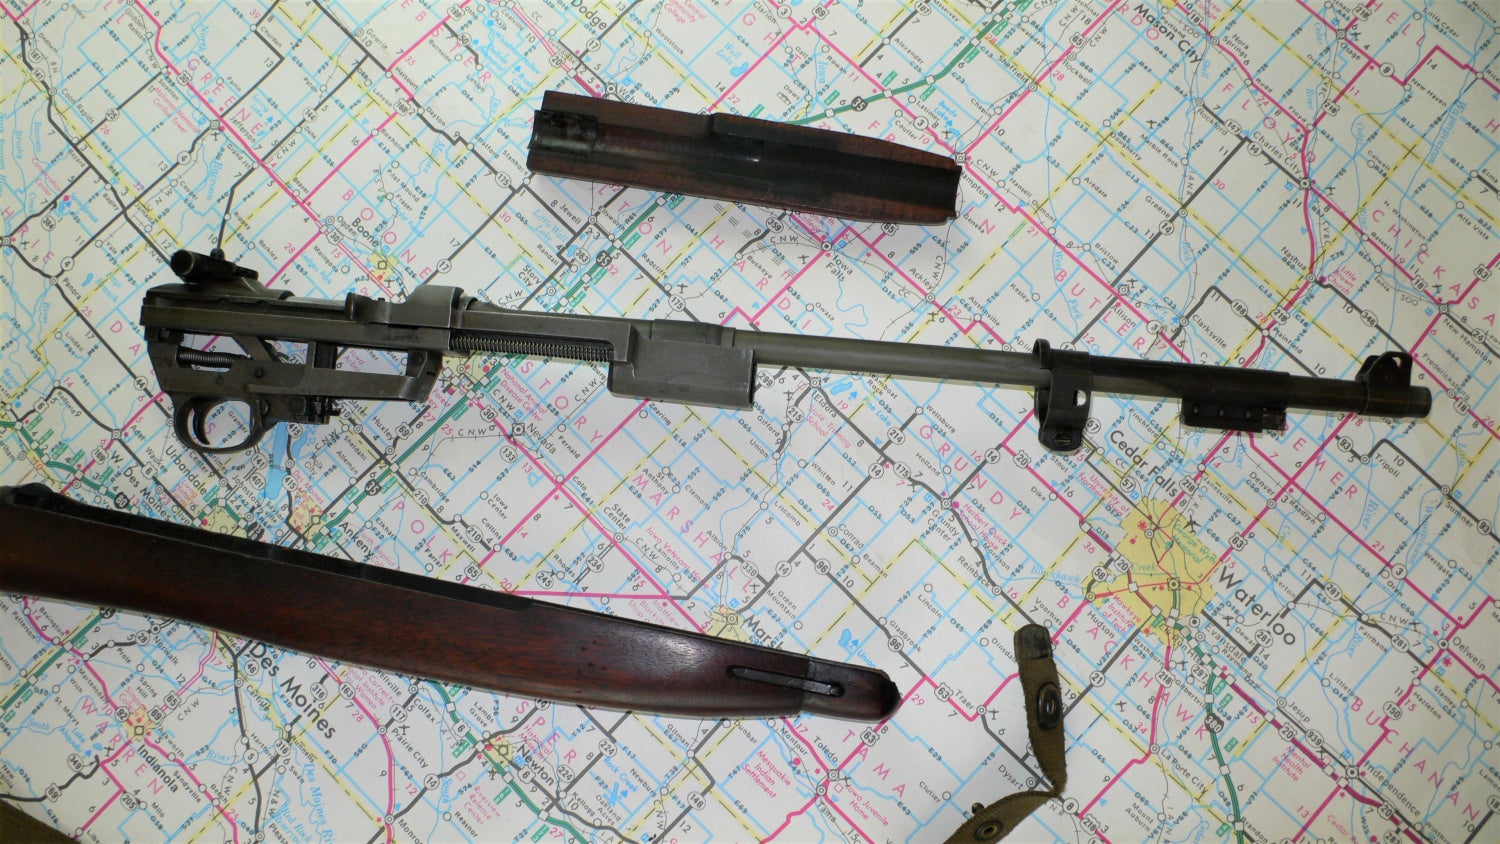
Close the action so the bolt is in the forward position. If you’ve locked the charging handle the rear, a slight rearward pull will release the lock and the bolt and charging handle can be sent forward. You’ll find the tab (highlighted) to begin disassembly on the right side of the front of the stock. A screwdriver or an original sling snap will work to unlock the bayonet lug assembly, which holds the receiver to the stock. With that out of the way, the receiver can be pulled out.
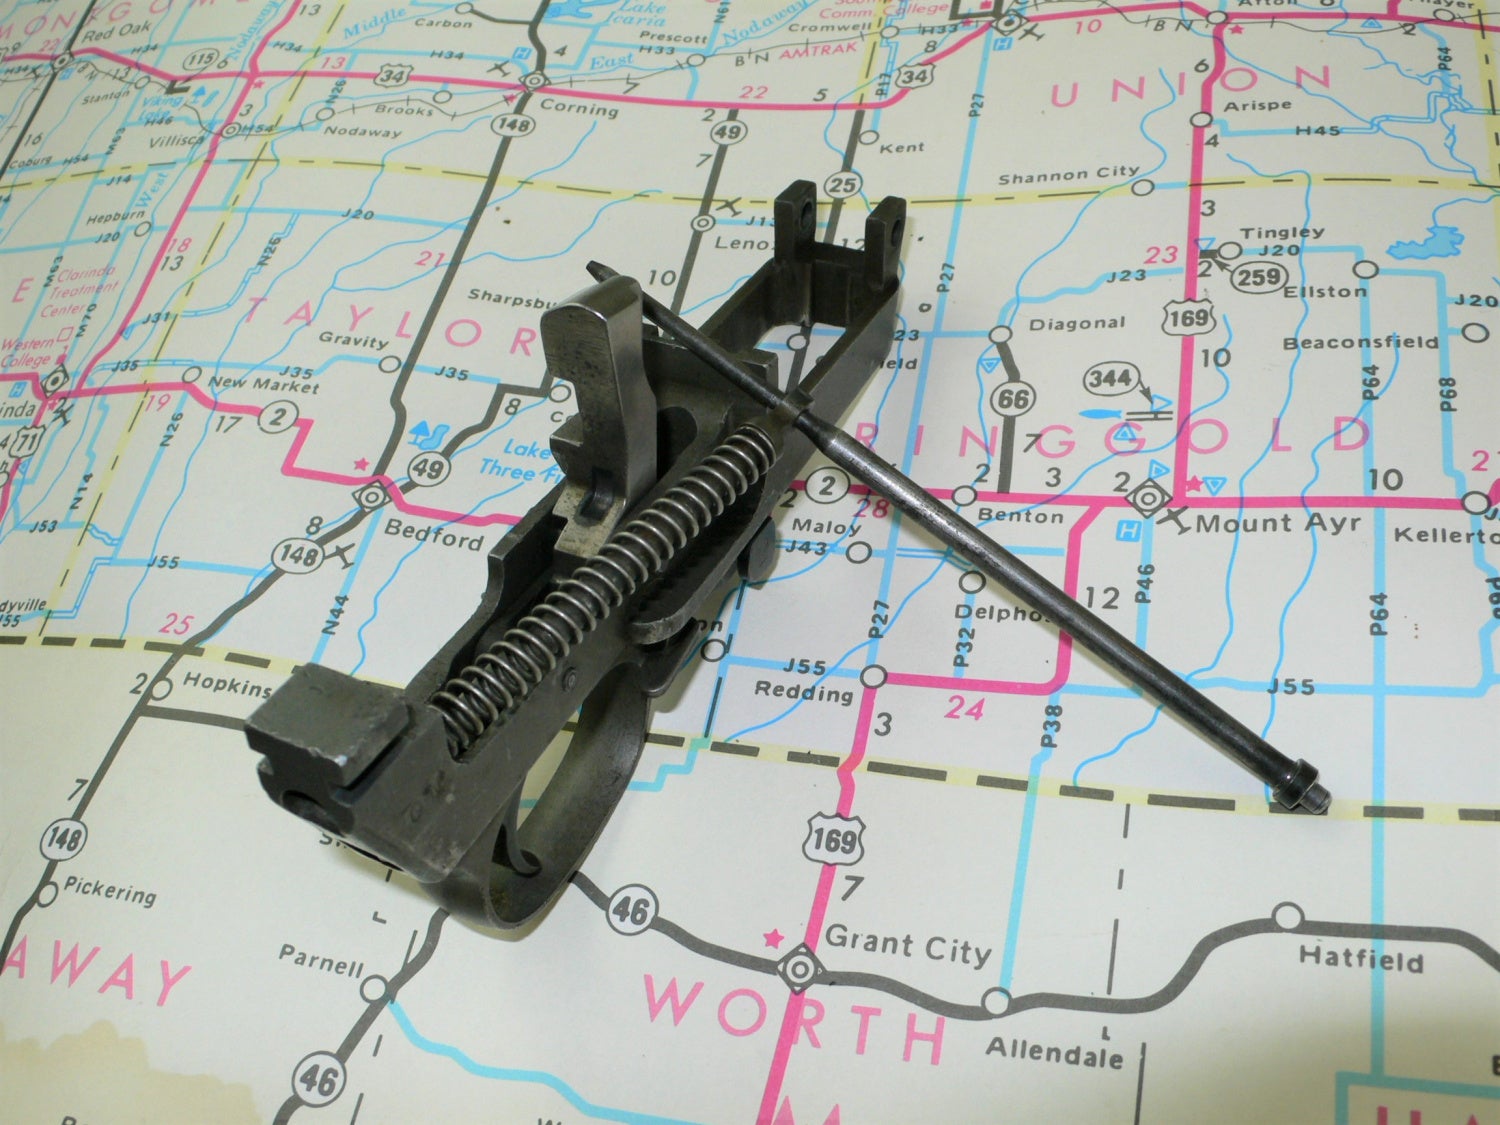
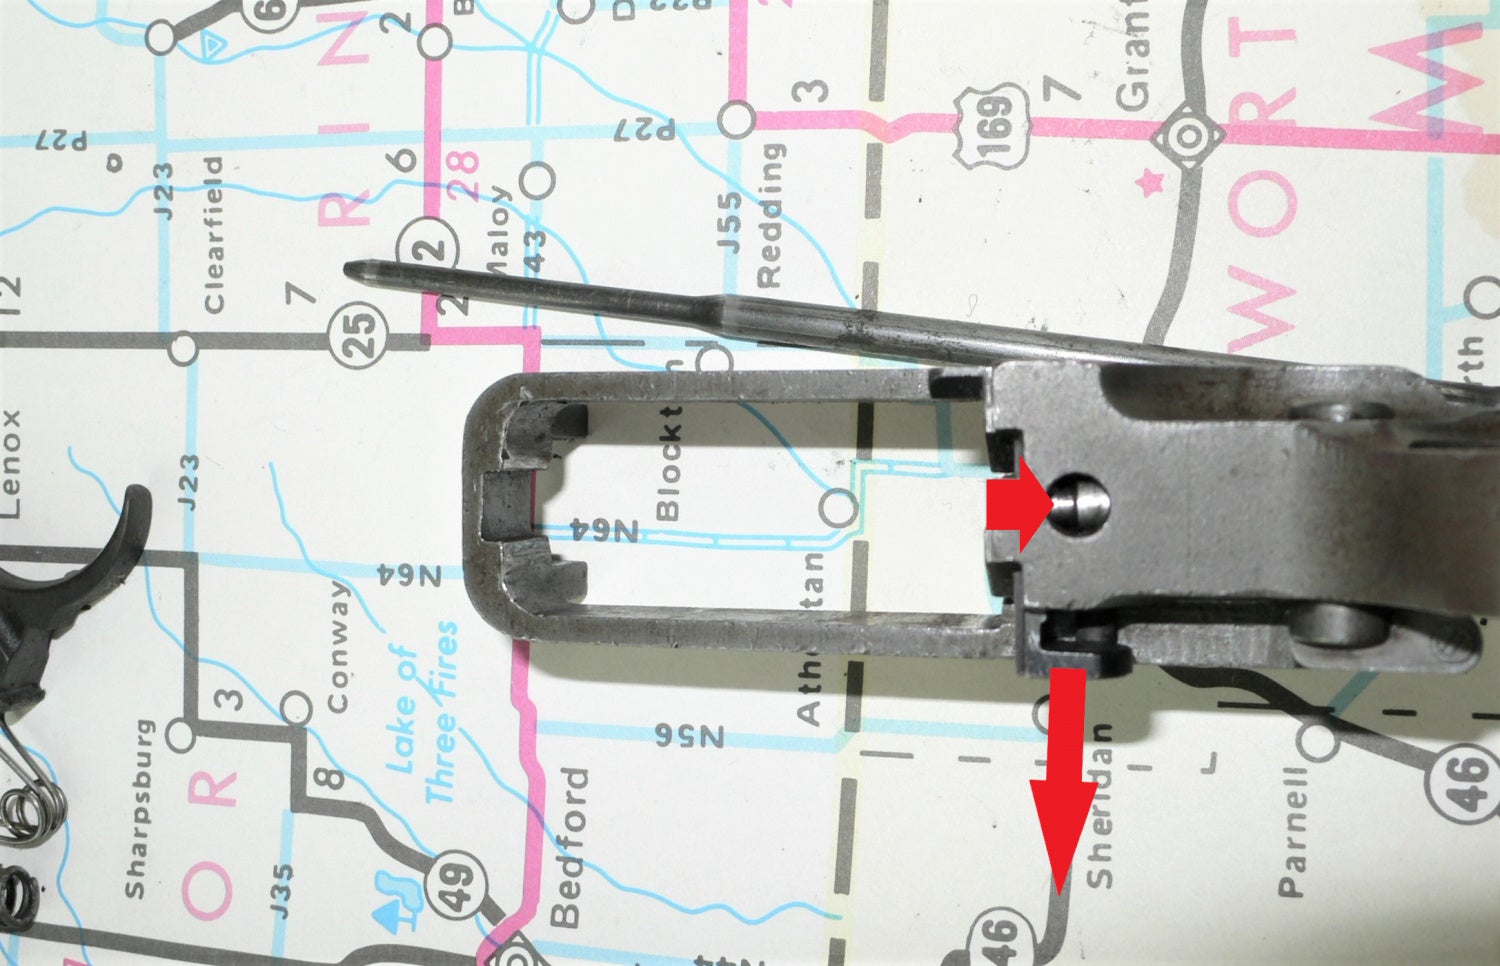
Step 3.
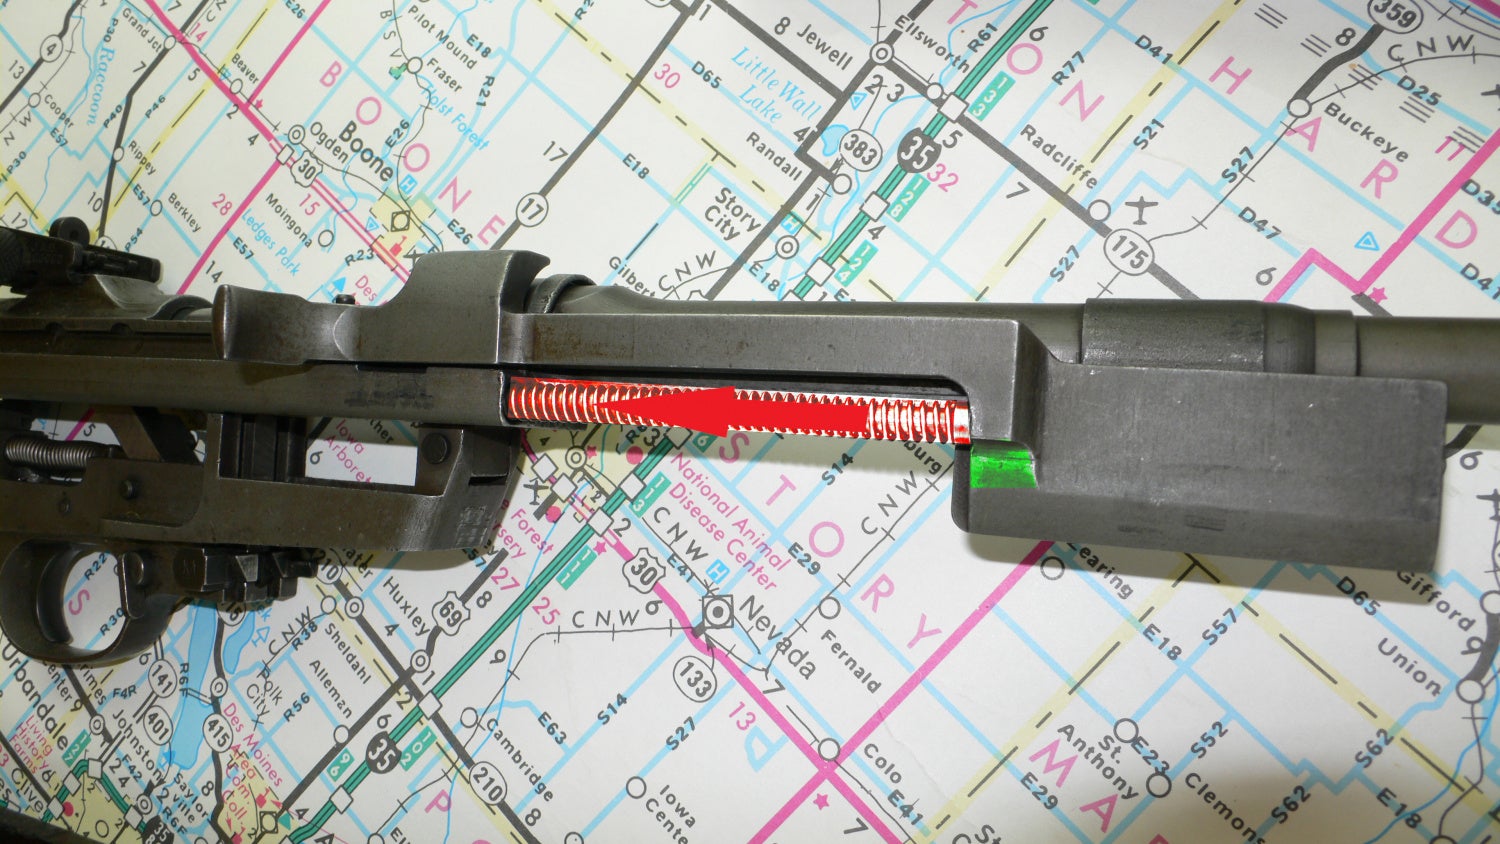
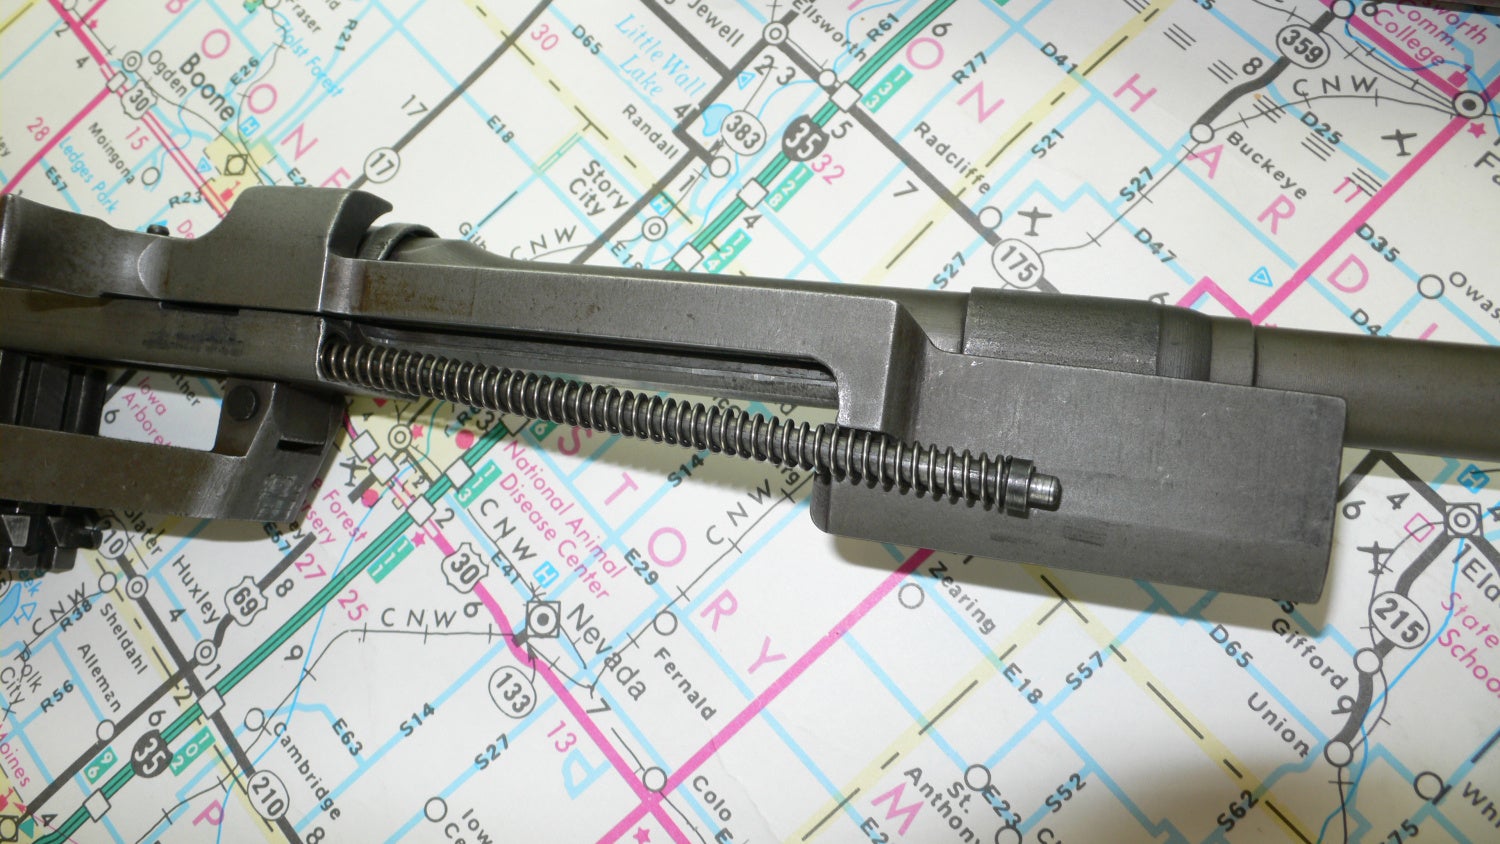
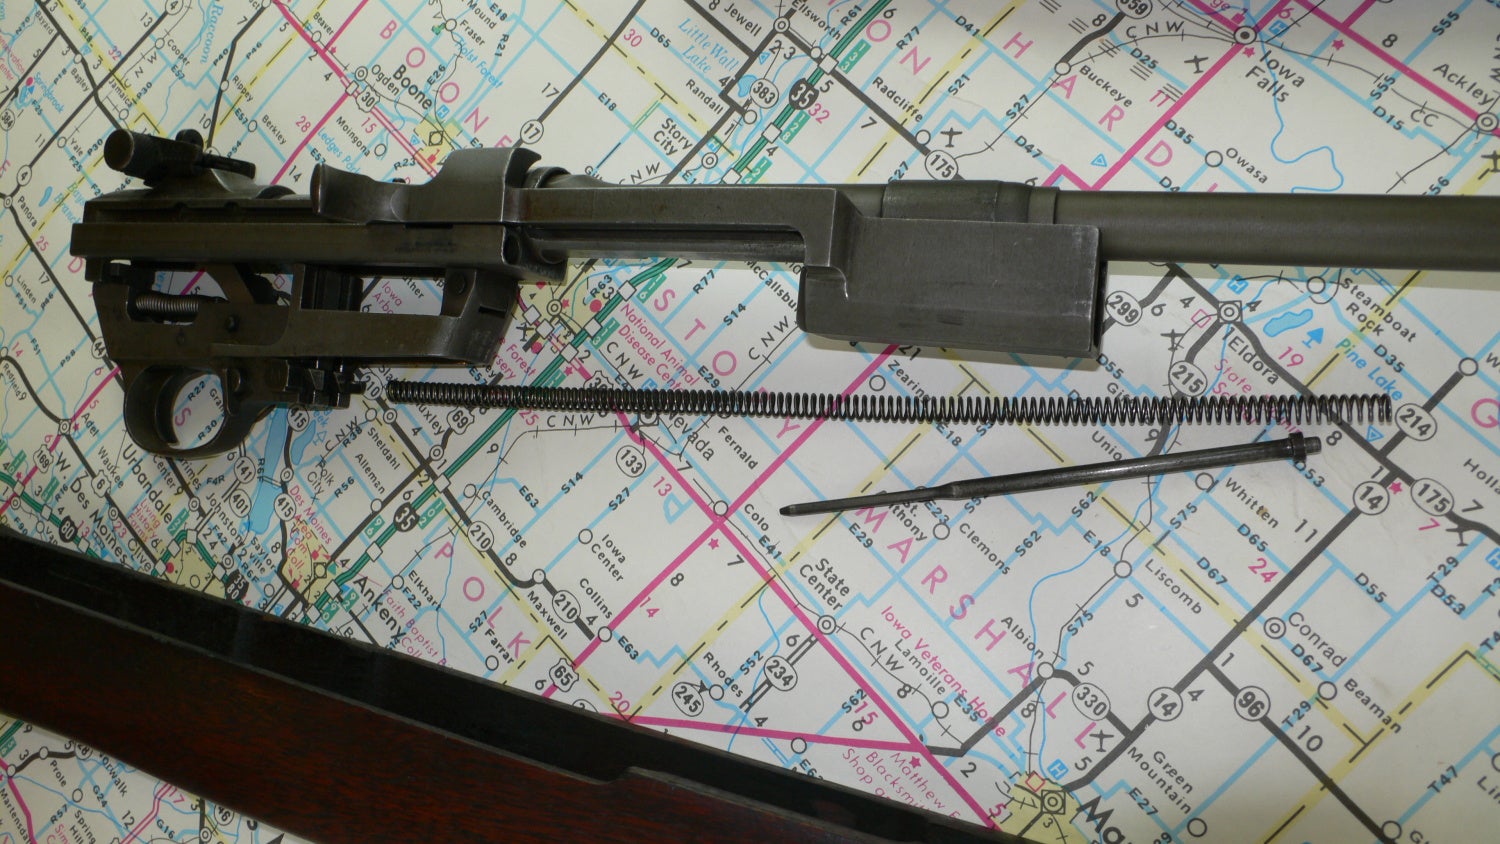
Firmly pinch the recoil spring and guide rod (highlighted red), pull it rearward, then slowly relieve the tension while guiding it down and out of the way. The area highlighted in green is the easiest spot to aim for. The spring and guide rod can be separated. Keep the guide rod handy for the full trigger assembly takedown process if you want to go that far.
Step 4.
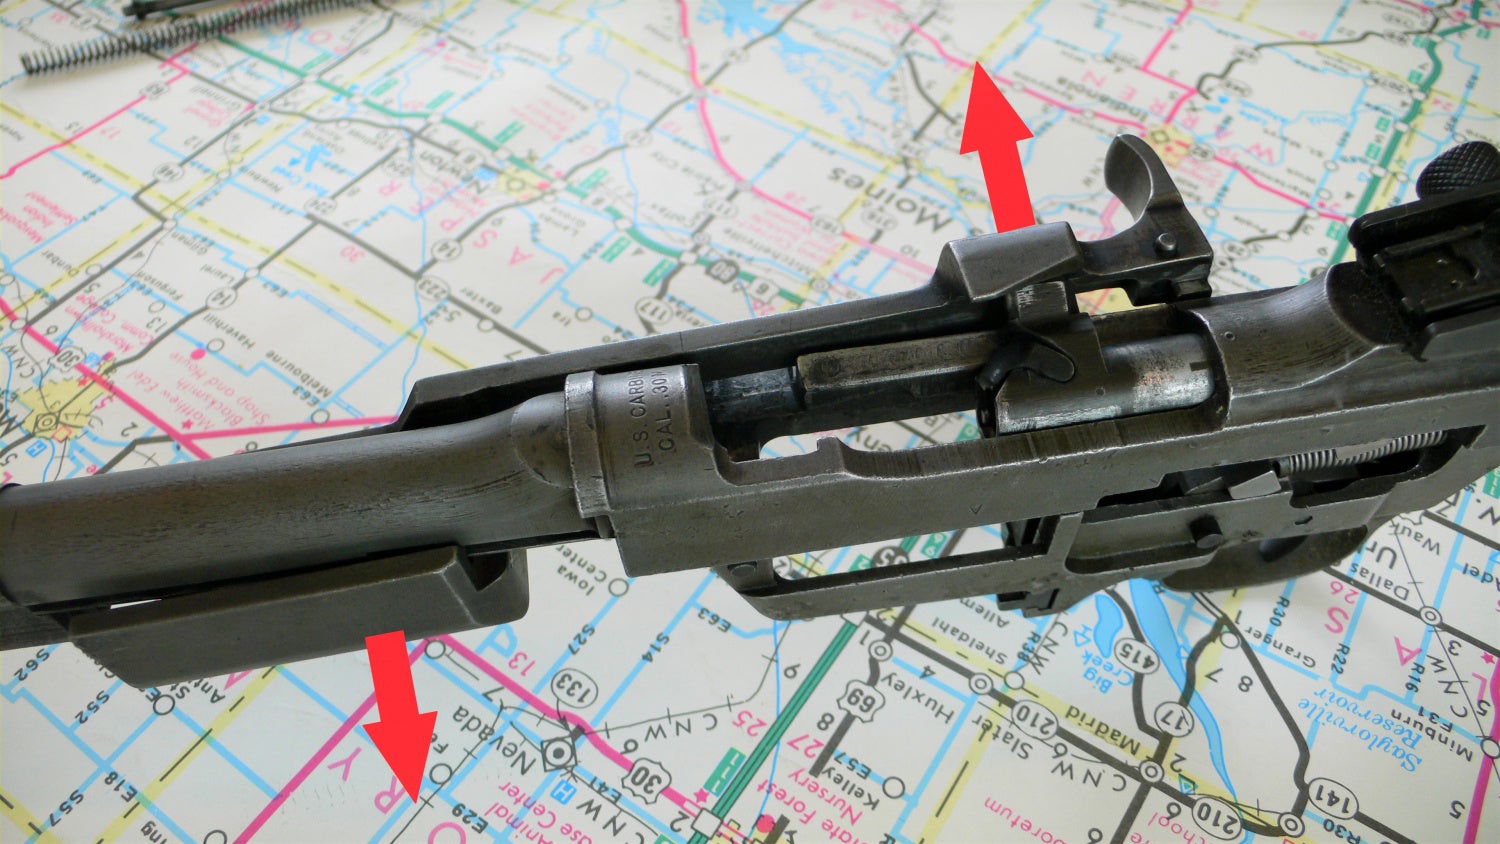
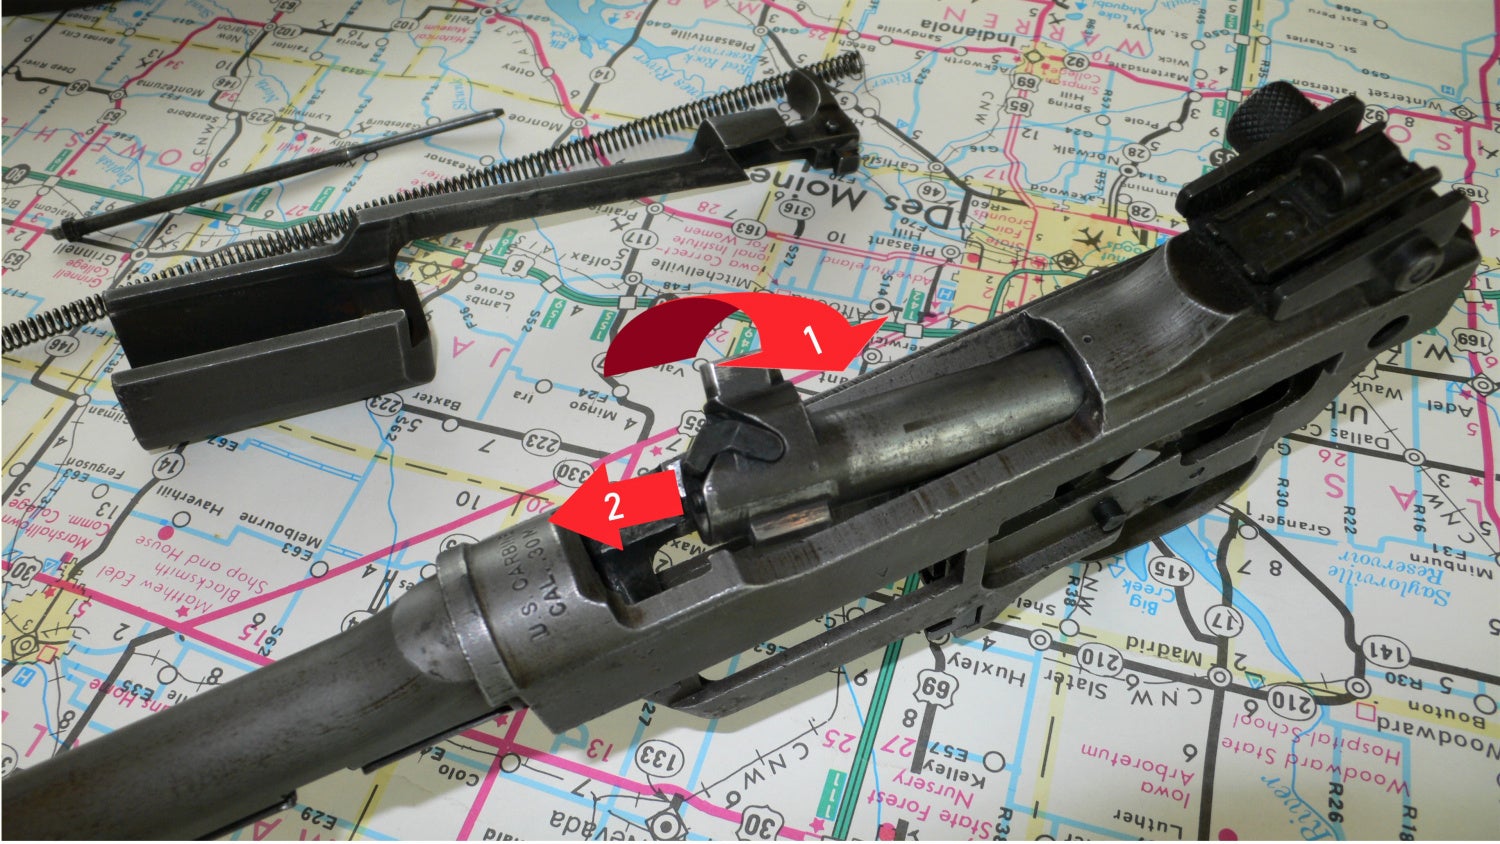
This step is a bit tricky. The charging handle/operating rod need to be separated from the bolt and removed from its guide rails under the barrel. Move the charging handle rearward, then lift up and to the right to separate it from the locking lug on the bolt. The charging handle needs to be moved to the right, while the box piston needs to move slightly left. The exact song and dance to achieve this takes a bit of practice, but as you’ll see, it’s possible. There is a relief cut under the barrel to assist in removing the piston from it’s guide rails.
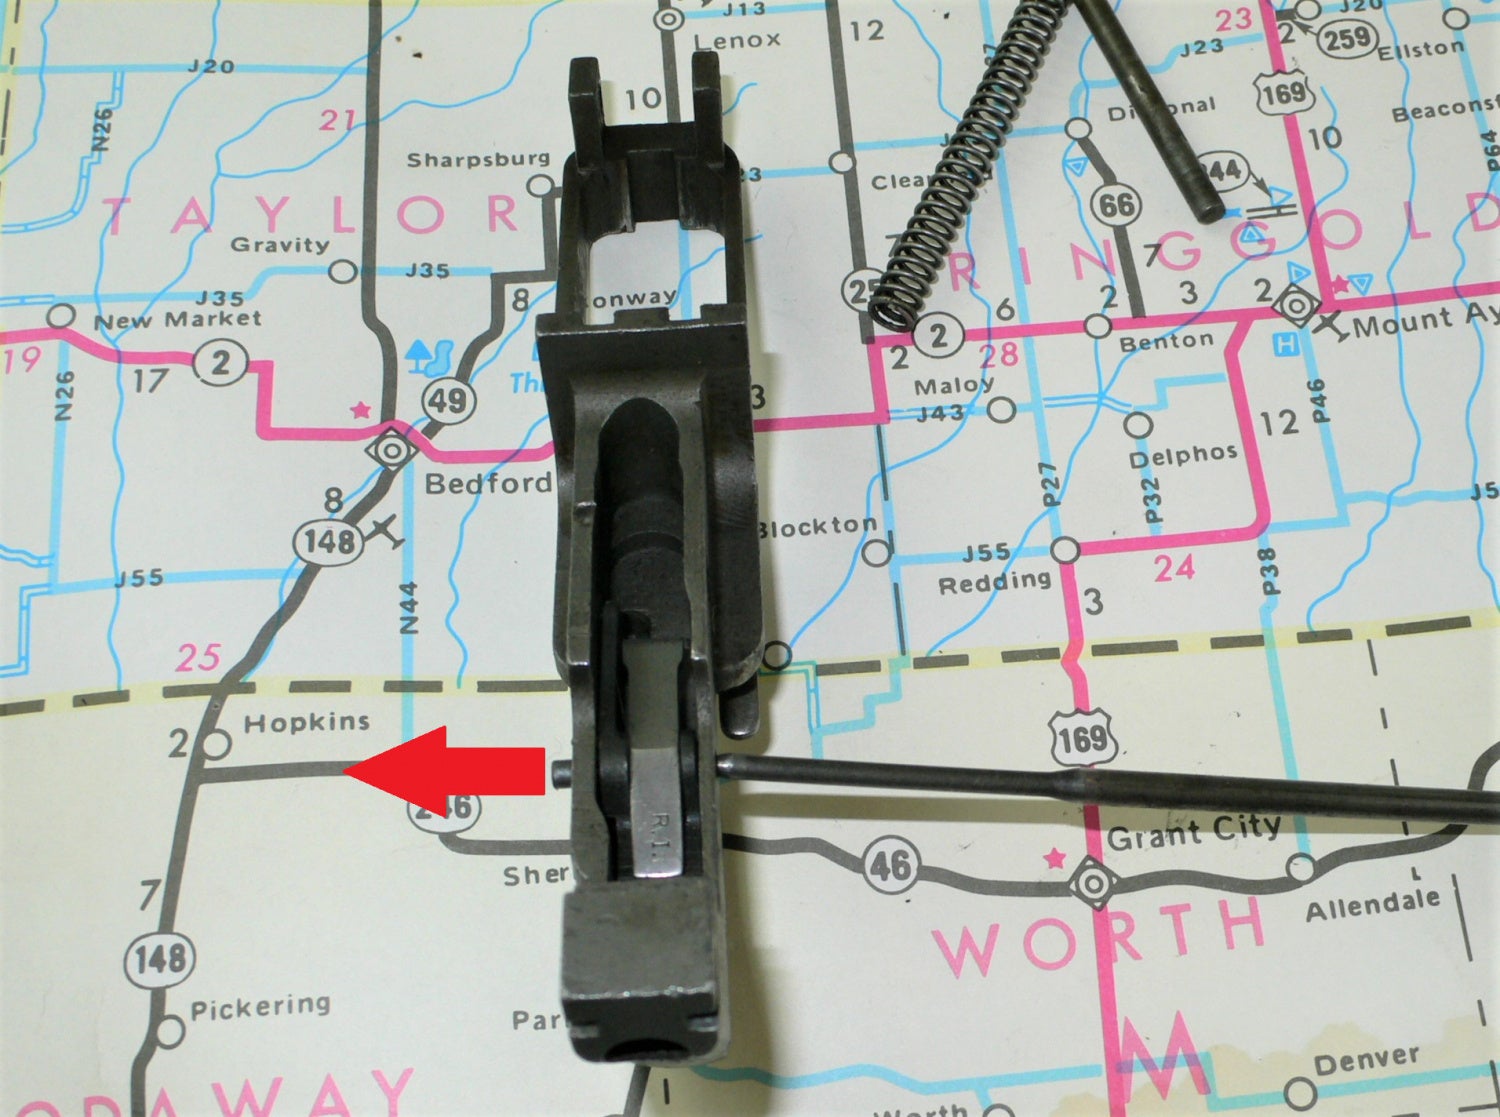
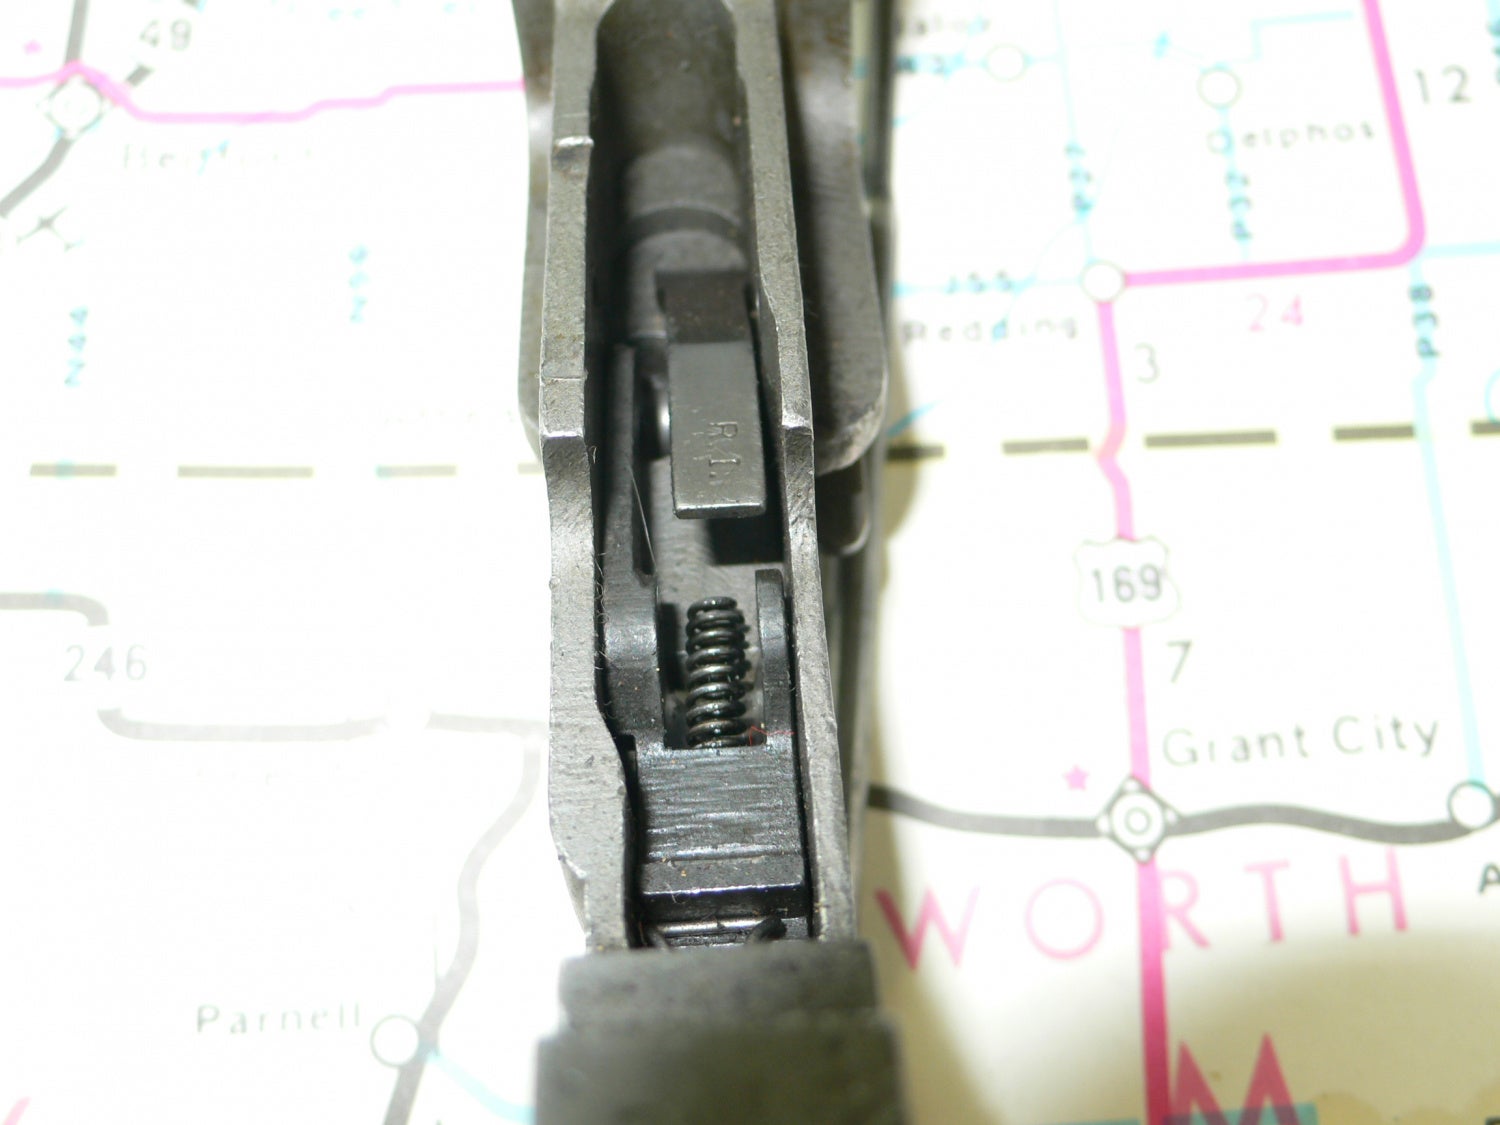
Step 5.
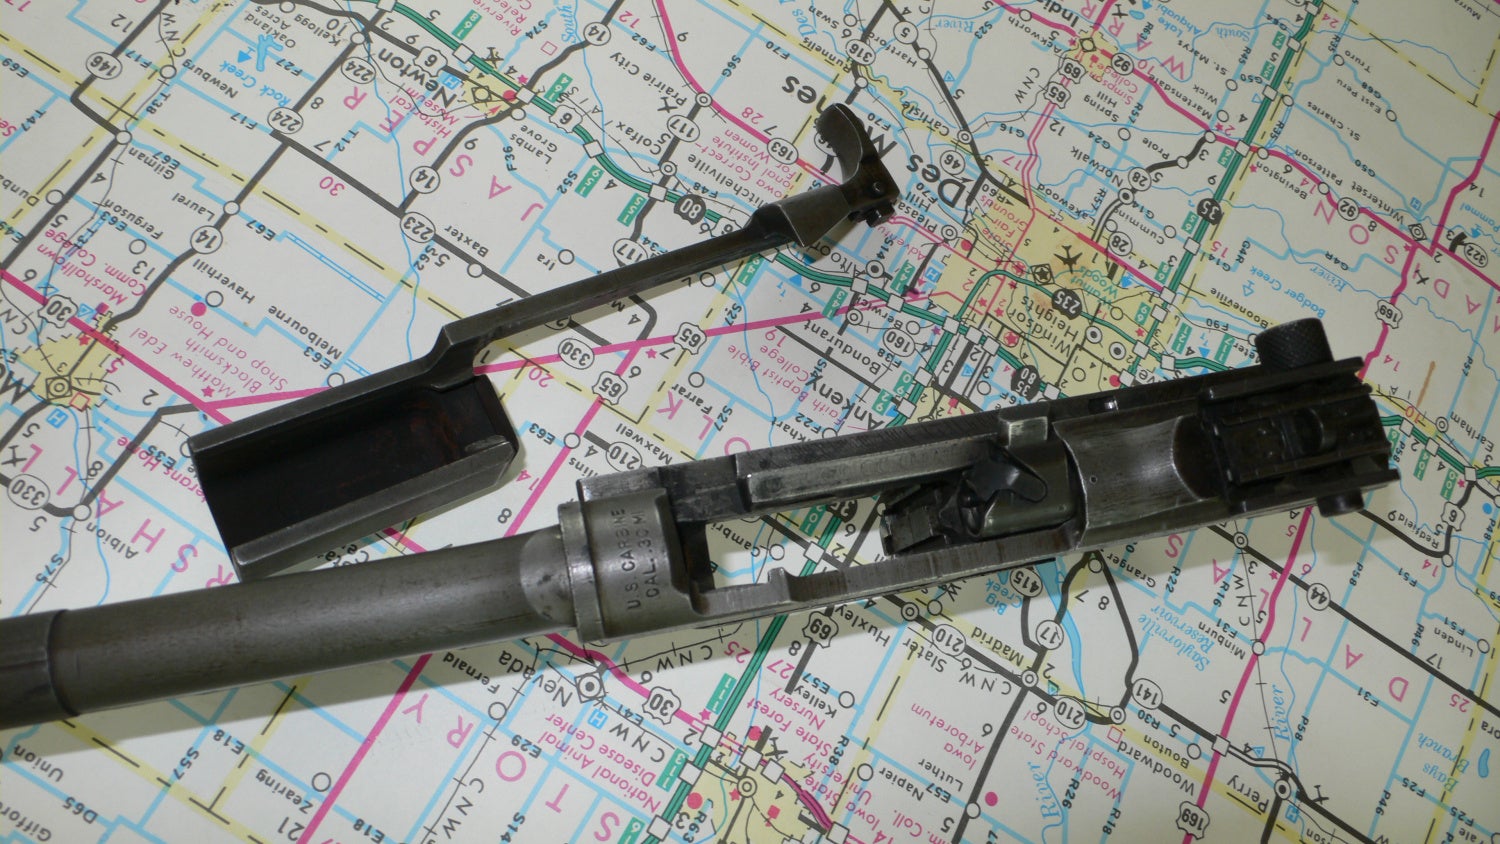
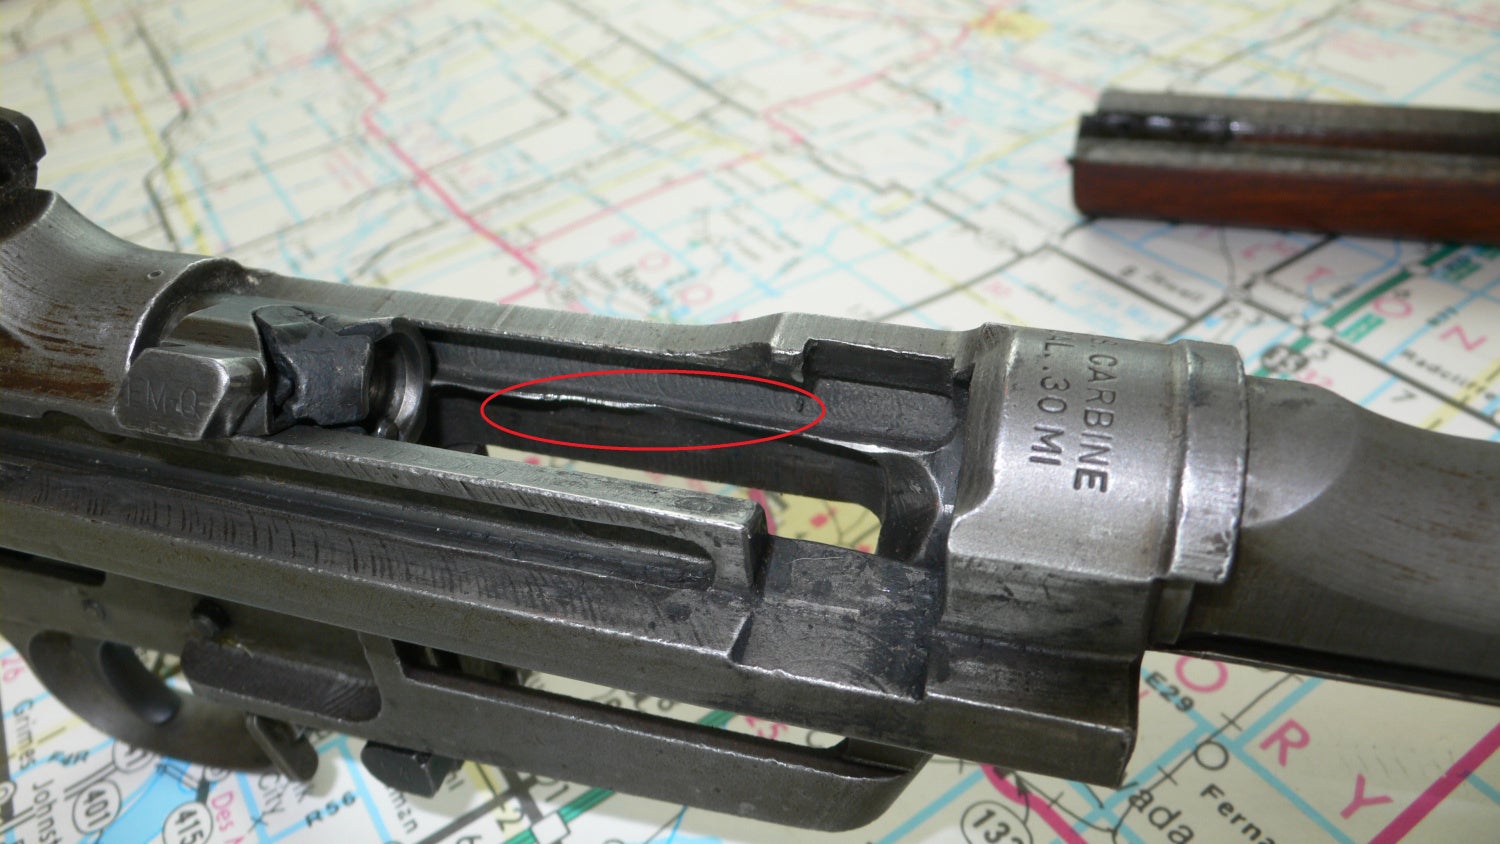
Next up is removing the bolt. There is a hidden guide lug that runs in a track inside the receiver. Move the bolt to the area where the bottom of the track is reduced (red circle), then pull up on the exposed locking lug to free the bolt. Once free, the bolt can be angled upward and out. The bolt requires a special disassembly tool, which I did not have access to.
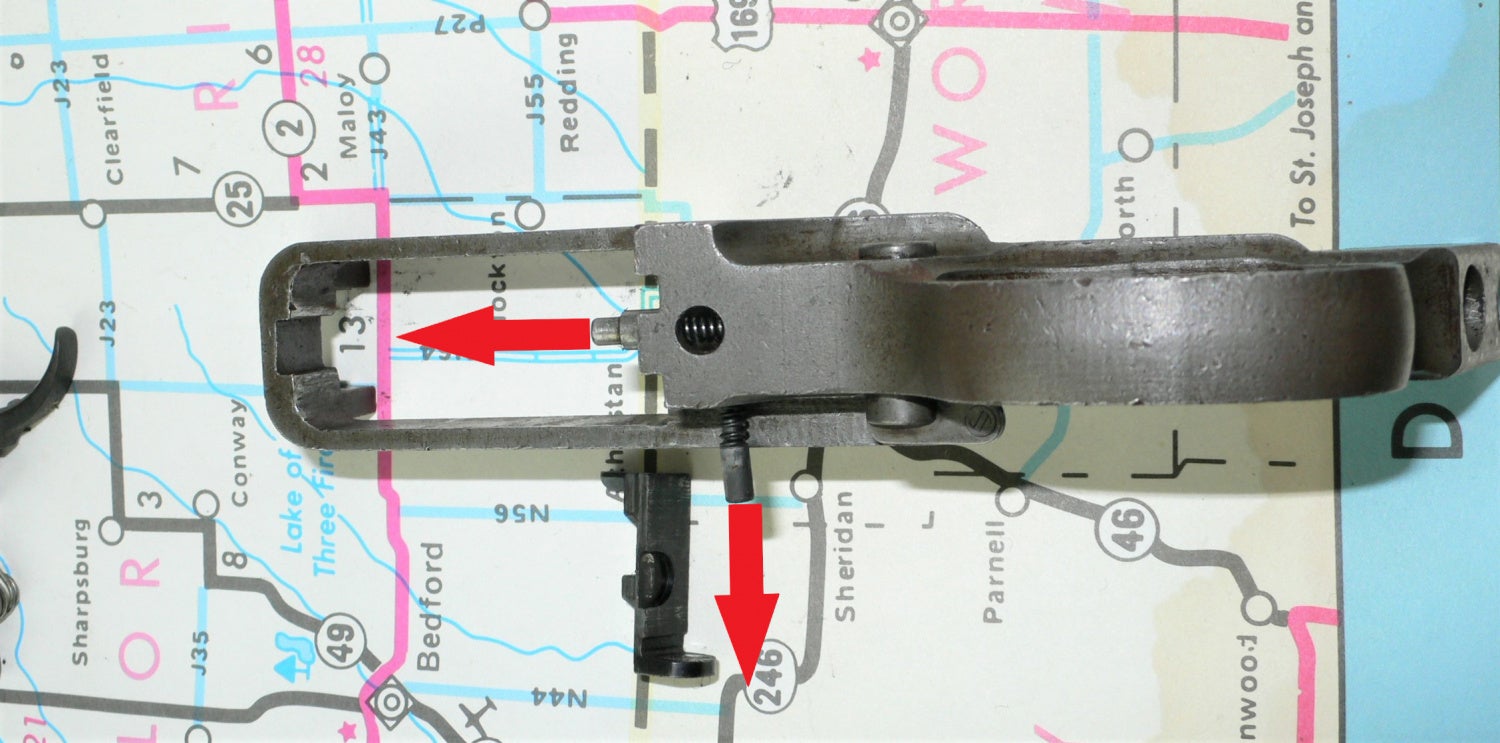
Step 6.
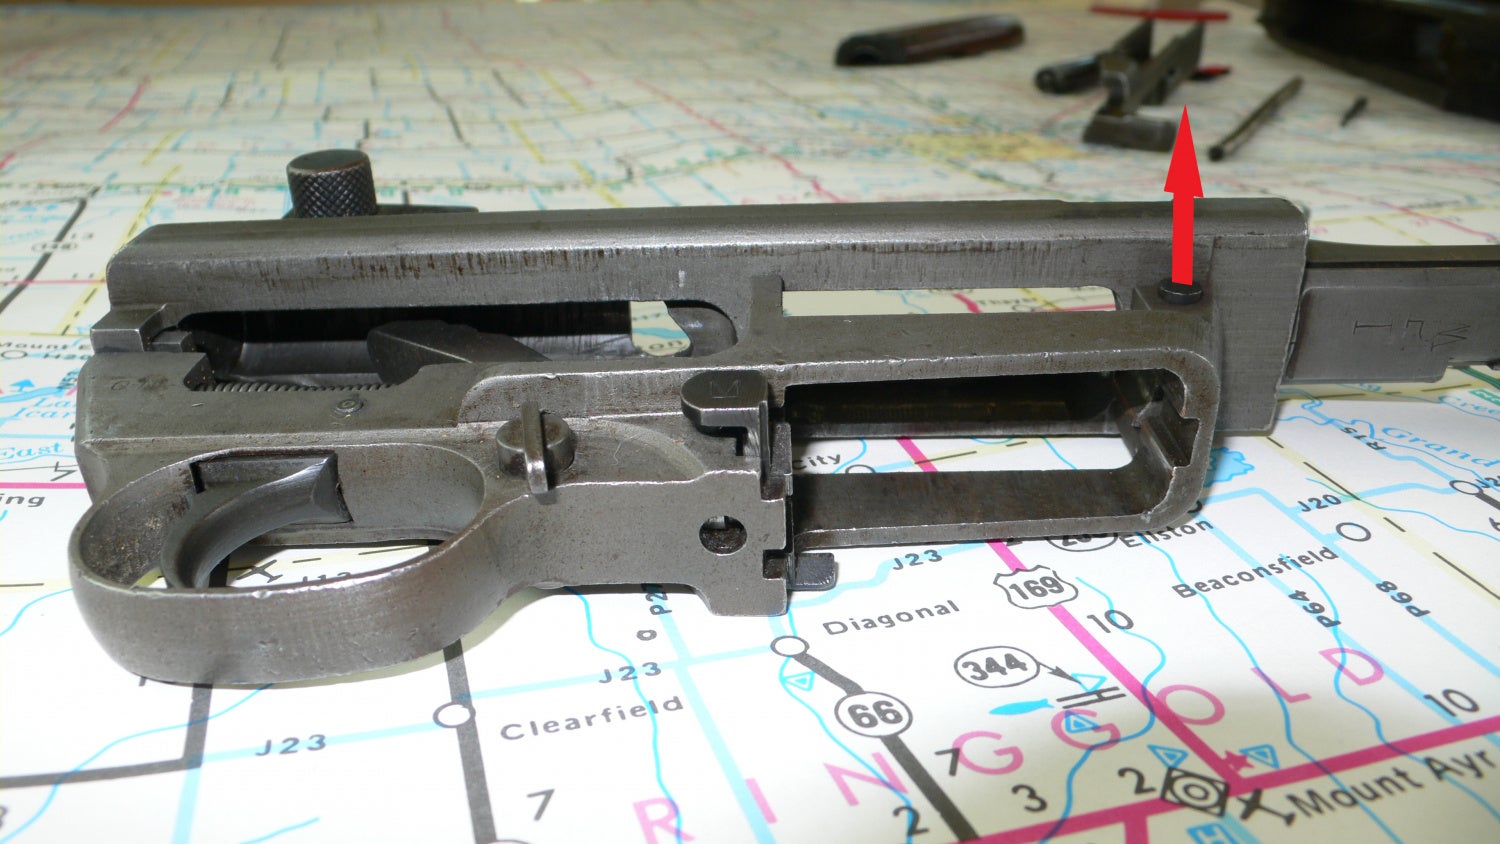
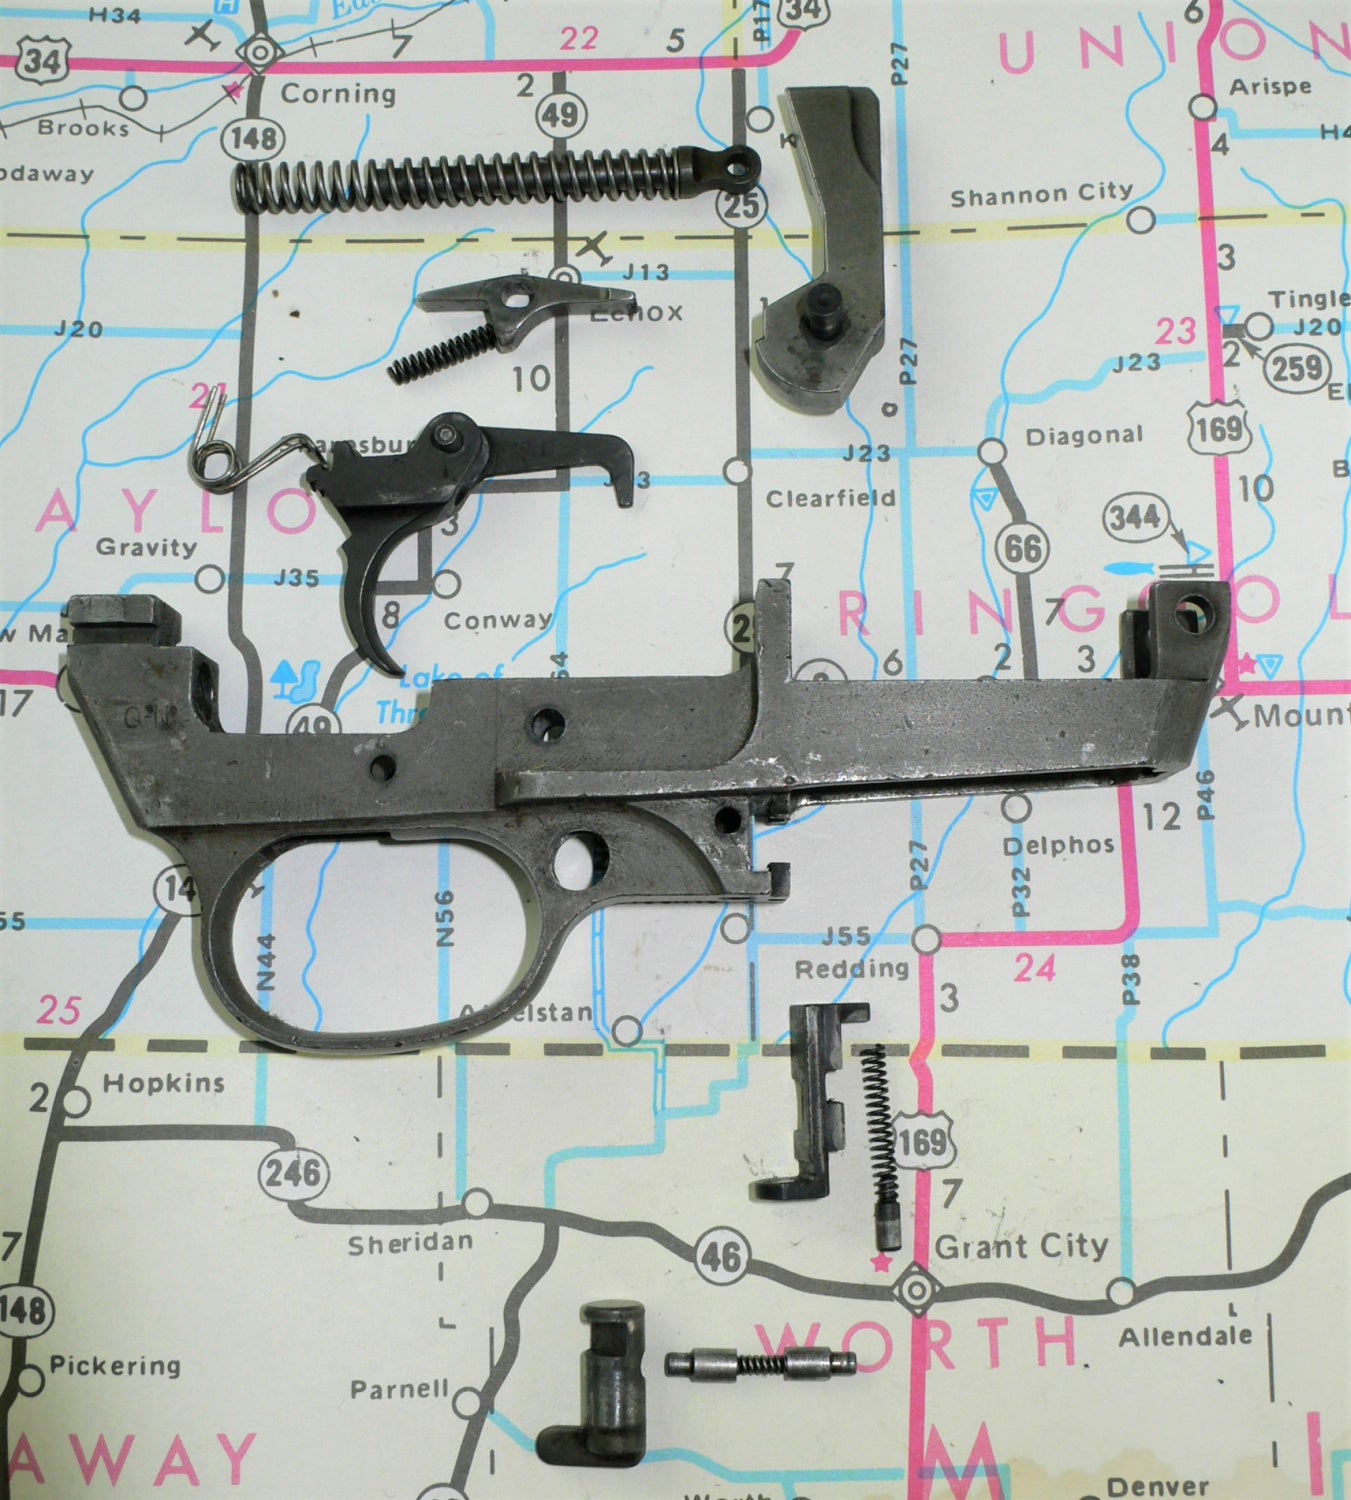
Disassembling the trigger group is where the recoil guide rod comes in handy. However, if you’re worried about bending it, feel free to use a nail or punch. I used the guide rod and it was fine. Follow the arrows to proceed with the trigger group takedown.
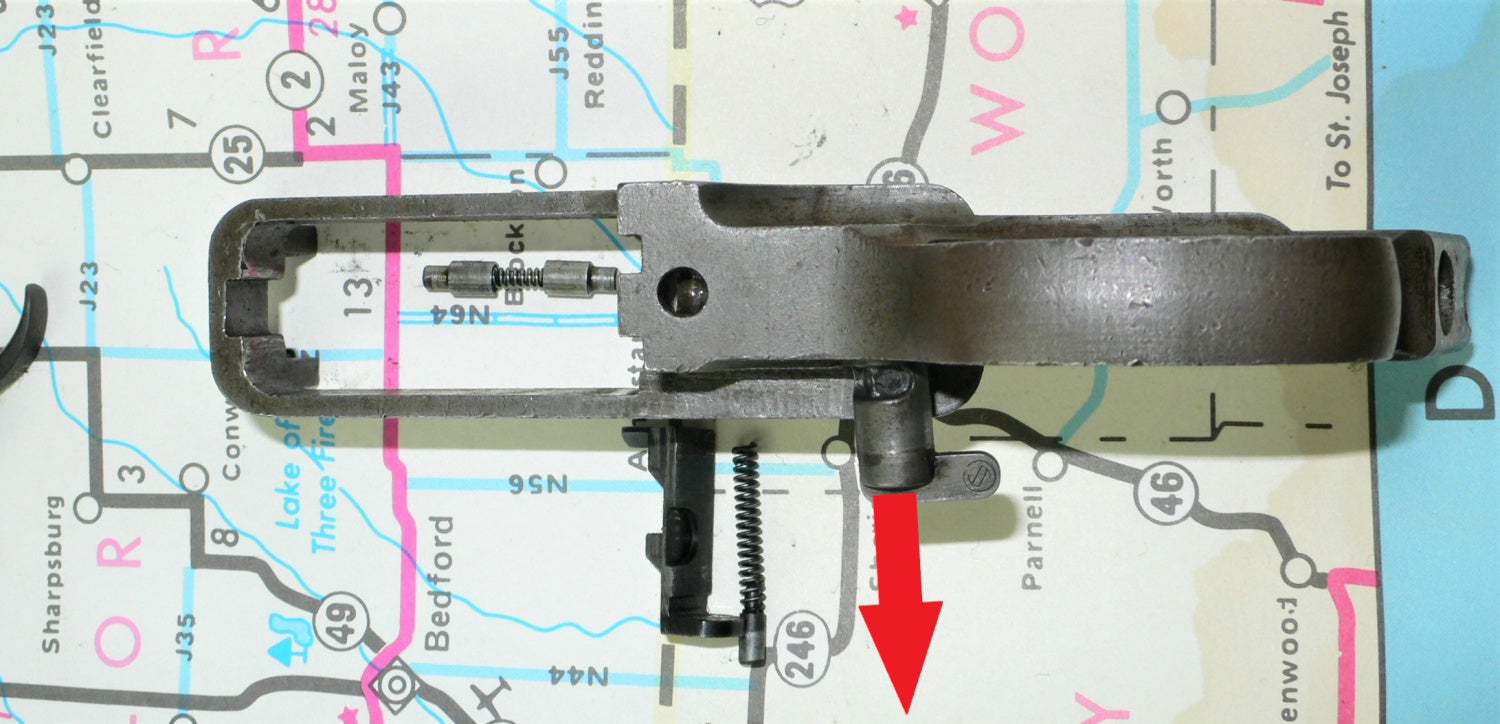
This is where I would stop the field strip for quick cleaning and leave the remaining process for an occasional takedown. However, the following isn’t too difficult other than replacing the trigger return spring.
Hammer spring and guide rod.

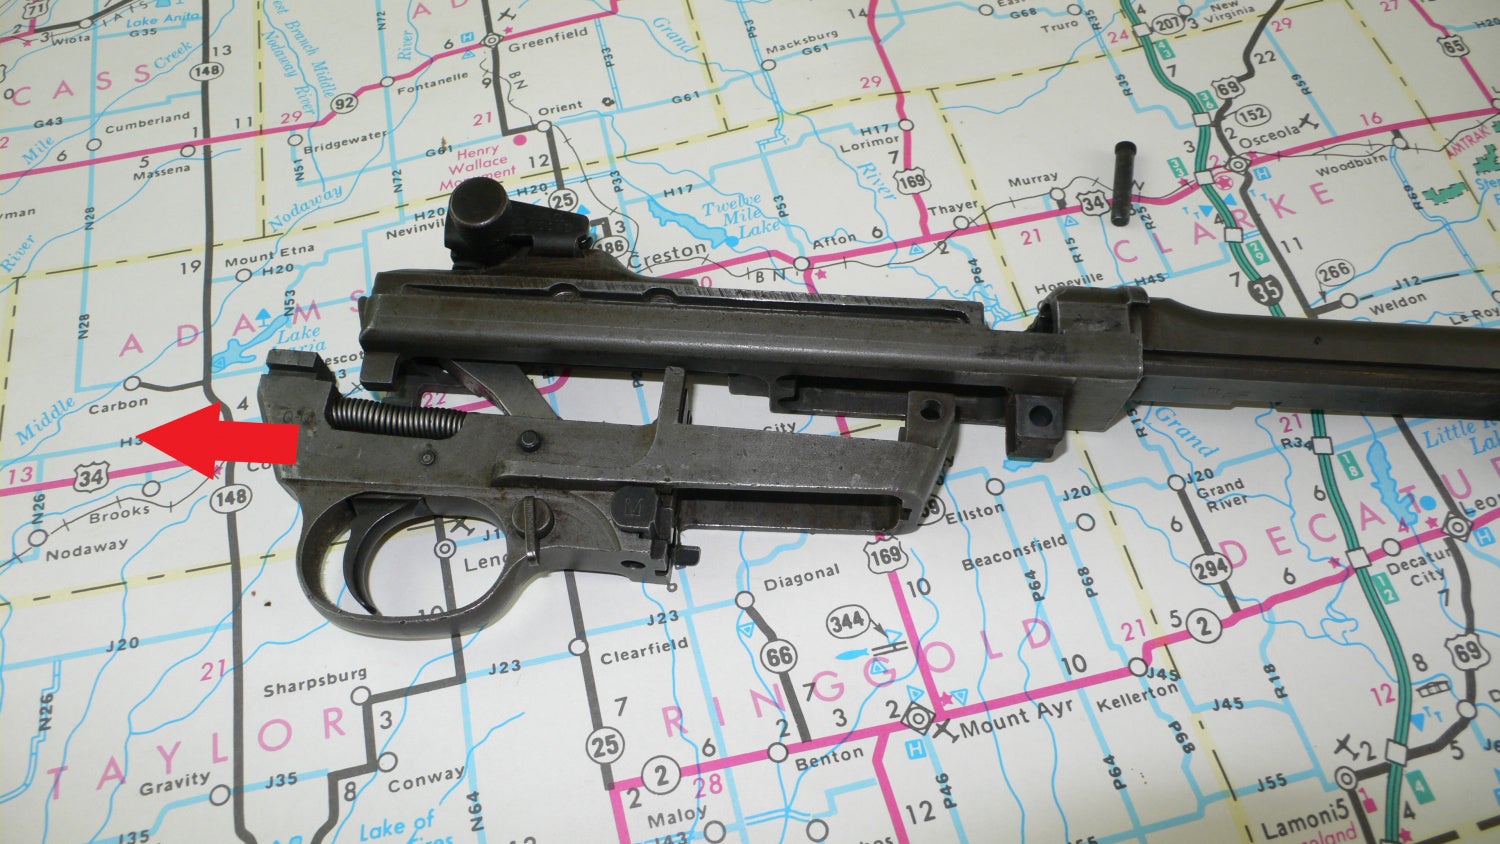
Hammer retaining pin.

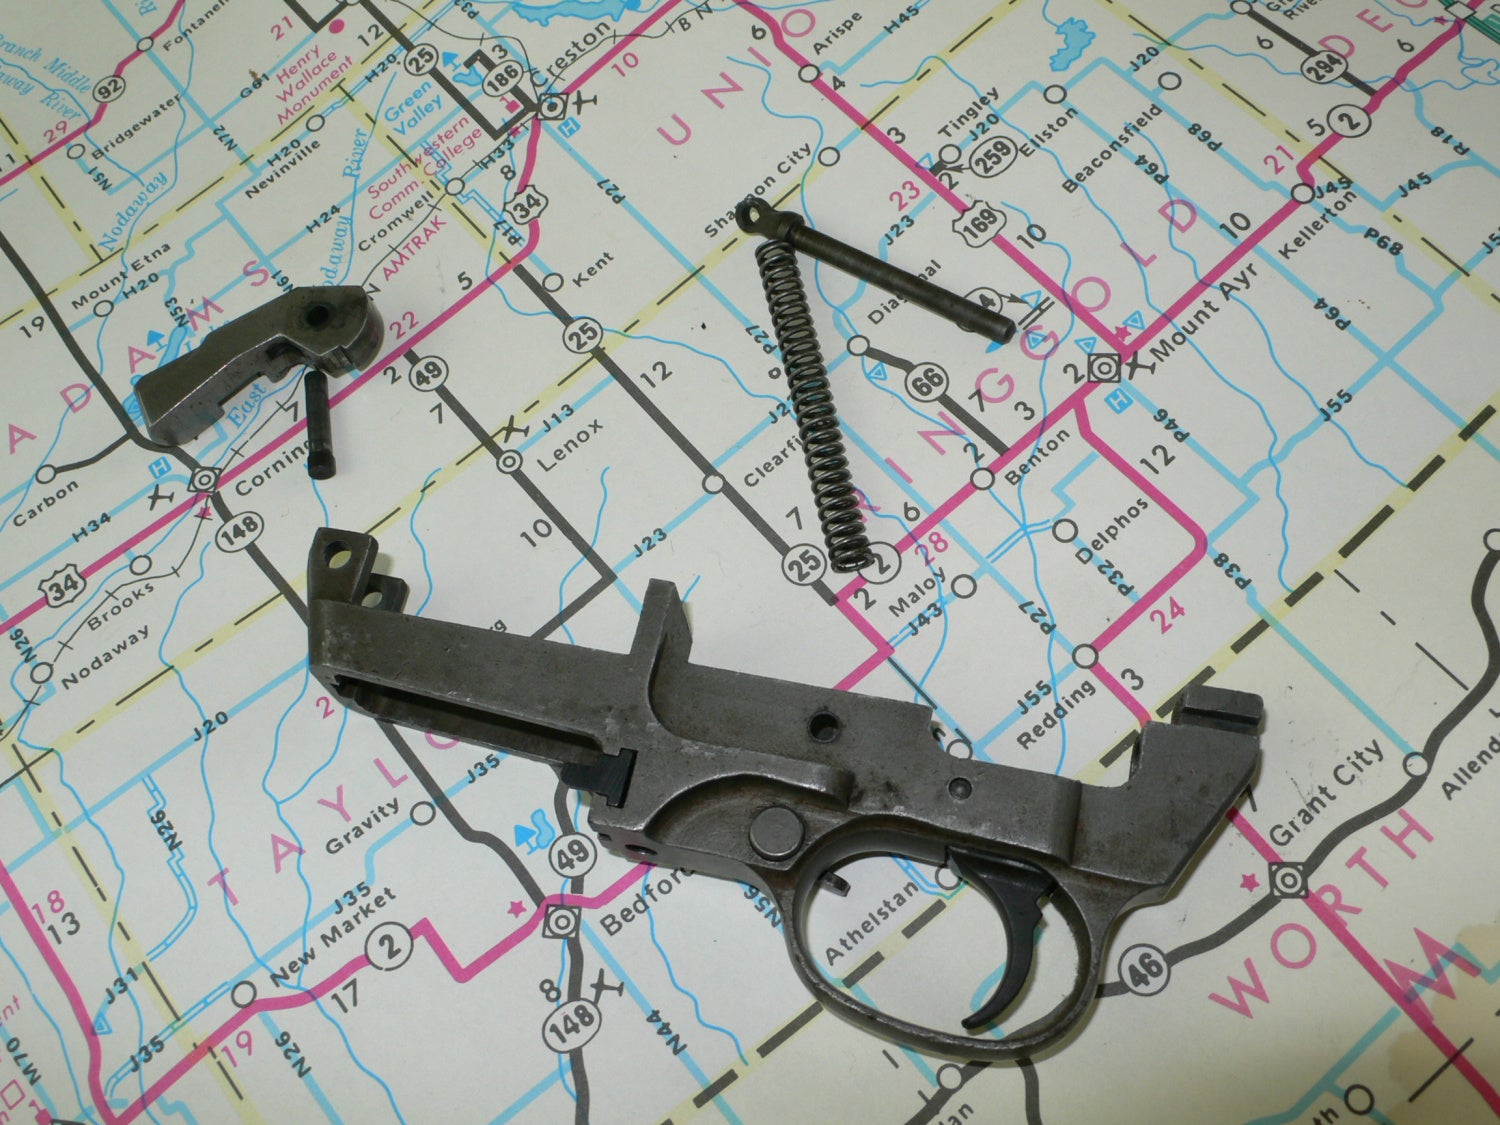
Trigger and sear retaining pin. The sear is under spring tension.
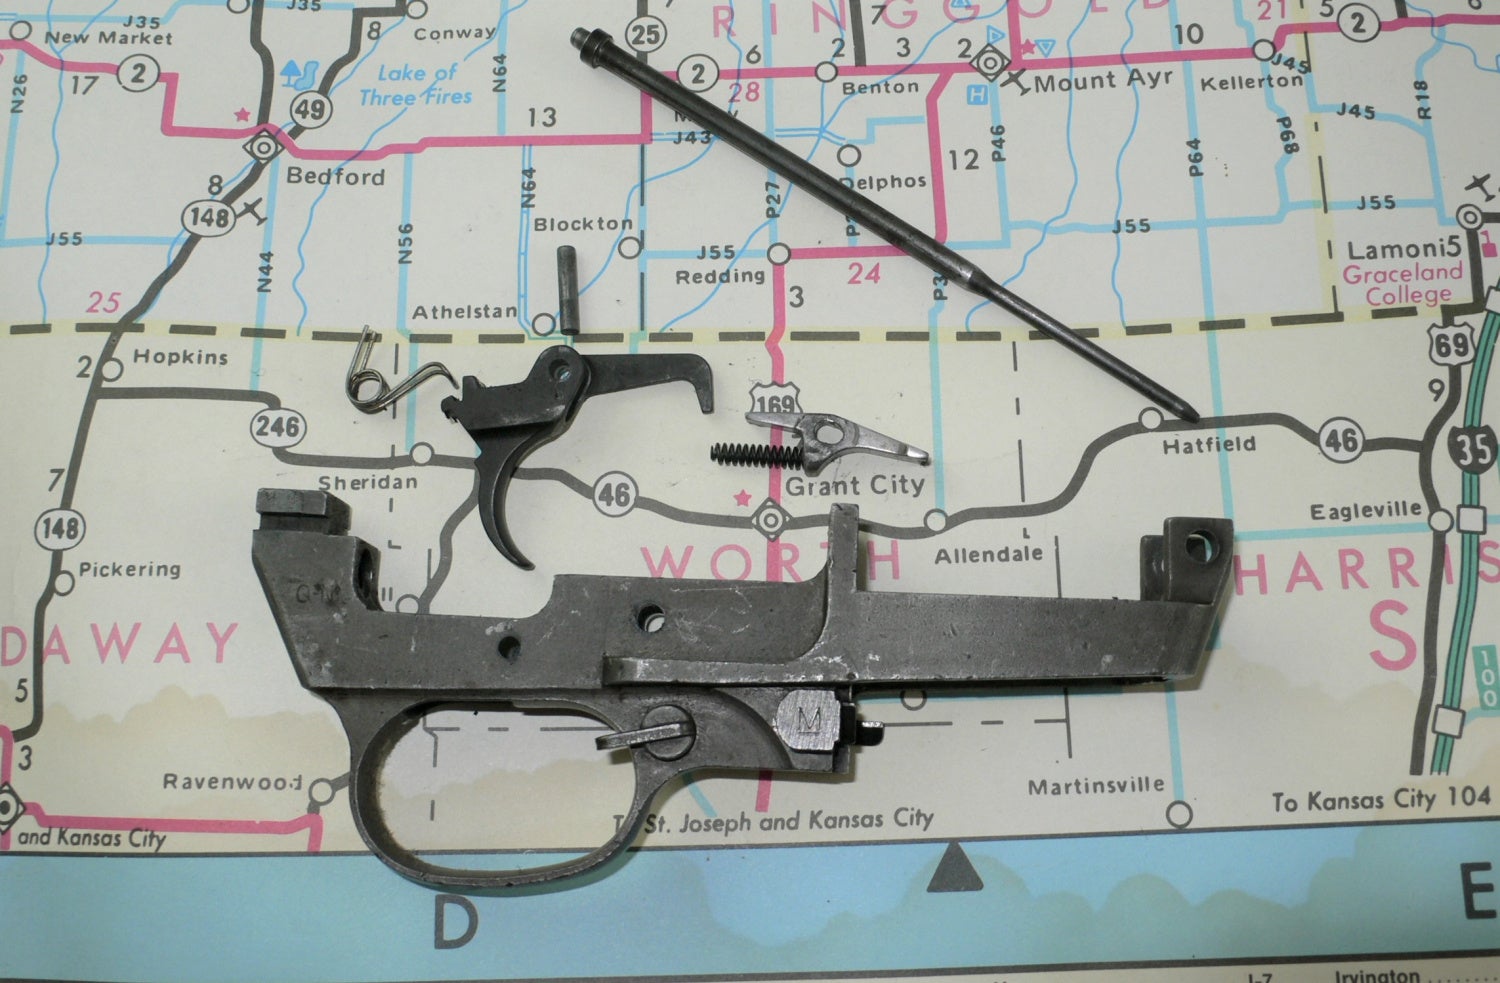
Push and hold the exposed plunger out of the way and then pull the magazine catch out.
Safety selector.
We are committed to finding, researching, and recommending the best products. We earn commissions from purchases you make using the retail links in our product reviews. Learn more about how this works.