 Your Privacy Choices
Earlier this month I posted about DIY Thermal Fusion. In that article, I mentioned the legitimate methods of true thermal fusion. One way to achieve true thermal fusion is with a COTI or Clip-On Thermal Imager.
What is Real Thermal Fusion?

As I mentioned in my previous article, thermal fusion is the merging of both thermal detection with image intensification of night vision. However true thermal fusion is a little more than just seeing both. True fusion can be argued is only achieved if the thermal information does not interfere with night vision. In my DIY article, I was looking into a thermal device with my night vision goggles. While I was able to see the thermal image, it blocked the view of my night vision. I was unable to see through the thermal device. With a thermal device physically blocking the objective lens of a night vision device, you can no longer pick up light sources. You may be able to see some light coming into your other eye if you are wearing dual tube binos. If you only have a single PVS-14 then you will have a difficult time. Such as using aiming lasers.
So a COTI allows true fusion. Not only does the COTI overlay and inject the thermal image into your night vision but it does not obscure what you see. You can see through the thermal image and still pick up IR lights or visible lights.
COTI Explained
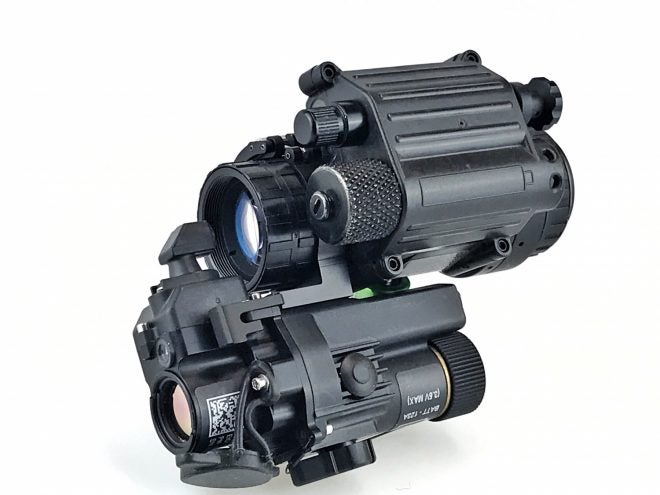
The COTI is made by the Safran owned company Optics 1. The COTI is also known to the military as the AN/PAS-29. It attached to night vision devices by a ring adapter. The ring adapter is a metal hoop with a clasp that closes around the objective lens of NODs. Due to varying night vision objective lenses, the ring adapter is reversible.
In the position below the ring, the adapter will clamp around the objective lens infinity stop.


If you reverse the ring adapter then it will clamp onto the objective lens. In some instances, like my ANVIS9 objective lenses, you have to use the ring adapter in this position due to protrusions that will not allow you to slide the adapter further back. The downside to mounting the adapter onto the objective lens is that now when you adjust focus, it will spin the COTI as well. You will still be able to see the thermal fusion but the COTI can only spin around so much before it may hit something like parts of the night vision device.
Here are some examples of the COTI mounted on different NODs.

COTI mounted on PVS7.


COTI mounted on DTNVGs

Even though the COTI is mounted at the 6 o’clock position of the DTNVG, when folded up and flat against the helmet, the COTI nestles comfortably against the helmet.
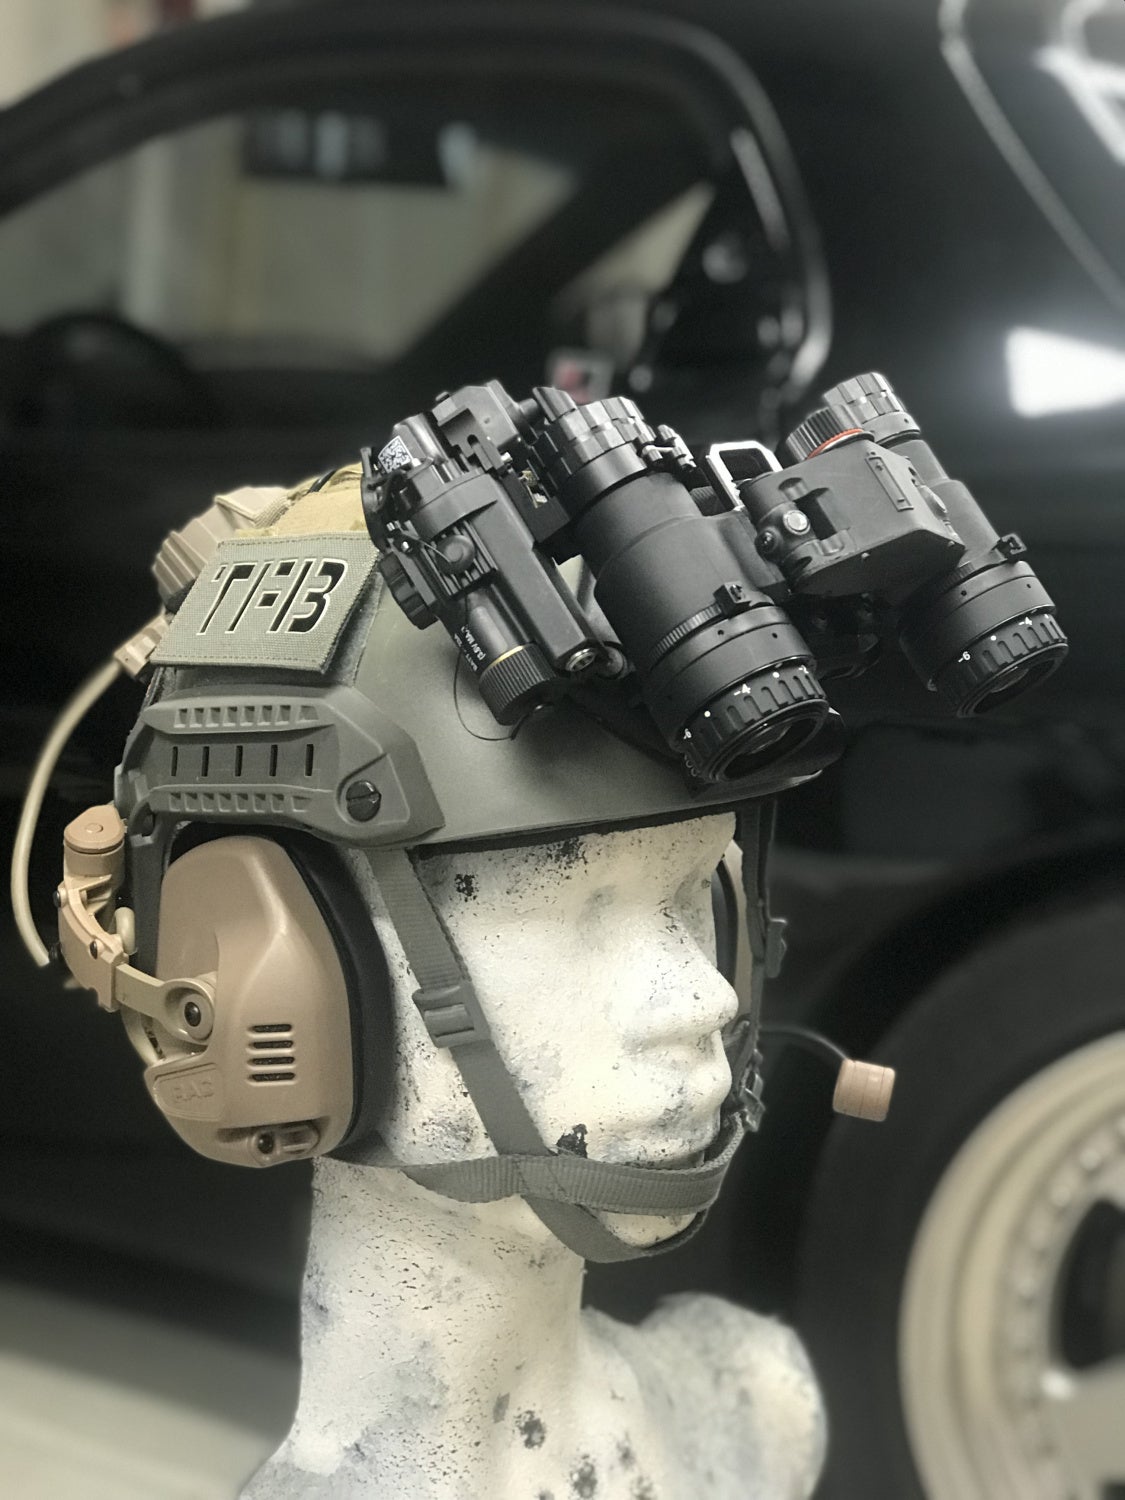
The COTI only weighs 5 ounces so it does not have a significant effect attached to your NODs.
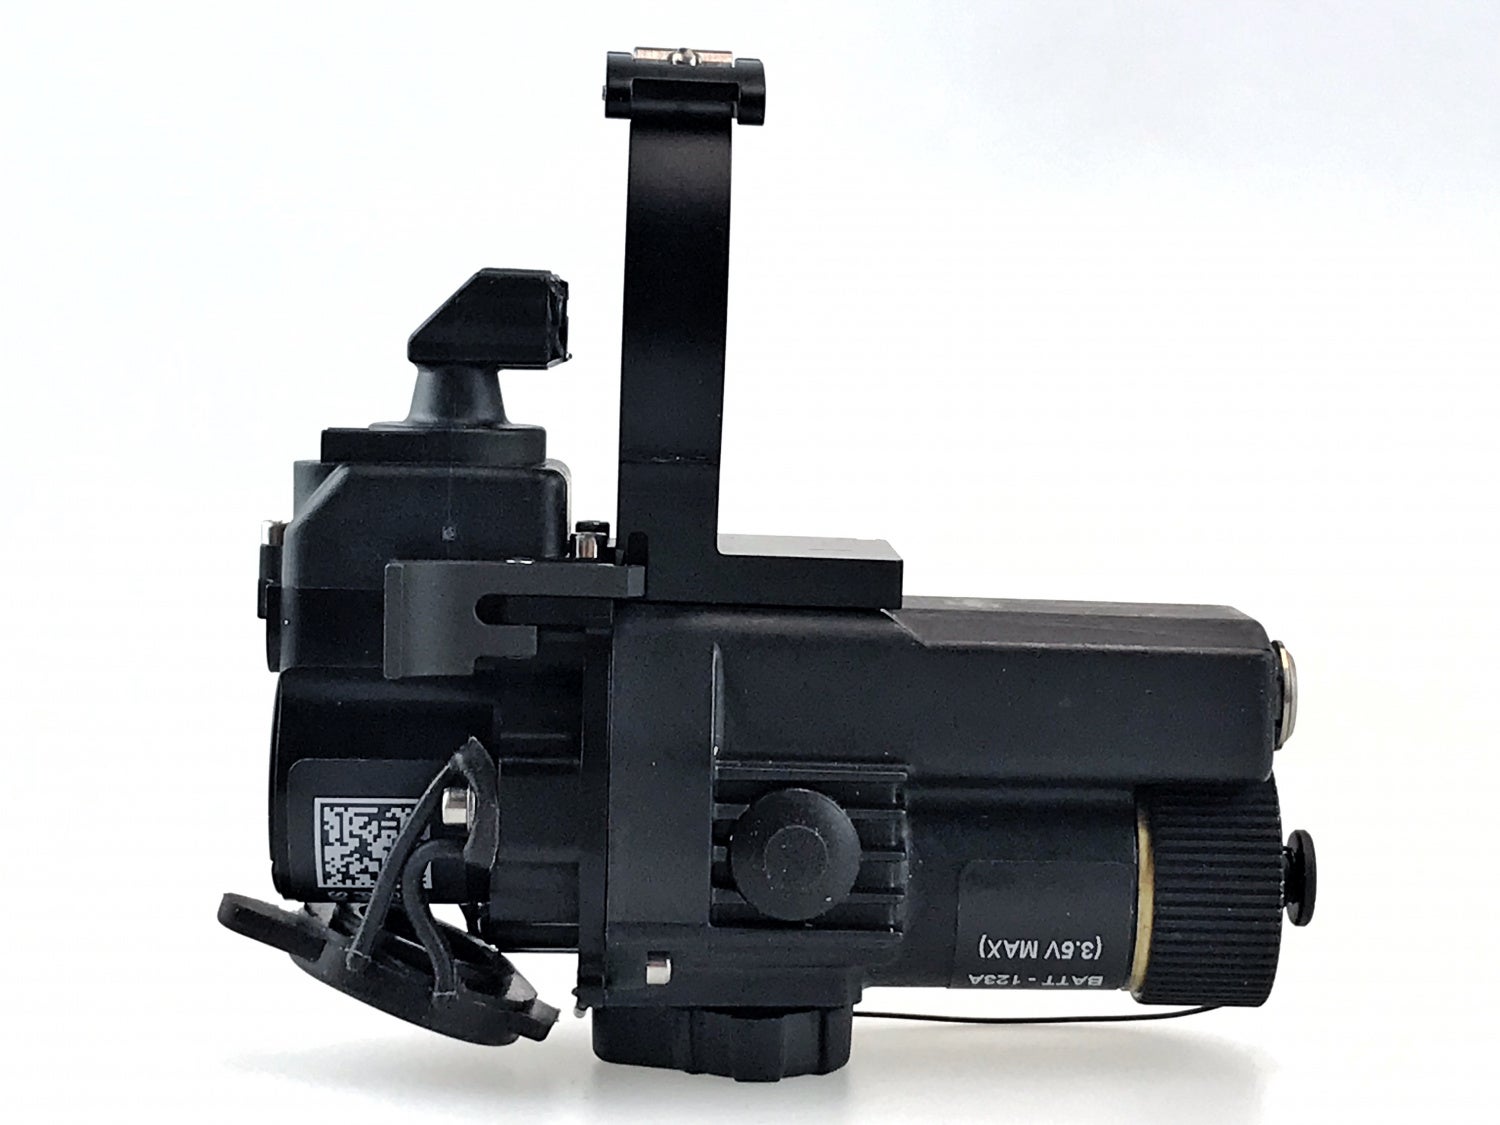
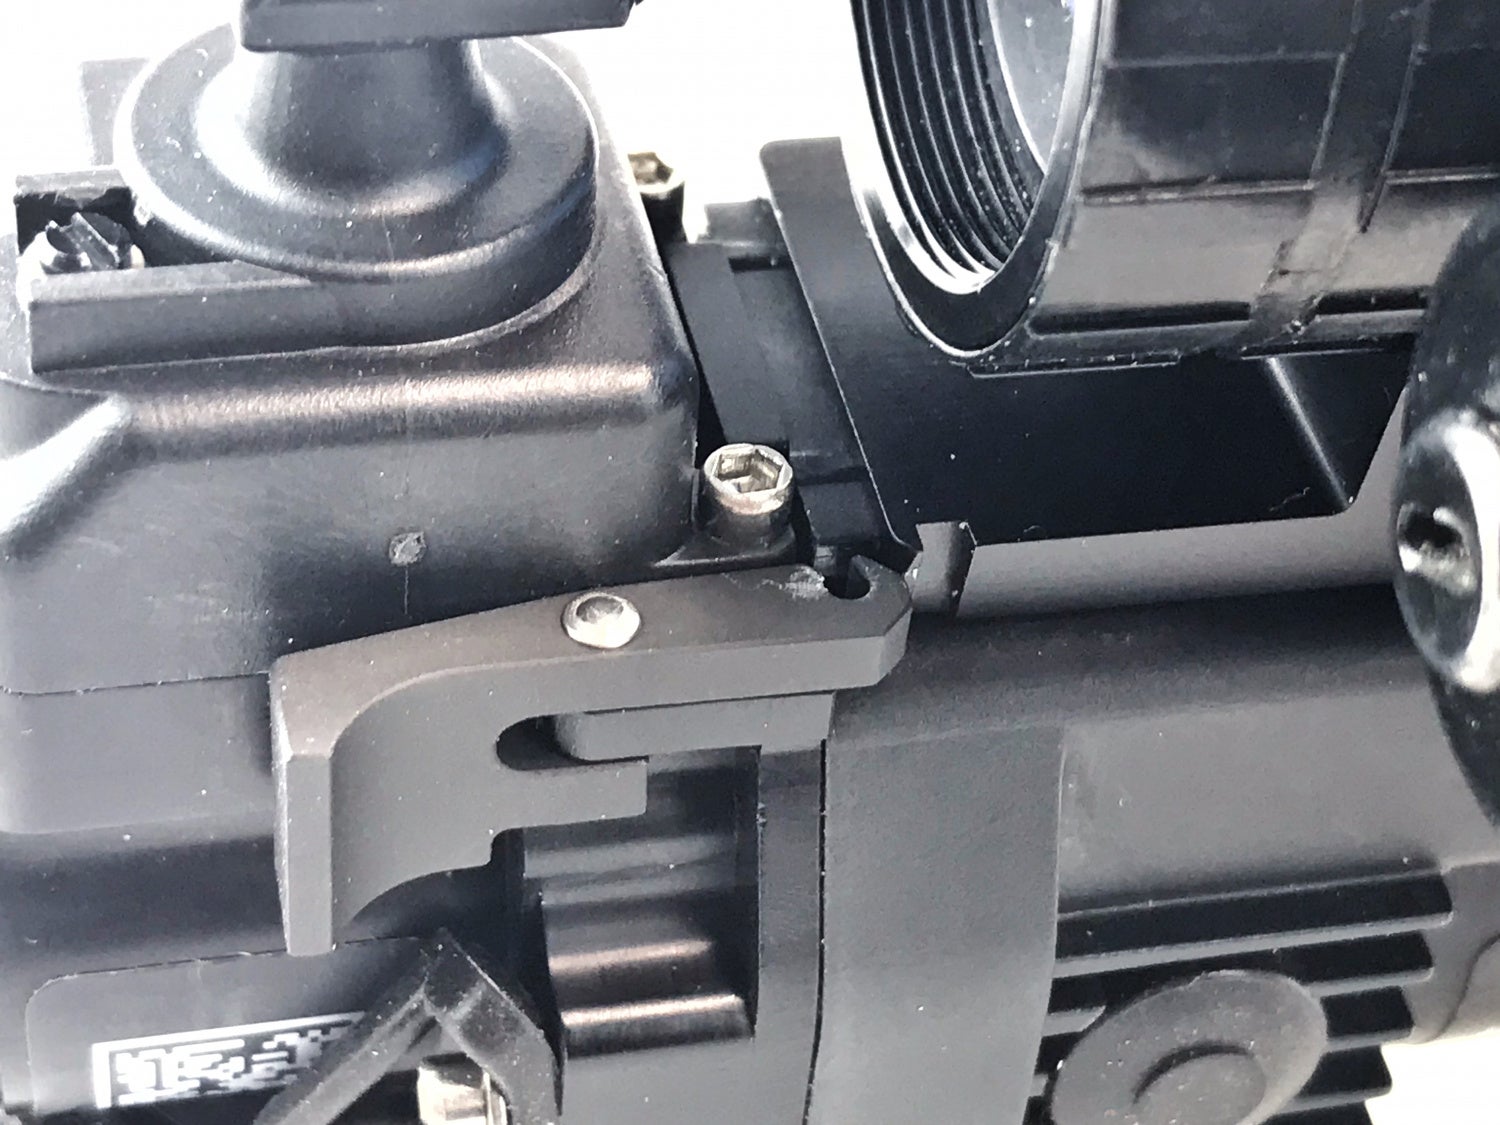
Below you can see the ring adapter sliding onto the COTI body.

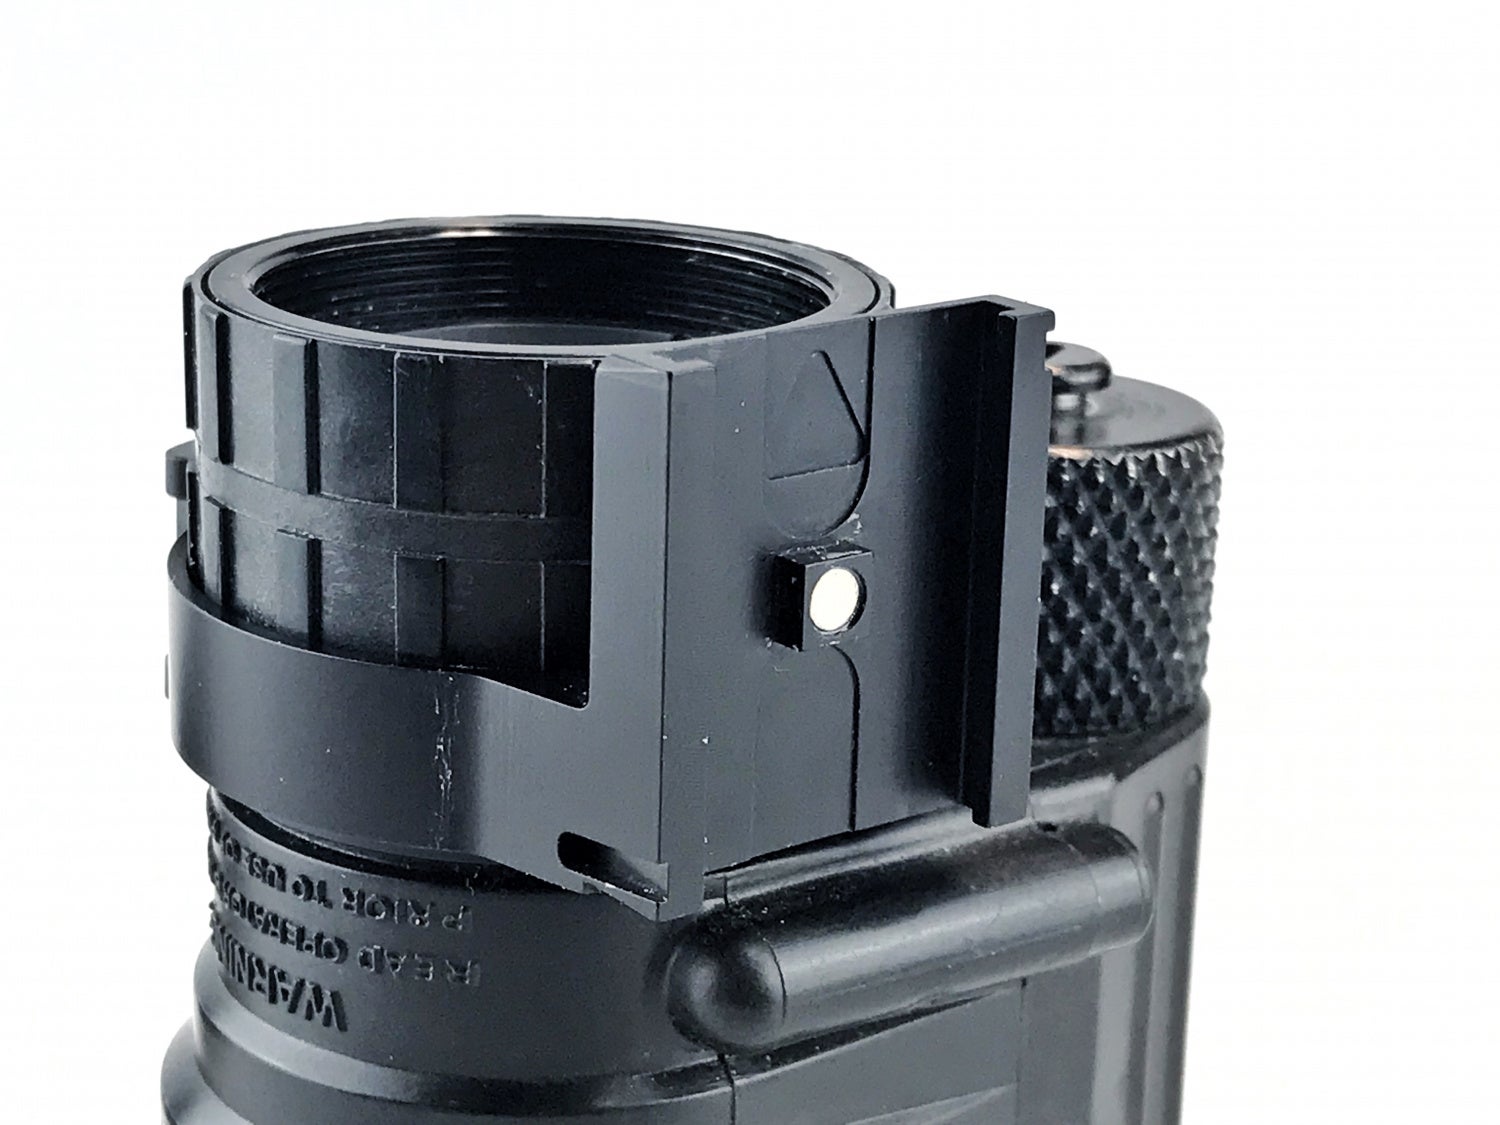
The COTI has a hook under spring tension that grabs onto a groove milled into the ring adapter base. There is a matching groove on the other side when you flip the ring adapter 180 degrees.
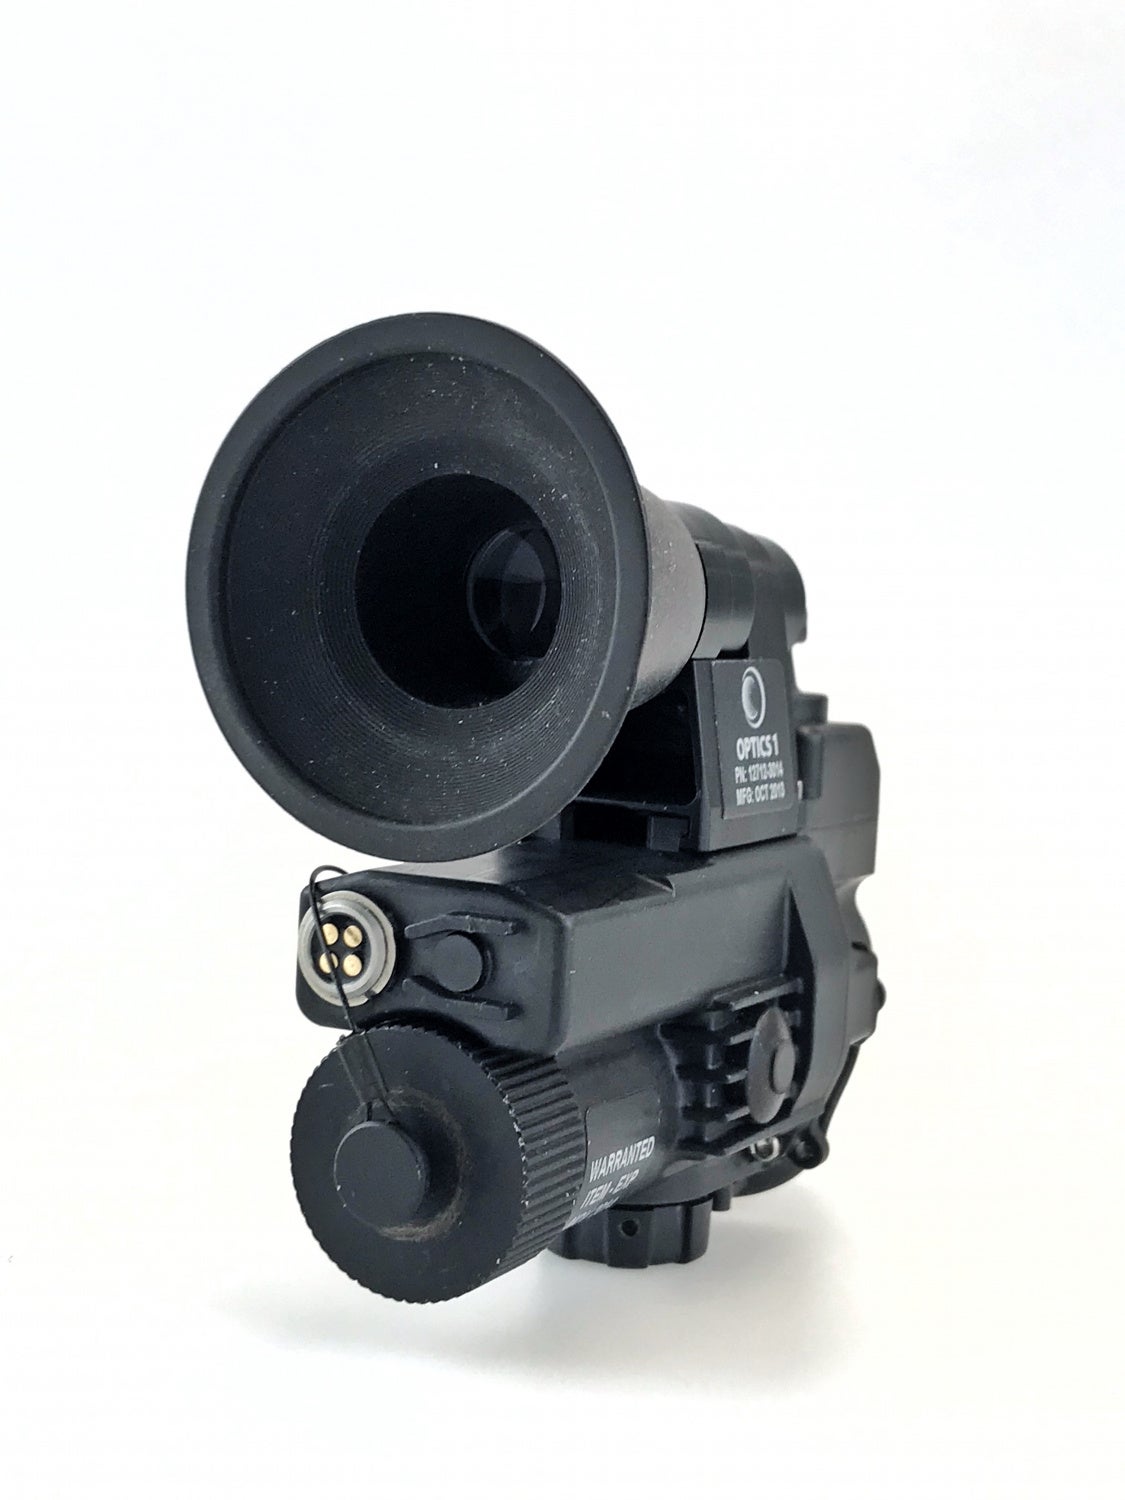
On the backside of the Optics1 COTI, there is a port for use with a special cable. The COTI has the ability to export or import video. It also has an image capture feature and can take screenshots of the thermal image. There is a USB cable that attaches to the rear and you can use it for downloading the images.

There is a cable that will allow you to draw power from a PVS-31 battery pack. You can see the plug below. This cable costs a mere $1,800. That is ridiculous.

The COTI is not very efficient with power consumption. It will deplete a CR123 in just a couple of hours of continuous use. If you use that cable above to power the COTI with a PVS31 the battery pack goes from an average 50 hours run time down to just 11 hours.
Controlling The COTI
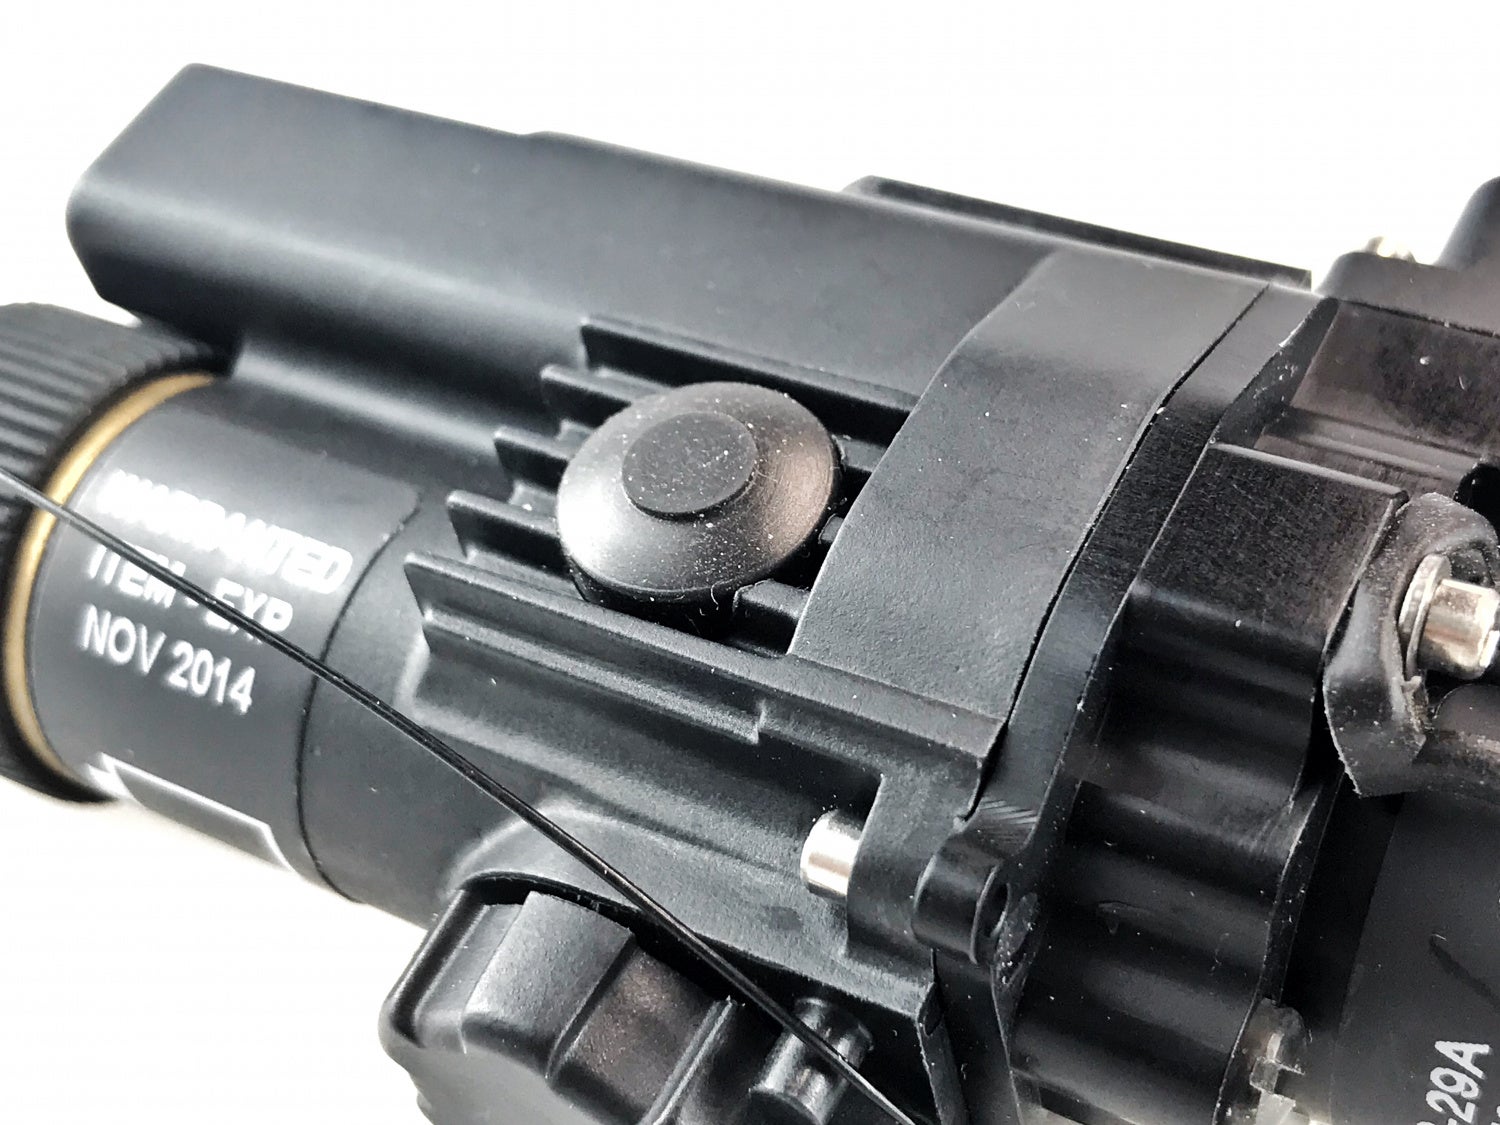
The COTI is really simple to use. On the bottom, there is a rotary switch that turns the COTI on and is a potentiometer to control the brightness of the thermal display.

The rotary switch is also a button. If you press and hold down the button for 1 second, a digital compass is projected at the top of the image. If you press that button down and hold it for more than 4 seconds you will enact the thermal calibration mode. You need to re-calibrate thermal after a while due to various environments or false positives from too much exposure. This is also called non-uniformity compensation or NUC.

On either side of the COTI body is a circular button. The right side will switch between full thermal, patrol or outline modes. The right side button activates a digital zoom.
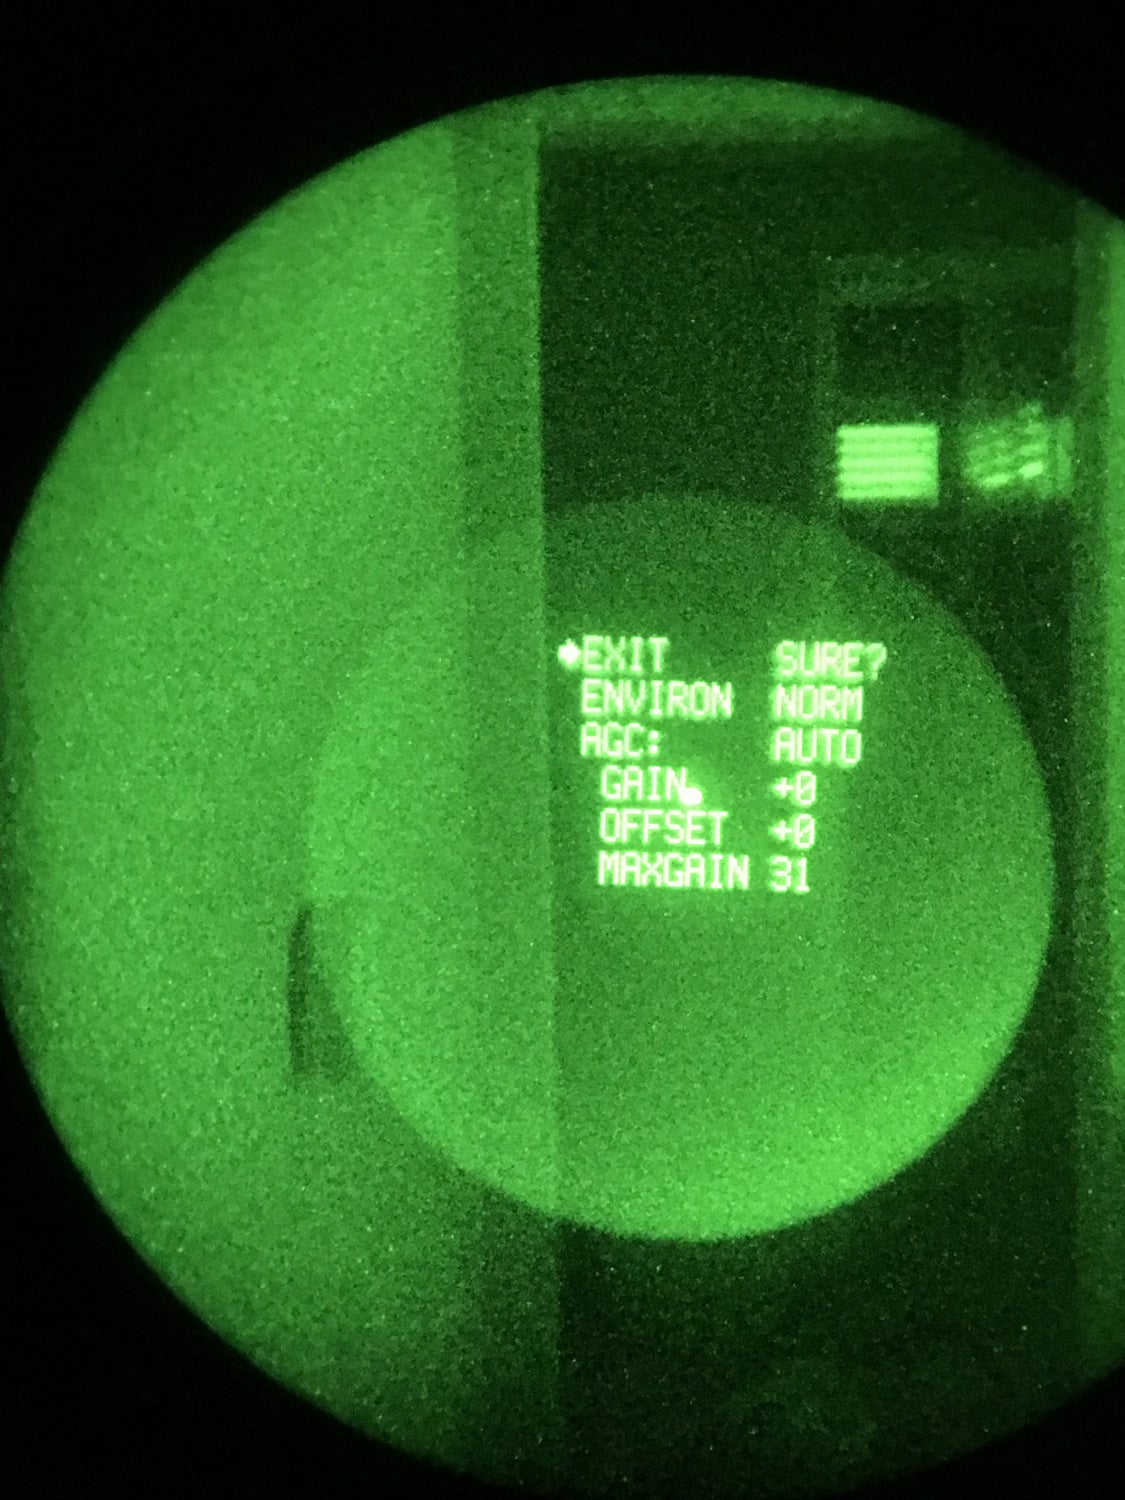
If you press and hold both buttons you enter the system settings menu.
As mentioned above, the COTI has three thermal modes: Full Therm, Patrol and Outline. Here are some pictures of my dog sleeping in his crate.

Full Therm

Patrol

Outline
If you notice the images above are a red/orange color. That is what the COTI looks like on its own. You can get an eyepiece for the COTI so you can use it by itself as a handheld thermal imager. It is a neat accessory but the eyebox is minuscule. It is like threading a needle getting your eye to line up with the tiny image.


Here is what outline mode looks like. The image below looks like AHA’s Take On Me only in red.
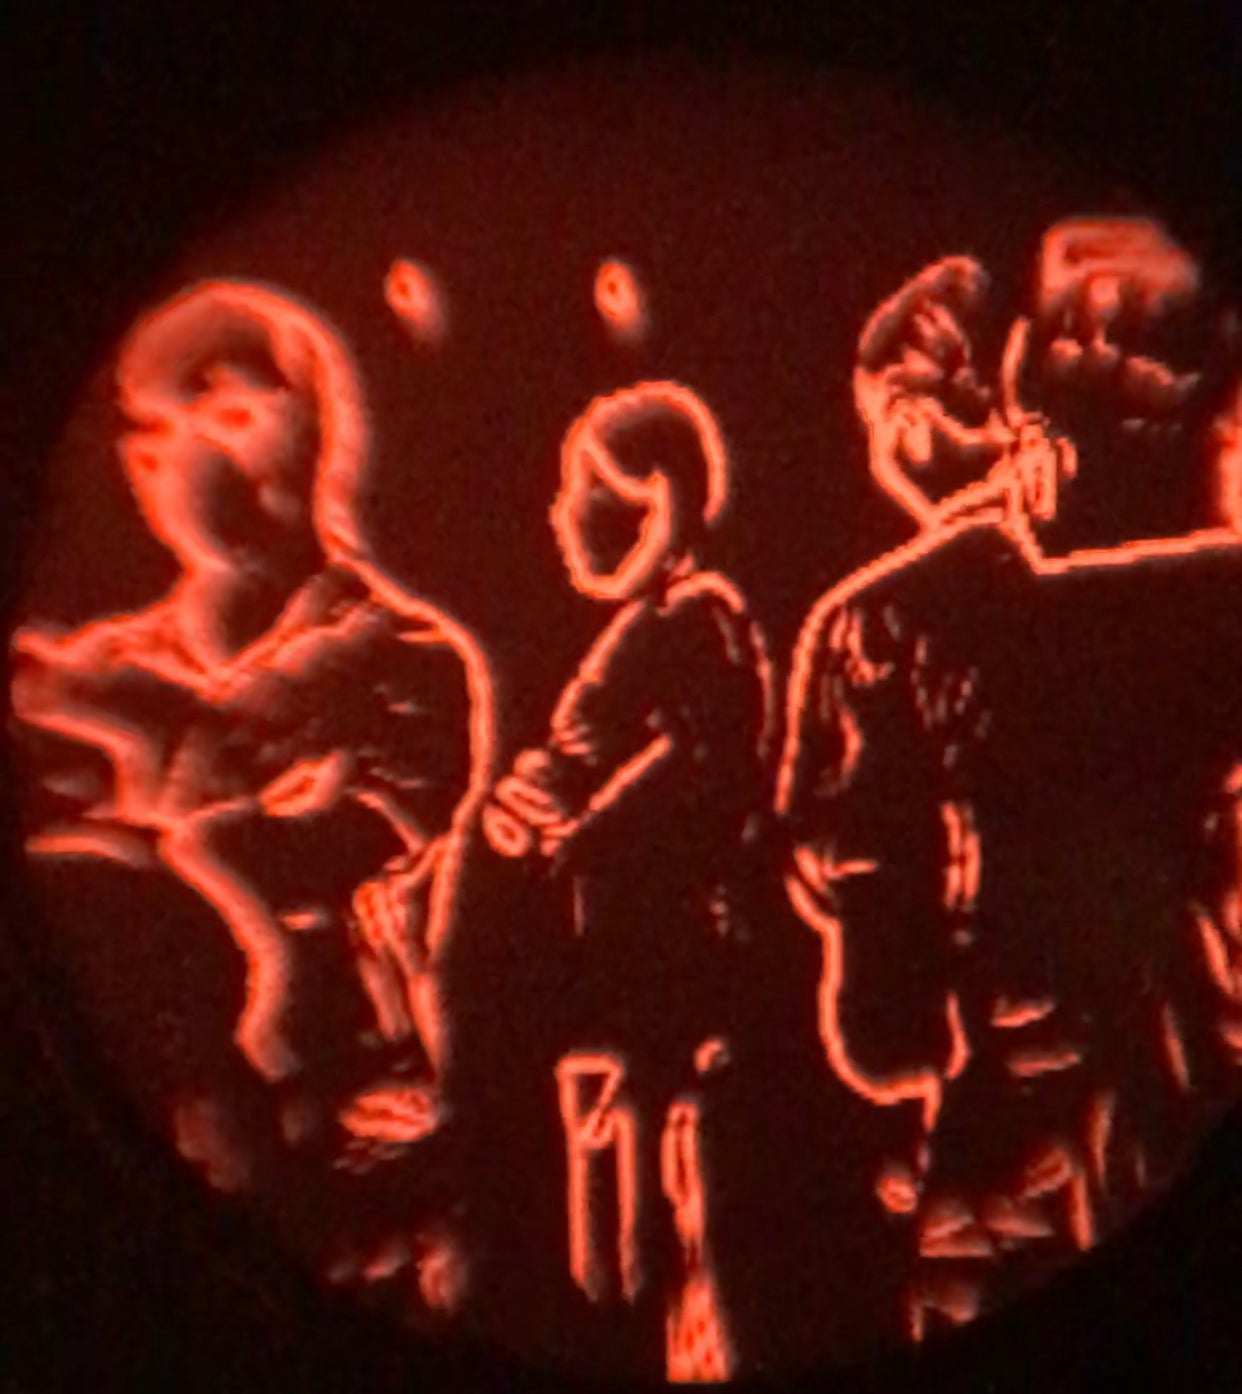
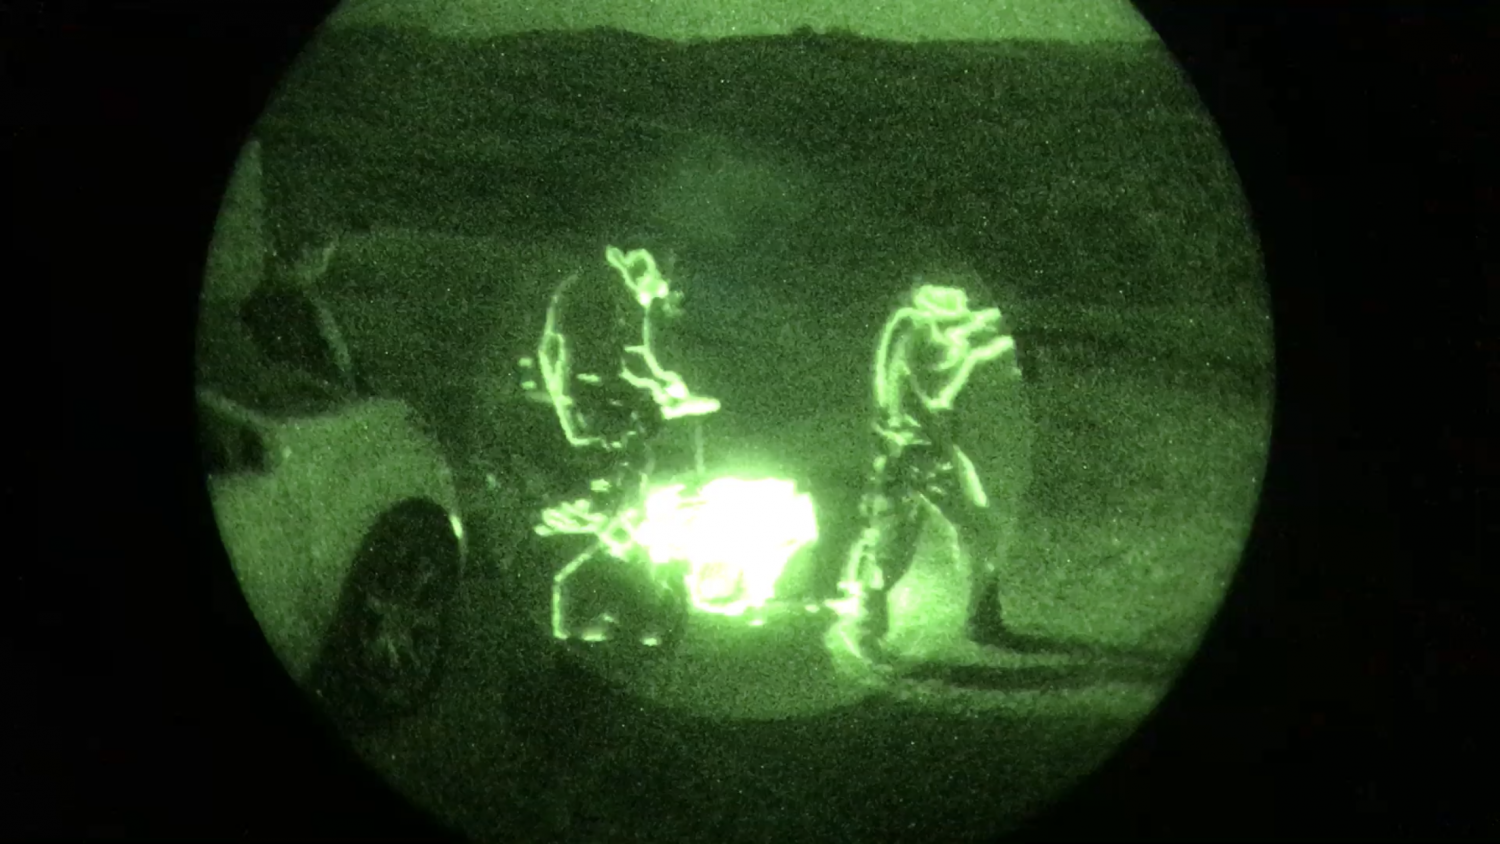
When used with night vision you get a more clear image.


Weighing In On The Coti
There are some downsides to the COTI. One of them is that you do get some false positives as can be seen in the videos above. Another issue is the small field of view. The COTI only projects thermal overlay in a small 20-degree FOV compared to night vision’s typical 40-degree FOV. Power consumption is a bit of an annoyance however it is not recommended to constantly leave the COTI on all the time. Use it sparingly and you can make the battery last longer. Another issue is the price. The COTI goes for around $6,800 like on TNVC.
It is nice having a thermal imager that is easily used mounted to your NODs. You can scan for targets much easier with thermal fusion especially in various lighting scenarios where night vision is compromised. The size and weight are small so you don’t really notice it when it is mounted. While the field of view is small I found it to be more useful than useless. If you can afford a COTI or get one cheaper and need thermal fusion then I highly recommend one.