 Your Privacy Choices

Welcome to part 2 in our Glock building adventure. Up to now, all we have done is removing material from our 80 percent receiver. The jig should have made this rather easy. Did you take your time? If you did, you should be happy with the result! Thank you all who are following, your interest means a lot. We appreciate your time, it literally keeps us here.
You can find part 1 of the series here.
Now we are going to build up the lower of our new Glock (or pimped out Toyota Camry as one beloved reader described). Believe it or not, the hard part is behind us. You might run into some fitting of the trigger housing. Mine was without issue. If you are familiar with Glock disassembly you will see a few variations from your OEM pistol, but it is very similar. As usual, take your time and you will be happy with the results. Let’s get started.
LOCKING BLOCK RAIL SYSTEM (LBRS)
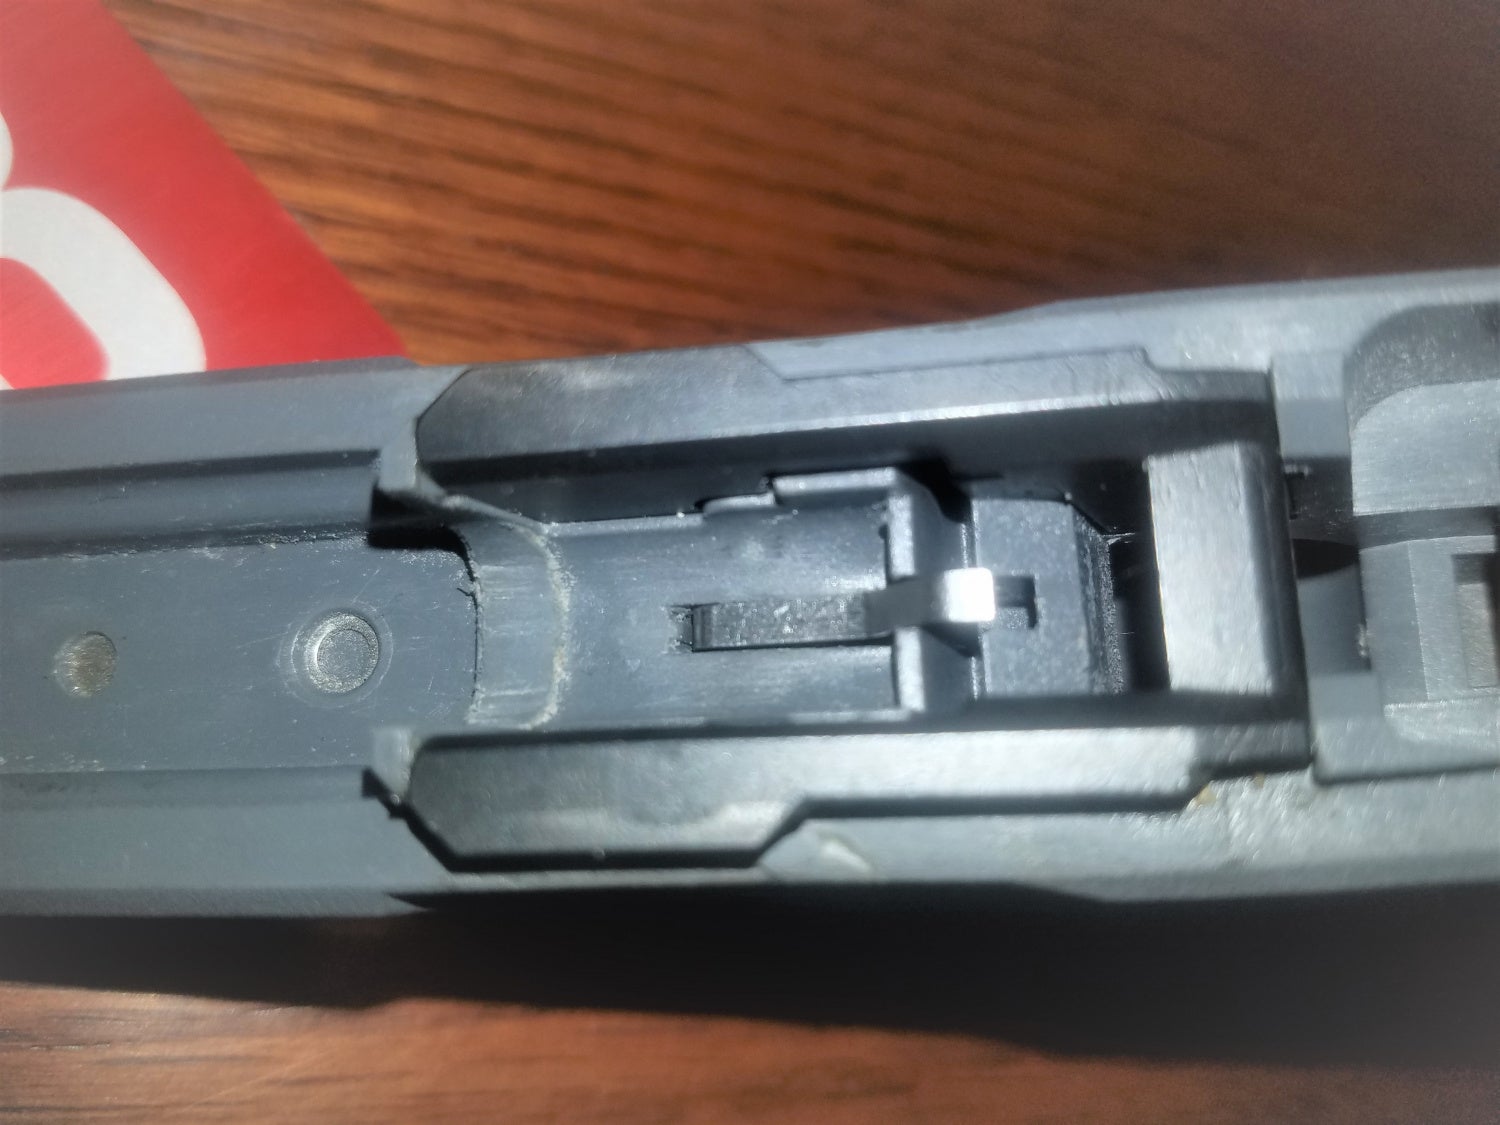
This insert is the front rails for the slide as well as stability for the slide stop. For me, as soon as I found the right angle, it simply slips right in. A little bit of thumb pressure and it locked right in. There is a retaining pin that is placed through the frame at the front of the Locking block.
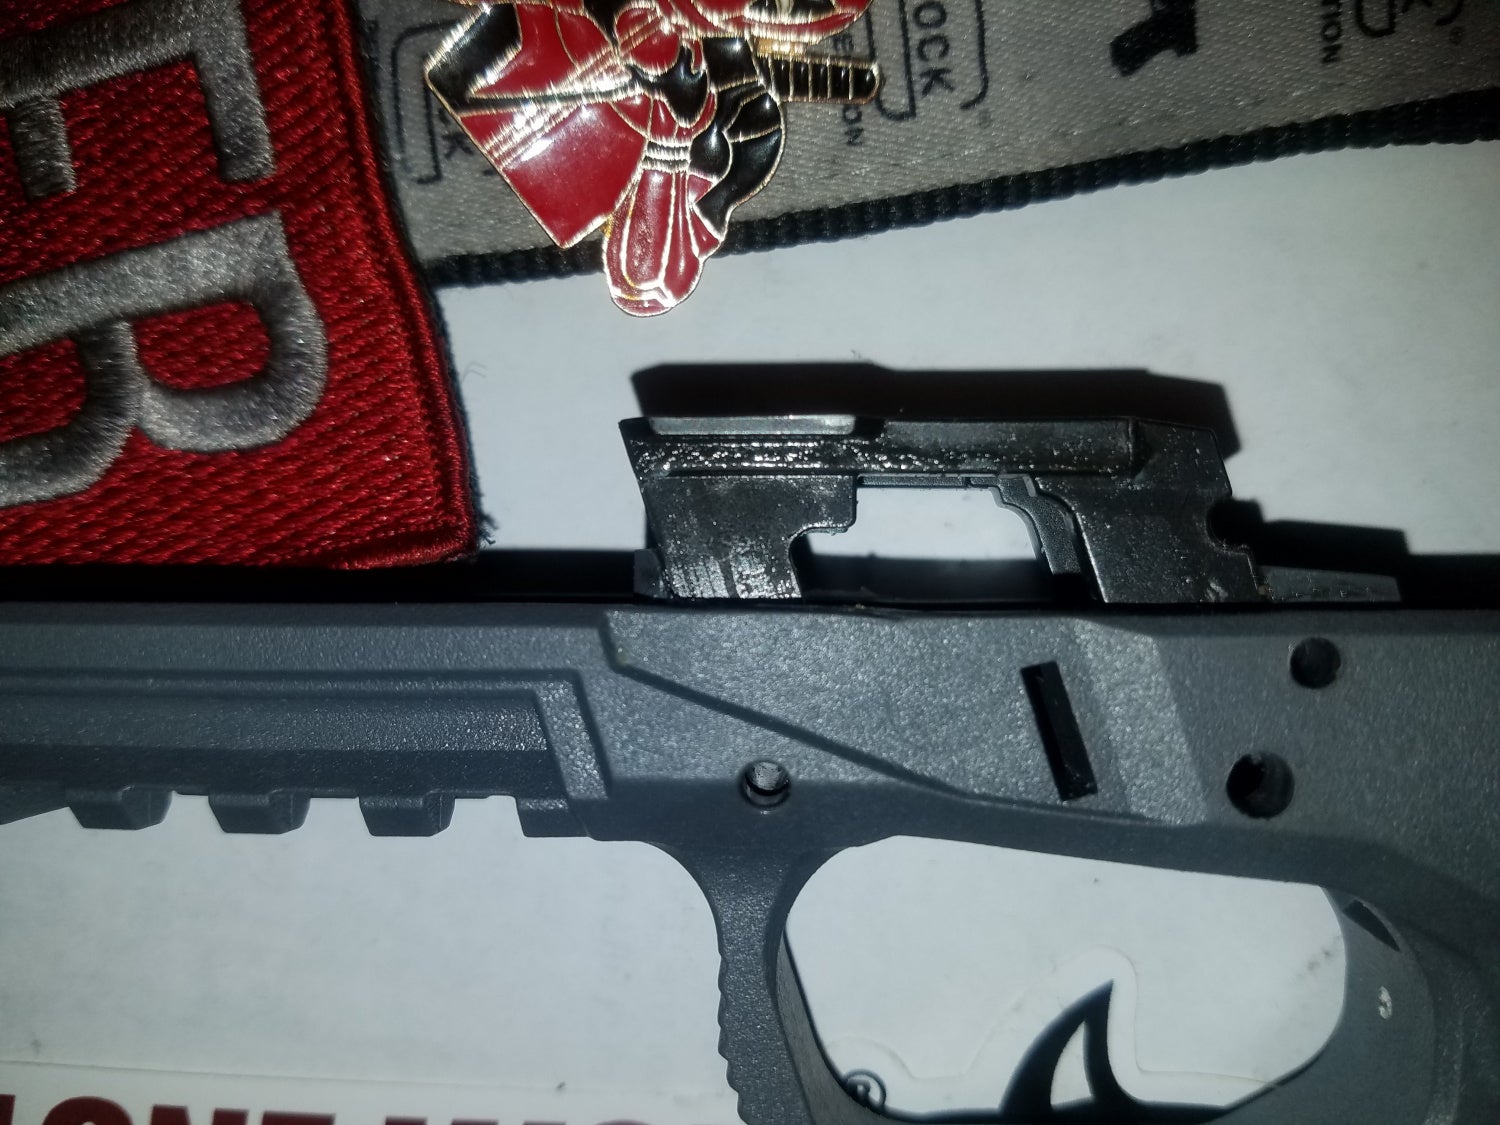
The LBRS is a simple step. It slides in
Magazine Release and Spring
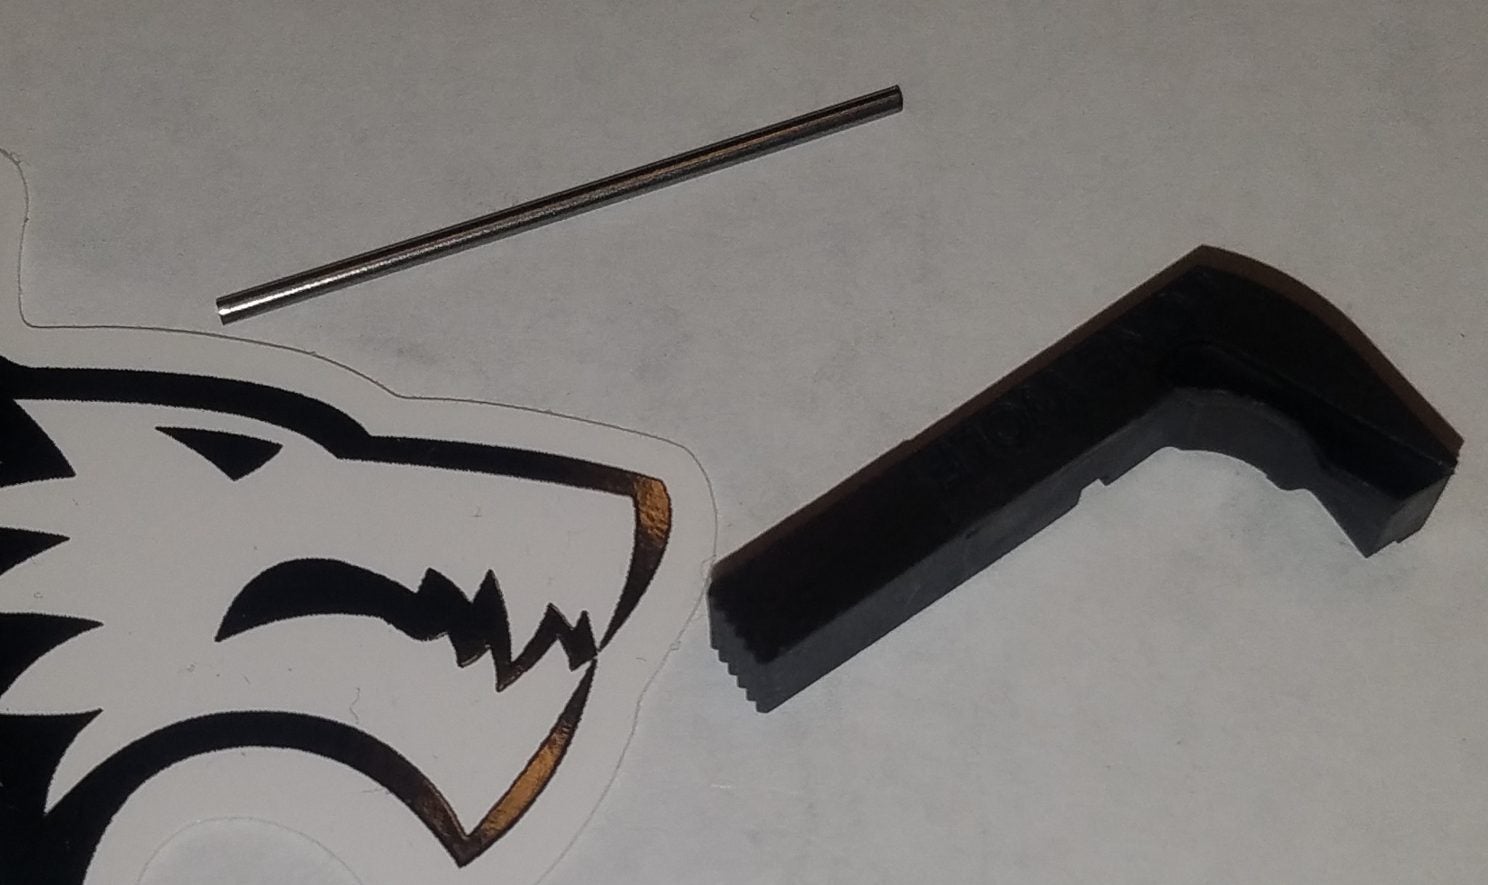
The mag release is very easy…as soon as you understand it
The magazine release at first appears difficult, but trust me it is easy. The “spring” is more of a rod. It is placed in the frame first. I pressed it in and then tapped it in with a hammer and punch. Then the release is inserted while pushing the spring rearward, over the mag release. Then the spring will slip into the slot built into the release.

Mag release with spring in place (On the inside of the magwell).
REAR RAIL MODULE
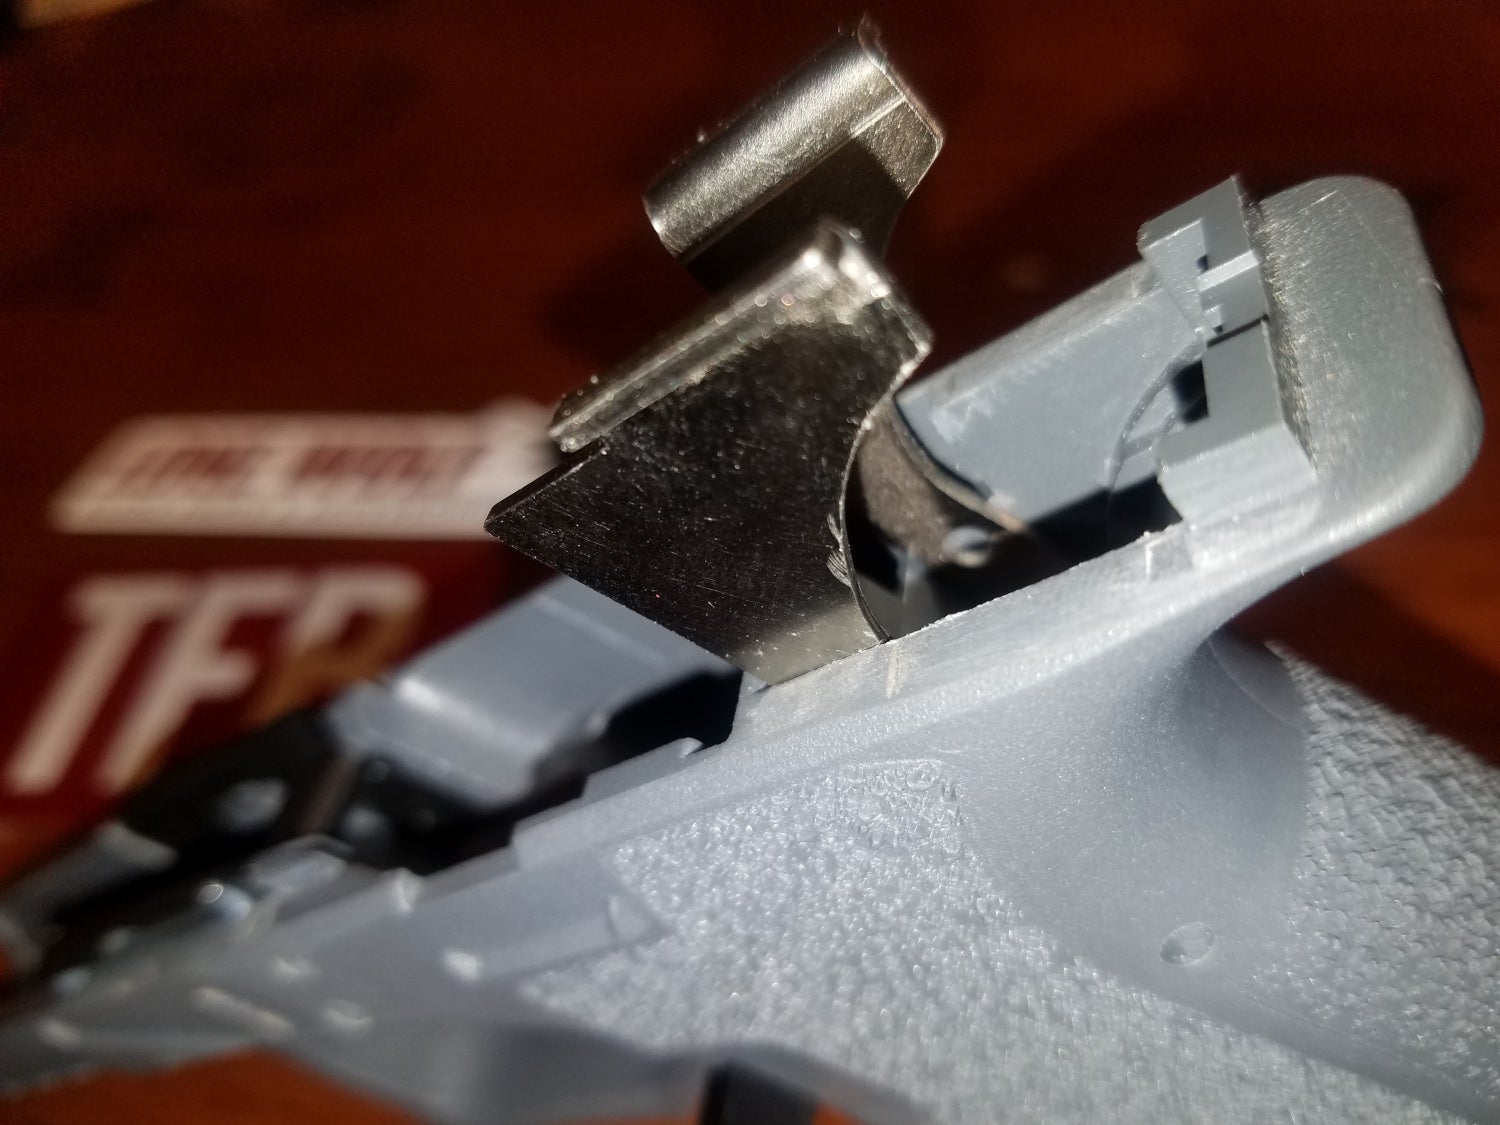
The RRM should also fit easily.
Next is the Rear Rail Module (RRM). Mine appeared to fit initially but I found the pinhole did not match up, and the slide would not mount. The solution to fitting it is pretty easy. I removed material on the inside of the rounded aspect of the RRM. Very little is required. When the pinhole aligns and the slide easily fits, you are good.
SLIDE Lock
The slide lock is easy to install, but difficult to photograph, so bear with me. Really all it entails is installing the spring, then depressing the spring while you slide the lock into place.
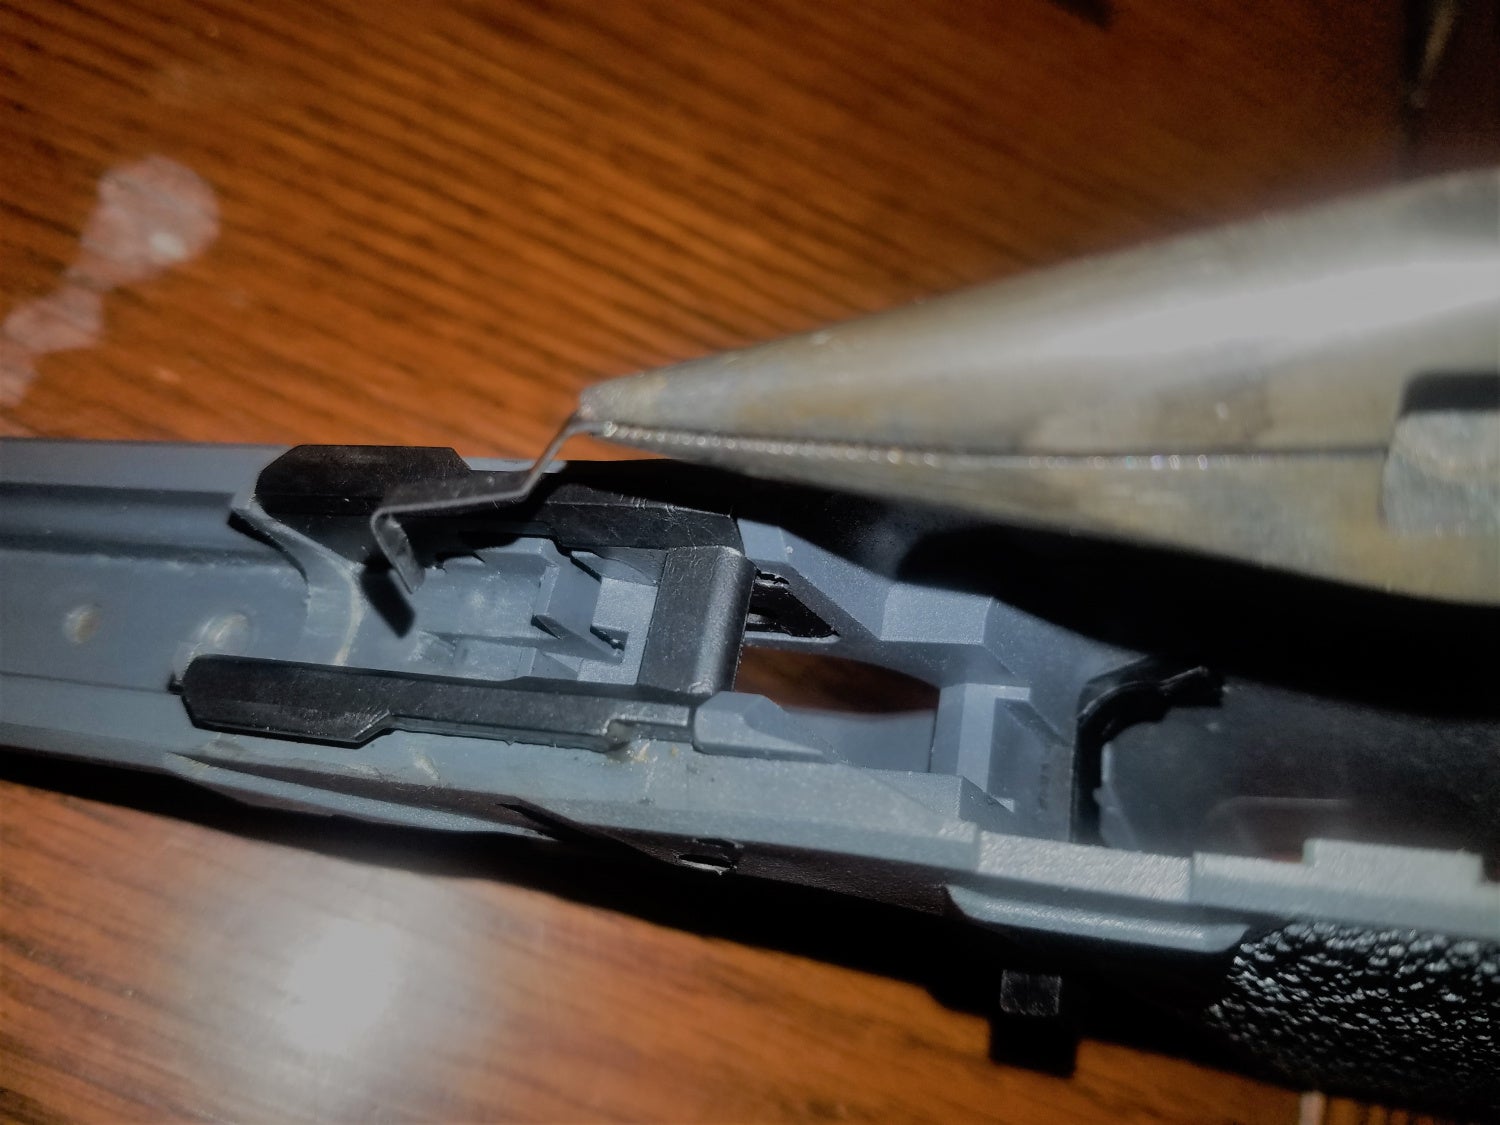
The slide lock spring in place
Now simply take a punch and depress the spring and slide the lock in place from the side slot. Could not take a picture of that, I apologize.
TRIGGER and SLIDE stop
The first step is assembling the trigger housing. Both the ejector and connector are easily pressed in with thumb power. It will look like this:
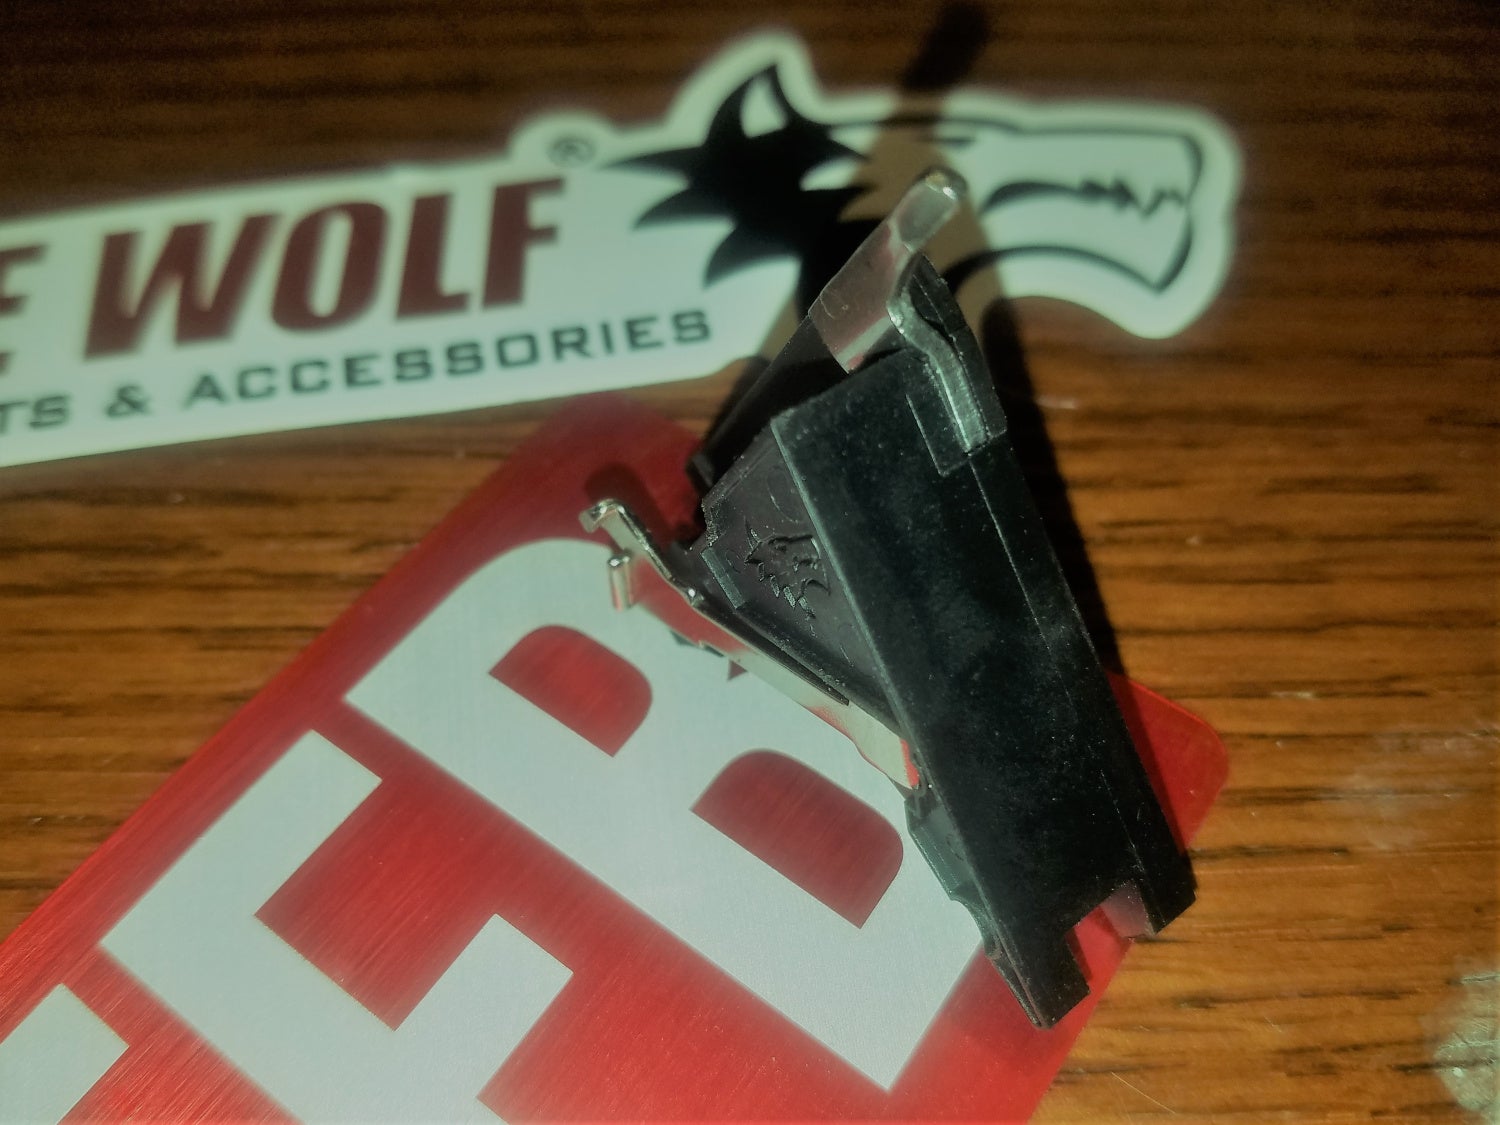

Note the beveled edge. IMPORTANT NOTE on the housing below
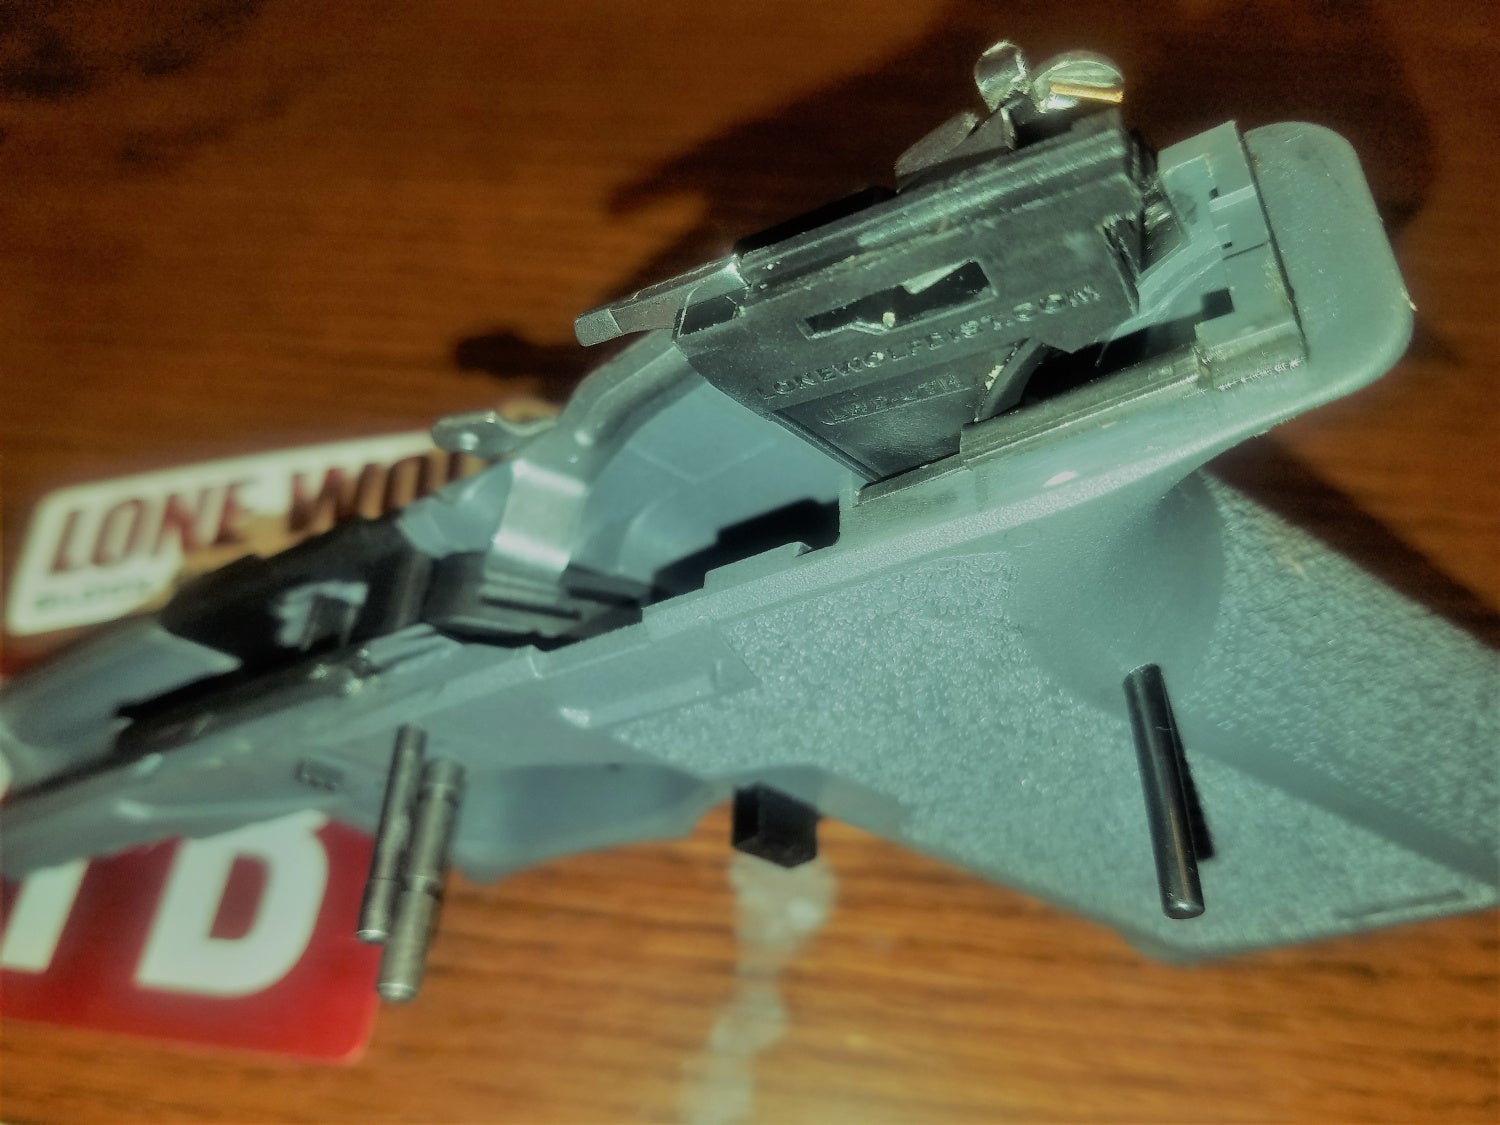
I was contacted by a rather well-educated reader regarding the trigger housing. His tip is backed up by information elsewhere on the internet. Some trigger housings on the particular 80% frames I am using may require some extra fitting. If the trigger housing is not an easy fit and needs to be forced in…..DON’T! It would appear that there are some very poor outcomes if you force it. Look at the housing and find the bevel area on the arch. It is unique to one side. If it is not an easy fit then take material off the beveled edge. It should require very little material to remove.
Attach the trigger spring, and trigger. (Tons of guides on that throughout the internet, if you need)
Put the trigger shoe in first, before the housing
The trigger should slide in with a little manipulation. Start with the trigger shoe, then the housing. Expect a little manipulation to get the shoe through the frame. When the housing slips in, push the pin through in the back strap of the frame. Then I pushed the top front pin through. Next, the slide stop lever.
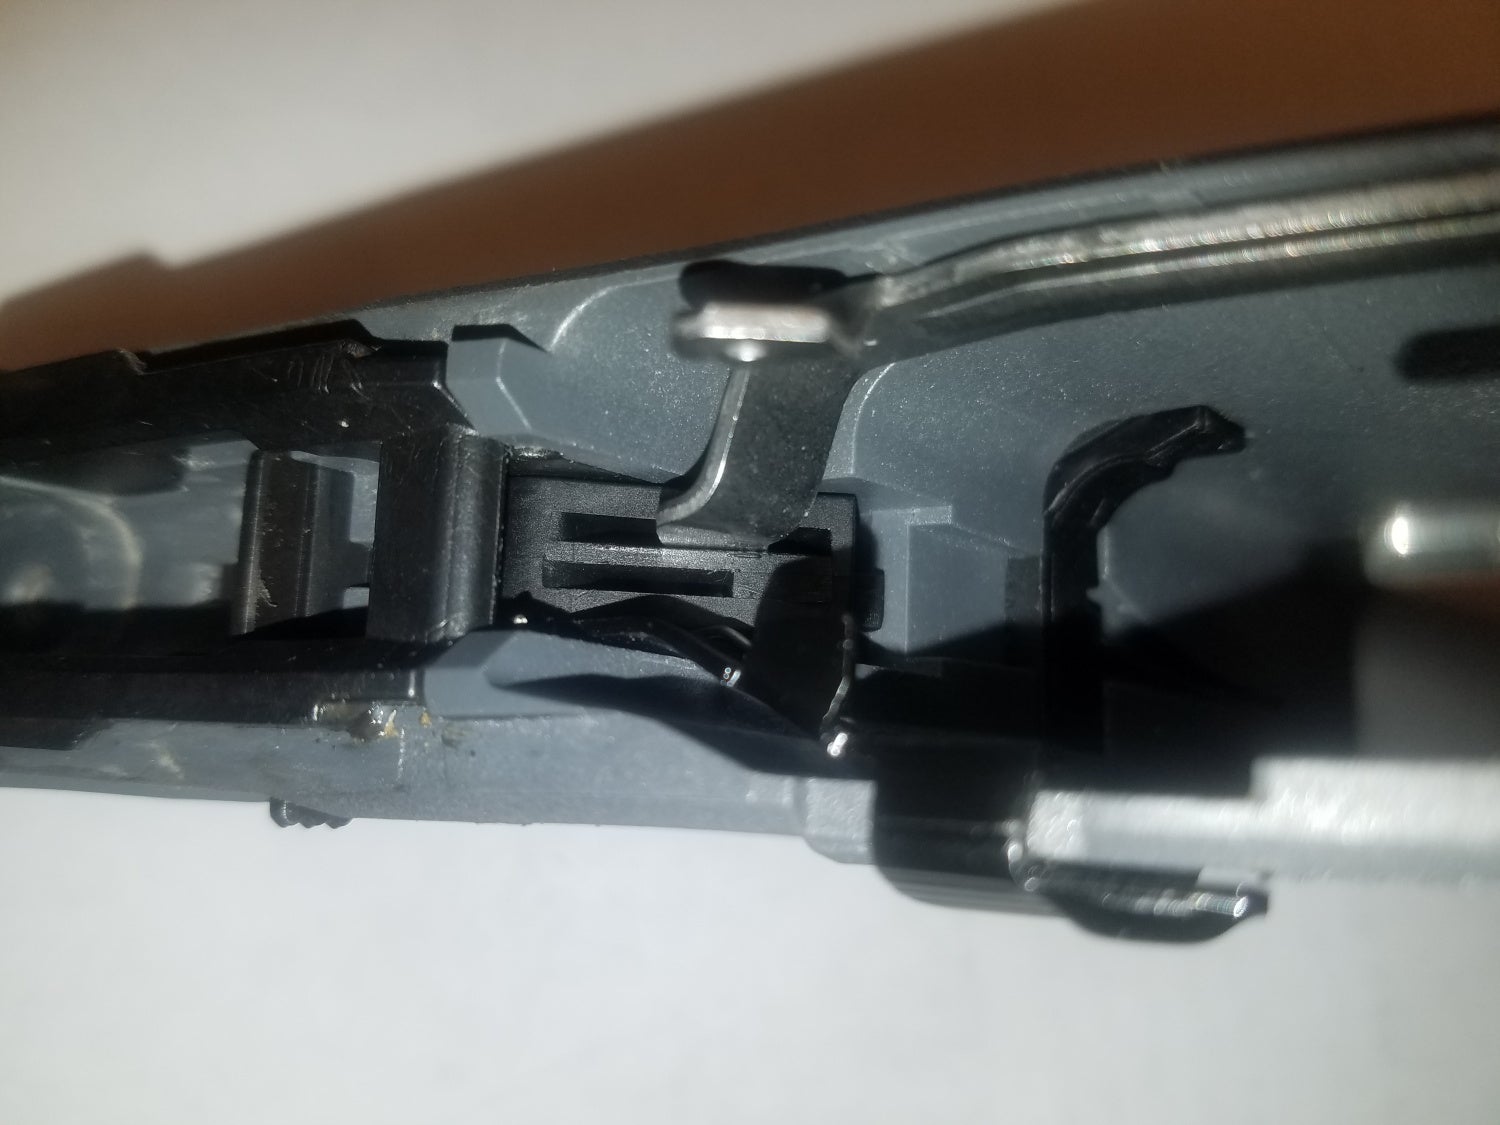
The slide stop front sits to the left of the trigger shoe
Slip the slide stop in next to the show, then place the larger of the two pins. Be patient, and make sure everything is aligned
Conclusion
You are now 75% done. What is left is pretty dam easy. You have done all the hard stuff.
A quick note. The first time you install the pins they will be very tight. The first time you remove the pins expect them to be very difficult to remove. I had to remove some pins to retake pics, and getting the pins out required patience (and choice words). The last step was to thoroughly clean my build, but more on that in the next episode.
We could not have done this series without the help of Lone Wolf. Please consider their products for anything Glock.
![]()
Ok readers, anyone doing a build? How is it going?