Photo Credit: Paul Carlson
A good draw stroke is an essential skill for any concealed carrier. While similar, many have their own variation of the draw.
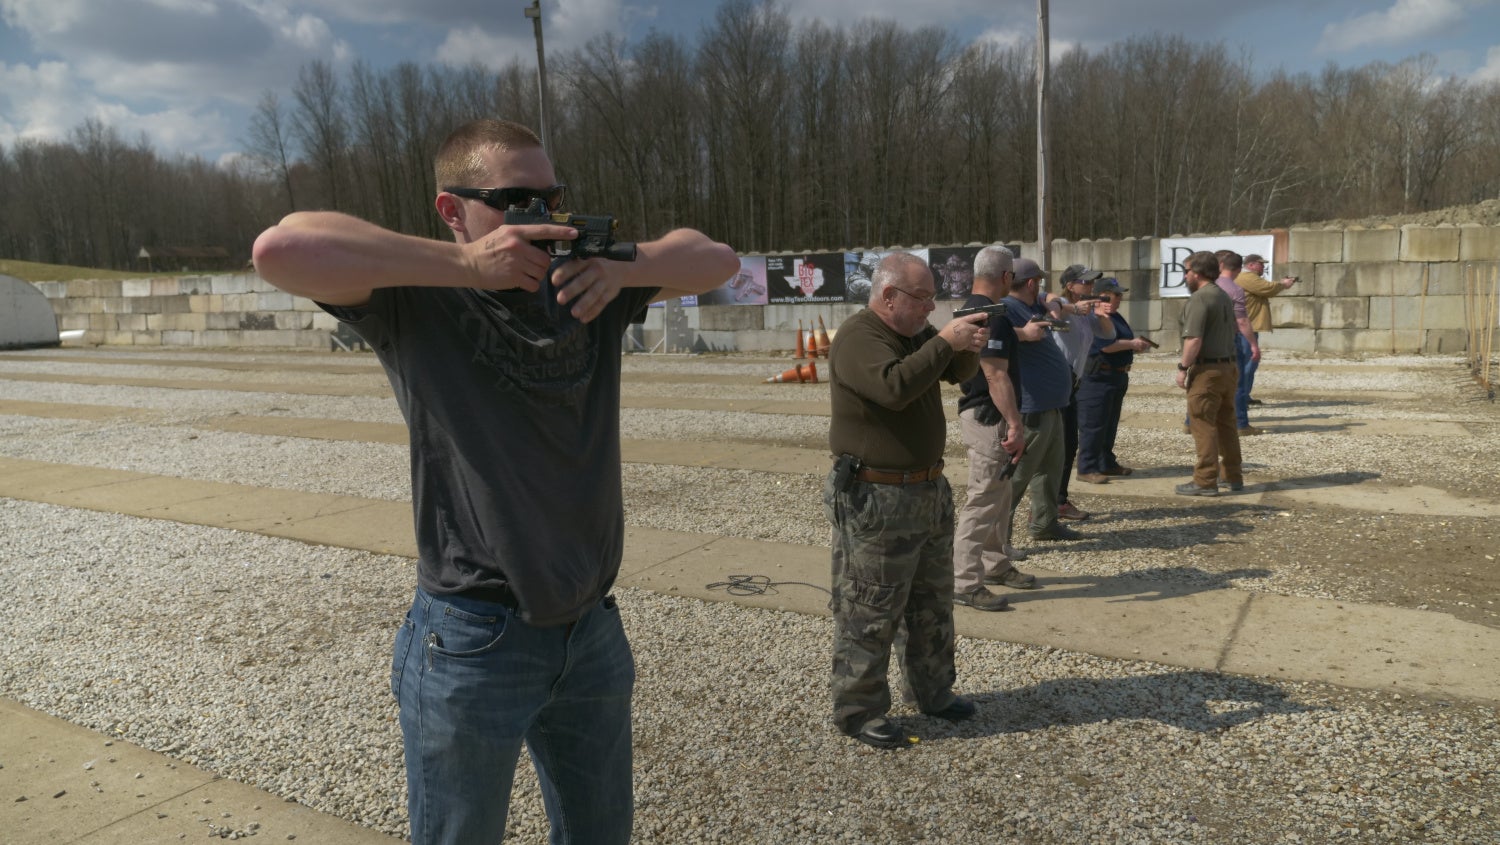
I recently attended Handgun Diagnostics with Joe Weyer and Practically Tactical at the Alliance Police Range. There is not “one draw stroke to rule them all”, but this one is pretty good!

It takes a very talented and seasoned professional to teach a class to new and experienced shooters and have everyone leave with a wealth of new information. Photo Credit: Paul Carlson
Reference Points
Reference points are an important element to a draw stroke. A well-defined reference point allows the orientation and grip on the gun to be the same at that point every draw. The more reference points, the less variation in the draw. This also results in less variation on target.
Achieving Grip In the Holster
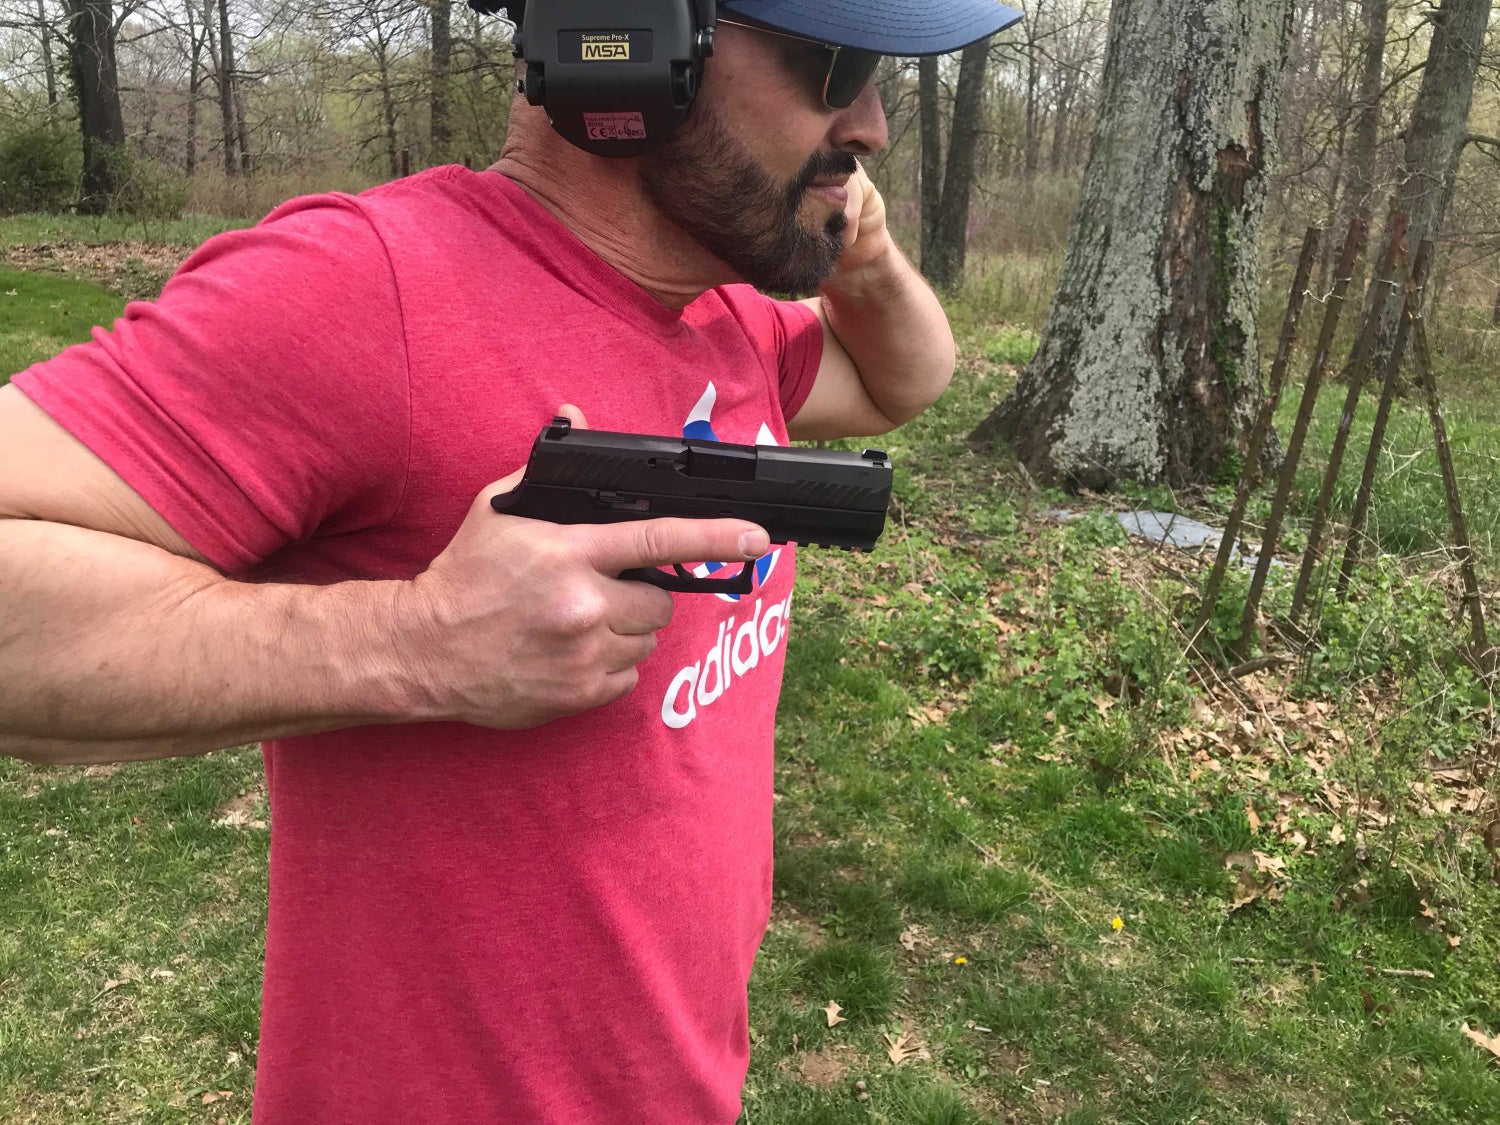
Have the support hand referenced on the chin. Photo Credit: Paul Carlson
The first reference point is the meeting of the fire control hand with the pistol while still in the holster. Like with other draw strokes, Joe emphasized that grip is achieved from the holster. Have the fire control hand hover over the gun and push down aggressively at a 45-degree angle. Drive the web of the hand high into the backstrap, pushing the pistol into the holster.
Support hand position was also key as it will have importance later in the draw. For now, move the support hand up to block blows to the support hand side of the head. This will also establish a physical reference on the side of your chin.
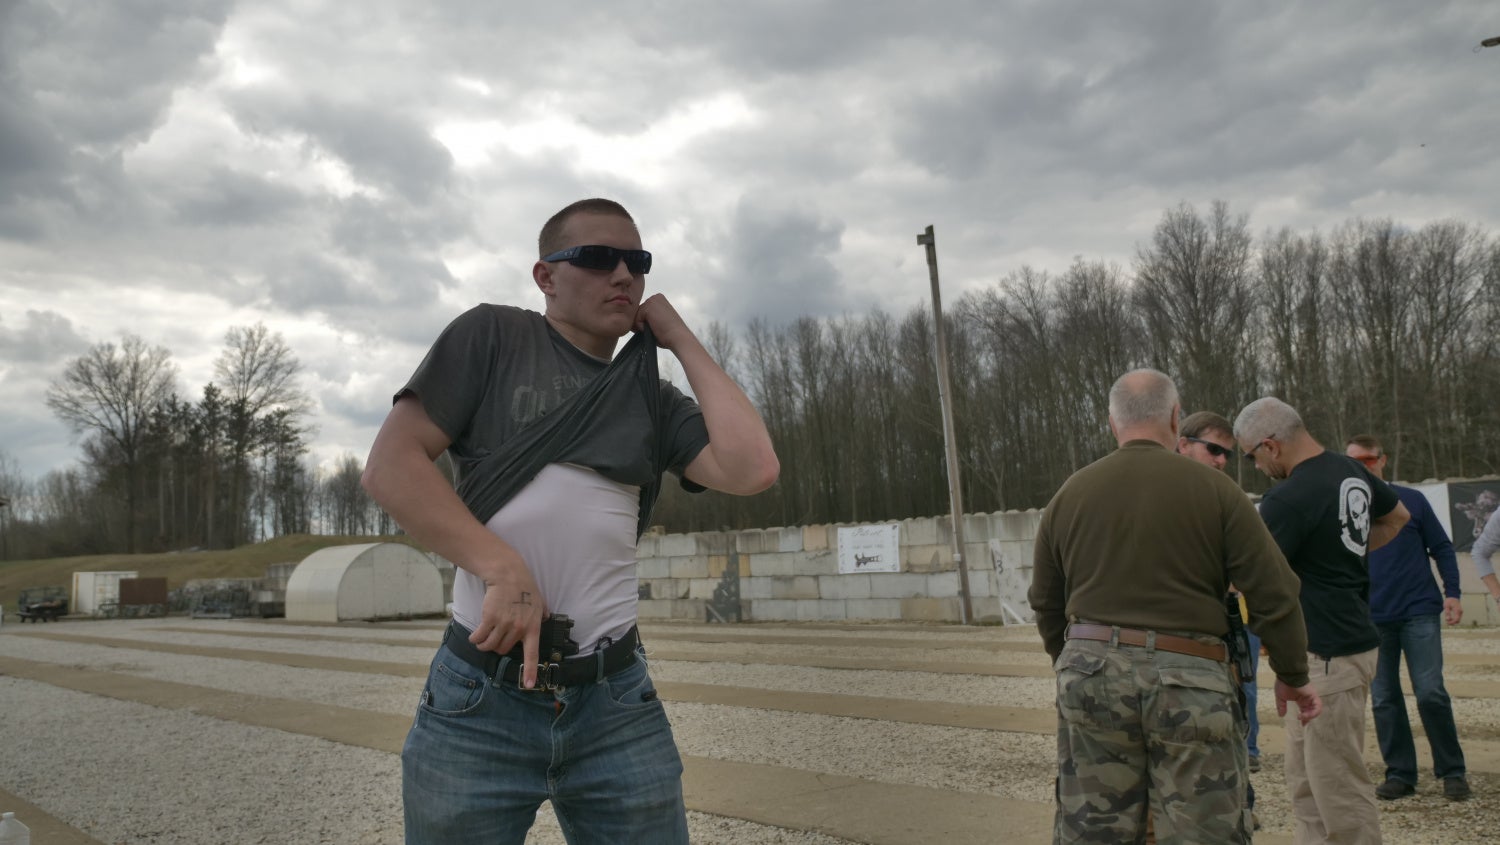
If drawing from concealment, attack the cover garment and bring it to your chin. The way you grip your cover garment is important. If gripped incorrectly it can impede your draw by getting your support hand stuck in your clothing. Grip the clothing assertively with your four fingers on the support hand. Release the garment once your pistol is out of the holster and your support hand has neared your chin.
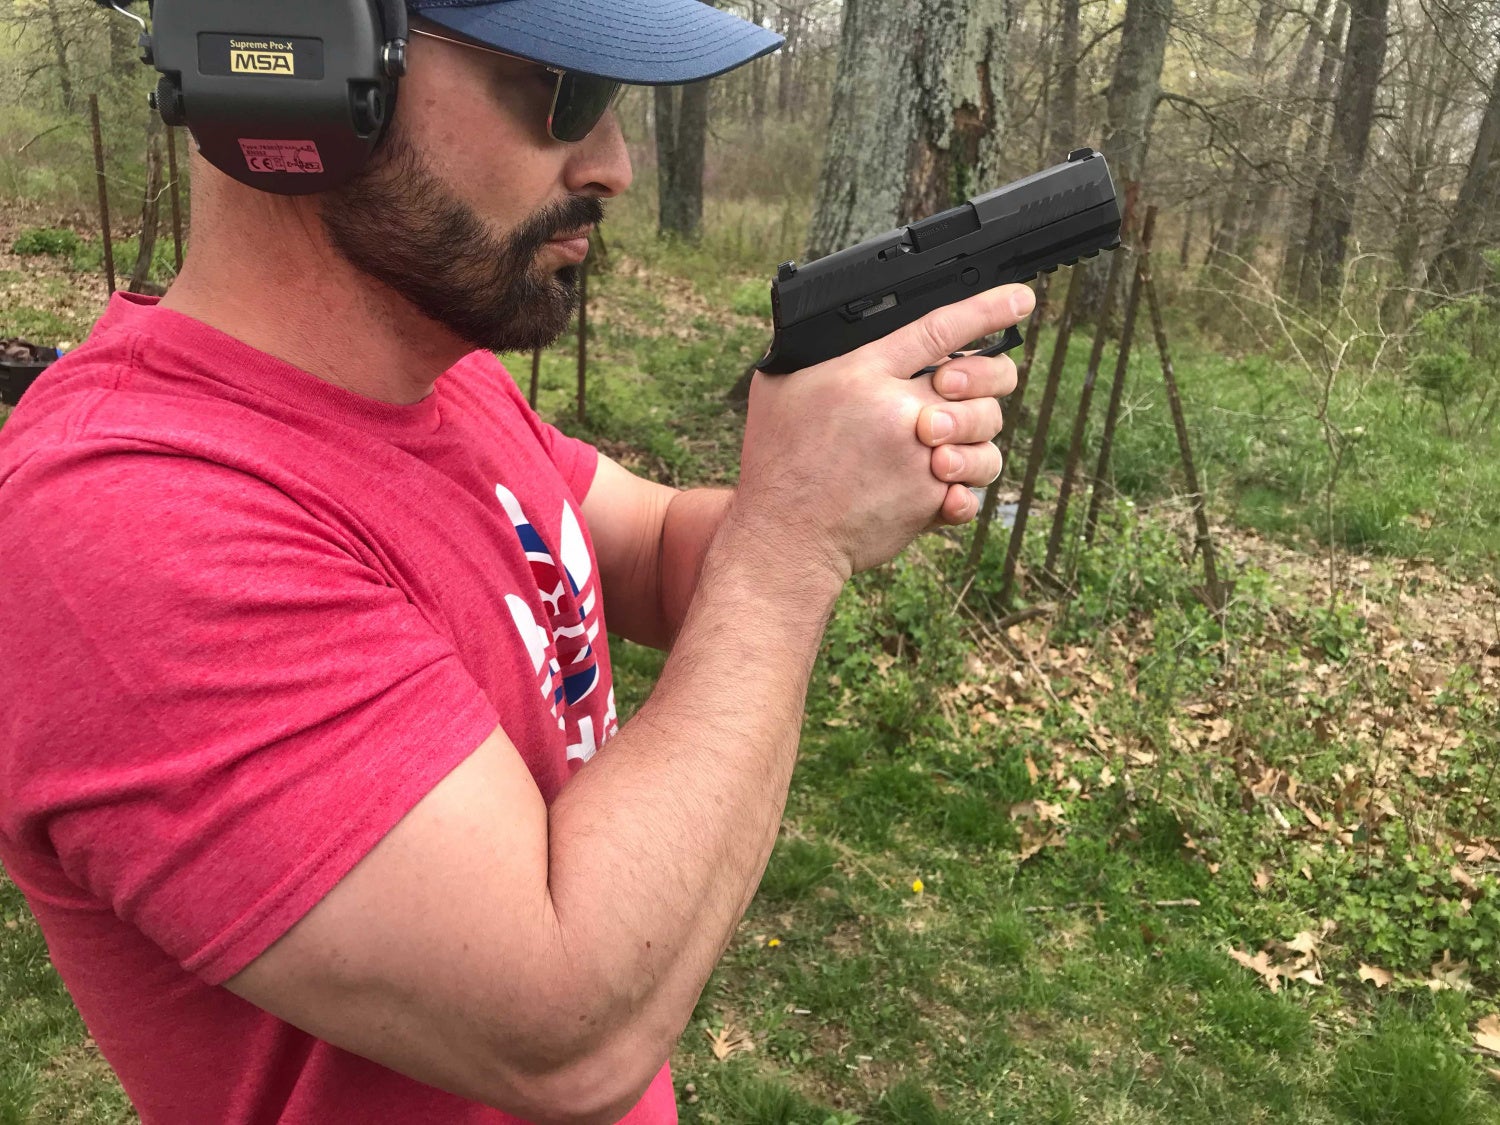
Retention
The second reference point is retention. While many draw strokes have a retention position, this one is clearly defined and solid. The elbow is as far back as possible with the barrel of the pistol parallel to the ground. While uncomfortable, there is no slack with this retention position. When shooting on paper, groupings were smaller than other retention positions I tried. To achieve the proper position with my elbow, it helps to think as if you were elbowing someone behind you.
The elbow is as far back as possible while making sure the barrel remains parallel to the ground.
Also, note on the retention position, the magwell of the pistol is pressing on the same rib every time. The fire control hand thumb also has a positive placement on my pectoral muscle.
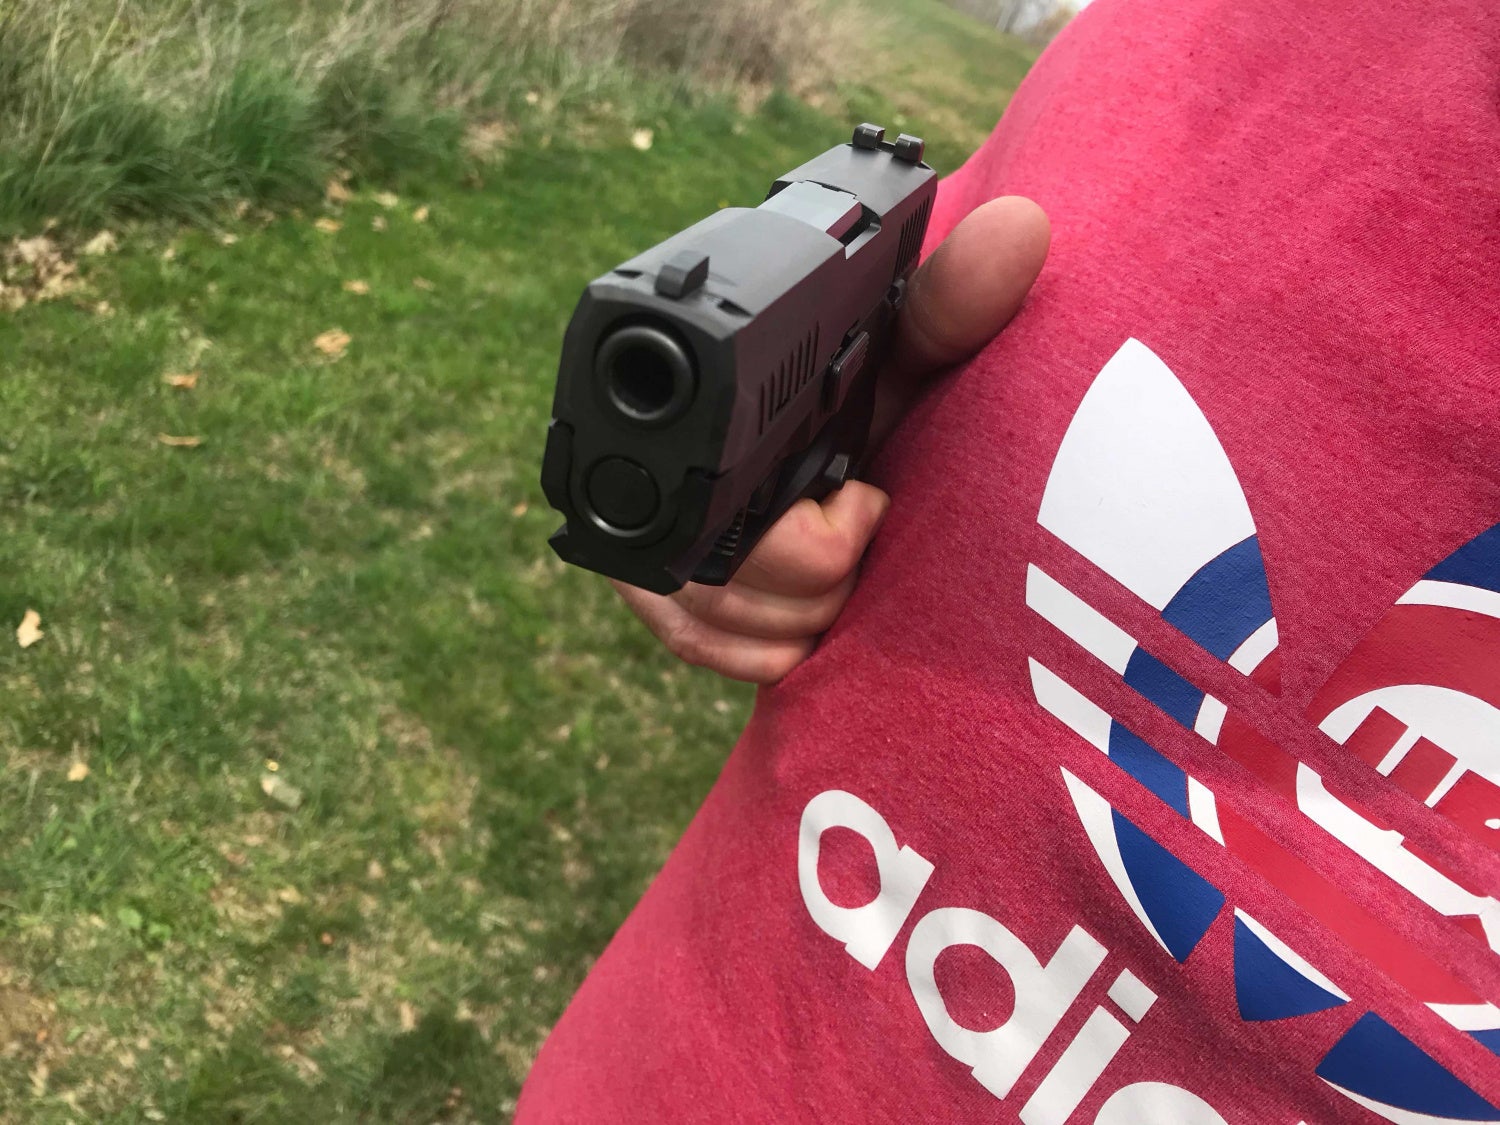
Notice how the thumb braces on the pectoral muscle with the magwell of the pistol resting on the rib.
This physical reference also helps ensure you feel the retention position every draw stroke and do not have to change your draw stroke in the event you would need a retention position.
During the meetup keep shoulders and elbows high. Photo Credit: Paul Carlson
The “meetup” is the transition point where your fire control hand moves up from the retention position to your support hand. Here your sights align about 6 inches in front of the dominant eye. The key to the meetup is to keep shoulders and elbows up. By letting the elbows drop, the pistol will point upwards instead of parallel to the ground.
When the elbows are down the muzzle naturally points up and is not parallel to the ground.
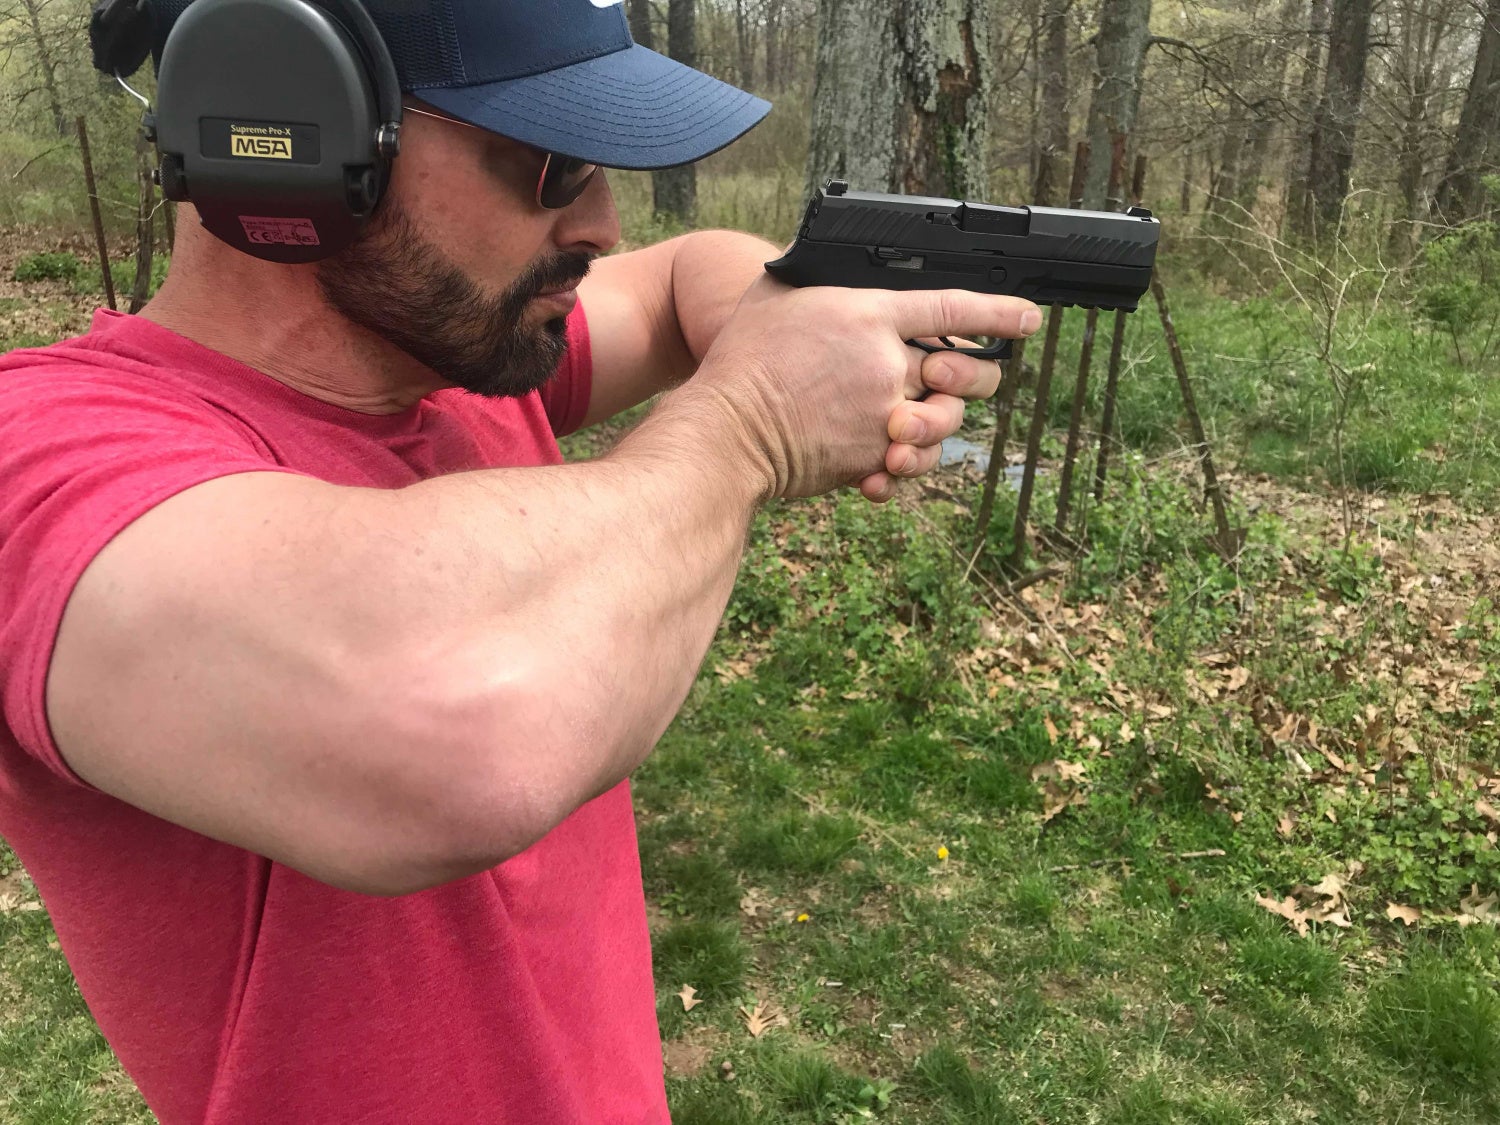
Simply raising the elbows allows the muzzle to be parallel and for sights to be on target throughout the presentation process.
Earlier I mentioned the importance of support hand placement. The fire control hand will naturally meet with the support hand. Having the support hand high and in place will bring the fire control hand up into proper position. This will get sights on target as soon as possible.
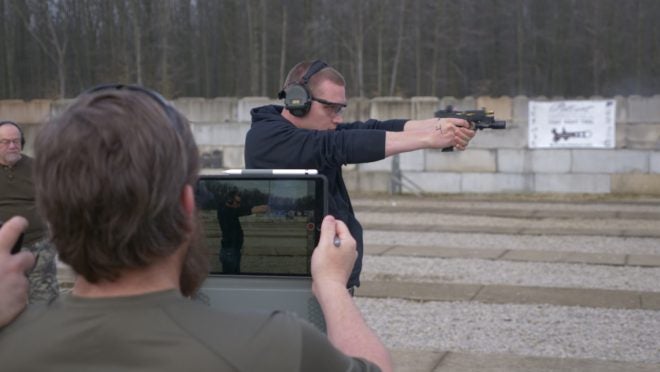
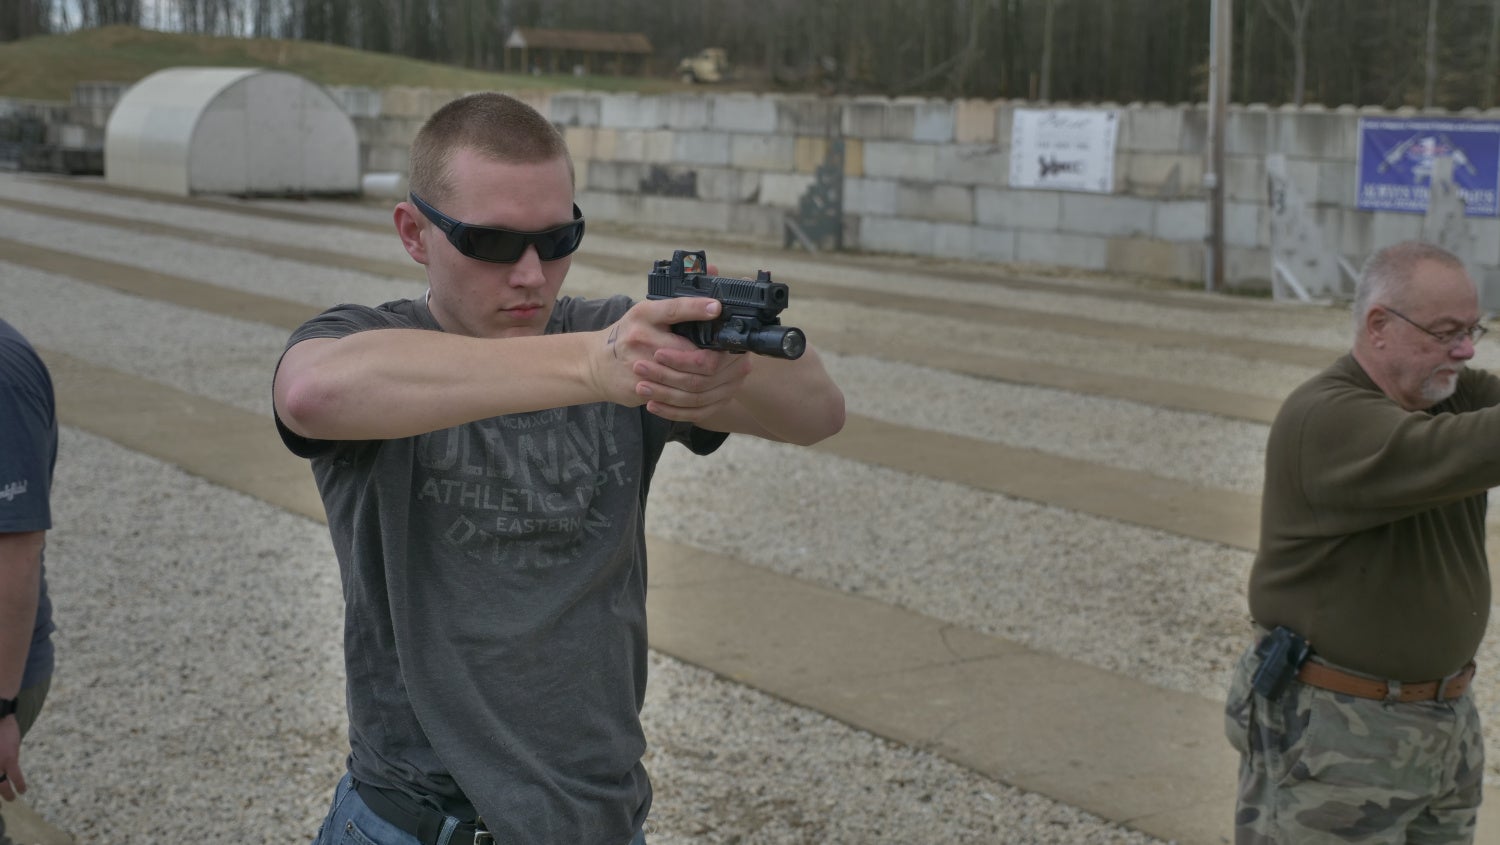
Full Extension
As you push out from the “meetup” you will attempt to have as little movement in your dot or irons as possible. At first, your dot may jump around. Work to reduce the bounce and maintain the dot on target throughout the presentation. Once you are fully extended with your elbows locked (not hyperextended), roll your shoulders back. Throughout the presentation, keep your shoulders and elbows up. This reduces shakiness throughout the presentation. This was by far the largest change to my previous draw strokes and felt awkward at first.
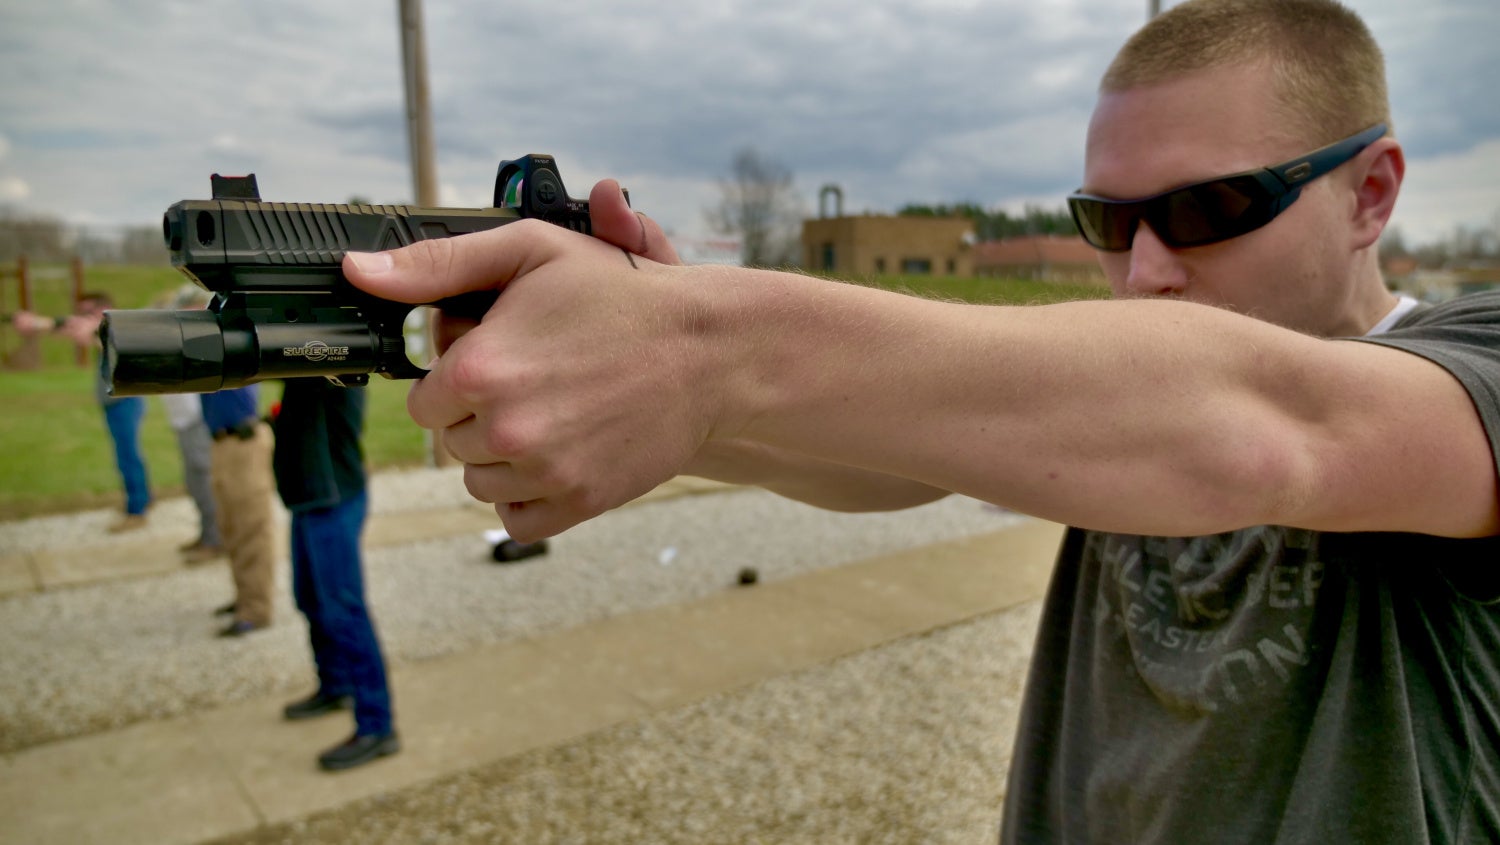
At full extension, lock the shoulders back. Photo Credit: Paul Carlson
Gear
Without the proper gear, you are setting yourself up for failure. Flimsy belts and cheap holsters make it difficult. Even with decent gear, how you have it set up is important. I was wearing a rigid
Ares Gear belt with a
PHLSTER Spotlight holster. Both I would
highly recommend.
However, I did not get as much benefit out of my gear until I tightened my belt a little more. This prevented my holster from riding up during my draw.
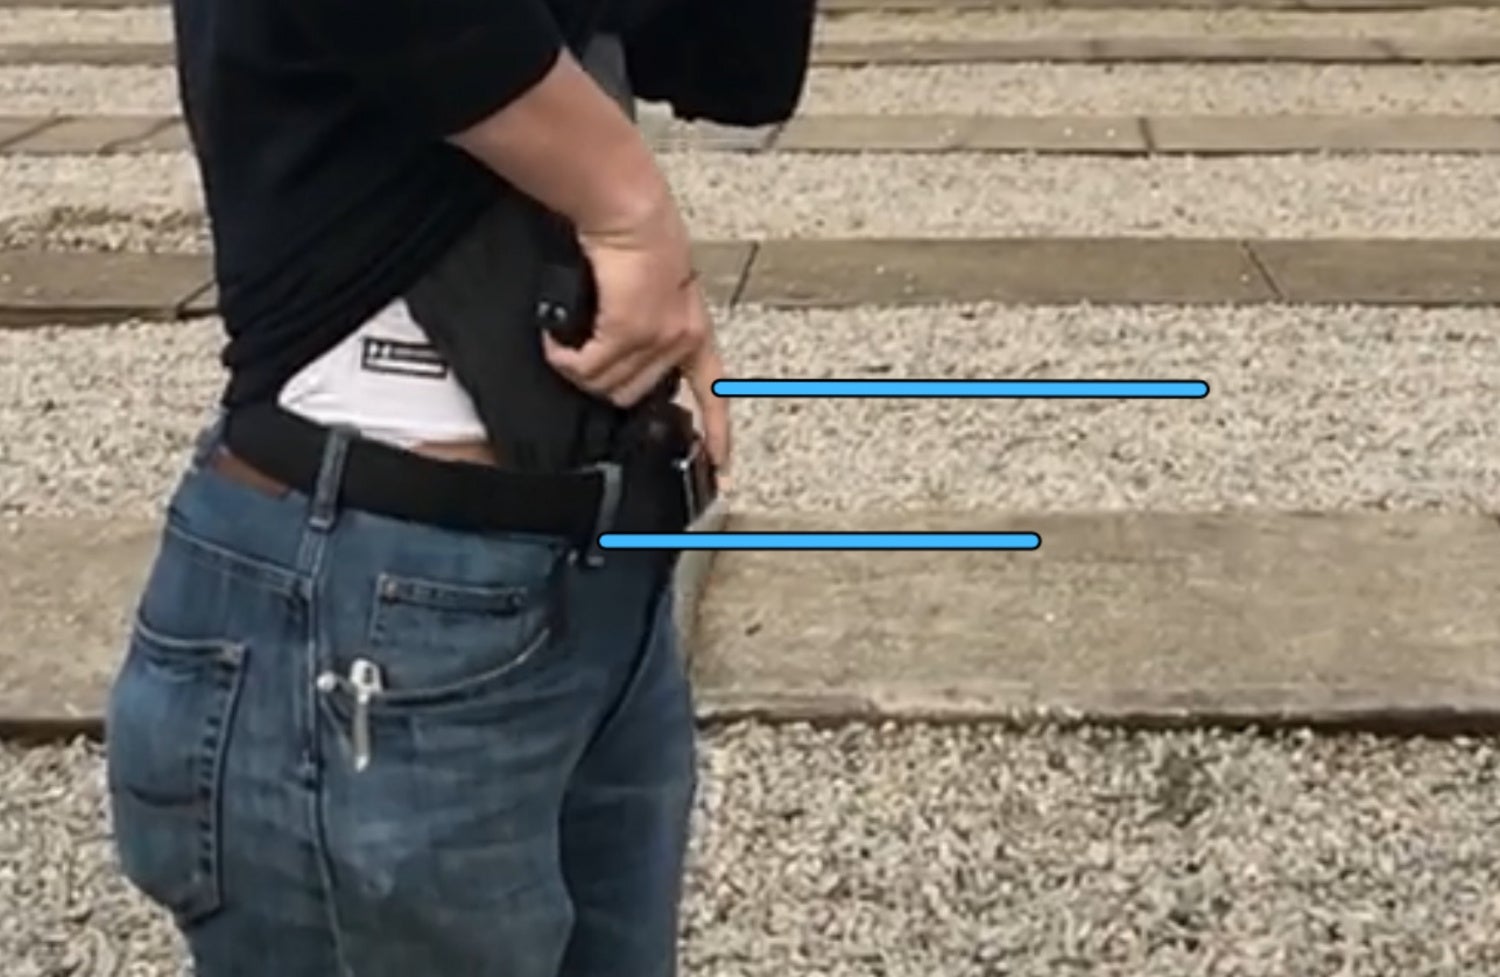
During the draw, the top of the holster moved from below the bottom blue line and did not release the pistol until the top blue line due to the belt not being adequately tight. Photo Credit: Joe Weyer
Once I tightened my belt properly the rigid belt and positive retention on the holster worked well and no longer rose with the draw stroke. Make sure to go through proper make ready procedures each time you strap on your holster.
Pros
The first major pro I like about this draw stroke is the versatility it provides. It can be used in confined spaces such as the driver seat of a vehicle. When pressed closer to cover like at the rear of a vehicle, proper draw stroke is also not negatively affected.
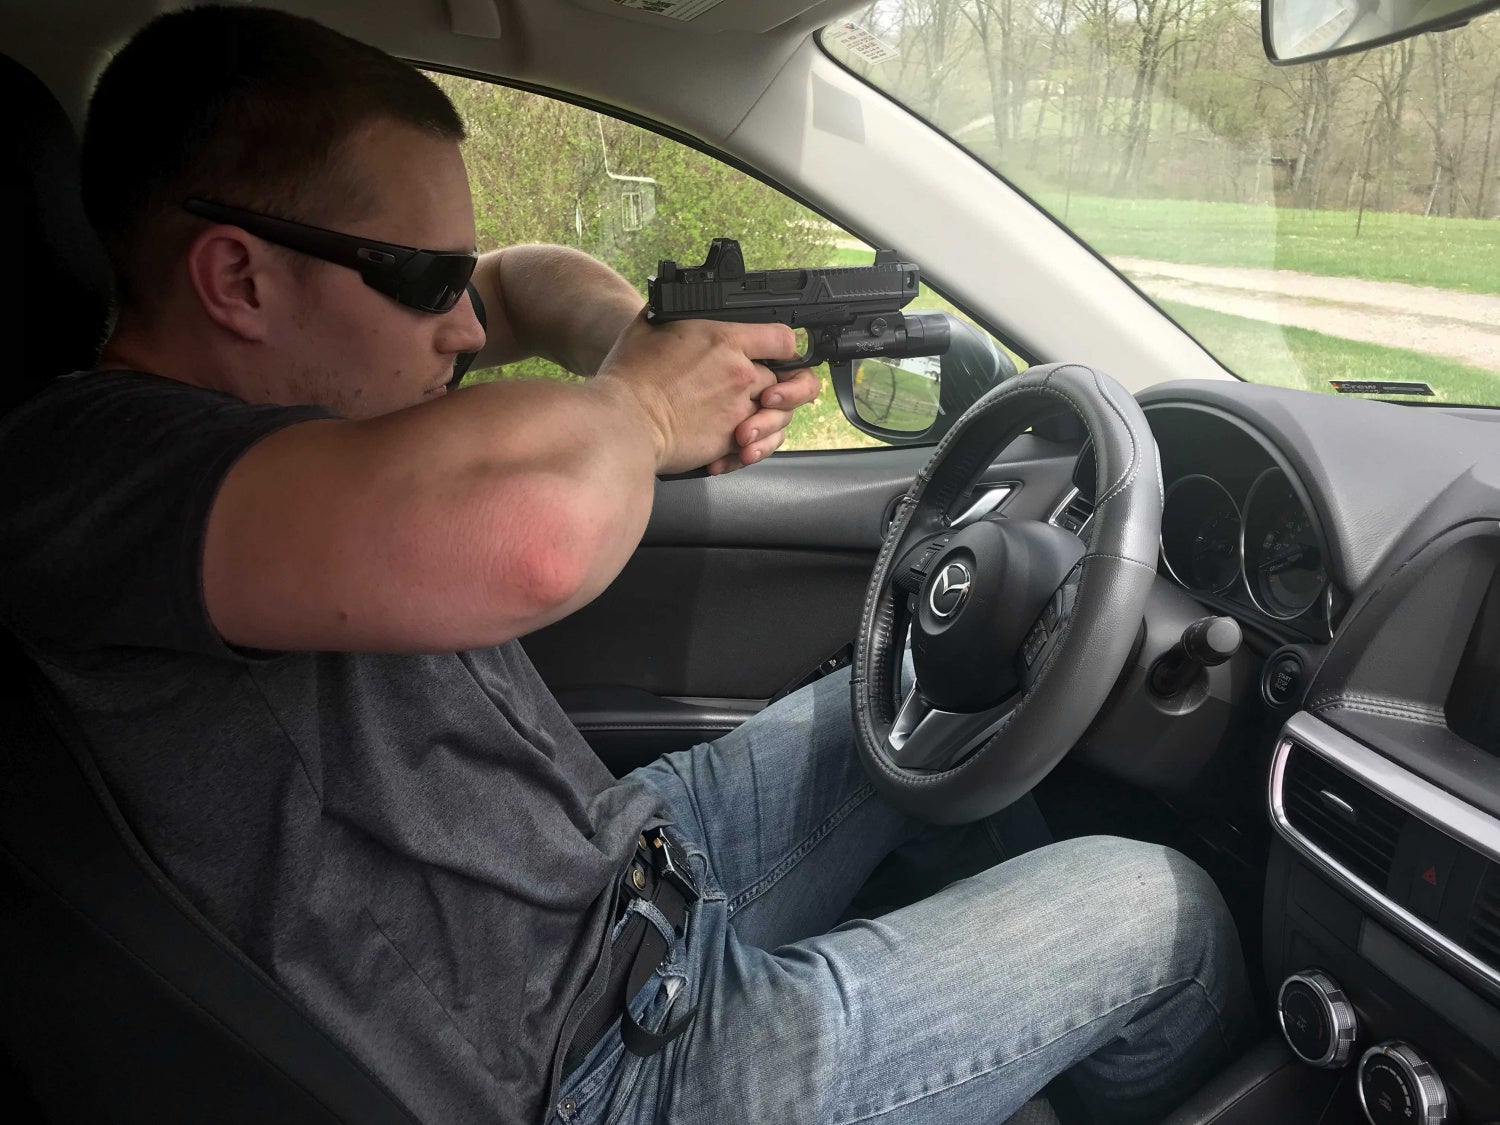
The same draw can be easily used in confined spaces.
Another great addition is that it actively engages a good retention position. Each draw I learned had a retention position before, but none of them provided as stable or repeatable of a shot group.
The last is probably the most important in that I am on my sights sooner. Once I get to the meetup I am on my sights and can be actively engaging with sighted fire out to full extension. Other draw strokes I could engage close targets, but I was not on my sights as quickly and my groupings suffered. Using this draw stroke I can use momentum to overcome the recoil as I press out to full extension and have more accurate, aimed fire.
Having sights on target from the meetup all the way to full extension allows you to have sights on target far earlier and throughout a third of the draw stroke instead of just the very end. Photo Credit: Paul Carlson
Cons
The main con is the comfort. This is definitely not the most comfortable draw stroke I have done. In retention, for example, you know you are doing it wrong if you are comfortable. However, the thought process behind it makes sense and I prefer a draw stroke with a performance that is comforting as opposed to comfortable.
While similar in many ways to what I had been taught previously, there were still some substantial changes to my previous draw stroke. This is not truly a con of this new version, but it will take time to change. I do see that the pros vastly outweigh the cons and I see it as a very worthwhile change.
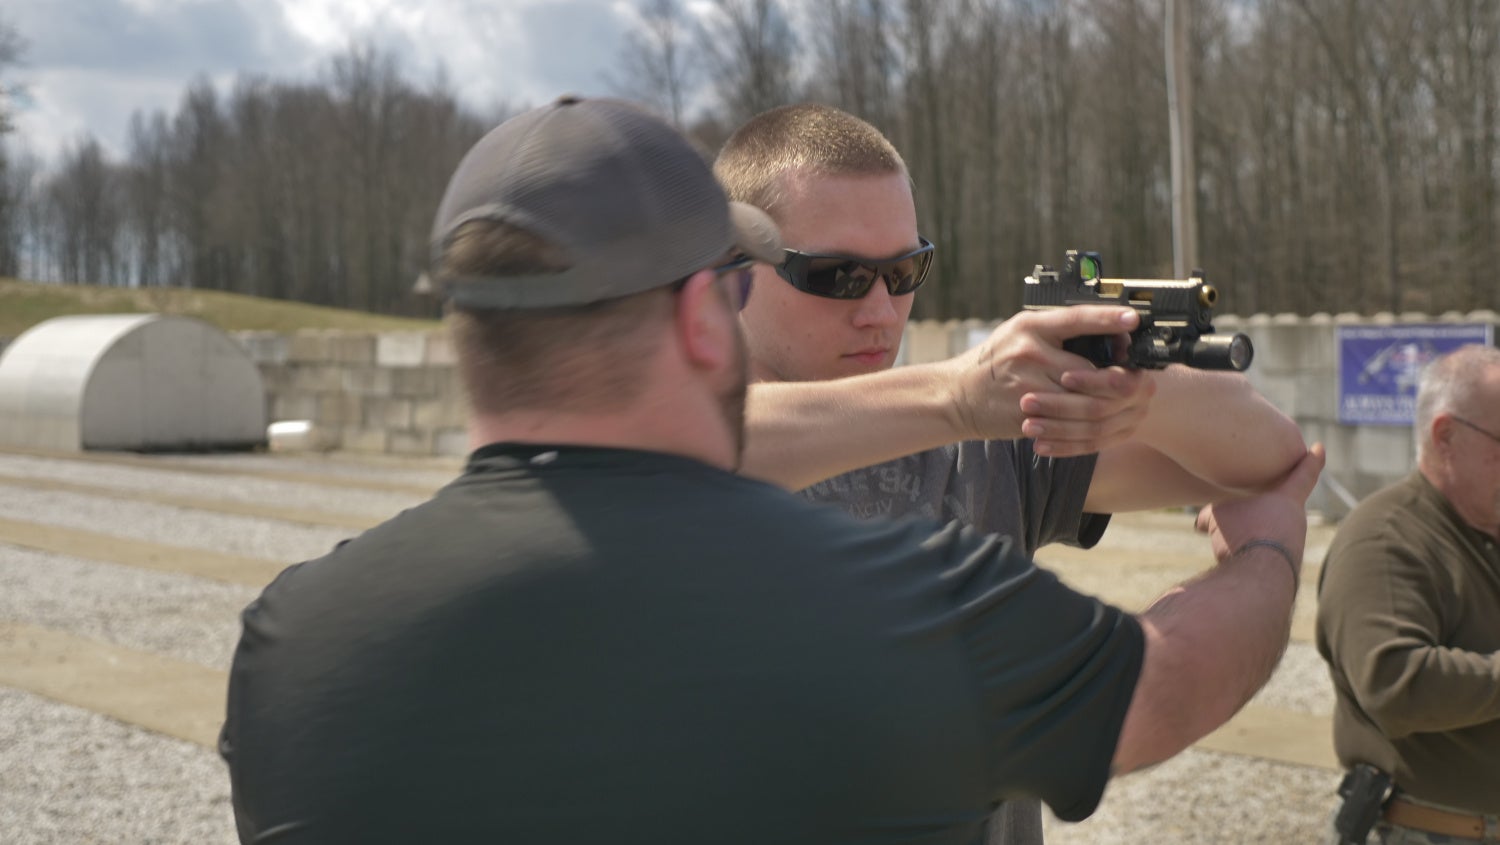
Cory Hupp helps me keep my elbows up during the presentation. Photo Credit: Paul Carlson
Conclusion
With a good mixture of dry fire and live fire reps, I plan to reduce my draw time while still focusing on good form. For those with minimal experience, this is a highly technical draw stroke. Shooters that put in the time and effort will benefit from this draw stroke. For those with a different variation, I would still recommend trying some of these tips out. While numerous other factors play into the success or failure of an armed encounter, the draw stroke is something you can refine and use as an asset if that day comes.
TFB’s Concealed Carry Corner is brought to you by GLOCK


 Your Privacy Choices