 Your Privacy Choices
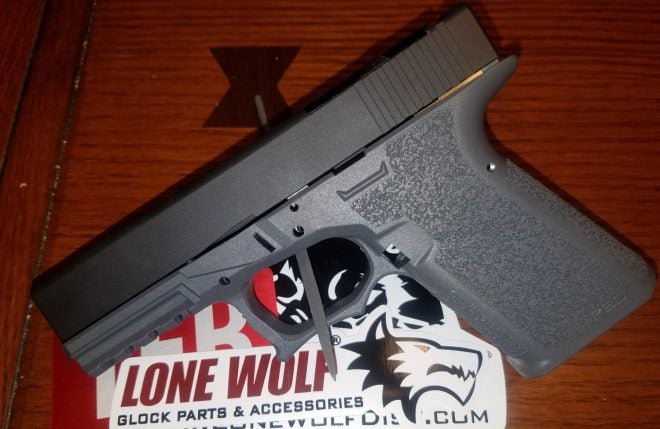
Welcome to TFB’s series on building your own Glock. In this series, we will take an 80% frame and a pile of parts, and assemble a safe and consistent G19. Believe it or not, it is very easy, and perfectly legal. You will see that with a bit of patience and minimal equipment you CAN build your own Glock. If you go with the standard parts and look, you may not save too much. If you want to go the custom route or are interested in having a pistol you created, AKA a “ghost gun”, this is the way to go.
Legality
Is this even legal? According to the ATF, yes, though state and local laws may be different. After my research, I was able to find an ATF agent kind enough to sit down with me. A great guy who was willing to go over all points with me. As with everything, it seems, it comes down to intent. If you intend on building a Glock for yourself you are fine. If you intend on building a firearm to sell or trade you need a firearms manufacturer license. Build it, keep it and you are fine. Again, check your local laws.
The Build
Your Glock 80% receiver will ship all ready inside the jig. The jig is there to guide your cutting and drilling. Although it is counterintuitive, your building labor is actually removing material. The pin holes are not present, and there is extra material on the top of the receiver, as well the center. That material should be removed to bring the receiver to “100%”
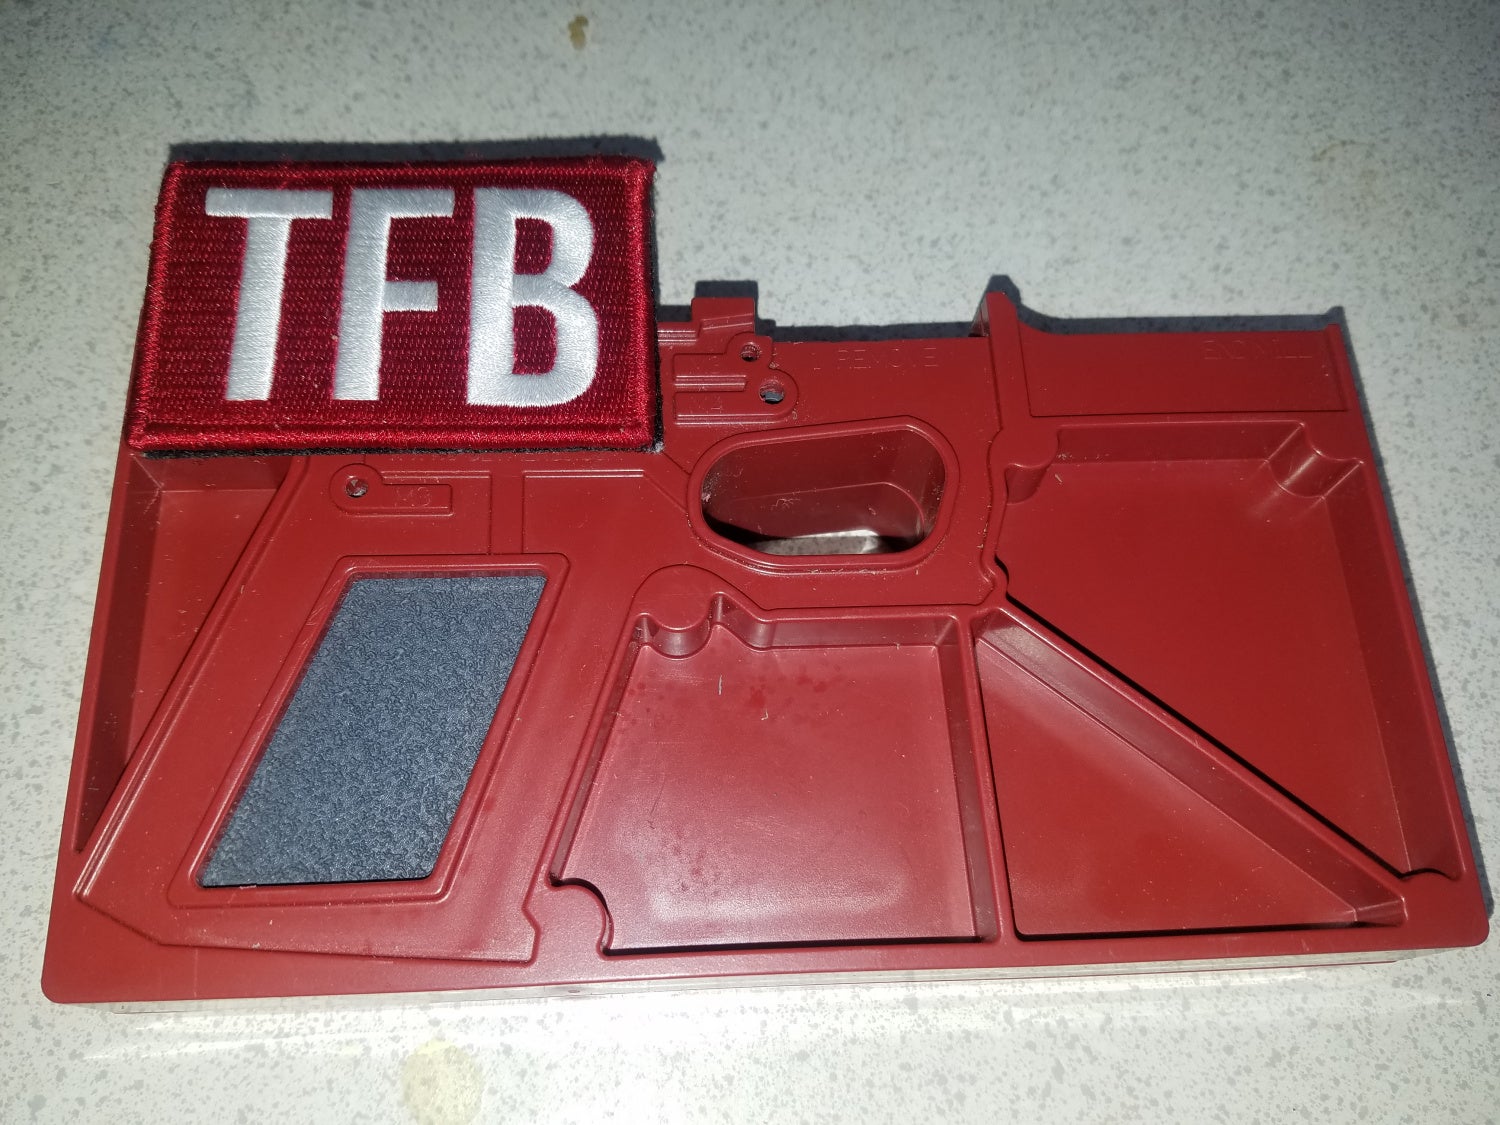
The jig arrives with the receiver in place. The drill holes are obvious here
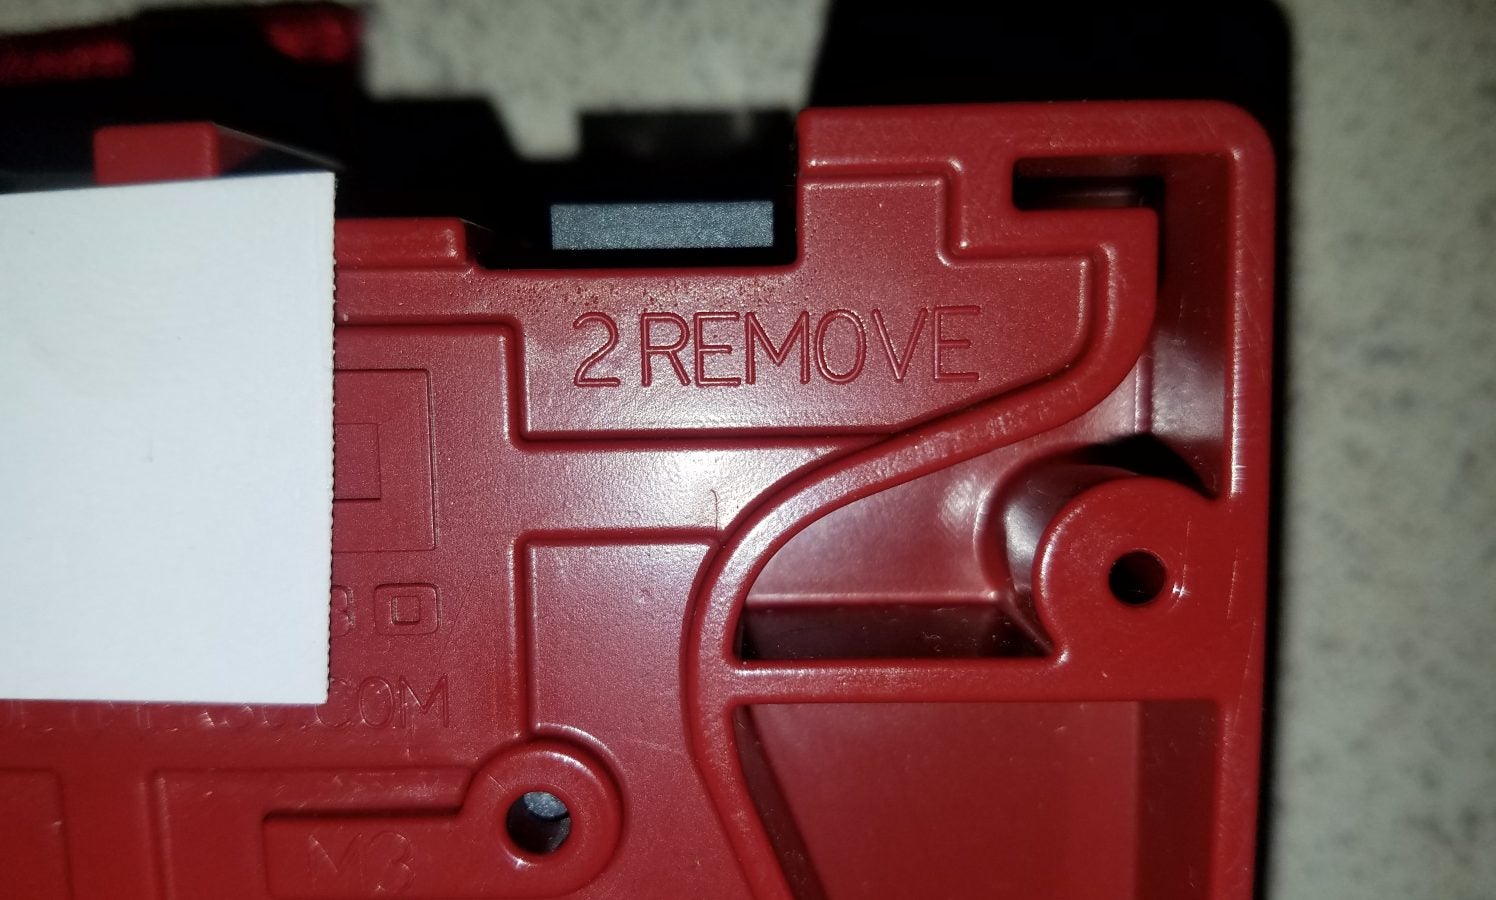
The jig is clearly marked what material to remove
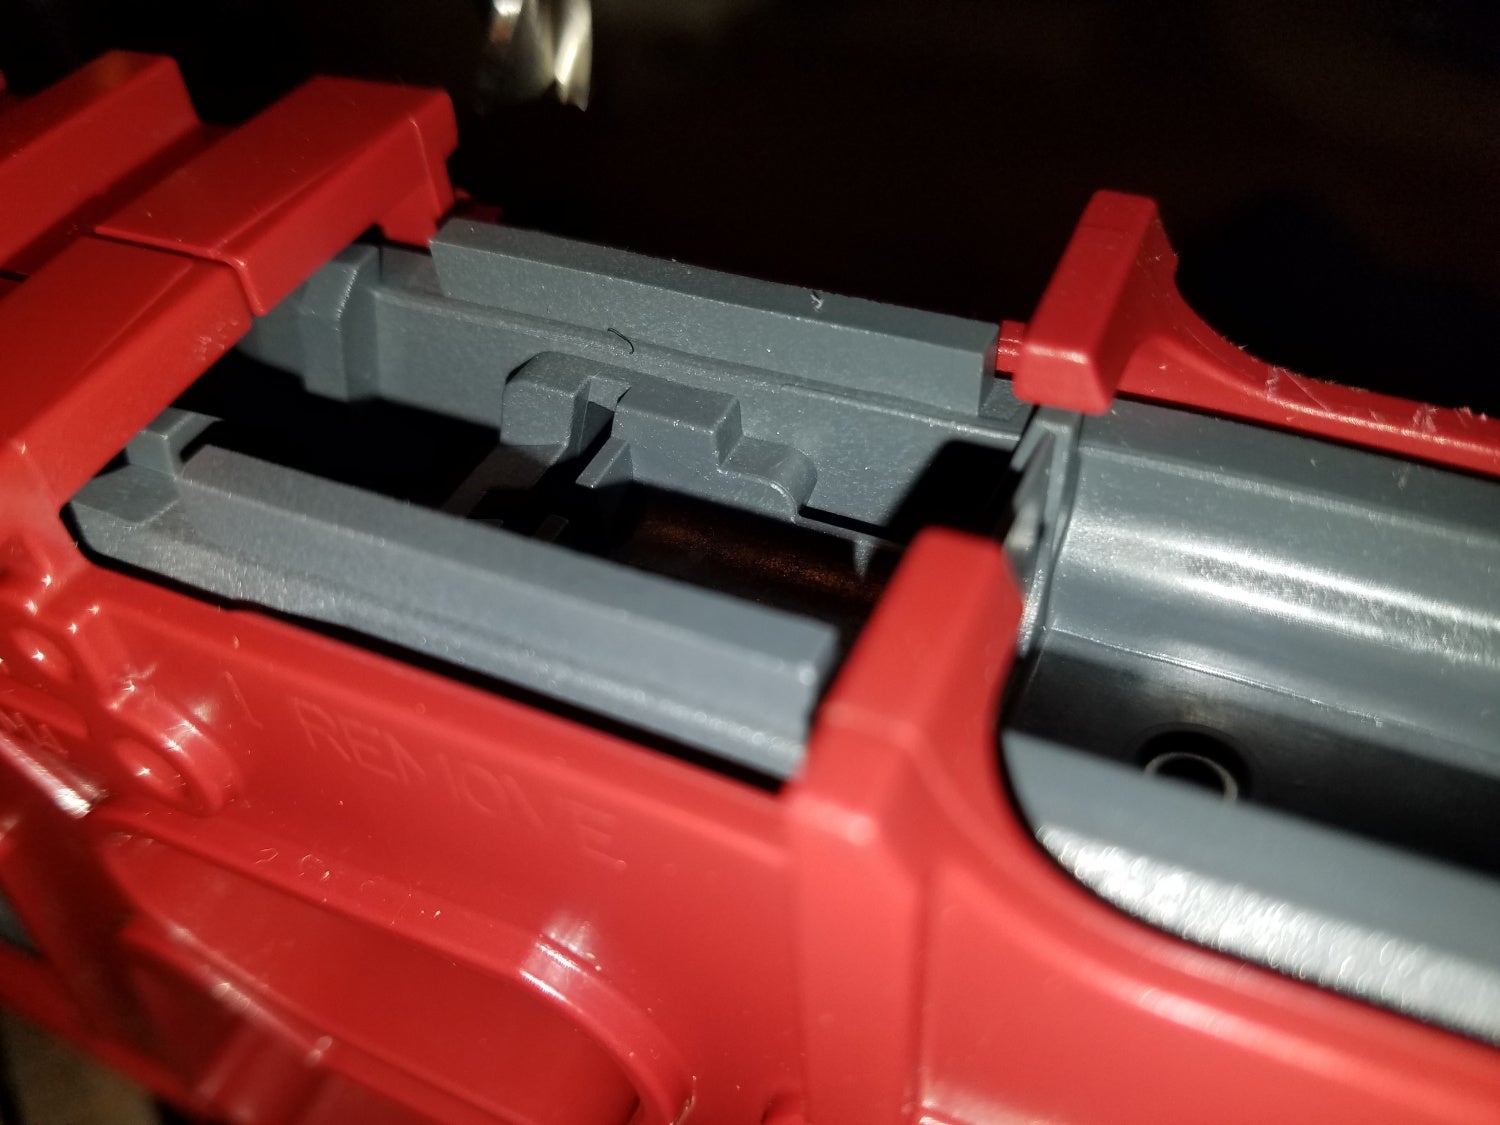
The jig is set up to guide you in removing the material. Here is some of the extra material to remove.
I found a video that gives some great advice on how to do it. It is done on an older (or at least different) 80% frame then I received, but the same ideas apply. You can see it here.
My frame came with a link to a PDF of the instructions. Find it here.
REMOVING MATERIAL
Initially, the drill press was my plan to remove the excess material. I had some problems with the jig getting bucked, so I stopped and went to the Dremel. A Dremel is a great tool, just do not go angry beaver and remove too much and destroy your frame. If you go with the Dremel I strongly recommend you remove about 75% of what you want to remove, then remove material by hand. I finished the work up with files and then sandpaper. As with anything like this, TAKE YOUR TIME.
When you have removed the material, finish with some fine sandpaper. Sanding it with oil will help you get a finer finish.
I still used the drill press for drilling the holes. I was told it was easy to not make the holes even by using a hand drill. Once you remove material, there is no putting it back.
On the 80% frame, you need to drill from the outside in. So you drill each side of the jig to the center, not all the way through.
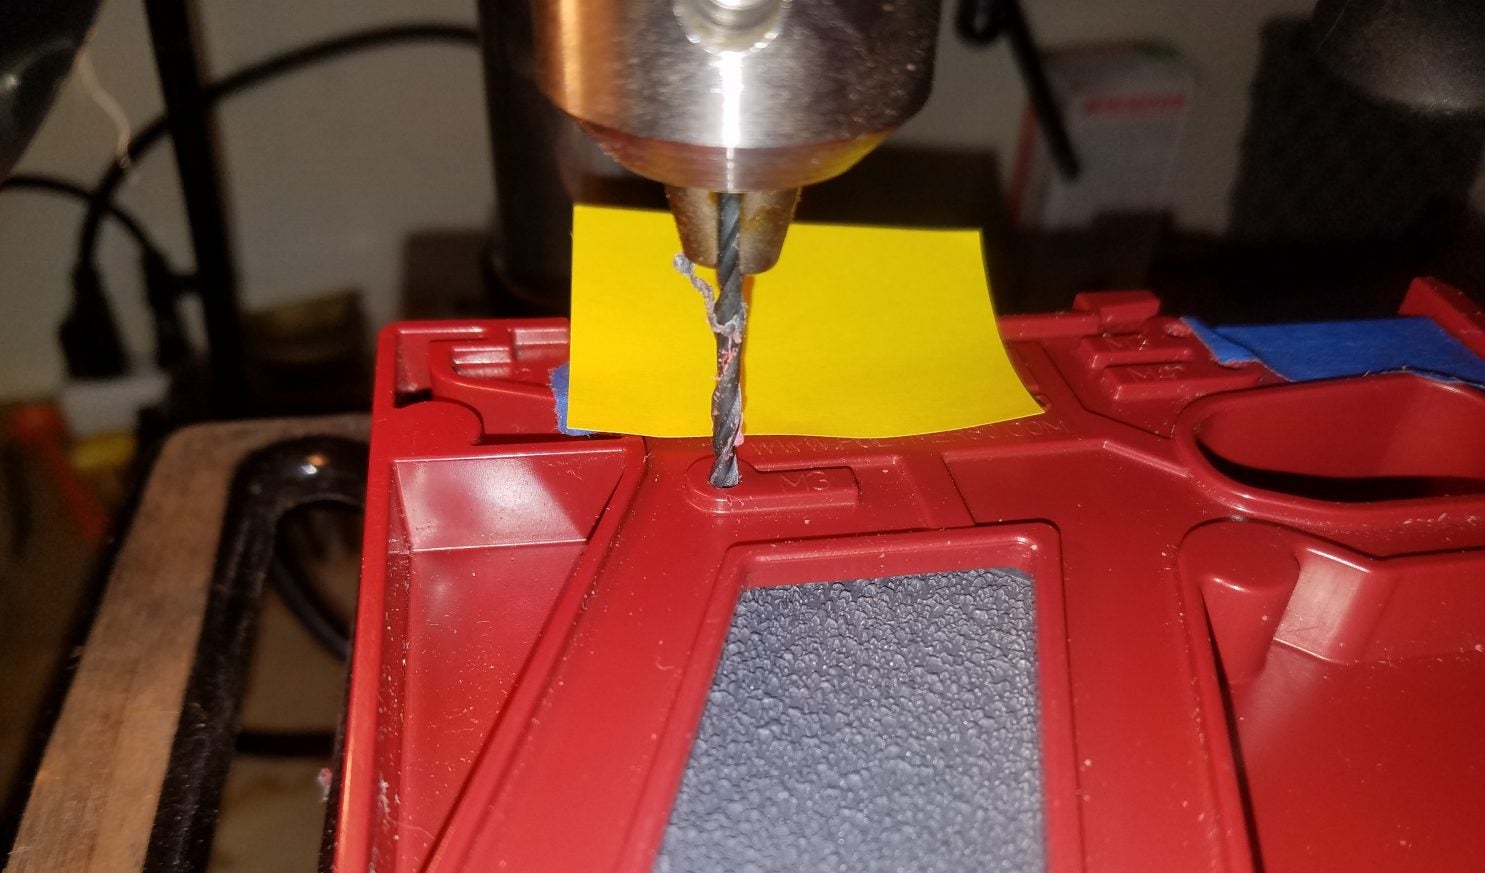
Drill both sides, outside to center only
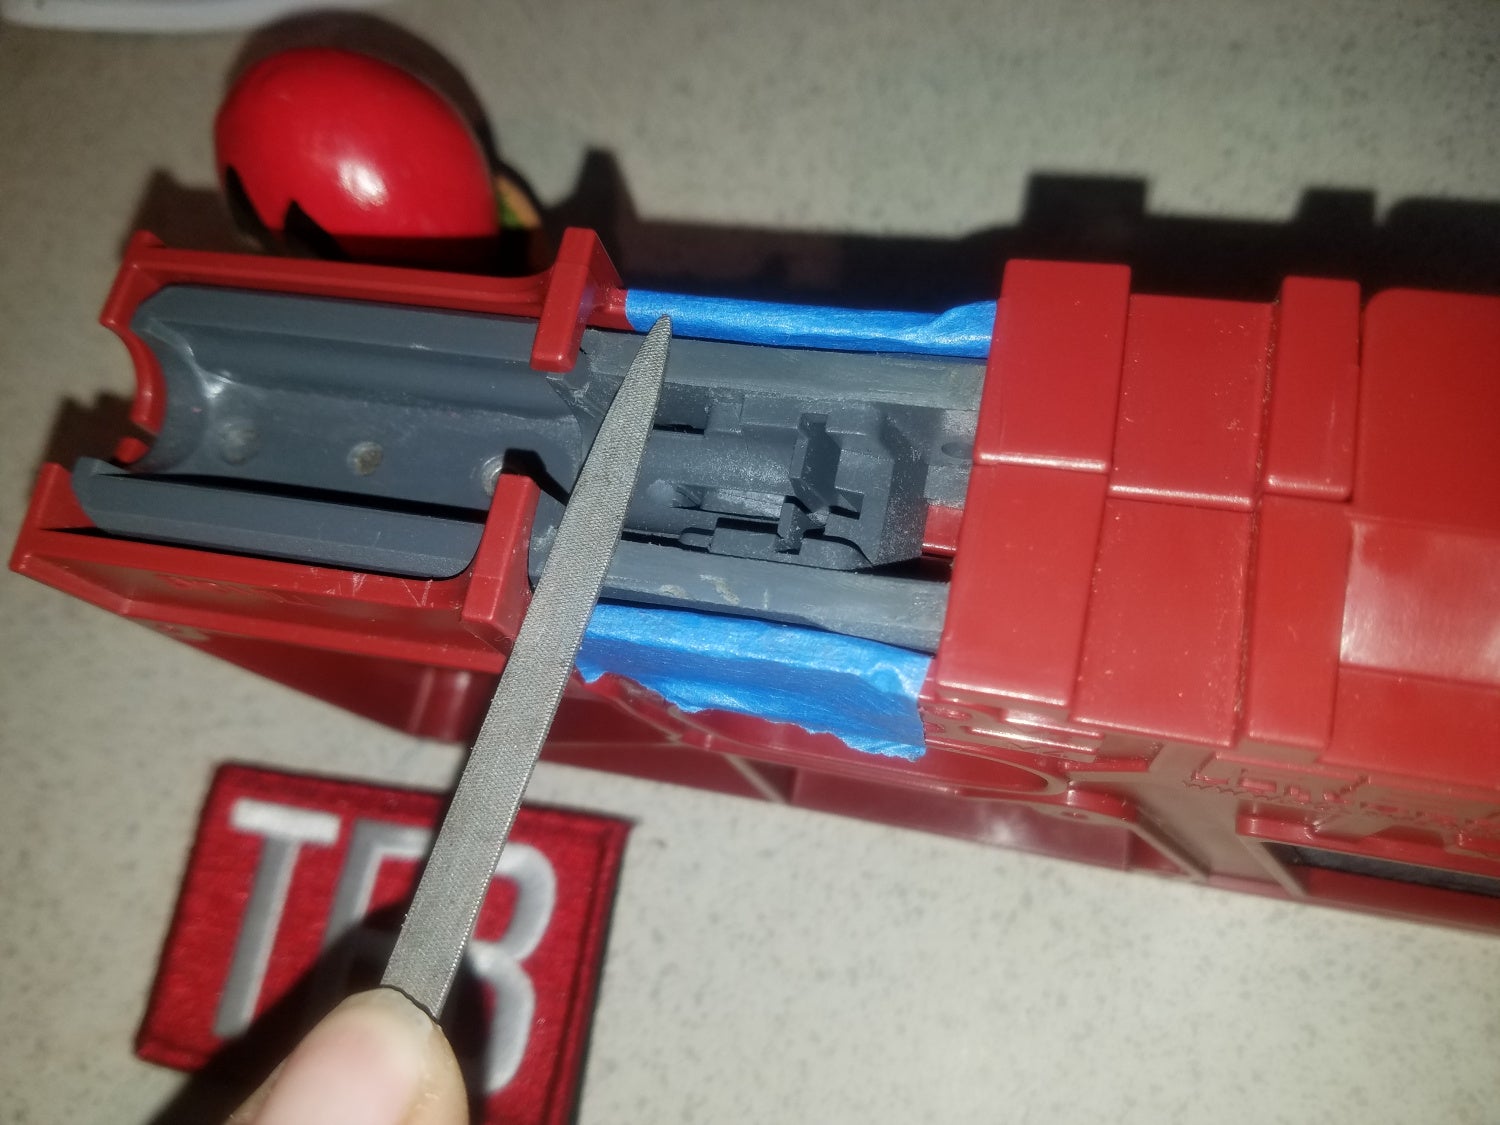
After the Dremel, I used files. A little tape allows me to know when I have taken off enough material
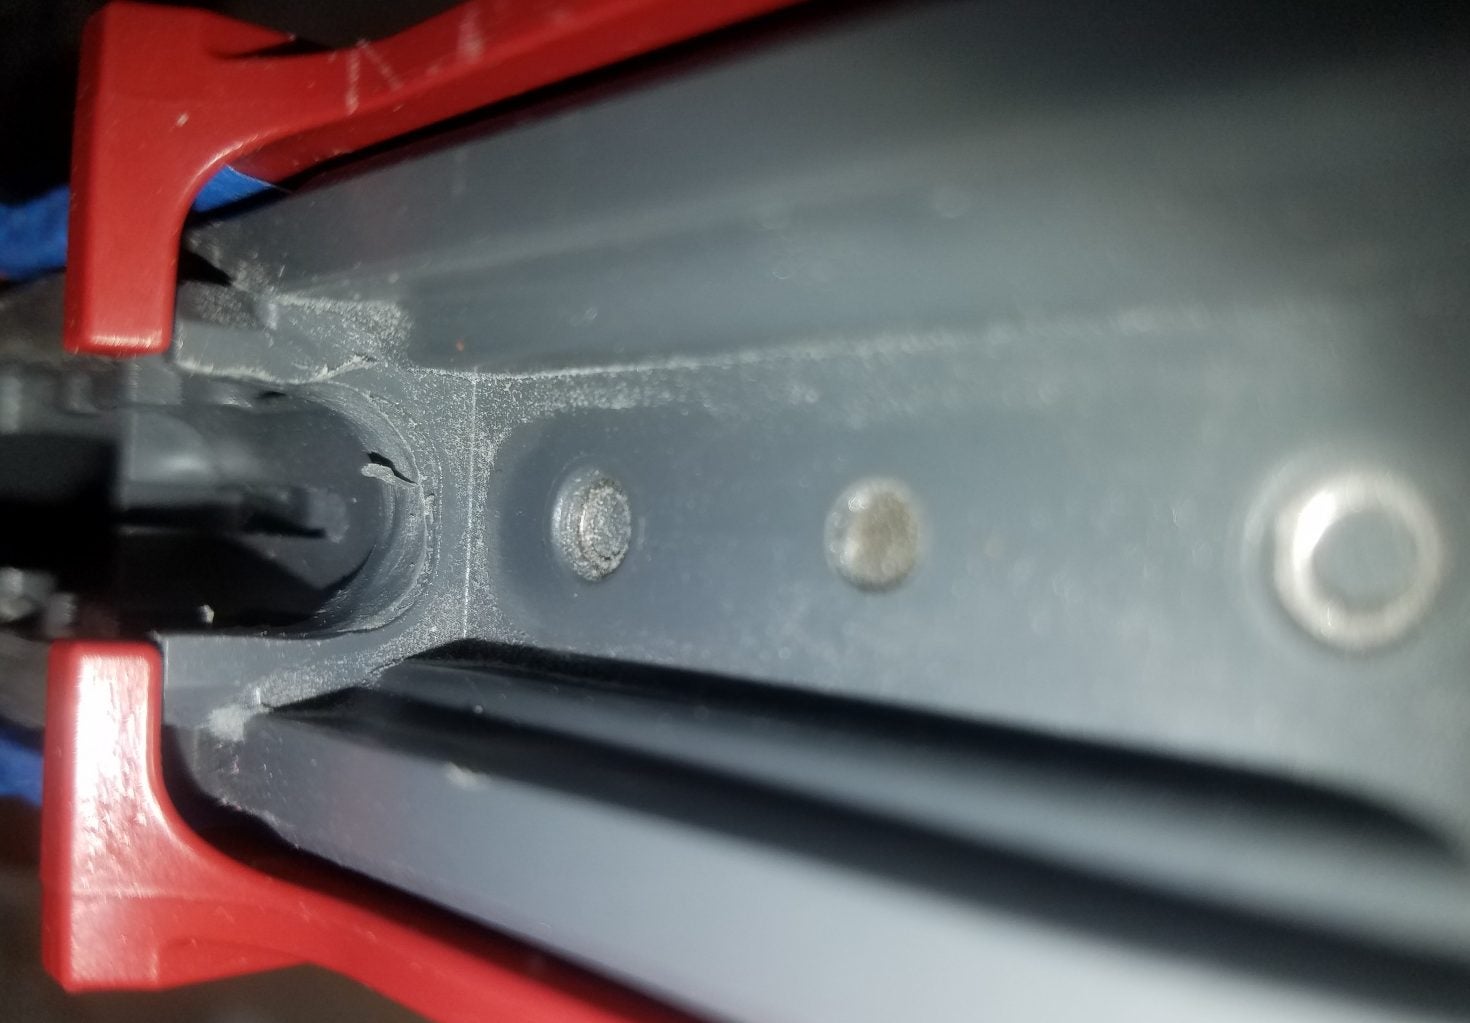
Close-up of where the material was removed, before finishing with sandpaper.
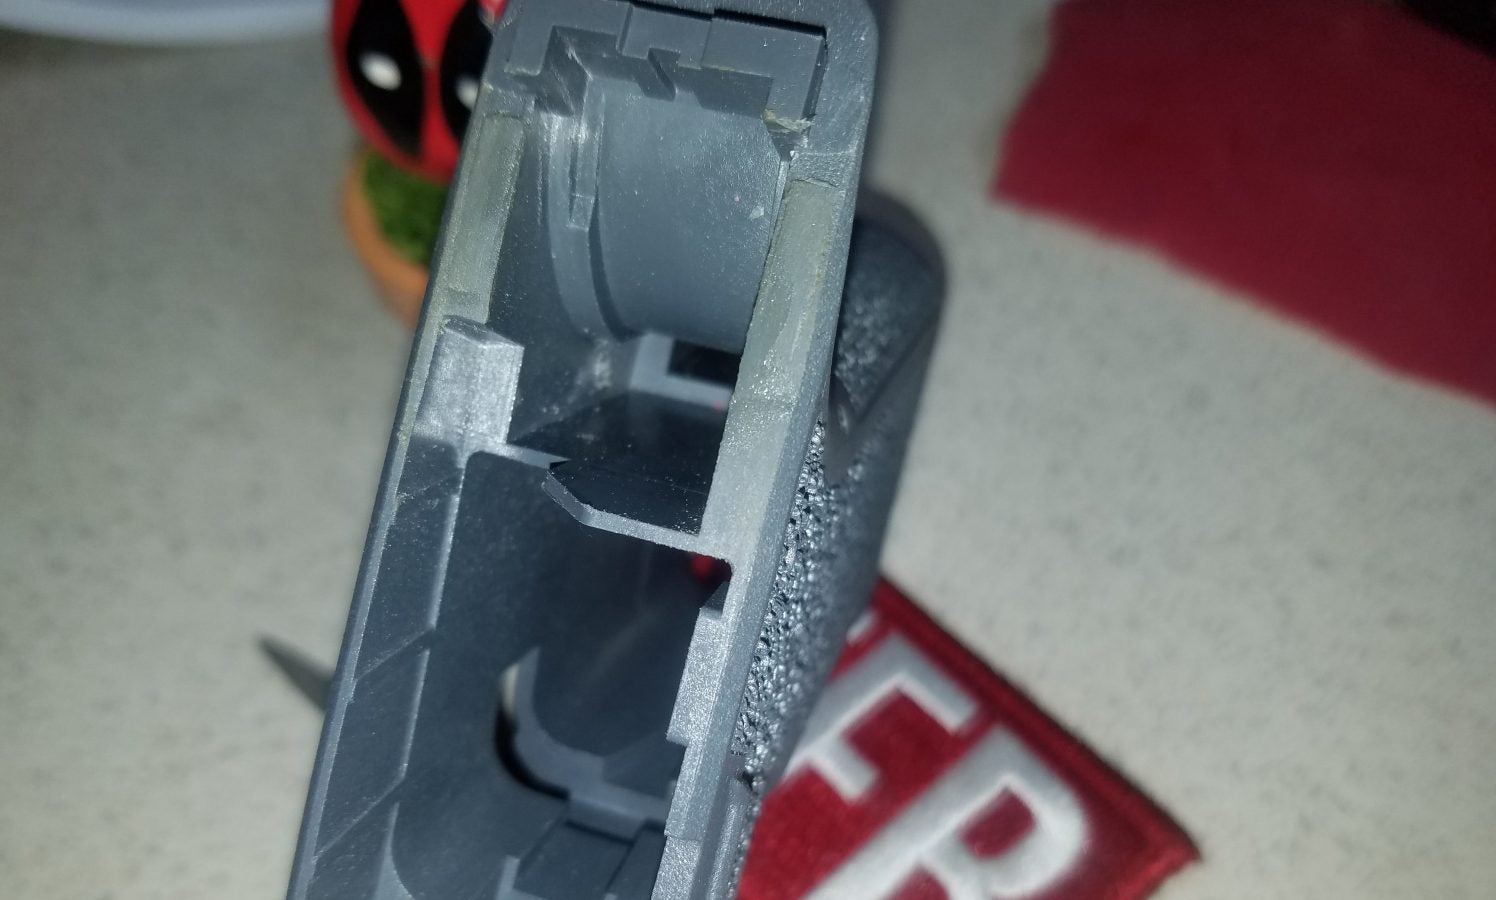
The area of the barrel block was easy to Dremel but challenging to finish up. This is just after the Dremel.
Conclusion
Bringing the 80% up to 100% was pretty easy. Just take your time. The more time you put into it, the better the completed product becomes. All it is removing 4 strips of material, and drilling 6 holes. Not too much, but plenty of opportunities to make a mistake. Spend more time with sandpaper then with the Dremel. I spent about 20 minutes on the Dremel and about 2 hours with sandpaper, and am very happy with the outcome.
A HUGE thanks to Lonewolf for coming thru with this, when others did not. Although they did not give me all this merchandise, they gave me a good discount. I ask that you consider them if you are going to build your own Glock.
Great company with good people. Check them out here.
A shout out to “Mr. J” who reached out to me and gave some great advice. He has built a number of these and gave some great insight. I very much appreciate it. His input has a lot of influence on the next article in the series.
We are committed to finding, researching, and recommending the best products. We earn commissions from purchases you make using the retail links in our product reviews. Learn more about how this works.