 Your Privacy Choices
A huge thanks to my friend Tom Sardo for sharing his DIY IR driving light setup. I replicated his build and have tested it. This $44 DIY IR driving light setup will allow you to drive your car or similar vehicle in complete darkness while wearing NODs (night observing devices).
For those who have used night vision while driving a vehicle, you know how fun it is to drive without any lights under a full moon. However ambient lighting is not always on your side. While you can certainly drive with your headlights on if your NODs are autogated, may not be the desired result. Good night vision combined with a full moon or similar ambient lighting allows you to see much further than just your headlights and unaided eyeballs. Even with the high beams engaged, you just don’t see as far. You could try and wear night vision while using your headlights but the results are not great. The problem is the auto gating in your NODs. Autogating rapidly shuts the night vision on and off to save the intensifier tube from burning out. A side effect of this is the image dims in the tube. So while you can clearly see inside the headlight beam pattern, you cannot see anything outside of since it is too dark.
I have driven up and down Mt. Mauna Kea on Kona Big Island for a stargazing event. There were no clouds and a full moon. I could see for miles with my PVS-14 and it was actually safer to drive without the headlights since I could see further and spot any cars coming down the mountain.
However, I was lucky because there was a full moon. When ambient lighting is reduced you need to illuminate with lights. As I said, you can use your headlights in a pinch but if you want to drive without headlights then you need an IR source of light. Most IR lights made for vehicles are expensive and require modification to power them and mount them to the car.
The IR lights that Tom and I used are bright enough that you can drive around in the dark with them and you can see far enough that you can drive fast. Oh, and they are inexpensive as well as non-permanent installation. Edit: To avoid some confusion, these lights are attached to the car by a magnet installed on the light itself. No permanent modification to the car was needed.
$44 DIY IR Driving Lights
The setup is easy and cheap. Here is a breakdown of the parts you need. We got them all from Amazon and every item has free Prime shipping if you are an Amazon Prime member. Well except for the screws and nuts. I got those from a local hardware store.
-
Cigarette Lighter Power Supply 2.1×5.5mm Male Female Plug with Switch Button
-
2x JC Infrared Illuminator 4 Led High Power LED IR Array Illuminator
- 2x 10-32×1/4 bolt and nylon lock nuts

12v Cigarette power supply
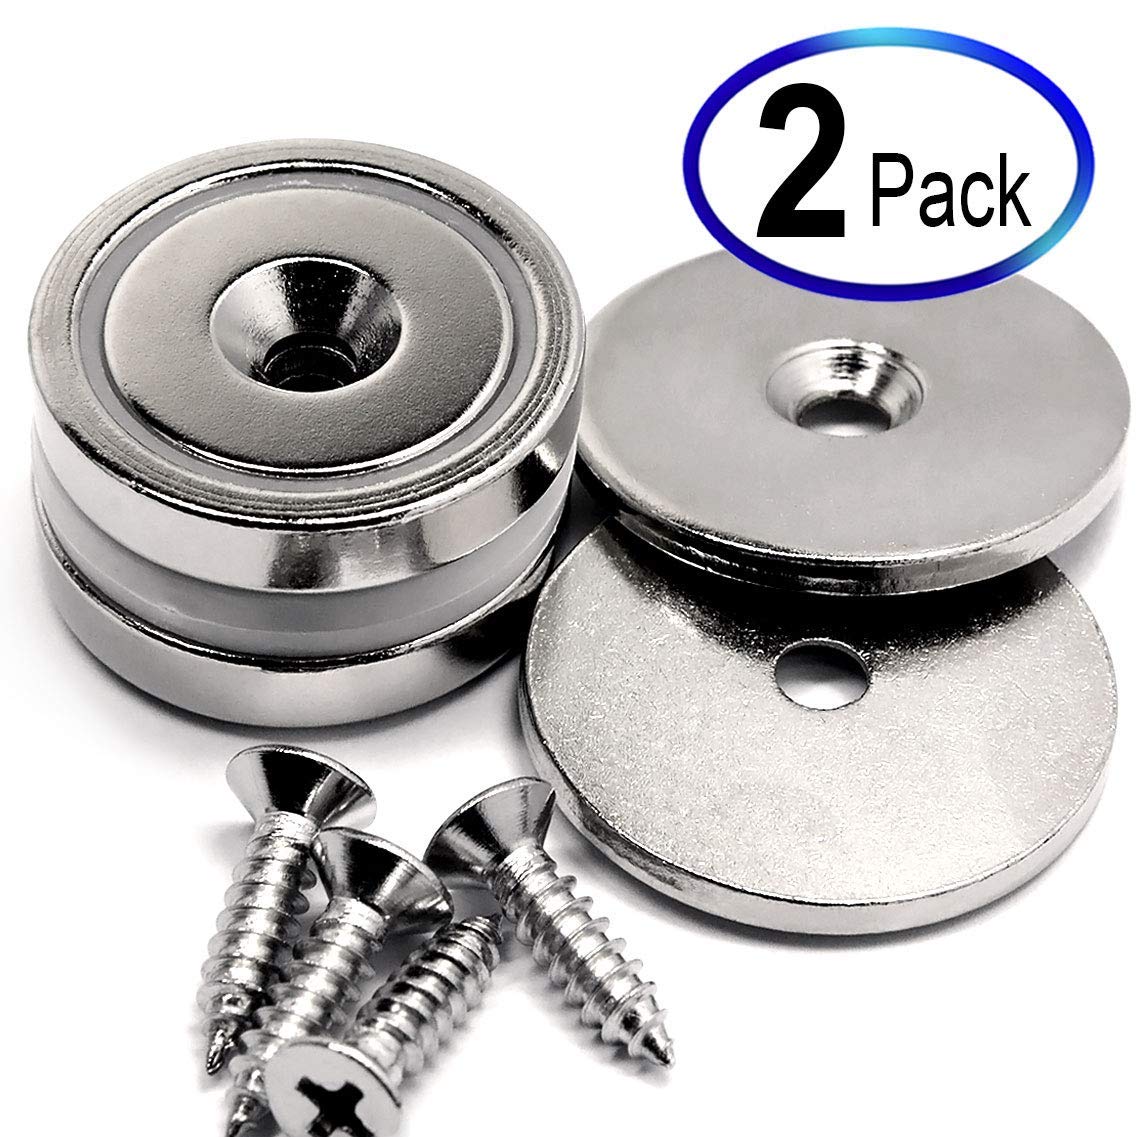
Rare earth magnets

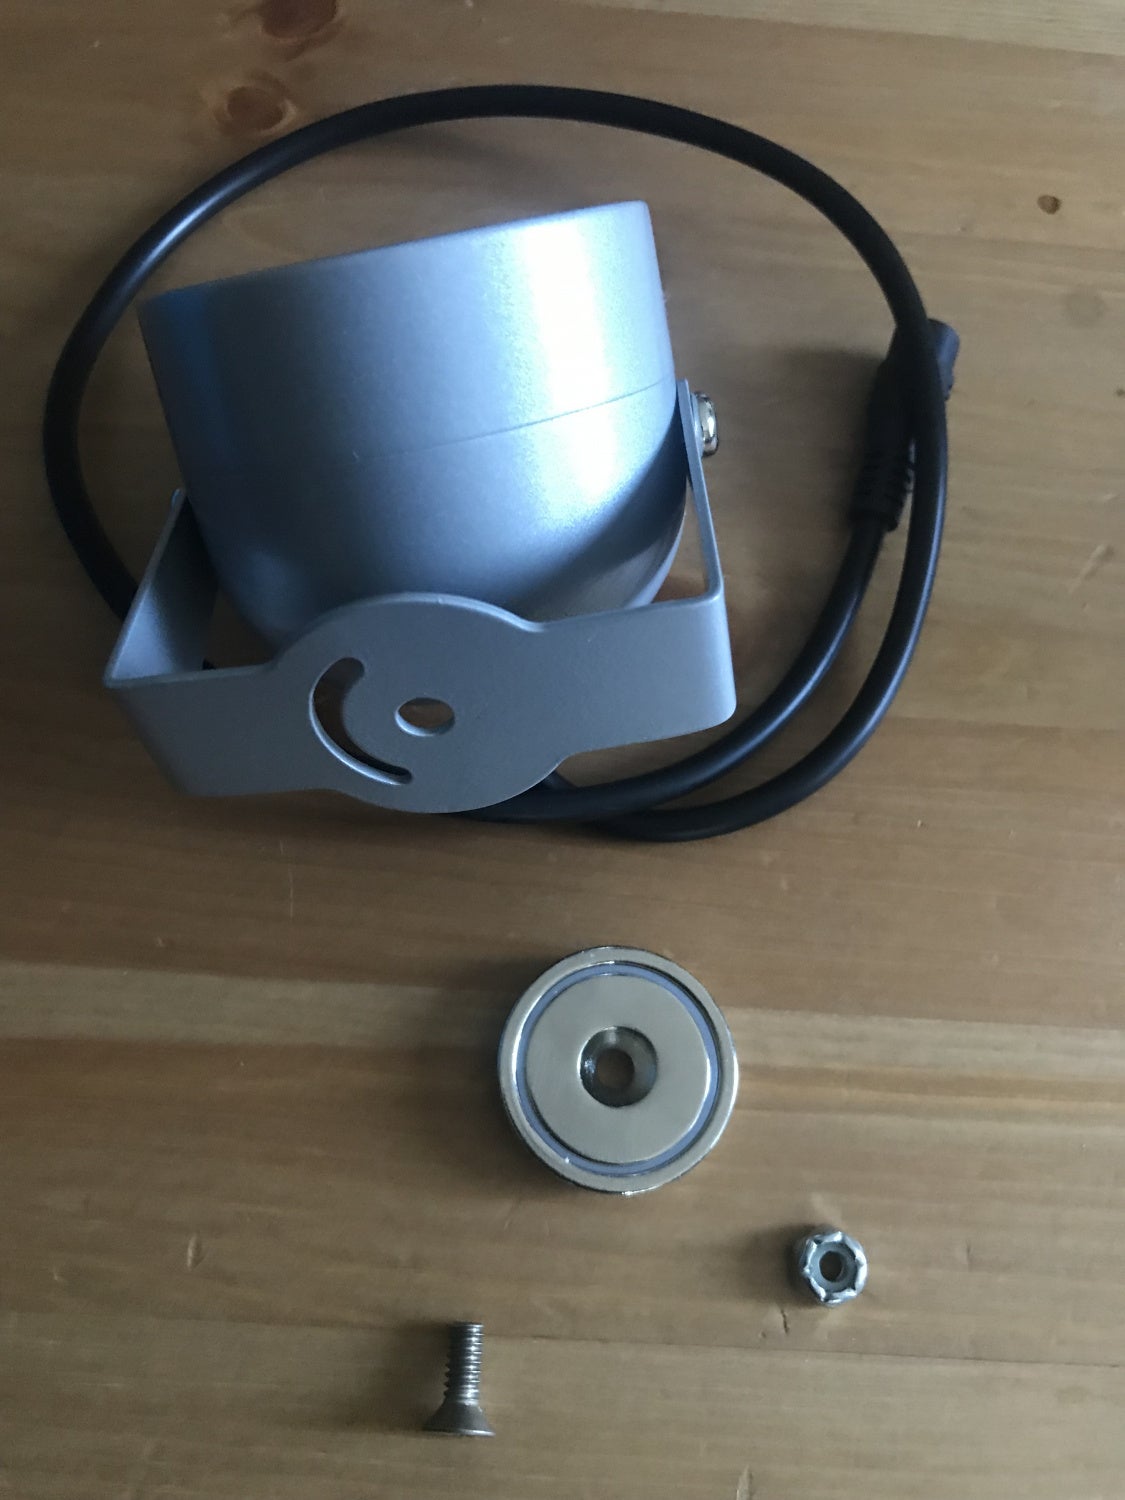
IR lamp

power splitter cable
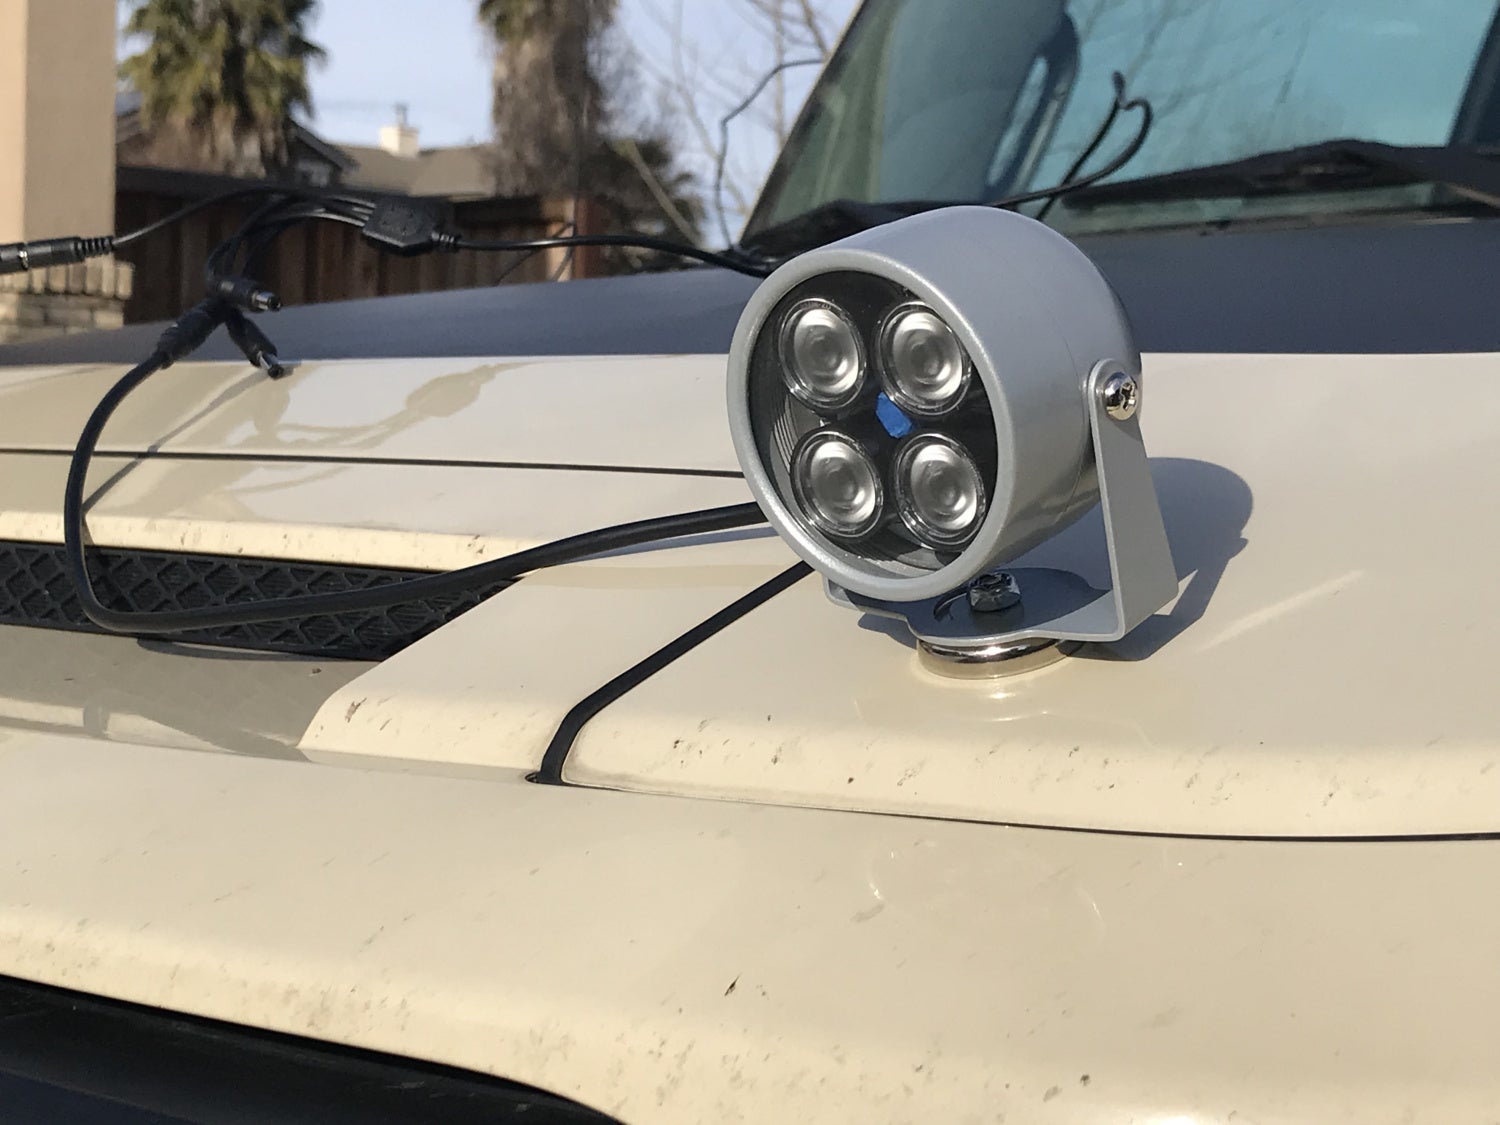
You need to order one of everything except for the IR illuminator, you need to order two of those. Then go to your local hardware store and get 10-32×1/4″ screws with matching nuts. Preferably nylon lock nuts. Make sure the screws are countersunk pan head screws since the rare earth magnets have a countersink hole. Bolt the magnet to the bottom of the IR illuminator. You can cover the magnet with tape or adhesive material to protect your car’s paint job since you will be sticking the lights onto your car’s metal body using the magnets.
When I got the IR lights and cables, I immediately tested them out. However, the IR LEDs were not turning on. I thought perhaps I had bought defective lights. I tested them a little bit later and they turned on just fine. I then realized that the IR lights have a light sensor built into them. It measures the ambient light and if it is bright enough the IR light will not turn on. When I retested the lights, it was night time and now they turned on.
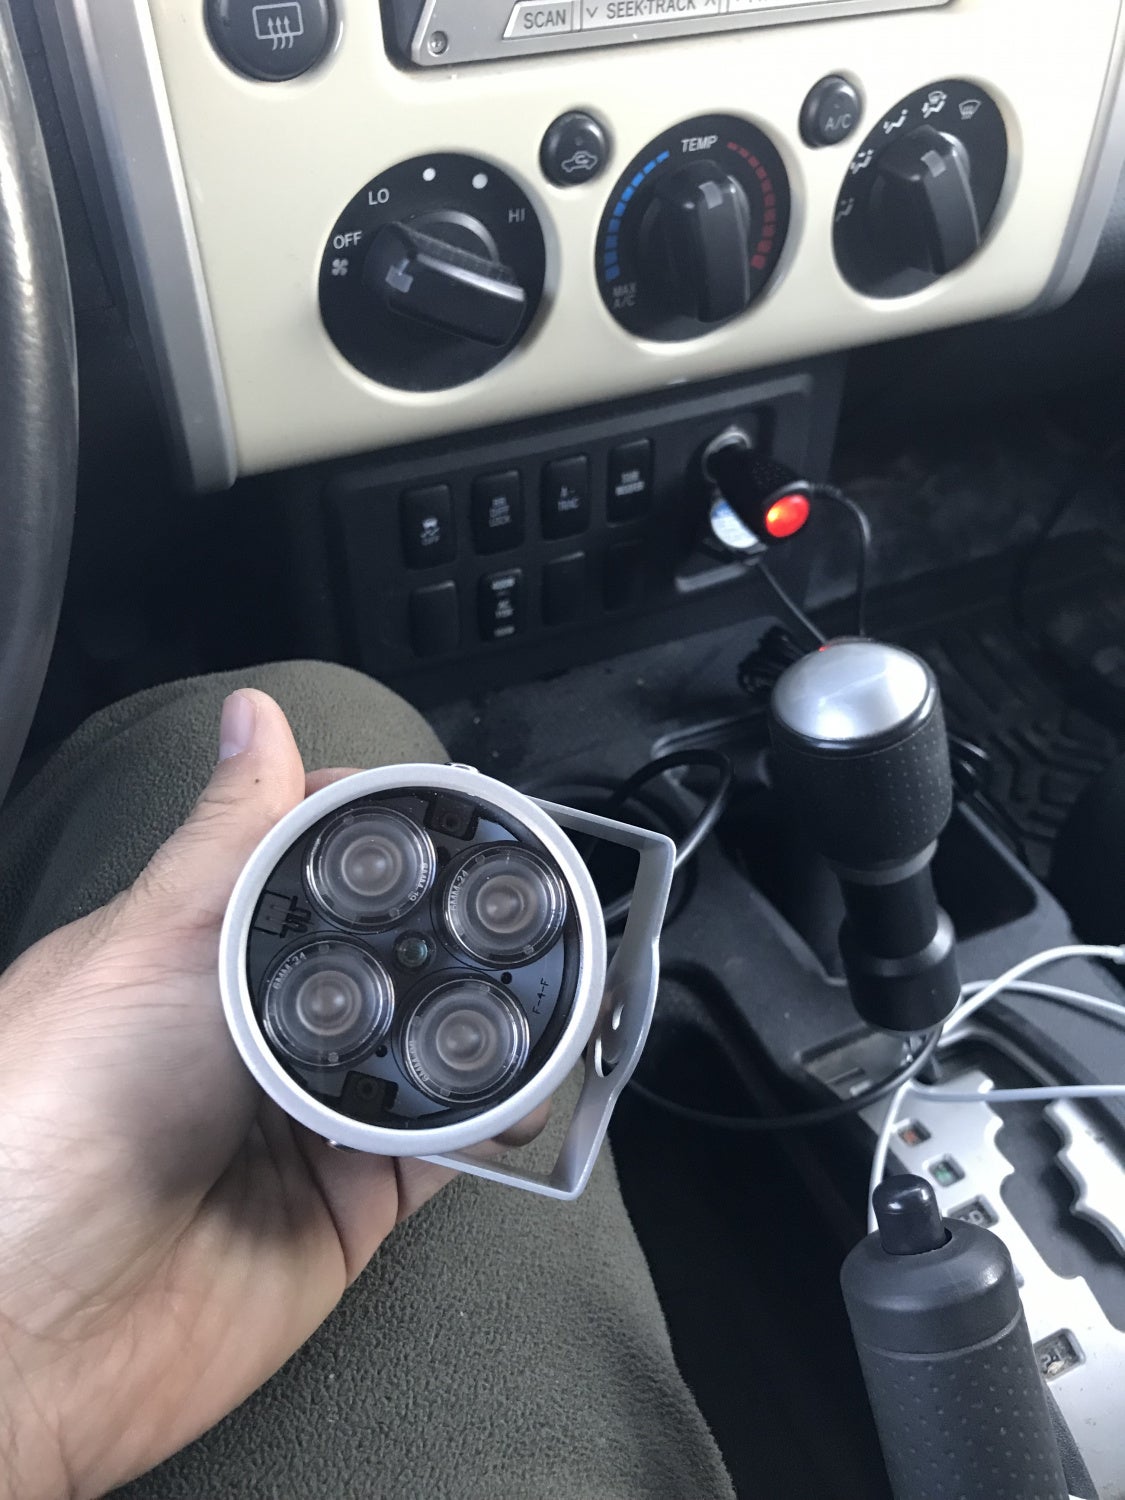
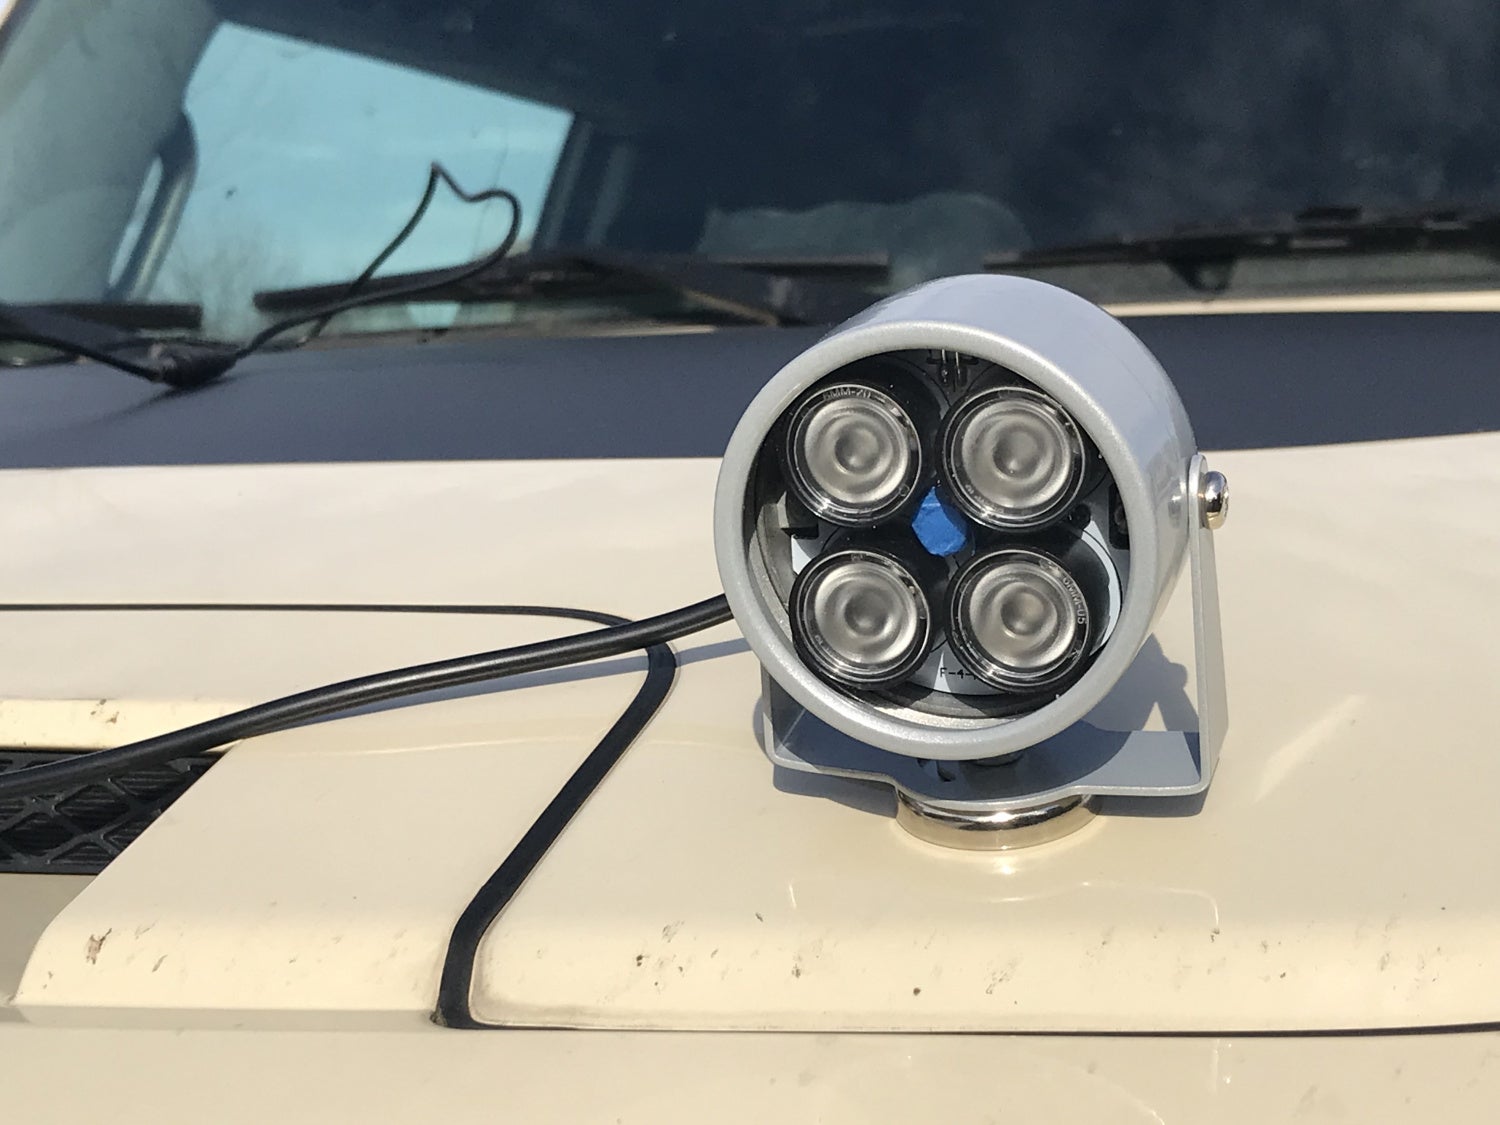
The auto shut off feature is neat but not something I would want to have while driving at night. So I unscrewed the bezel off the IR light. You can see the sensor positioned in the center of the light array.

The TIR reflectors for the IR LEDs are just held on to the LED with friction. So I gently pulled them off from the LEDs. A quick test, I covered the center sensor with some scrap blue tape and turned the light on. It works I can turn on the IR camera even when the sun is shining directly into it. 
Now all you need to do is plug in the 12v cigarette lighter adapter. Plug the splitter into the adapter cable and then plug the IR lights into the splitter. Run the cable out a window or outside the door and close the door on the wire.
It is bright enough that the light sensor is keeping the IR lights from turning on.
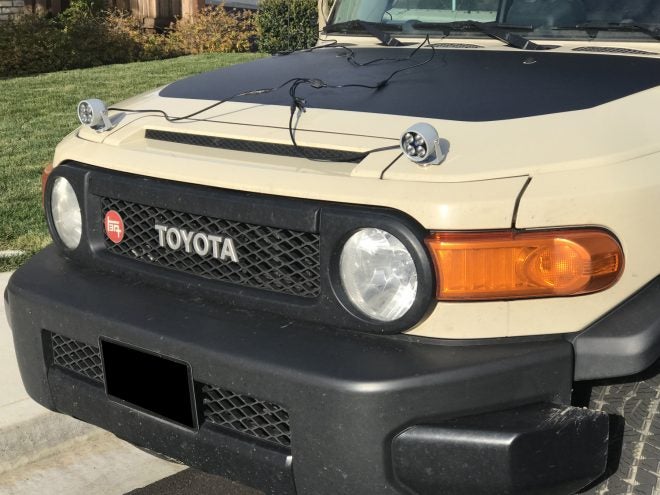
Then you run the cables over your hood and stick the magnet on the light onto your hood.
Here is my initial test of the $44 DIY IR Driving lights. The moon was out and makes the IR lights look anemic.
I tested the same setup but this time I drove out before the moon rose. It was so dark that I could not see the road without some form of light. These $44 DIY IR Driving lights produce a similar amount of light that my parking lights produce. While that may not seem like a lot, it is plenty of light for night vision. Check out the video below. I compare the DIY IR lights against my parking lights, headlights and high beam bright lights.
I will eventually paint over the light sensor in the IR lights or remove them permanently. Since the splitter has 4 plugs I could get two more lights and two more magnets to have 4 IR lights on my SUV. But from my experience driving at night with this IR light setup, I do not think I need two more lights.
I recommend attaching the lights to your hood. I tried putting them on the roof of my SUV but the wide angle of the beam illuminated my hood and it was rather bright. Mounting them to the hood avoids any IR light spill and throws the light more downrange.