 Your Privacy Choices

We have arrived at the third part in out bullet casting series. Today we birth the pew. Our gestation period consisted of gathering scrap lead, sorting it, and creating our lead ingots. Since today is our expected date, we should gather all our equipment, and prep our workspace. When the little fellers are born we will be excited, so prepare ahead of time. Clear your workspace, and have proper ventilation. You can find Part 1, the intro at https://www.thefirearmblog.com/blog/2018/08/22/bullet-casting-for-beginners/ and Part 2 Processing the Lead at https://www.thefirearmblog.com/blog/2018/08/31/bullet-casting-for-beginners-part-2-leads-dead-baby-leads-dead/. At the end of Part 1, I list all of the equipment you should need to get started–it is repeated at the end here as well.
I placed my lead ingots in the furnace prior to turning it on. That way any moisture will evaporate as it heats up. You can certainly add ingots to it later, it is just easier now to fill the cauldron of the furnace (not completely, I shot for 75% full). As the furnace heats up go ahead and double check that you have everything, and everything is in the right place. As our ingots are melting and are getting close to the starting points, we should start heating the mold. Many people rest the mold in the lead to heat it, I had more success with using a propane torch. Heat the entire mold with it slightly open for best results.

All is ready for our first born
When we are ready to go, place the dipper in the lead for a full minute, allowing it to heat up. It does not require much lead to fill the mold cavities, but it is dependent on the bullet size. It will not take long for you to see how much you need.
Scoop some lead into the dipper. Hold the dipper close to the top of the mold, and pour. Pour enough so that you have a small excess on top. You want that! As the lead cools it will slightly shrink. Place the dipper back in the cauldron and watch the excess lead on top. We call that the “sprue”. The plate on top of the mold that we poured on is referred to as the “sprue plate”. As we watch our sprue we will see it dull in color. At this point, we knock the sprue plate open with a heavy wooden stick. It might require a couple smacks. Just like the doctor spanking the newborn (that never happens by the way), it opens and knocks the sprue off. Drop it in a pile so we can add it back to the cauldron later.

Pour slow and steady

A good pour. Nice sprue, the cavities should be full
The sprue dulls in color as it cools. Two small divits form over the cavities from the minor shrinkage in the cooling
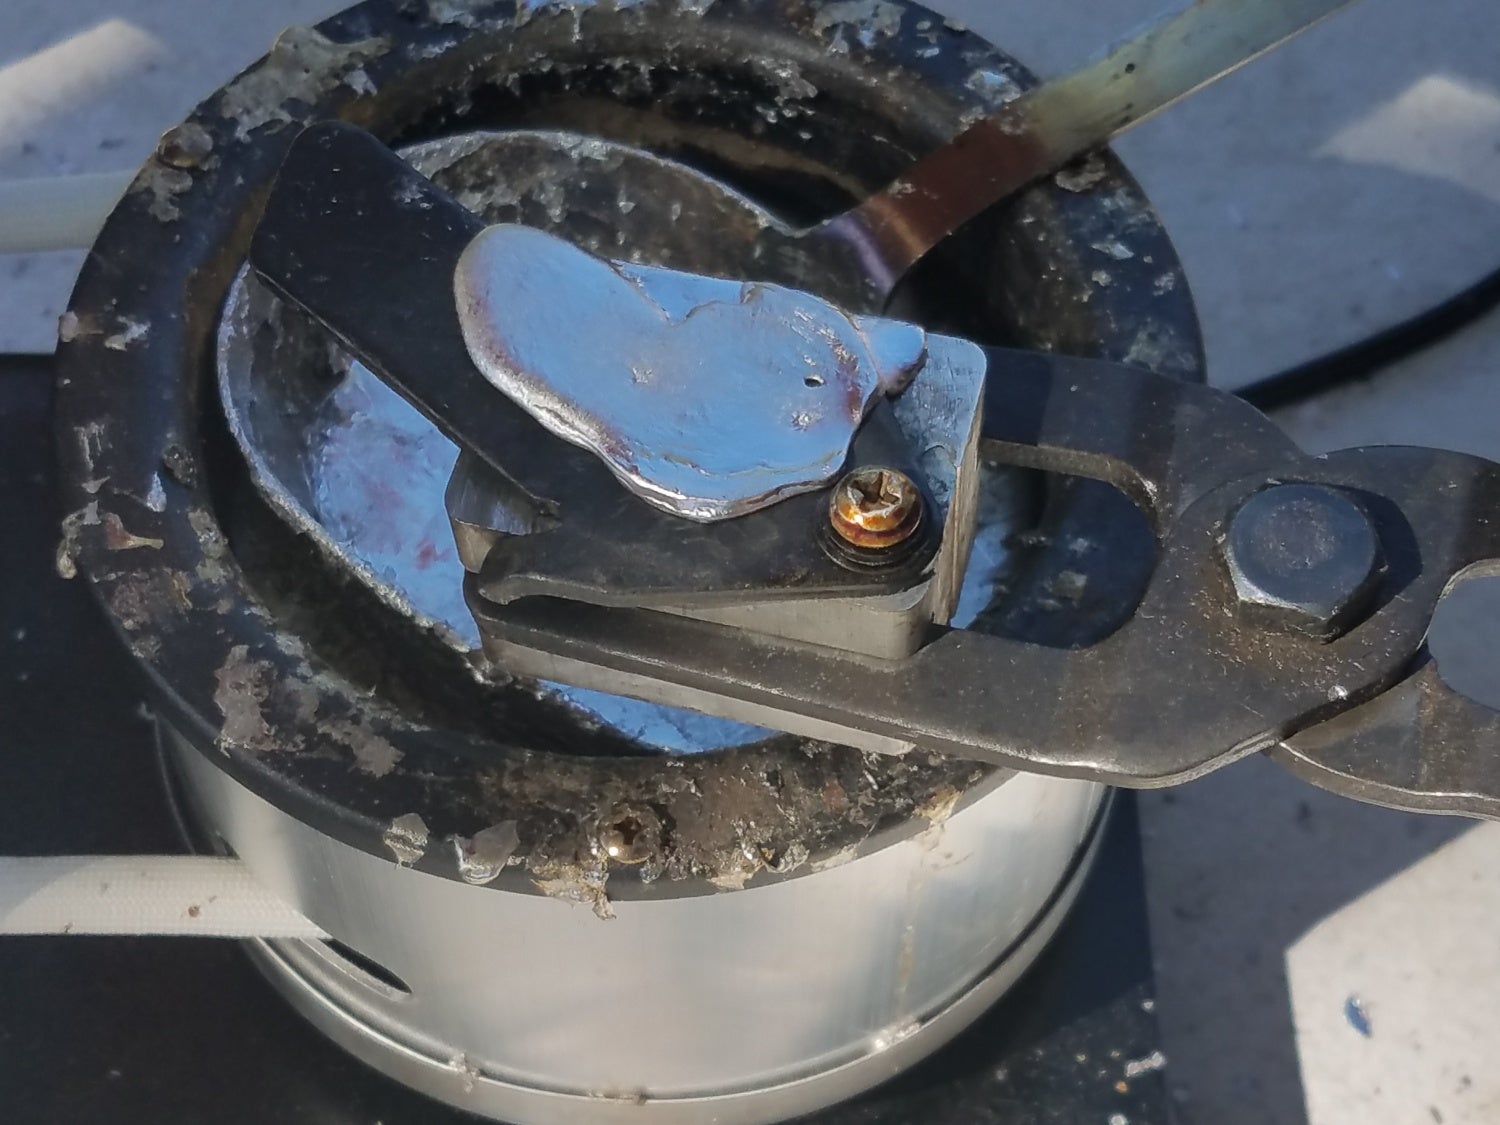
After we have knocked the sprue off we take the mold over to a bucket of water. It is a good idea to have a towel at the bottom as the lead will be soft enough to be damaged from dropping it in. Open the mold over the bucket. For me usually one fell out and one remained stubborn. A good whack with the stick on the bolt hinge of the hold knocks it out.

A small tap on the hex head there will induce the labor of our pew
As one of our readers pointed out, like making pancakes, the first one will look crappy. (Thanks “Risky”). Anticipate it. I would go further and say to dump your bullets into sprue pile until they start looking nice. After four or five, your mold should have found the sweet spot for its temperature. If you are having problems at the beginning with the bullets not looking smooth and uniform, it is probably the temperature of the molds.
The second thing to check would be your pour. A fast, sloppy pour will produce an ugly sprue and a bad bullet. When pouring, get down to a slow steady pour over the mold cavities. A nice sprue delivers a nice bullet.

A fast sloppy pour delivers a …

sloppy bullet! The cavity on the right is not near full. Both went into the sprue pile
When your sprue pile starts to add up, go ahead and toss it in the cauldron. No, wait…place it in! Take your dipper out and put your sprue in that. Then slowly just roll it into the cauldron. IT IS VERY EASY TO SPLASH LEAD, always be aware of that.

Carefully place the sprue in the cauldron. It will quickly melt.

They are so cute at this age, and they will never ask you to pay for college
Just recently I found a site with an amazing amount of info for bullet casting. An excellent reference, I wish I had found it much sooner (find it here).
As always I need to give big thanks to Lyman for supporting TFB, please visit their site and consider their products.
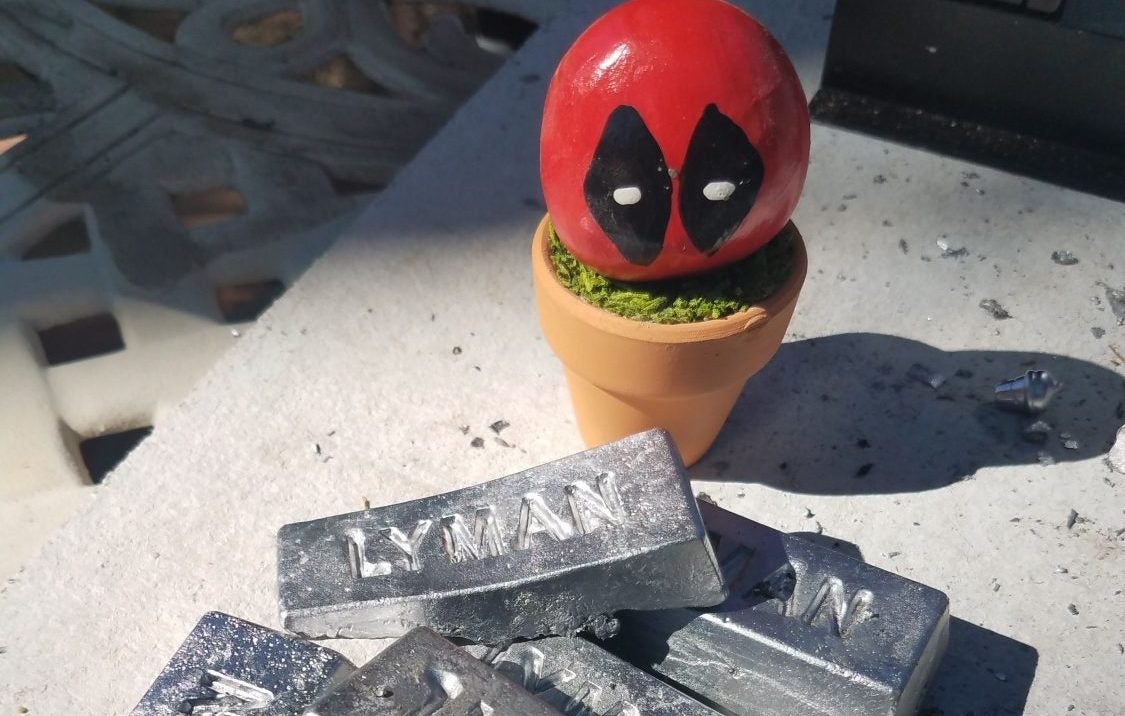
Thank you Lyman!
Next week we get our pews all grown up to fire. We will go over resizing, lubing and powder coating. As always I would like to hear your comments. I will do my best to respond.
Items used in this series. At the very minimum, you need these things.
You may also want these items for safety:
We are committed to finding, researching, and recommending the best products. We earn commissions from purchases you make using the retail links in our product reviews. Learn more about how this works.